
Sniper Ghost Warrior 2 Guide Walkthrough Mission 1: Communication Breakdown
1.3 Waypoints 8-14
Waypoint 8
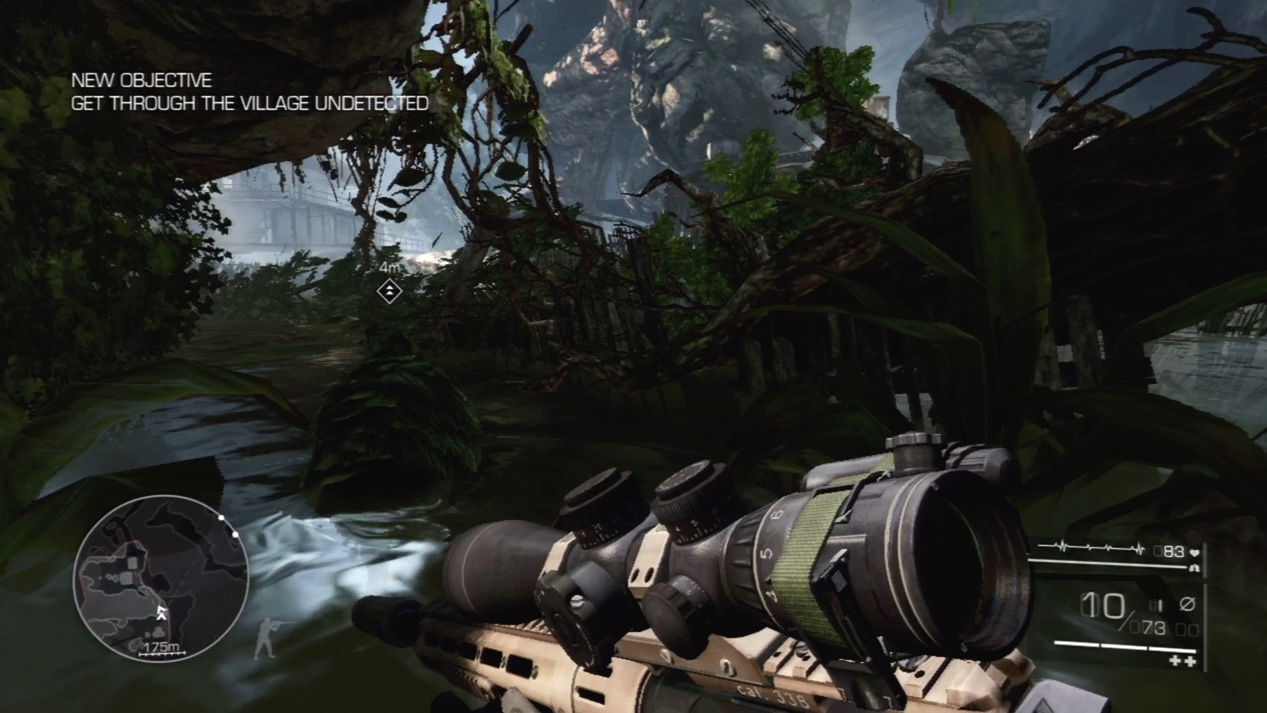
Your next objective is to pass through the upcoming village undetected. Sneak behind Diaz until he halts in the water in front of a tangle of vegetation.
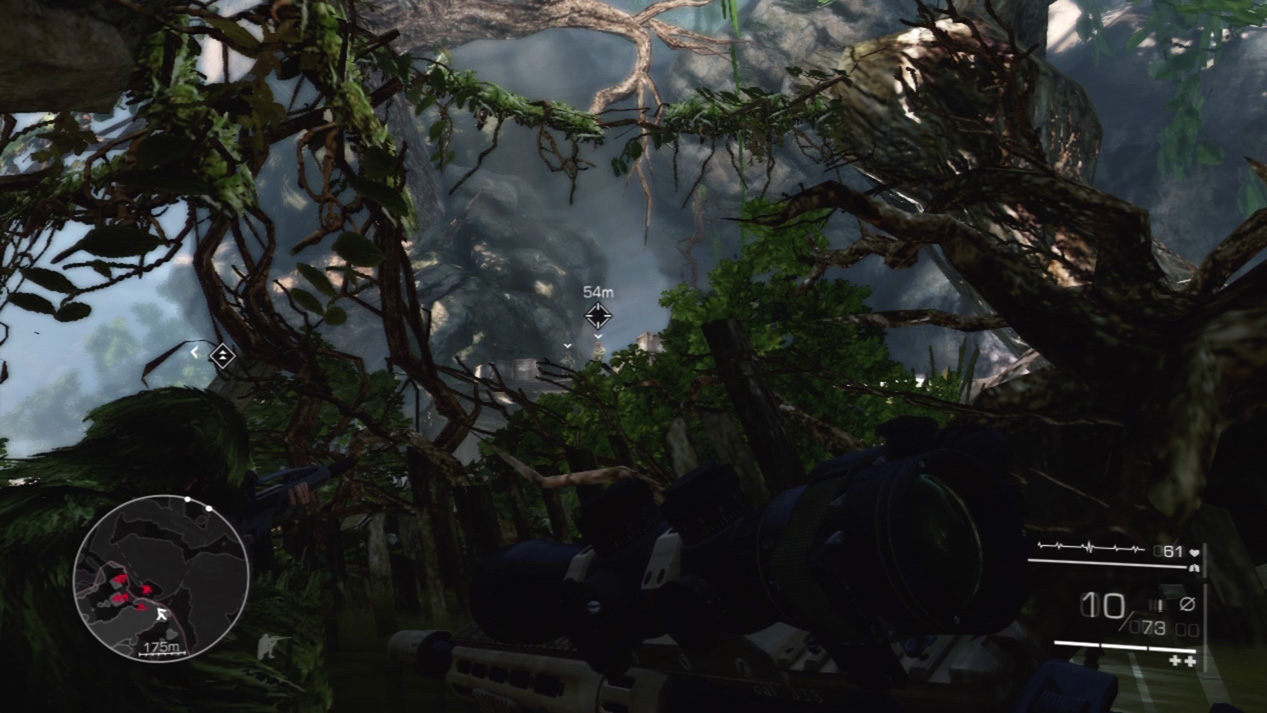
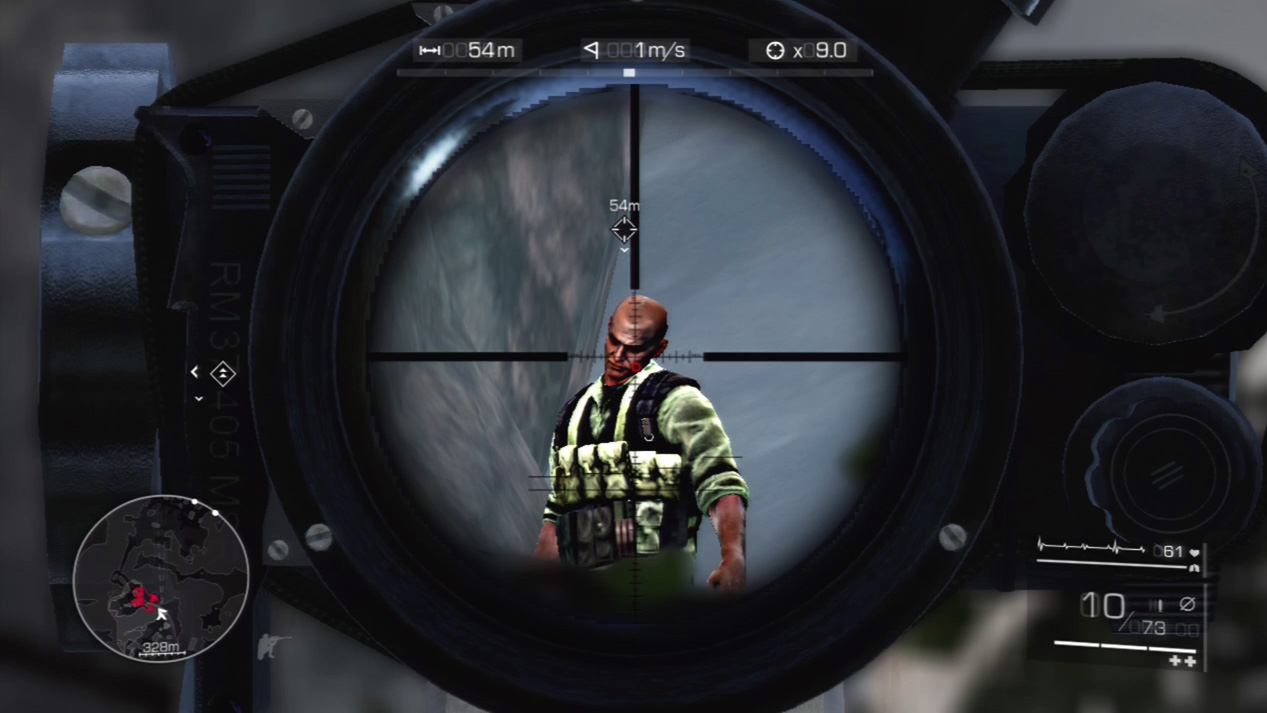
Search for enemies to your right, up on a platform high above in the hillside. Two enemies peer down from this vantage point. You can’t continue without the two spotting you as you cross into the open. You have to remove them first. Target the enemy on the right and snipe him at the same time that Diaz kills the one on the left.
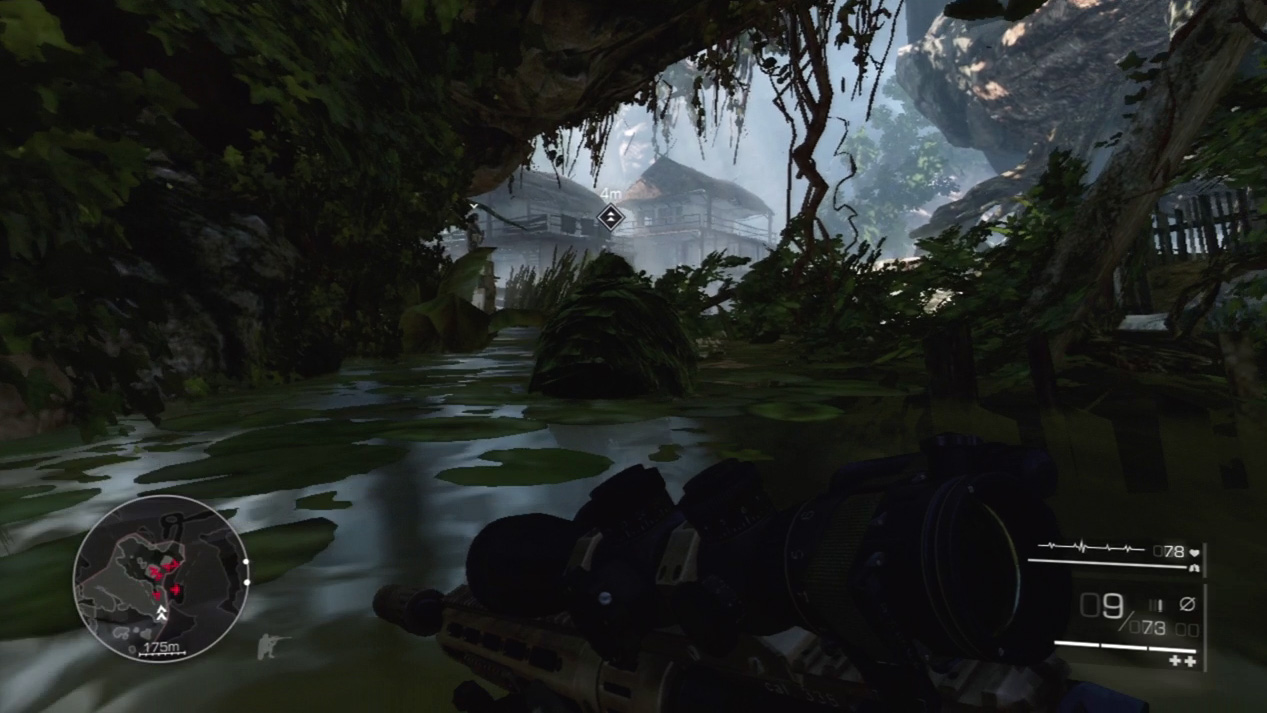
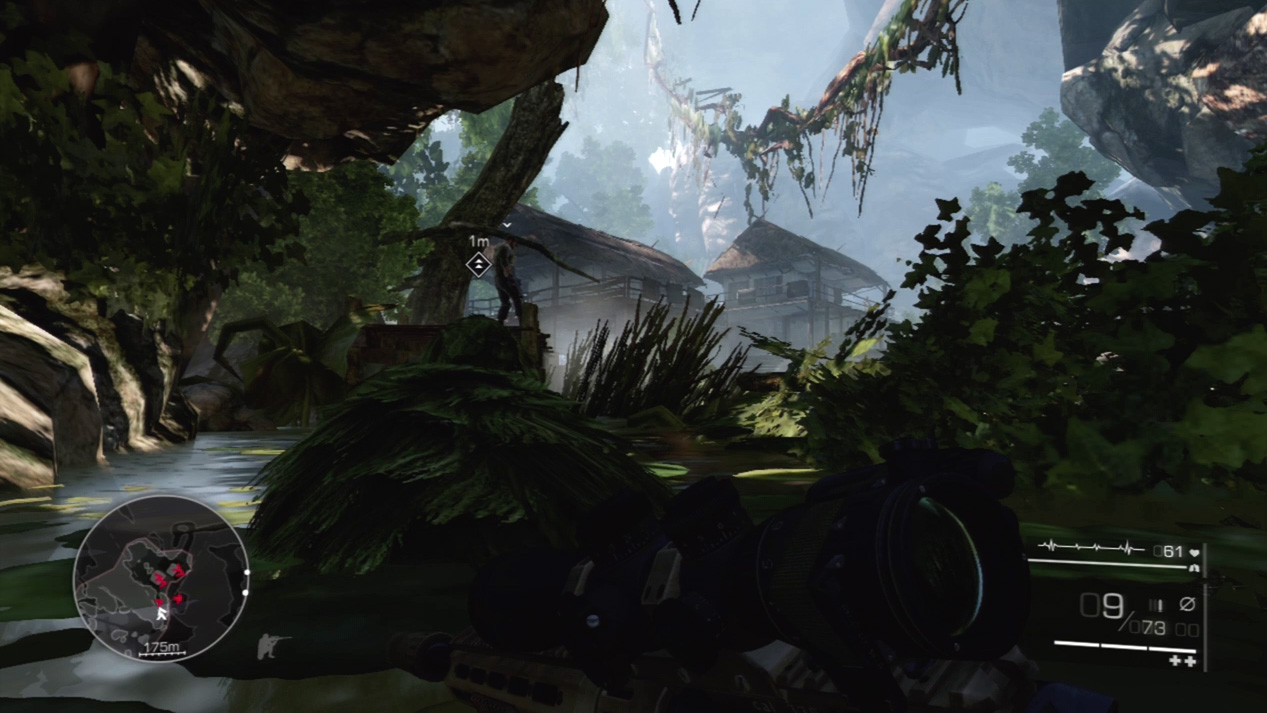
Advance in the water toward the pier in the distance. You’ll see a lone guard standing near the edge. Though you can easily shoot him from your position in the water, you can’t see any other enemies in the area, so you have no idea if a kill will alert others. Diaz suggests that you wait to see what he does. Sure enough, the enemy continues his patrol back down the pier and clears the way for you without your firing a shot.
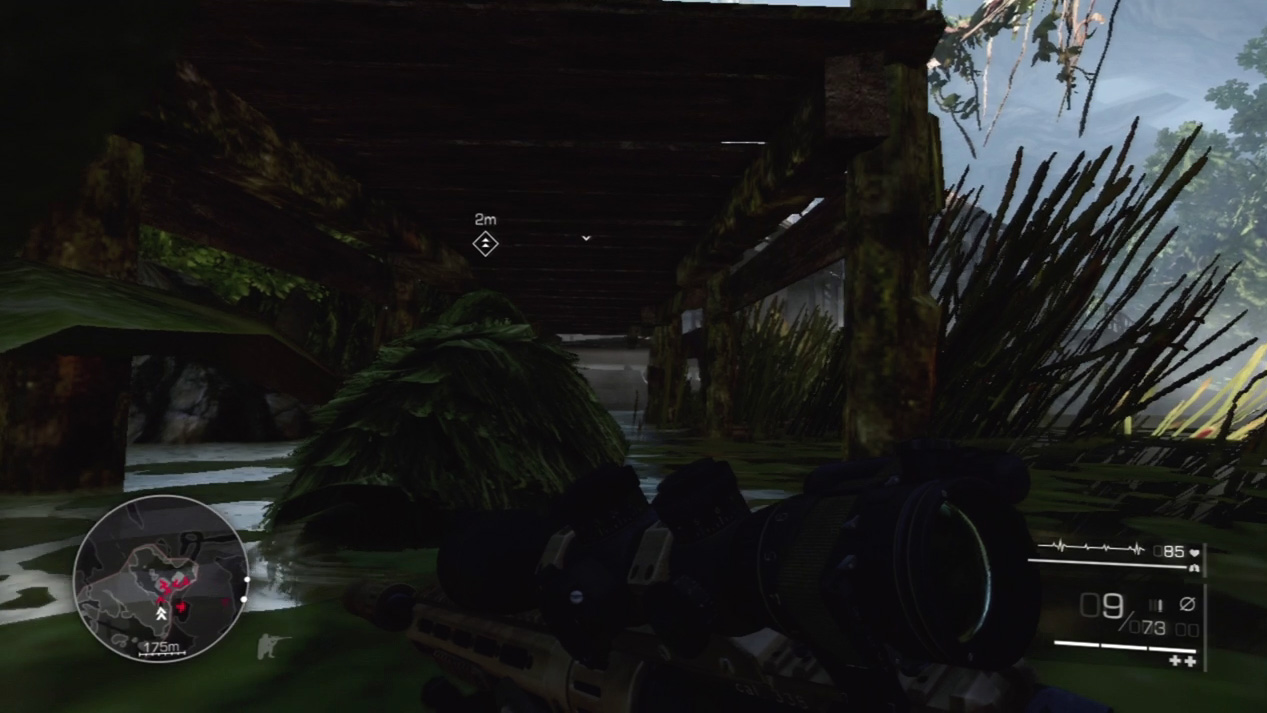
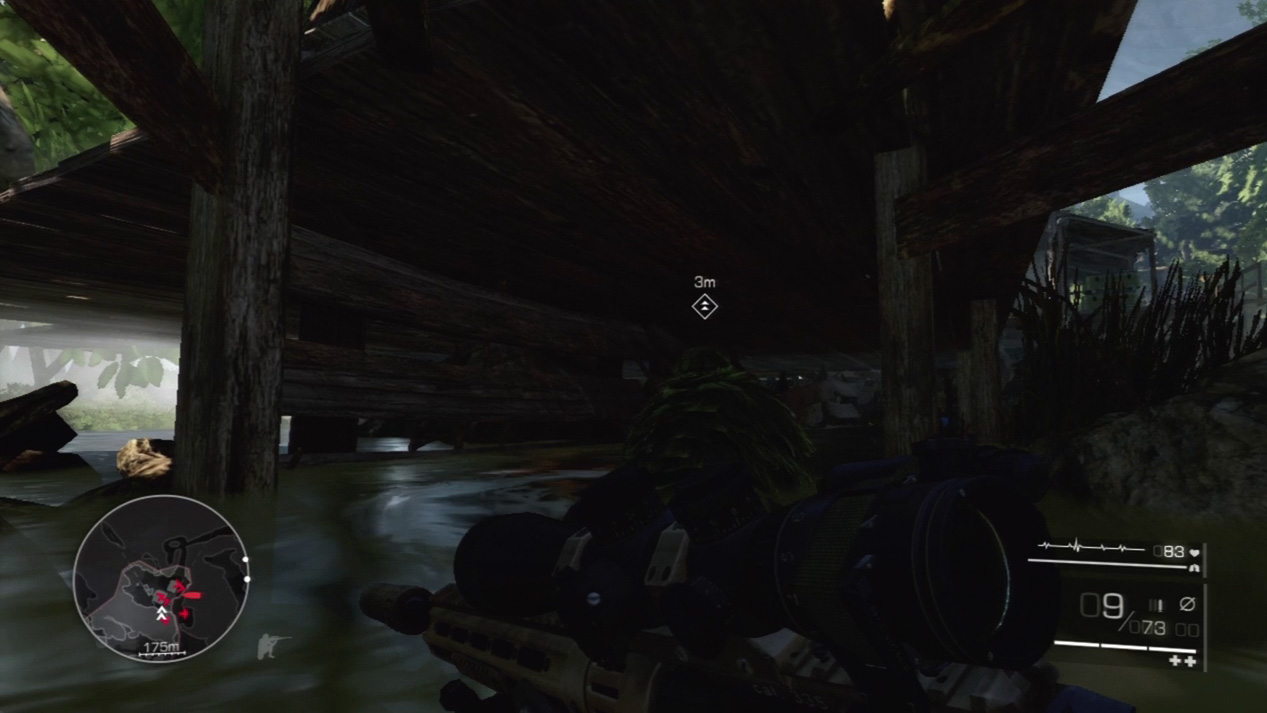
Sneak under the pier that the enemy was just standing on. Diaz leads you under the various piers as you cross undetected underneath the village enemies.
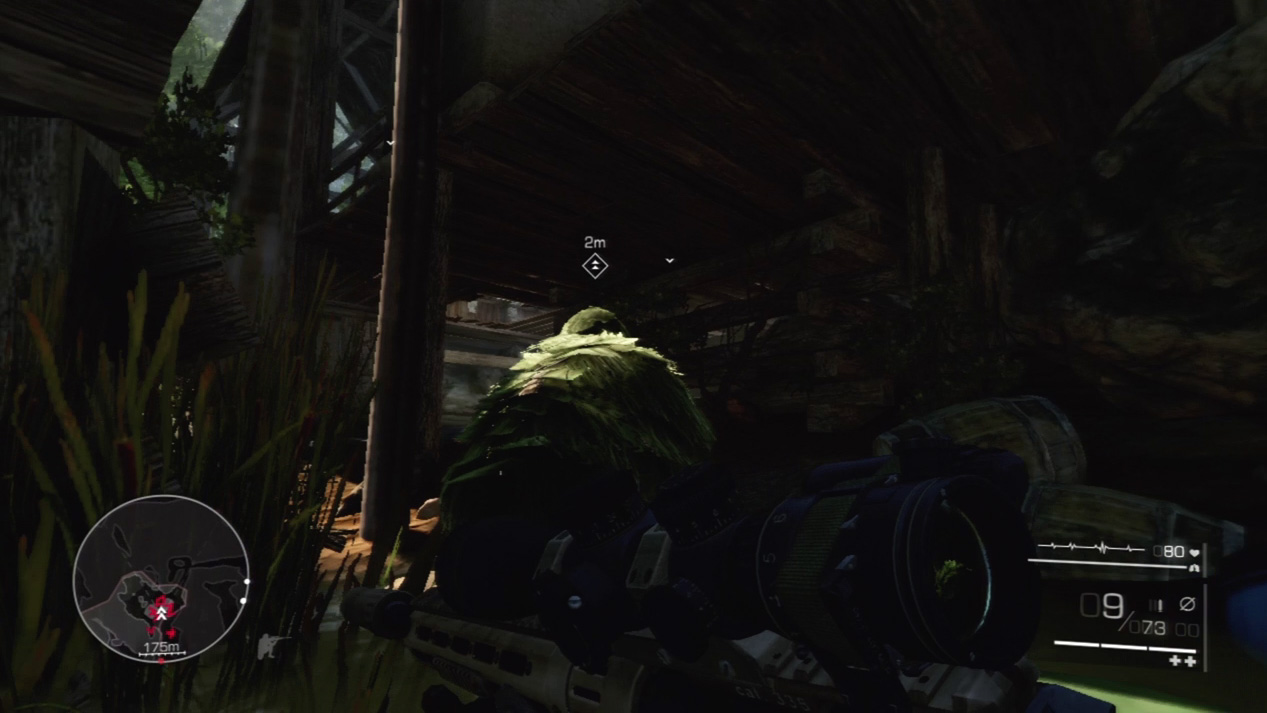
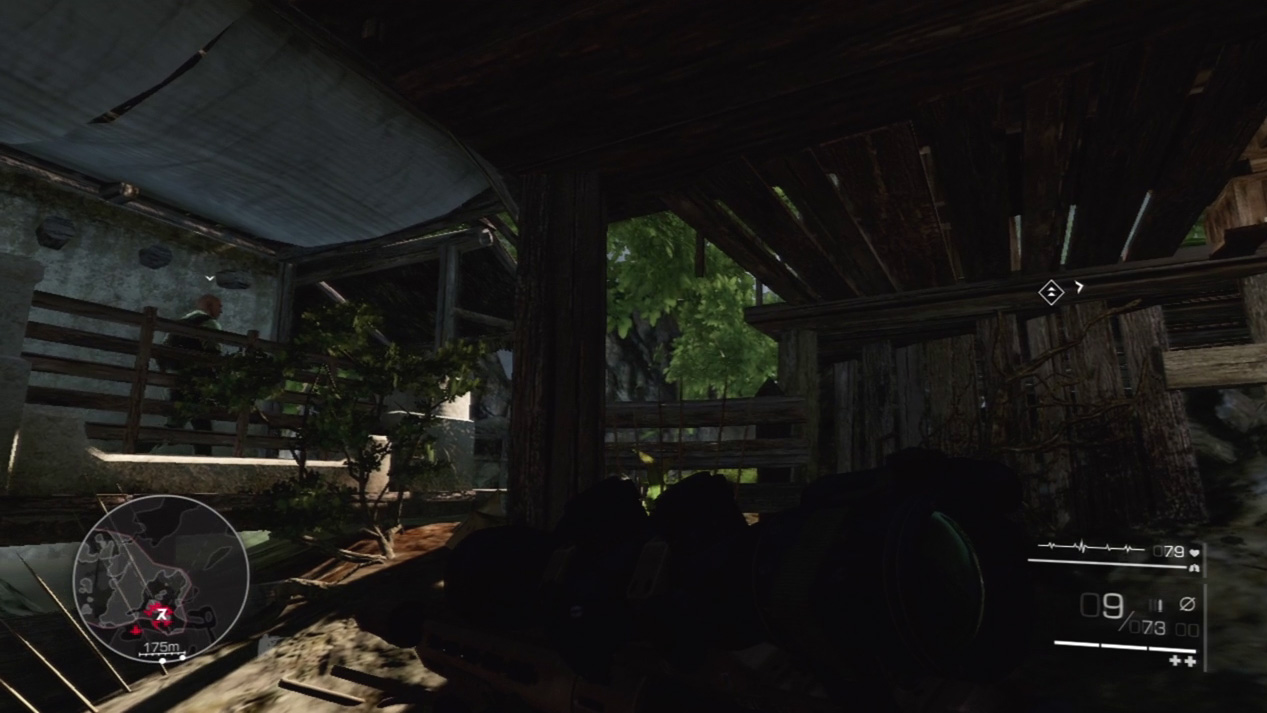
Stop just before you reach the square hole in floorboards. Lots of enemies mill about; wait patiently for them to pass by and you won’t raise the alarm.
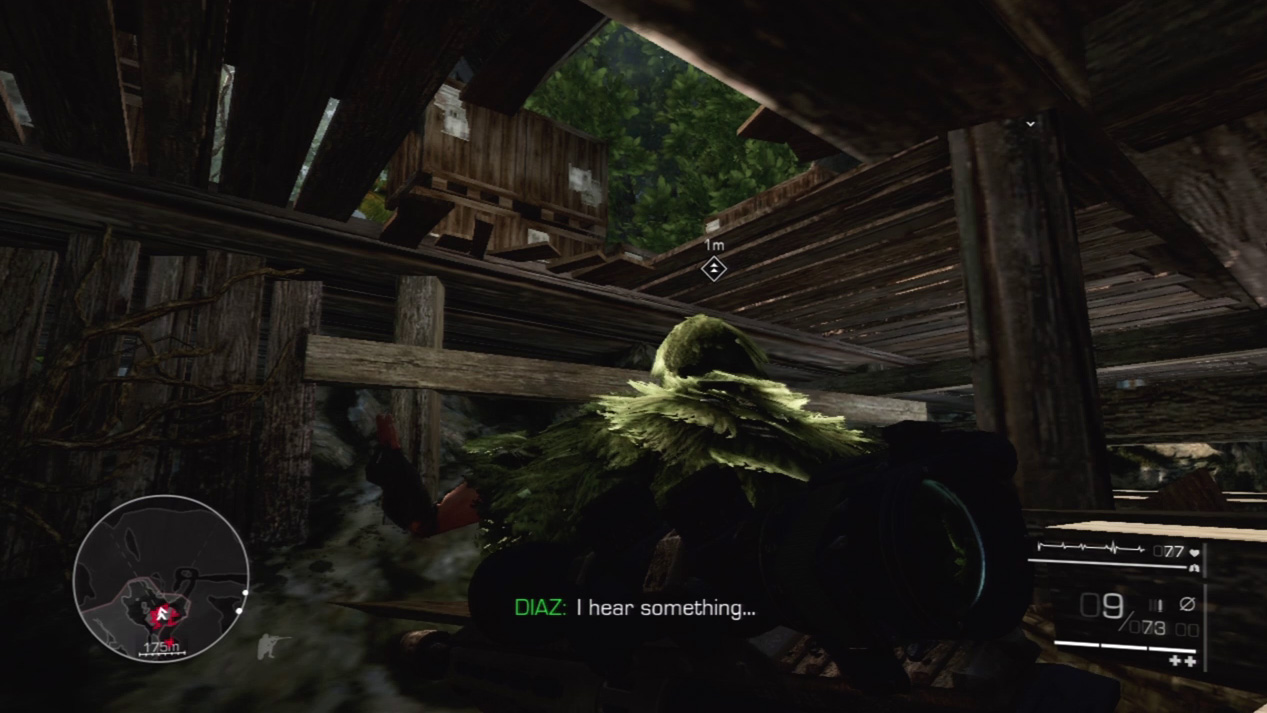
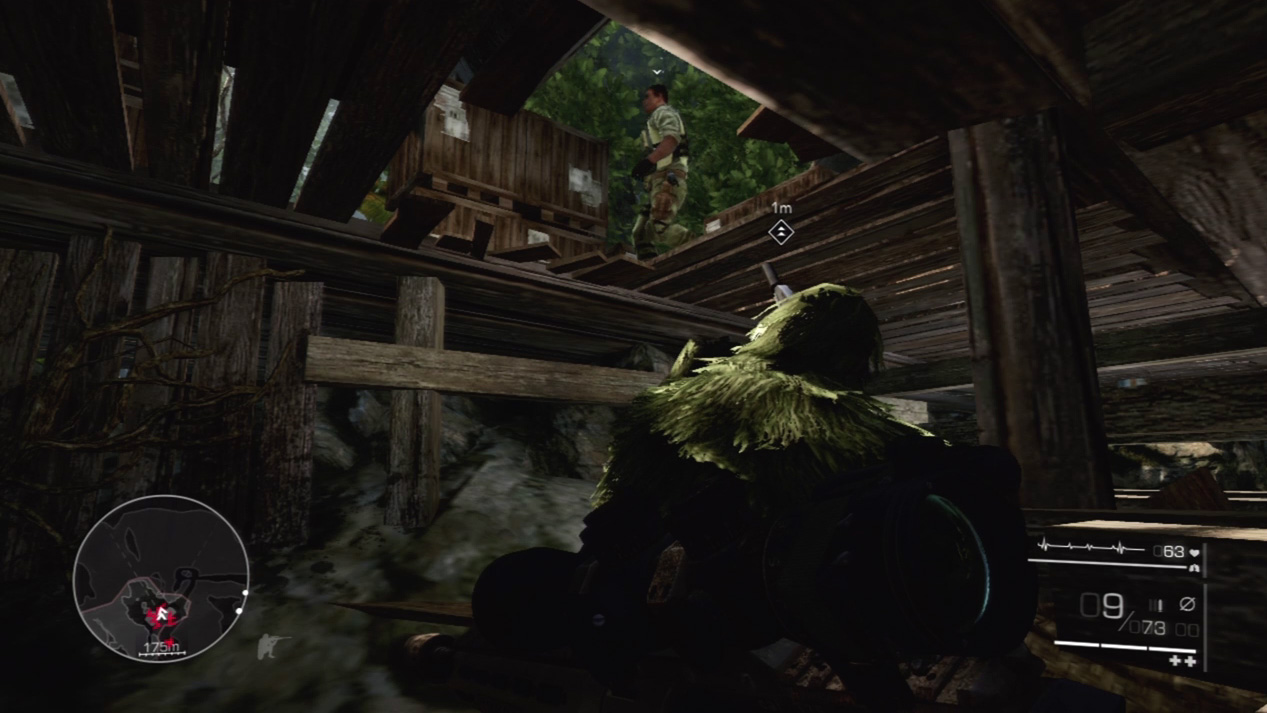
Creep up the square hole and watch silently as the first group of enemies walk by. They won’t spot you down in the hole so long as you don’t move. After they pass, climb up and continue to follow Diaz through the village.
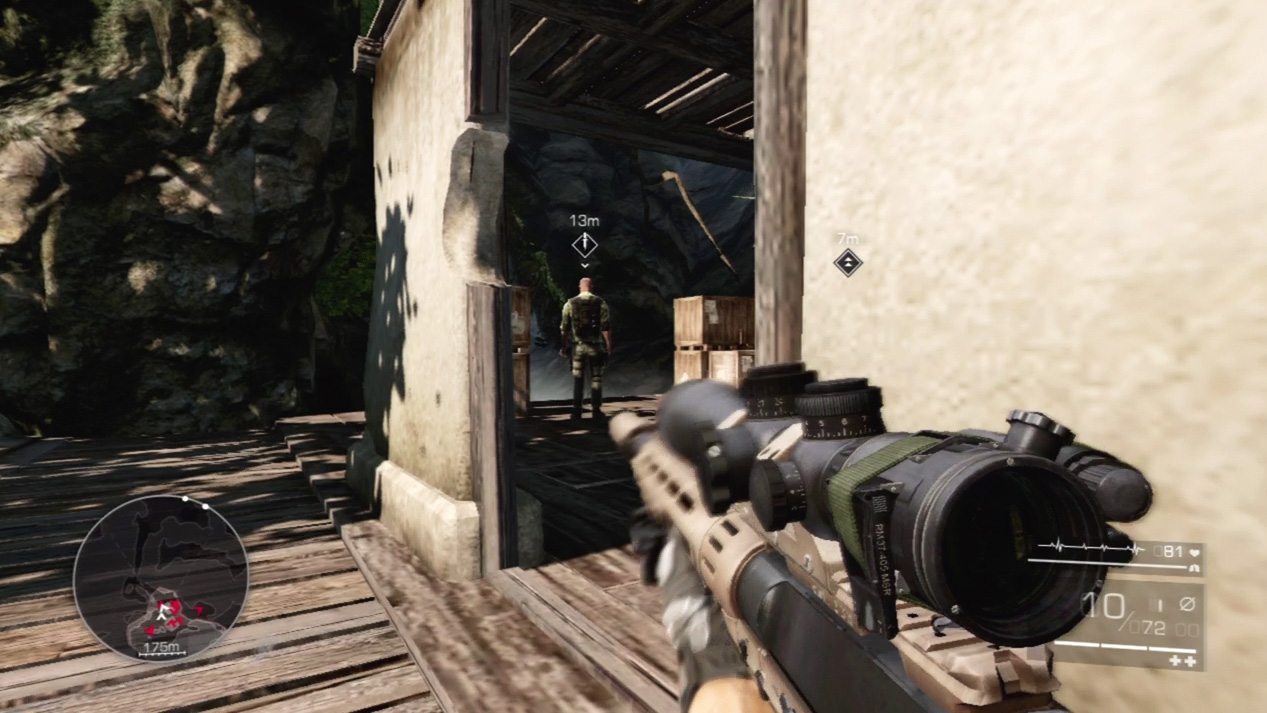
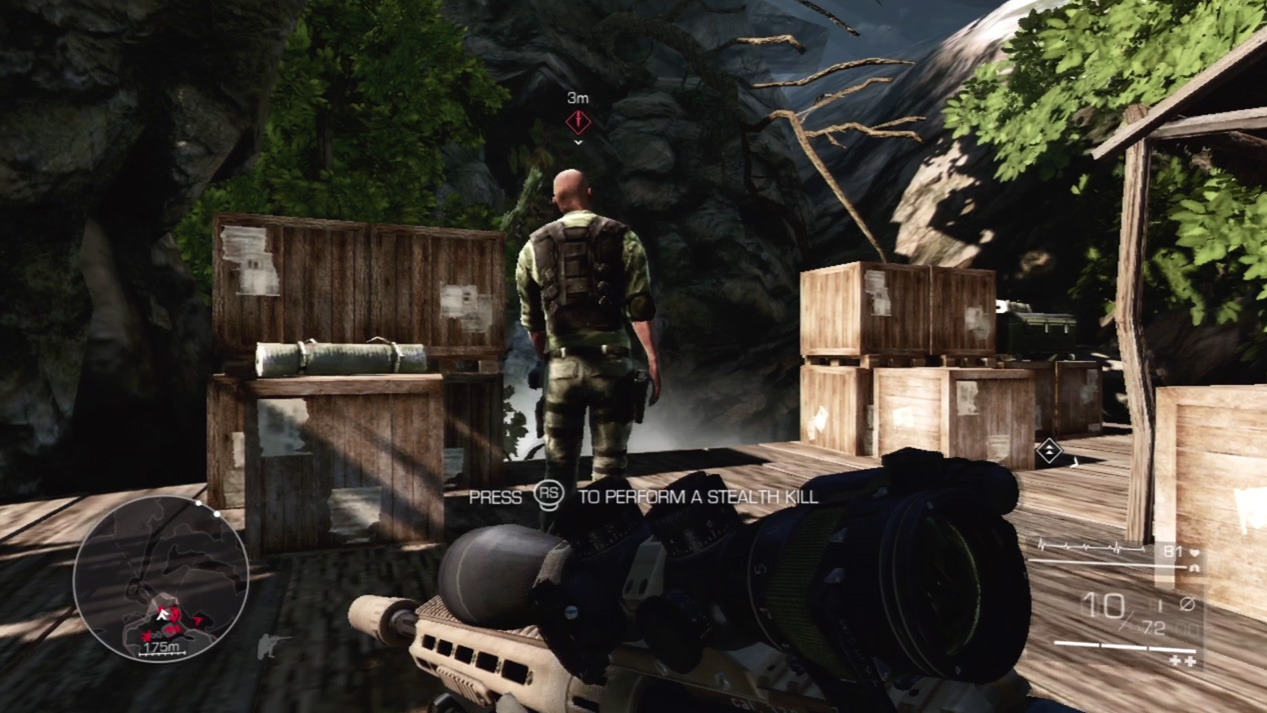
Hug the wall to your right as you move through the village. Now that you are topside, you want to exit village as quickly as possible. Crouch low and sneak up behind the lone guard on the perimeter. Take him out quietly with a stealth kill and then disappear into the fog before the village guards recognize that anything is wrong.
Waypoint 9
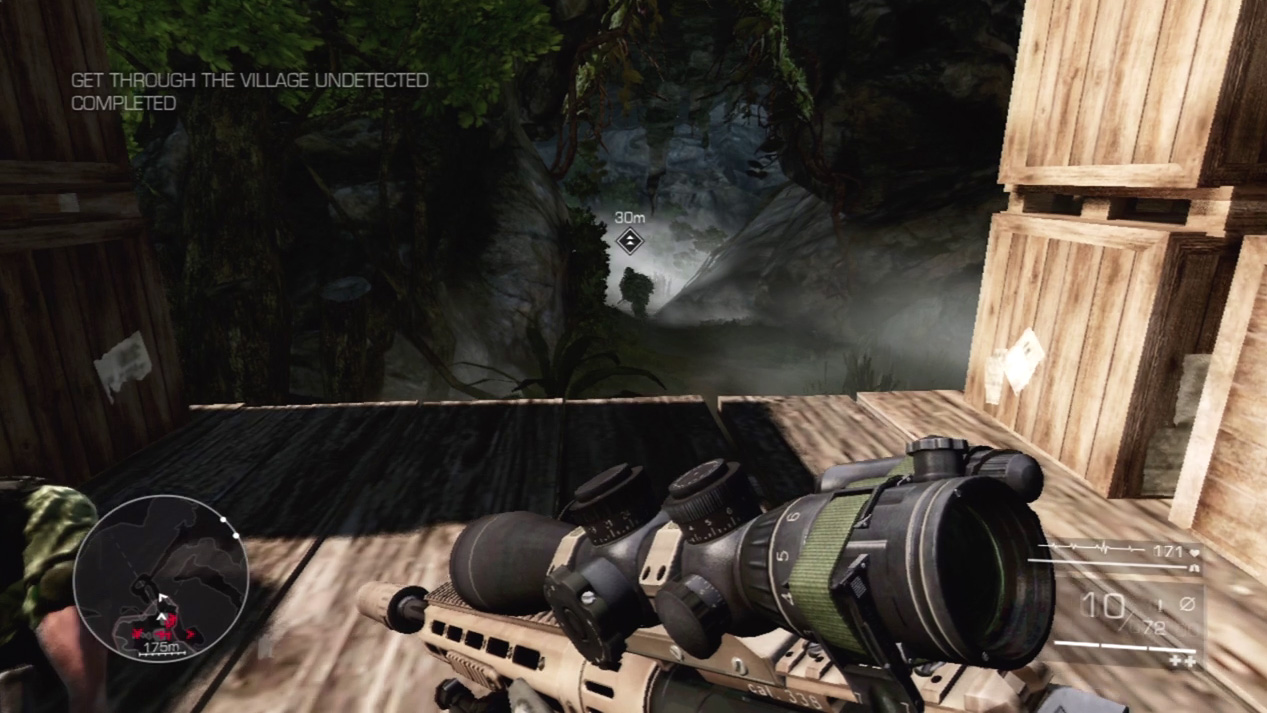
Leave the village and race after Diaz as he climbs the hill behind the village.
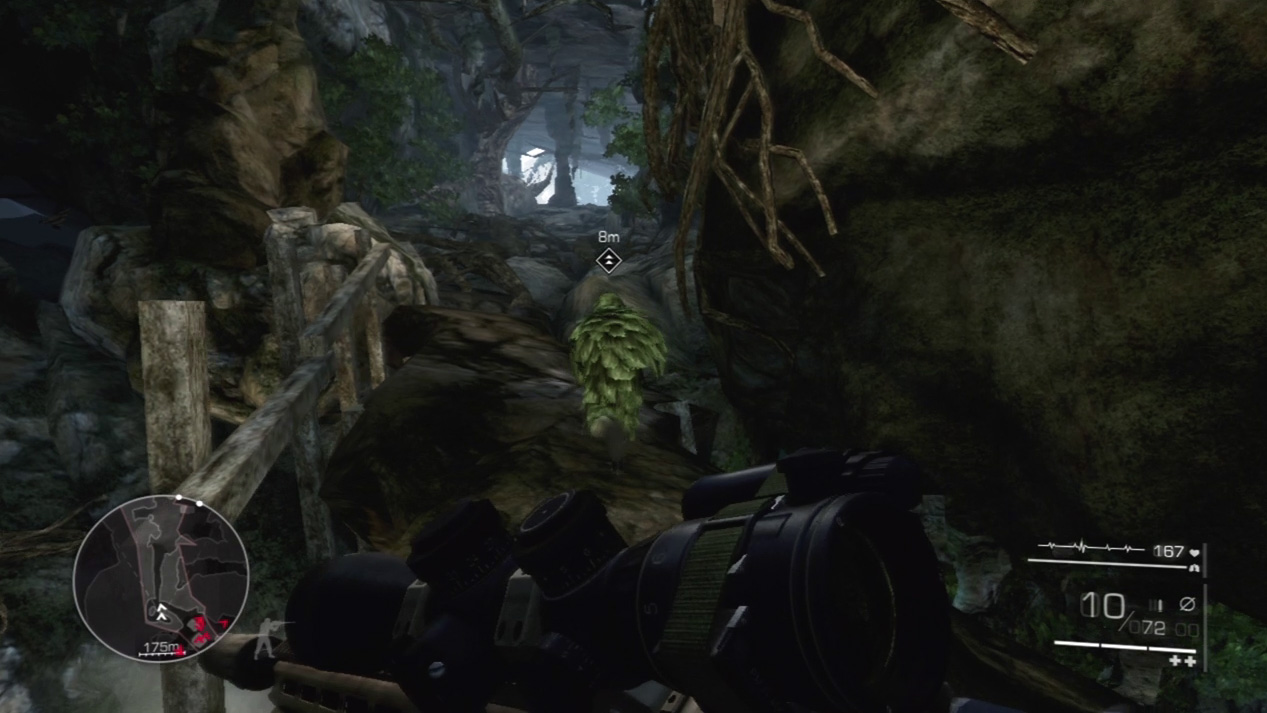
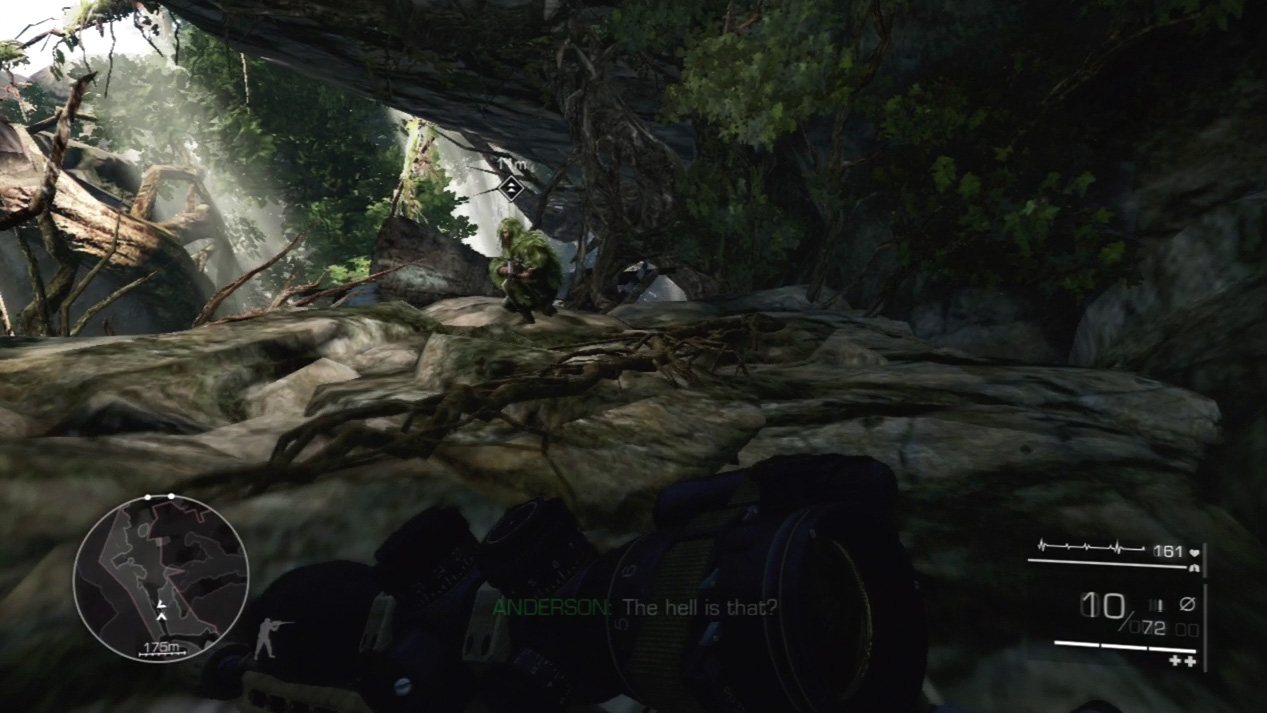
There is no enemy resistance on the hill. You can sprint after Diaz without alerting the enemy. At the top of the hill, crouch and catch up with Diaz at the cliff edge.
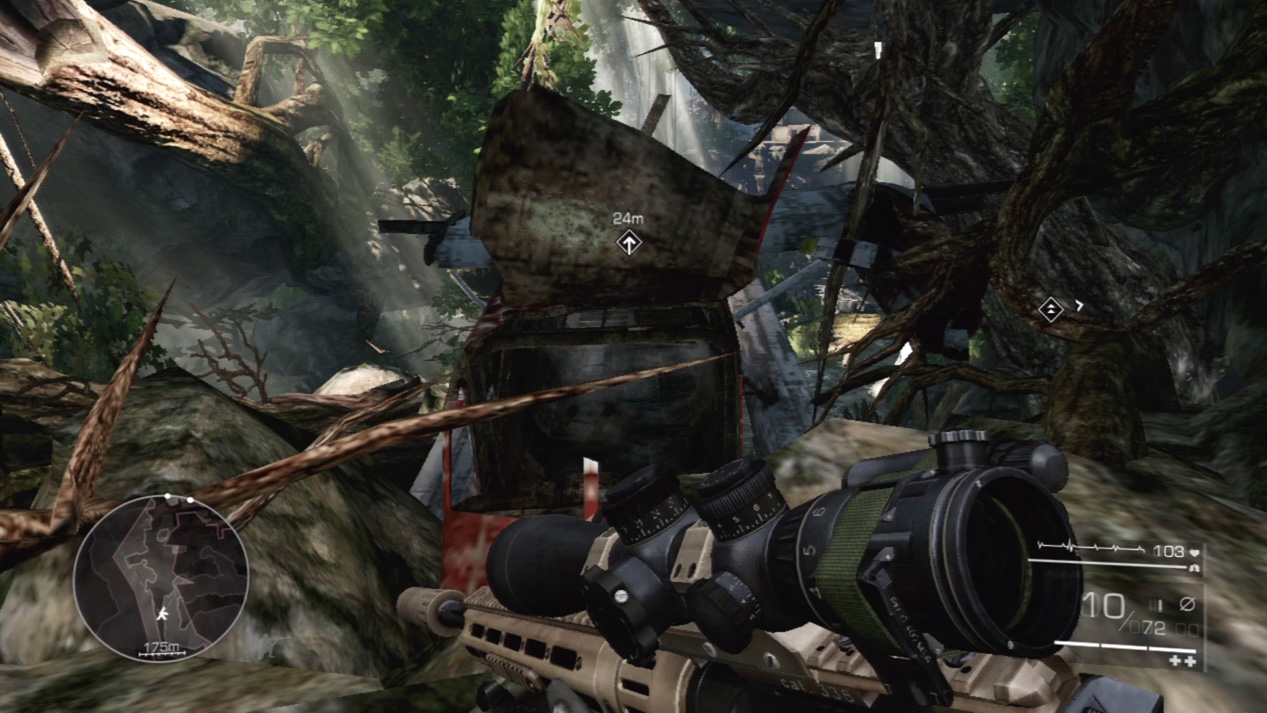
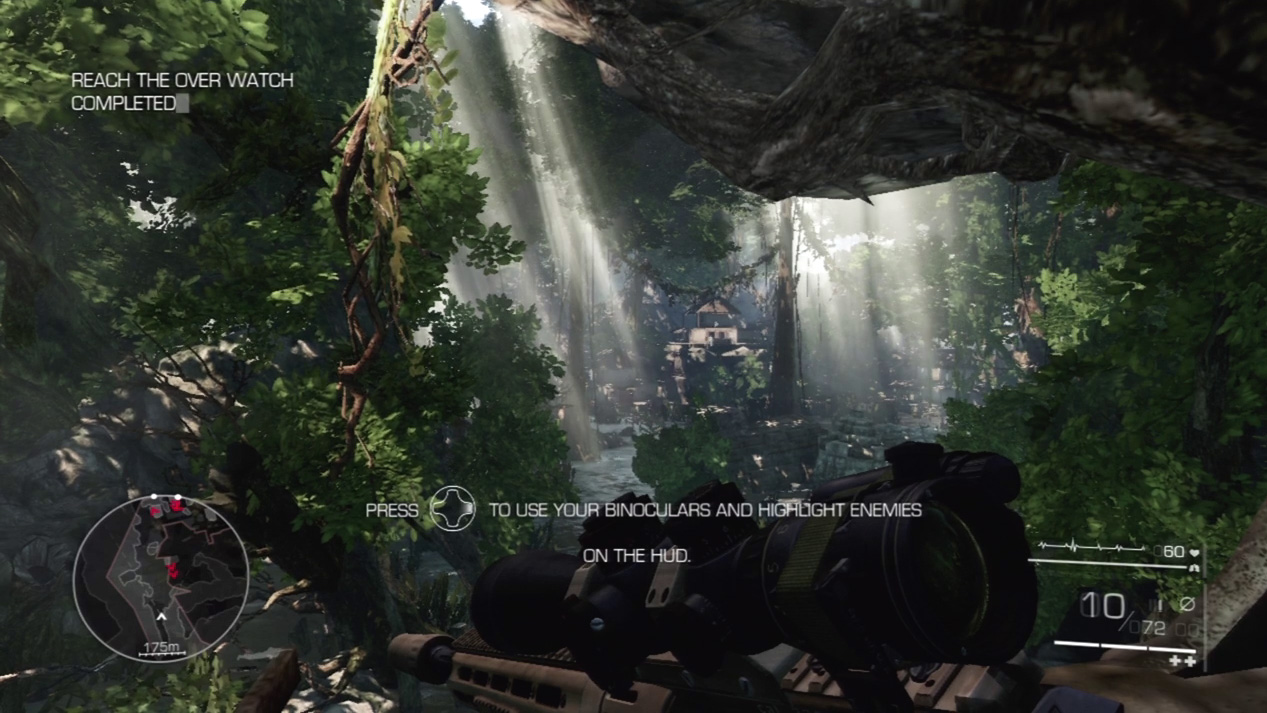
An old, crashed plane hangs precariously in the tree next to the cliff. To get a good look at the next enemy encampment, you must climb through the old plane to the hole in its broken tail side.
First Contact: Binoculars
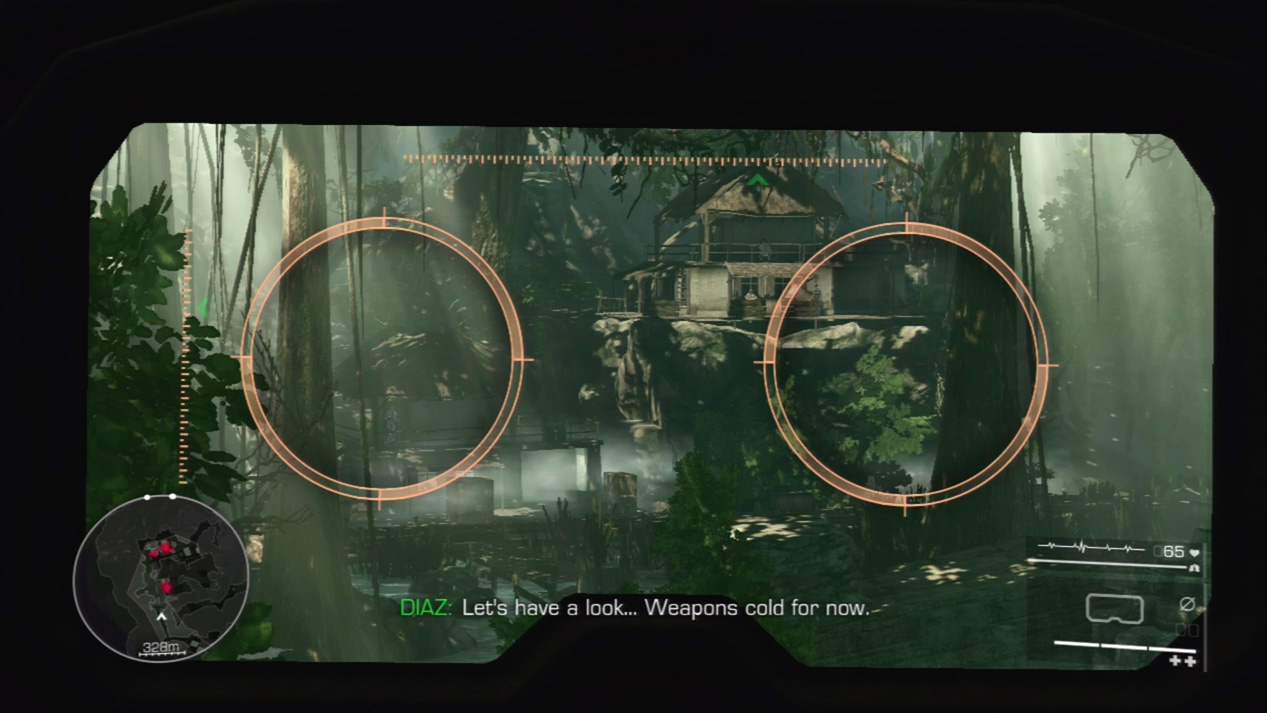
Use your binoculars to scout enemy positions. The binoculars’ zoom function allows you to get a close-up view of the surroundings, especially if you want to watch enemy patrols and enemy routines as they guard areas.
Your binoculars will mark enemy positions on your map as you spot them. This is exceptionally helpful at marking snipers who might not be initially visible.
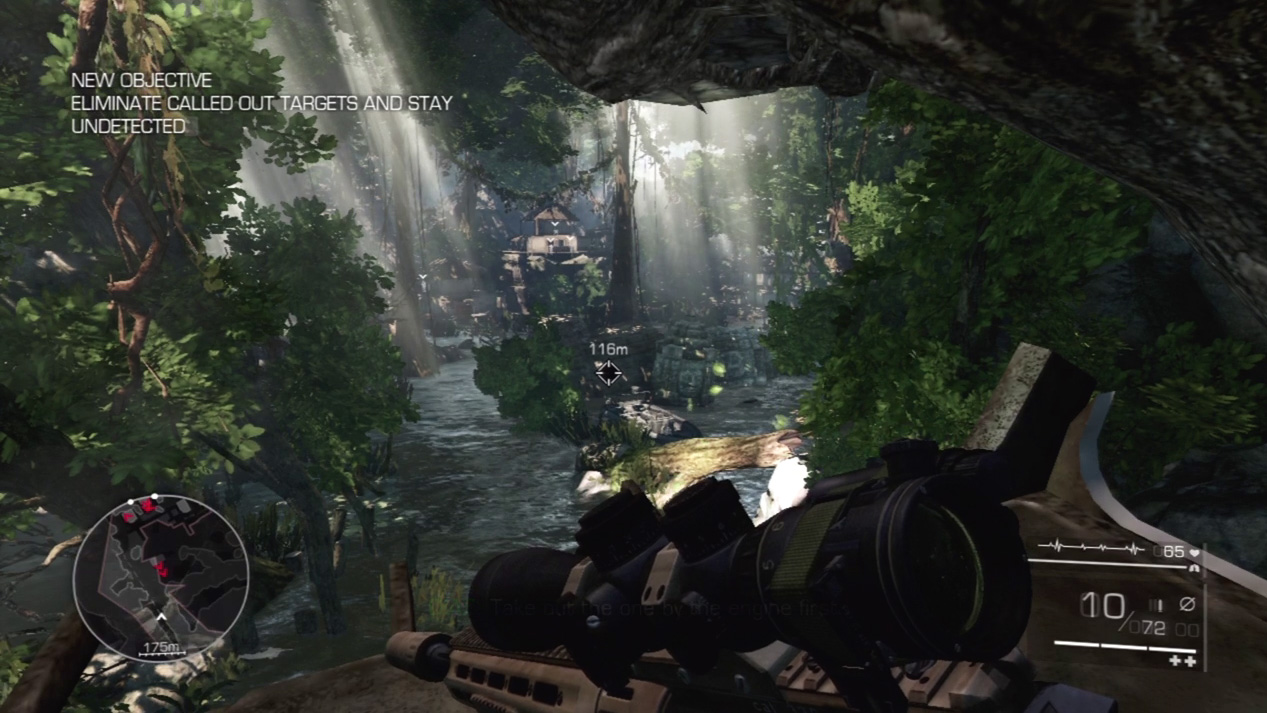
Pull out your binoculars to scout the enemy camp. You have two enemies near the boat below you, a sniper in the upper floor of the house, and three enemies on the ground floor.
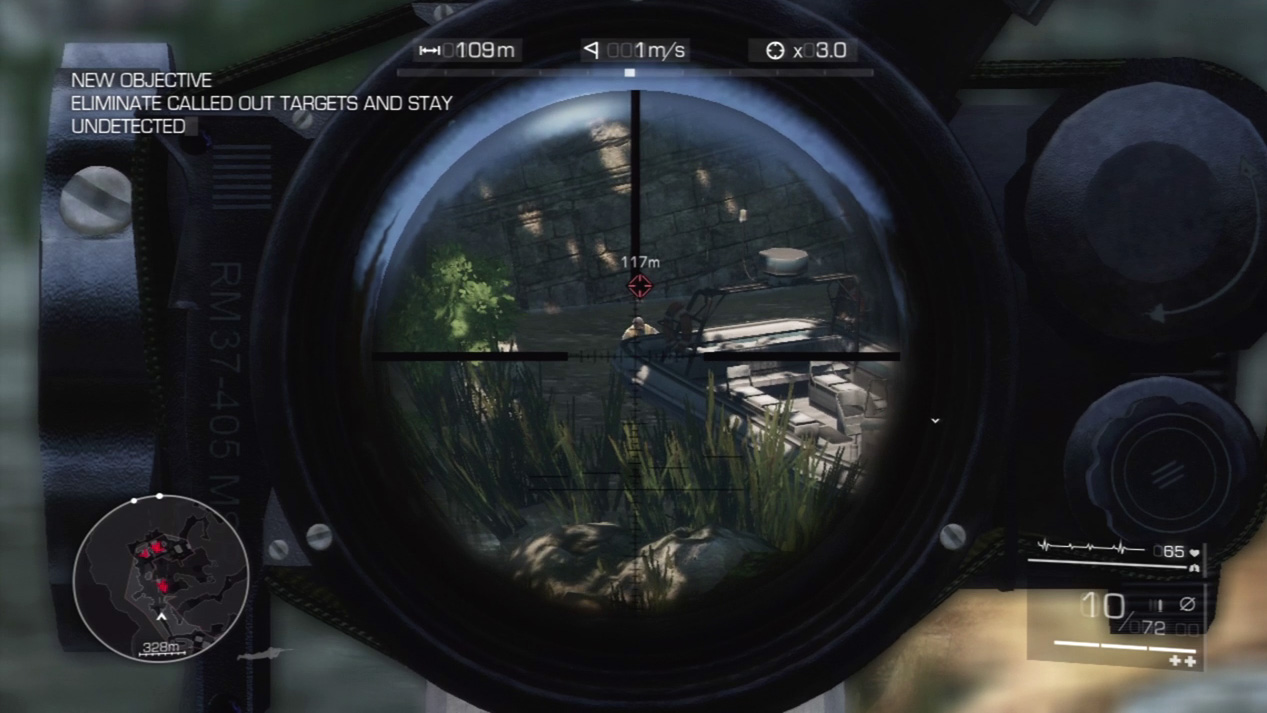
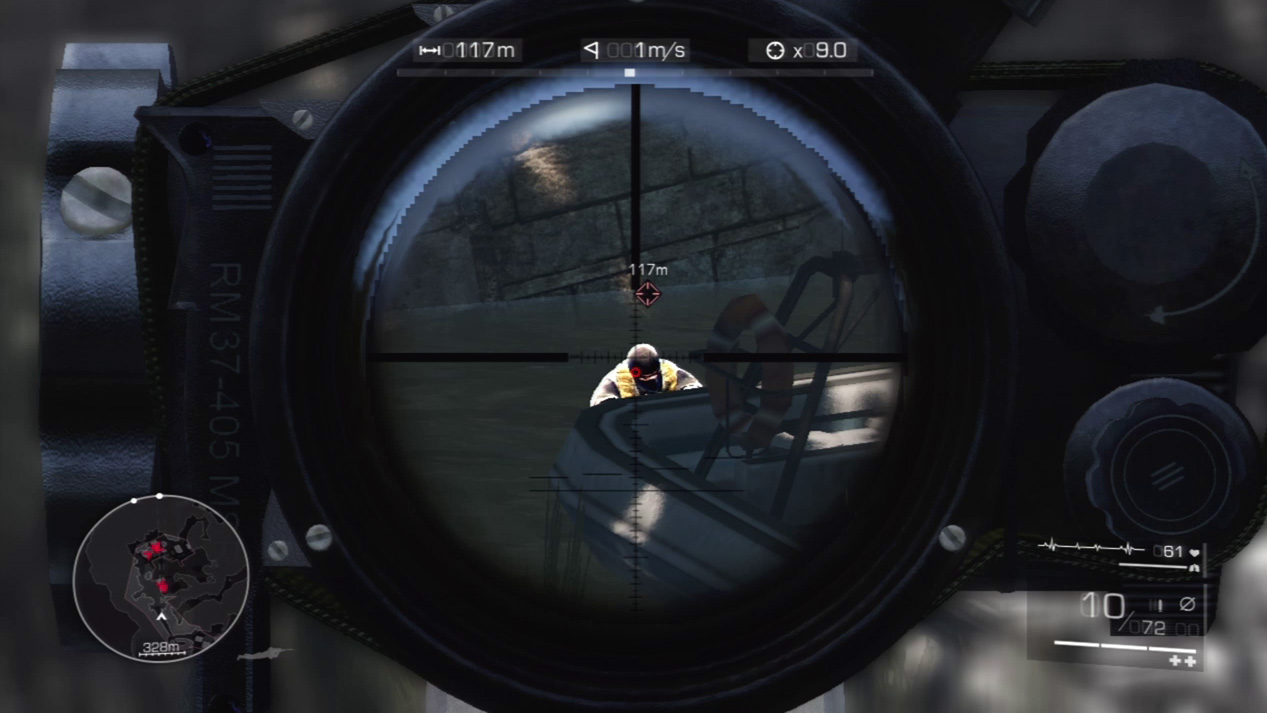
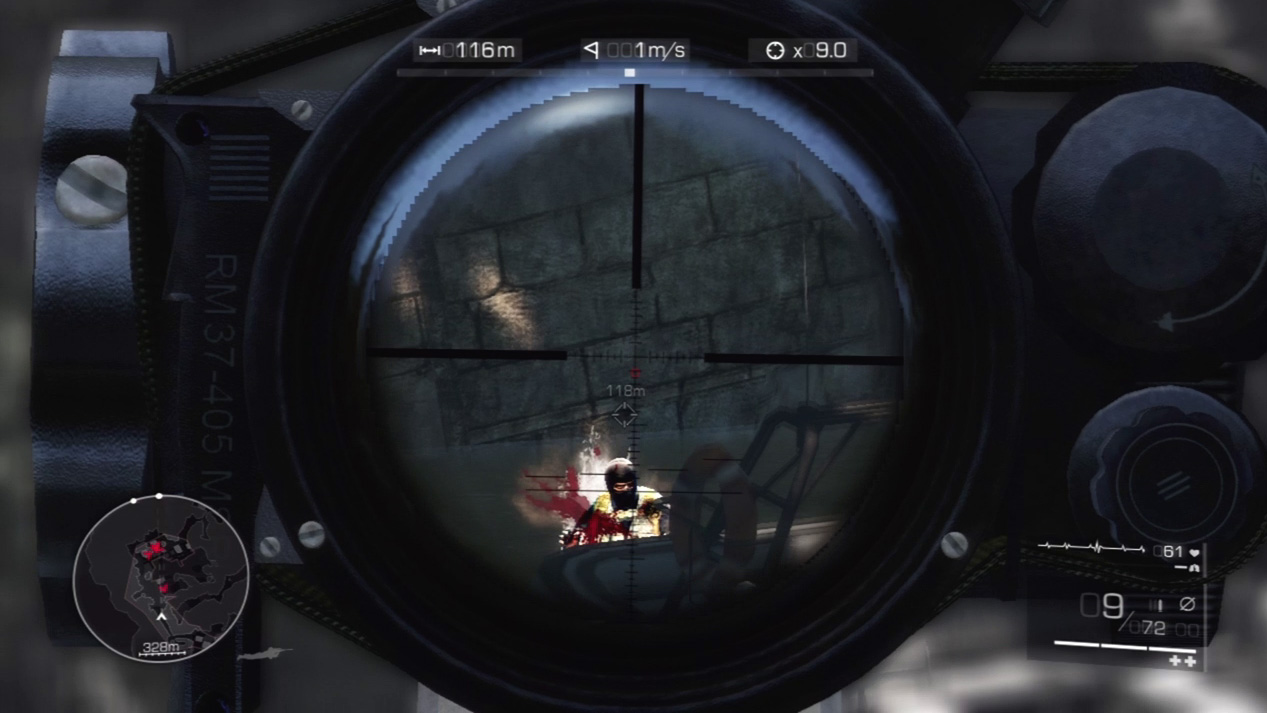
Set your sights on the enemy at the boat’s rear. Snipe him silently while no one notices.
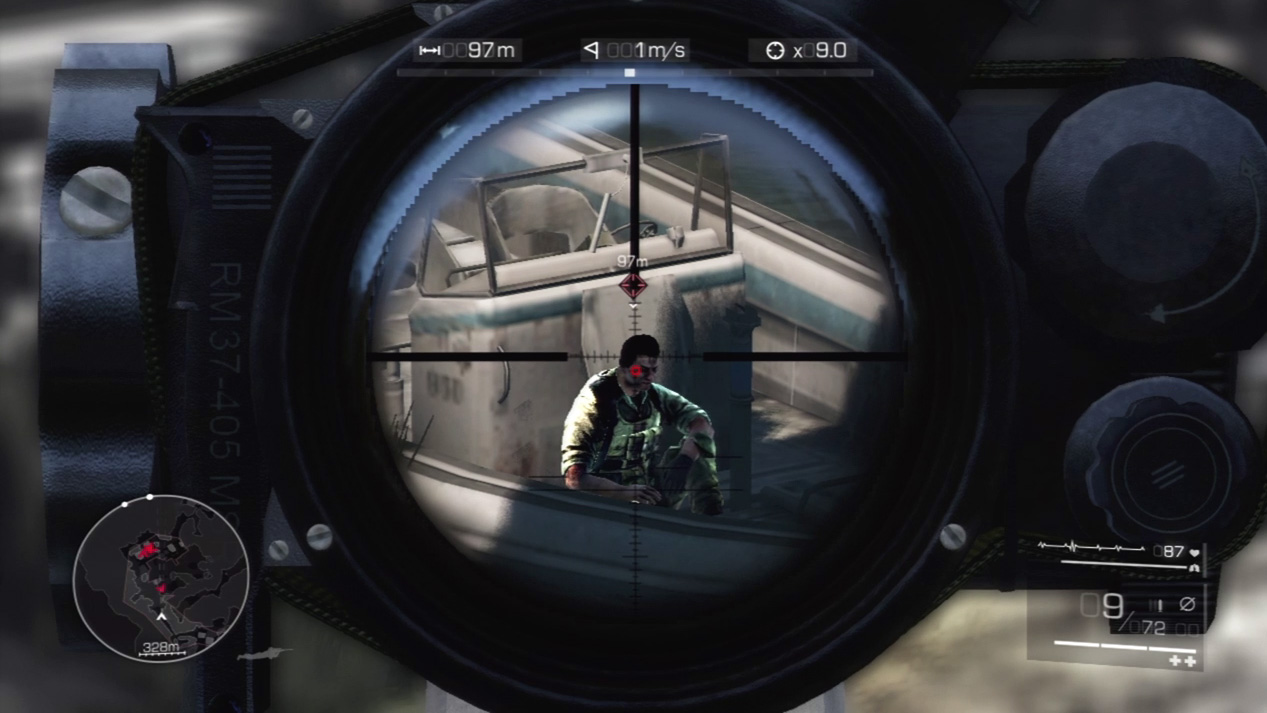
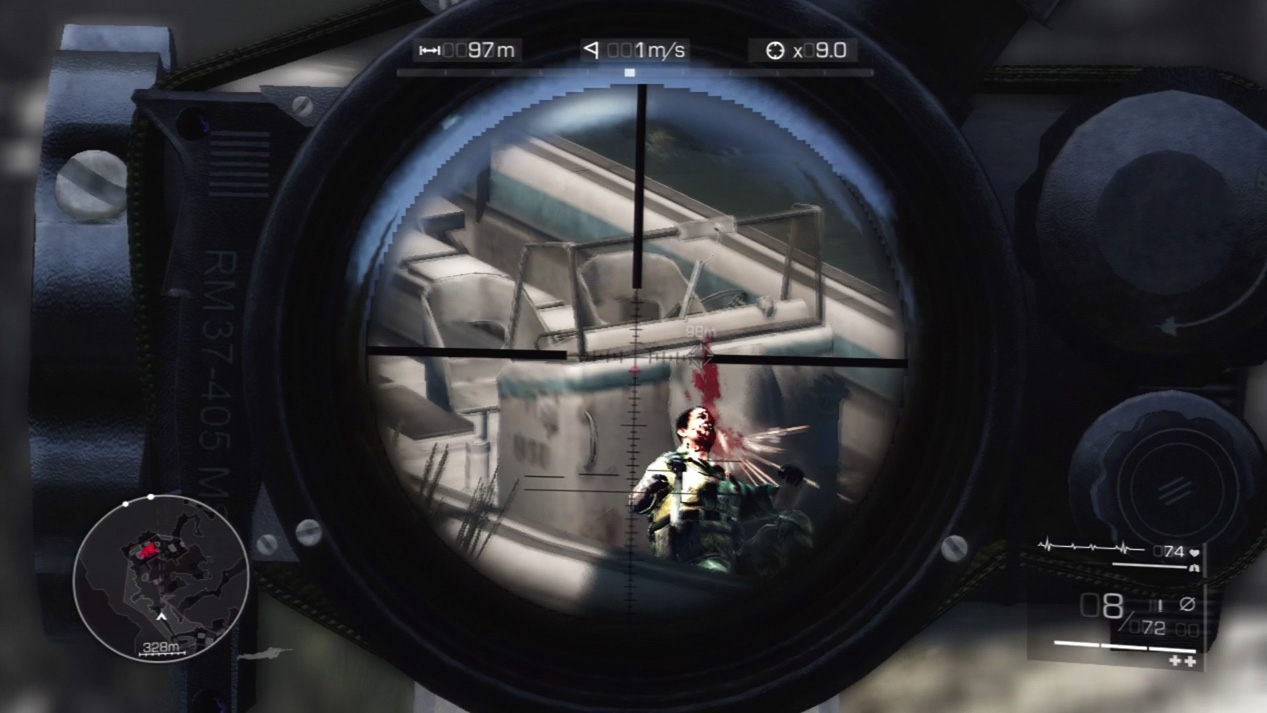
Quickly shift your focus to the guard sitting in the front of the boat. Zoom in for a headshot and finish him off.
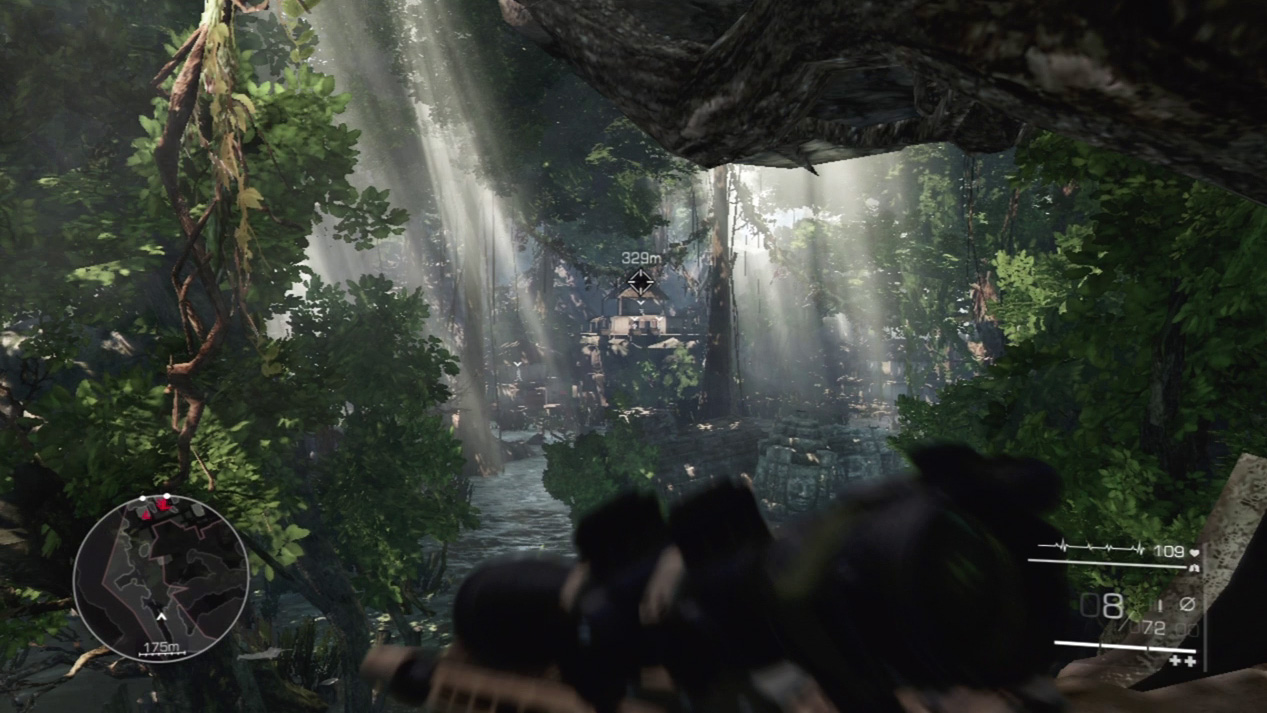
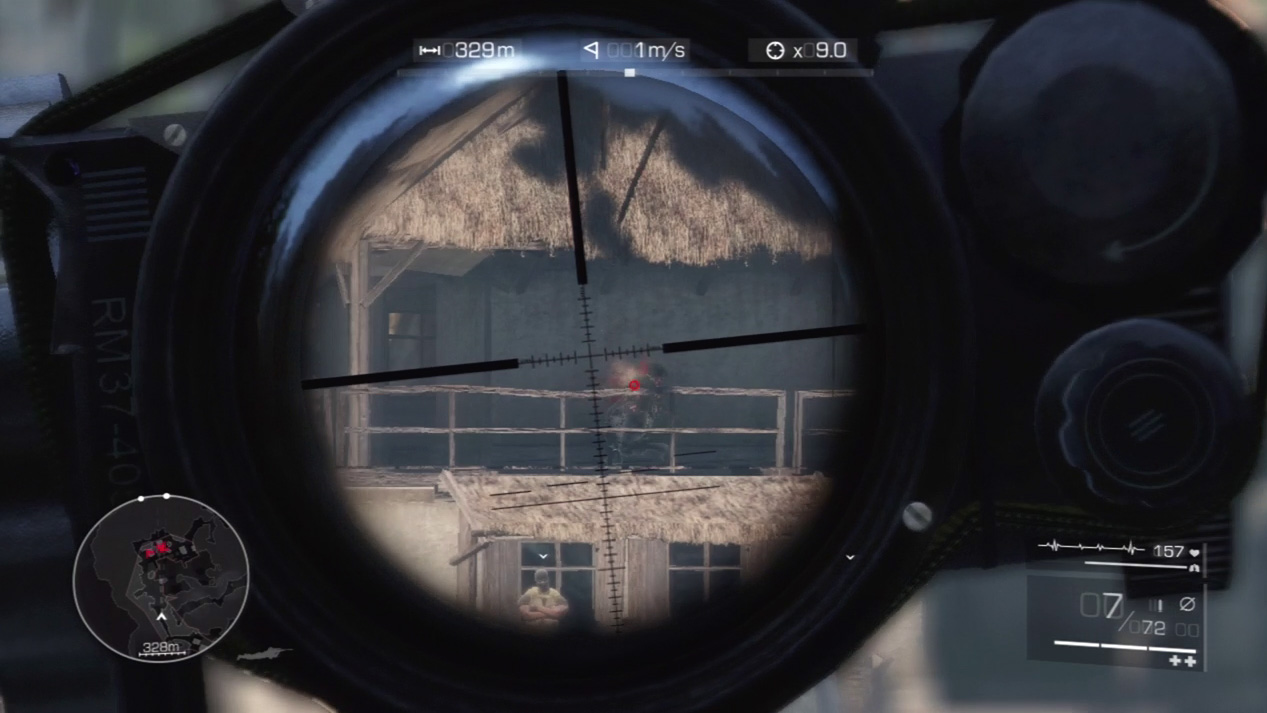
Now you have a long-range shot at an enemy sniper on the top floor of the house in the distance. Fortunately for you, Diaz has spotted the enemy sniper before he locates you. Because you have time, you can line up the perfect shot to eliminate the most dangerous foe in the encampment.
First Contact: Enemy Sniper
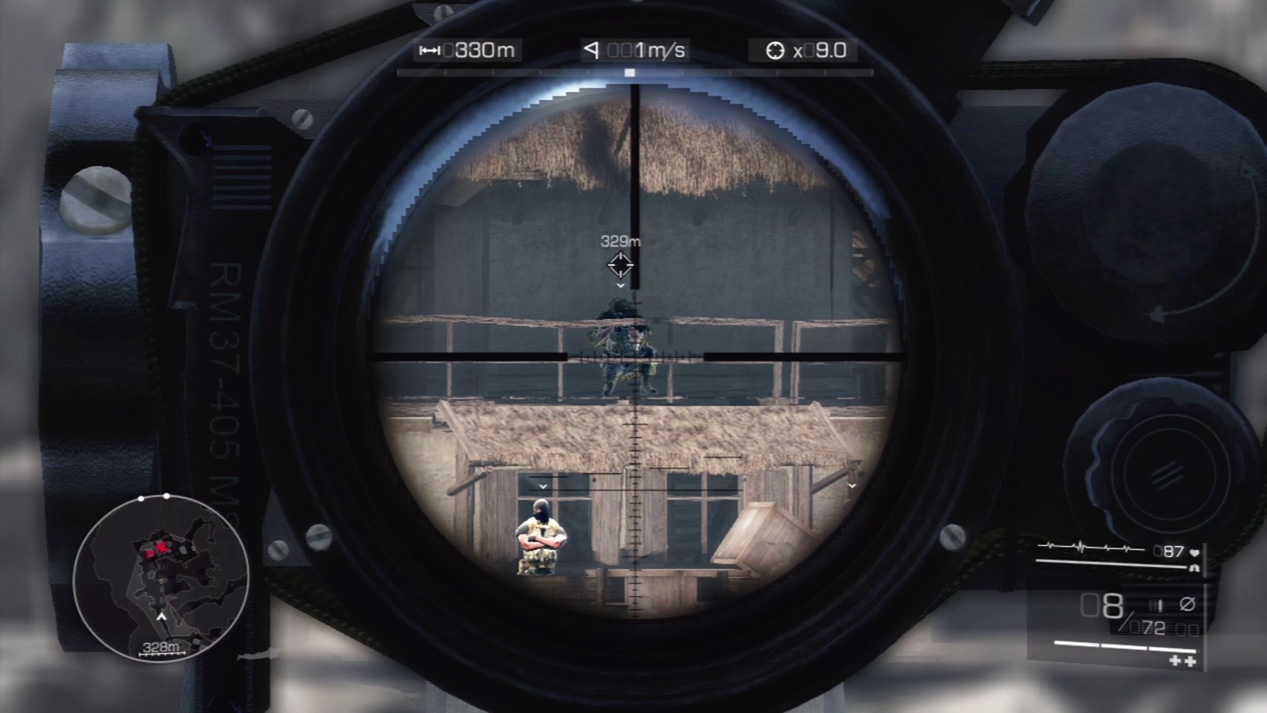
Enemy snipers are just as dangerous as you. Armed with a long-range rifle, they can kill you with a single bullet if you appear in their field of view. Your best tactic is to spot them first without breaking cover, then draw a bead on an enemy sniper and shoot them first.
If the enemy sniper can see you as you shoot, you may have to fire quickly, so take a deep breath right away to slow down time and pull the trigger before your scope shakes, even if it means you won’t have the aid of the Hit Indicator.
Expert Mode
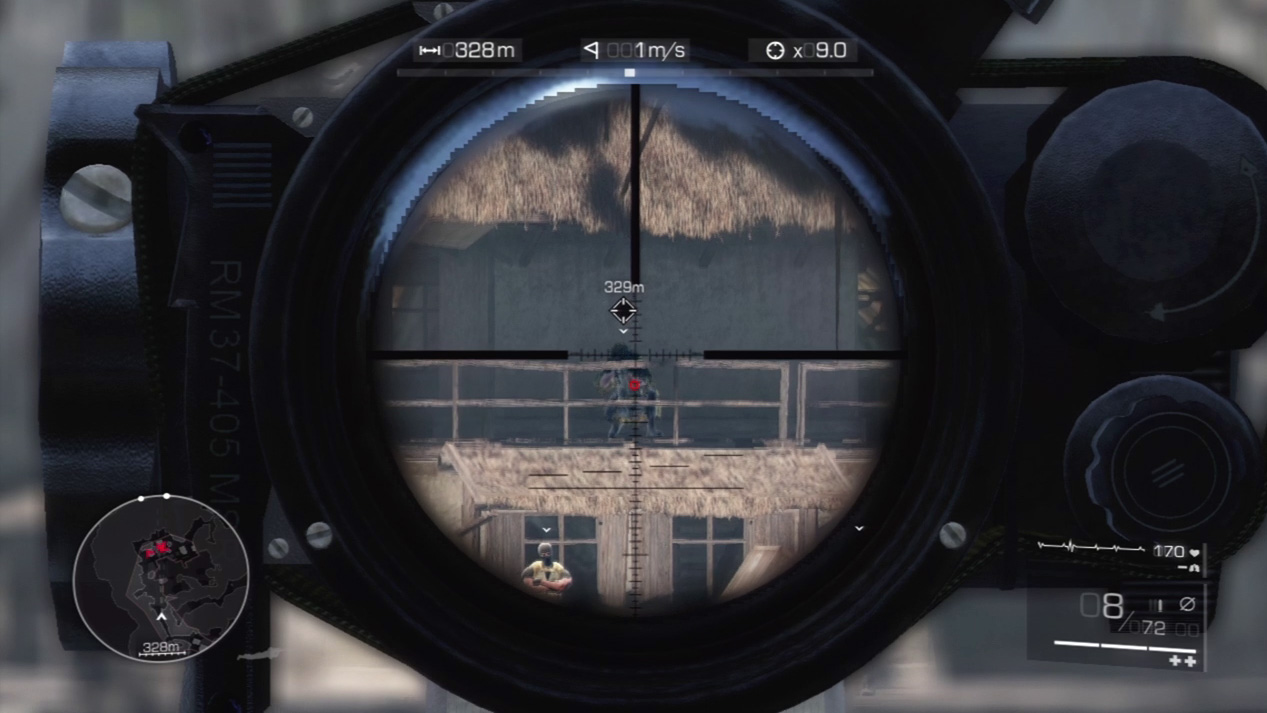
- Distance: Approximately 330 meters
- Wind: 1 meter/second (blowing left)
- Magnification: 9x
Wind is not a factor on this very long-range shot. Due to the distance, though, your bullet impact falls approximately two reticle lines down from the bull’s-eye. If you put the sniper directly in the crosshairs, the bullet should still strike the crouching sniper in the torso.
If you want to score a headshot, you’ll have to aim the crosshairs above the sniper’s head and let the bullet drop into a hit.
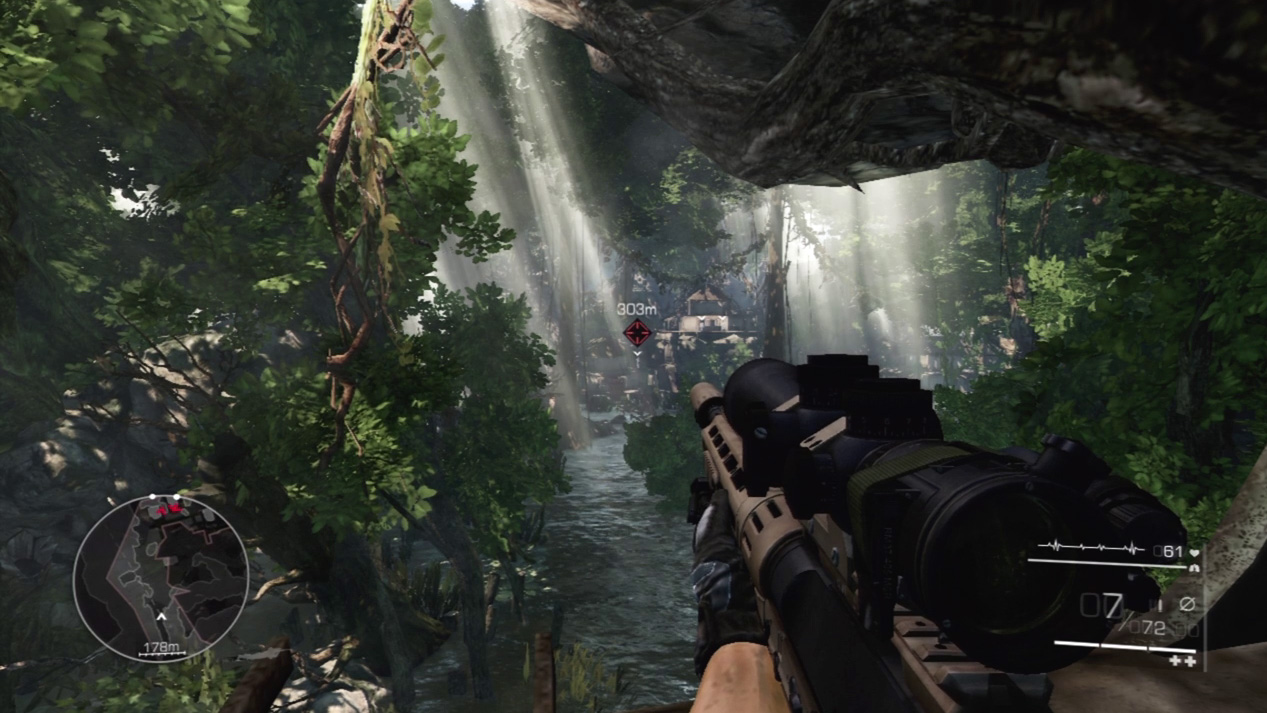
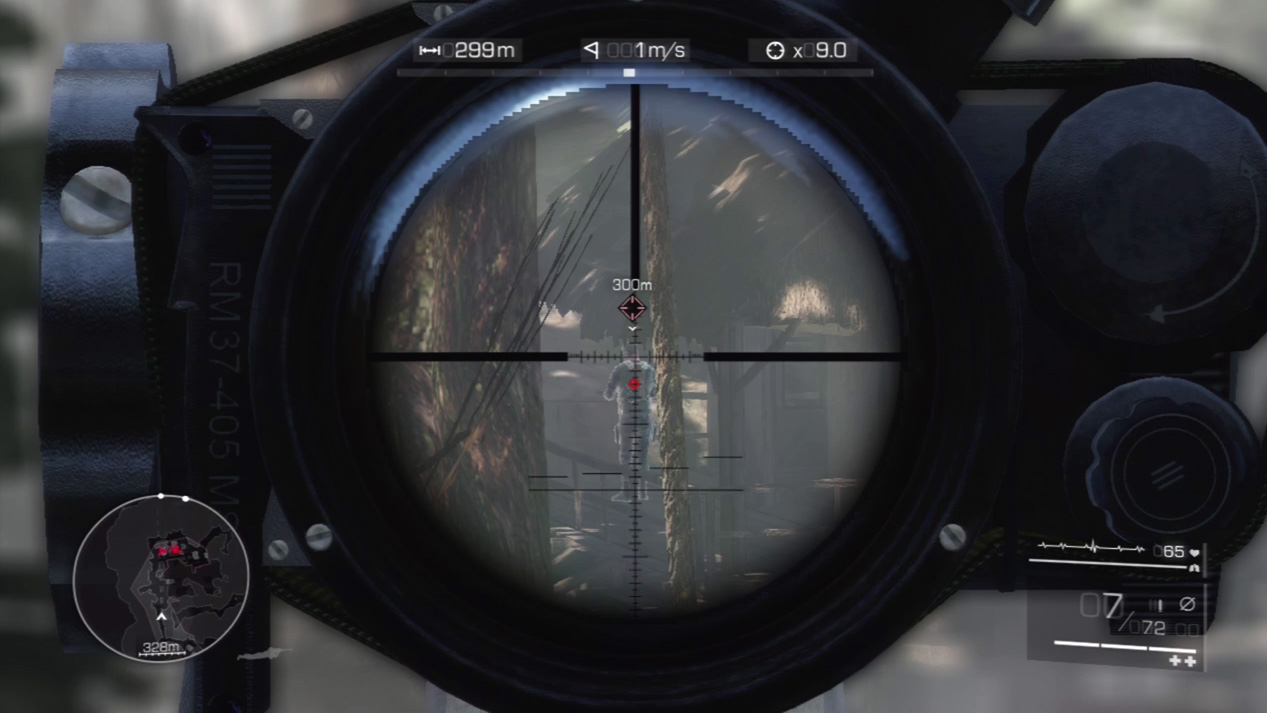
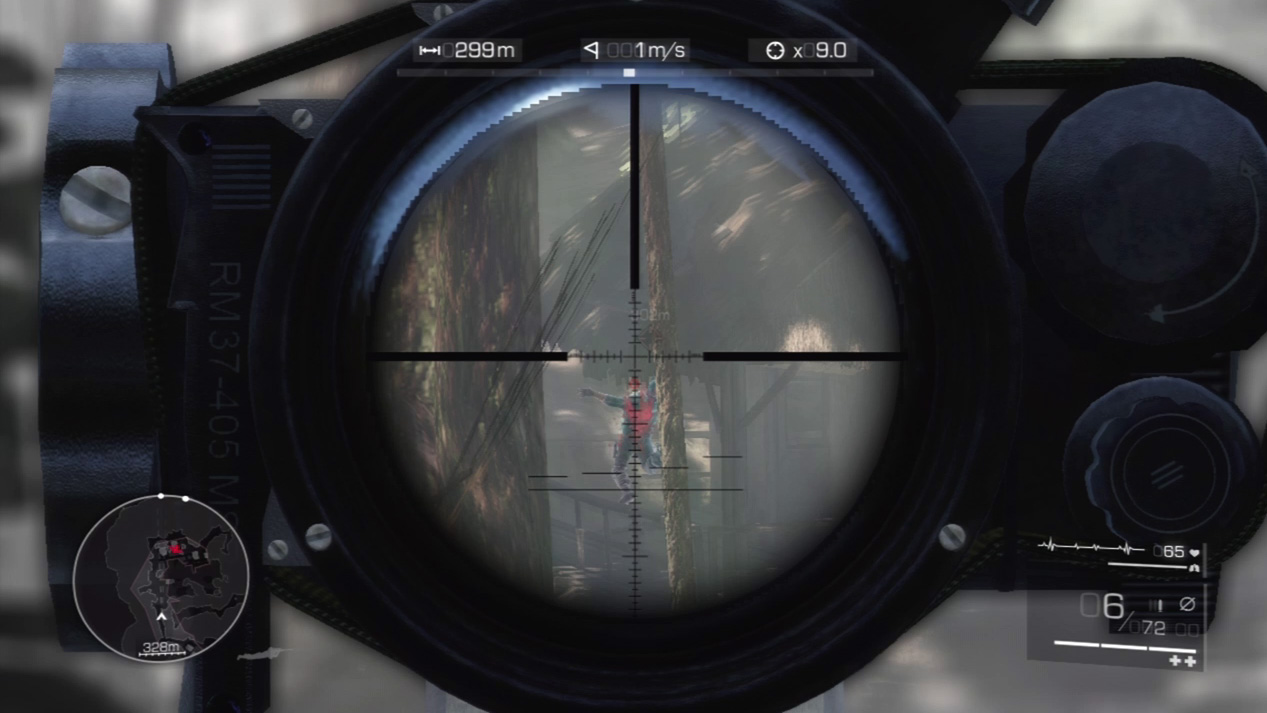
Next, Diaz instructs you to take out the first of the three ground-floor enemies. Wait for the enemy to walk all the way to the left, turn the corner, and move out of sight from the remaining two guards. Shoot the enemy in the back and move on to the final two targets.
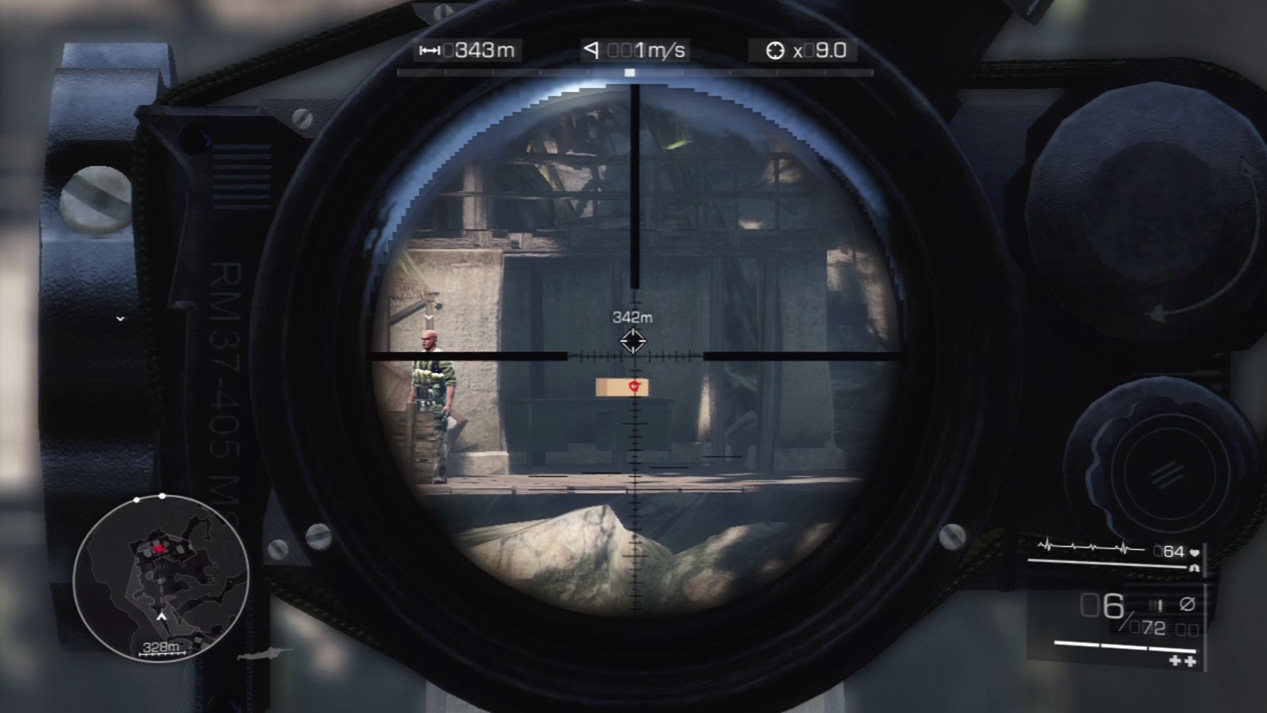
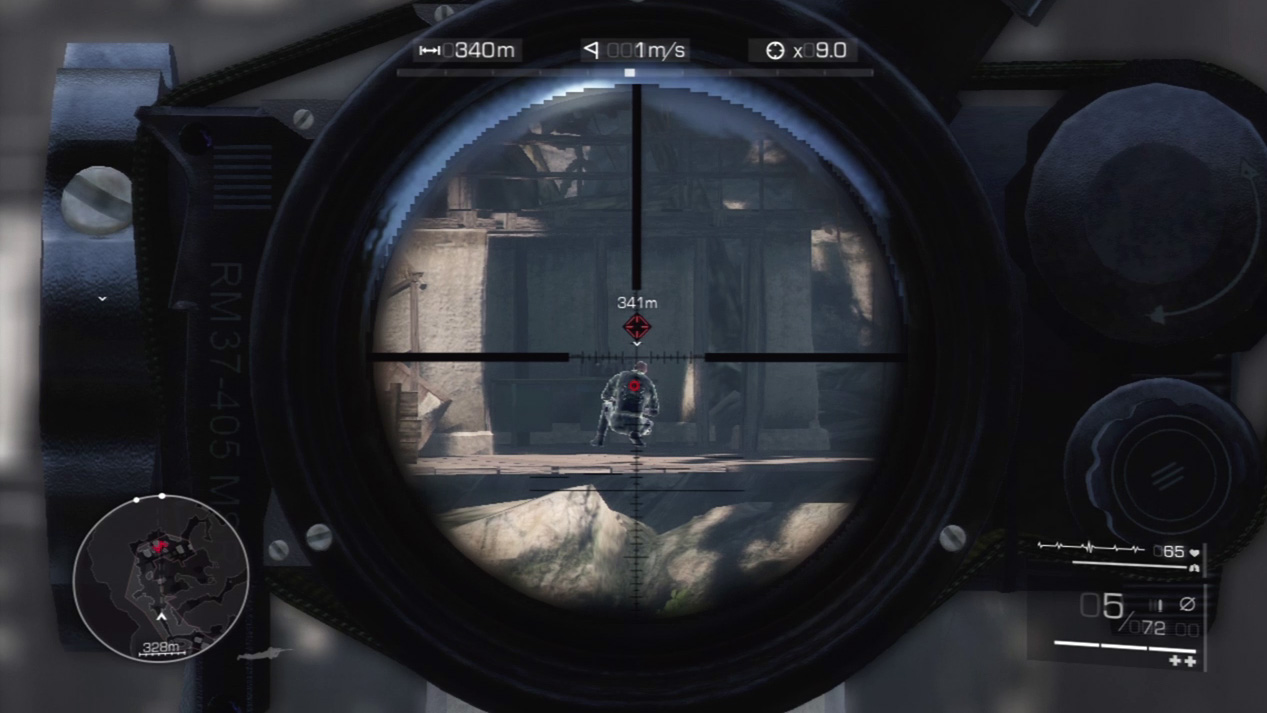
The last two guards stand outside in front of the house. If you shoot one, the other will notice. Instead, distract the right enemy by shooting the radio in the alcove next to him. When he squats down to see what’s wrong with the thing, blast him in the back.
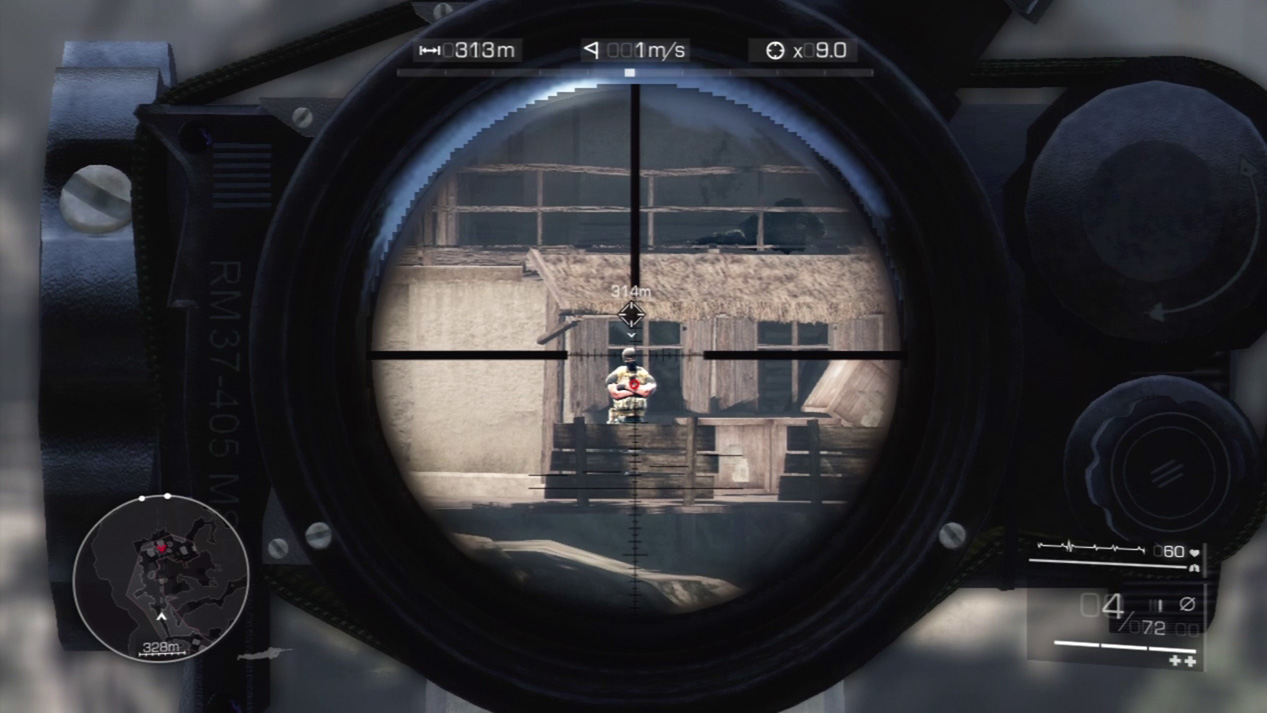
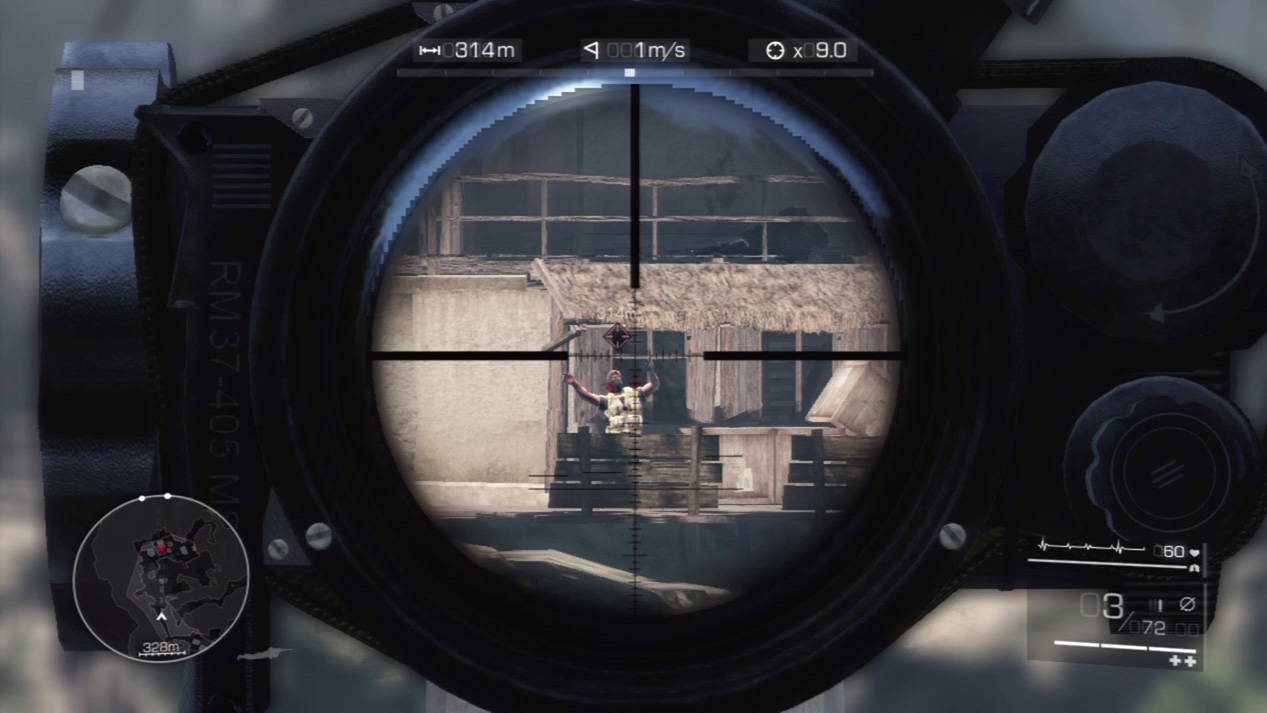
Swing your attention to the last guard. He’s all alone out in front of the house. Steady your shot and take him out.
Waypoint 10
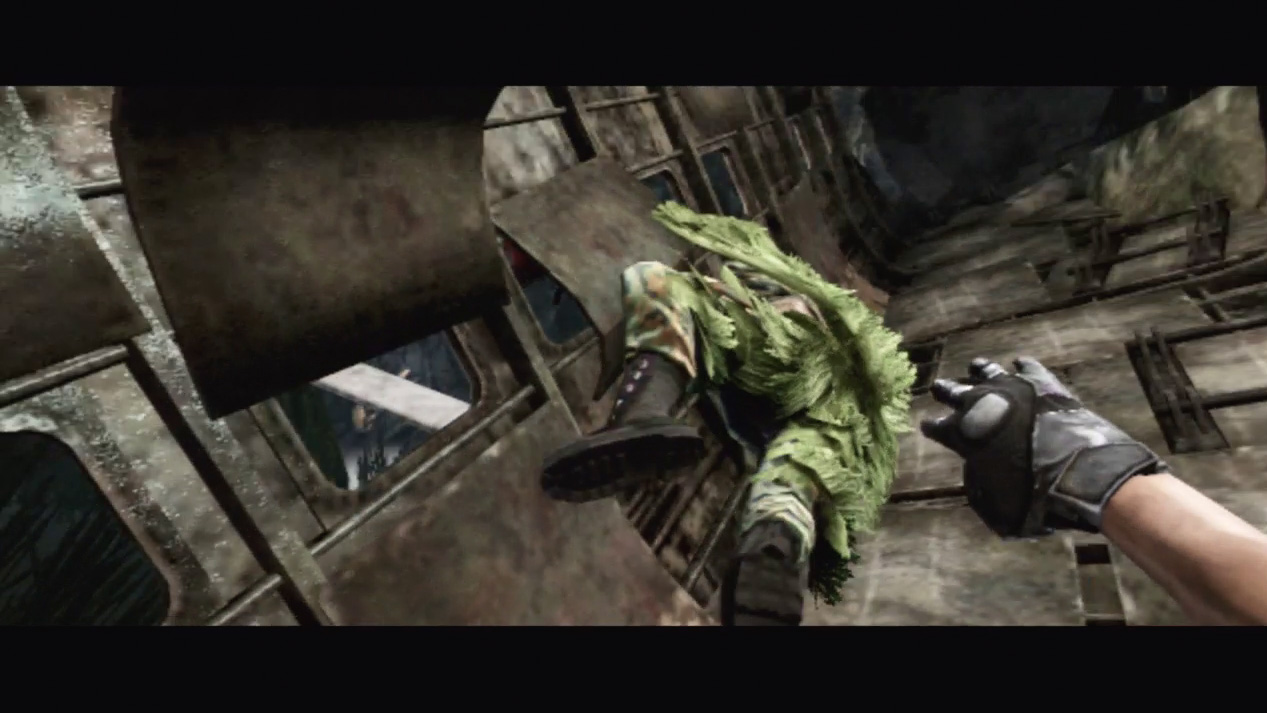
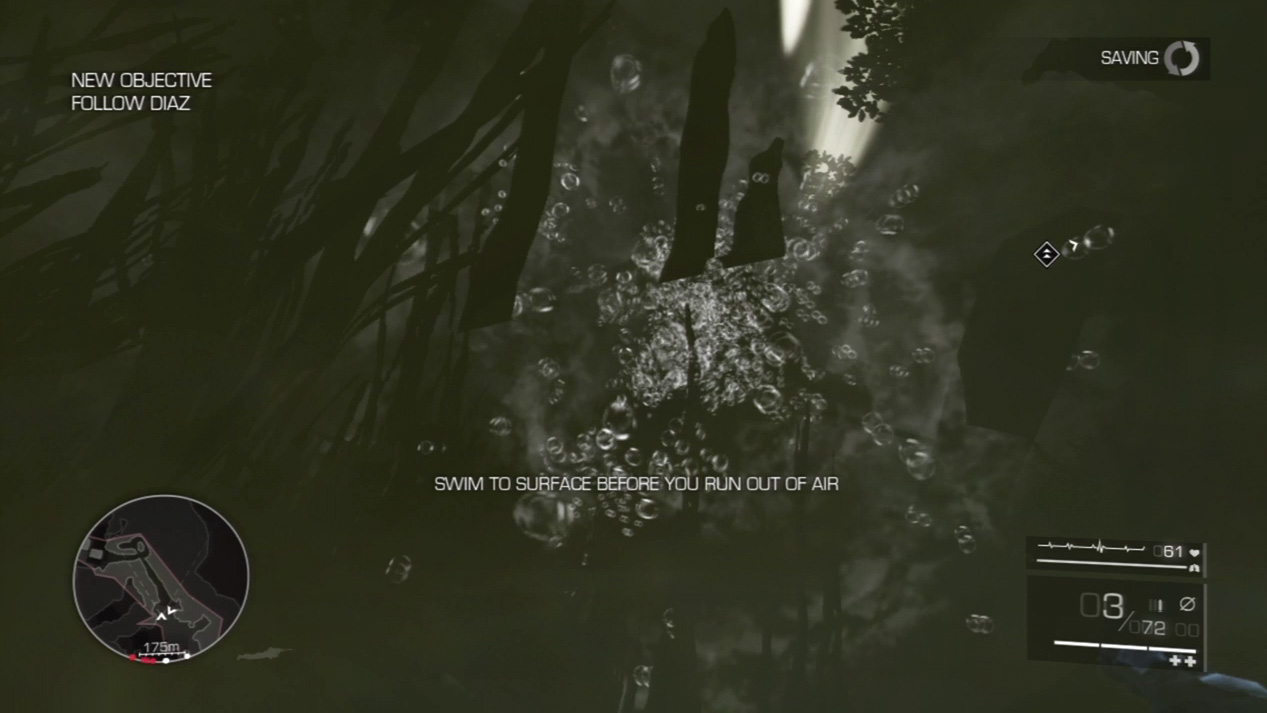
Unfortunately, the rickety old plane you’ve set up as your sniper spot can’t hold your weight any longer. It collapses, with you in it, after you kill the last guard at the house. The fall drops you into the cold water below. You must swim to the surface before you run out of air, but you don’t want to swim in any random direction. Watch the water bubbles for a clue to the surface: Water bubbles rise, so you can follow them up to safety. Swim toward Diaz’s diamond marker to follow him to a safe spot.
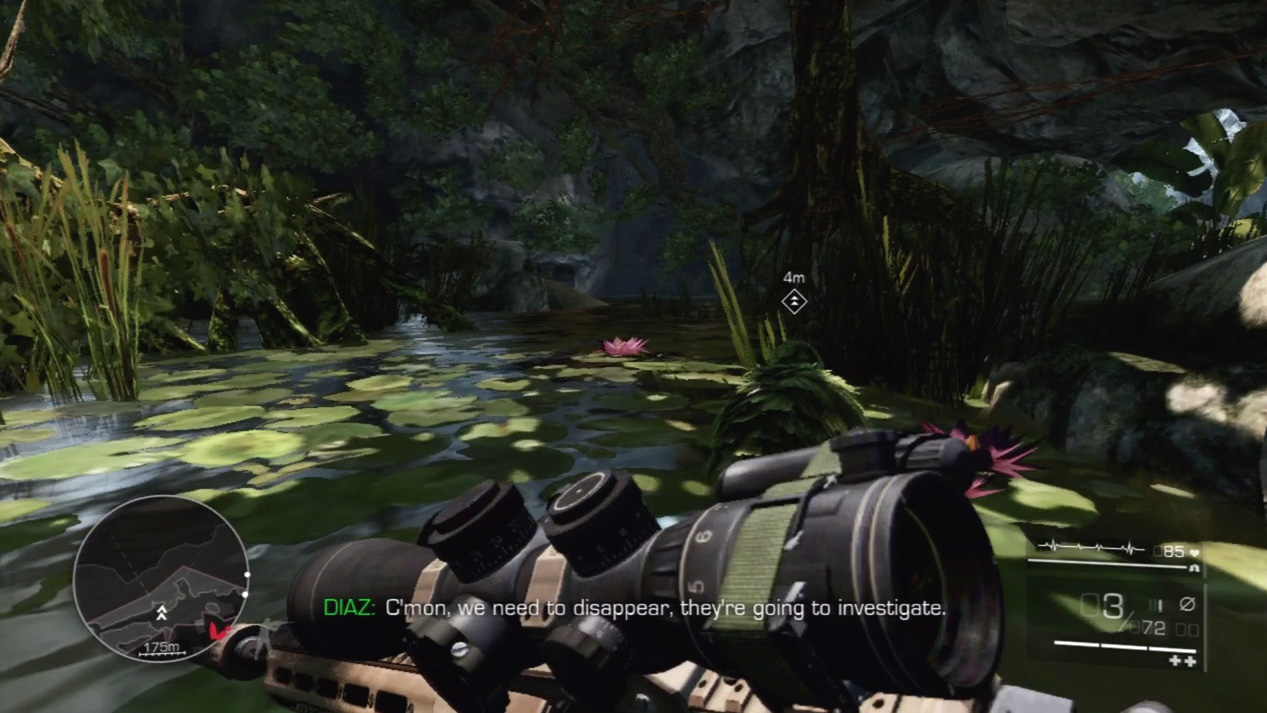
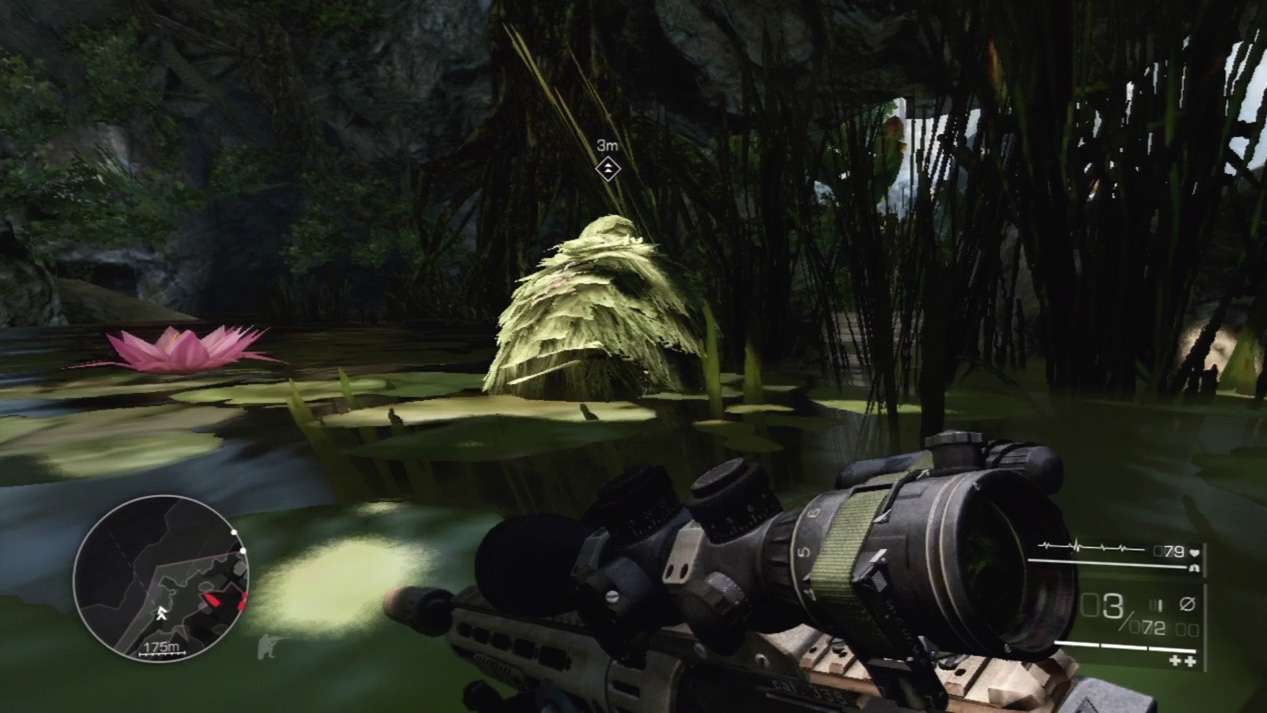
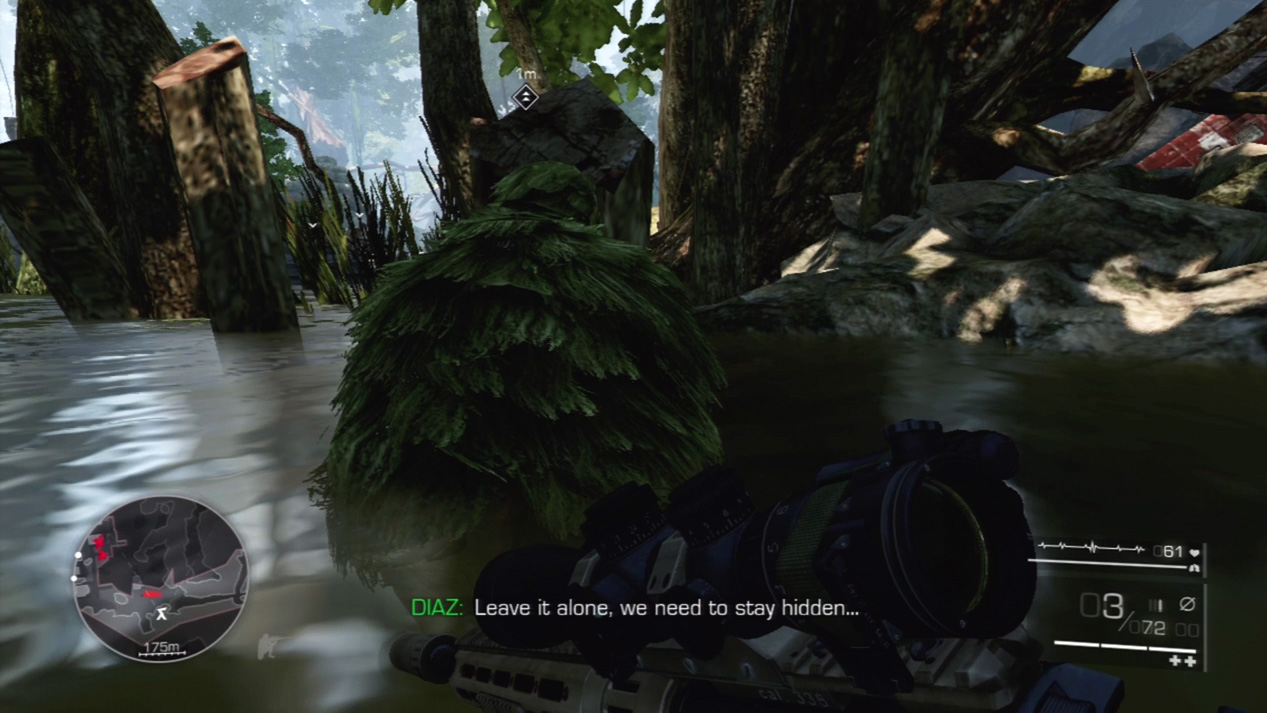
Don’t swim to the surface and hang out. An enemy patrol boat approaches and investigates the fallen plane. Follow Diaz to the side and watch the boat from safely behind a line of trees.
Waypoint 11
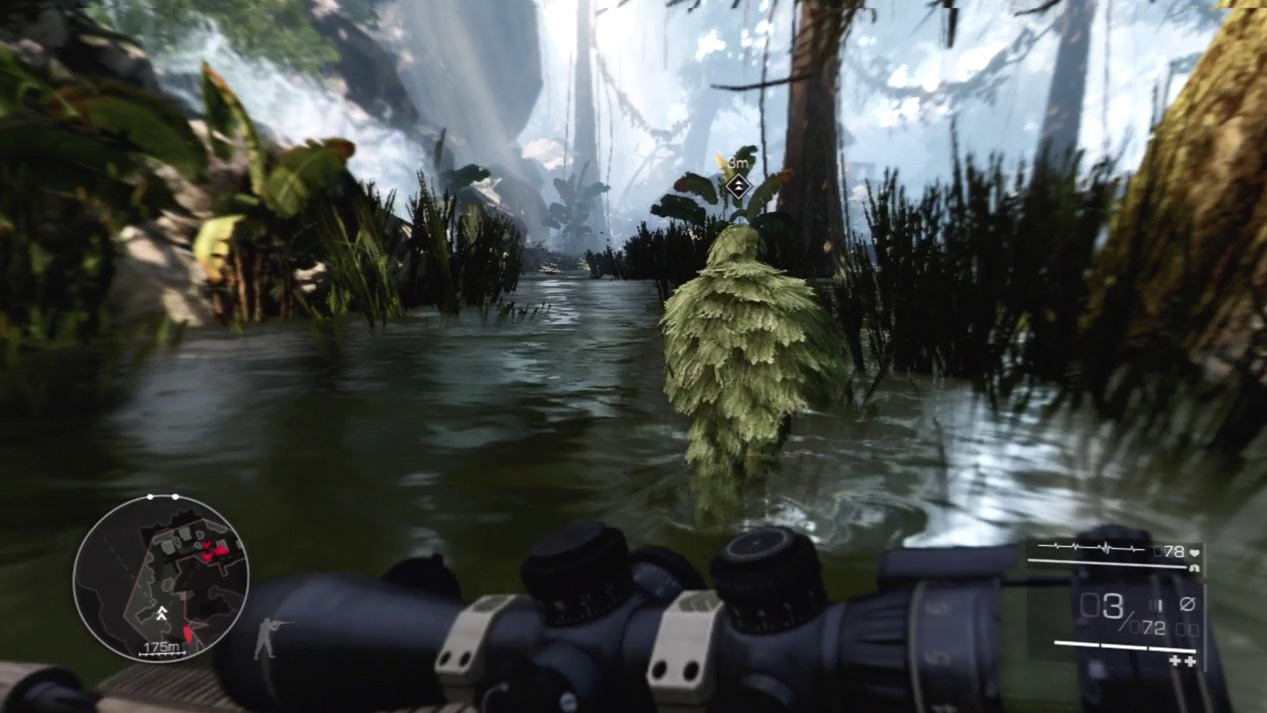
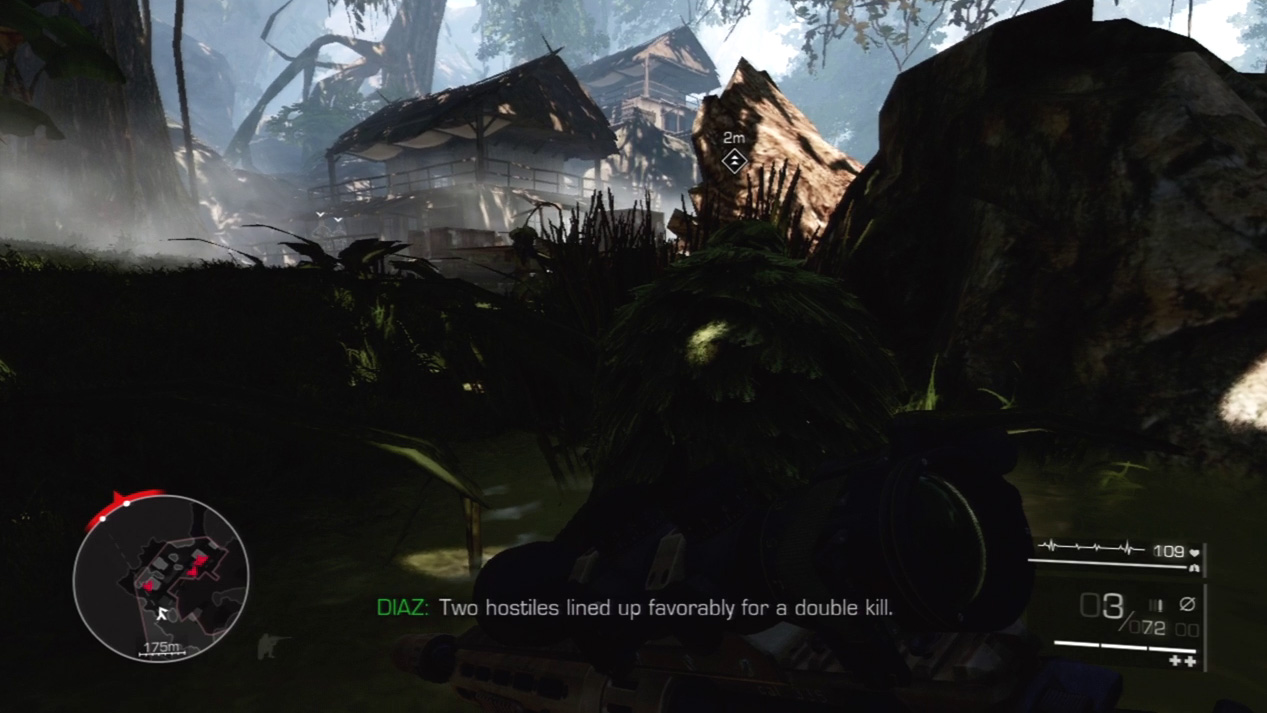
Advance on the next enemy encampment. Follow Diaz out of the water and up the bank toward another enemy house. Two guards patrol the side from which you’re assaulting.
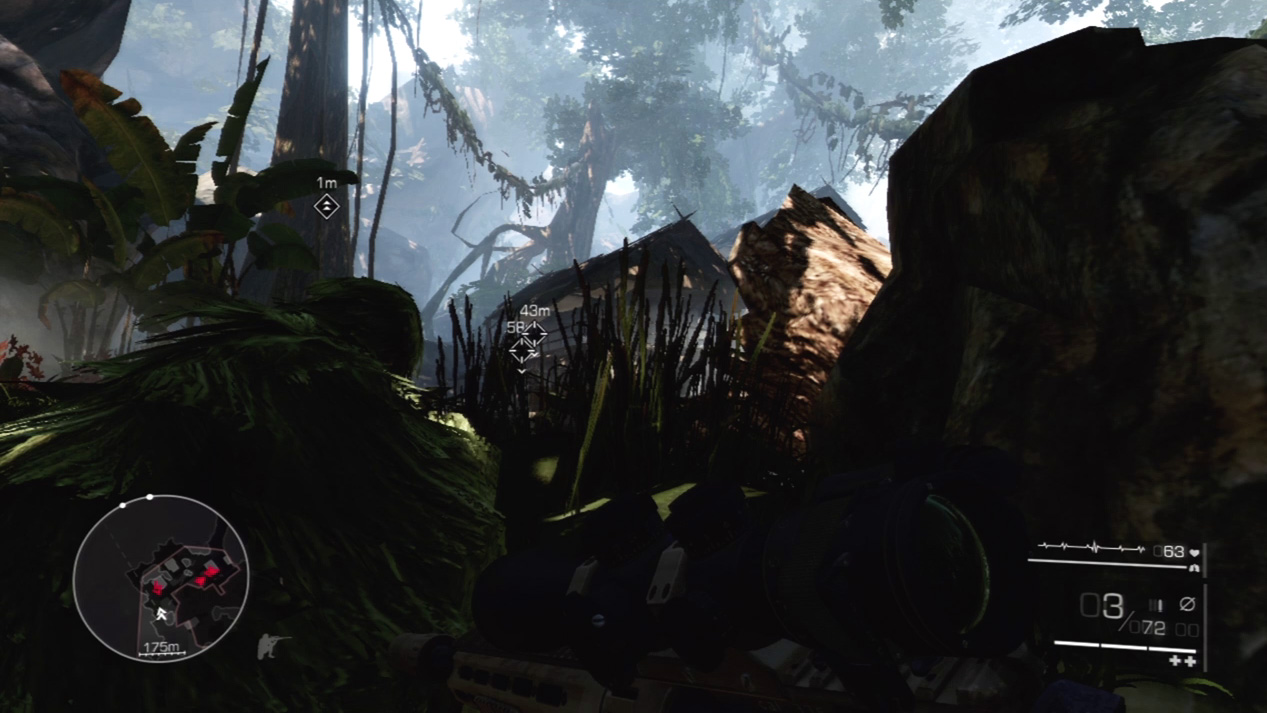
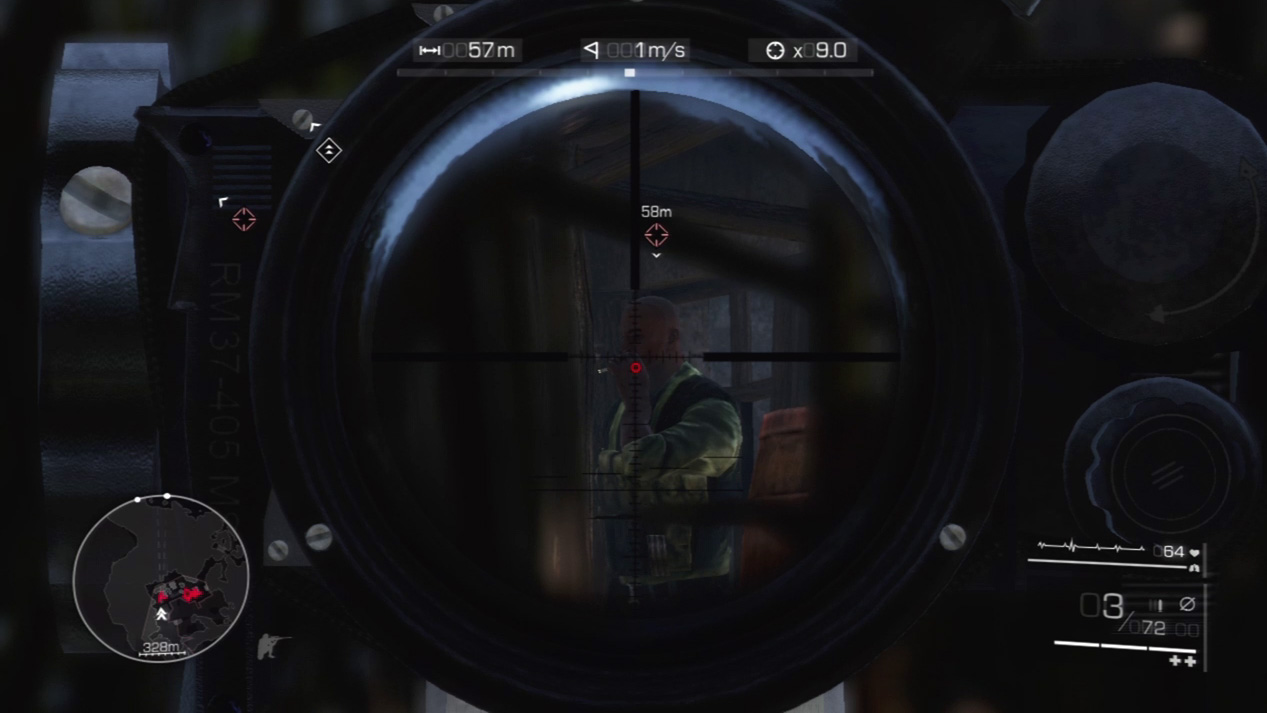
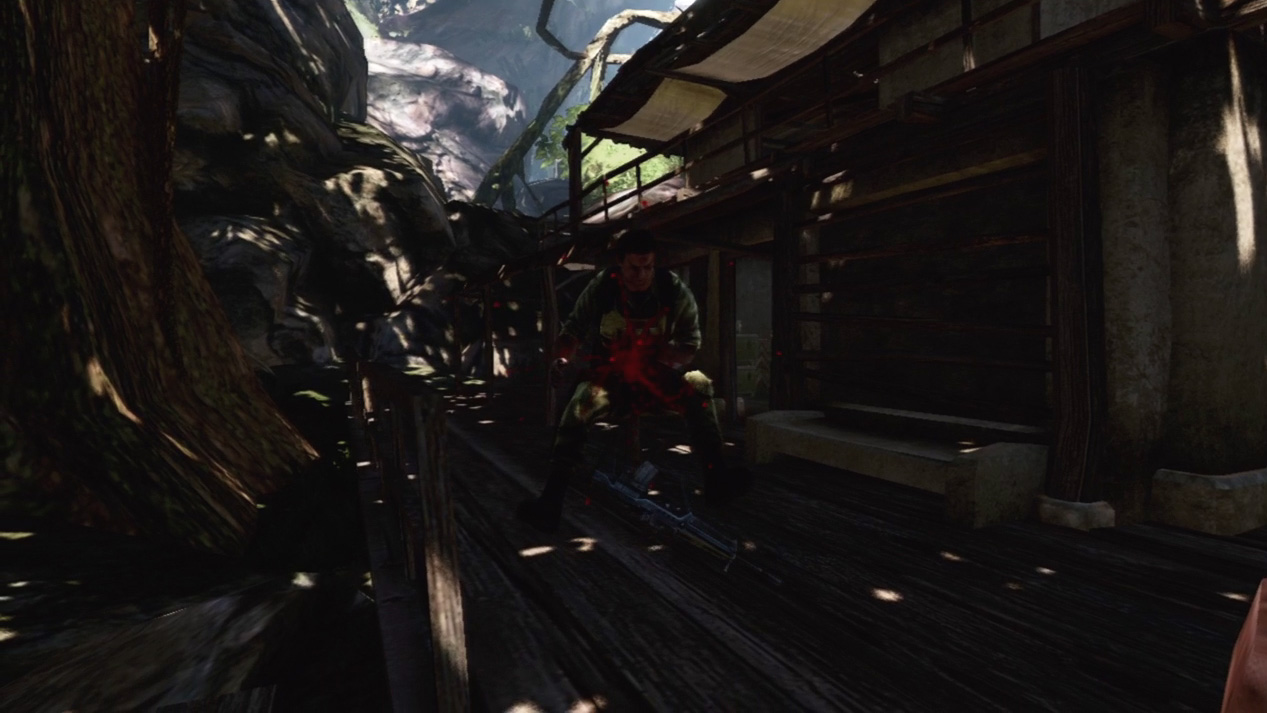
Wait for the two enemies to stop on the near side of the porch. When the first guard arrives, aim for his torso and wait for the second guard to approach. When you spot the second guard in your scope, take a deep breath to slow down time and execute a double kill shot to eliminate two enemies with a single bullet.
Special Shot: Double Kill Shot
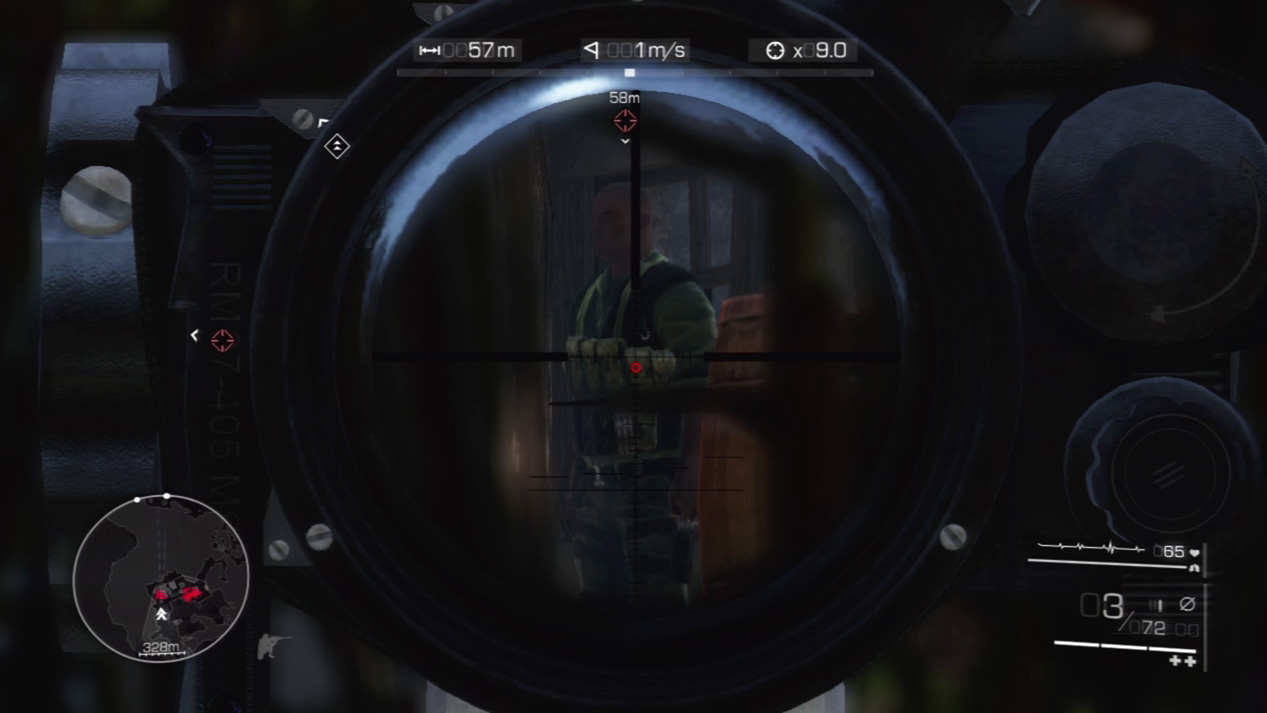
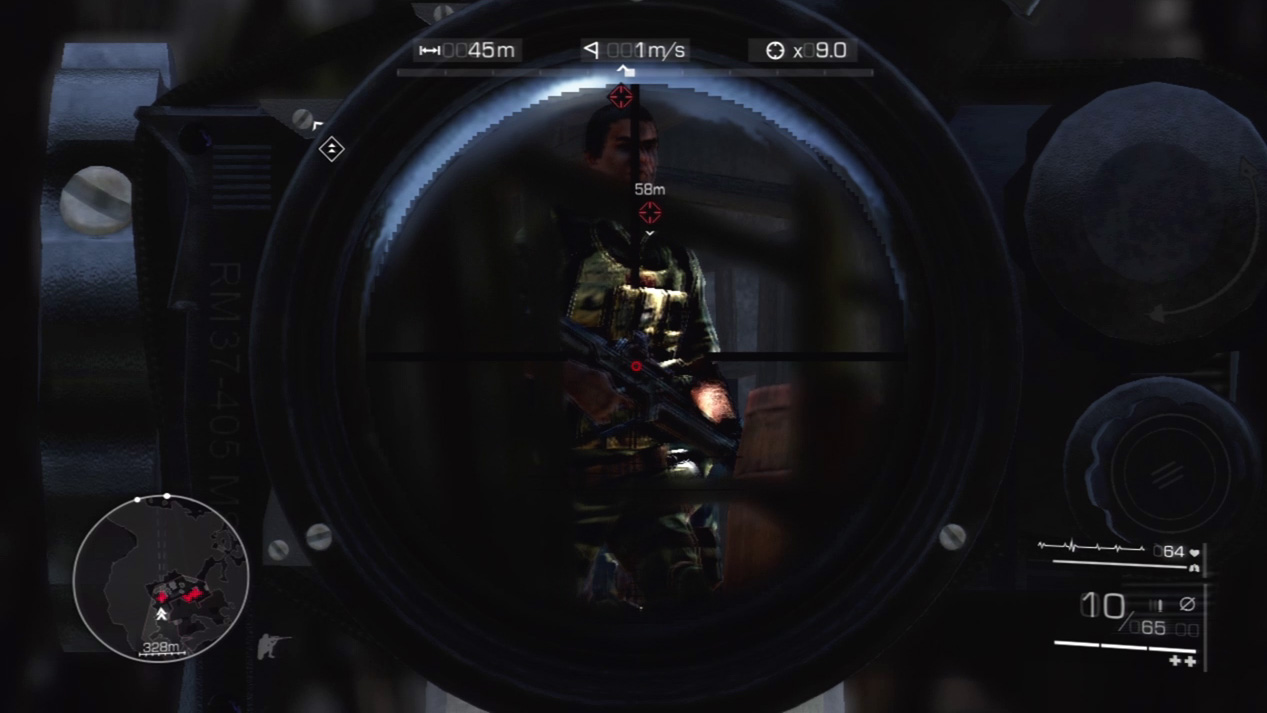
To execute a double kill shot, position yourself so that you set your reticle on the first, stationary target. Wait for the second target to walk in front, or behind, the first target, hold your breath to slow down time and squeeze the trigger when both enemies are lined up in your bullet’s deadly path. Nothing beats silencing two enemies with one bullet.
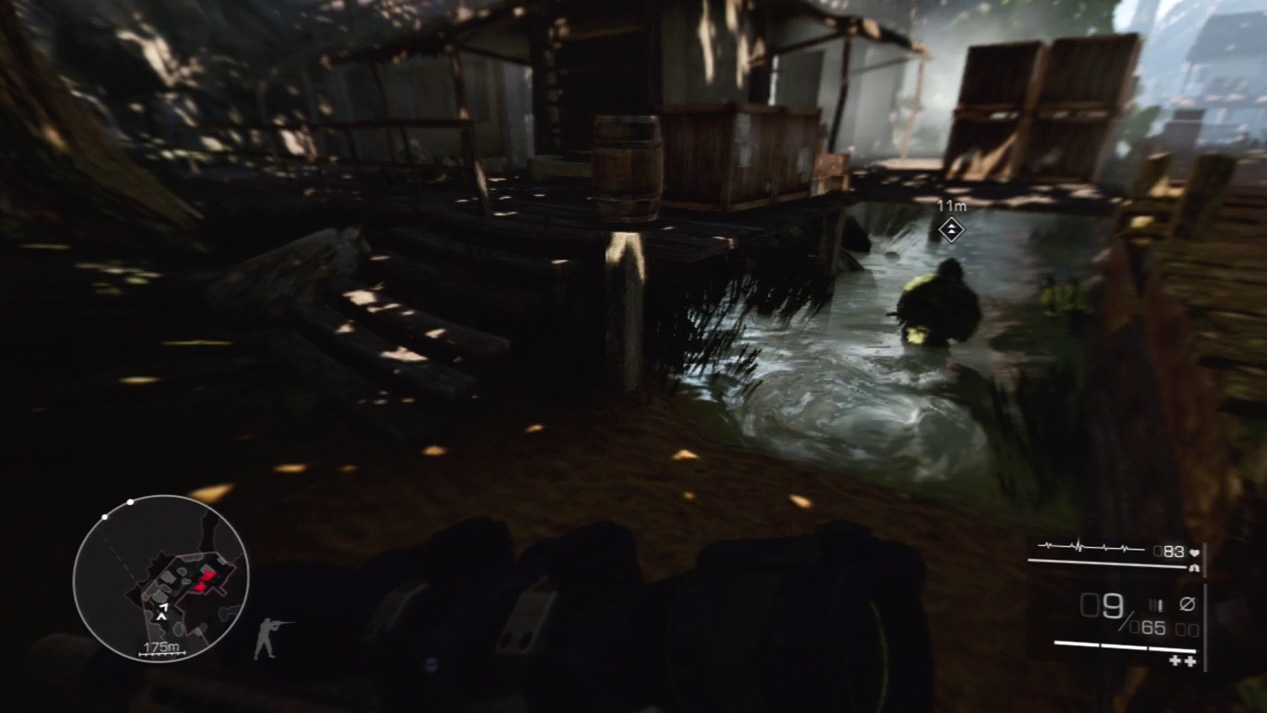
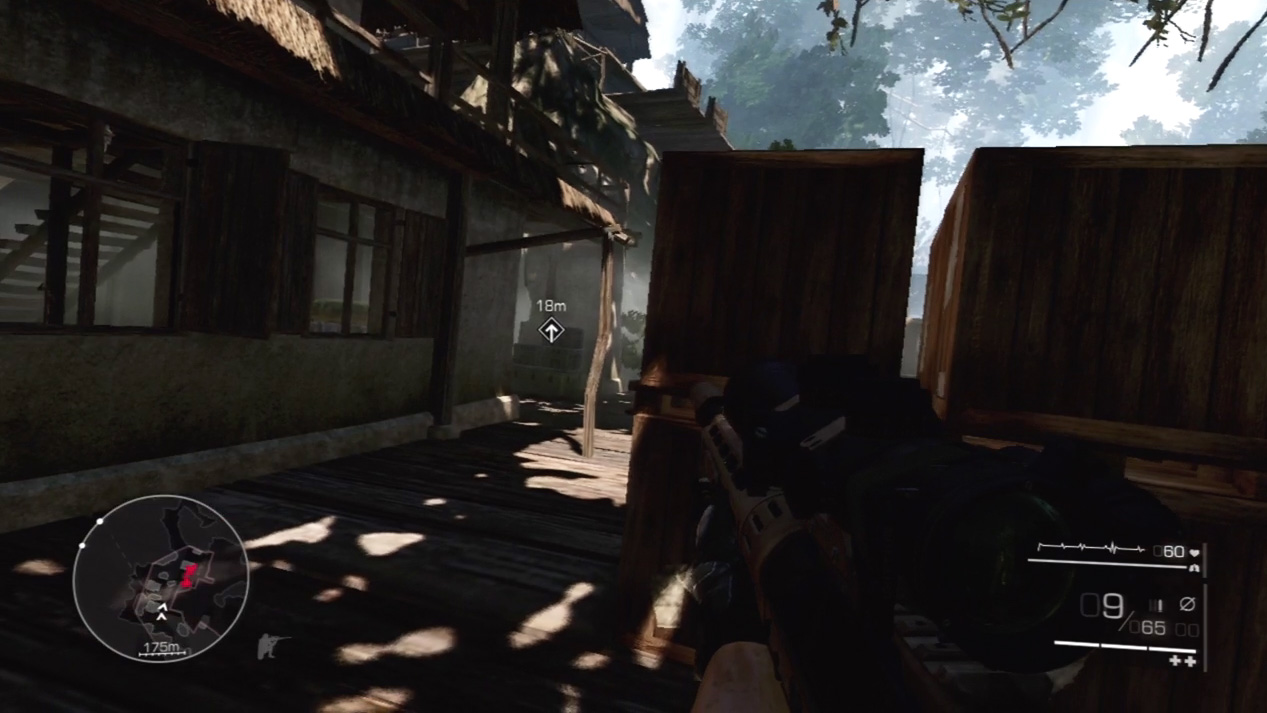
Meet Diaz at the edge of pier as you advance on the remaining enemies in the area. Carefully climb up to the pier and hide behind the stack of crates in front of you so that the remaining enemies don’t spot you. Diaz advises you to plant C4 in the house to create a distraction.
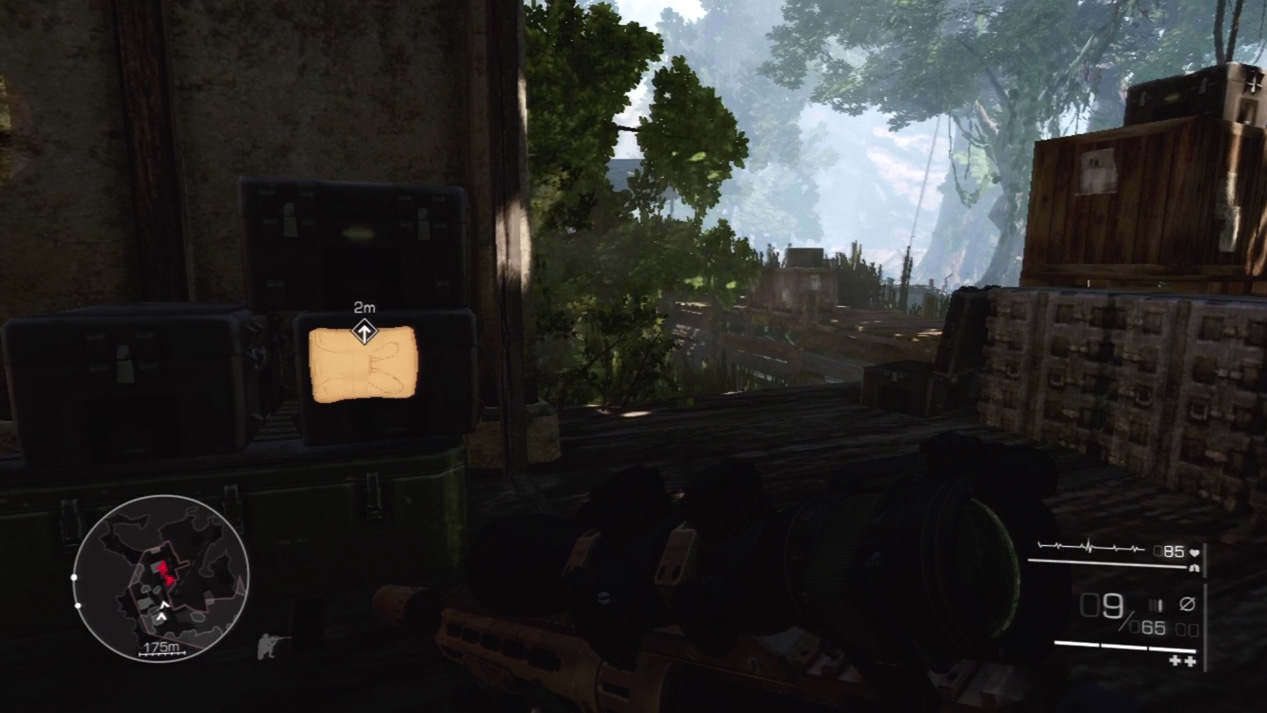
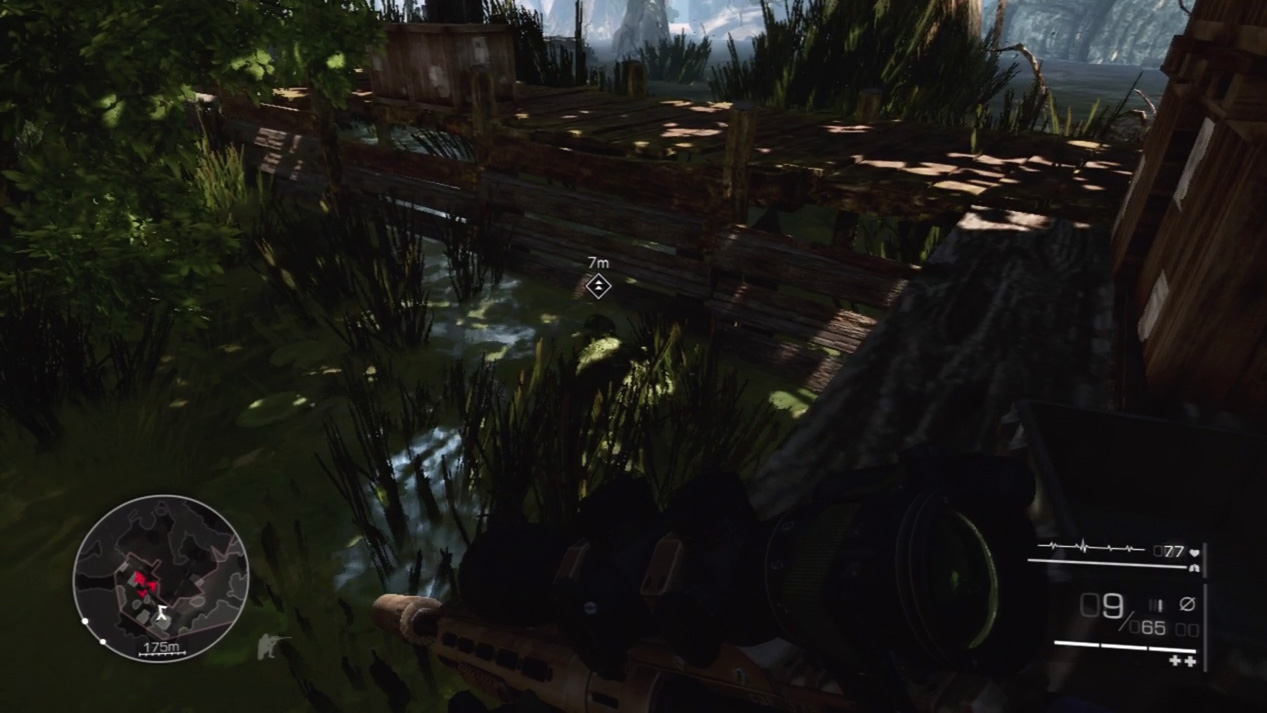
Slide over and plant the C4 on the cases just inside the house. You don’t want to detonate the C4 yet. Jump over the side and join Diaz under the pier before anyone spots your movement.
Waypoint 12
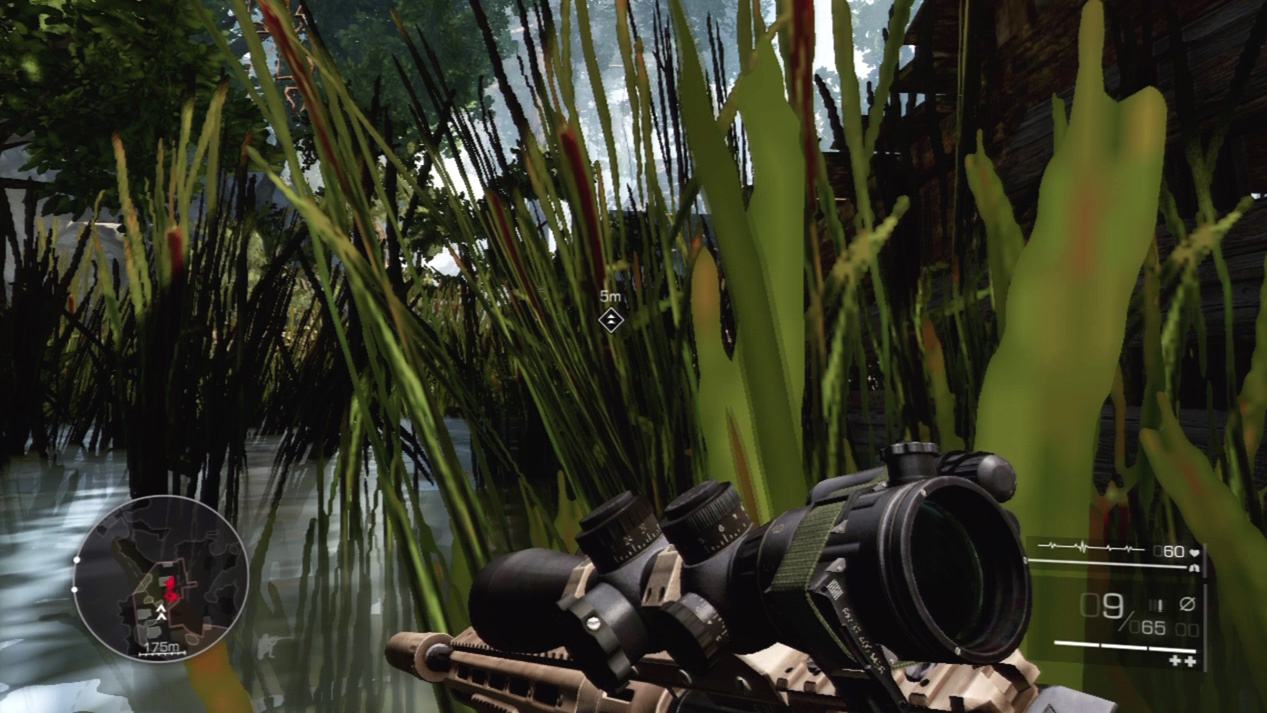
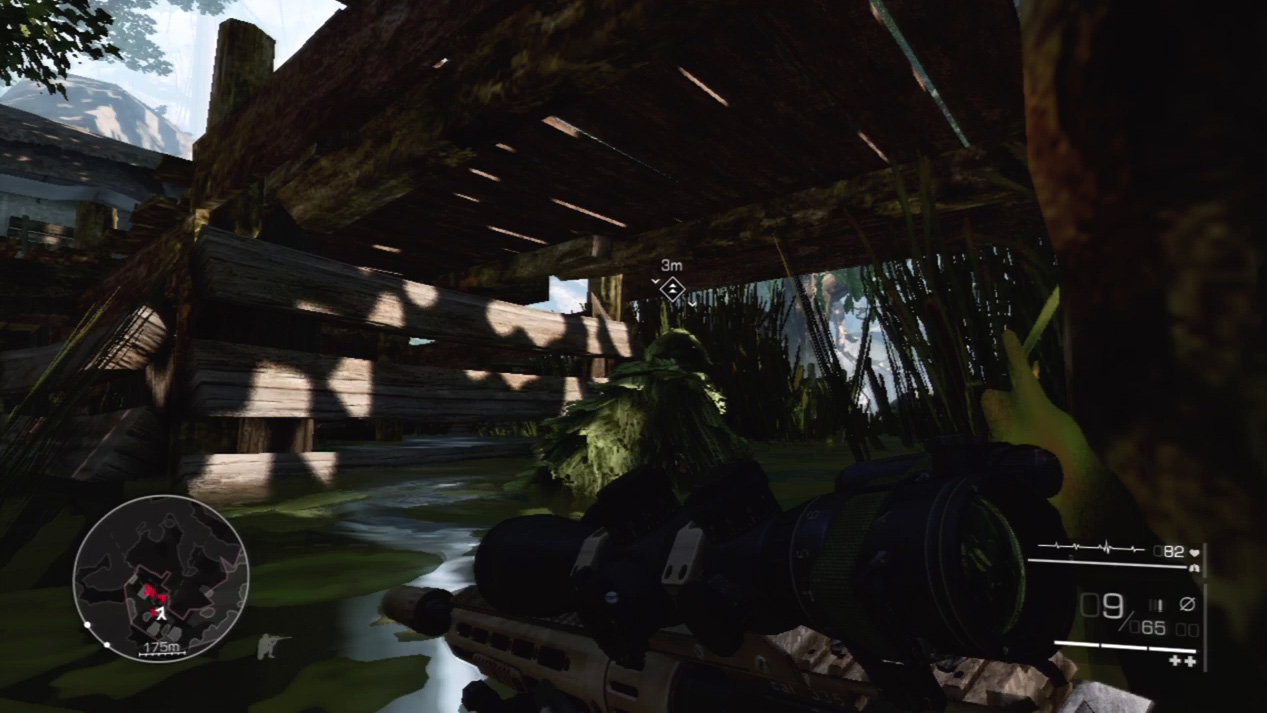
Diaz guides you through the tall grass and then weaves you under the piers to avoid detection.
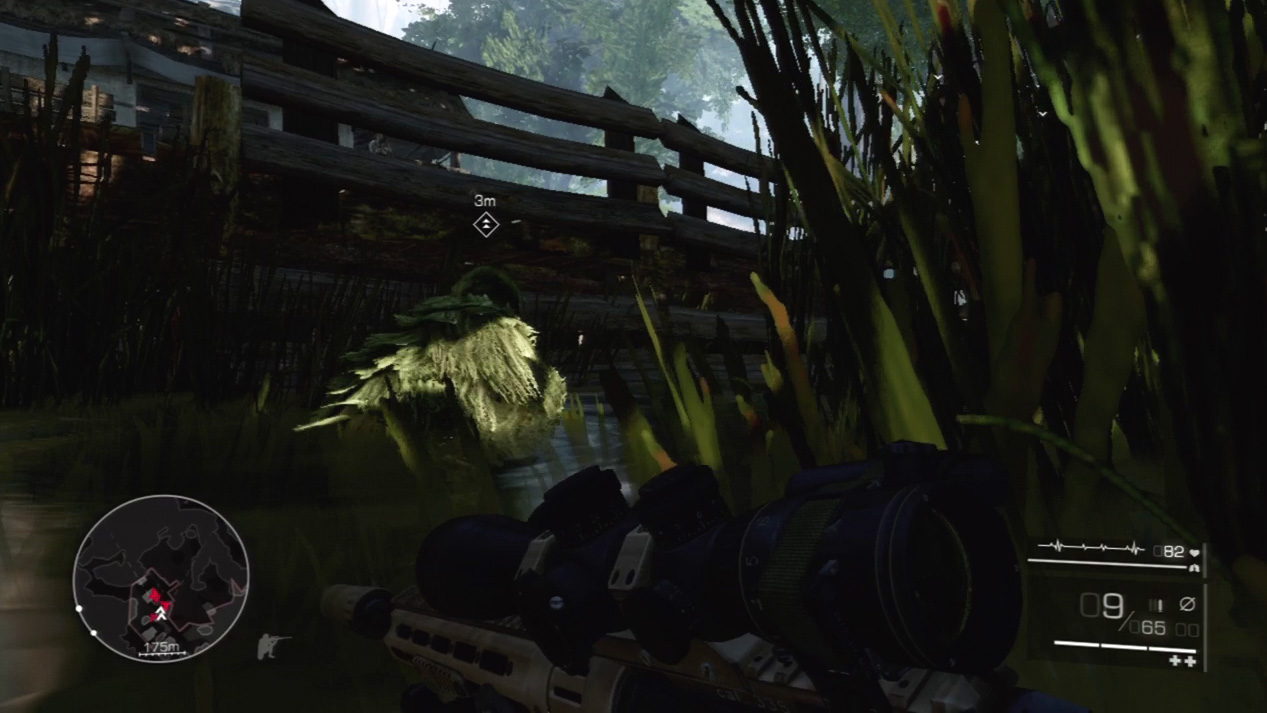
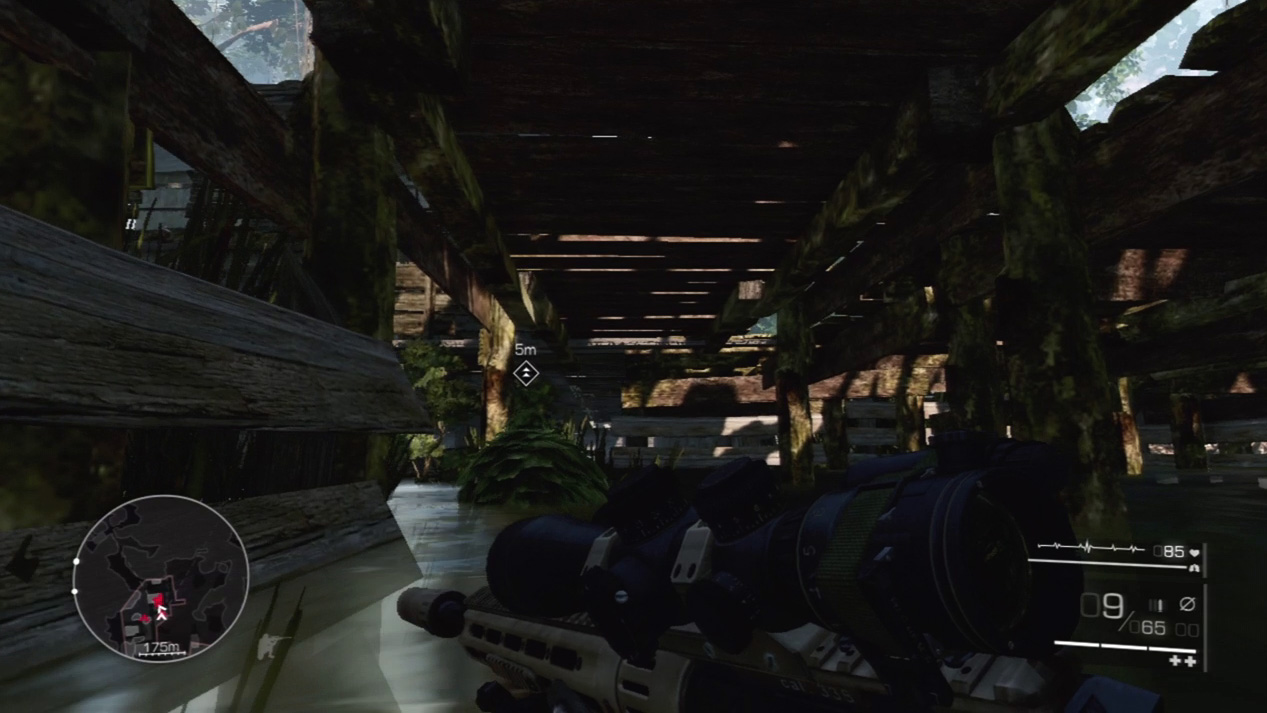
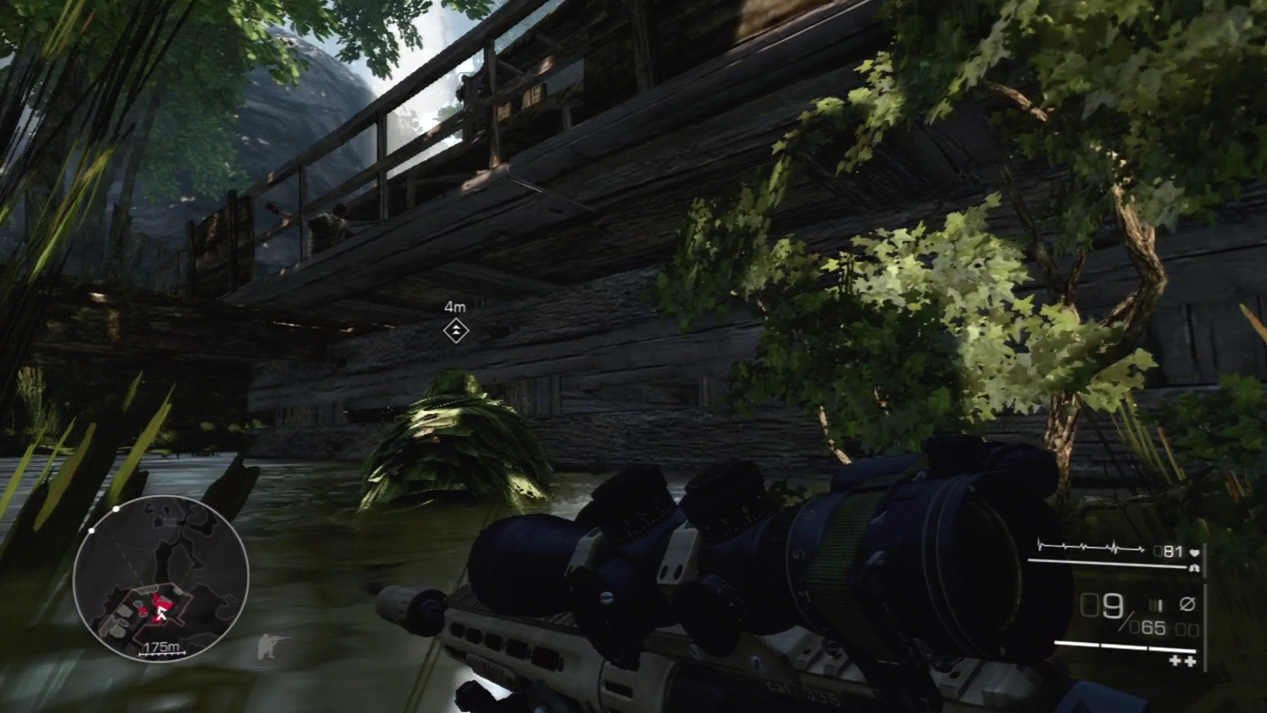
You’ll pass directly under enemies talking on the pier above you. Continue on and then stop again as enemies walk by your semi-exposed bodies in the water. If you don’t move, they won’t spot you. Finally, you’ll reach the far side of the complex where Diaz orders you to detonate the C4.
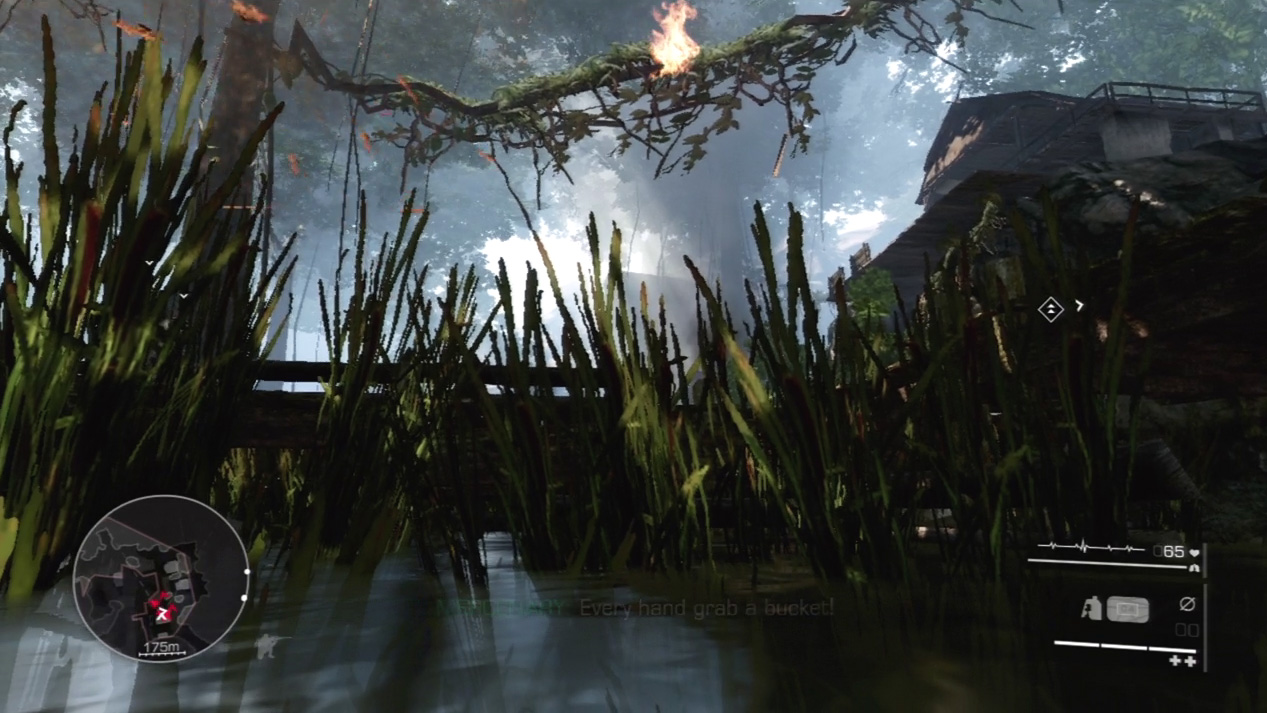
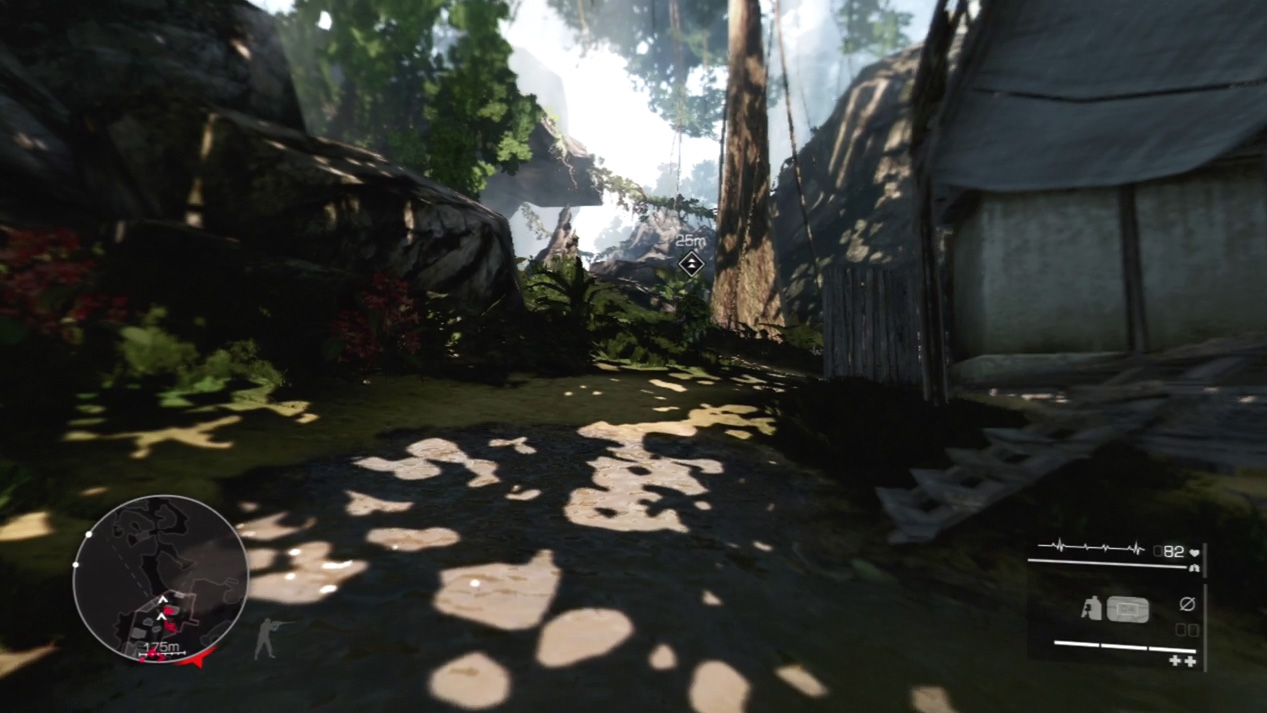
When you blow up the C4, the enemy complex goes nuts. Enemies dash around chaotically and race by your position. Don’t move. Your Visibility Indicator will tick away, and it will seem like an enemy is going to notice you at any moment, but if you stay still, the enemies will all investigate the explosion and allow you and Diaz to escape out the back.
Act 1: Secret 3
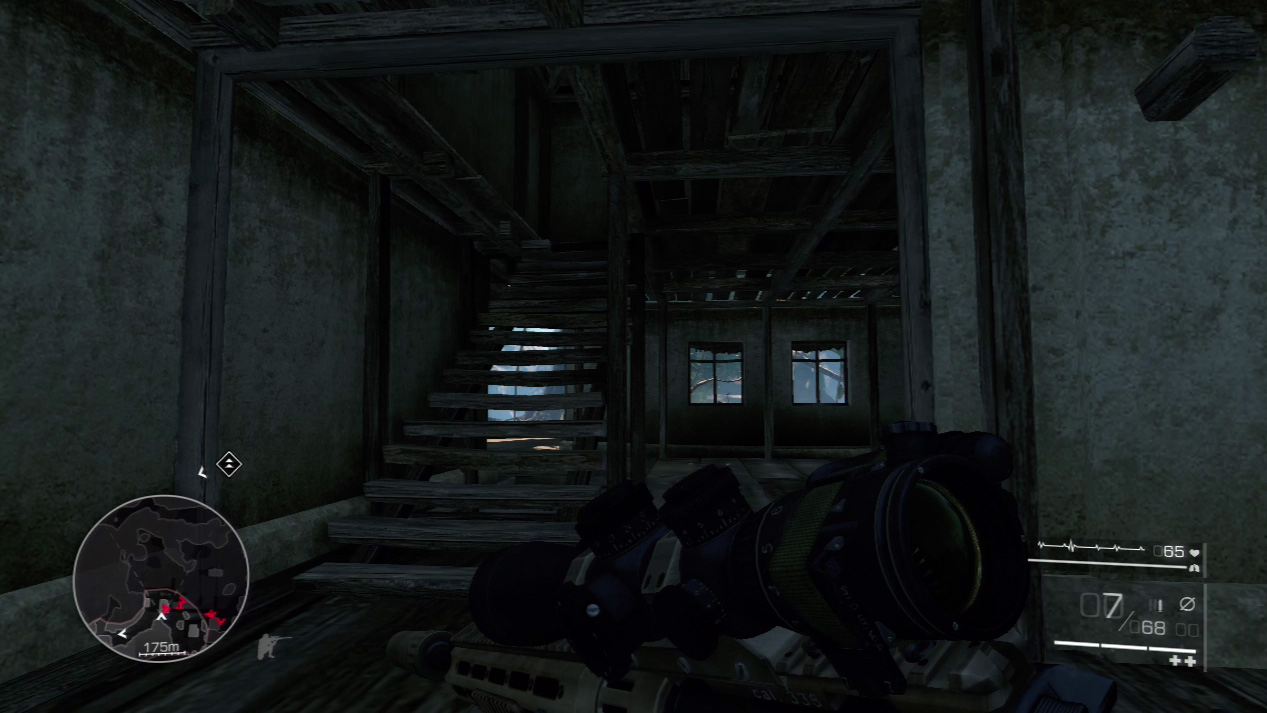
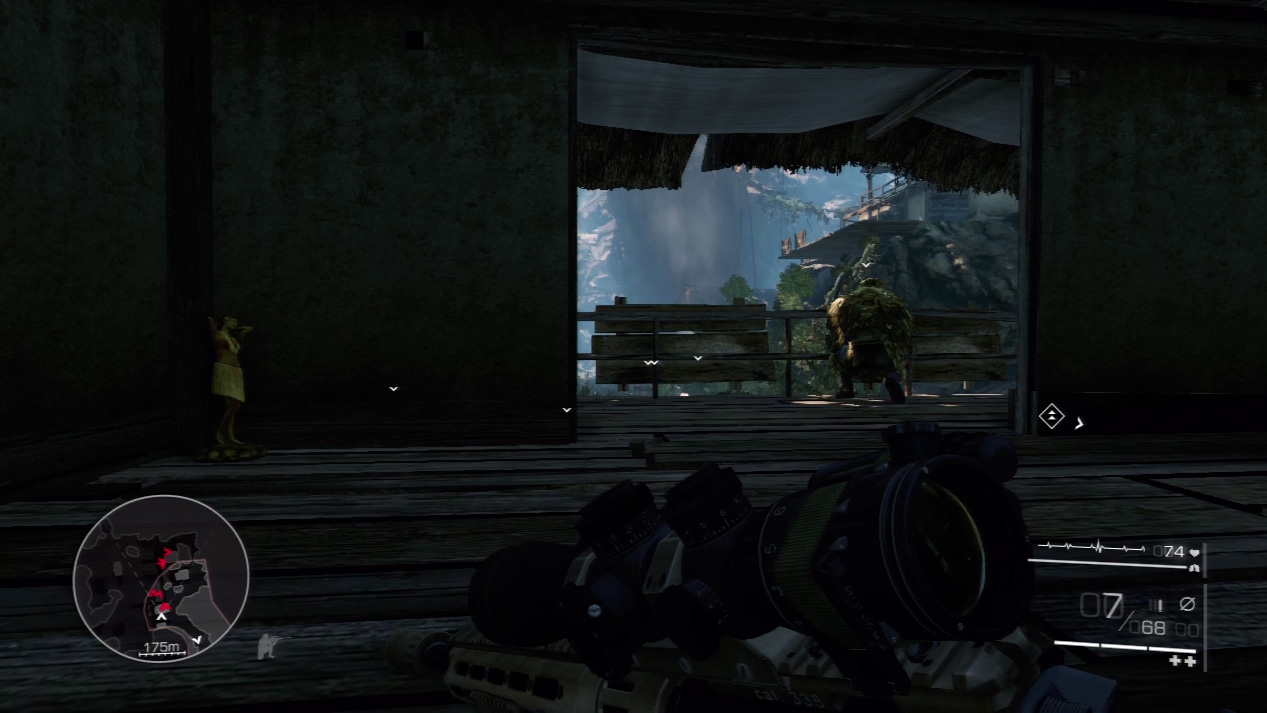
After you set off the C4 and drive the enemies in the village crazy, examine the building next to your escape path.
Quietly proceed up the stairs and you’ll see the third secret in the corner. Grab it silently, or sneak up and stealth kill the sniper on the nearby balcony before retrieving your statue.
Waypoint 13
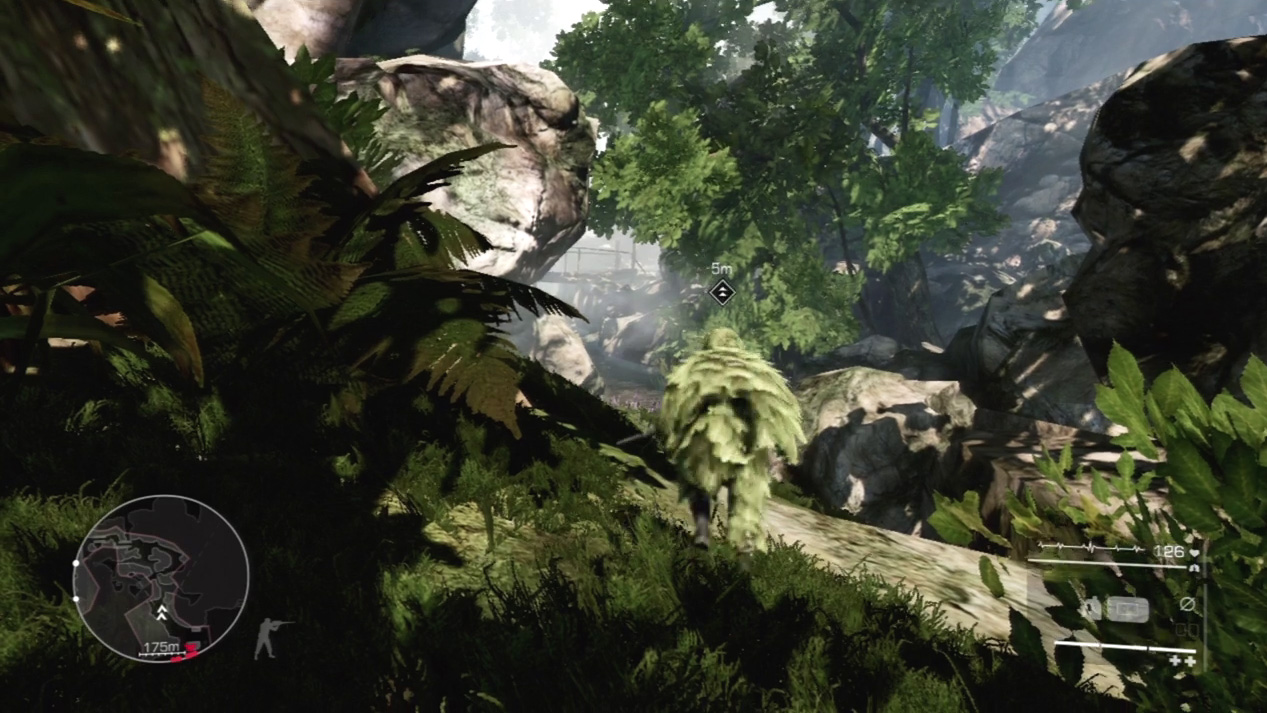
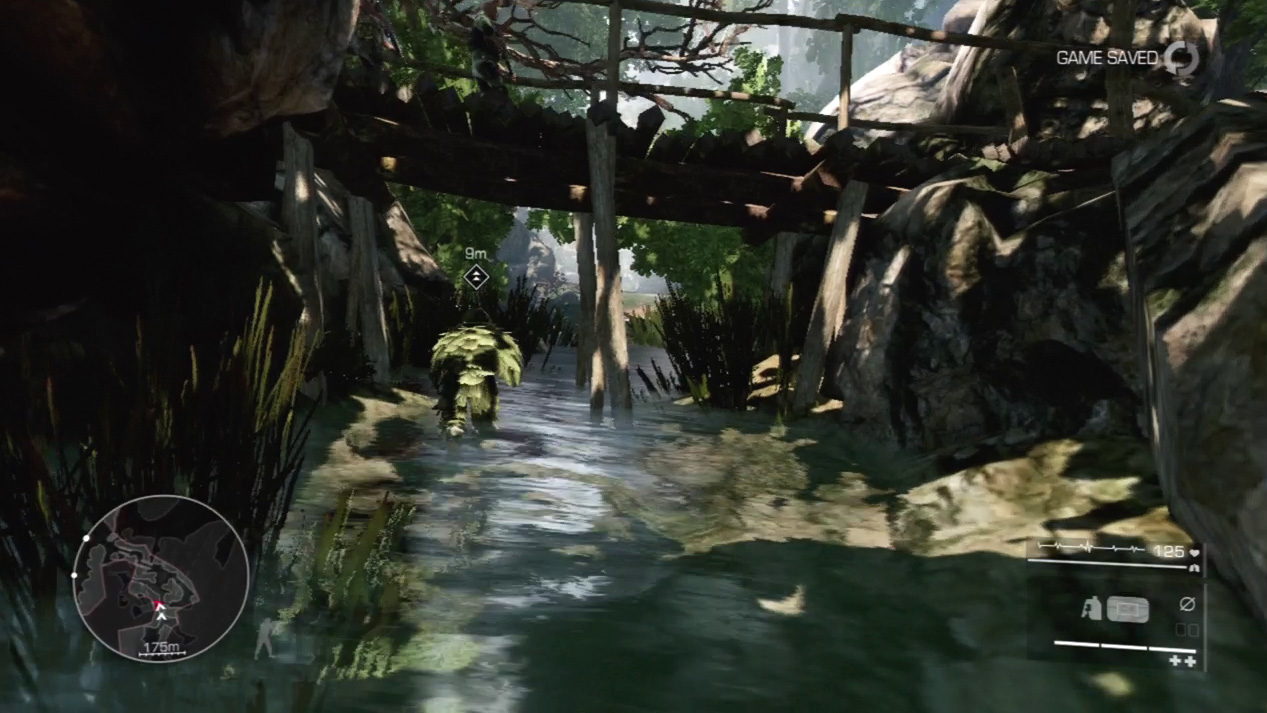
Rush away from the C4 disturbance and follow after Diaz. He takes you back into the water and you’ll run under a bridge just as an enemy patrol walks over it. Don’t stop. Keep running and you’ll pass beyond their notice without incident.
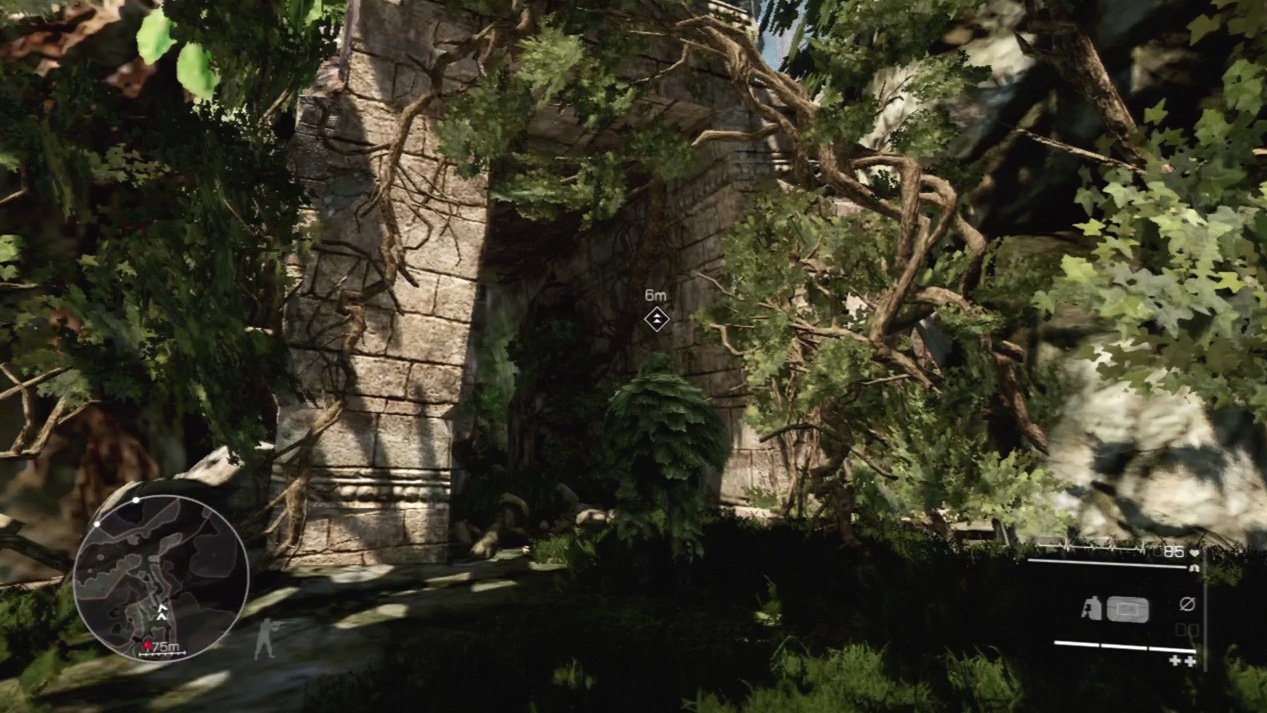
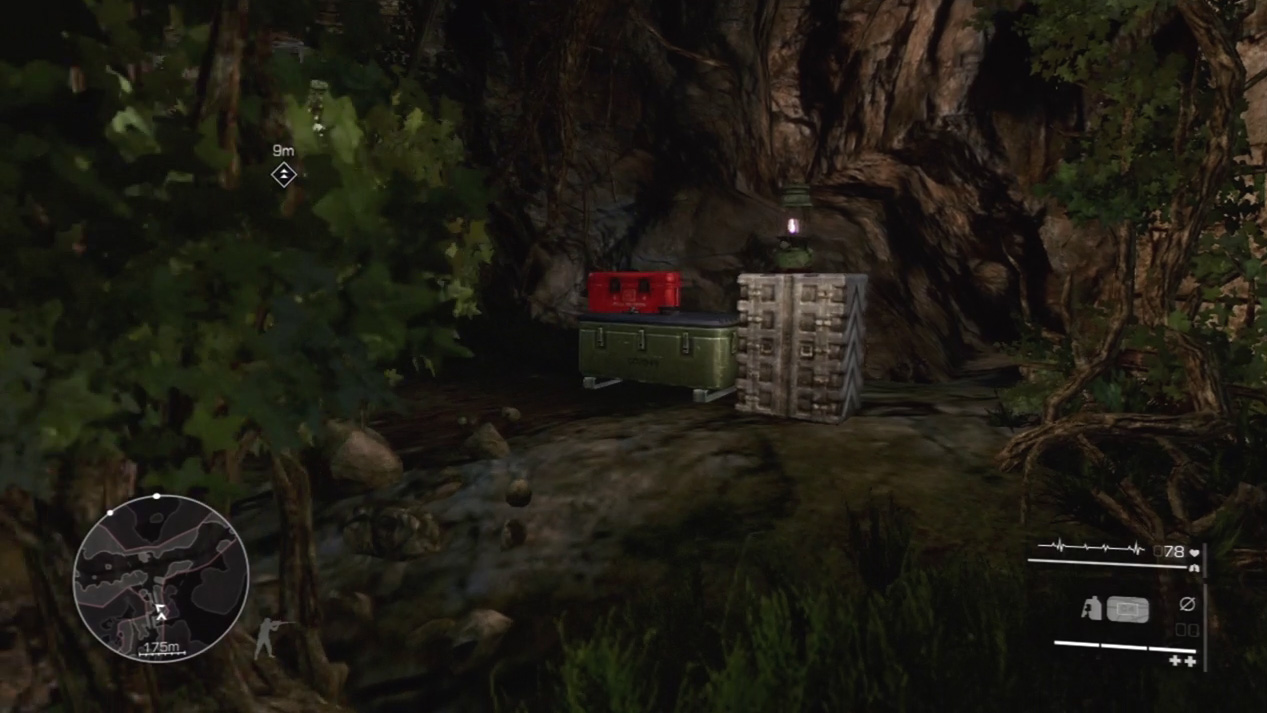
Enter a tunnel area and continue to follow Diaz. A chamber halfway through the tunnels holds a red medkit. Be sure to collect it if you’re low on health and need a boost.
Waypoint 14
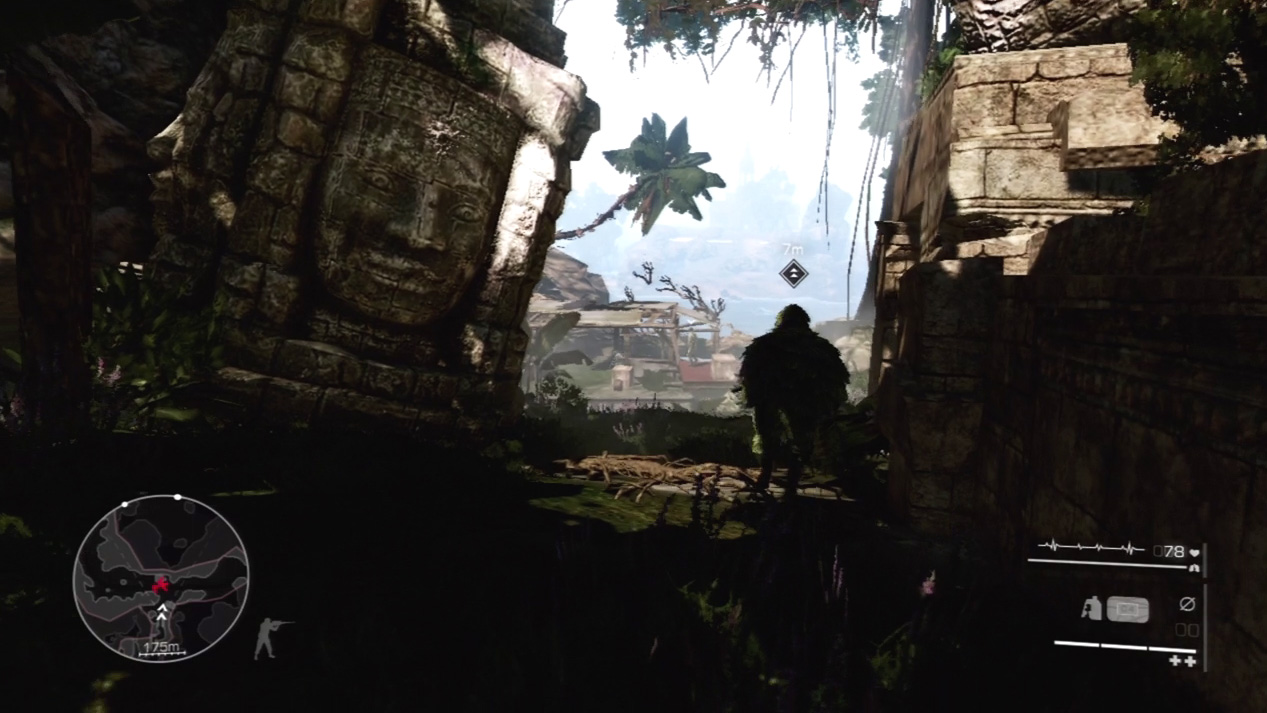
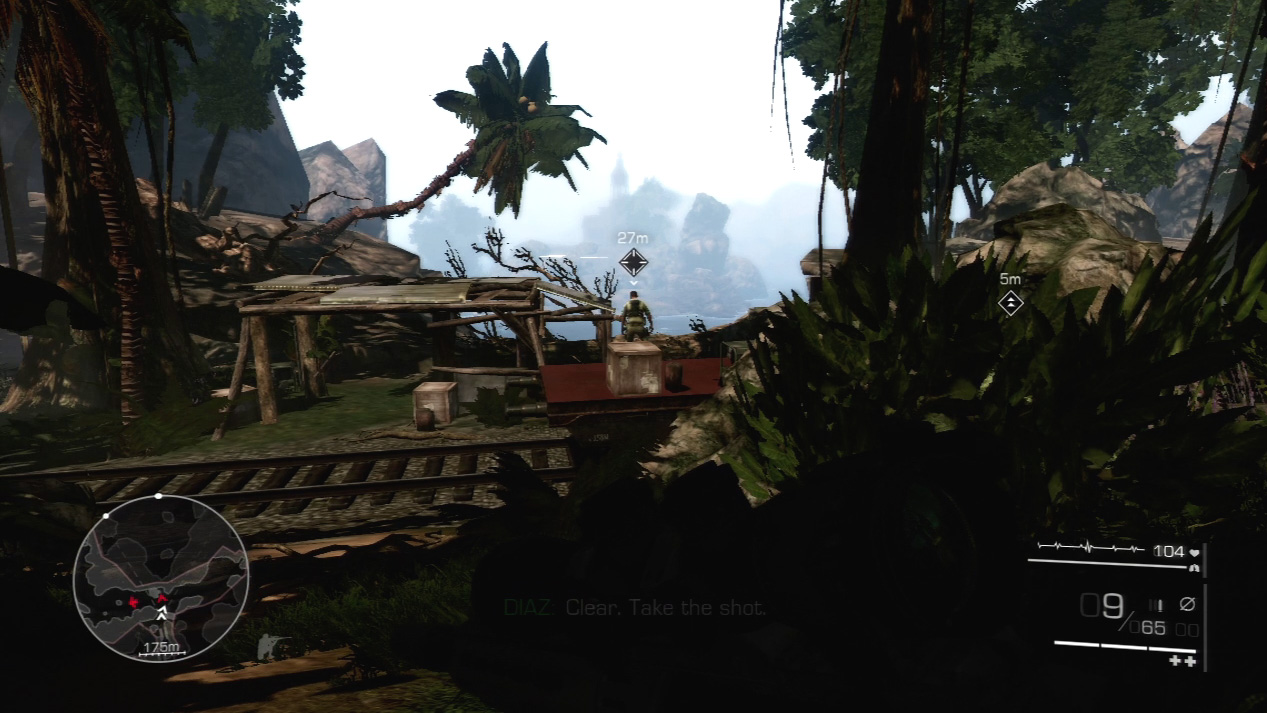
Exit the ruins and drop into a crouch as you near the railroad tracks. A single guard watches over a makeshift weigh station near the tracks.
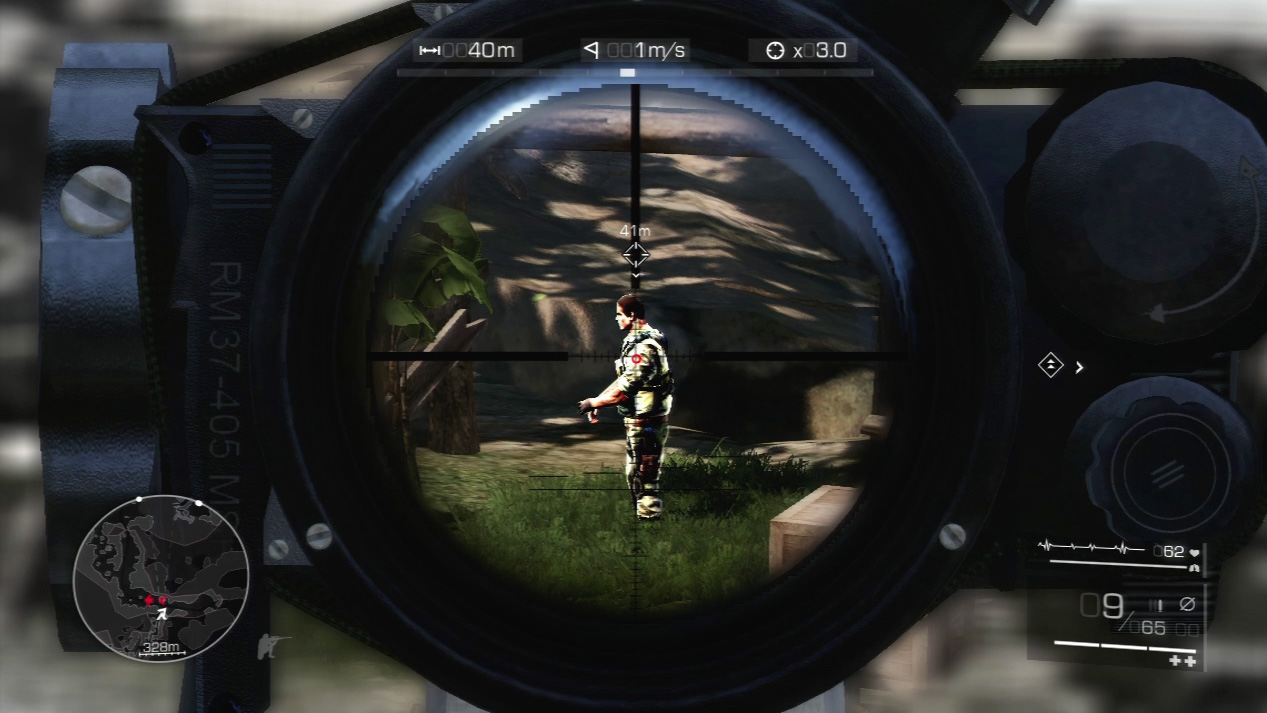
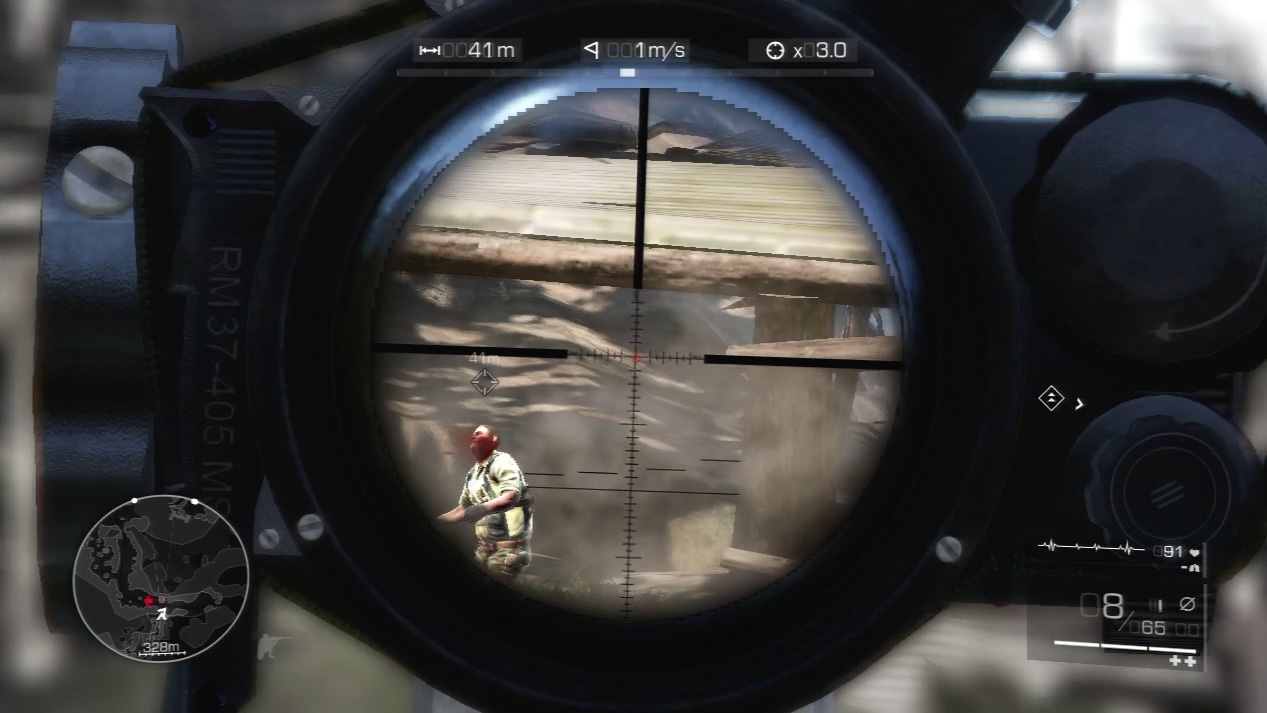
He stands on top of a railroad car, but quickly drops down from it. Wait for an easier shot when he stops moving. As he walks to the left, the guard will pause for a few seconds. Snipe him when the opportunity arises.
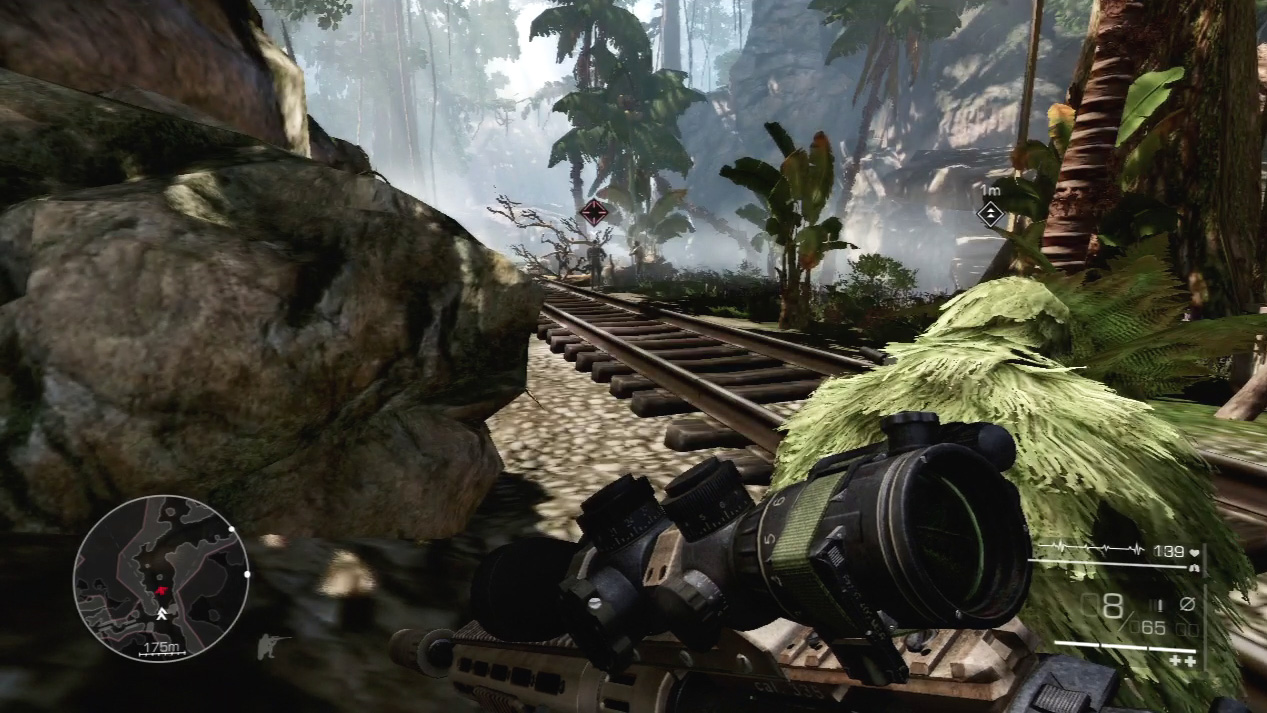
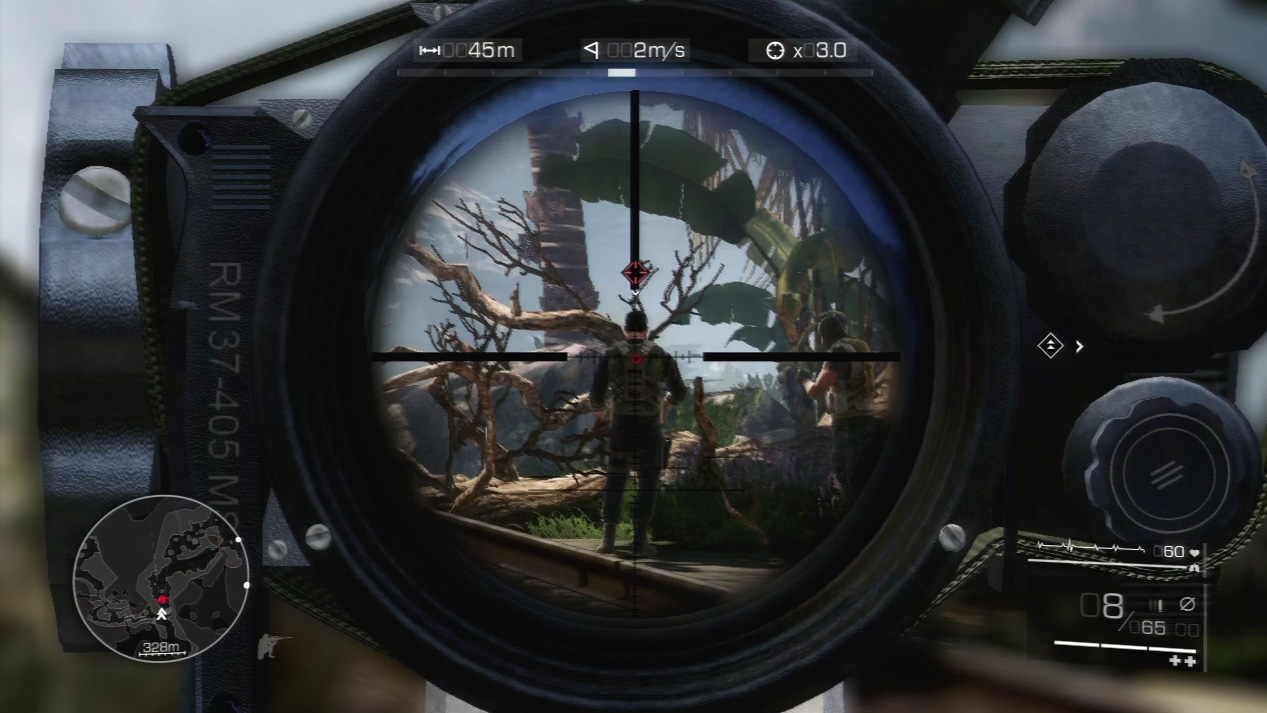
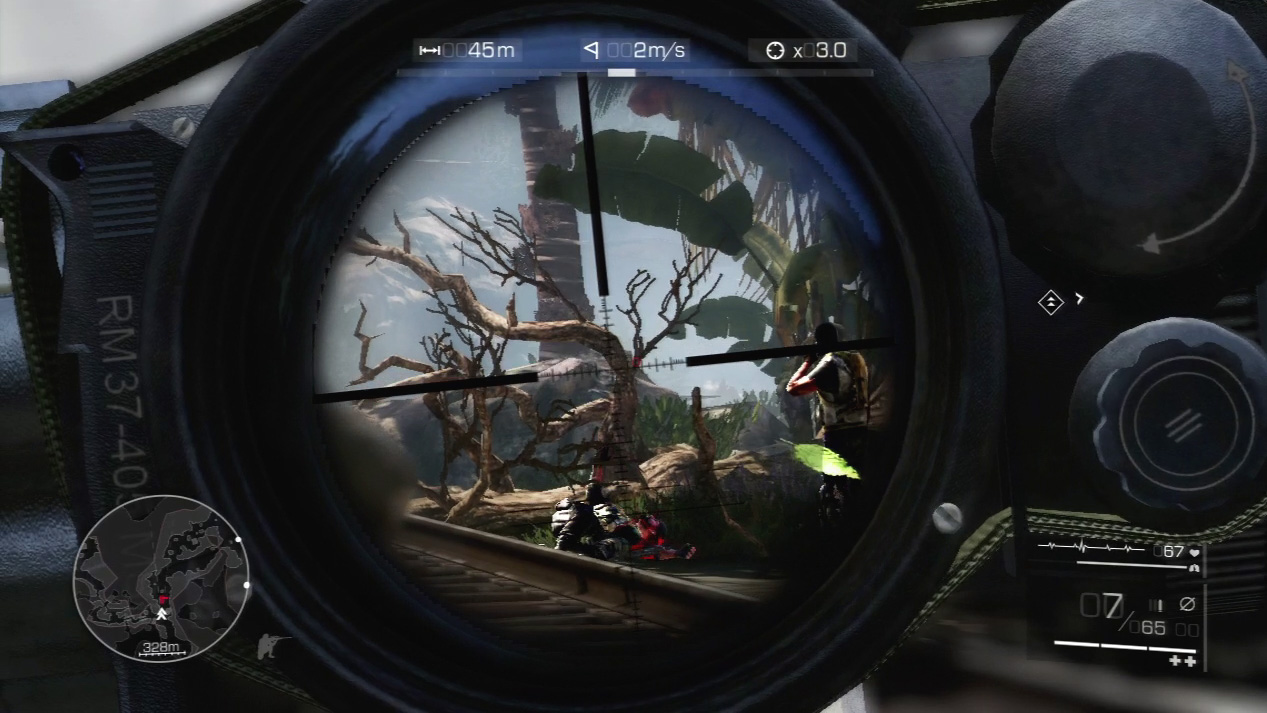
Slowly proceed down the hill to the railroad tracks. Two more enemies mill about up the tracks to your left. Diaz suggests taking them out at the same time. Sight on the guard to the left and eliminate him with a head or torso shot.