
Sniper Ghost Warrior 2 Guide Walkthrough Mission 2: From Out of Nowhere
2.3 Waypoints 8-14
Waypoint 8
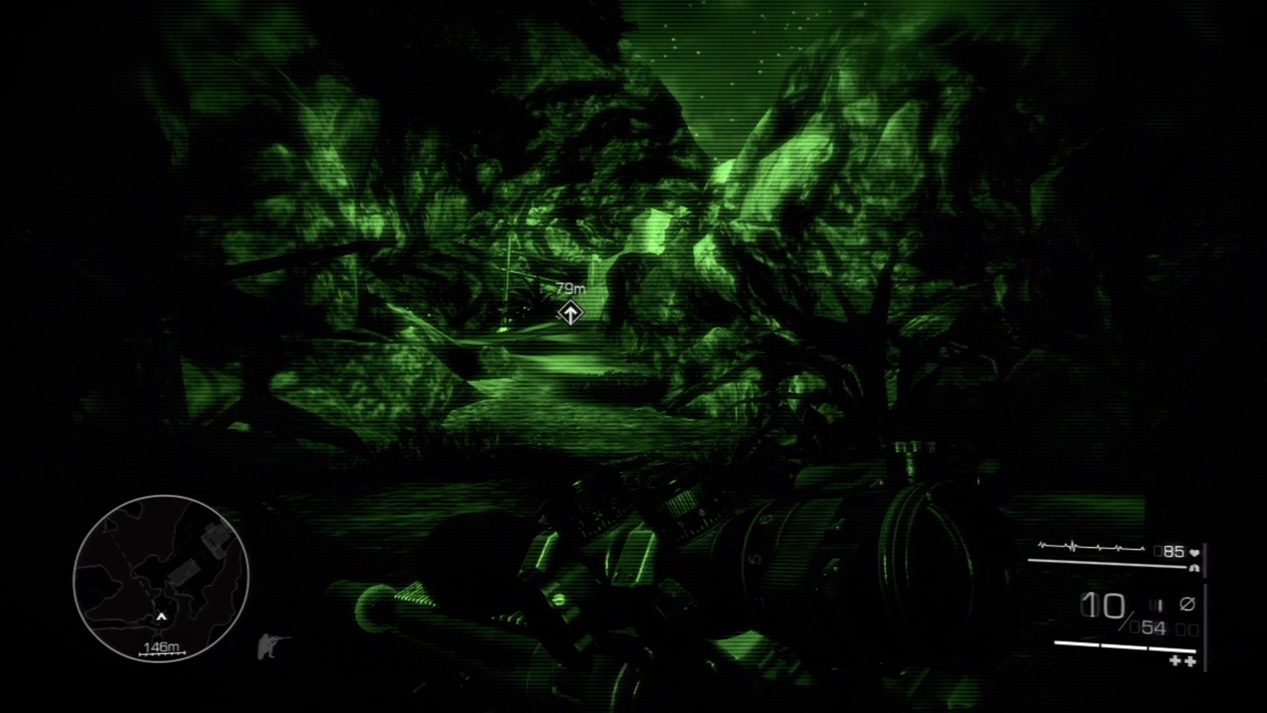
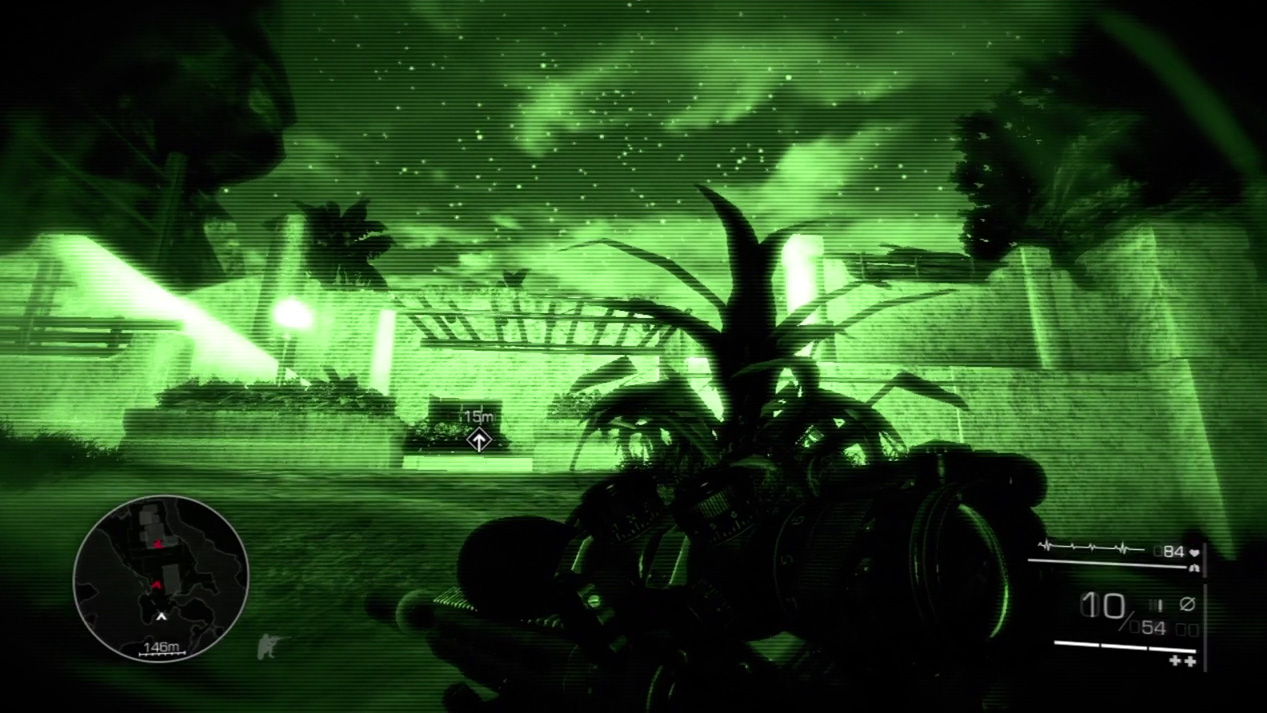
Follow the path to the enemy compound. The lighted area will seem intimidating, but no enemies watch this back entrance. You can proceed forward and up the stairs without issue.
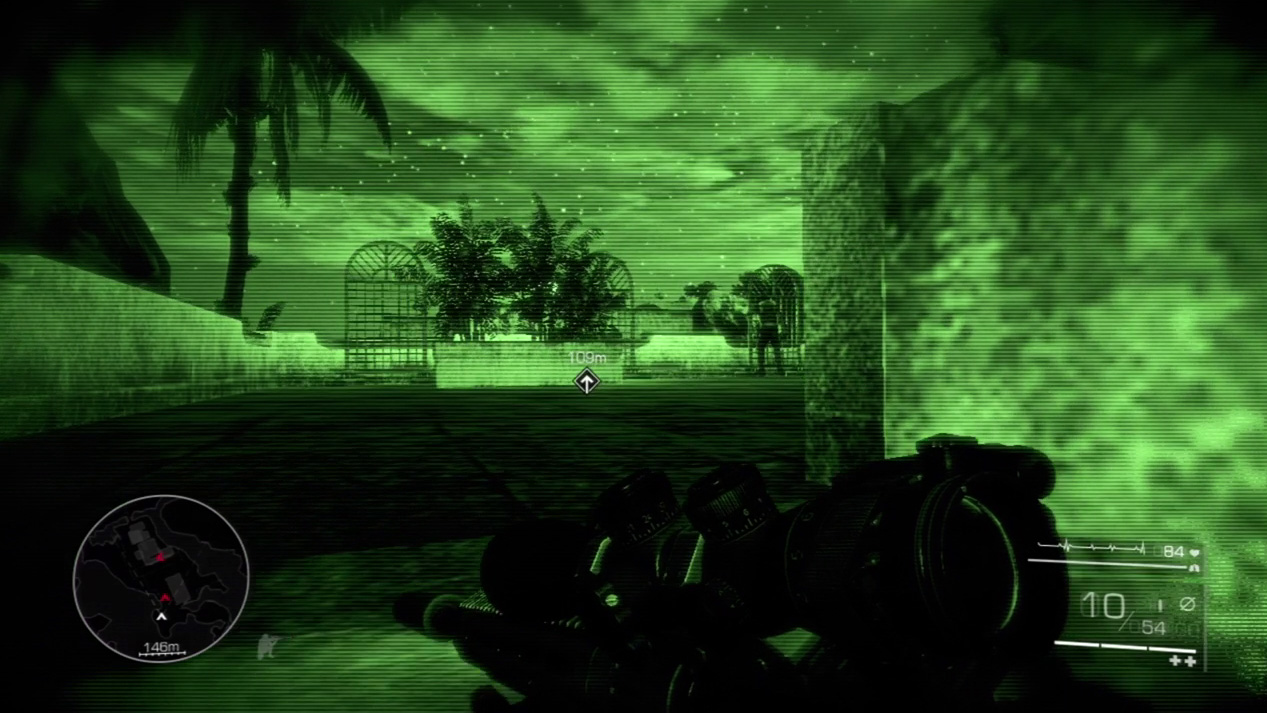
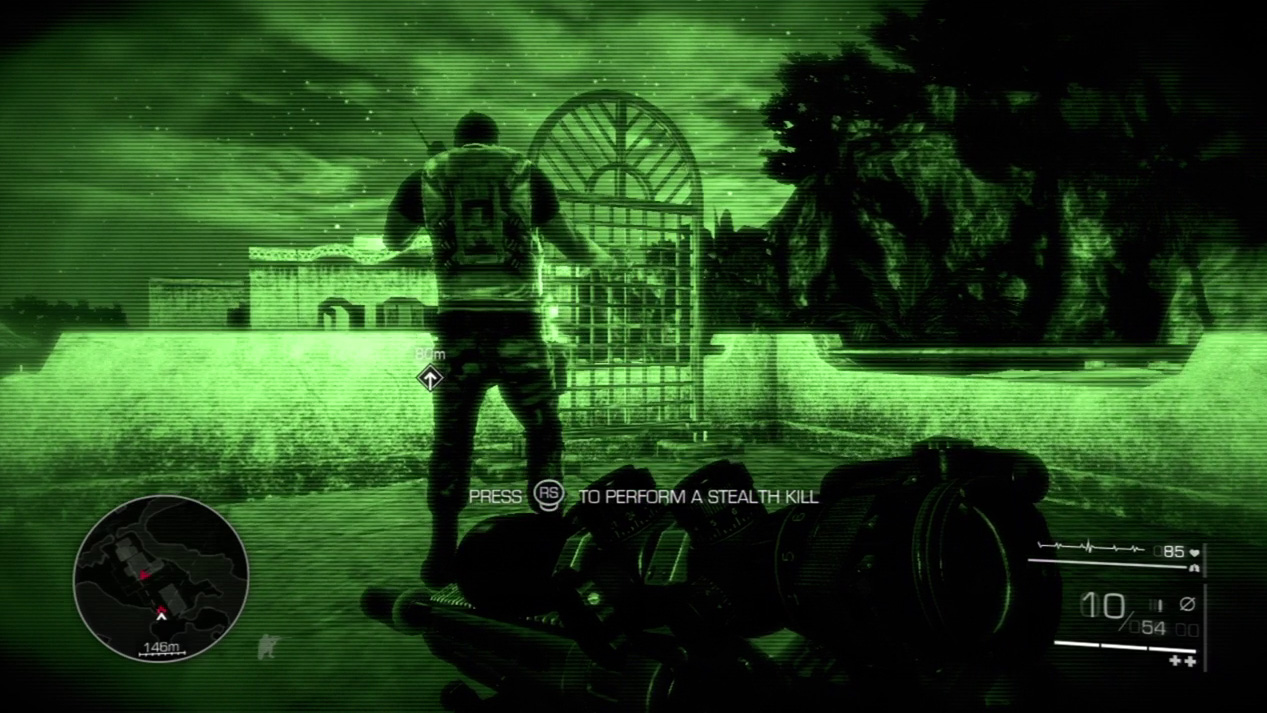
Climb the stairs on your left and check the roof for your next target. He’s talking on the walkie-talkie on the far end of the roof. Sneak up behind him and finish him off with a stealth kill.
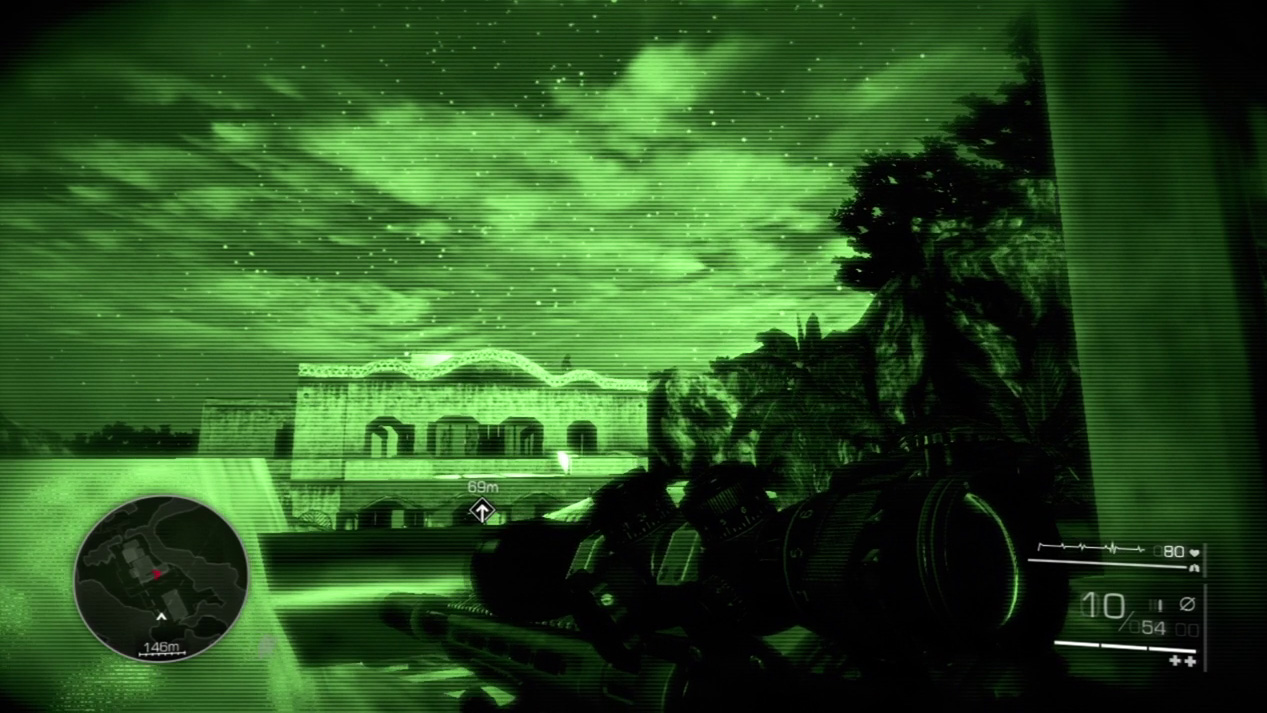
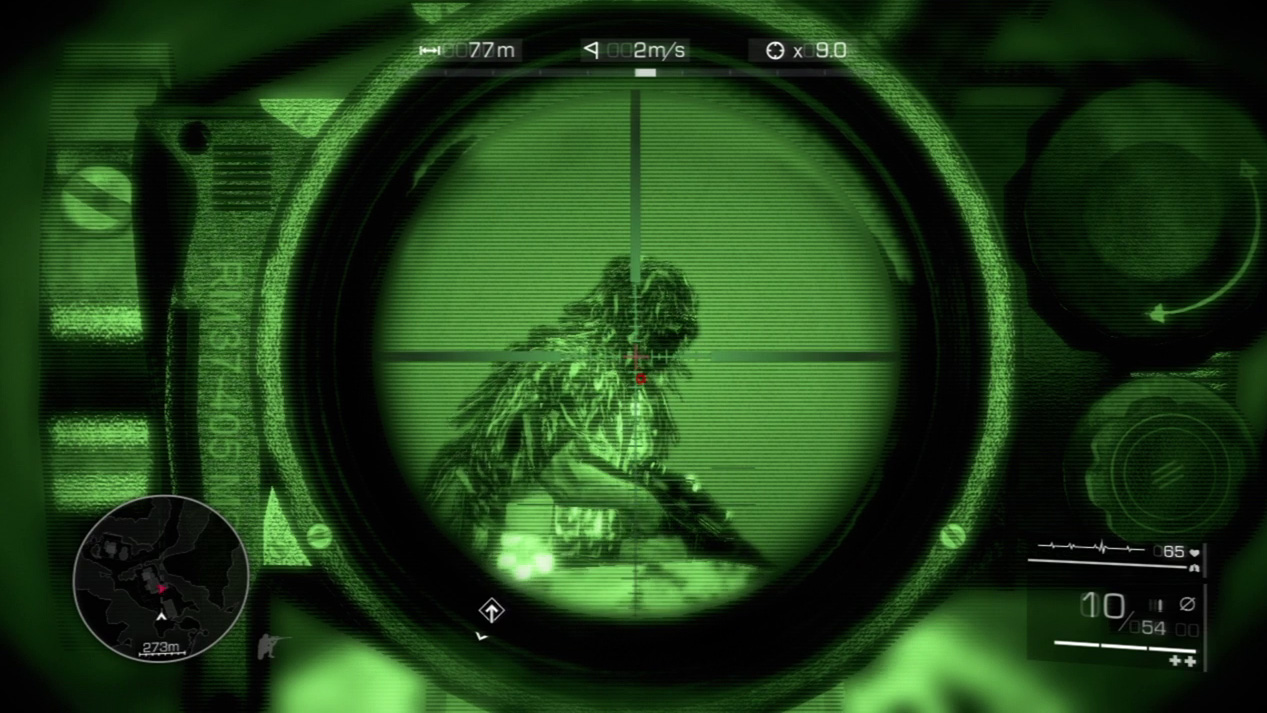
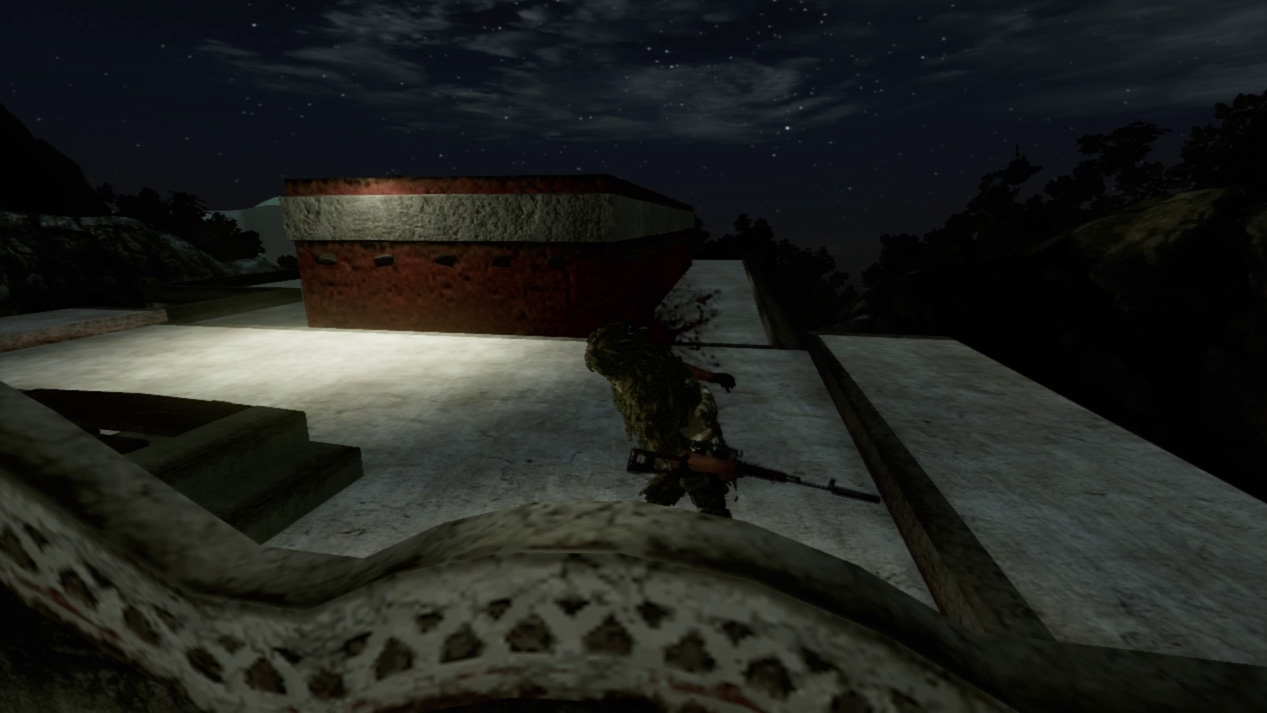
An enemy sniper watches over the compound from the building on the other side of the courtyard. From a crouching position on your current rooftop, scope out the enemy sniper and wait for him to pause momentarily on his post before you pull the trigger.
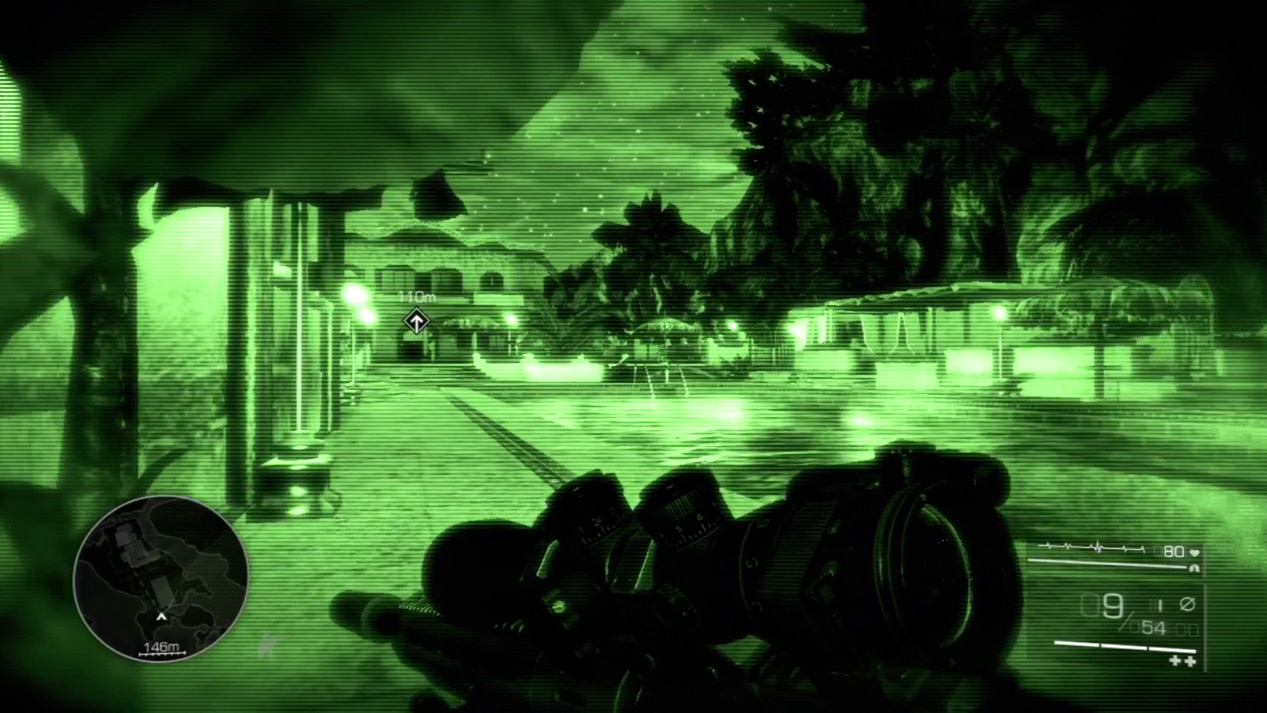
Retreat back down the steps to the pool area. Sprint across the courtyard and into the enemy sniper’s house.
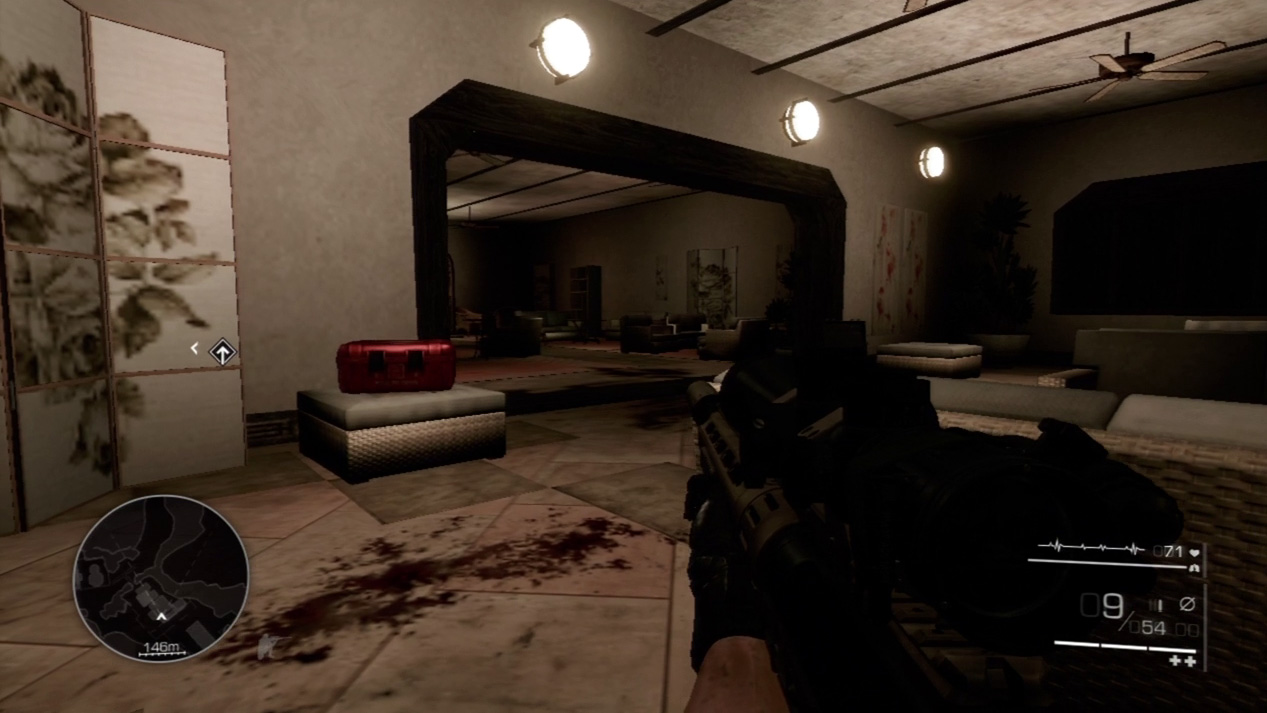
Flip off your night vision inside the house. Head up the stairs and creep through the first, empty room.
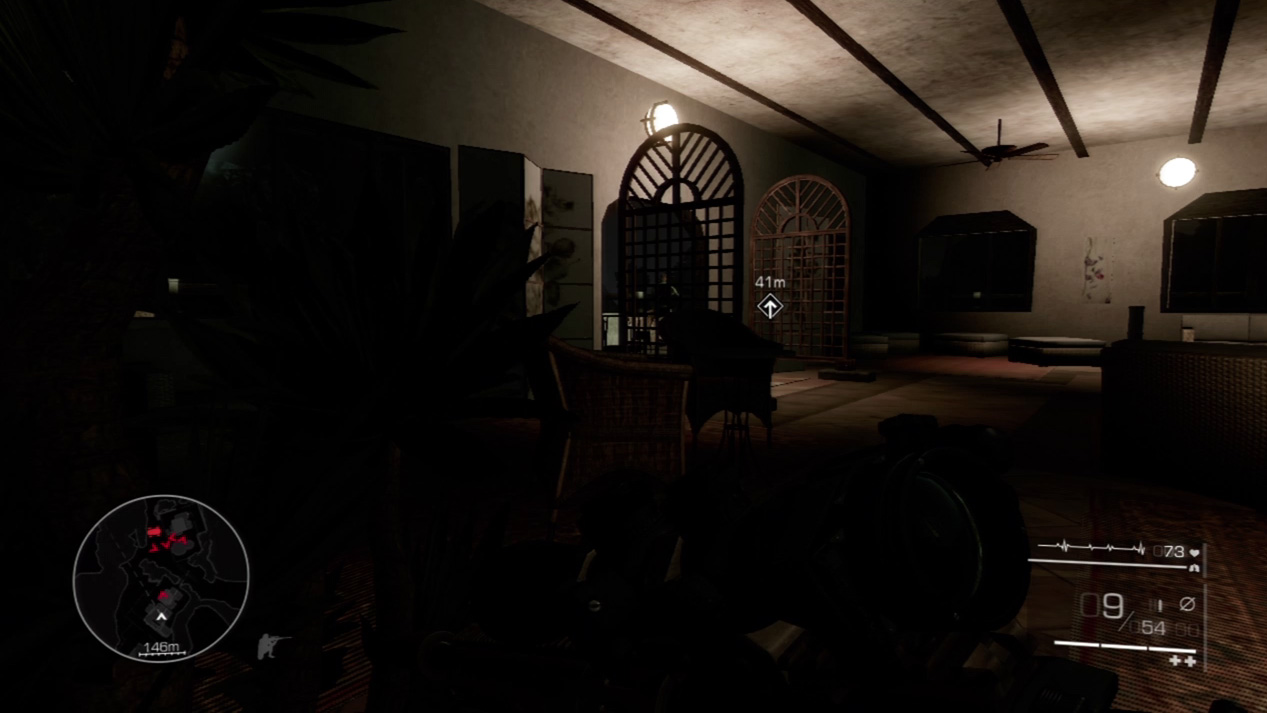
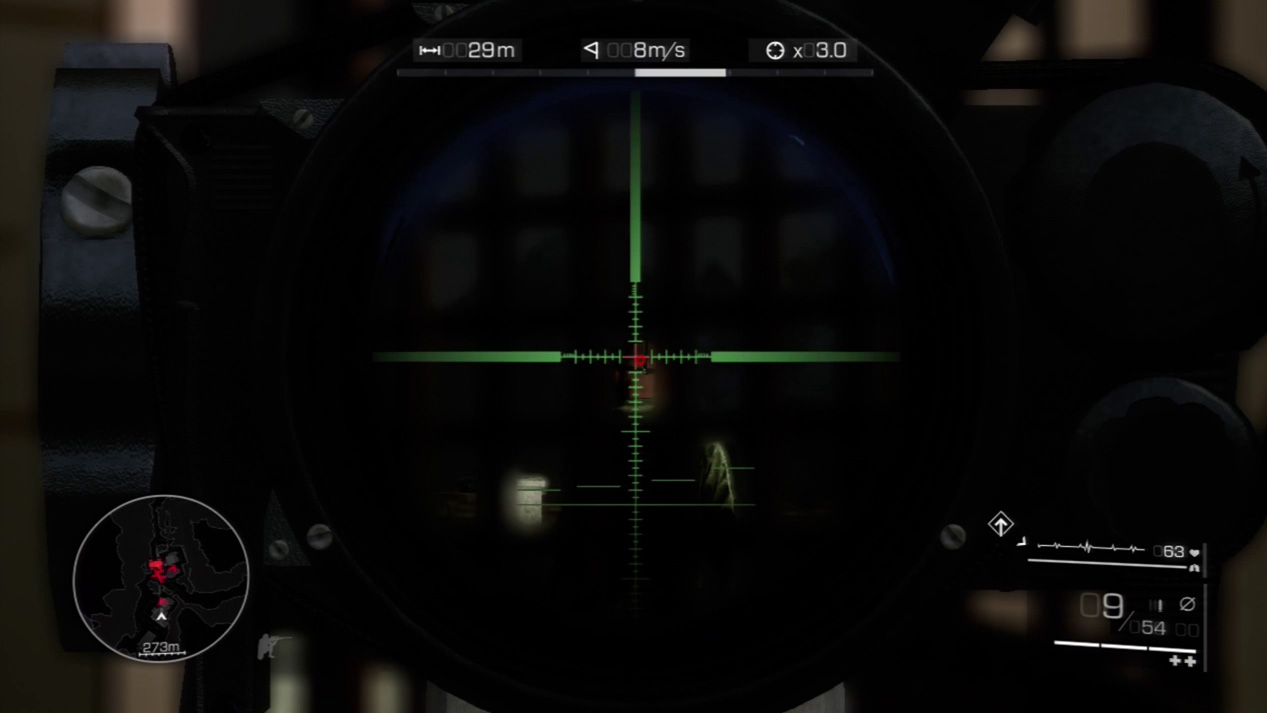
A single guard stands out on the balcony beside the second room. You have a choice of how to take him out: Snipe him from medium range while standing just inside the room, or sneak up behind and eliminate him with a stealth kill on the balcony. Both methods work fine.
Act 1: Secret 6
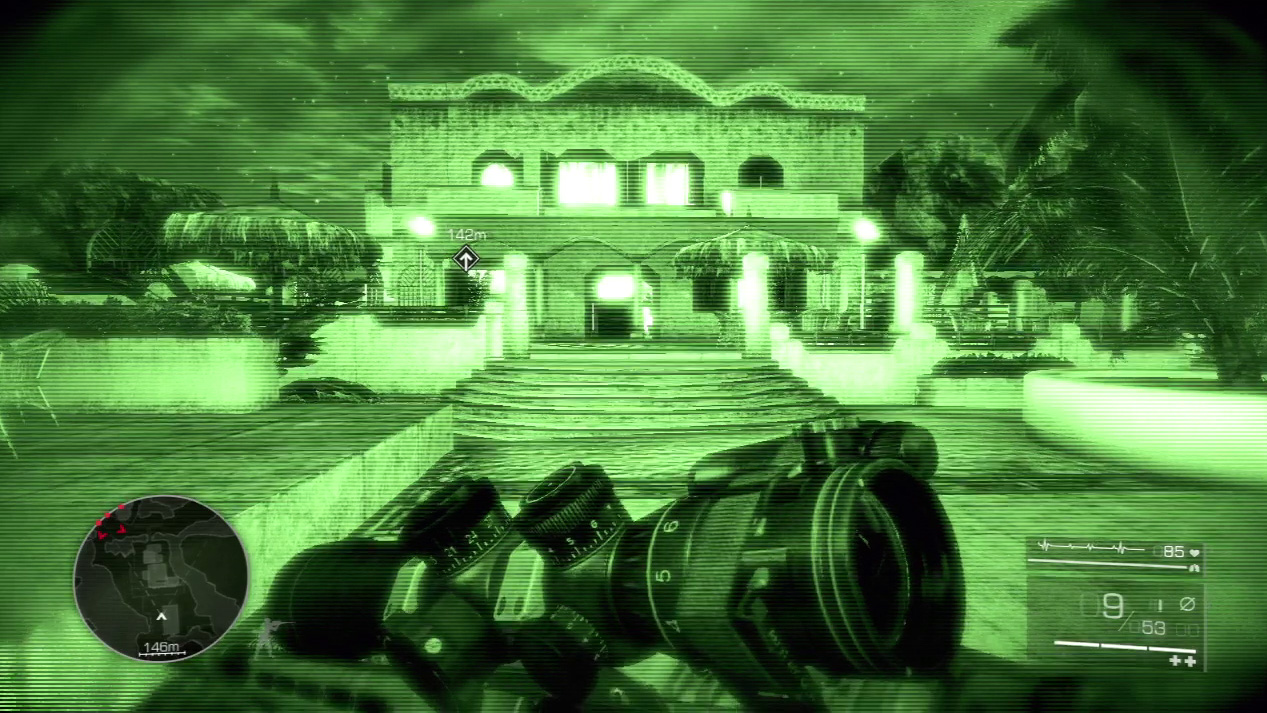
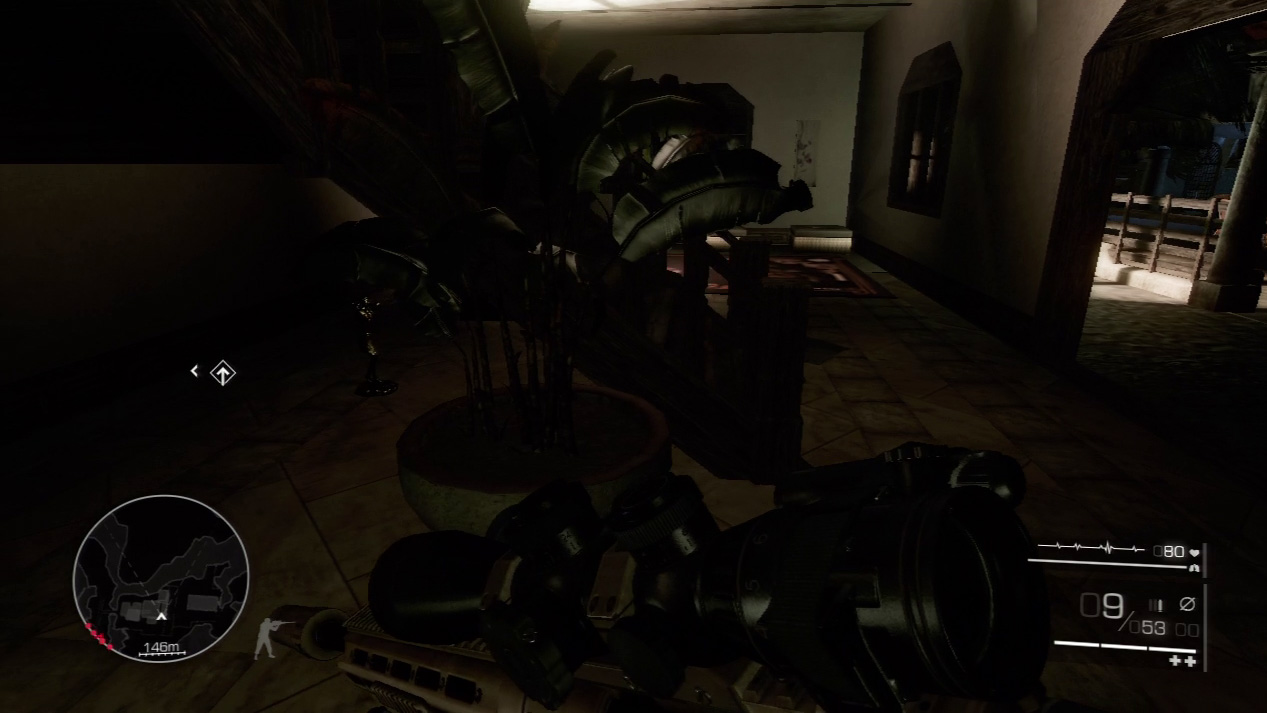
To find the sixth secret, pass the pool and enter the mansion that had the sniper patrolling on its roof. The statue is out of view under the main staircase. Just swing around and pick it up.
Waypoint 9
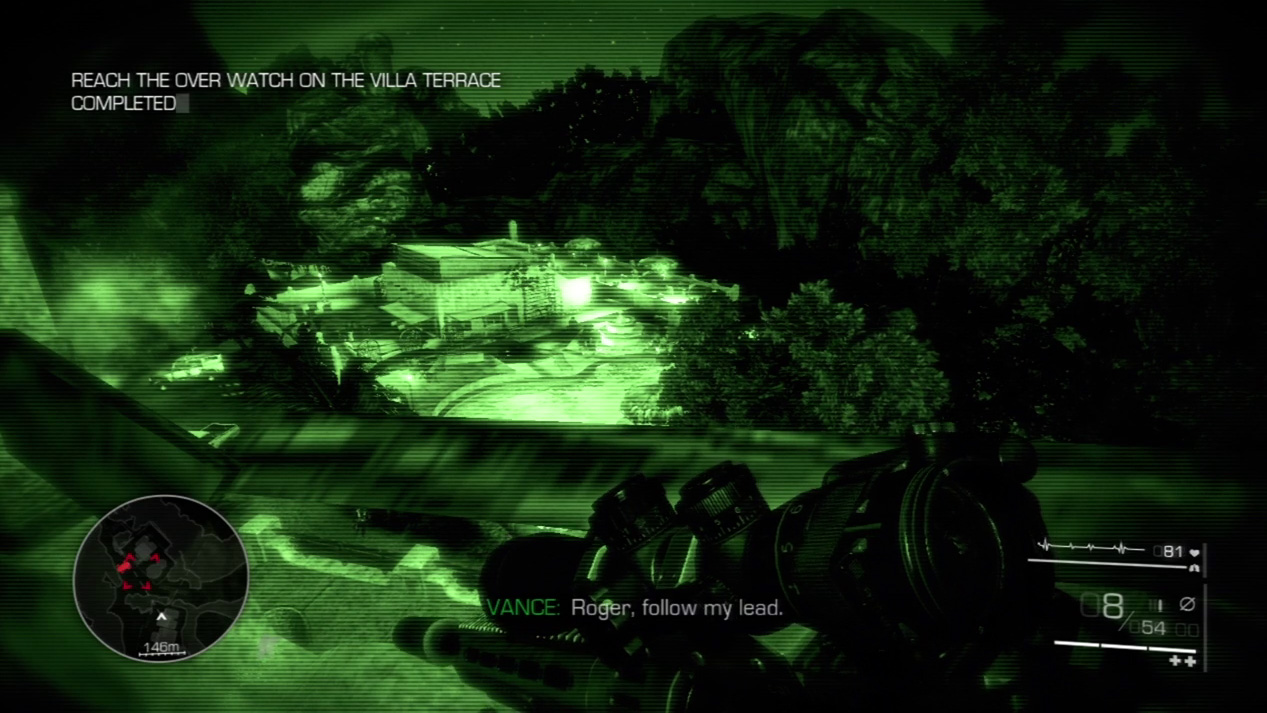
It’s time to sweep another enemy compound. From your view on the balcony you can see a handful of enemies in the buildings down the road. For you to pass safely, all of those targets have to be eliminated.
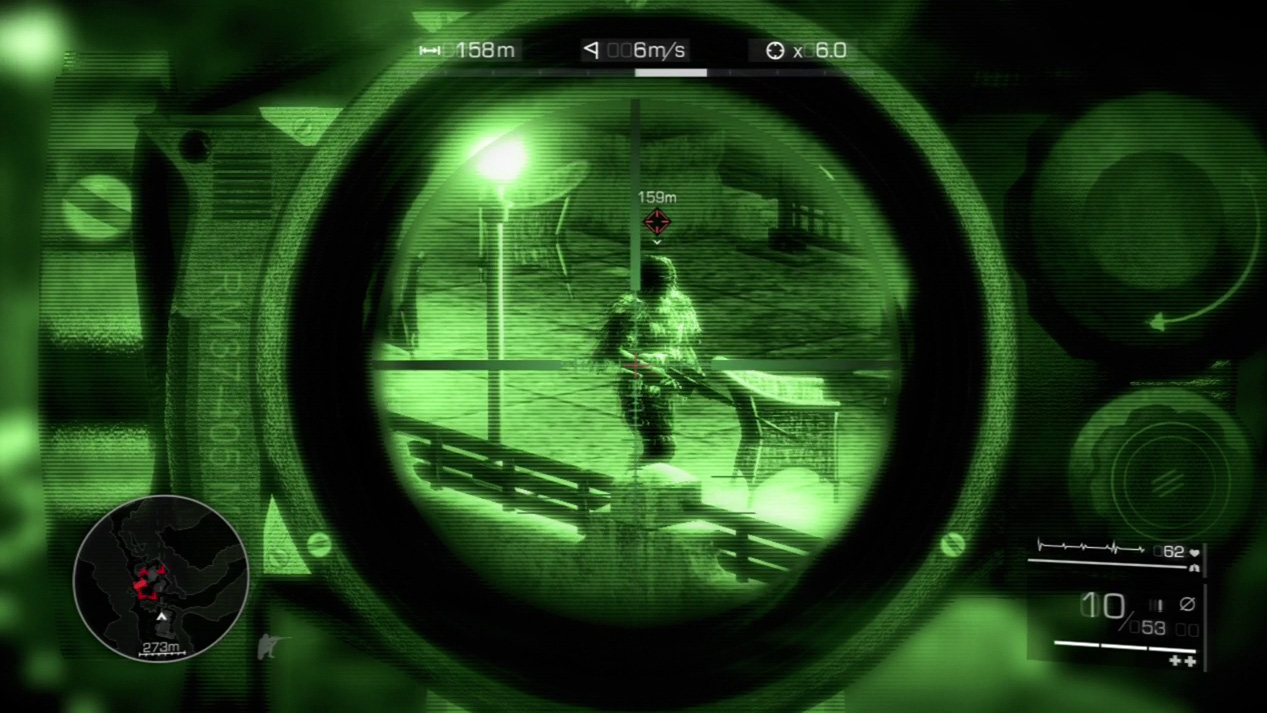
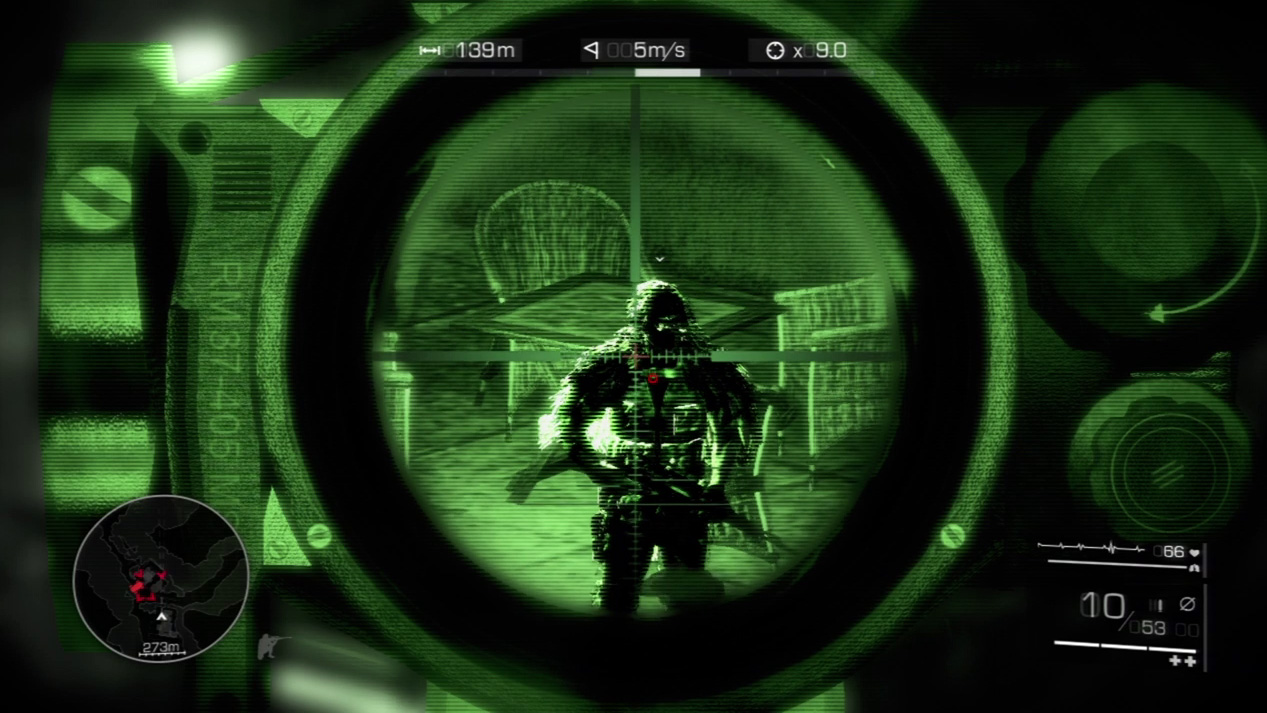
Your first target walks out into the courtyard shortly after you set up. Track him to the far-right side and drop him when he pauses.
Expert Mode
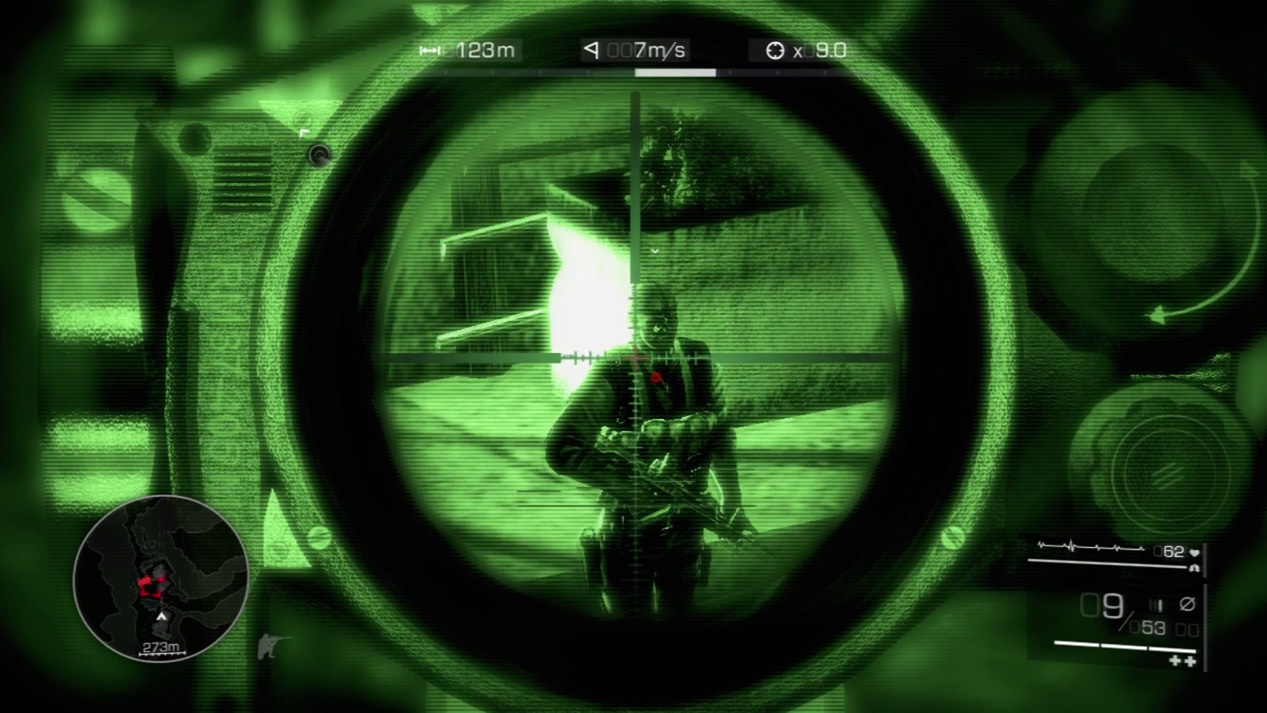
- Distance: Approximately 125 meters
- Wind: 7 meters/second (blowing left)
- Magnification: 9x
For the shots in this area, you should hit all enemies if you aim the bull’s-eye squarely in their chests. For exact shots, wind and gravity push the bullet to the right and down. Line up your shots one reticle line right and one reticle line down for a success.
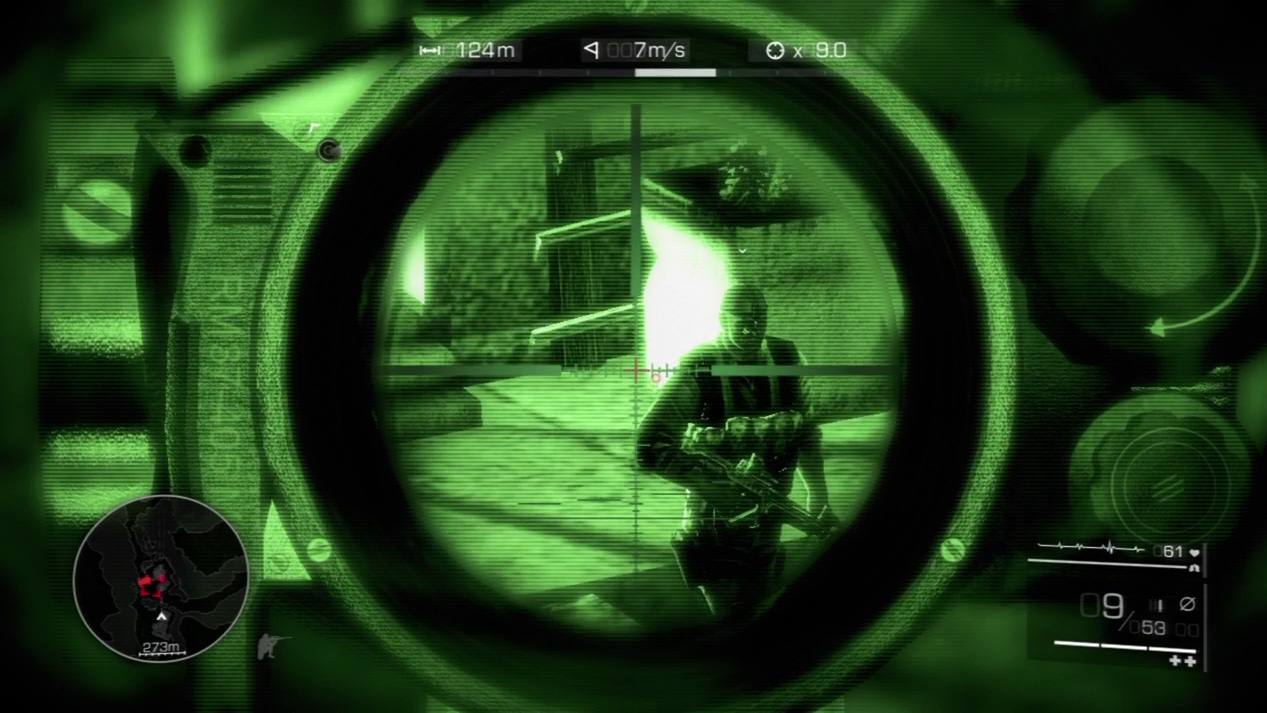
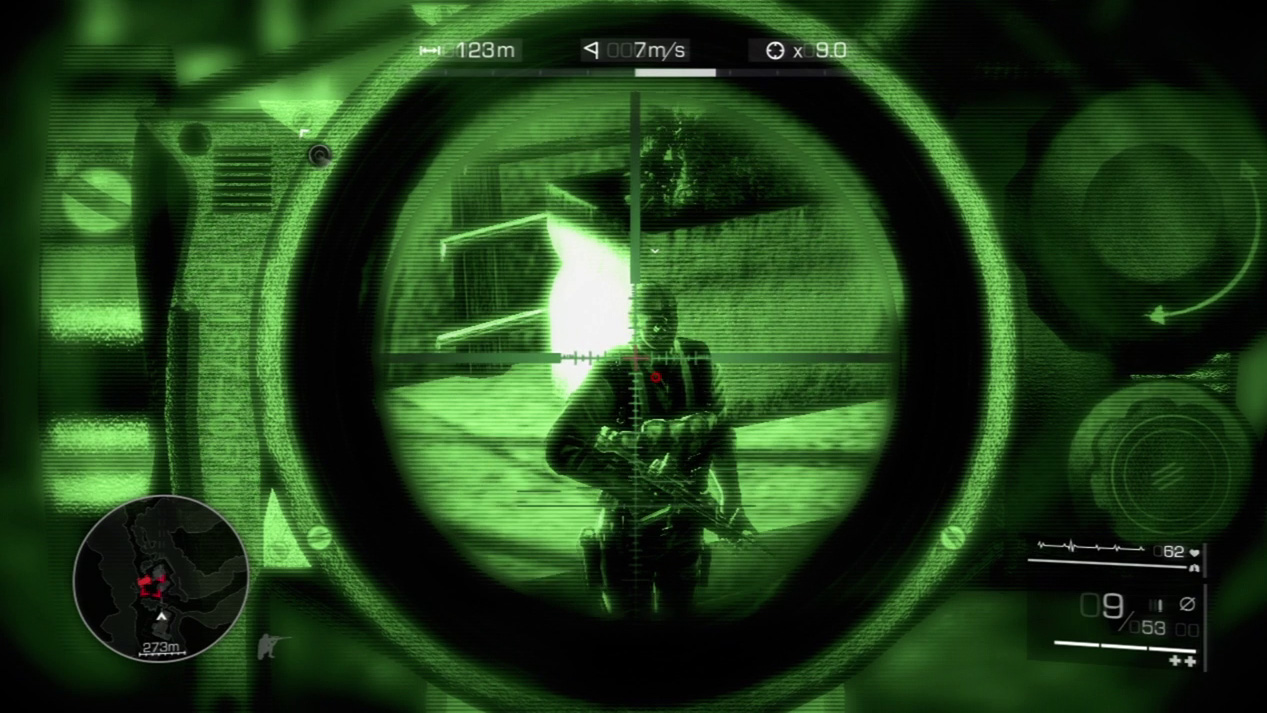
Track the next enemy has he exits the building. He only walks out a short distance, before heading back inside. Tag him when he pauses outside.
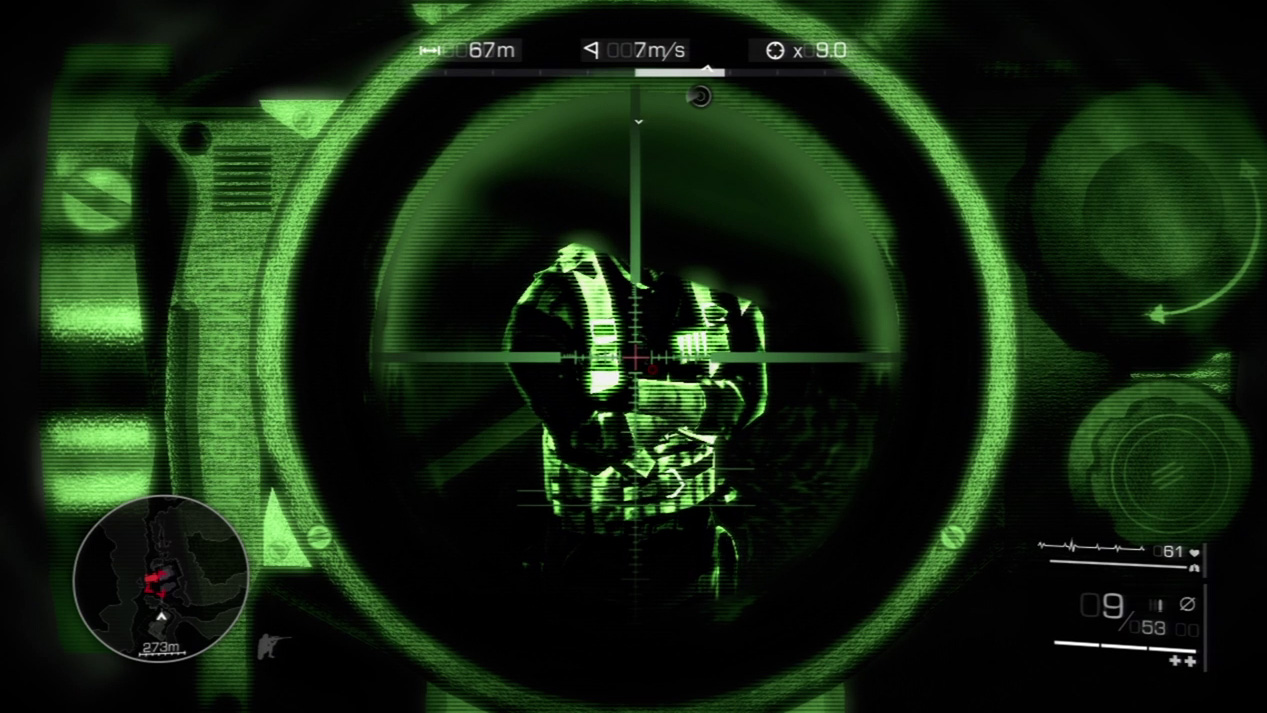
Now drop your attention to the three enemies on the road. Scope the closest one, who should be standing below you. Zoom in between the balcony rails and dispatch him.
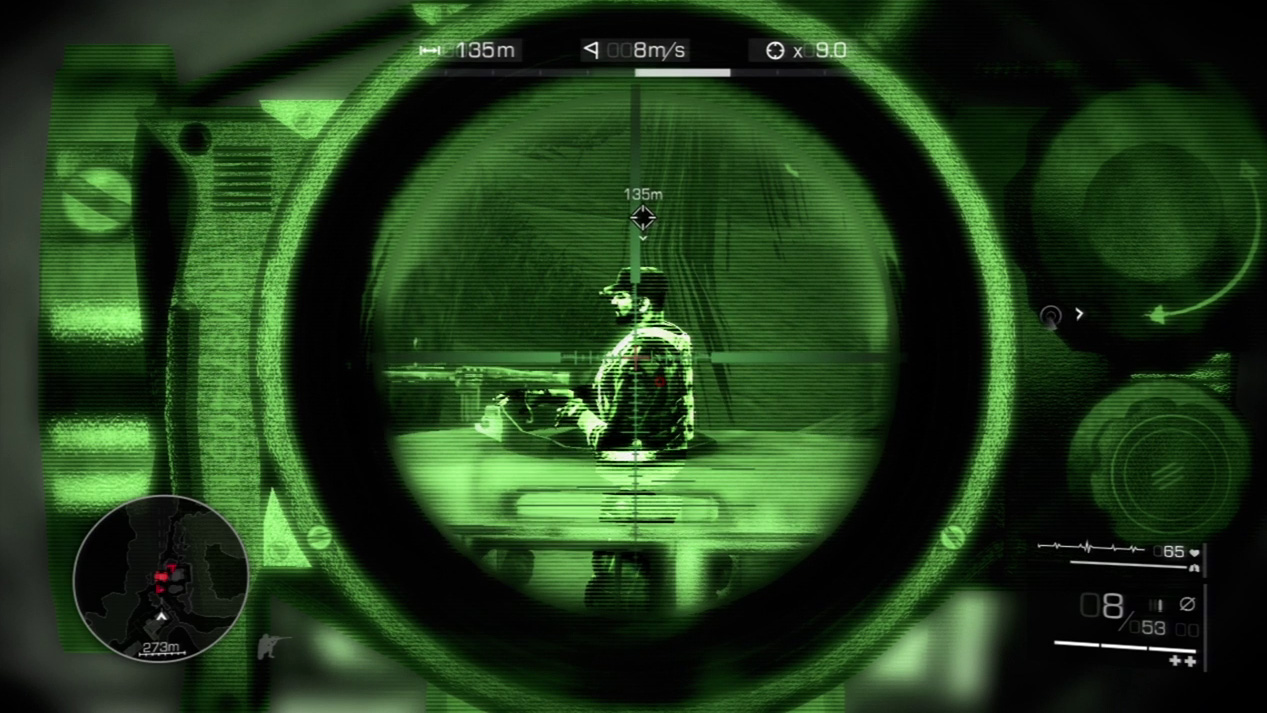
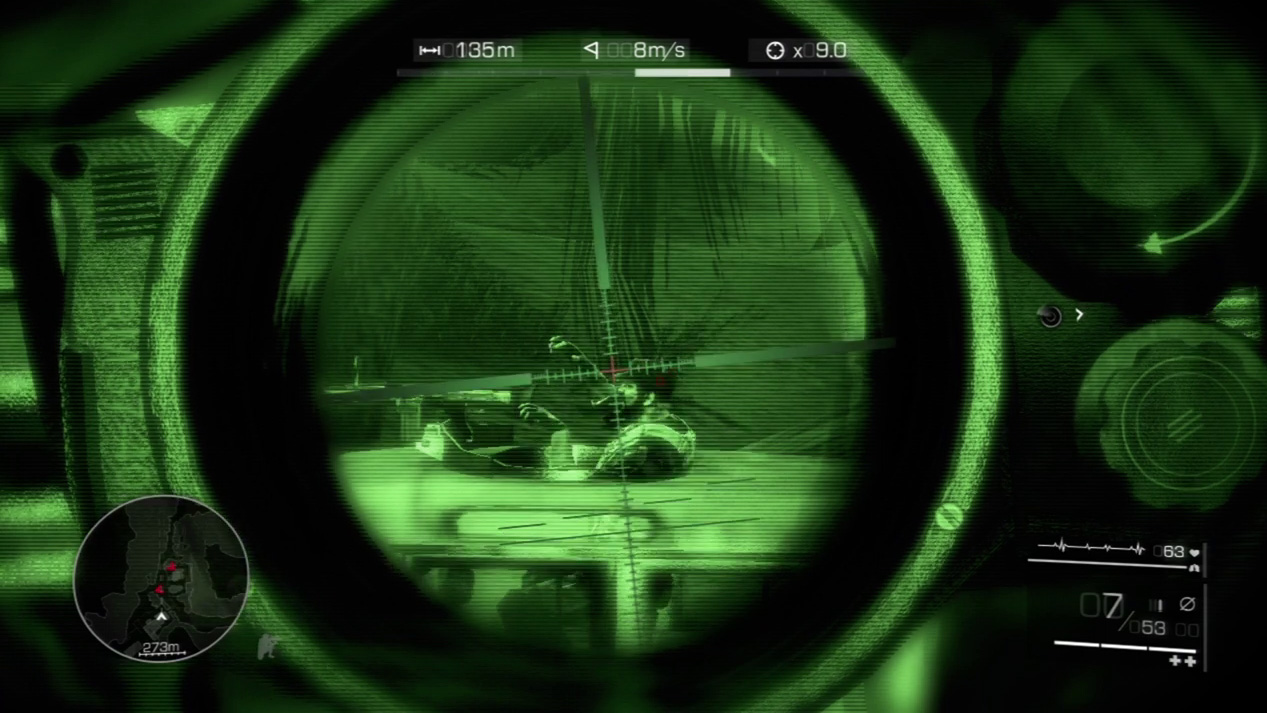
Search for the next enemy down the road, manning a gun turret. He’s looking out into the jungle and won’t know what hit him if you slug him in the head or torso.
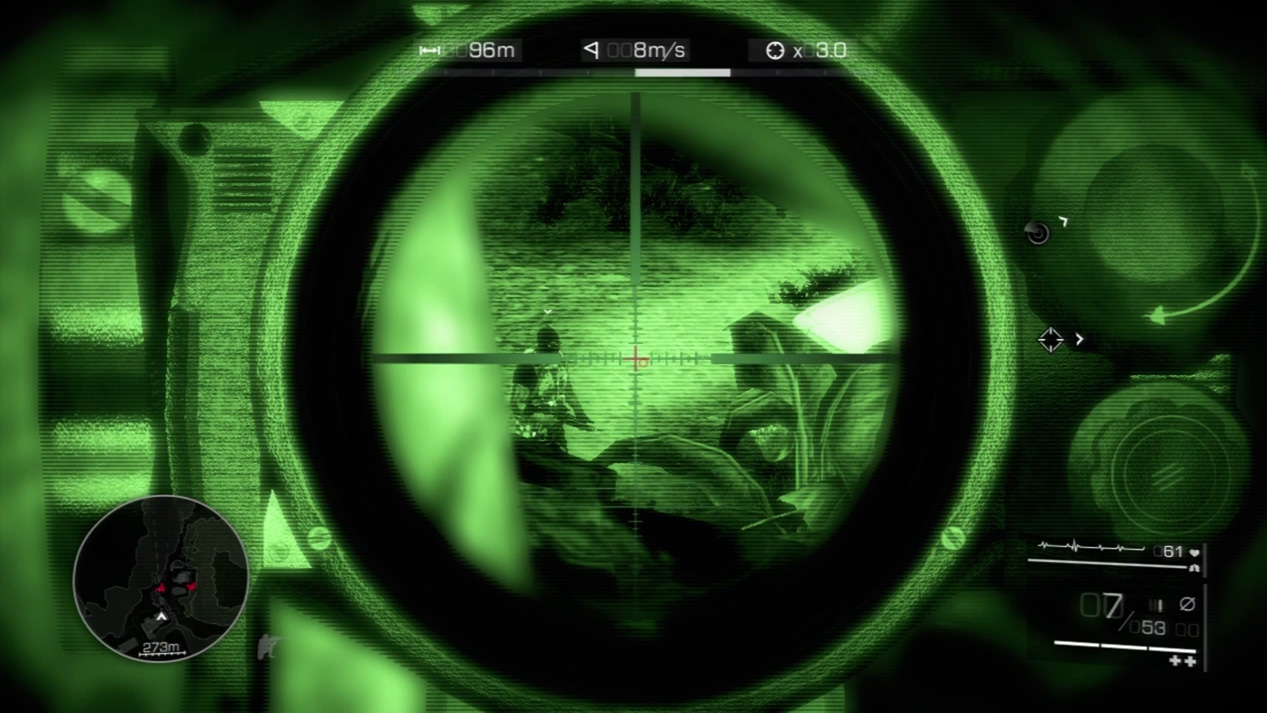
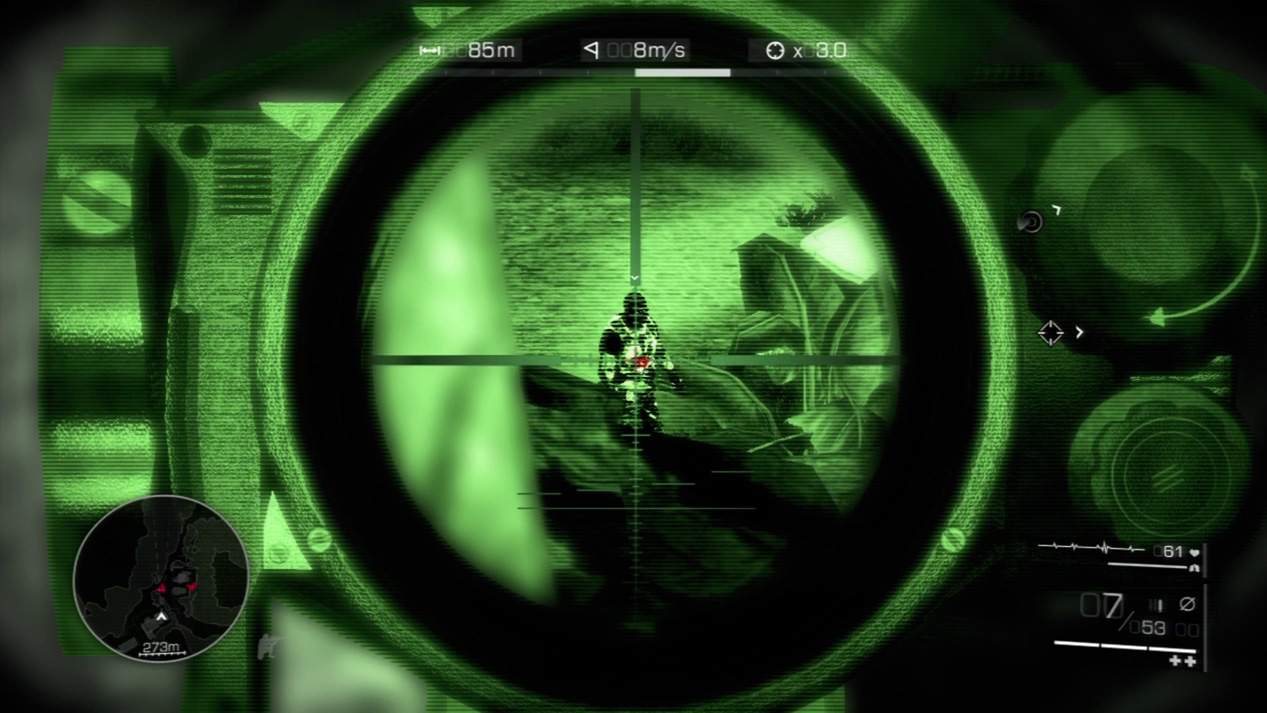
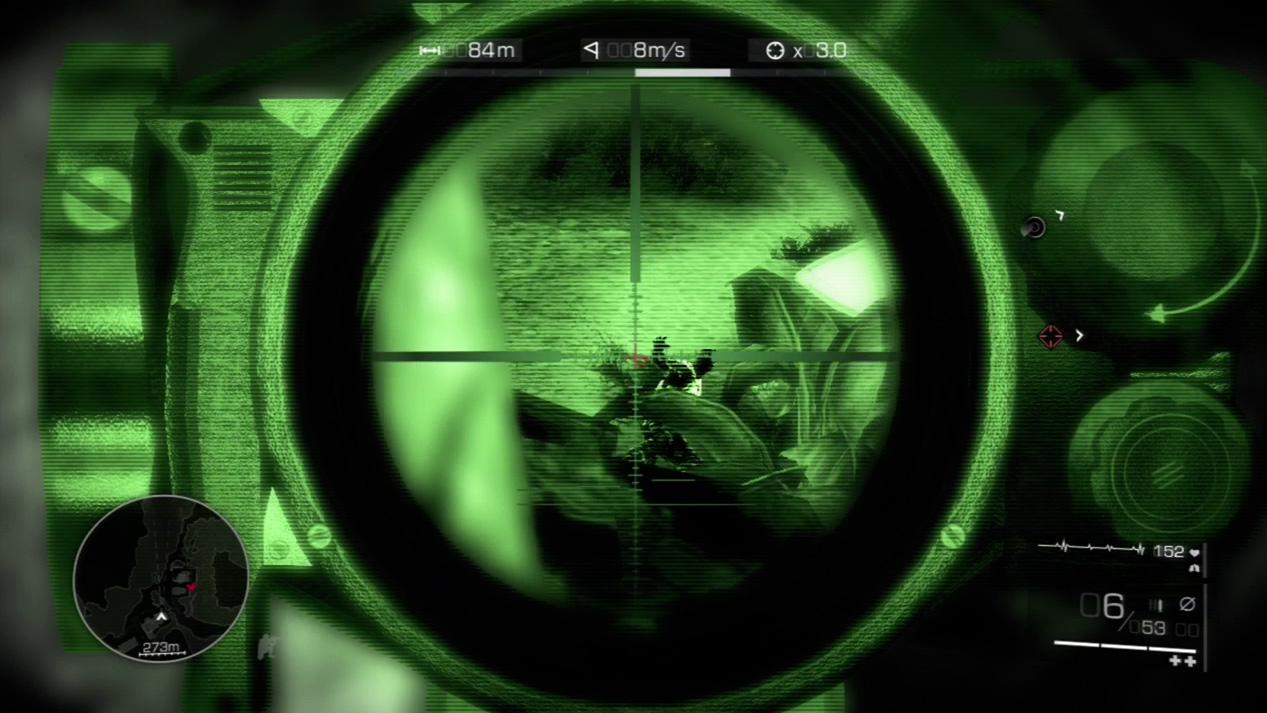
The final enemy walks toward the road, in between the other two enemies’ dead bodies. Track him in your scope and, before he can spot the bodies and raise the alarm, pop him.
Waypoint 10
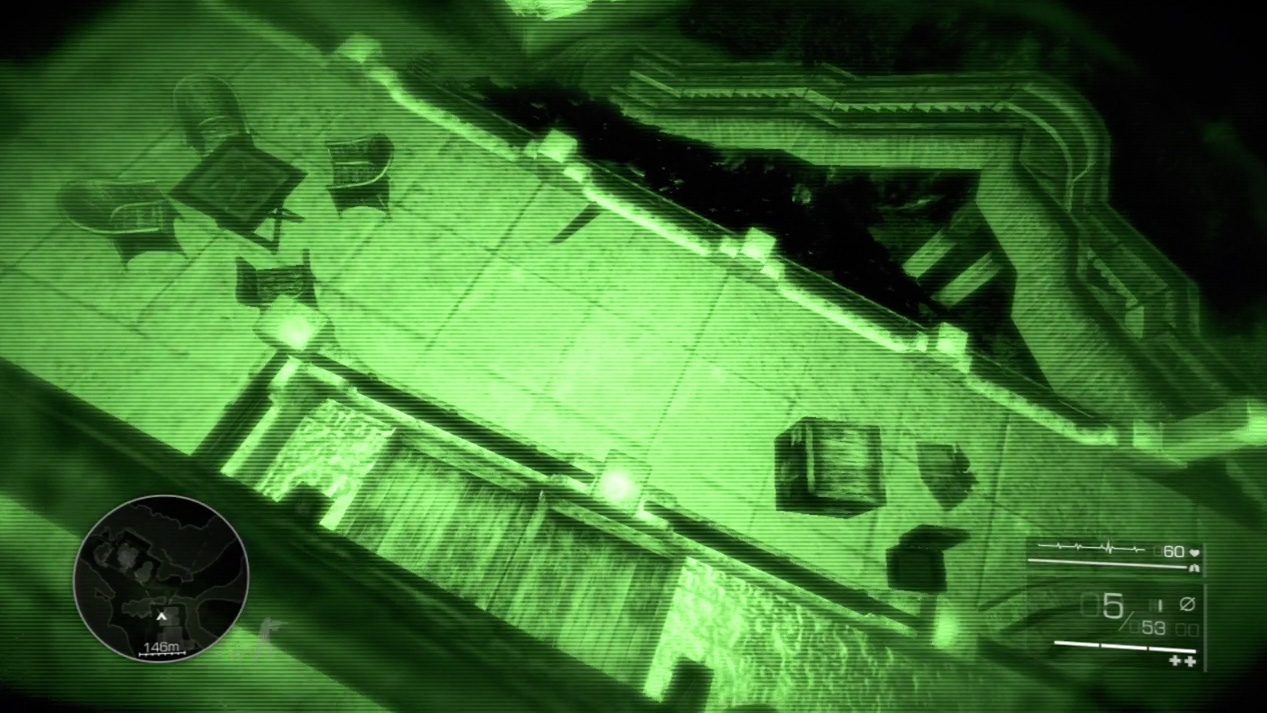
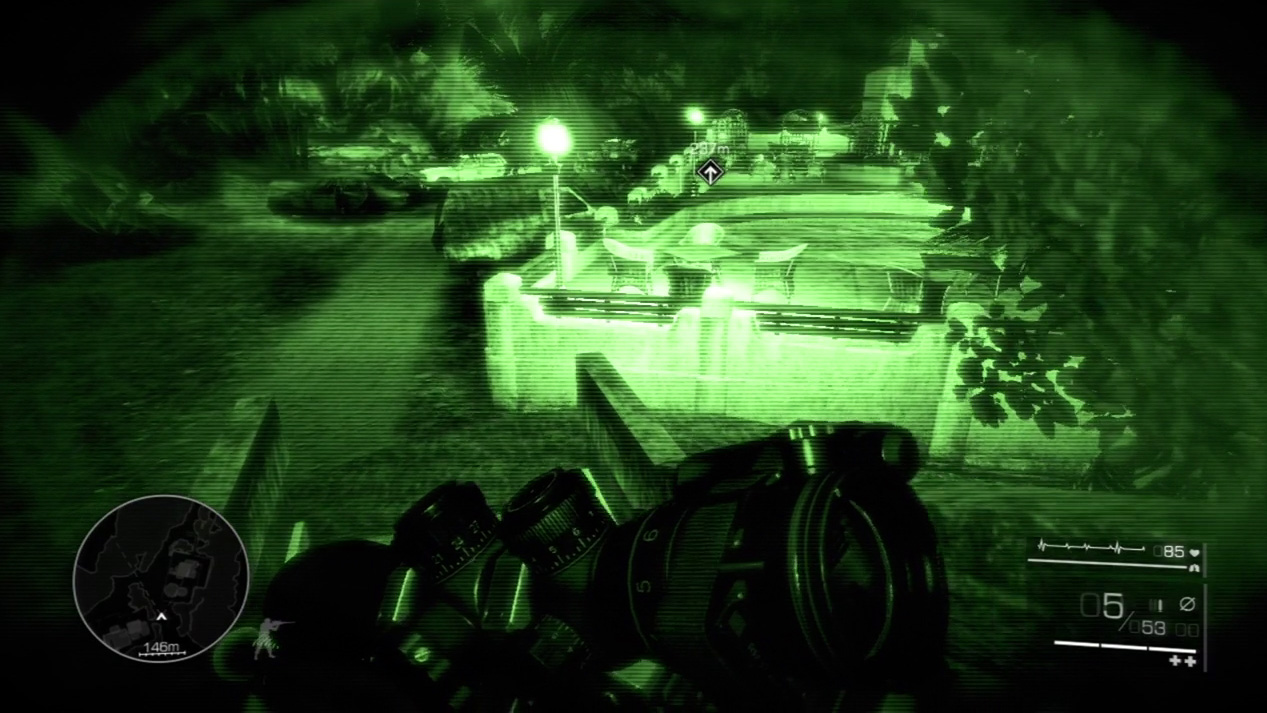
Drop down from the balcony and follow the staircase down to the road. Sprint up the road and pass the complex.
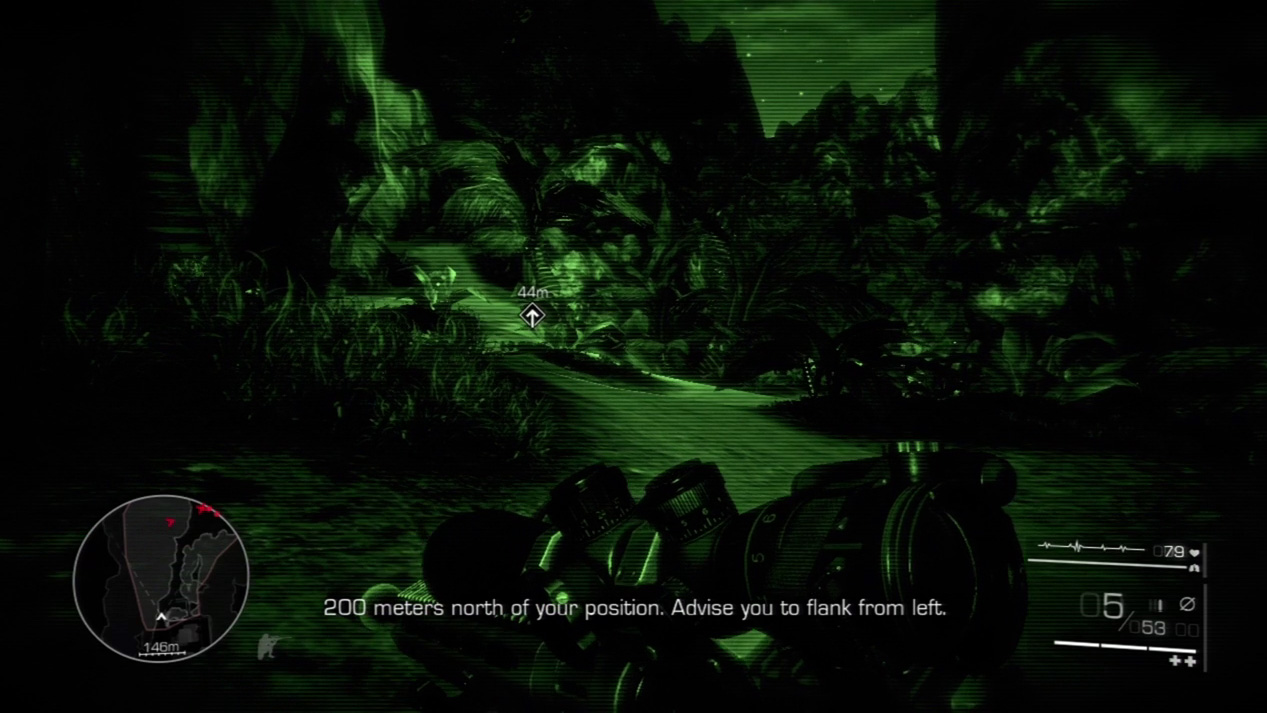
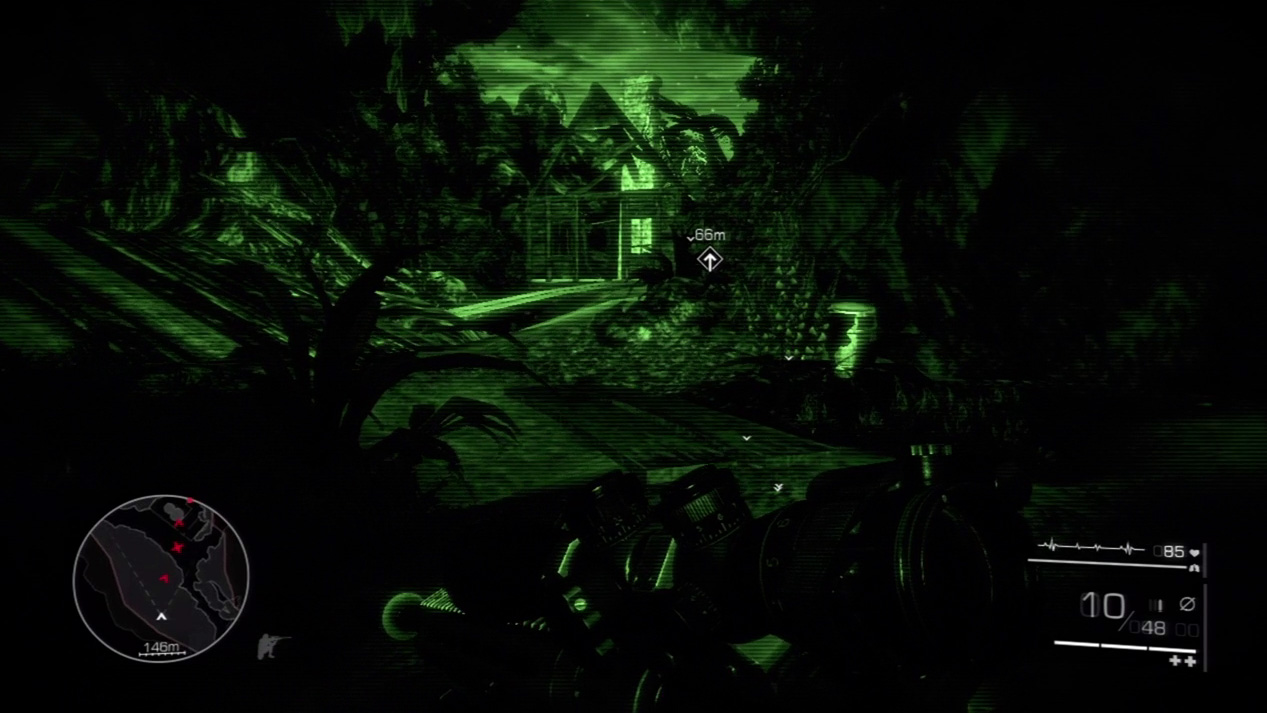
Farther up the road you get intel that the enemy has another fortification down the path that forks to the right. For now, flank off to the left instead and head up the hill until you see the ruined house.
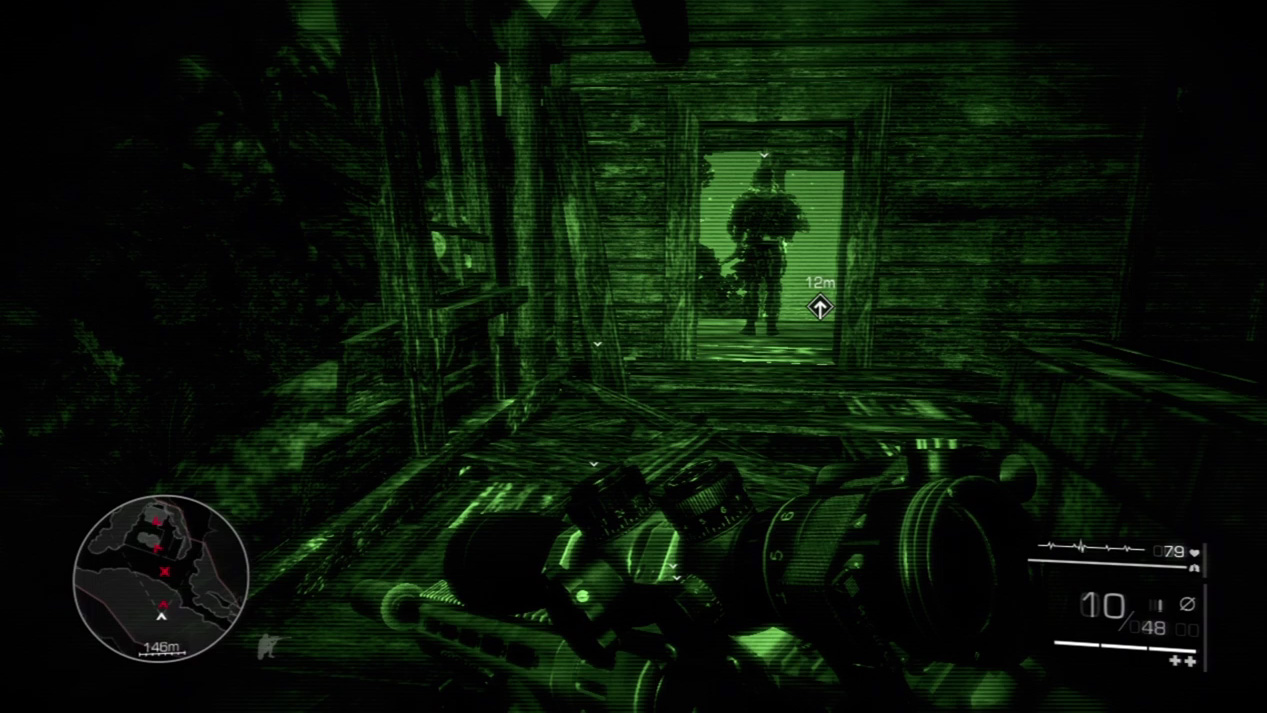
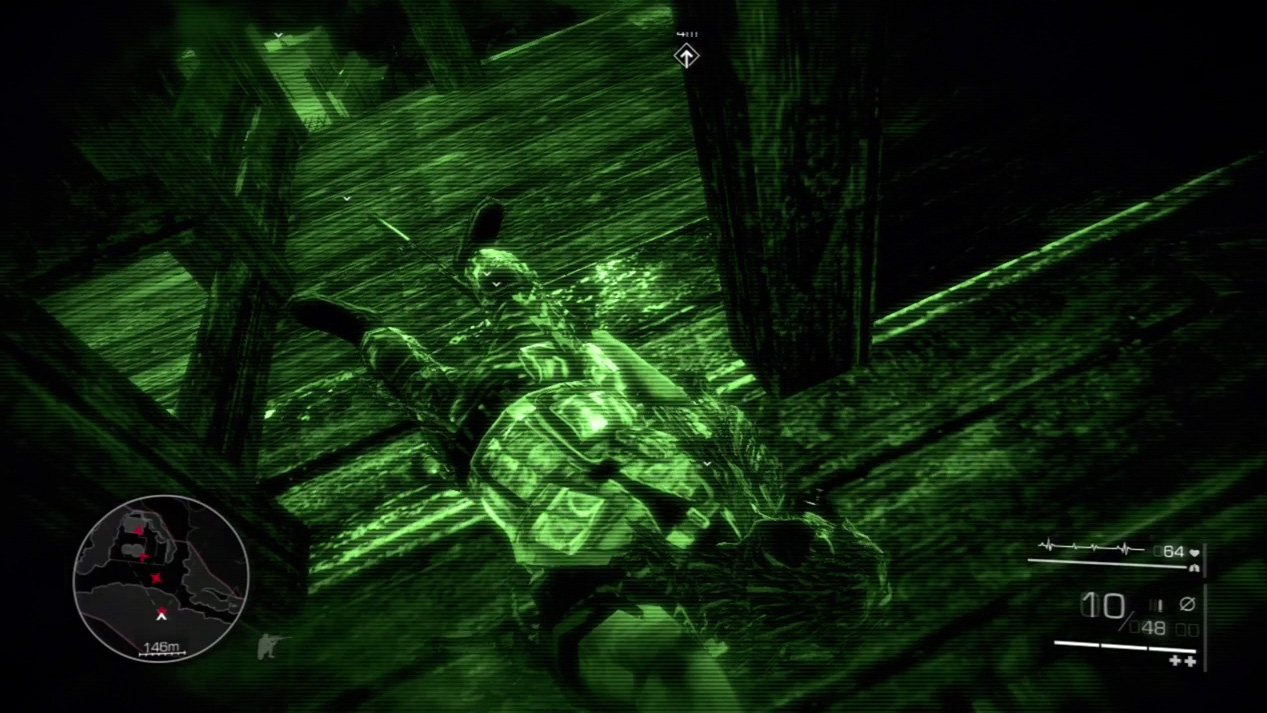
An enemy sniper surveys the valley from inside the ruined house. Sneak up behind him and cut him down with a stealth kill. Drag his body back inside the house to leave room for your sniper spot out on the dilapidated porch.
Waypoint 11
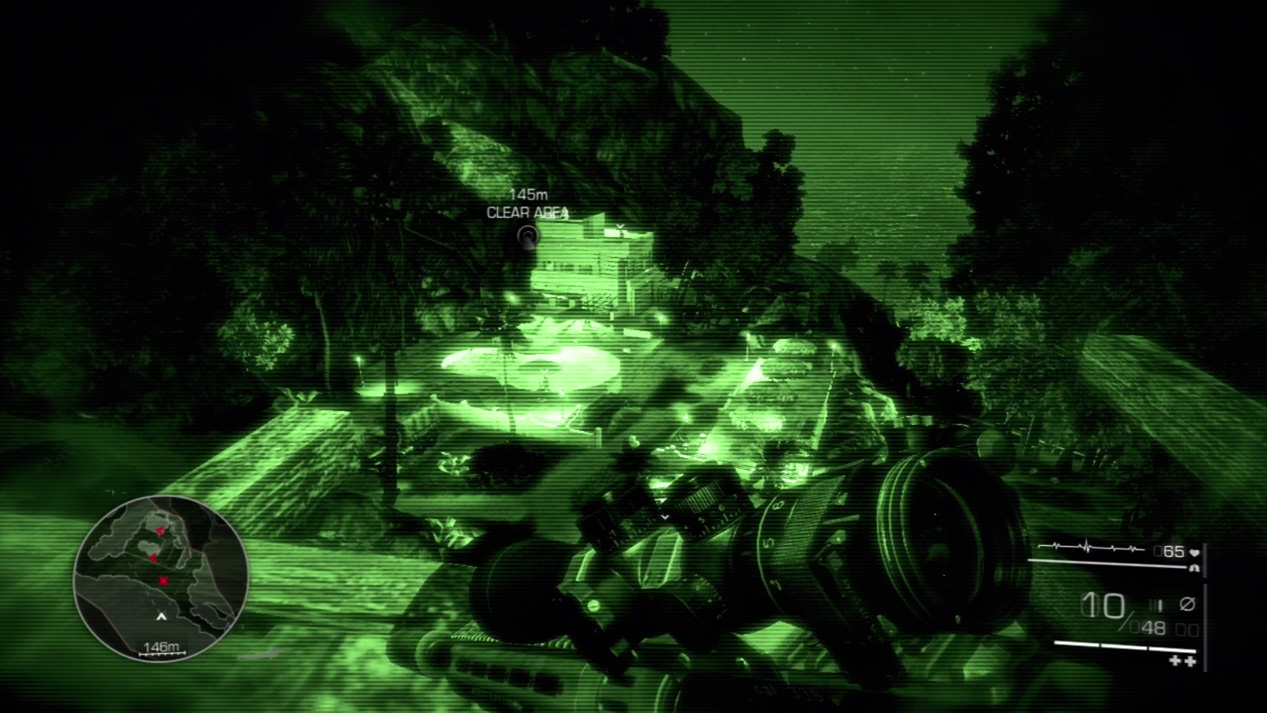
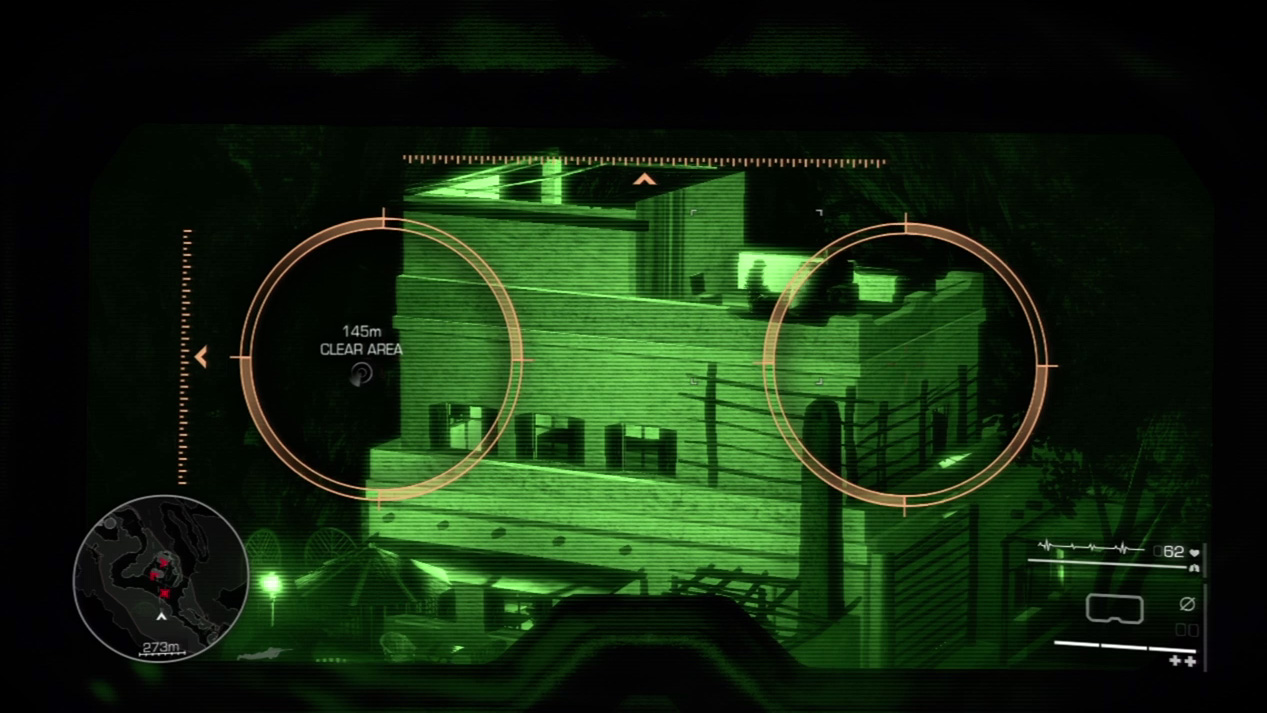
Examine thoroughly the enemy compound in the valley. There are four enemies spread out about the grounds: one on the roof, one next to the pool, and two talking beside the truck.
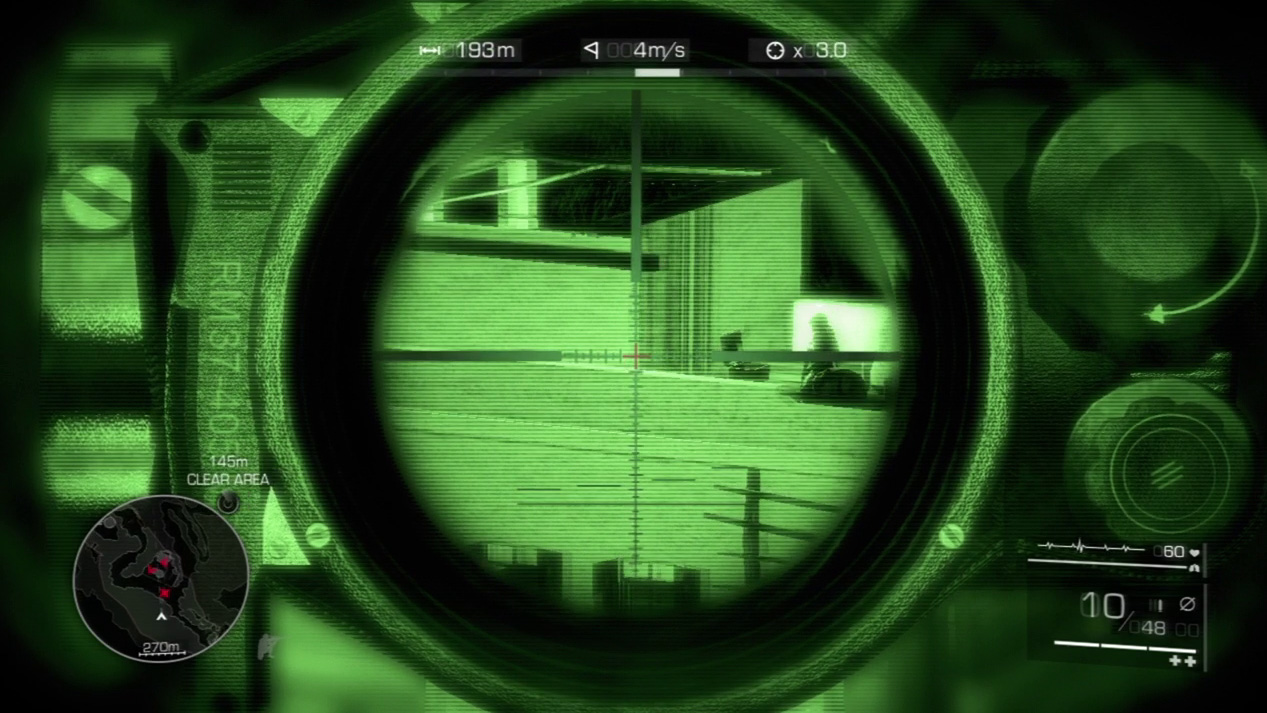
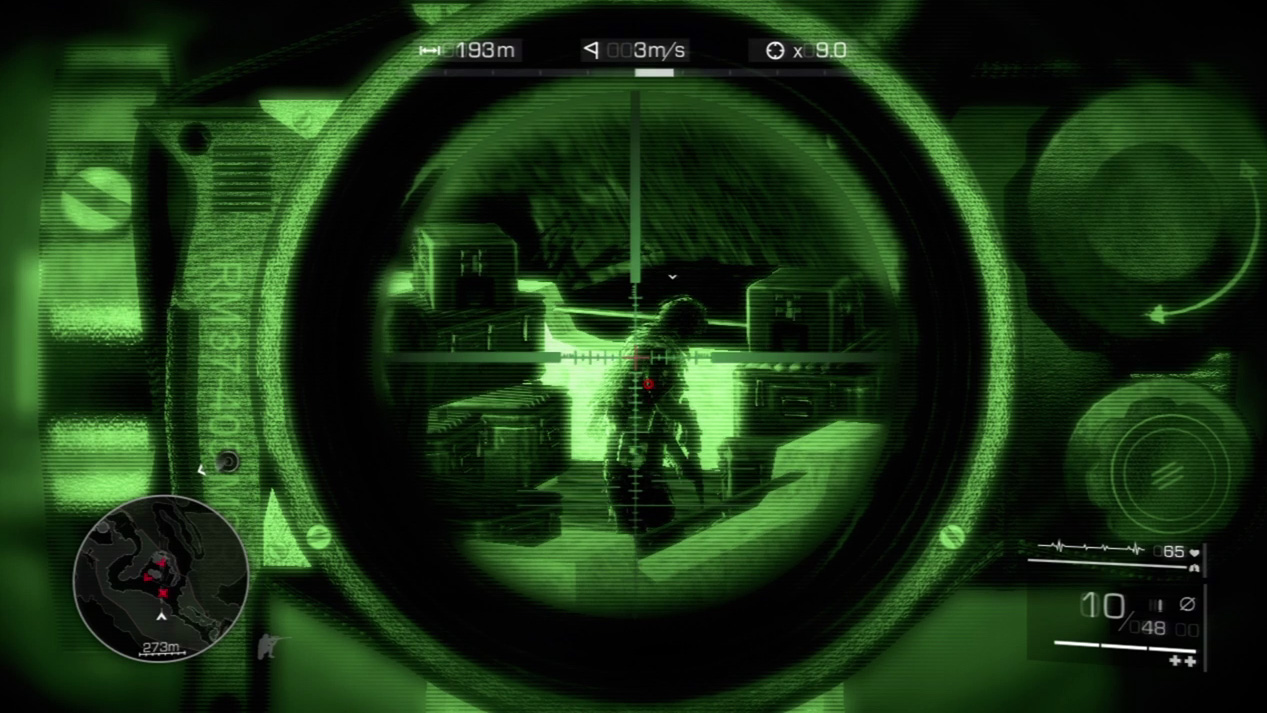
Your first target should be the sniper on the roof. He can see all the other enemies and will shoot on you immediately if you down another target first. Kill him so you have the freedom to assail the ground targets.
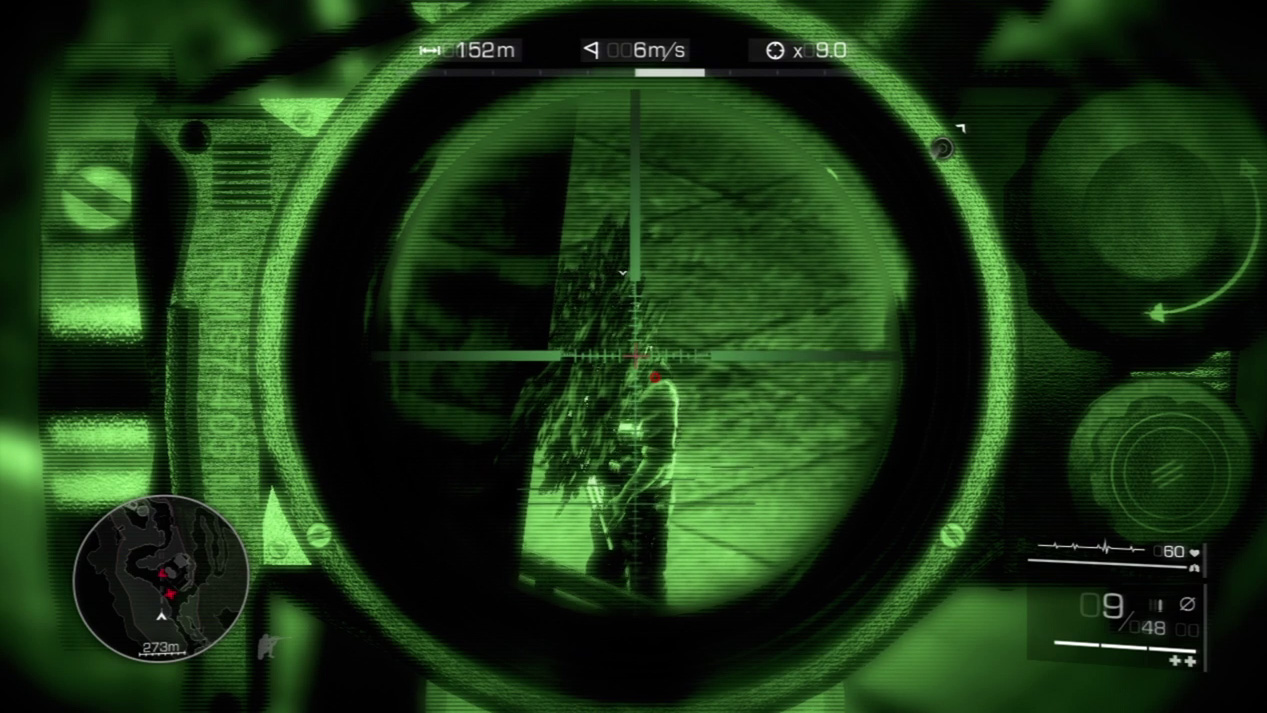
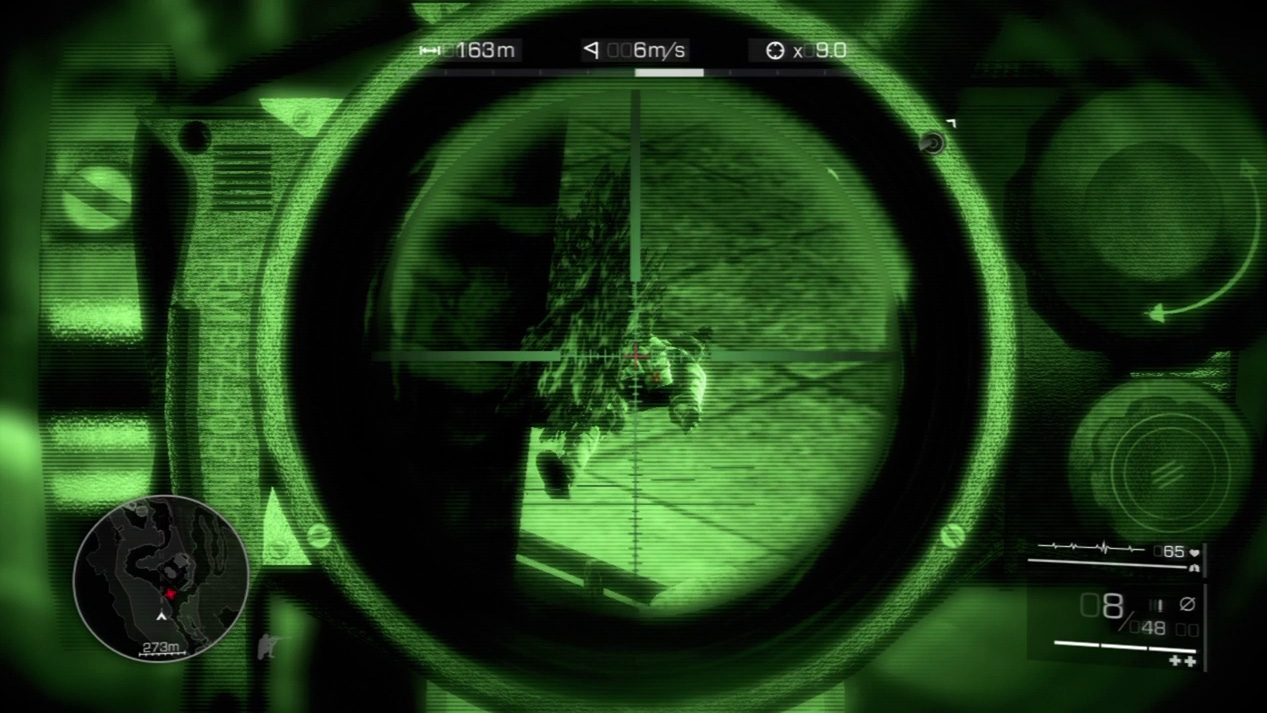
Now zoom down on the pool area. Look for the guard out to the far left. You may have to move slightly to line up a shot that puts him on his back.
Special Shot: Head to Thigh
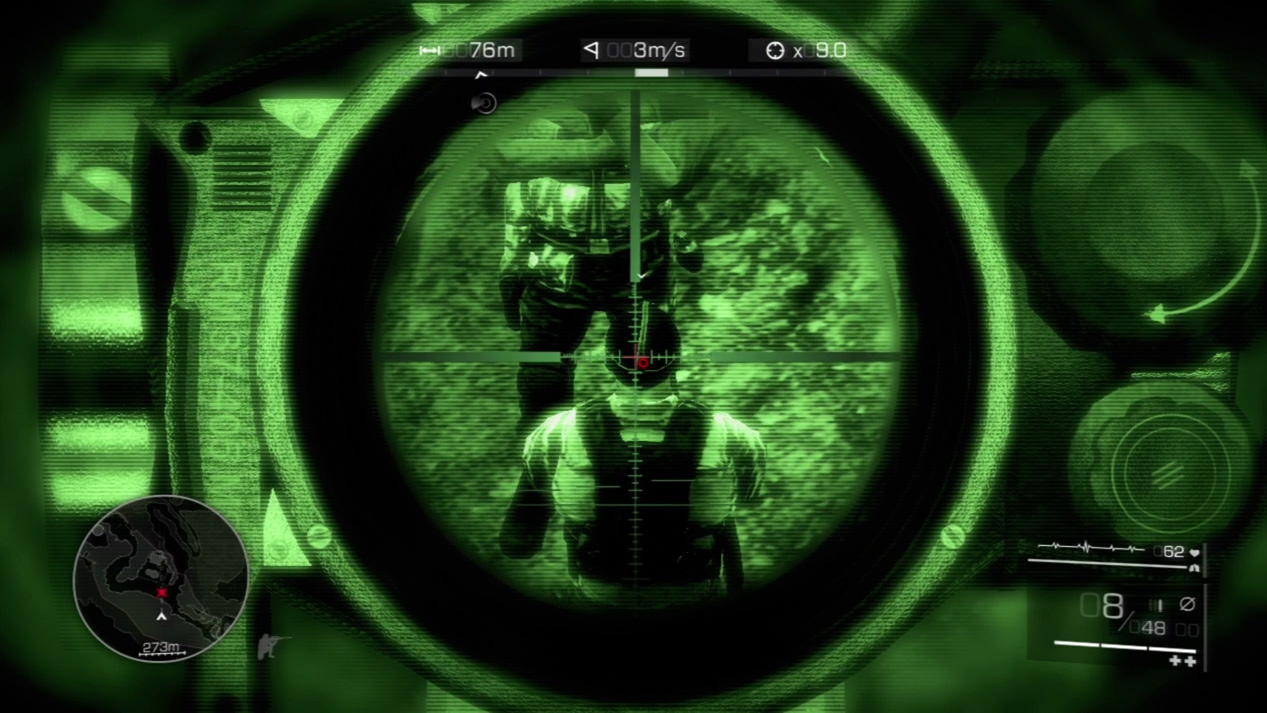
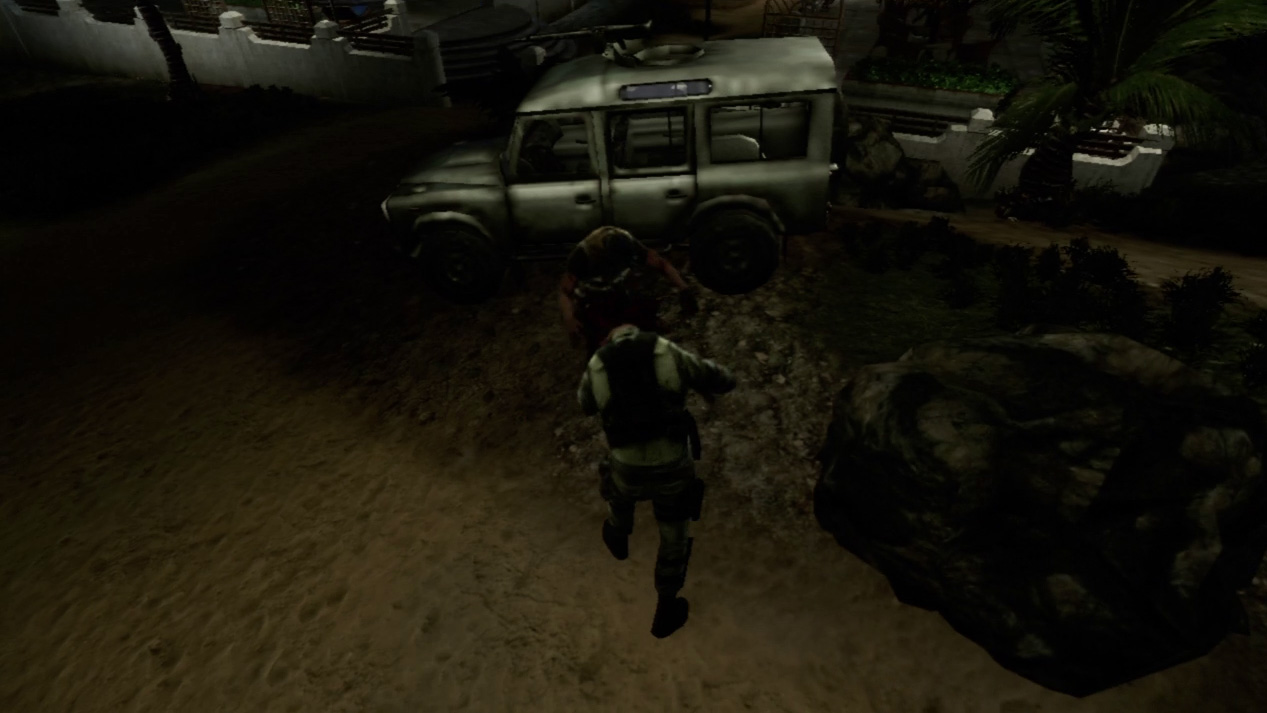
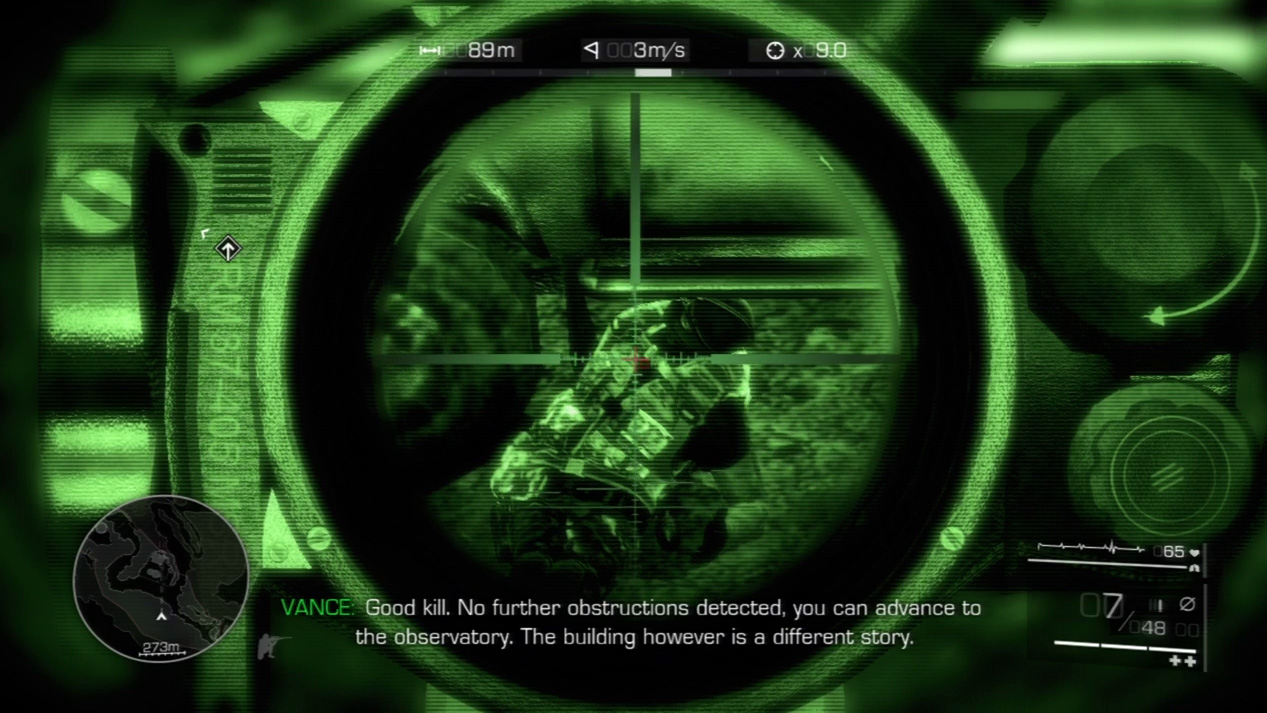
The two guards talking by the truck can be taken out with a single bullet, but it’s tricky. For this double kill, you must sight on the back of the closer guard’s head and put the bullet through the cranium and into the second guard’s thigh. If you can pull this off, you’ll remove both guards without incident. If the bullet drops a little bit and strikes the second guard lower in the leg, he’ll still be alive. In that case, before he can bolt for cover, drill him with a second shot.
Act 1: Secret 7
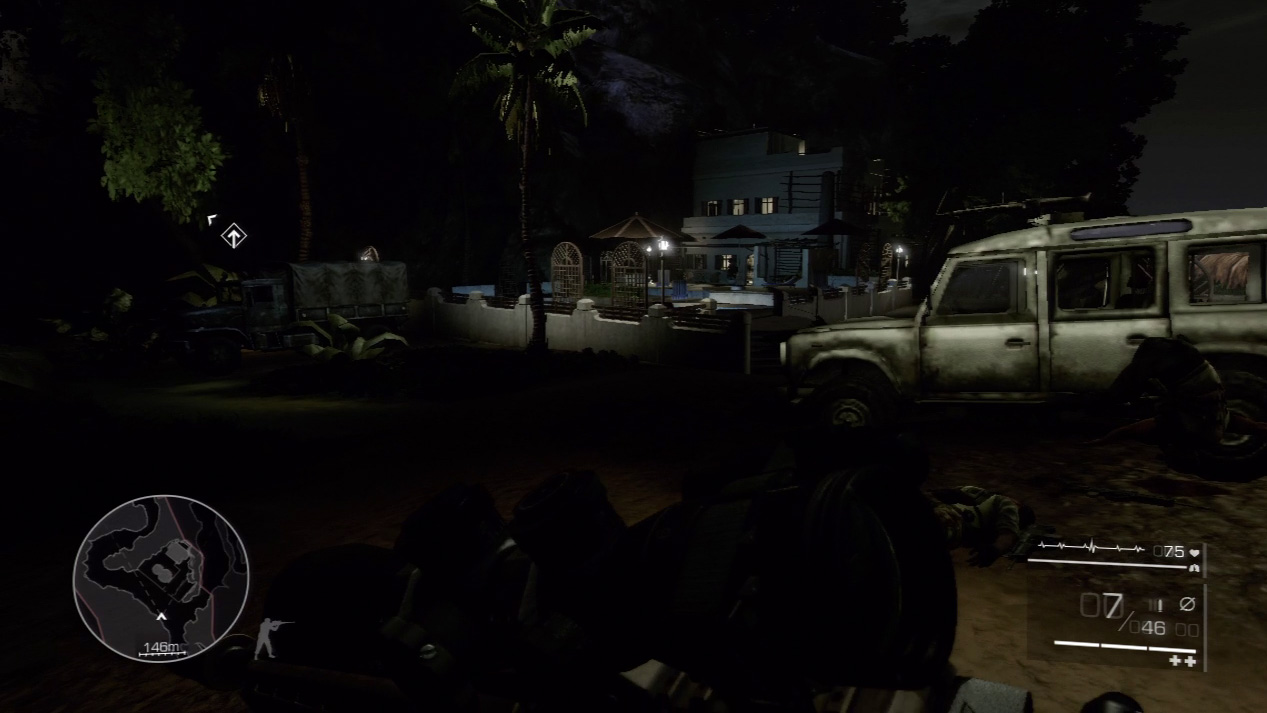
You’ll hustle right by this secret if you aren’t careful. It’s inside the enemy compound before you head up to the observatory. After you kill the enemies defending the compound, enter the grounds, walk around the figure-eight-shaped pool, and fetch the statue from a table to the right inside the house.
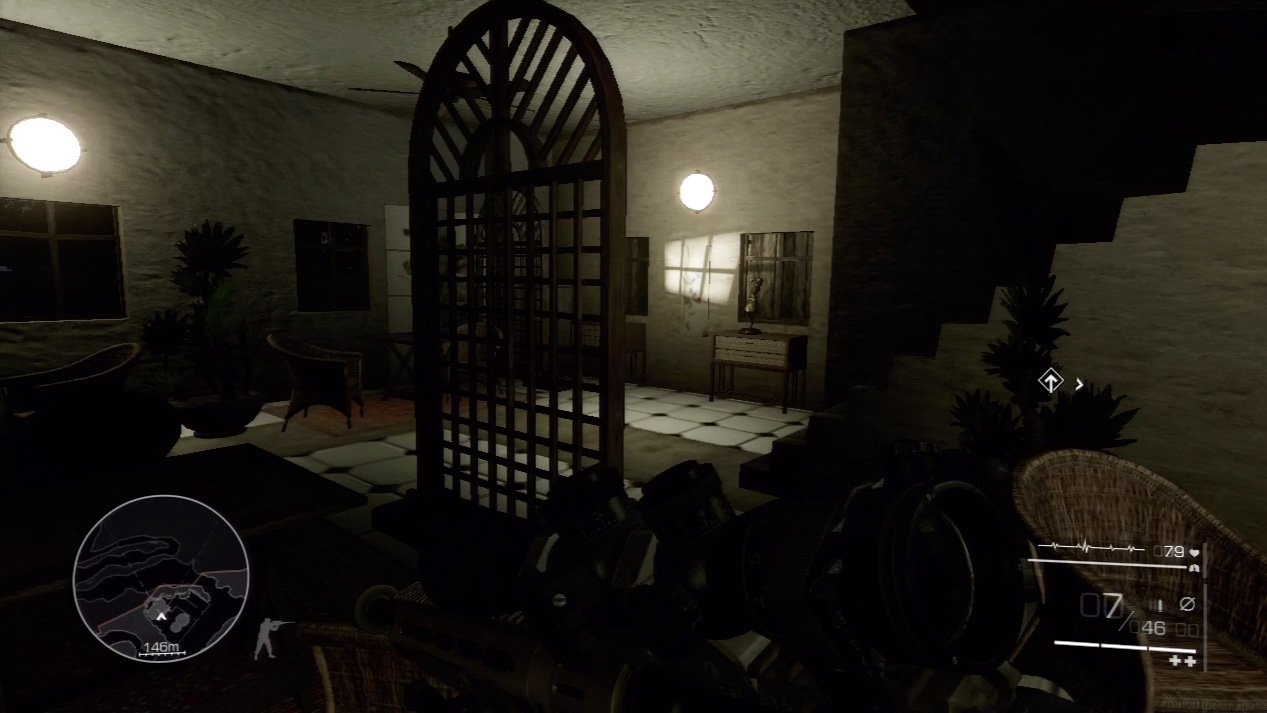
Waypoint 12
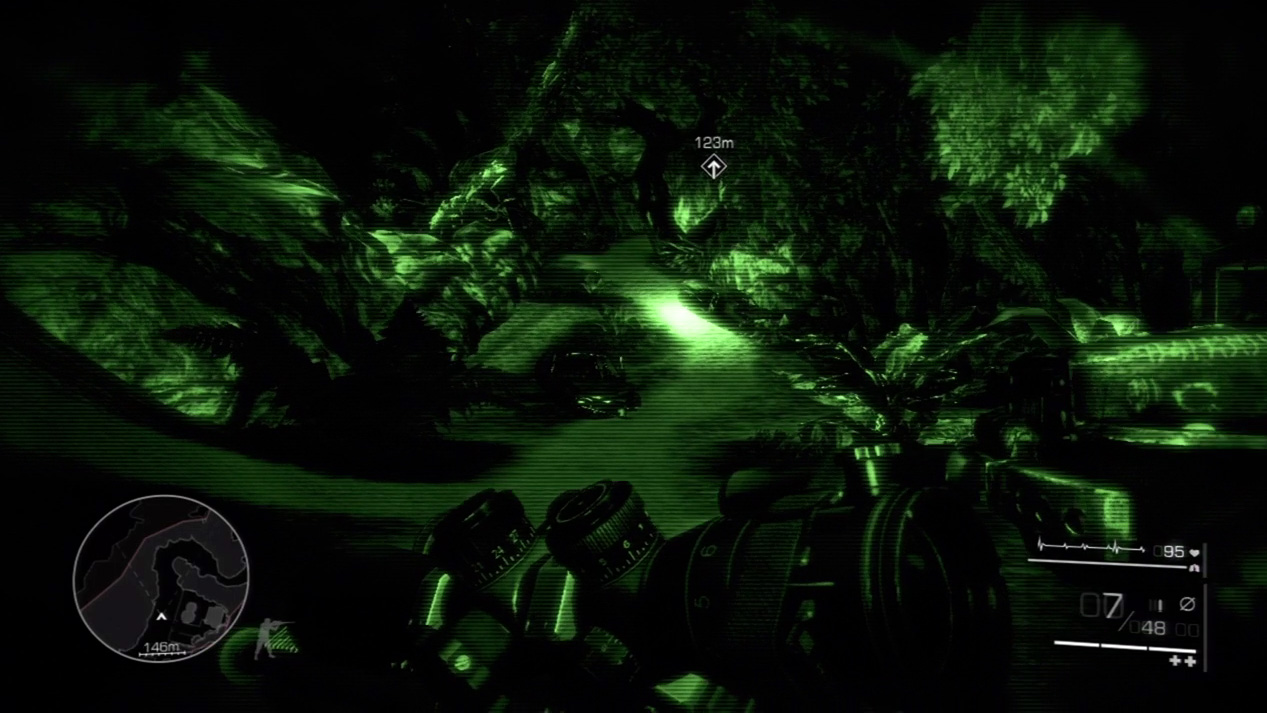
Retrace your steps back to the fork and take the right path. Run down the road in front of the complex and up the far hill. Crouch as the hills close in on you again.
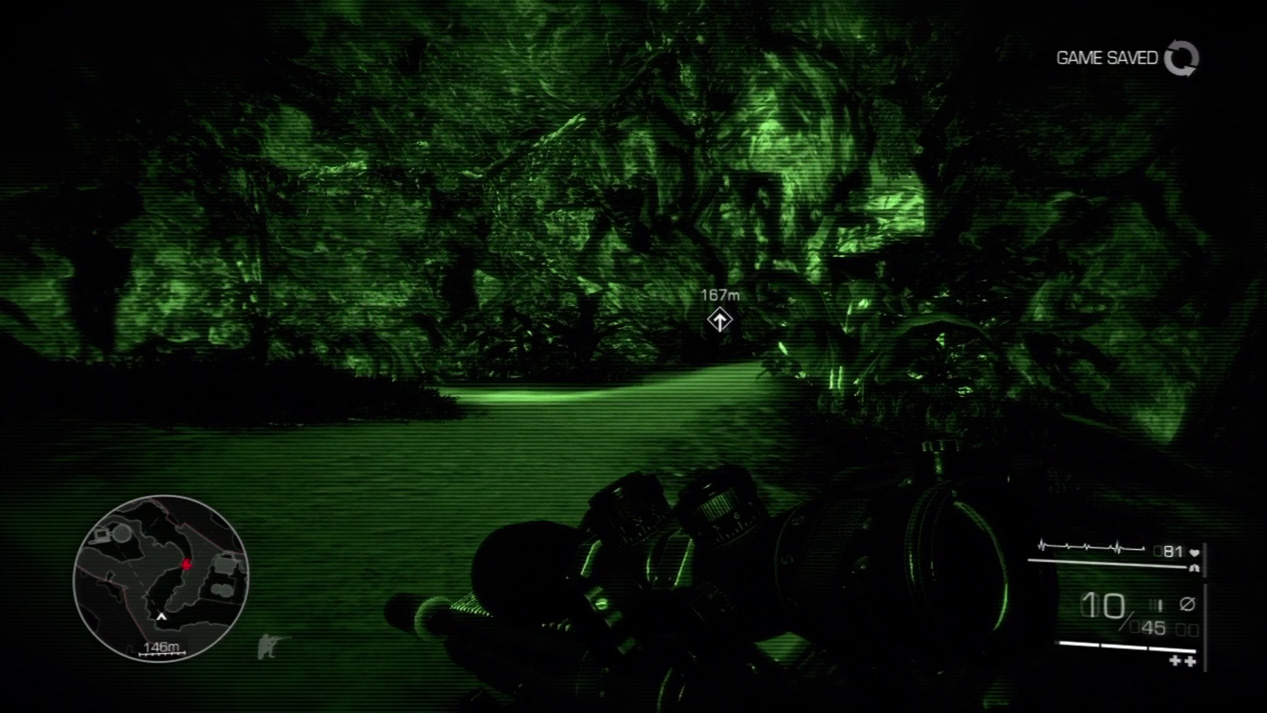
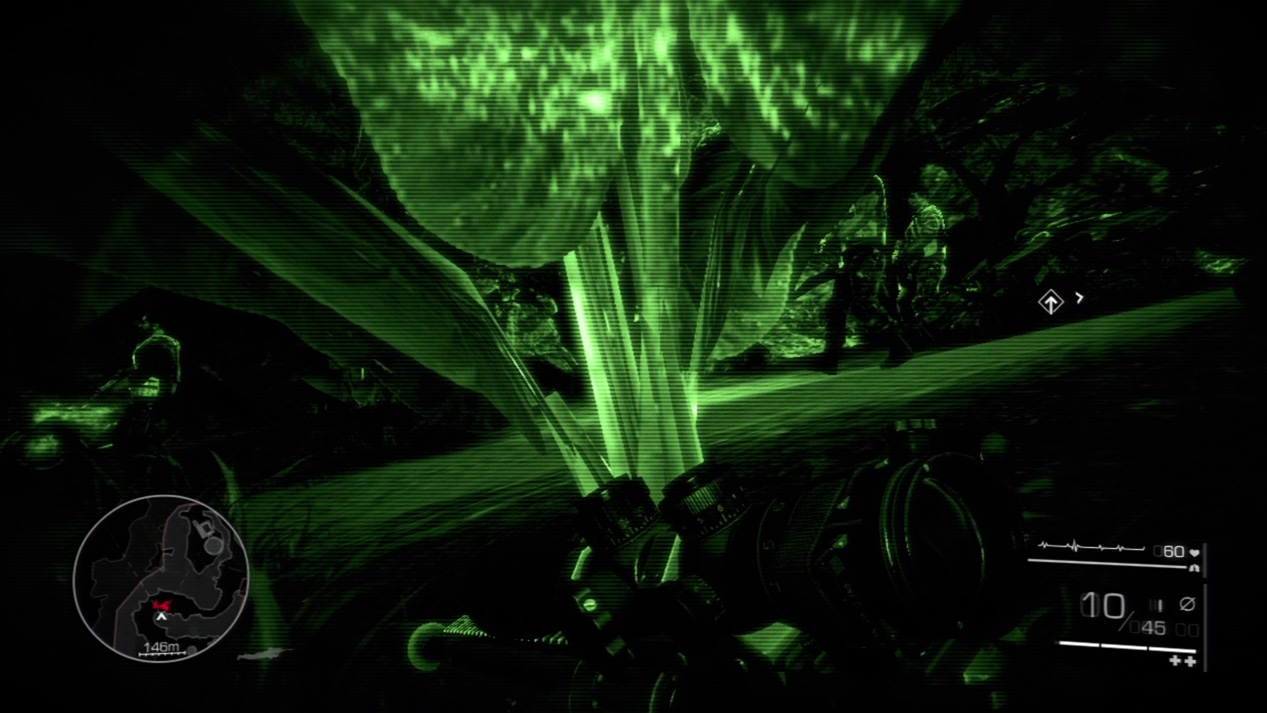
When you see the birds scatter on the path farther up the hill, duck off into the weeds on the right side of the path. Go prone and watch as a three-man patrol continues down the path and toward the enemy complex below. If you hide well, you can avoid this fight and save your bullets for the enemies ahead.
Waypoint 13
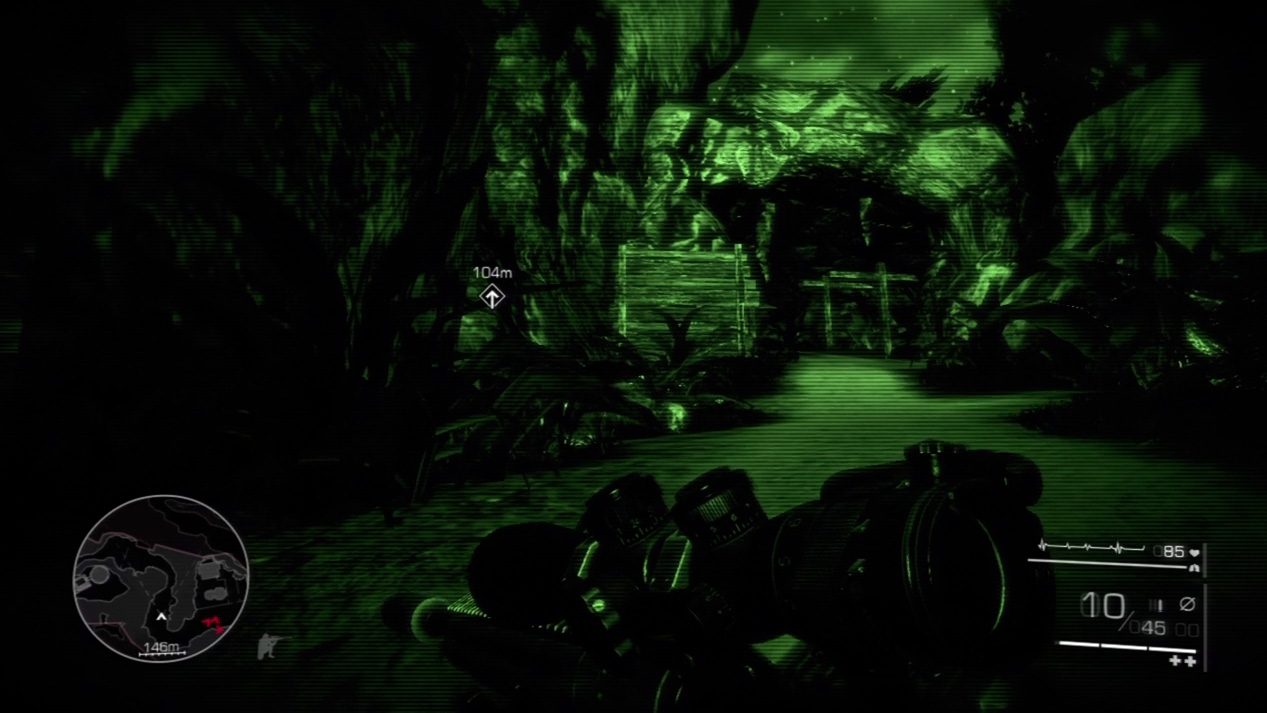
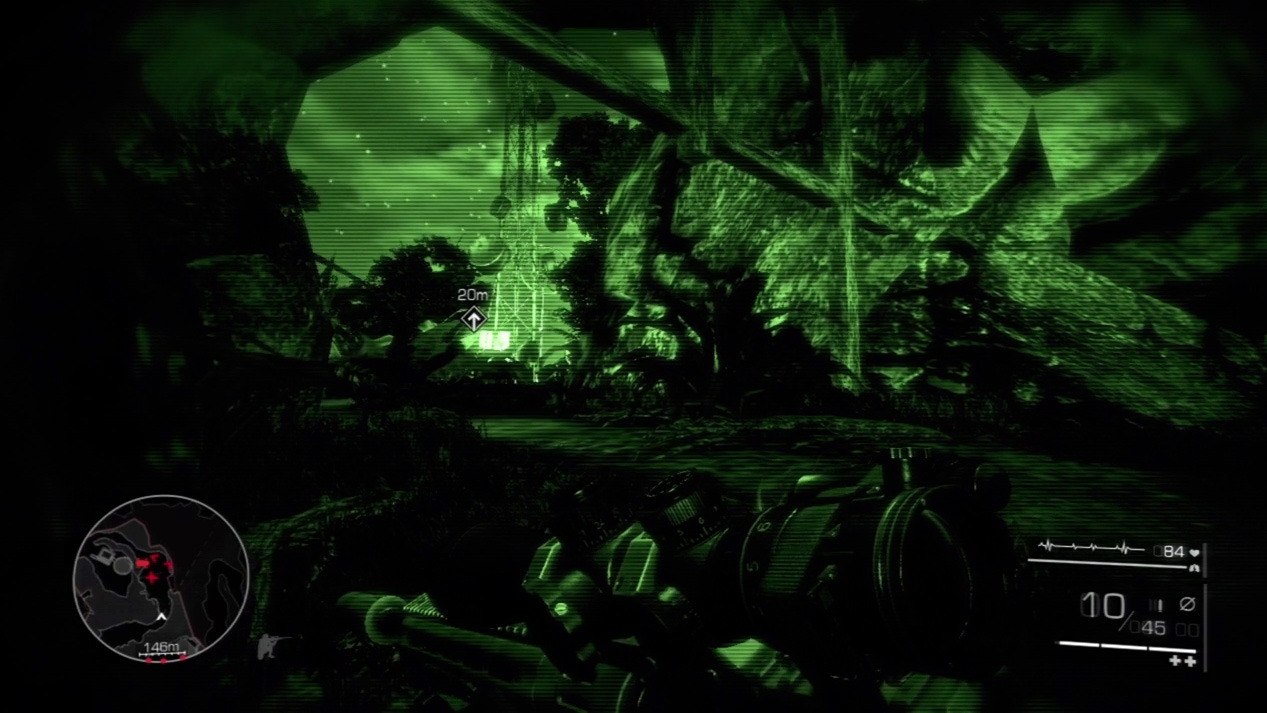
When you reach the summit, stick to the cover around you. The heavily guarded observatory lies ahead. A machine gunner defends the main entrance, and you don’t want that hardware shooting at you.
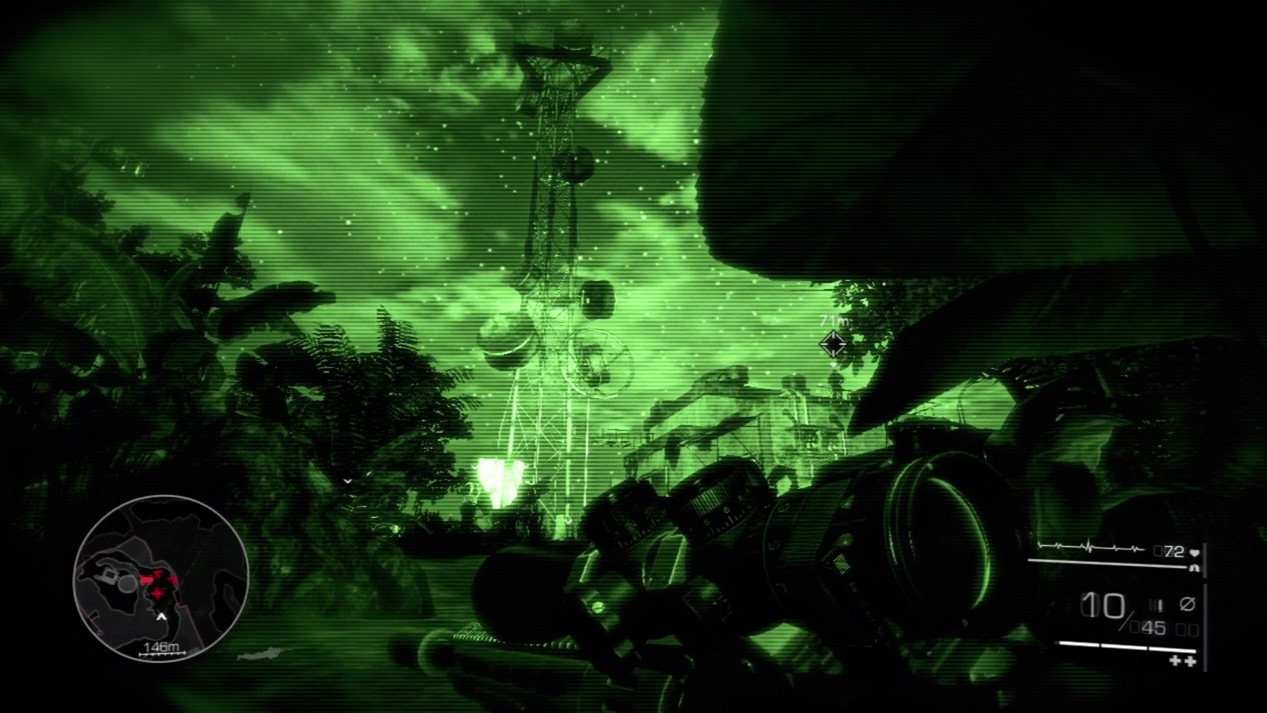
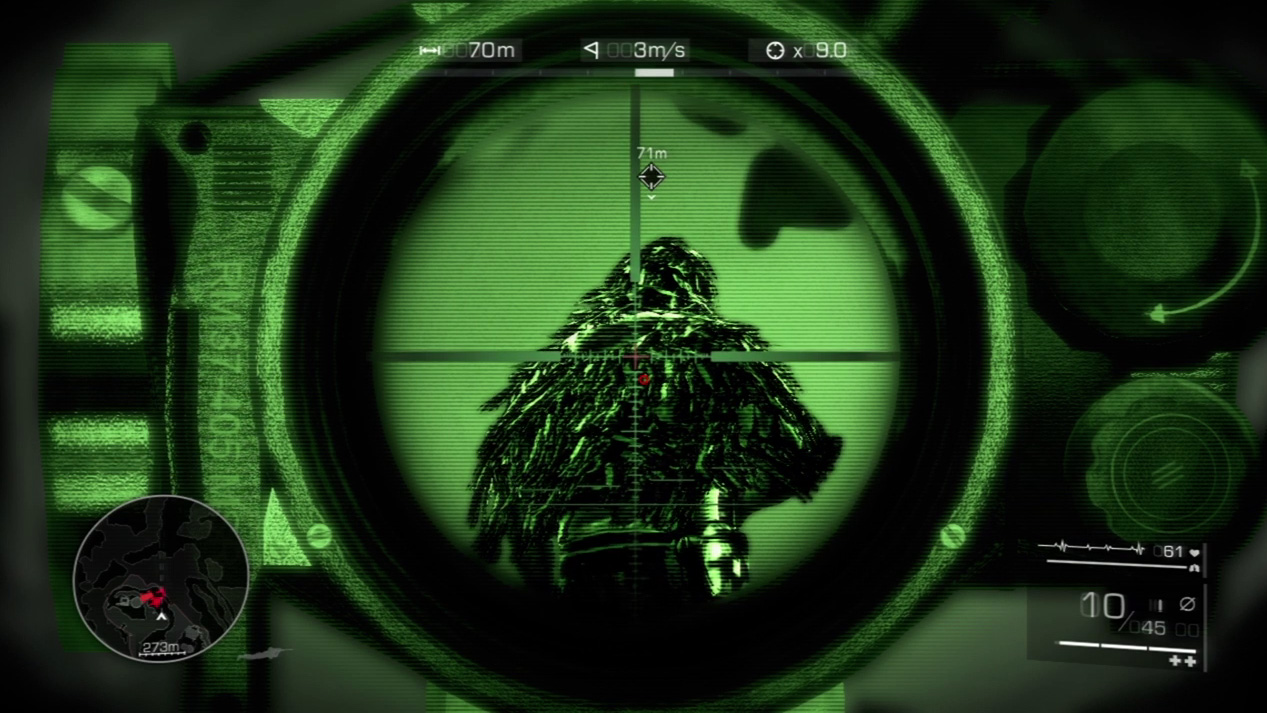
Drop to the prone position and crawl toward the main entrance. Stay under the foliage at all times. You don’t want the enemy sniper to spot you crawling around, so you’ll have to take him out first. Wait until he paces over to the right side of the roof and pick him off when he pauses.
Waypoint 14
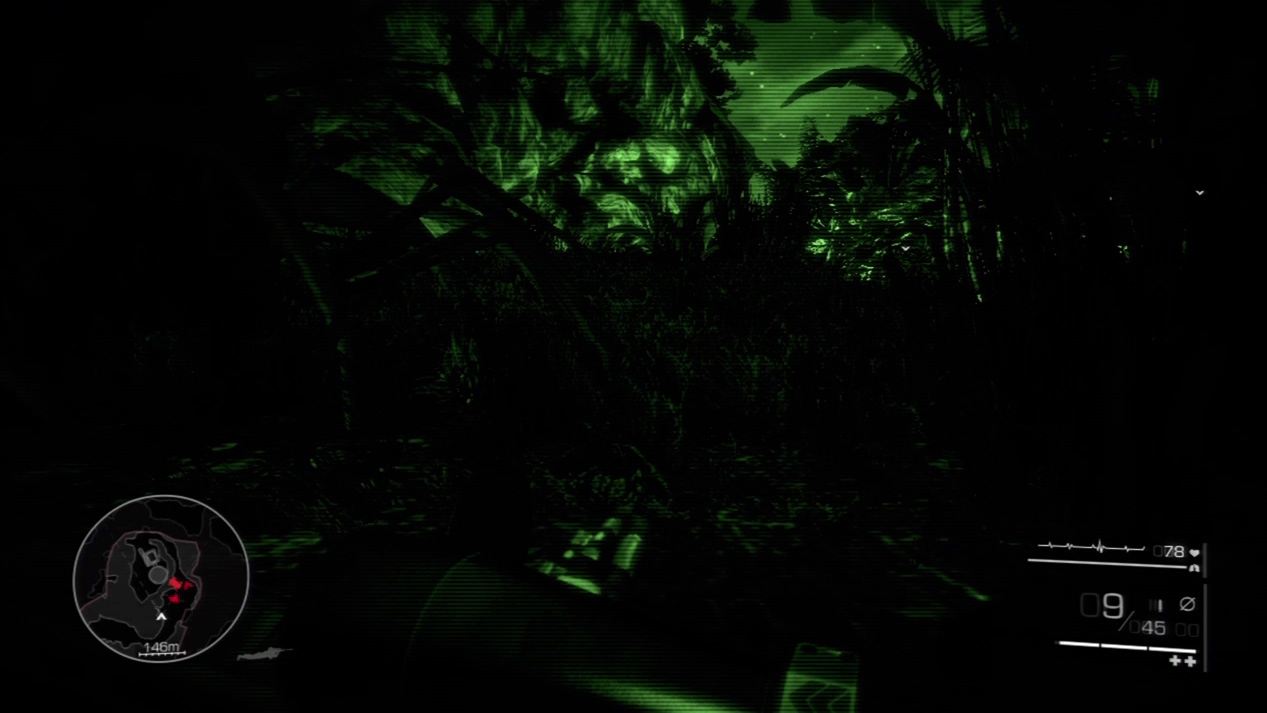
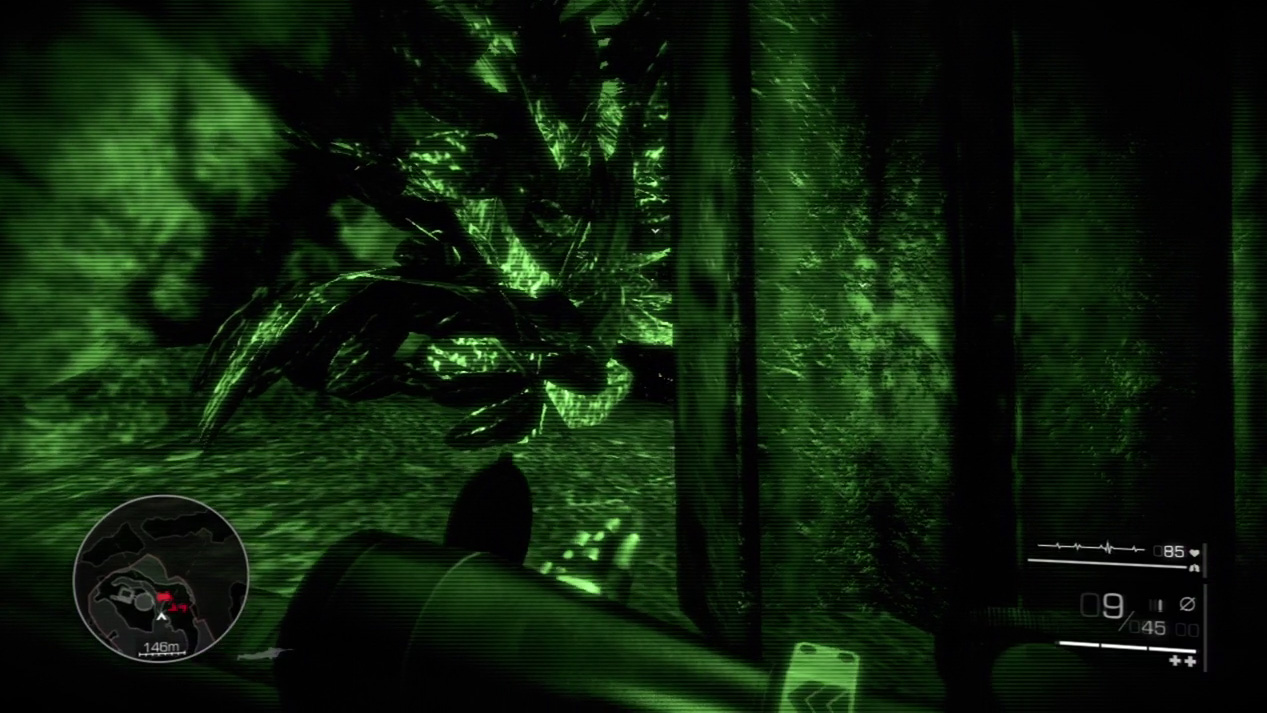
After you’ve taken care of the sniper, crawl through the foliage and keep as low a profile as you can. Head into the deep grass and hug the rock wall until you reach a gap into the complex.
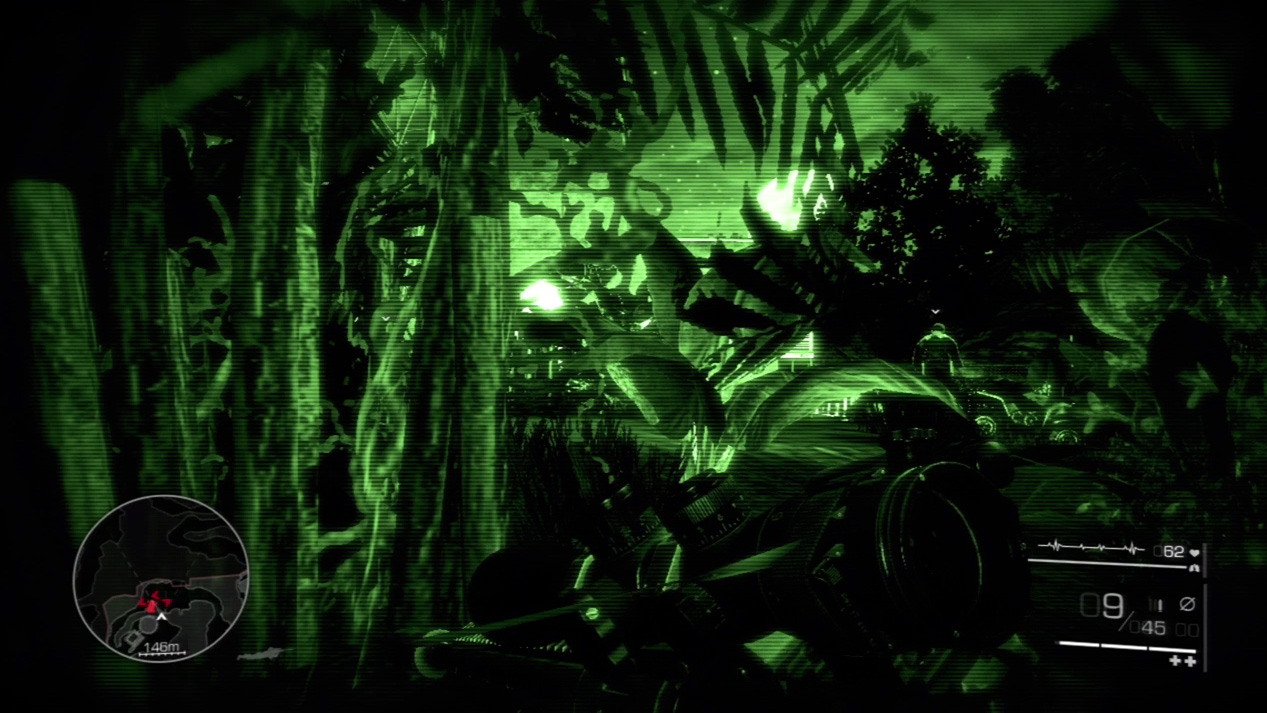
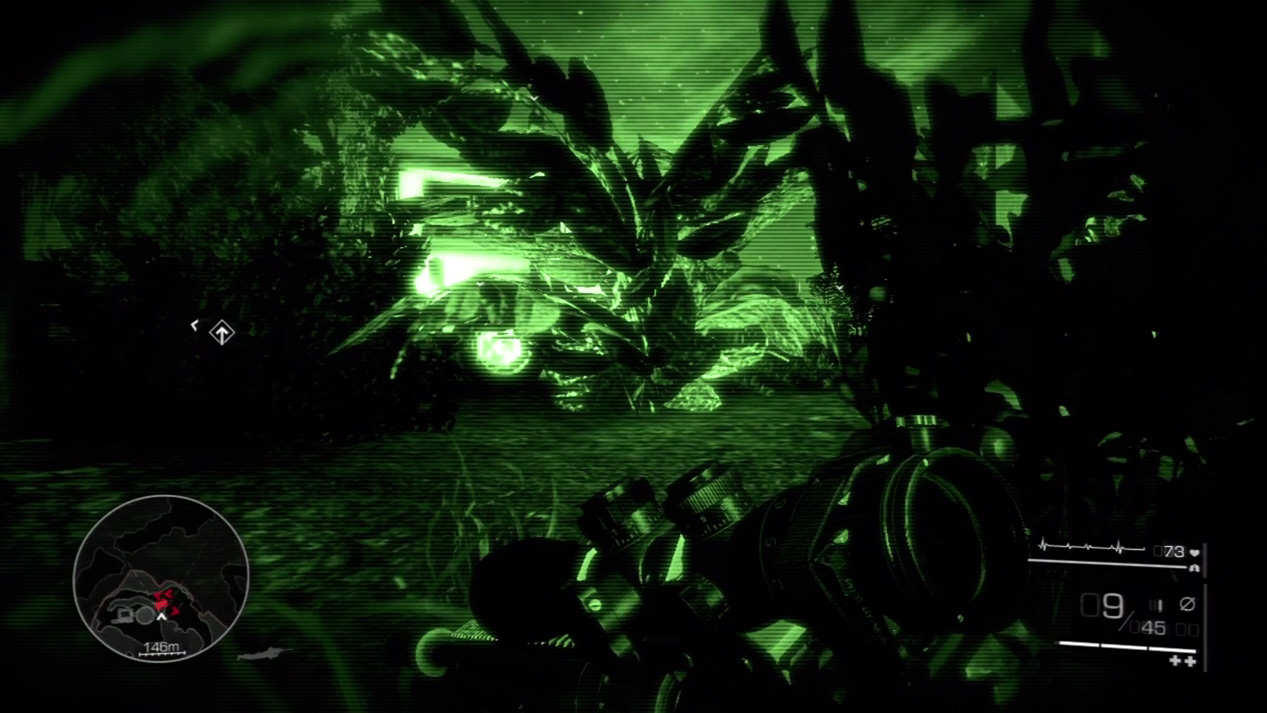
Keep crawling past the enemies on patrol. Eventually, you’ll see a parked jeep. Stay to the left of this jeep and follow the heaviest cover.
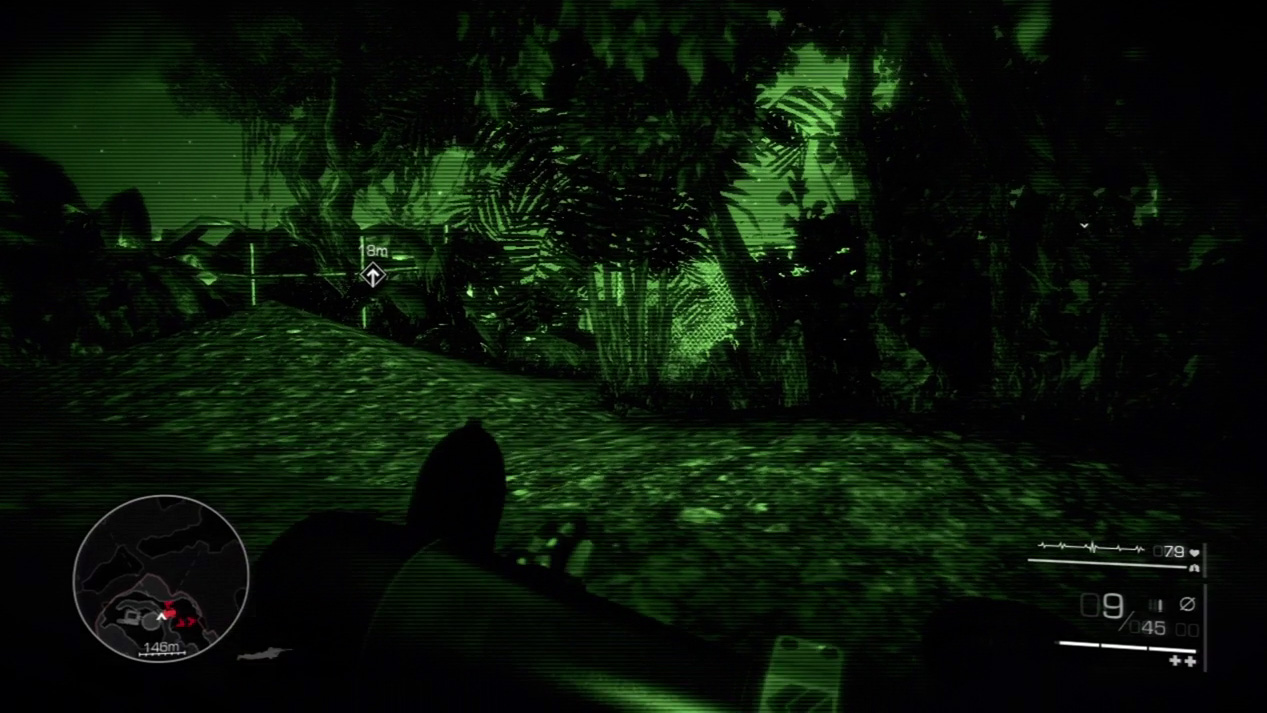
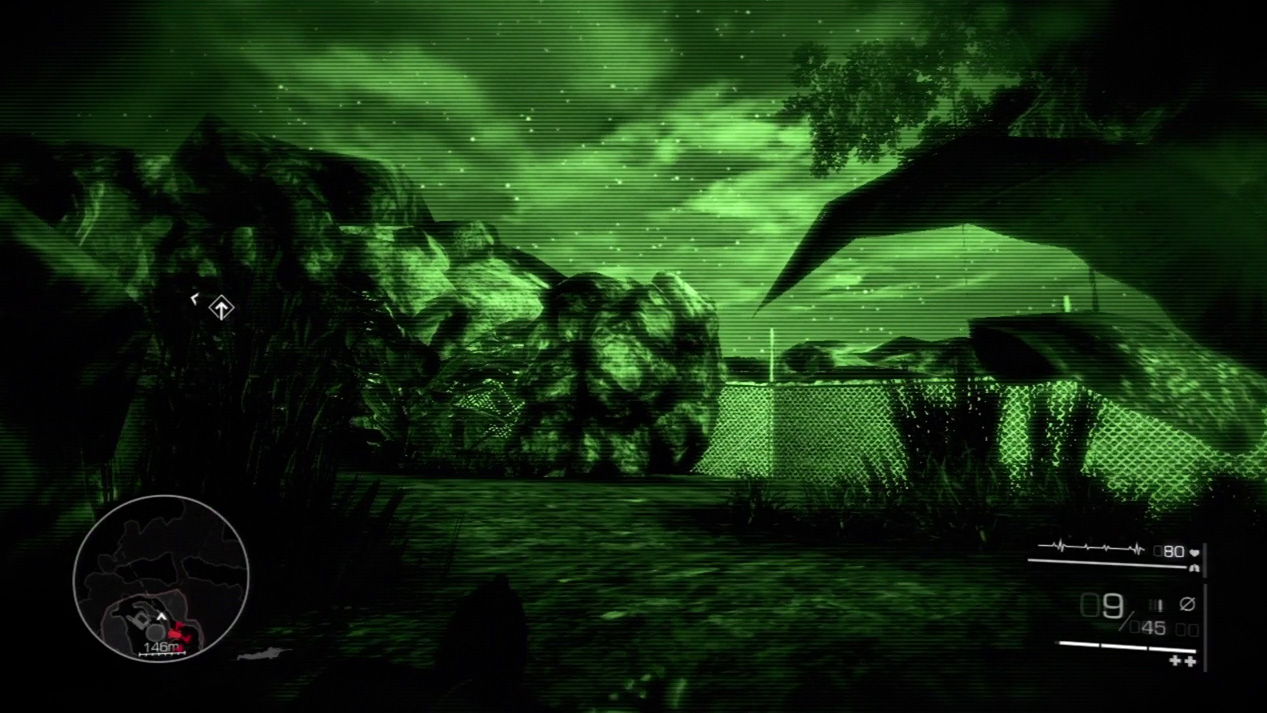
After the jeep, you’ll reach the outer fence near the back of the complex. Follow the fence until you spot a path that winds up the mountainside. Take this path.
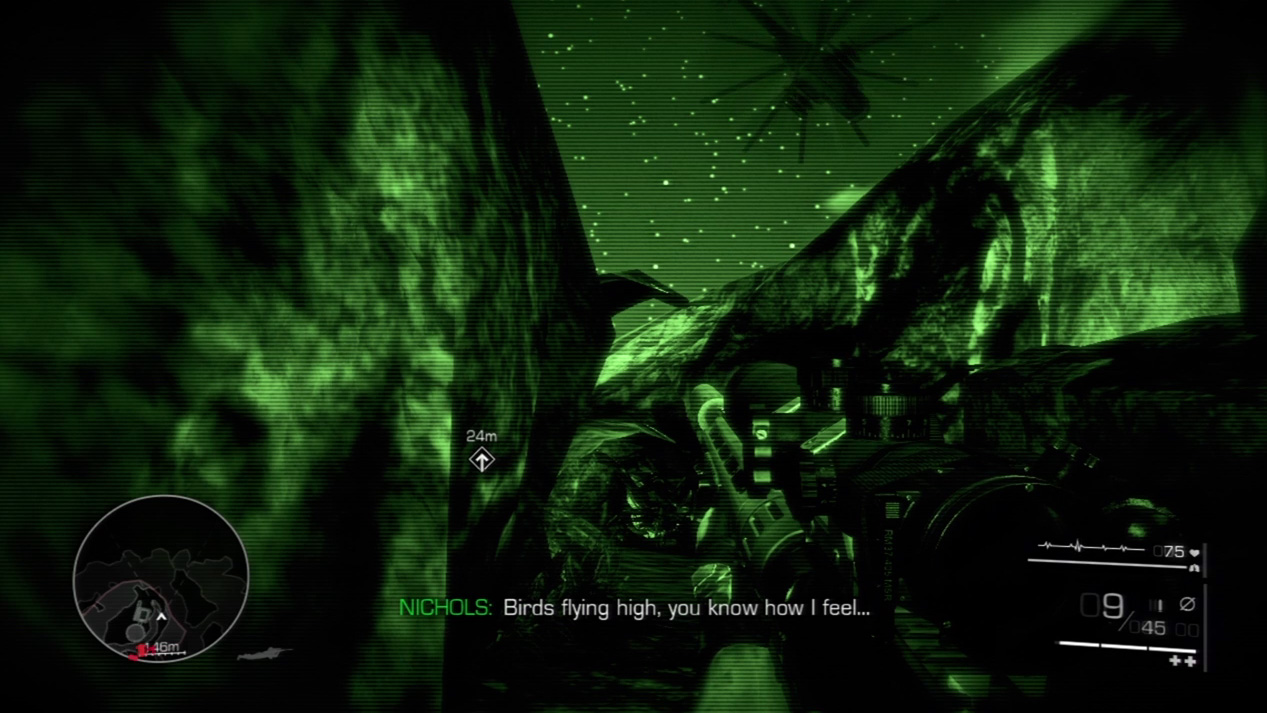
When you comm alerts you that an enemy chopper is flying overhead, duck for cover and stay still until it passes.
Waypoint 11
Examine thoroughly the enemy compound in the valley. There are four enemies spread out about the grounds: one on the roof, one next to the pool, and two talking beside the truck.
Your first target should be the sniper on the roof. He can see all the other enemies and will shoot on you immediately if you down another target first. Kill him so you have the freedom to assail the ground targets.
Now zoom down on the pool area. Look for the guard out to the far left. You may have to move slightly to line up a shot that puts him on his back.
Special Shot: Head to Thigh
The two guards talking by the truck can be taken out with a single bullet, but it’s tricky. For this double kill, you must sight on the back of the closer guard’s head and put the bullet through the cranium and into the second guard’s thigh. If you can pull this off, you’ll remove both guards without incident. If the bullet drops a little bit and strikes the second guard lower in the leg, he’ll still be alive. In that case, before he can bolt for cover, drill him with a second shot.
Act 1: Secret 7
You’ll hustle right by this secret if you aren’t careful. It’s inside the enemy compound before you head up to the observatory. After you kill the enemies defending the compound, enter the grounds, walk around the figure-eight-shaped pool, and fetch the statue from a table to the right inside the house.
Waypoint 12
Retrace your steps back to the fork and take the right path. Run down the road in front of the complex and up the far hill. Crouch as the hills close in on you again.
When you see the birds scatter on the path farther up the hill, duck off into the weeds on the right side of the path. Go prone and watch as a three-man patrol continues down the path and toward the enemy complex below. If you hide well, you can avoid this fight and save your bullets for the enemies ahead.
Waypoint 13
When you reach the summit, stick to the cover around you. The heavily guarded observatory lies ahead. A machine gunner defends the main entrance, and you don’t want that hardware shooting at you.
Drop to the prone position and crawl toward the main entrance. Stay under the foliage at all times. You don’t want the enemy sniper to spot you crawling around, so you’ll have to take him out first. Wait until he paces over to the right side of the roof and pick him off when he pauses.
Waypoint 14
After you’ve taken care of the sniper, crawl through the foliage and keep as low a profile as you can. Head into the deep grass and hug the rock wall until you reach a gap into the complex.
Keep crawling past the enemies on patrol. Eventually, you’ll see a parked jeep. Stay to the left of this jeep and follow the heaviest cover.
After the jeep, you’ll reach the outer fence near the back of the complex. Follow the fence until you spot a path that winds up the mountainside. Take this path.
When you comm alerts you that an enemy chopper is flying overhead, duck for cover and stay still until it passes.