
Sniper Ghost Warrior 2 Guide Walkthrough Mission 2: From Out of Nowhere
2.4 Waypoints 15-16
Waypoint 15
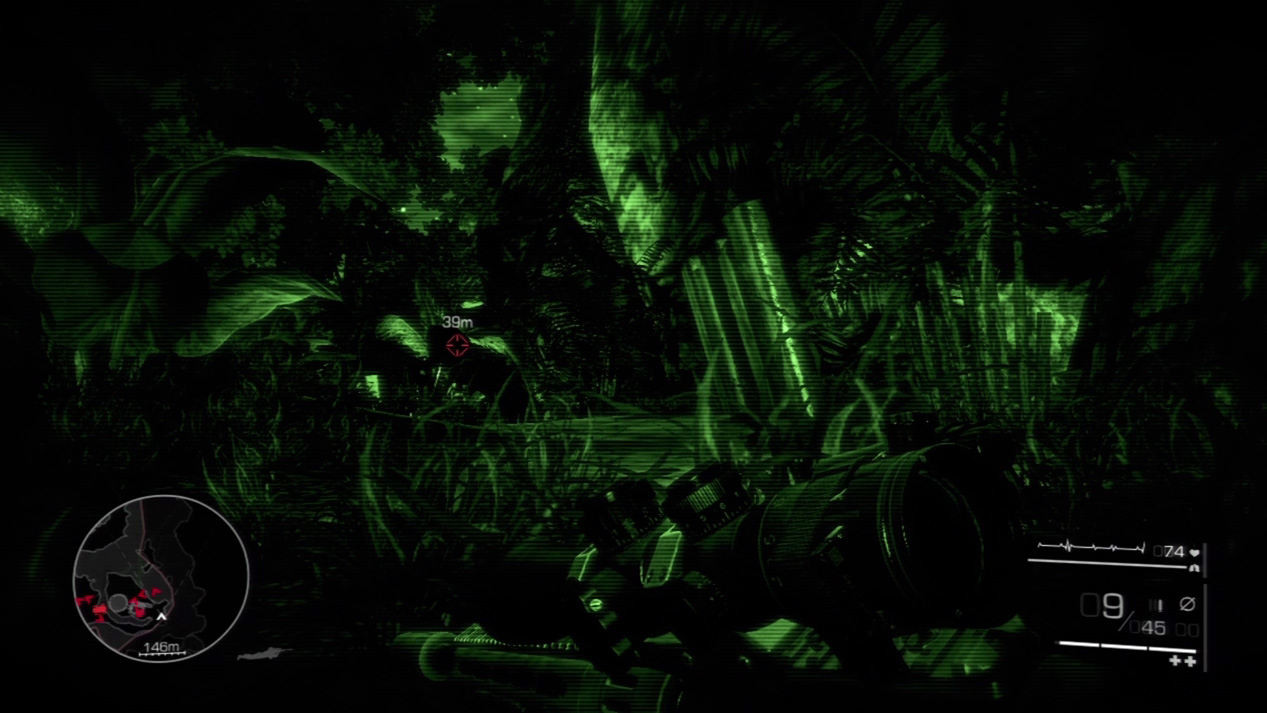
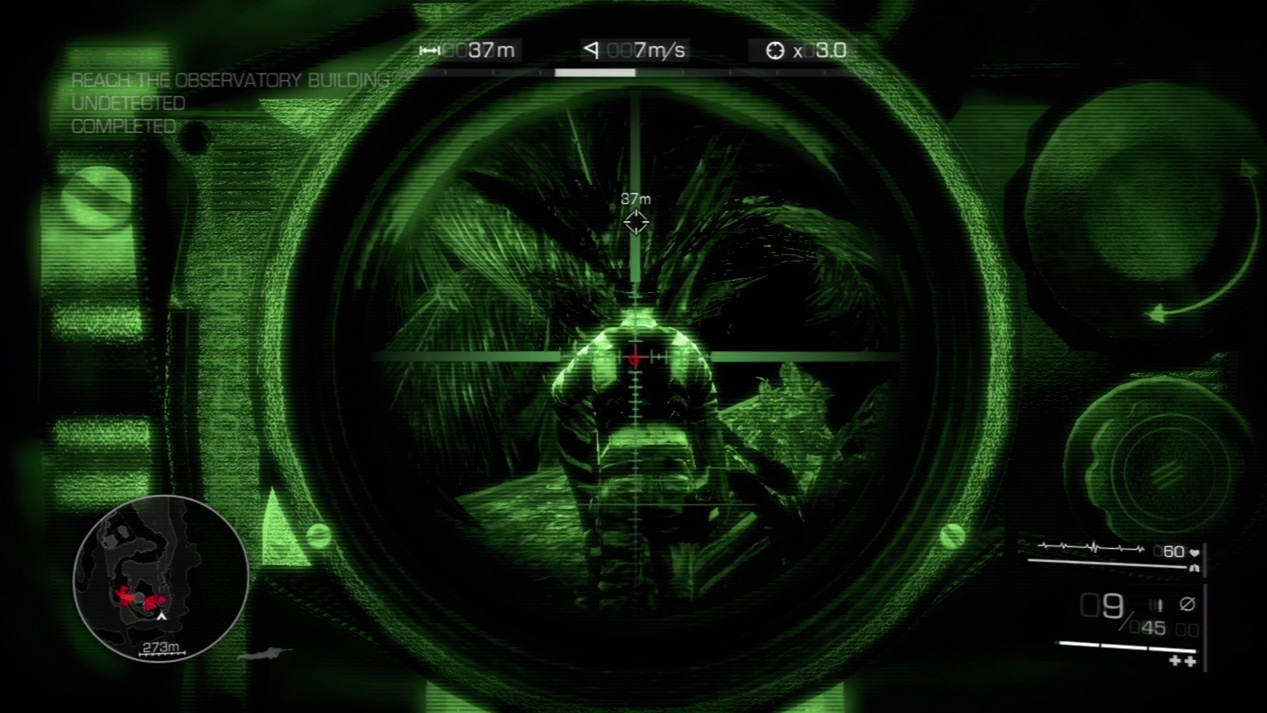
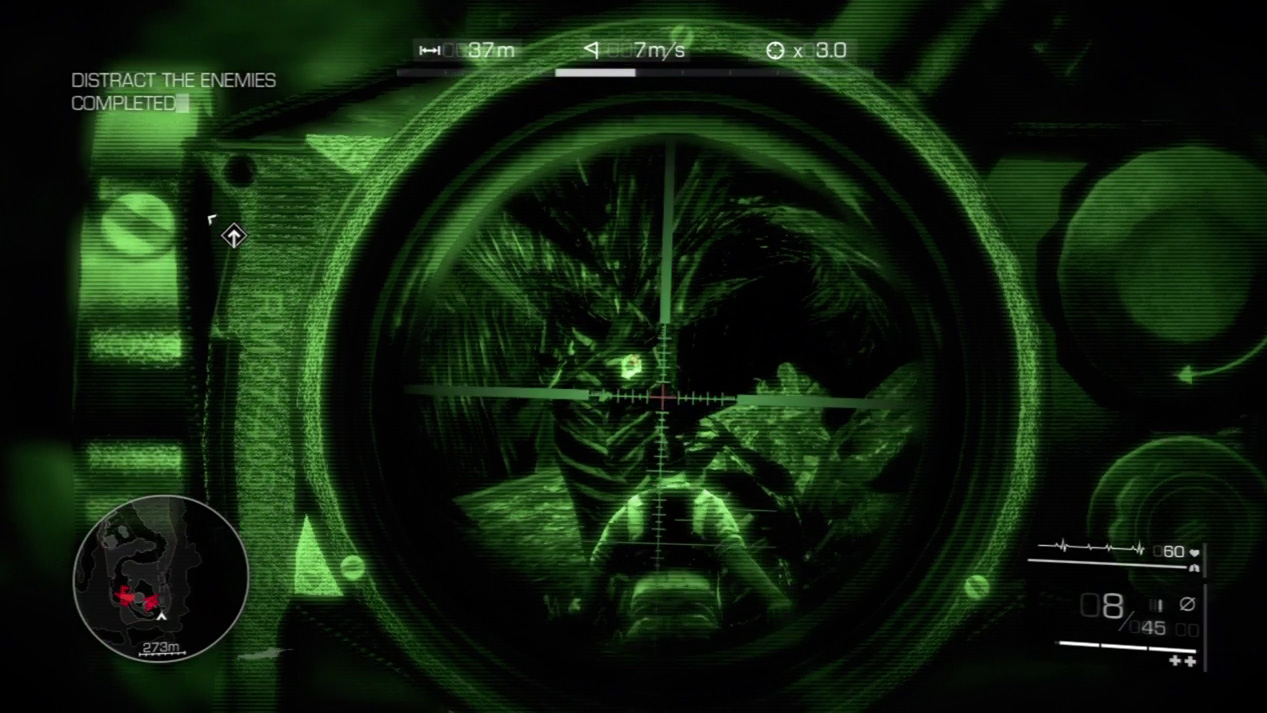
Continue up the hill to the observatory. When you see the building, duck down into a crouch and look for a good position to drop prone and aim at the enemy standing on the path ahead. By downing the enemy on the path, you can create a trap for the others in the area.
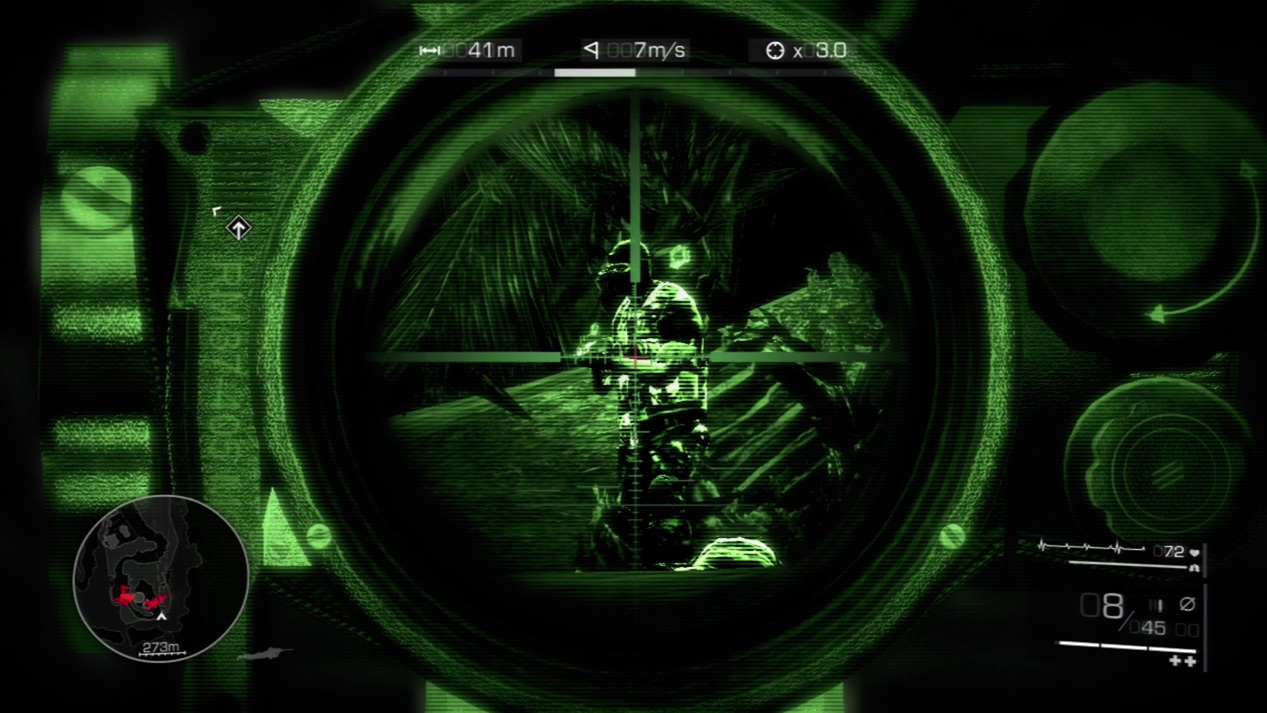
When the next enemy checks out your handiwork, zoom in and add another body to the pile.
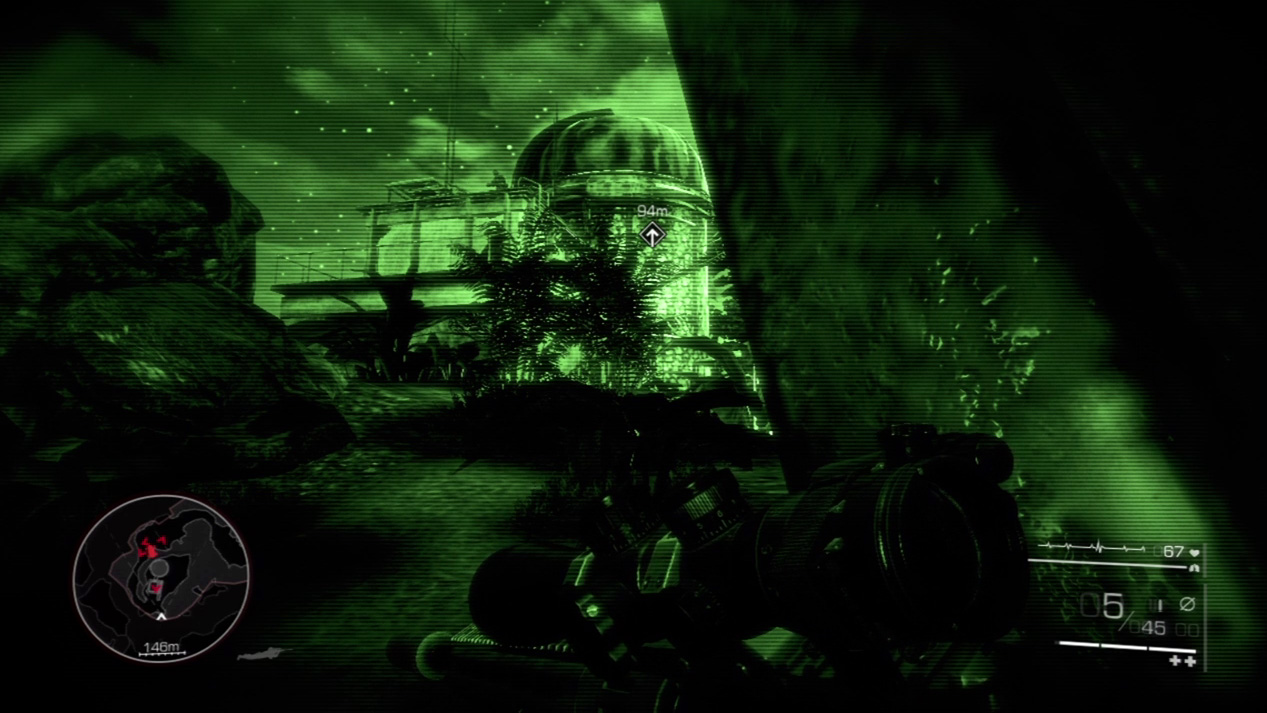
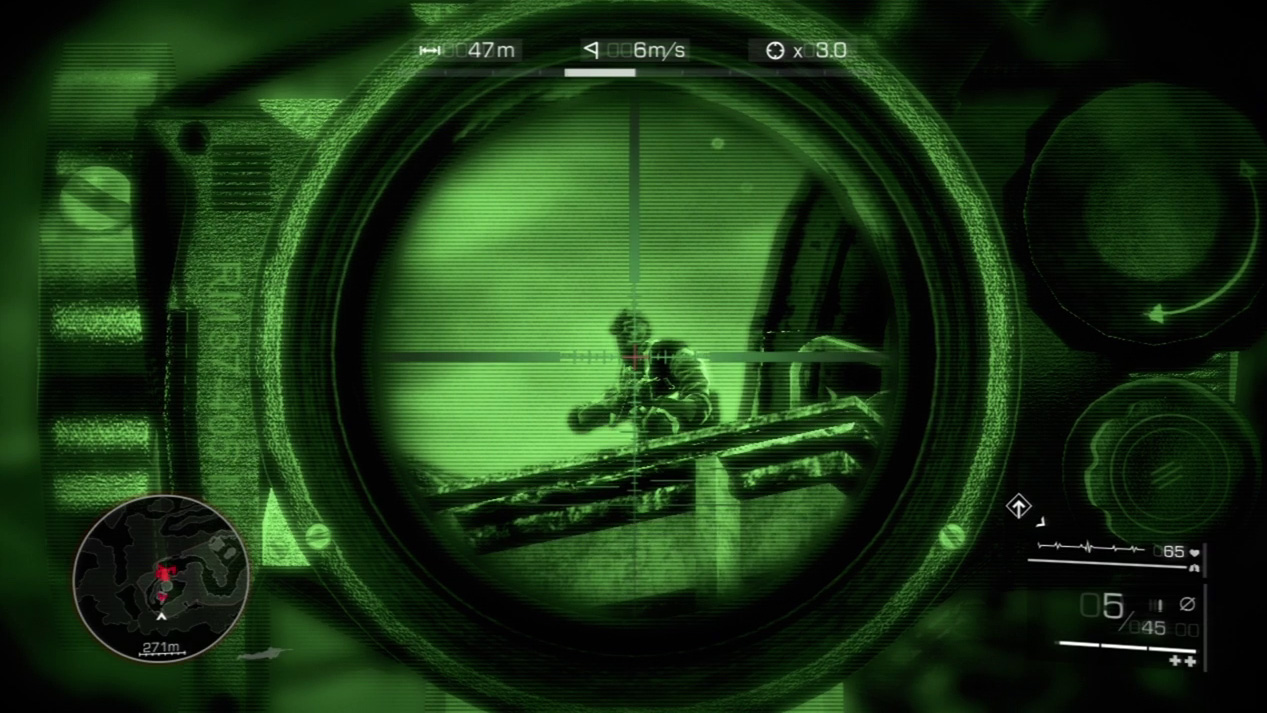
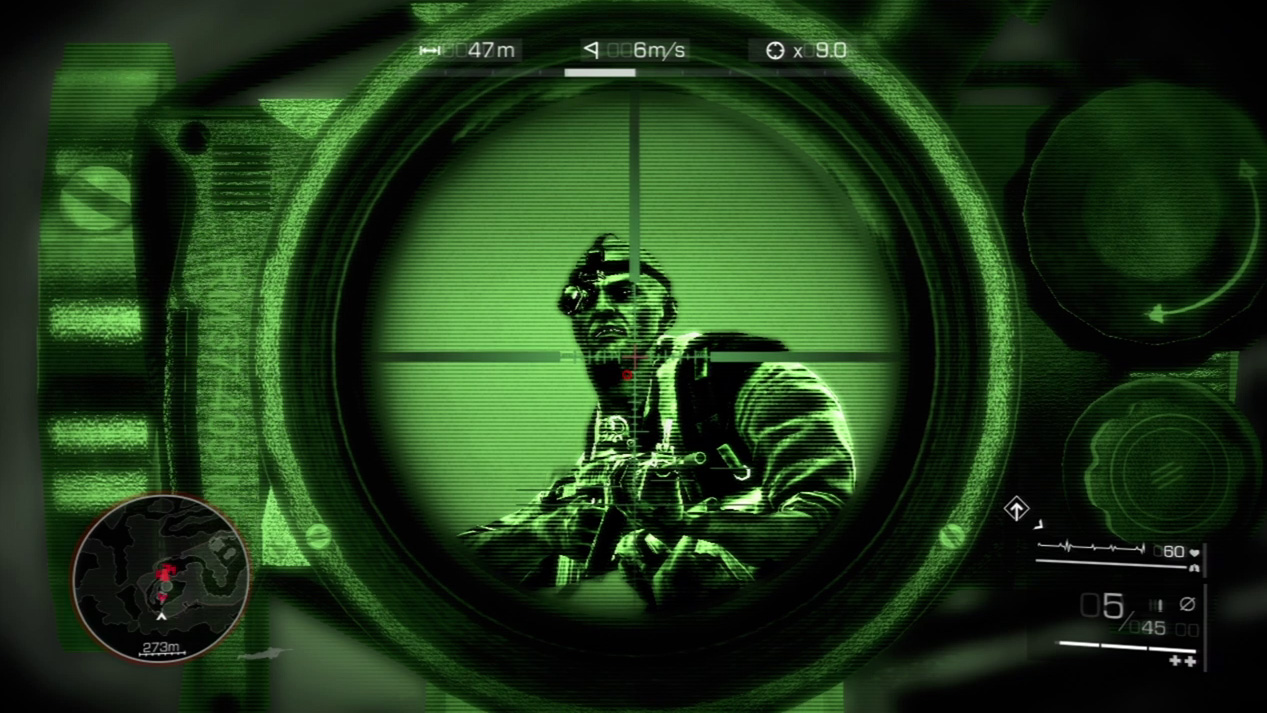
If you need to crawl forward to get a better angle on the remaining foes, do so, but keep an eye on the observatory catwalk up and to your left. You may want to pick off the enemy sentry on the catwalk first, so that he doesn’t spot you later when you engage the last of the ground targets.
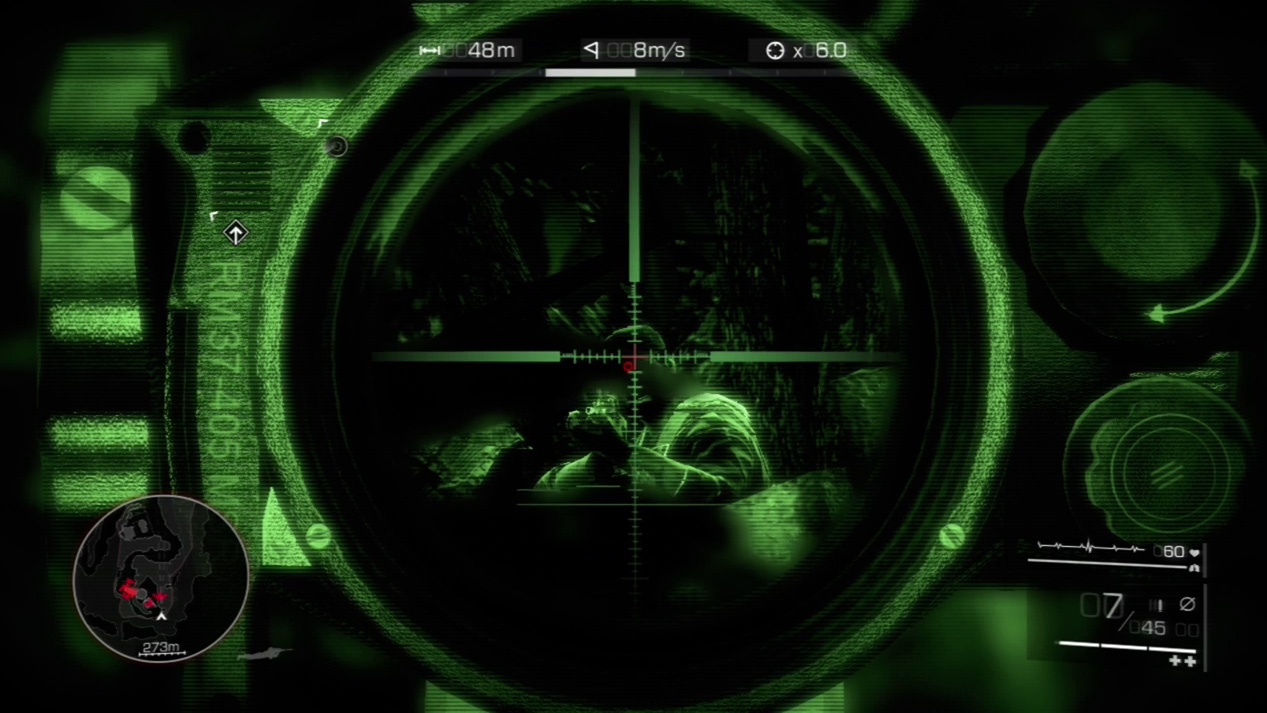
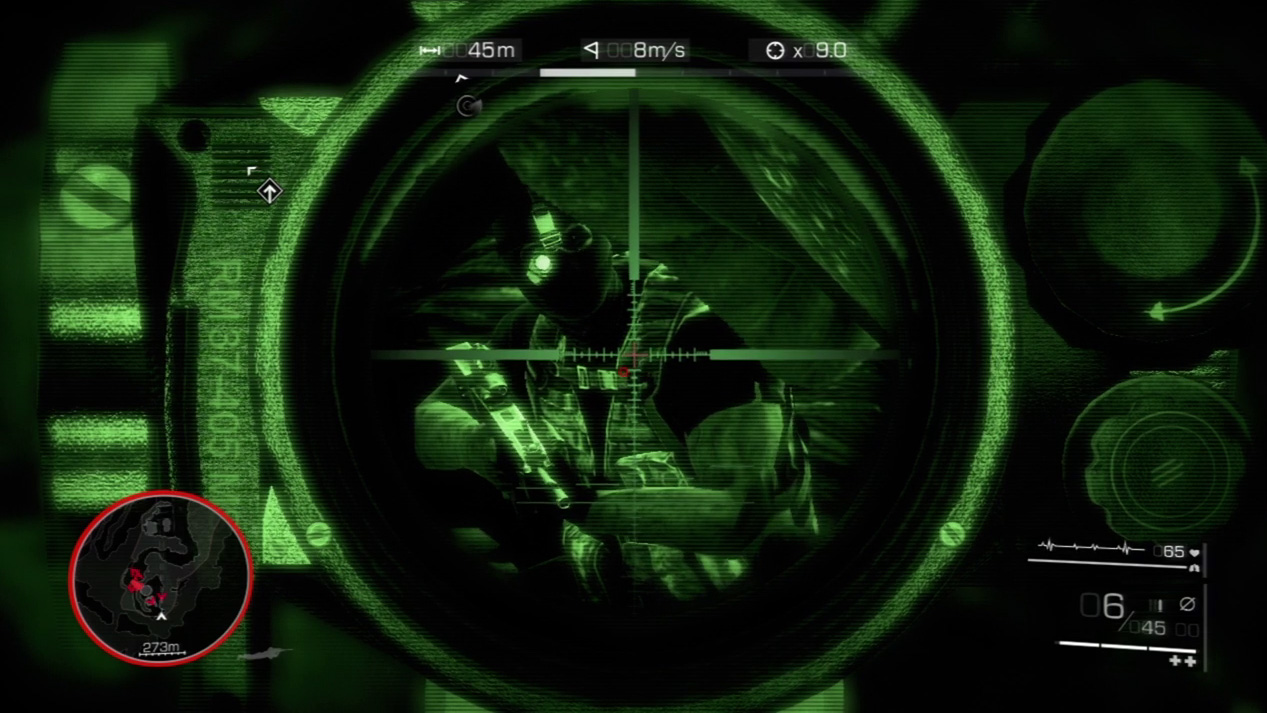
Mop up the remaining enemies from you hidden position in cover. If you can’t spot them right away, scan around the area and look for movement. Your minimap can also help pinpoint their positions.
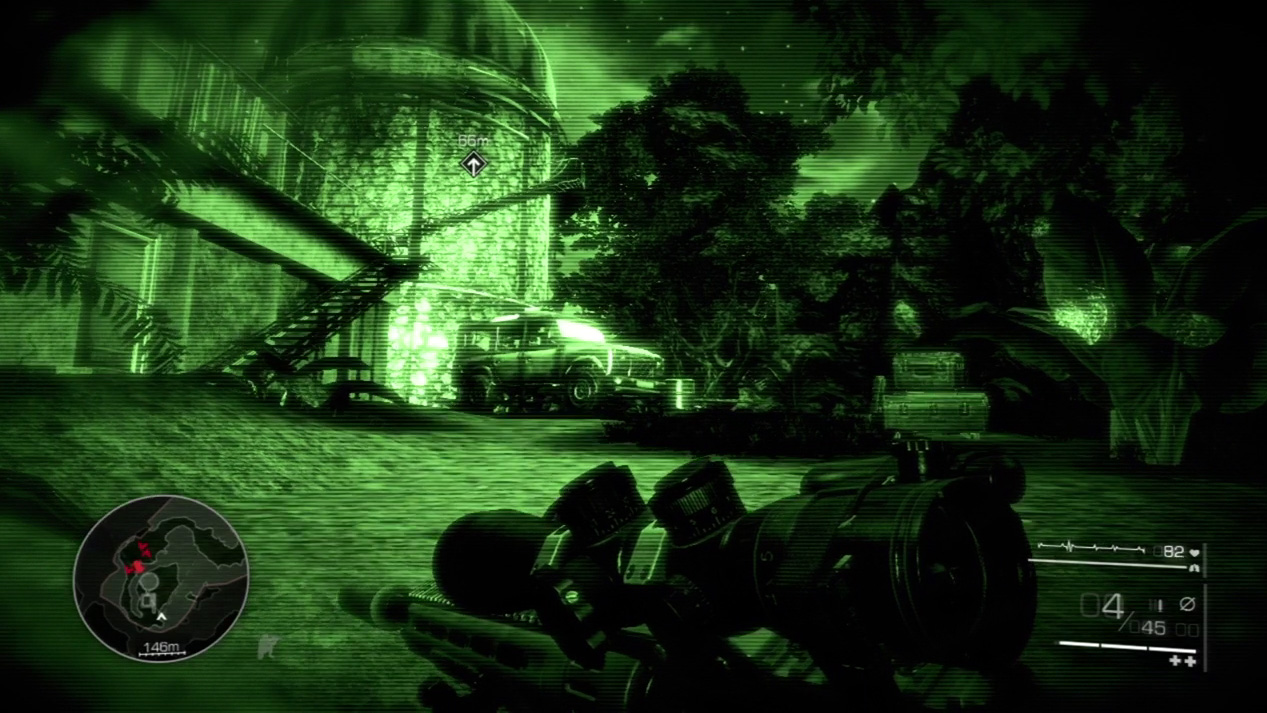
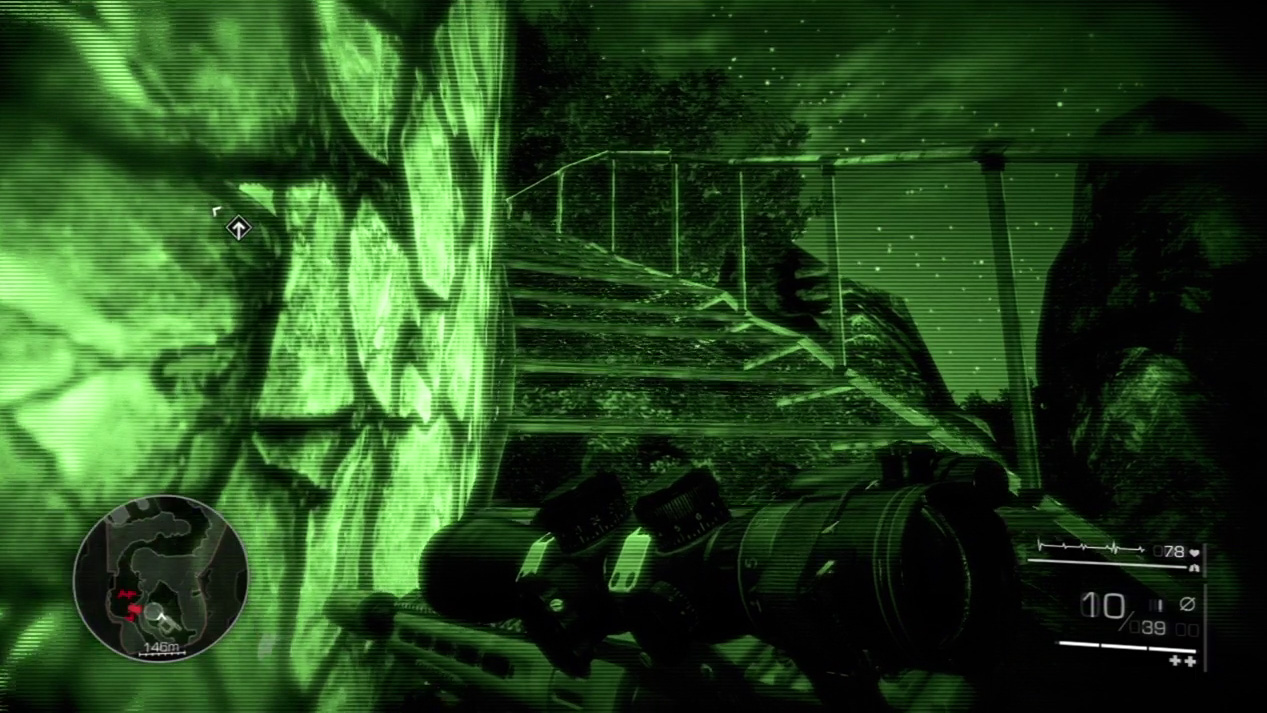
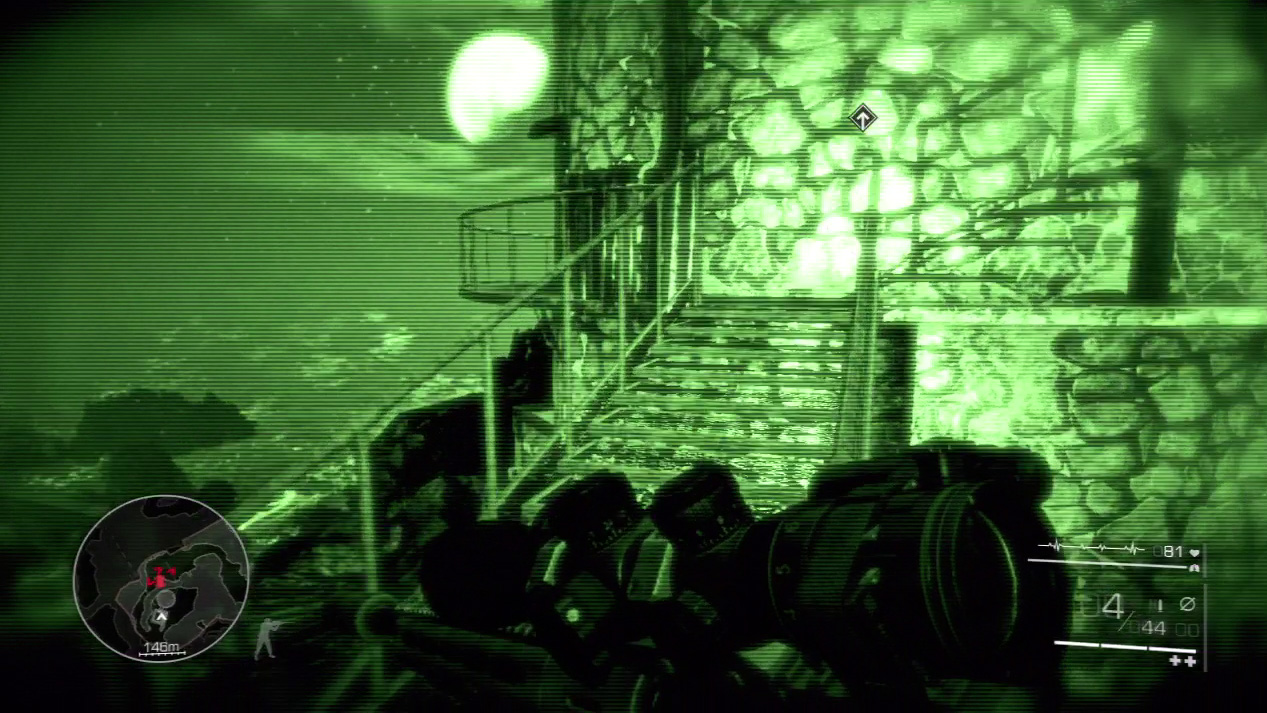
With the guards eliminated, climb the stairs outside the observatory. Enter the observatory from the door at the top.
Act 1: Secret 8
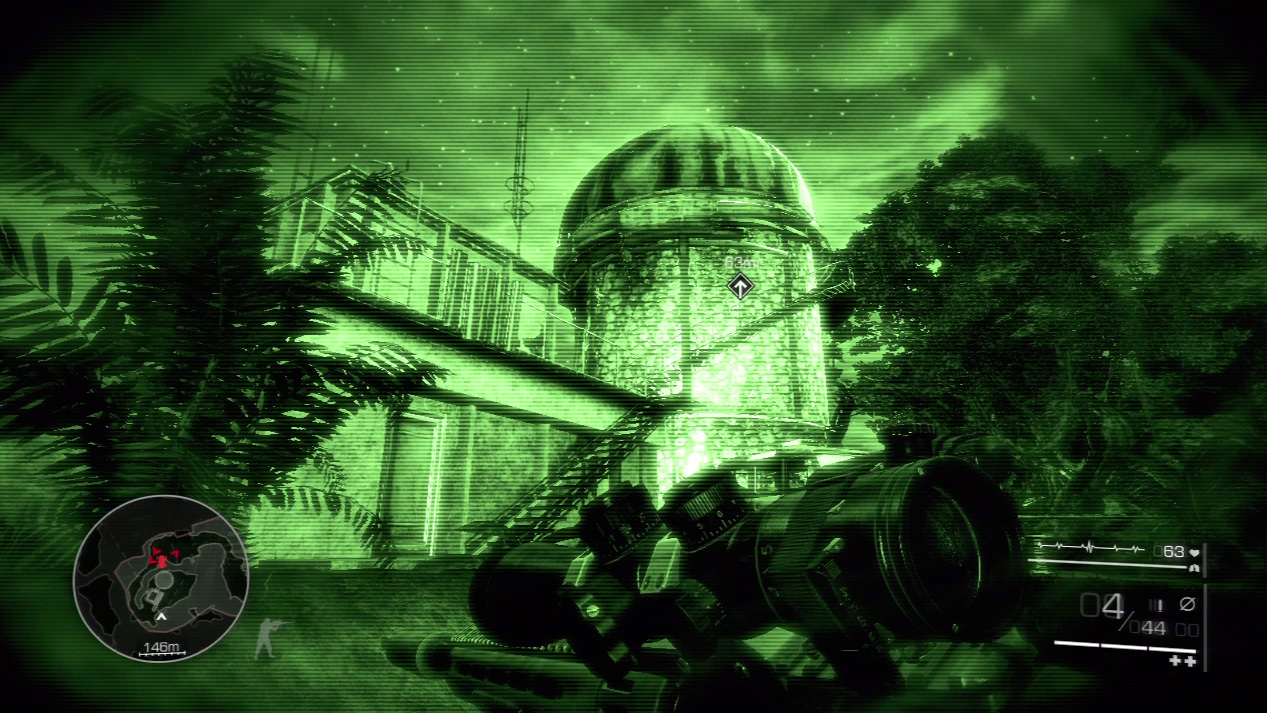
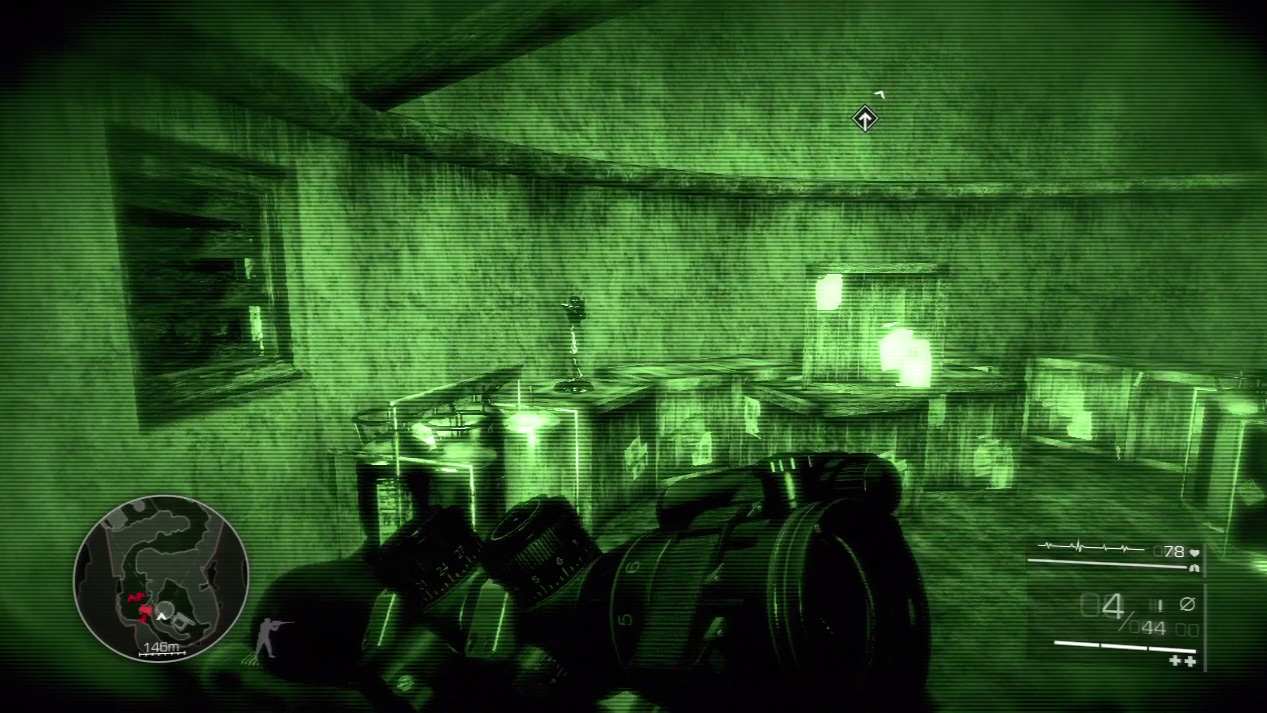
You’ll want to collect the eighth secret before you set up your sniping spot atop the observatory. Instead of heading right on the crosswalk to reach the observatory top, go left. You’ll find an open door only a few meters away that leads into an abandoned storage room with the statue sitting on a crate.
Waypoint 16
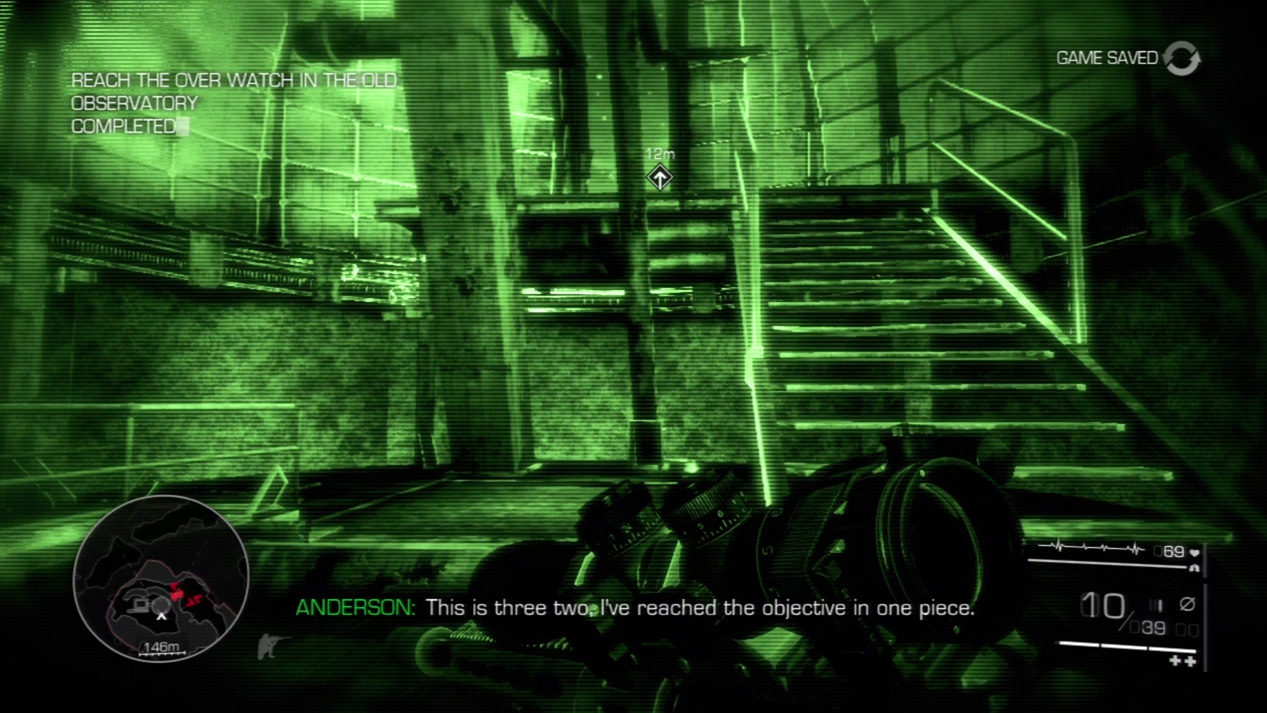
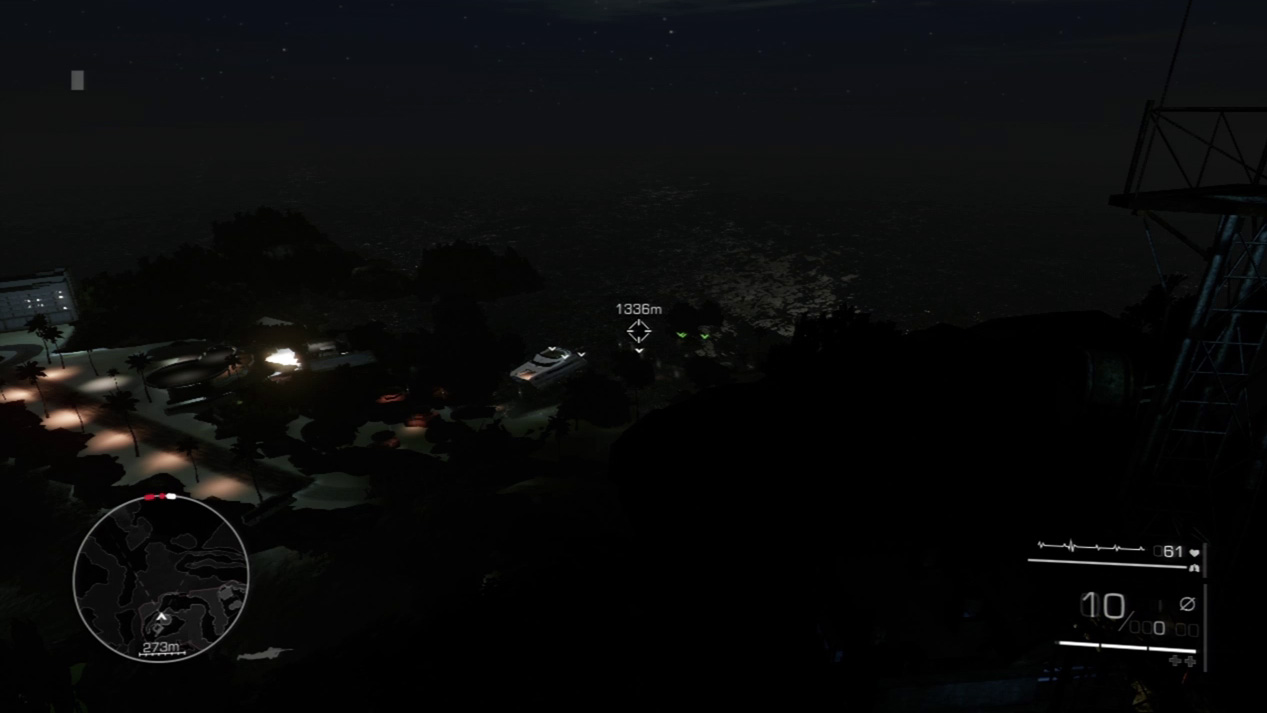
Set up a new sniper spot on the observatory balcony. You can oversee all the activities down in the harbor below.
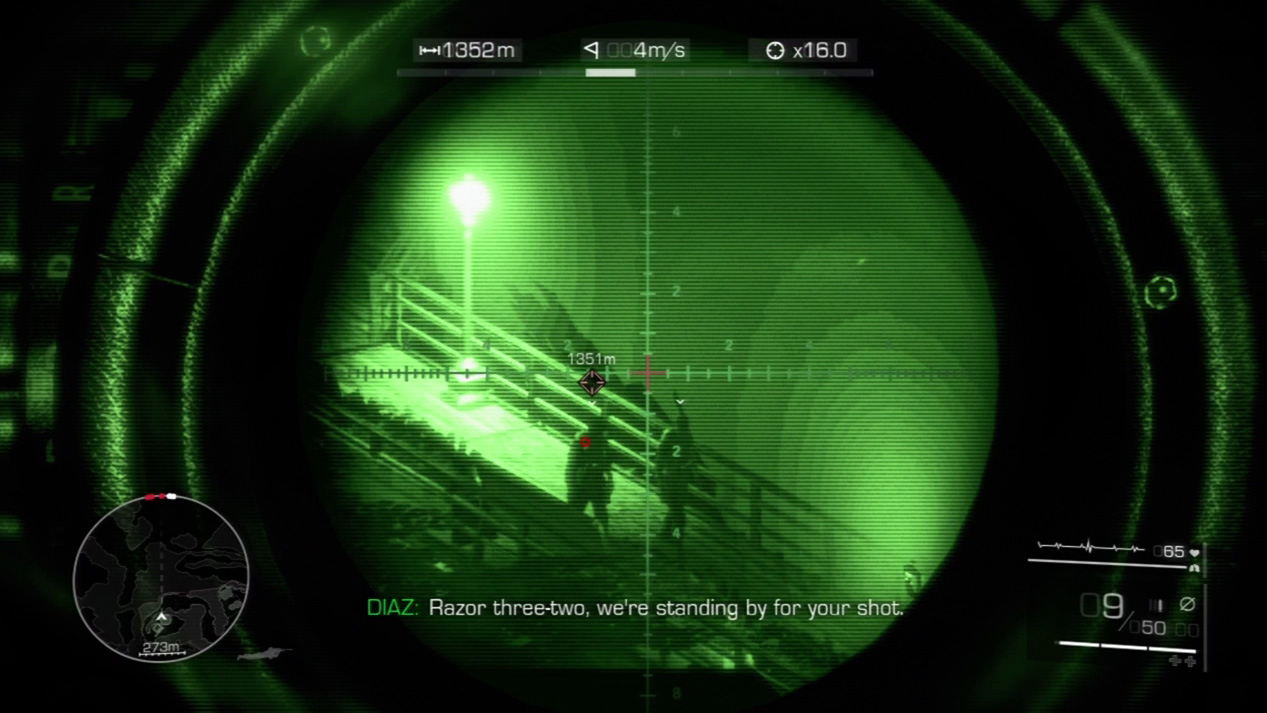
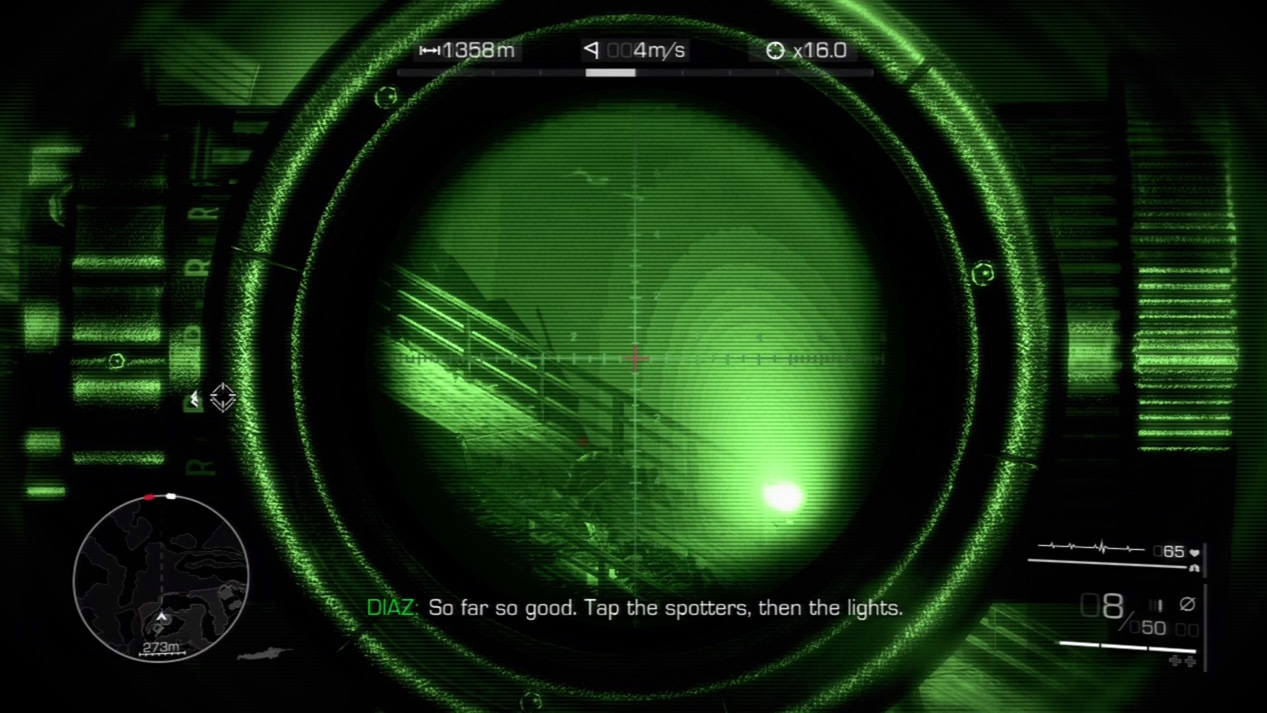
Diaz spots two enemies on the pier and asks you to take out the left one while he handles the one on the right.
Expert Mode
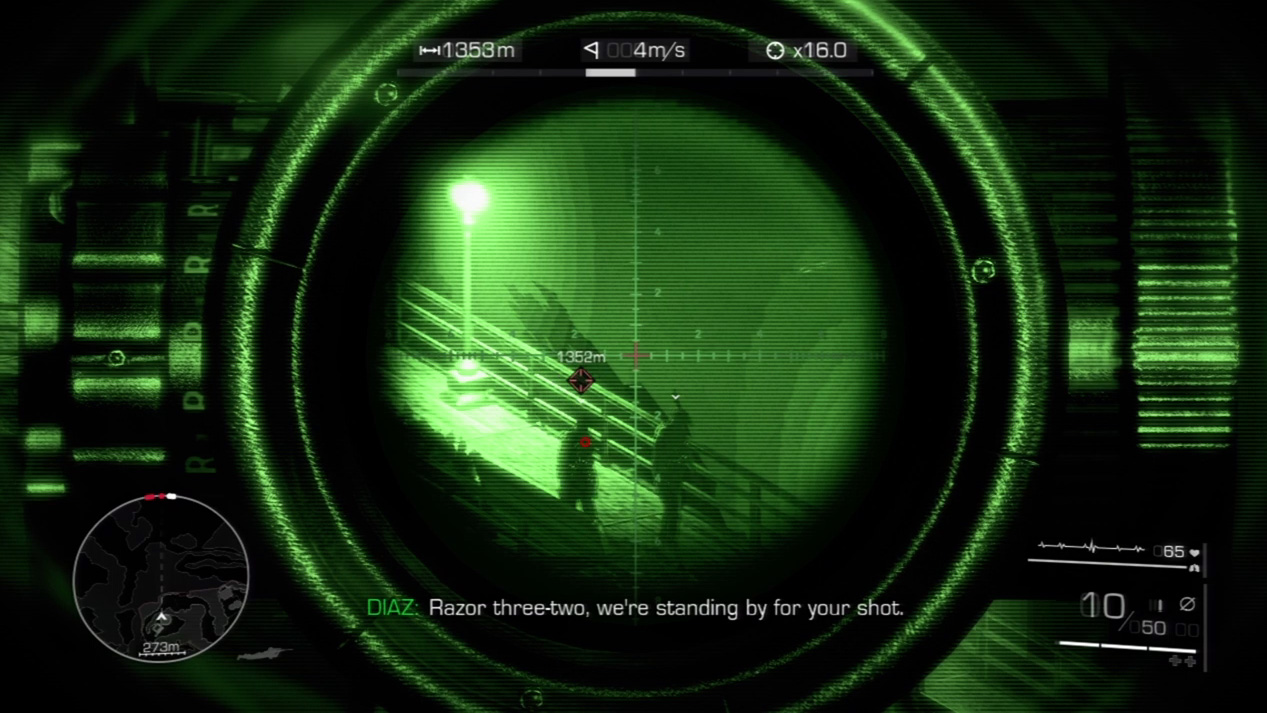
- Distance: Approximately 1,350 meters
- Wind: 4 meters/second (blowing left)
- Magnification: 16x
For these first long shots on the beach, compensate to the left and down. The shot hits at approximately the 2 mark on the left horizontal and the 3 mark on the bottom vertical line. Watch for the wind to shift during the mission and adjust accordingly. If it’s blowing 2 meters/second to the left, you’ll move in to the 1 mark on the left horizontal. A 0 for wind means dead center on the vertical line. For 2 meters/seconds to the right, you’ll move out to the 1 mark on the right horizontal. Distance won’t vary too much, so stick with the 3 mark on the bottom vertical.
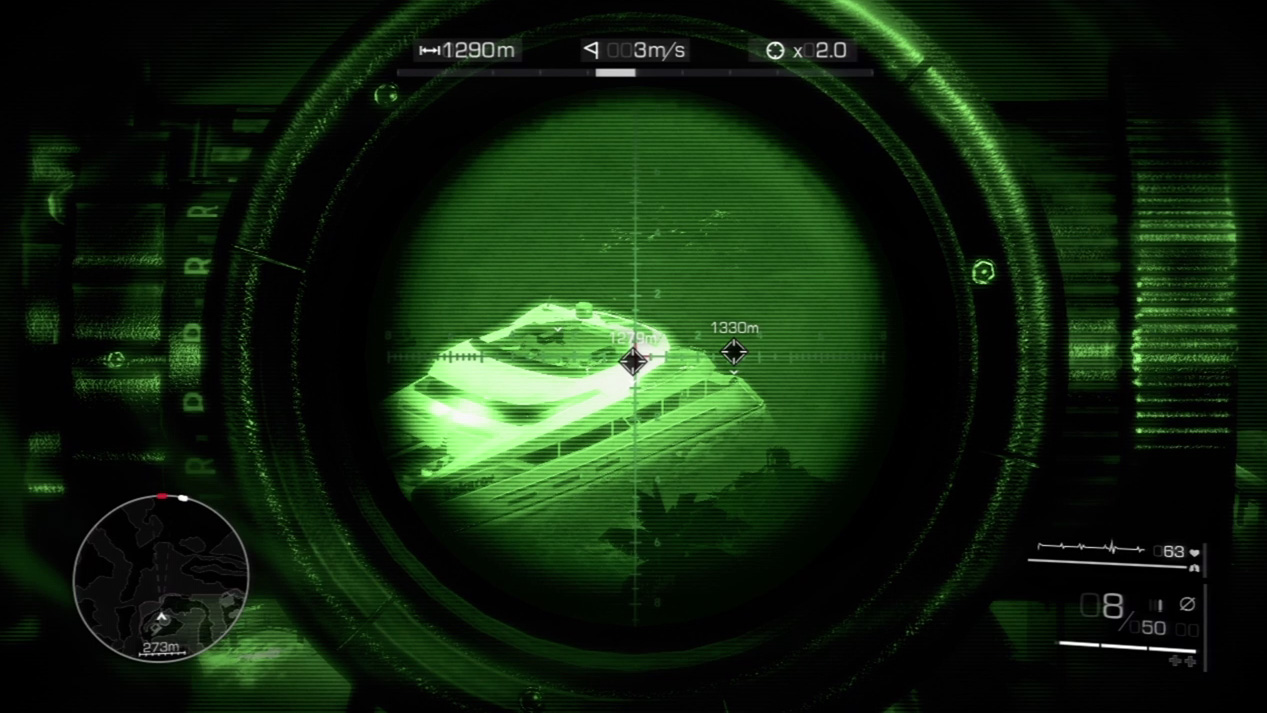
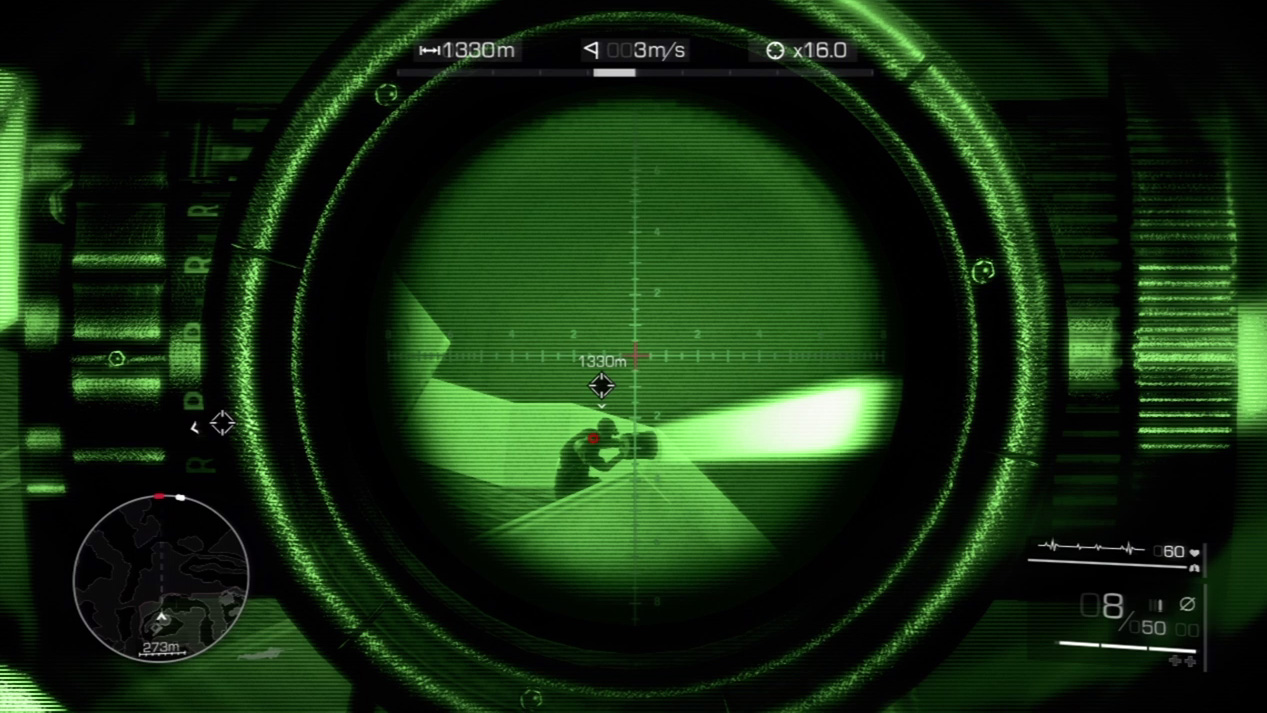
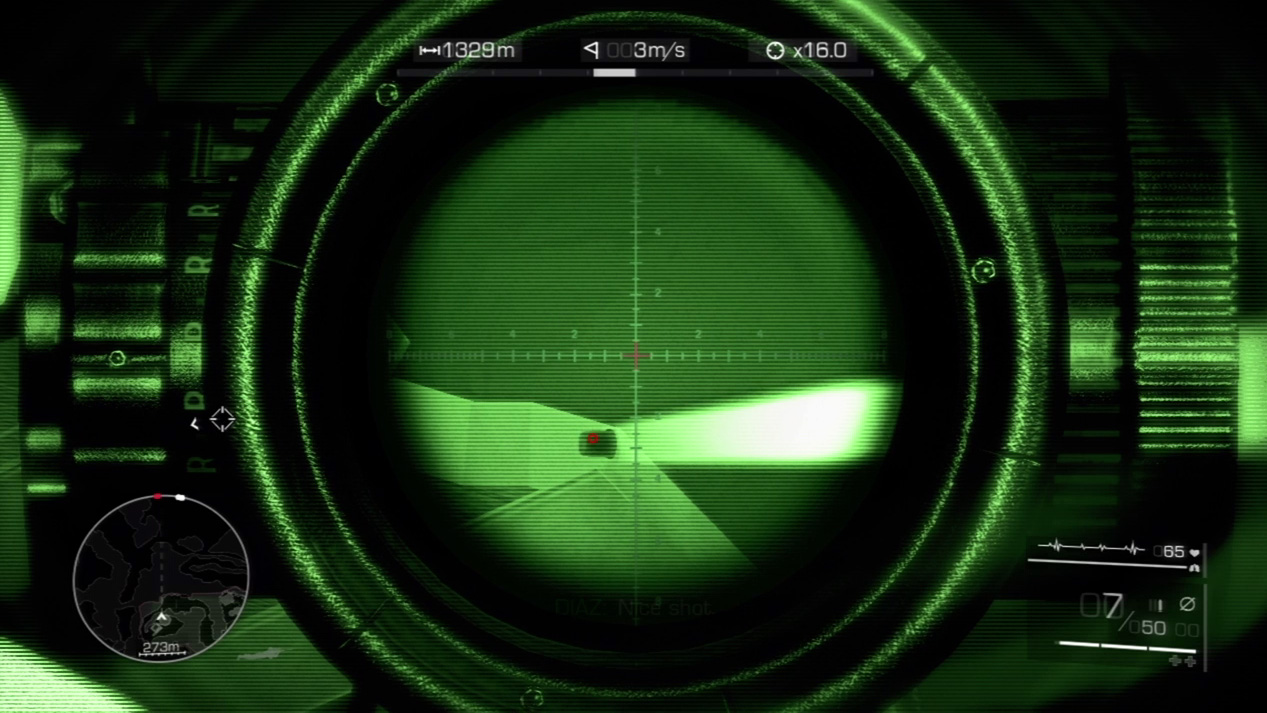
Shift your focus over to the yacht. You must take out the two enemies and shatter their searchlights. Shoot guard and light on the top level first.
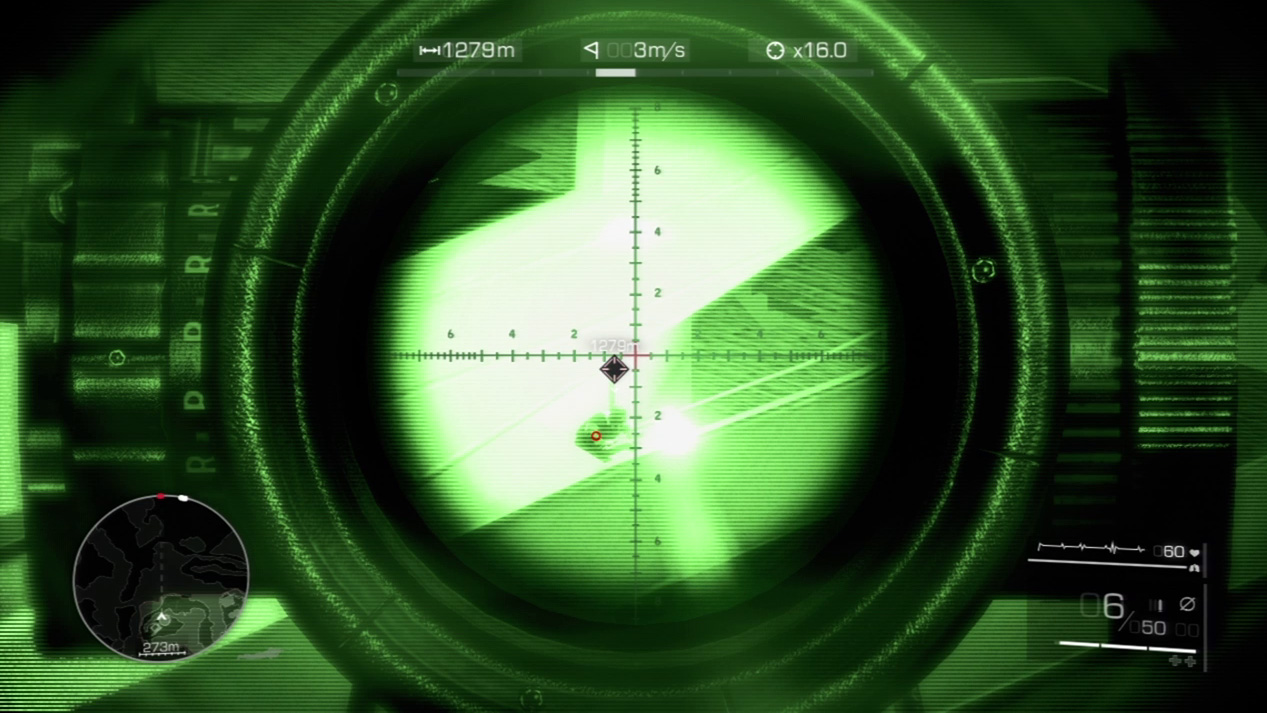
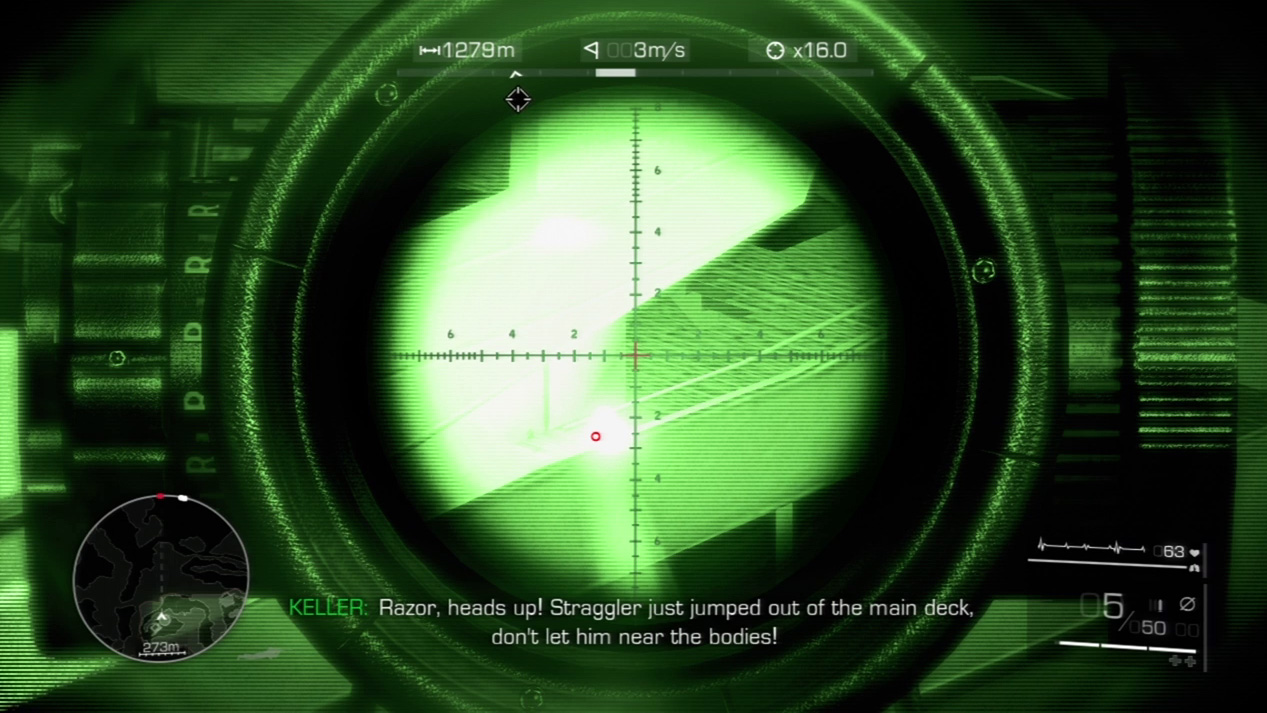
Remove the second guard and searchlight on the lower level.
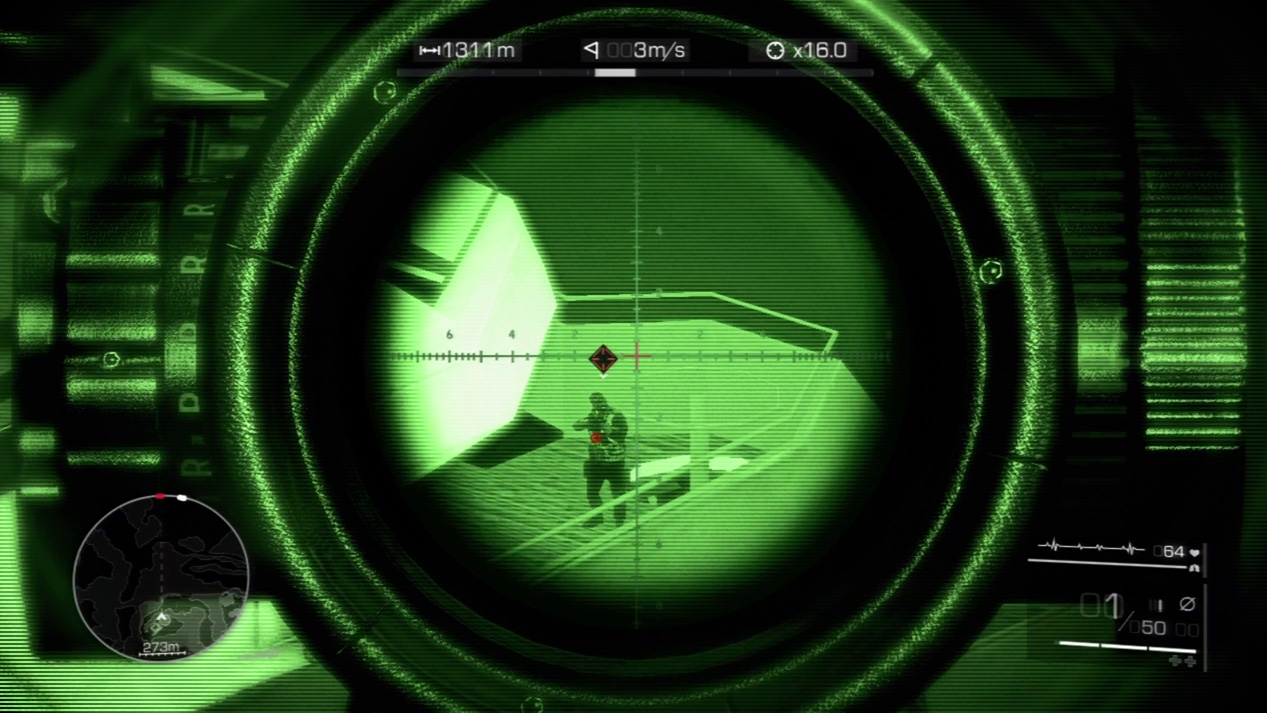
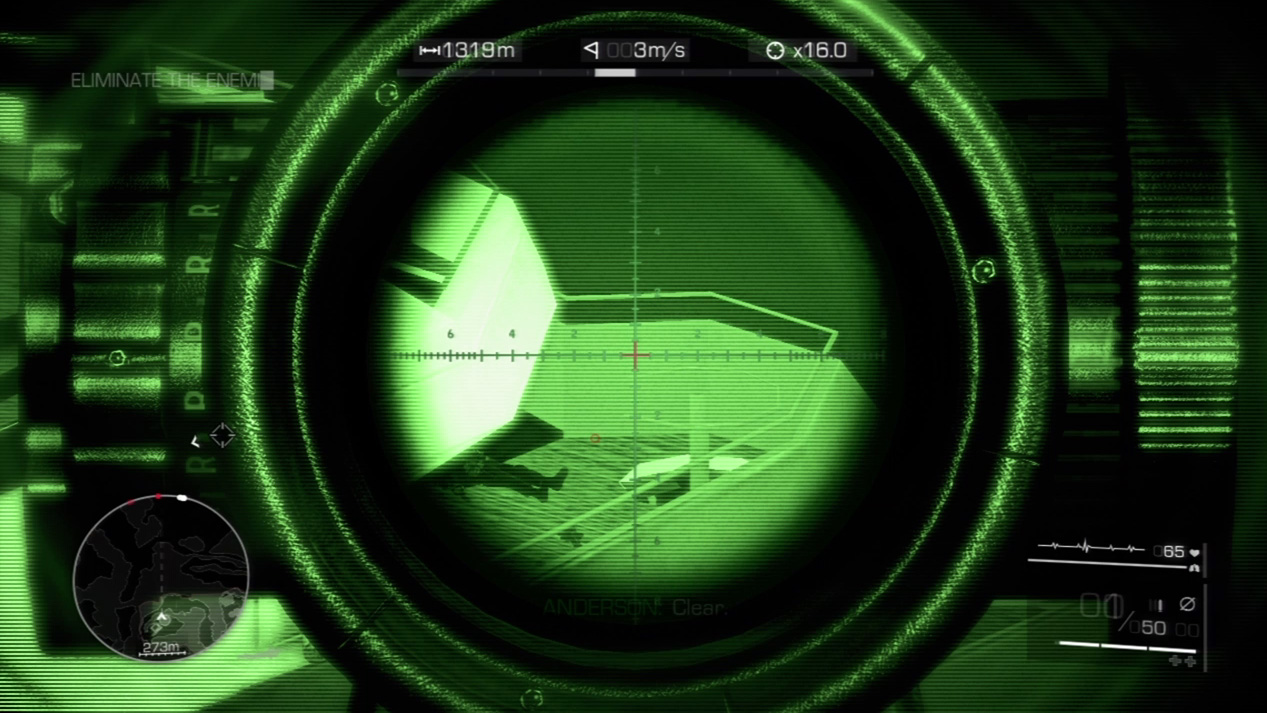
An enemy hears you blow out the searchlights and comes topside to investigate. Snipe him before he alerts the rest of the yacht.
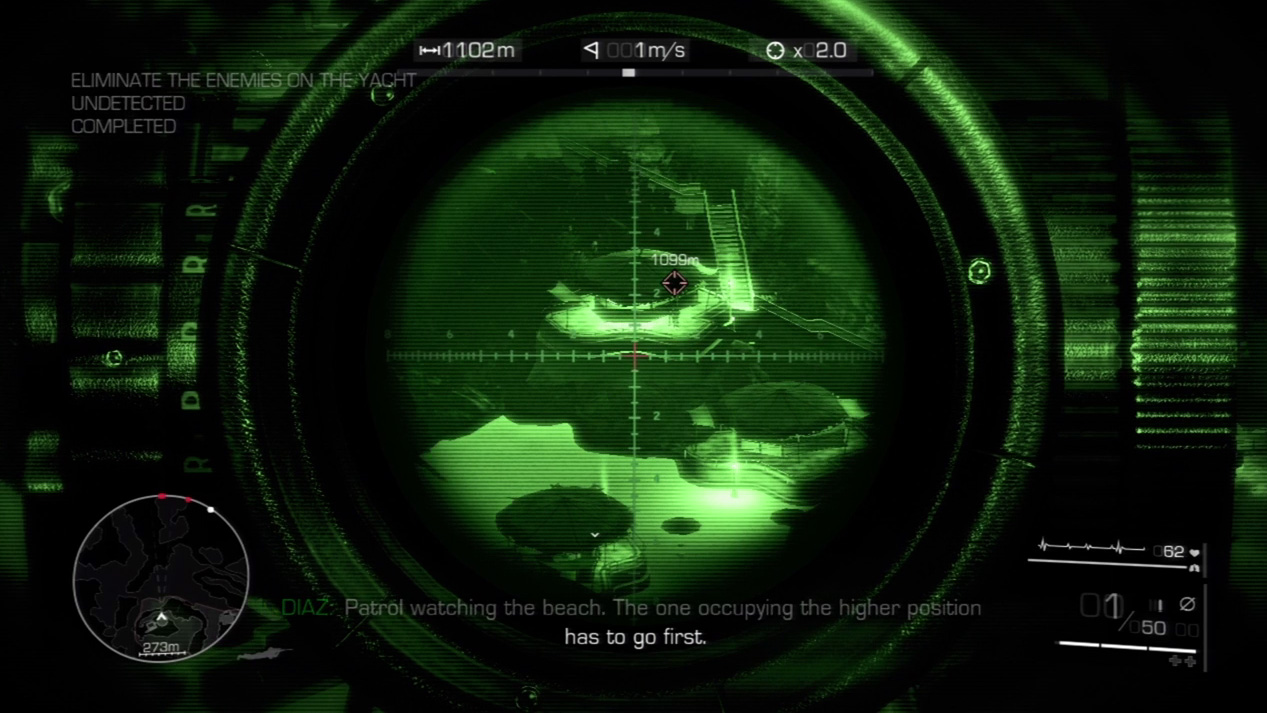
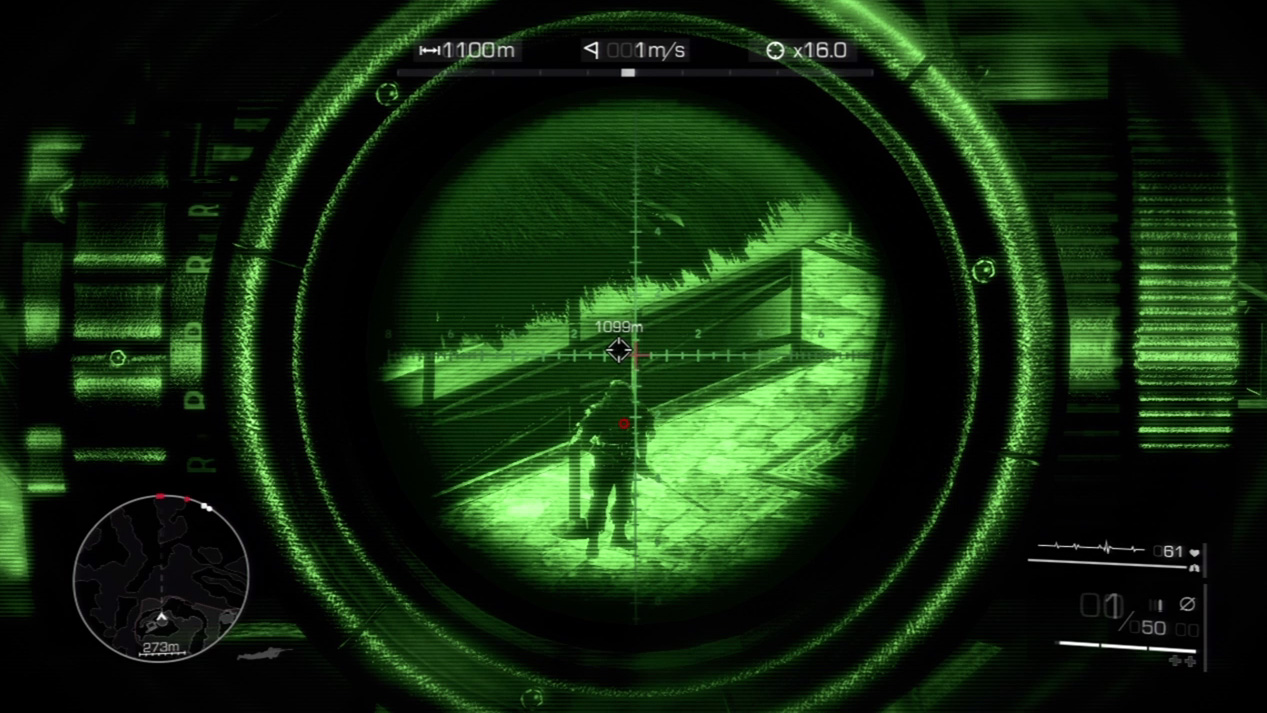
Diaz asks you to open up the beach next. Begin with the sniper in the higher position. Zoom to maximum magnification and blow him away.
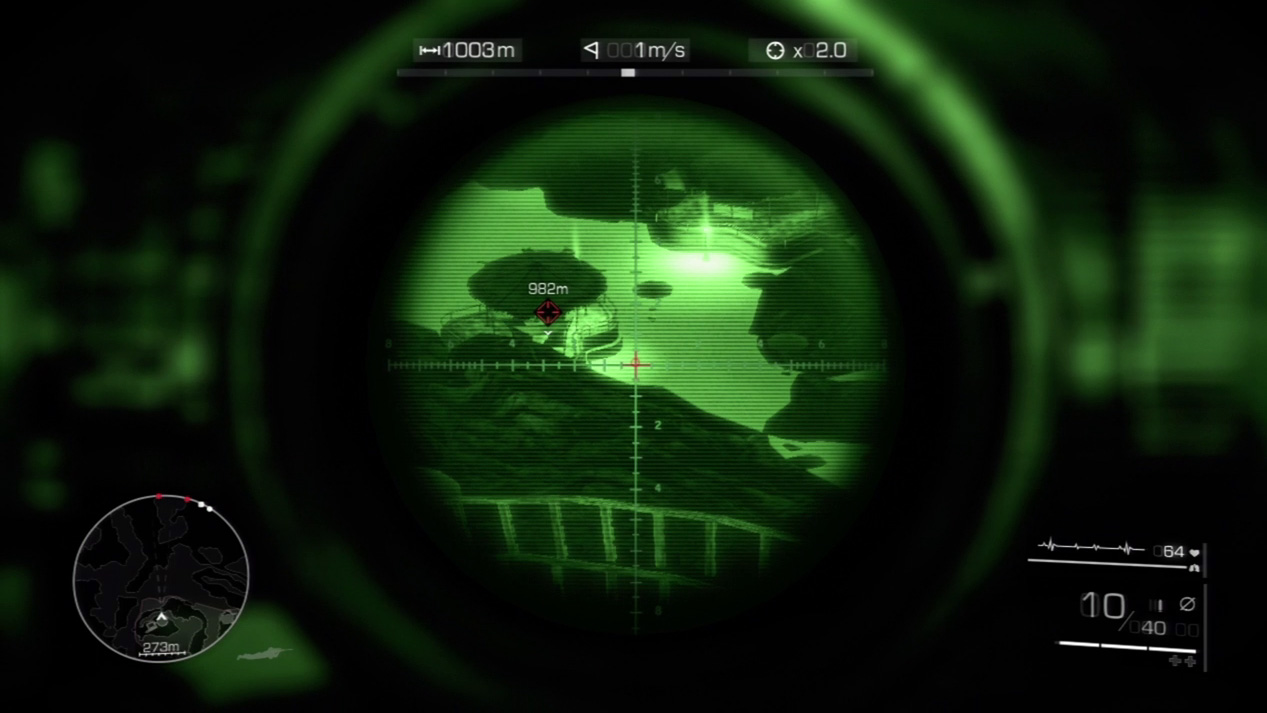
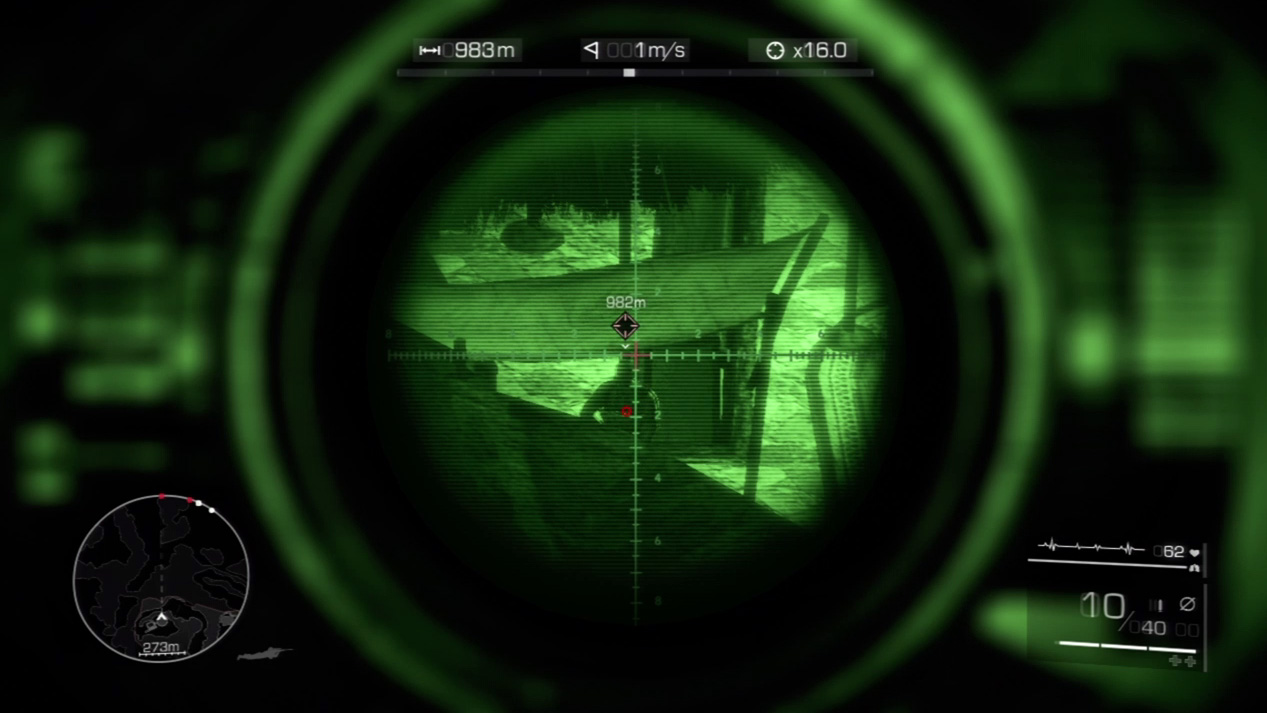
Shift your attention next down and to your left to find the second enemy watching over the beach. Take him out under the canopy, or wait until he walks out onto the beach and pauses on his patrol.
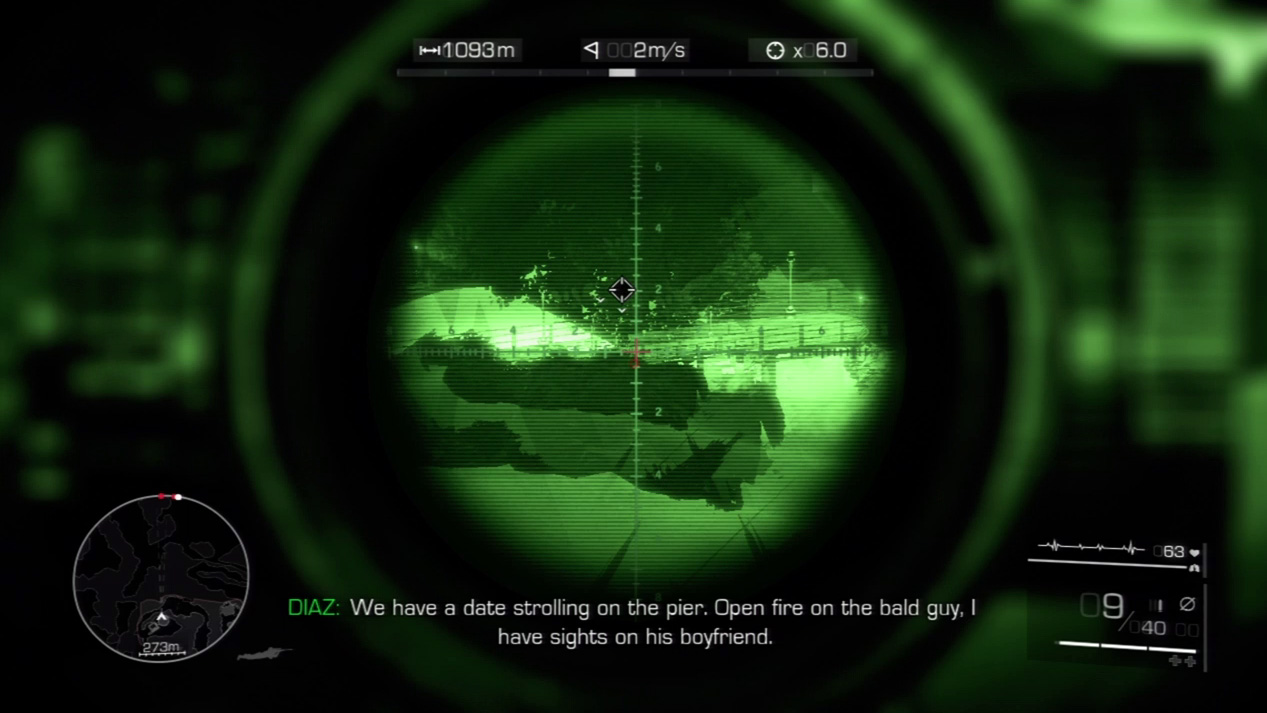
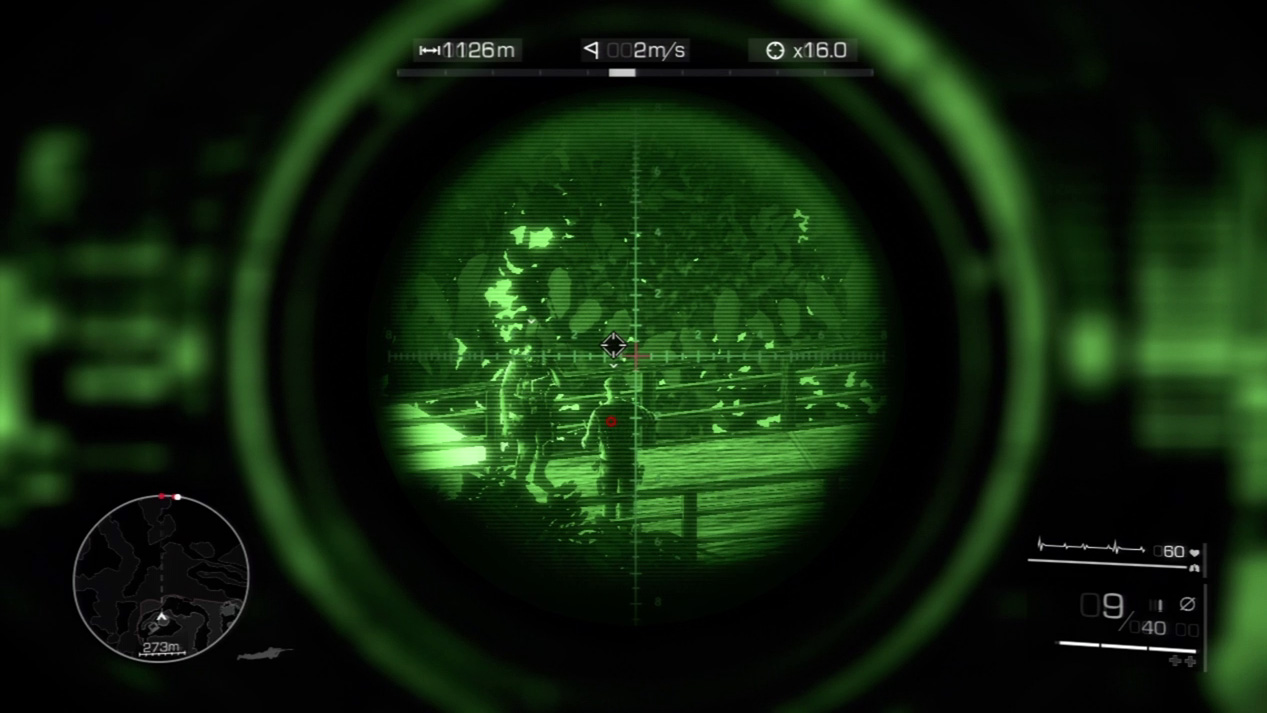
Draw a bead on the pier. Diaz needs you to take out the bald enemy with his back to you. Zip a hole through him while Diaz deals with his partner.
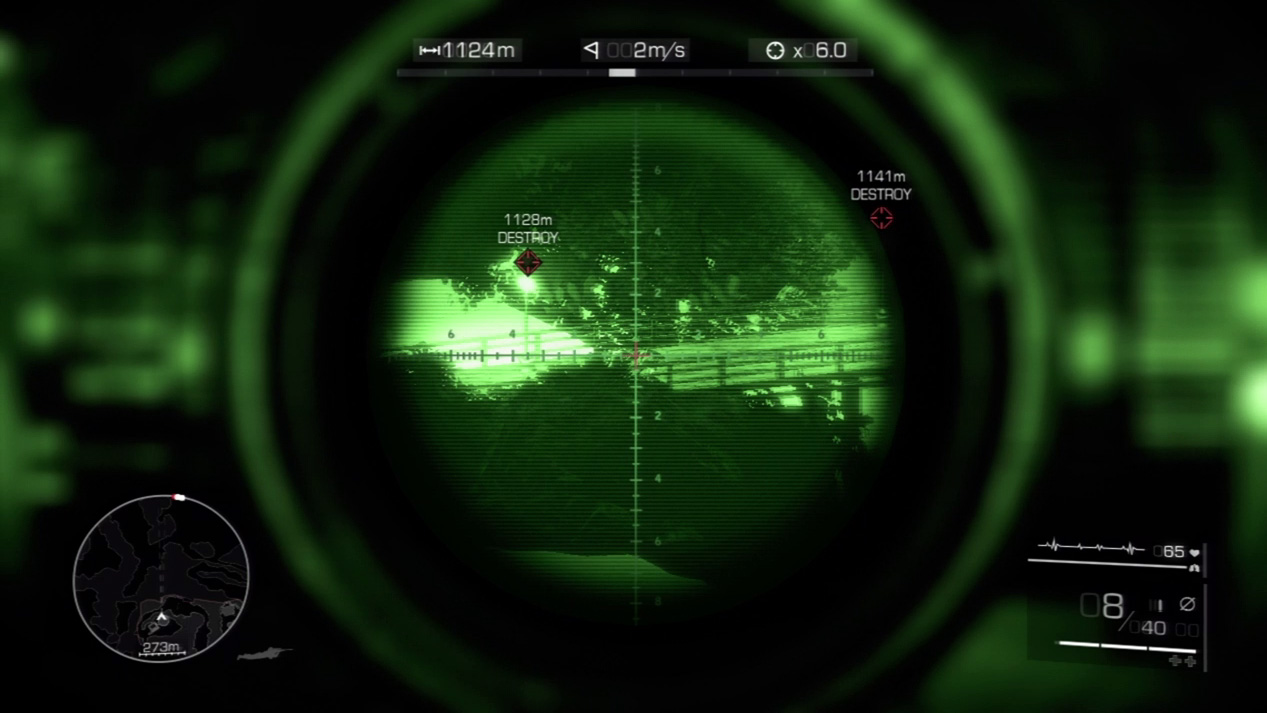
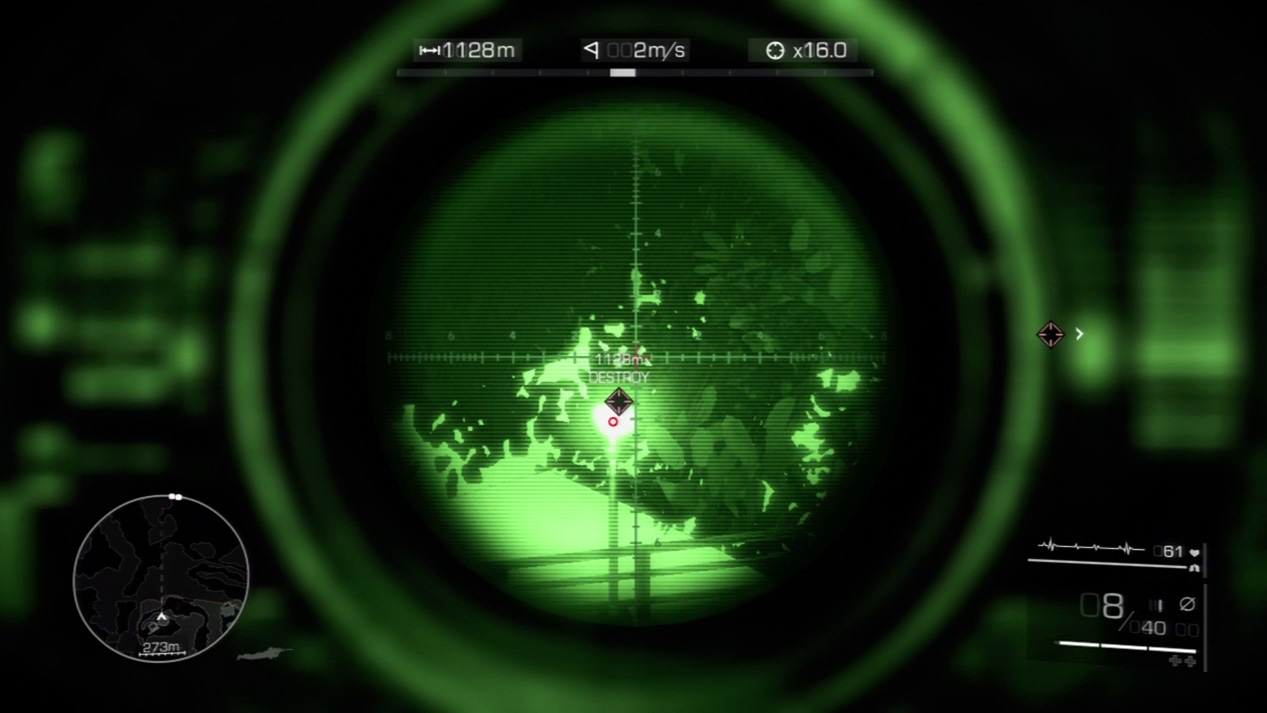
Zoom out to get a full view of the pier. Destroy the two lights flanking the two bodies you just dropped. With the lights out, the incoming enemy patrol won’t notice the corpses.
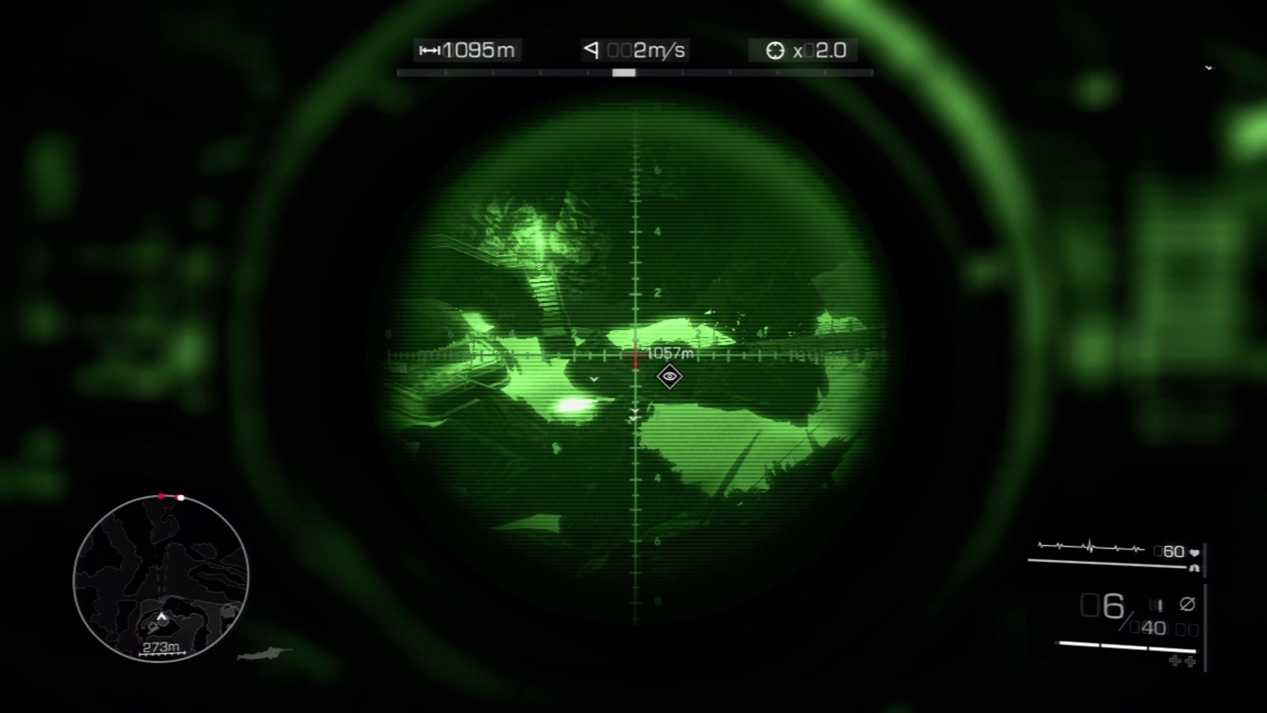
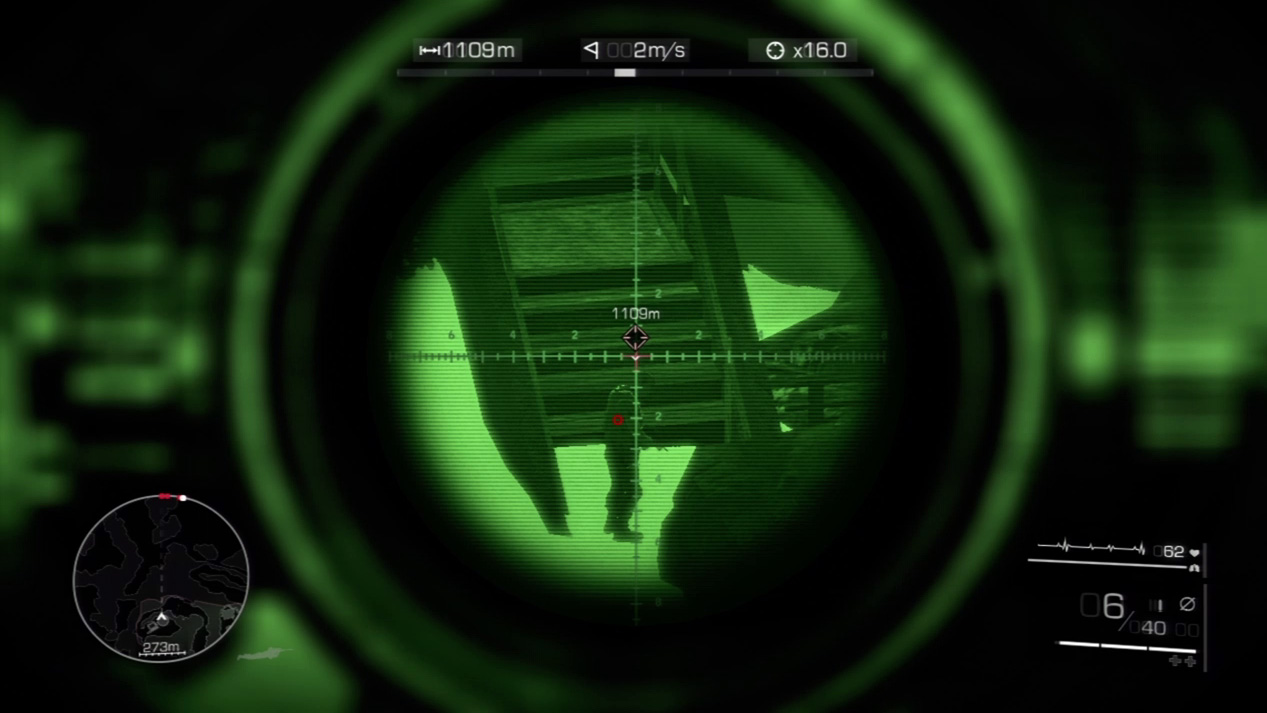
Shift down to the beach below the pier. A three-man patrol combs the sand. Wait for them to split apart and then concentrate your first shot on the enemy to the far left. Drop him in front of the stairs and out of sight of the others.
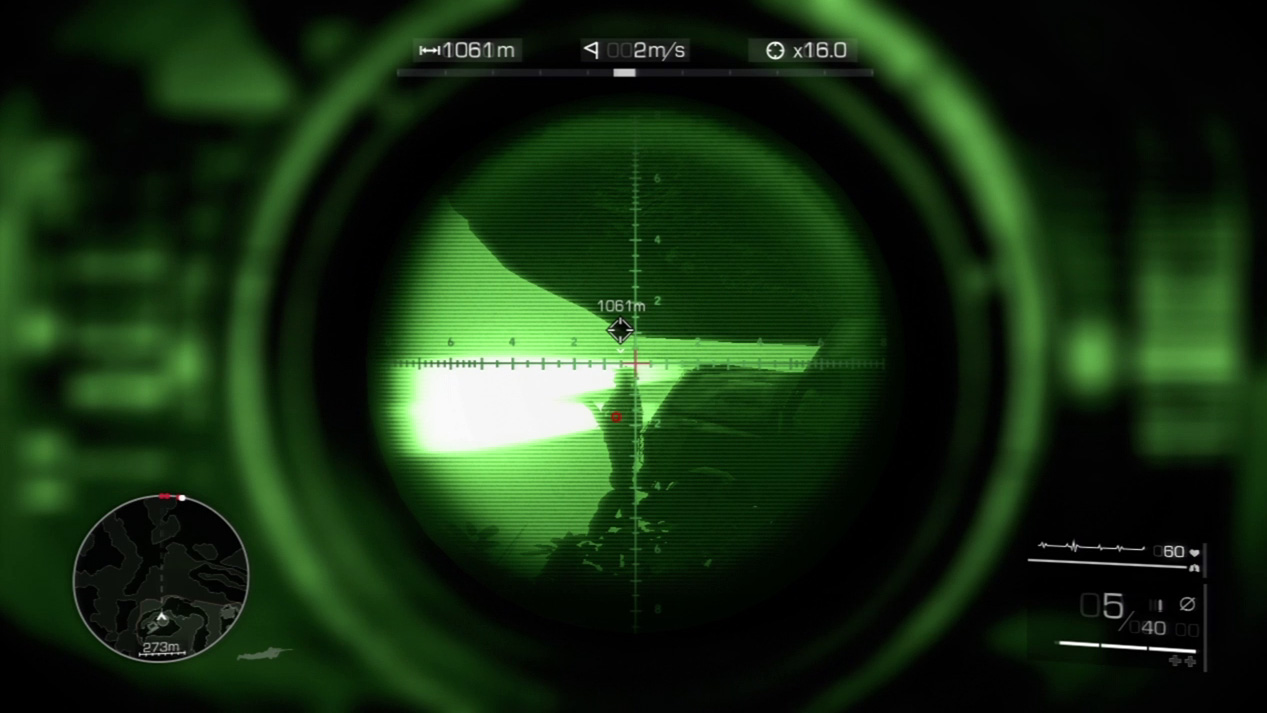
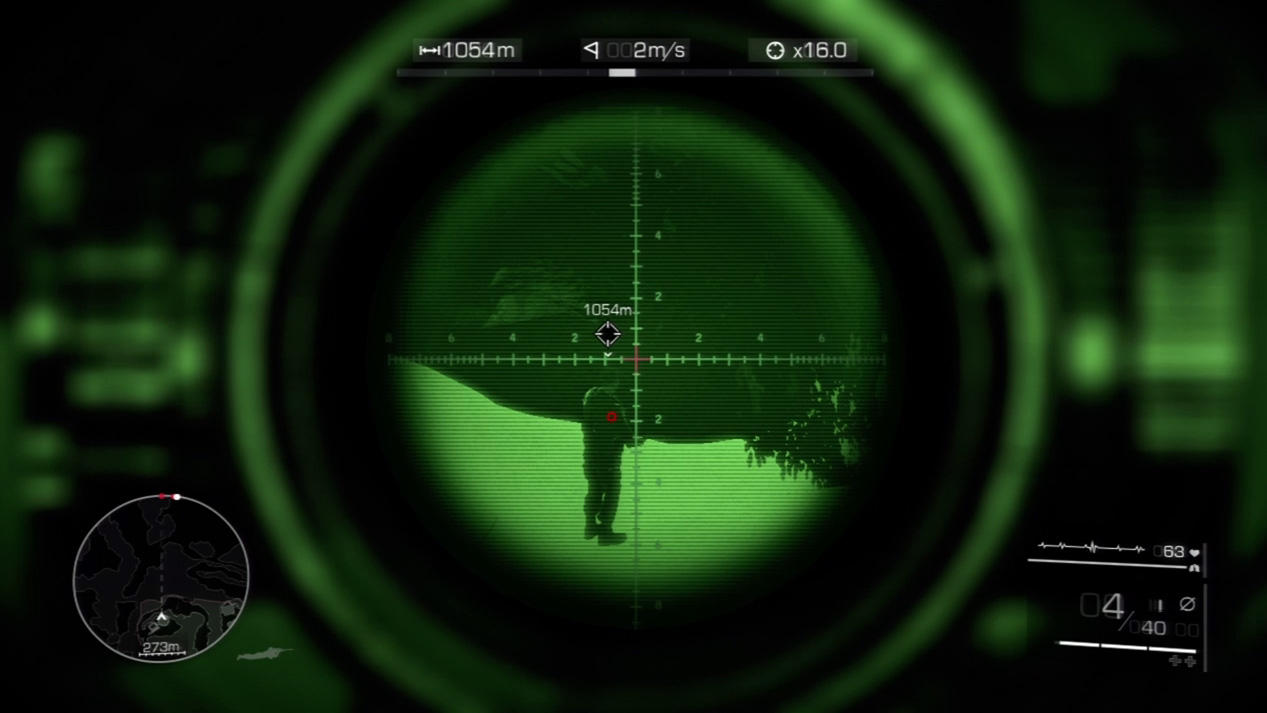
Take out the final two enemies on the beach. The first stands in front of the truck, his silhouette defined by the blazing headlights. The second strolls along the beach. If you snipe them each with a bullet apiece, no one but you will see them fall.
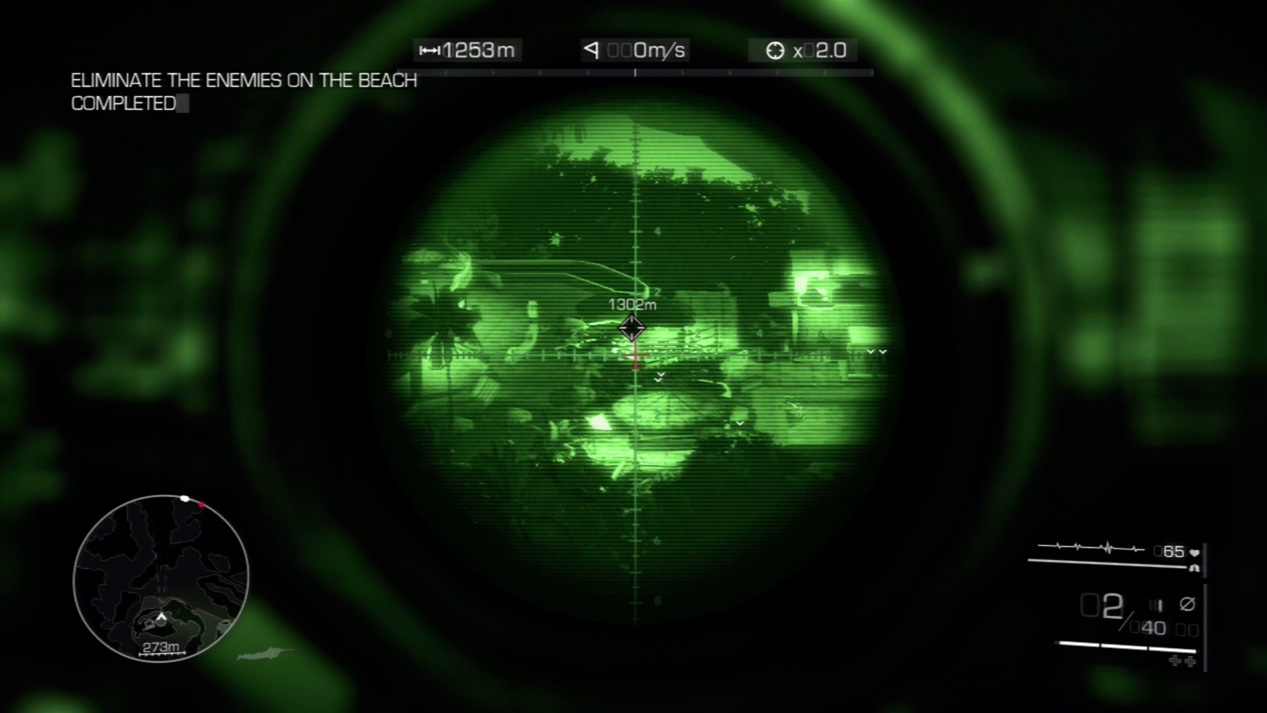
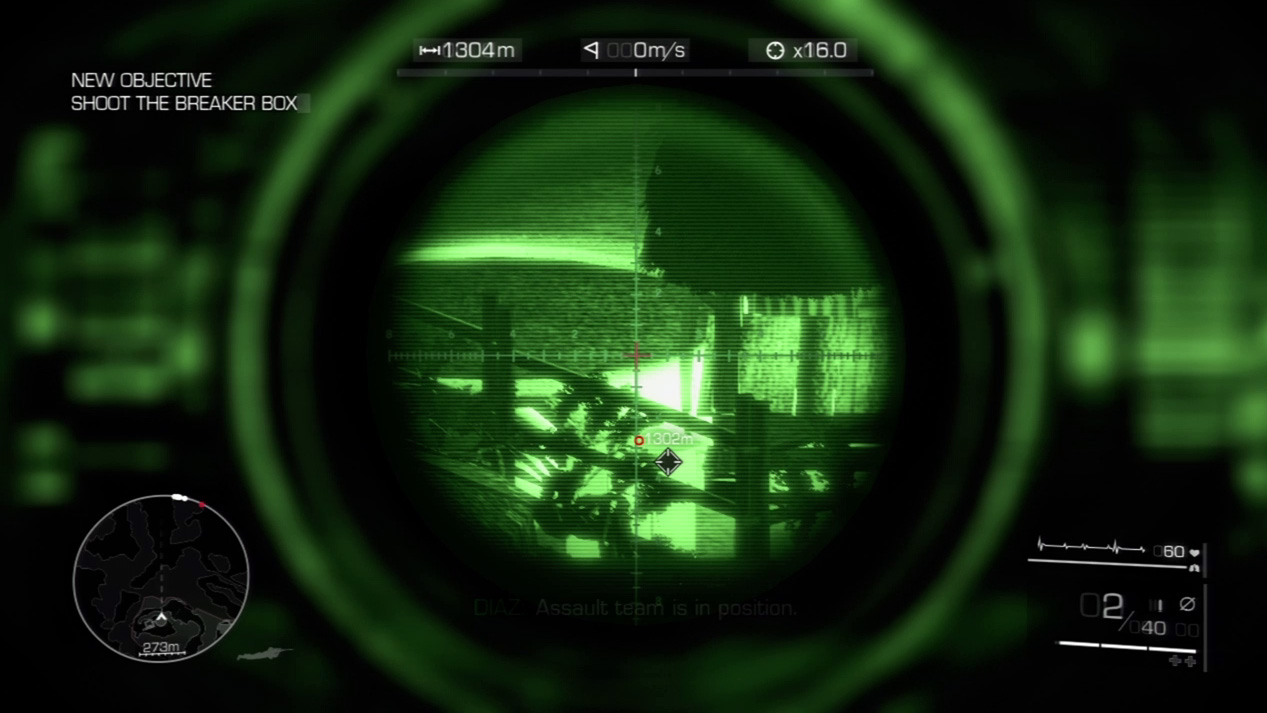
To the left of the pool, zoom in on the beach house’s breaker box. Destroy it with a single, well-placed shot.
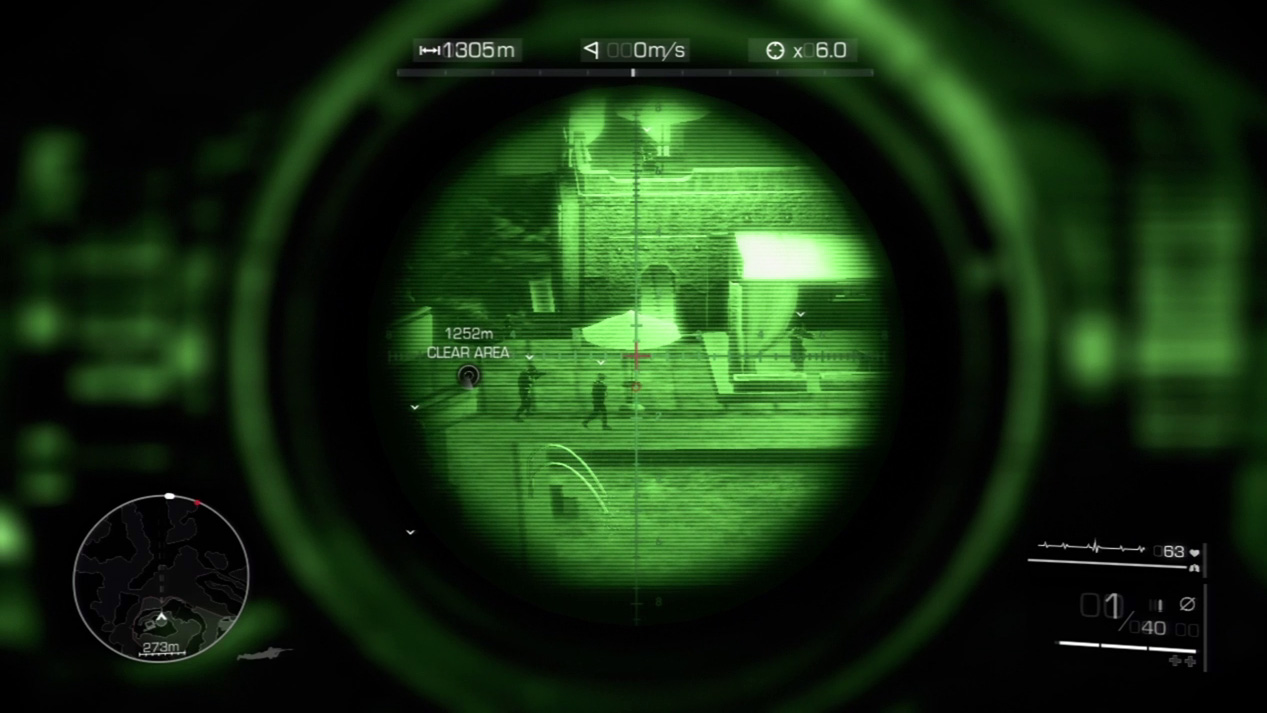
The final threats guard the pool area. Before you take a shot, survey your targets and make sure you’ve accounted for them all before you touch that trigger.
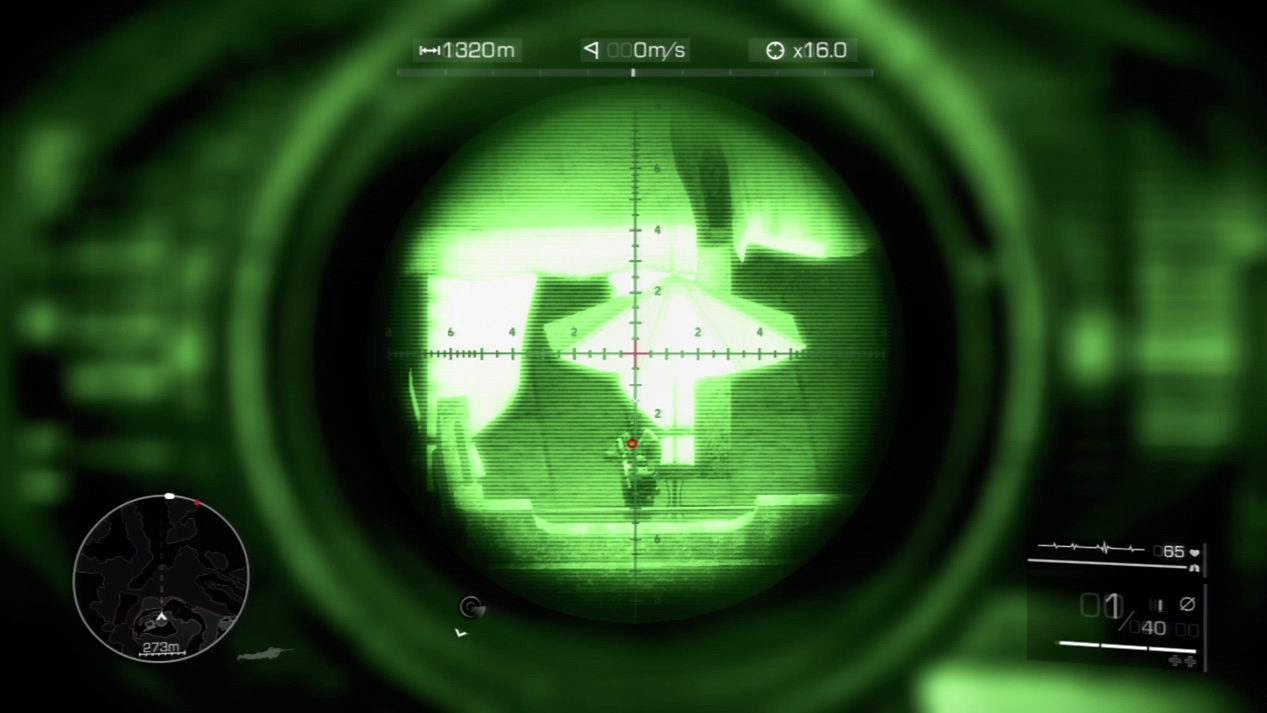
Begin pool cleaning with the enemy midway along the pool on the upper level. If you cut him down first, the other nearby enemies shouldn’t notice.
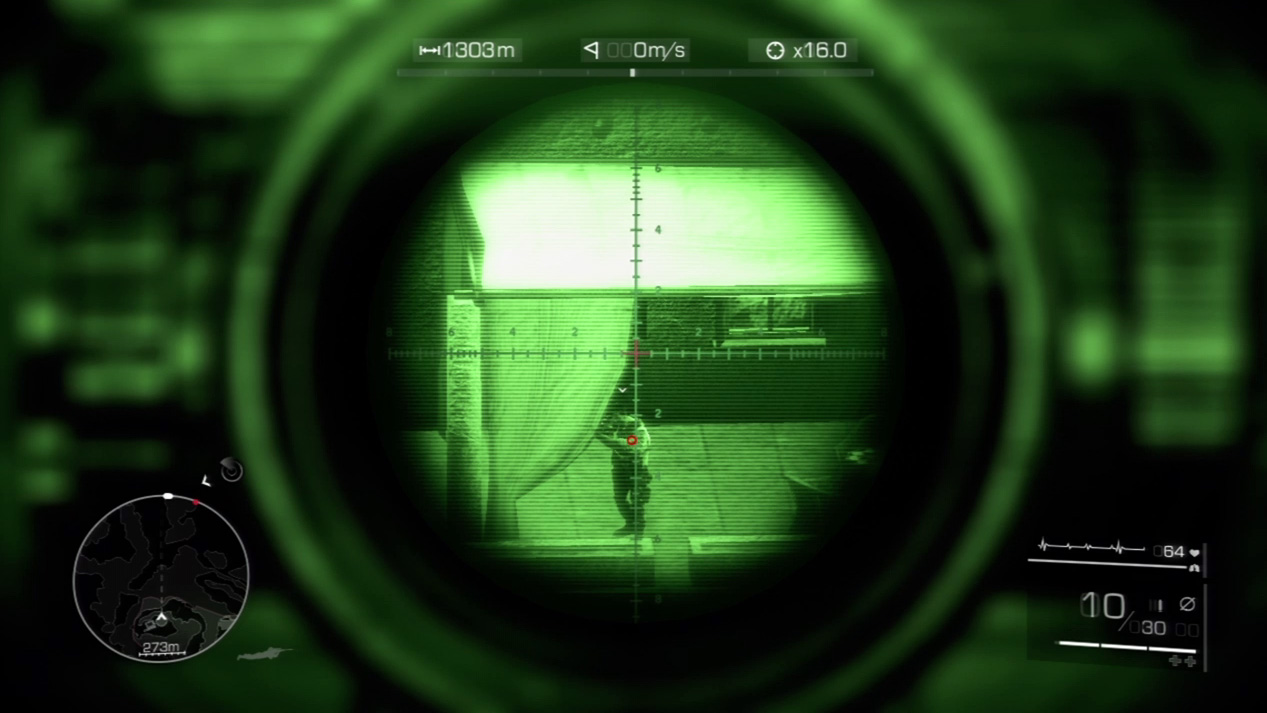
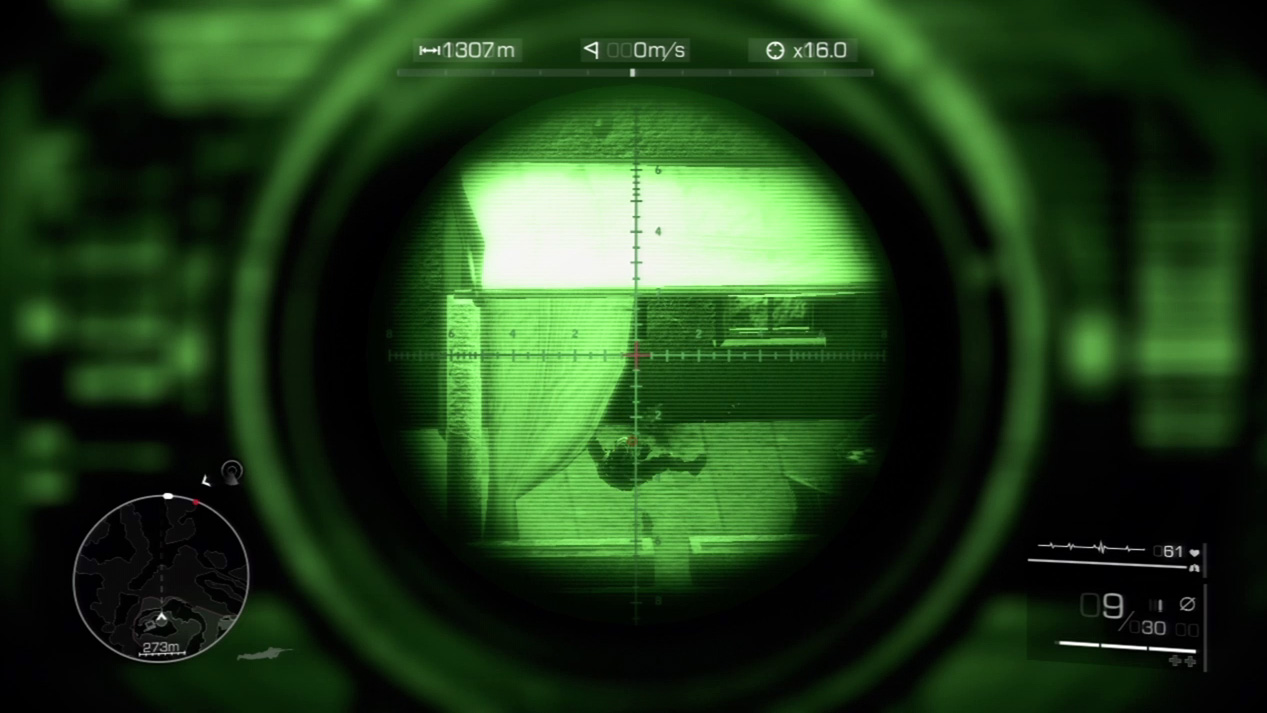
Slide down and you’ll see two enemies by the pool canopy. Shoot the first one partially hidden behind the curtain.
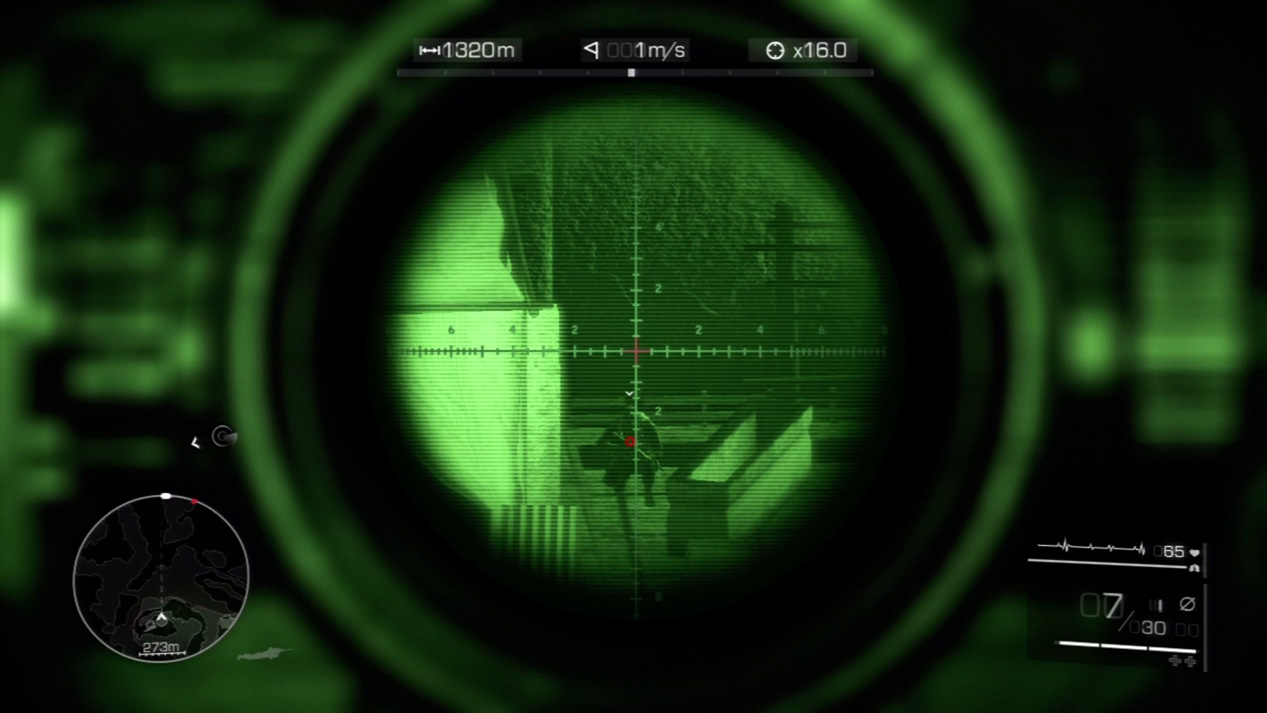
Gun down the second canopy enemy. Scan to the right of the far canopy poll and wipe him out.
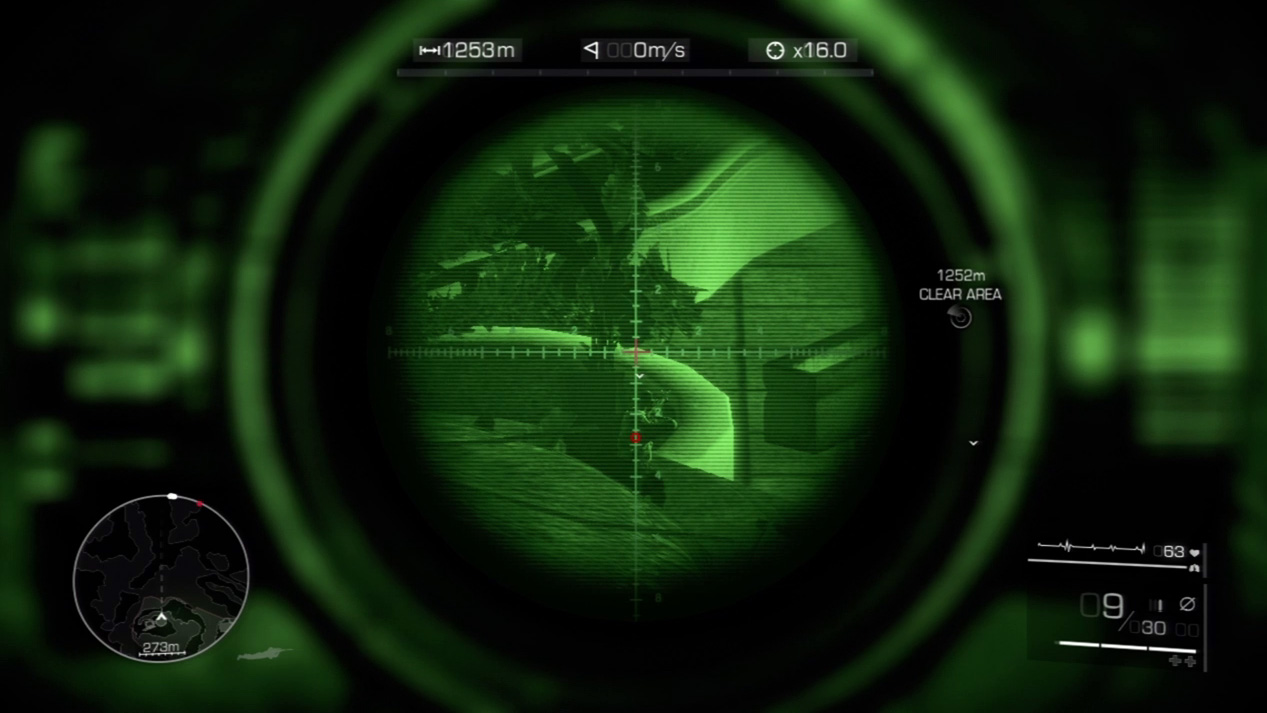
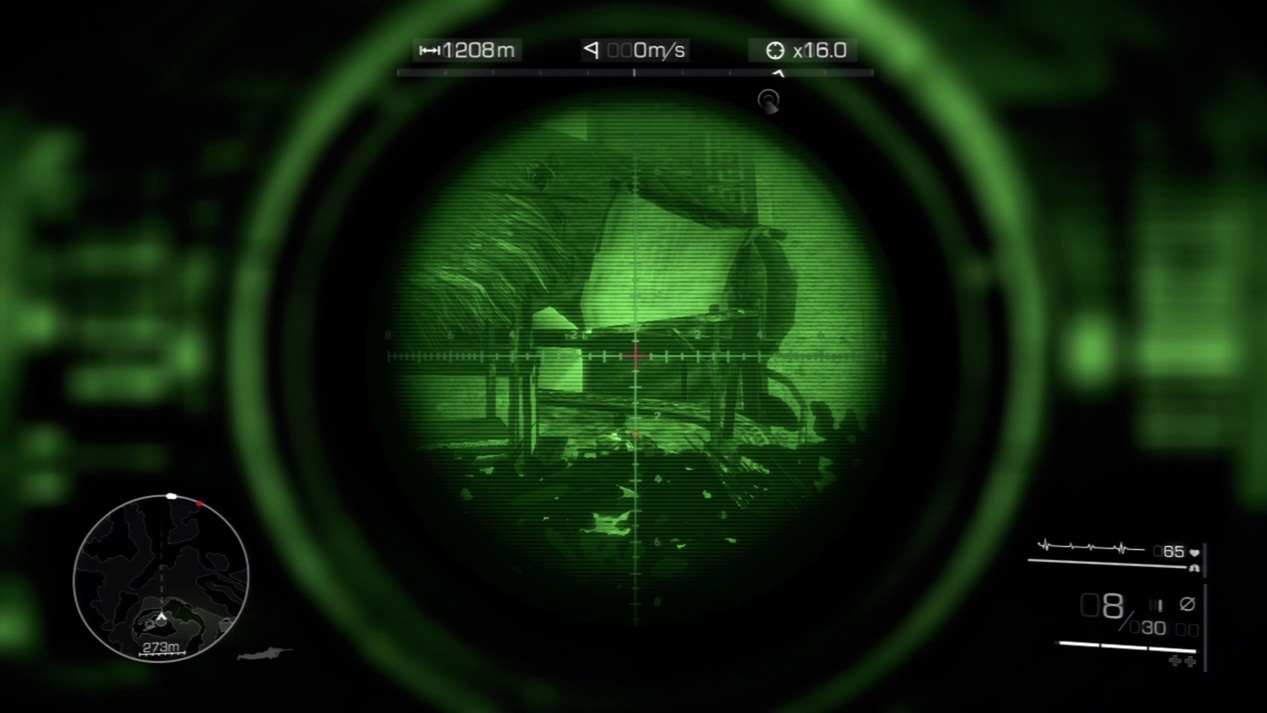
The final three pool enemies are clumped together on the left side near the bungalow. Watch your minimap and check each enemy’s facing. Pick them off one by one, where each fallen body won’t attract the other’s attention.
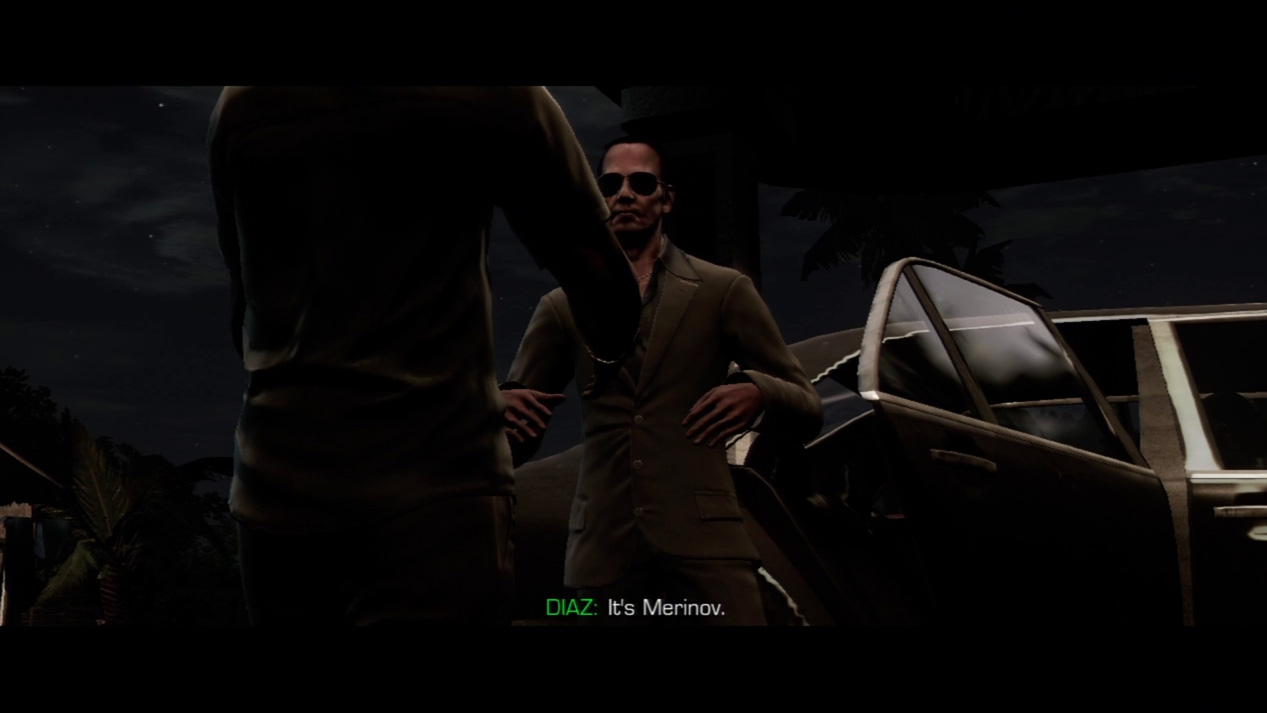
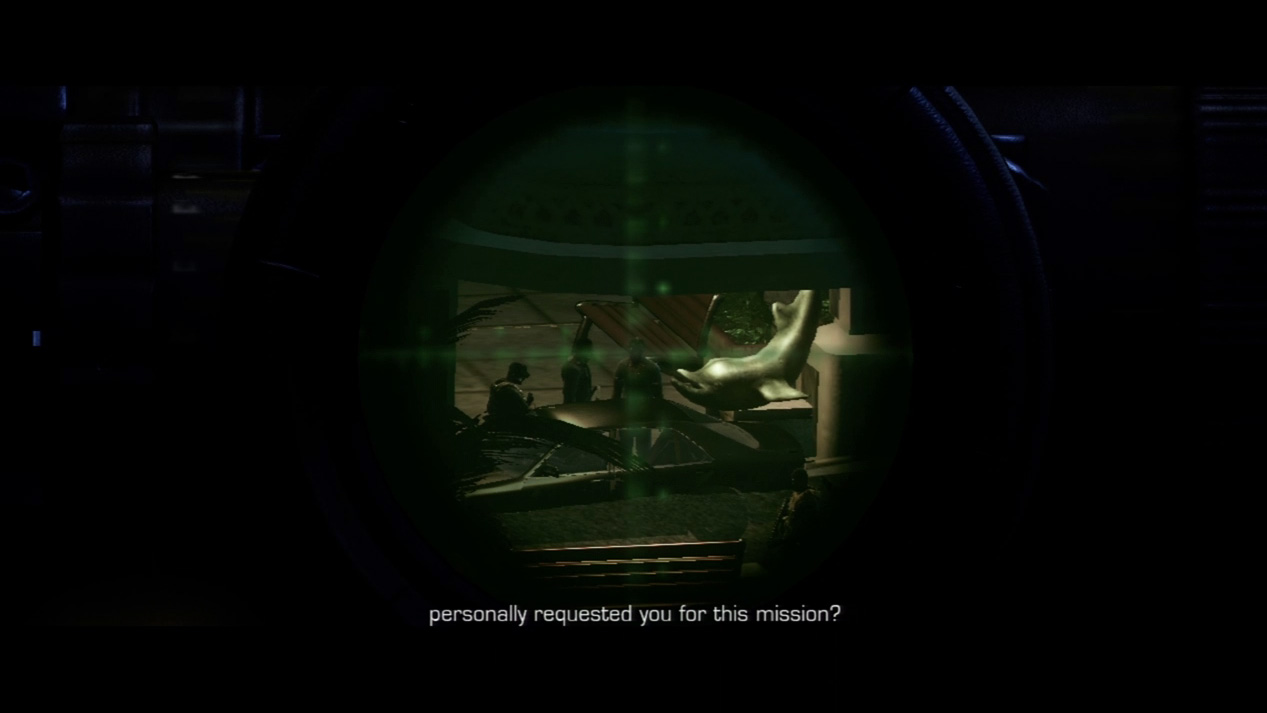
The bigwigs finally arrive. As you zoom in for a look, you’re shocked to see that the big player is an “old friend,” Merinov. Apparently, your dealings with him in Sarajevo made him a bitter enemy, and Diaz recruited you specifically for the job of taking him down.
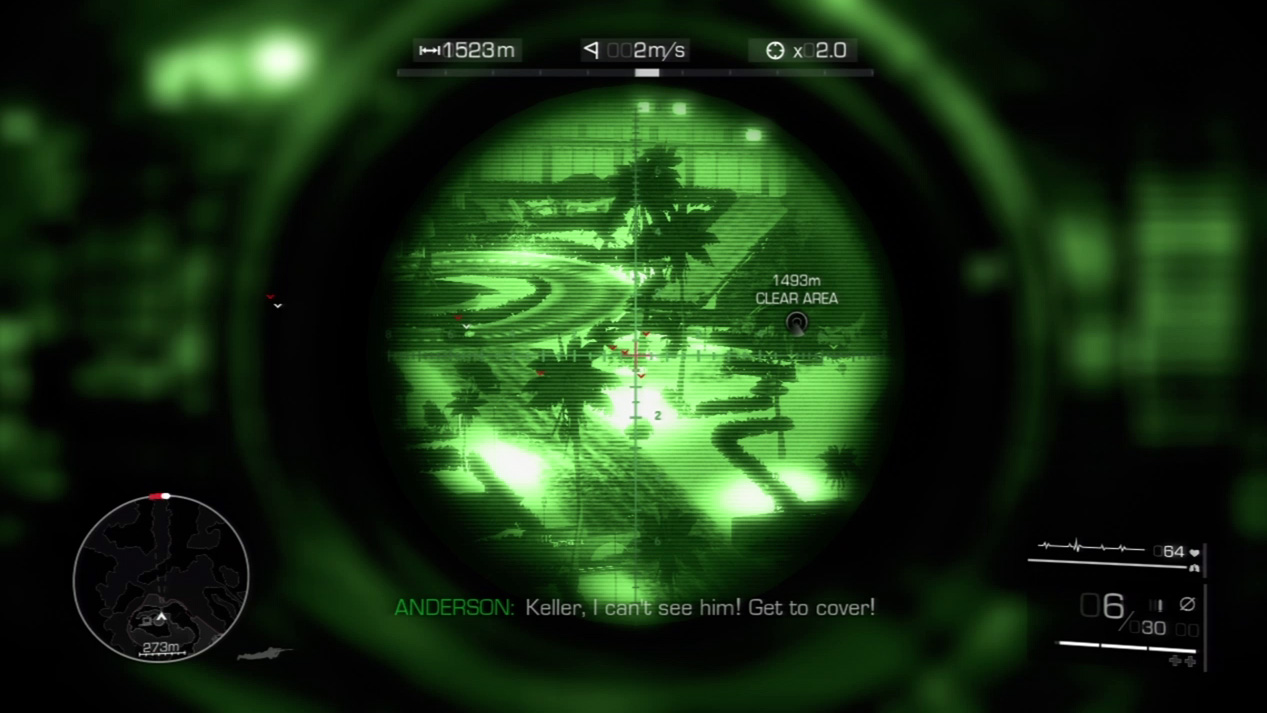
As the team advances on Merinov and his men, they realize something is wrong. A huge firefight breaks out.
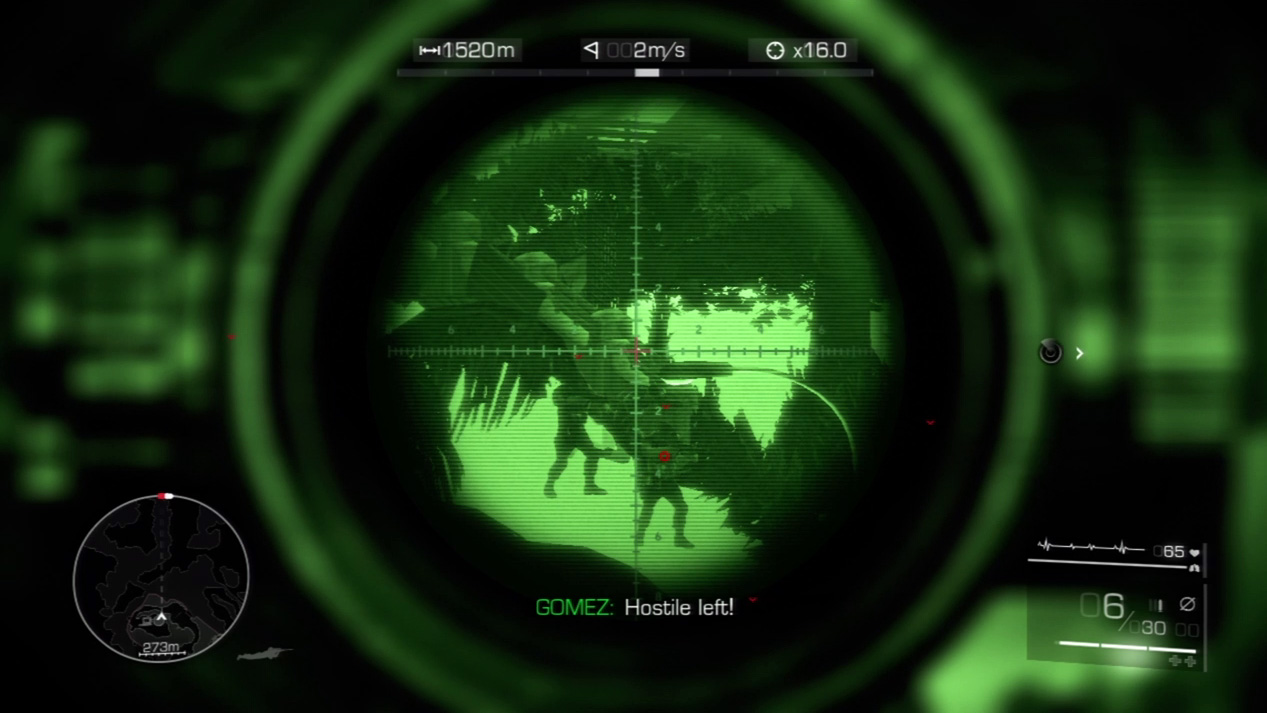
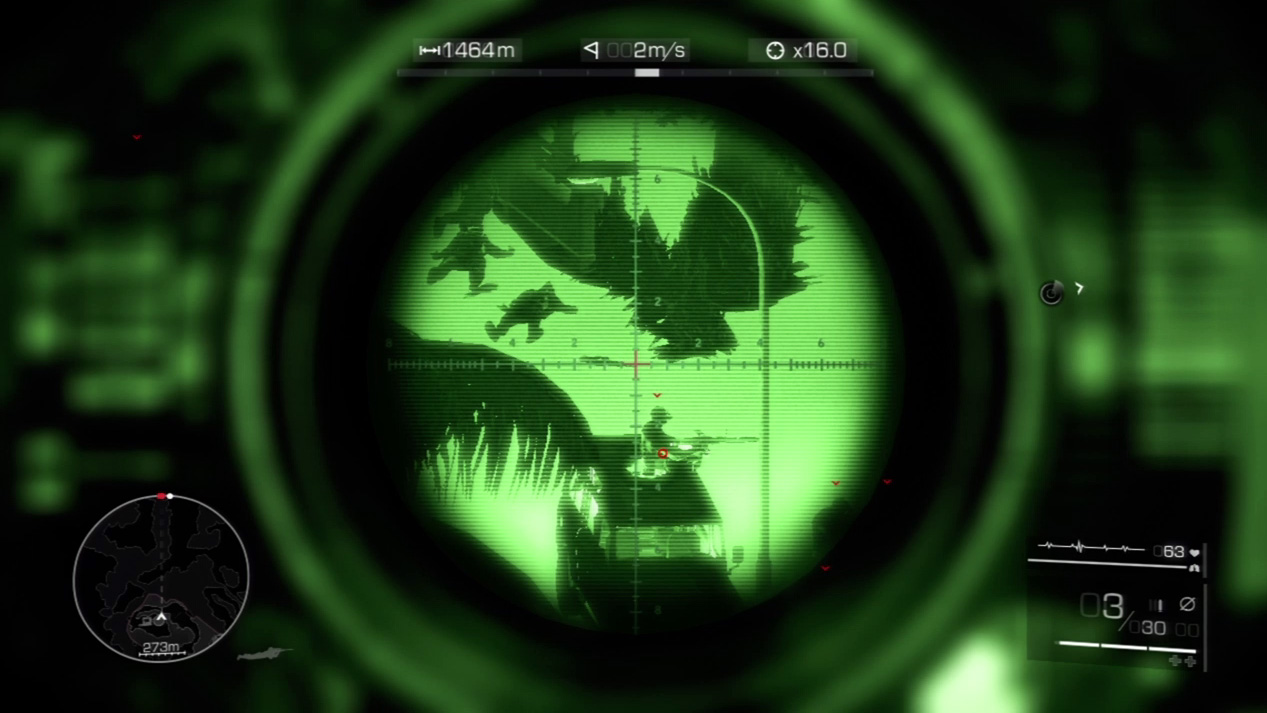
Do as much as you can to protect the team. Zoom in on the enemy horde and fire relentlessly to save your men.
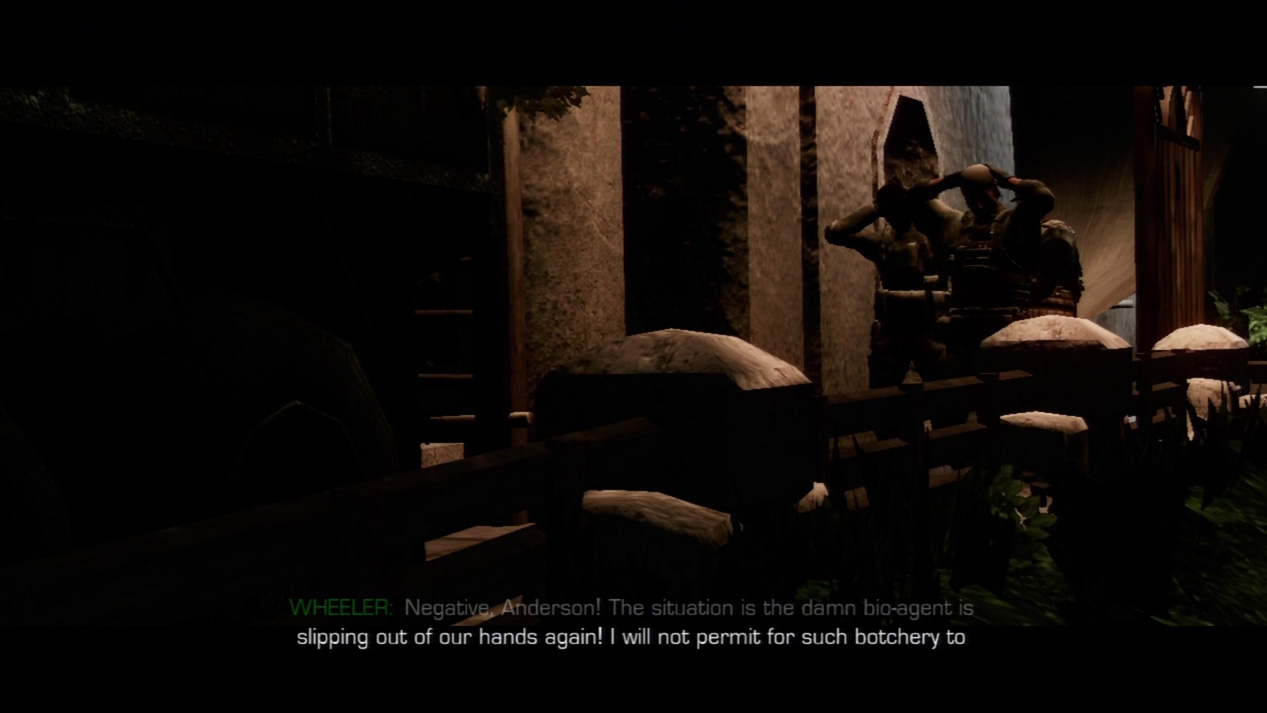
No matter what you do, you can’t stop the enemy’s advance. Many die; Diaz and Nichols get captured. You request permission to attack the captors; however, to your frustration, you’re ordered to disengage and follow them instead. You may lose your partner, but the bio-weapon is of utmost importance.