
Sniper Ghost Warrior 2 Guide Walkthrough Mission 8: Burning Bridges
8.3 Waypoints 8-15
Waypoint 8
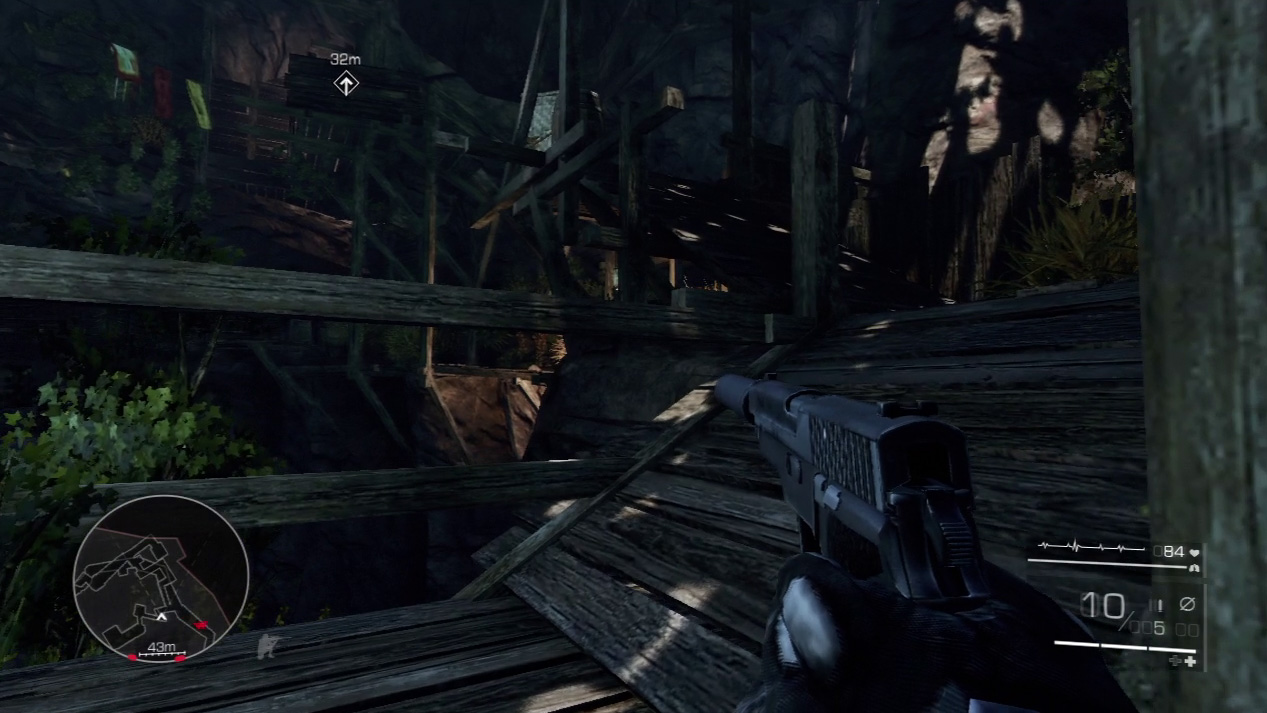
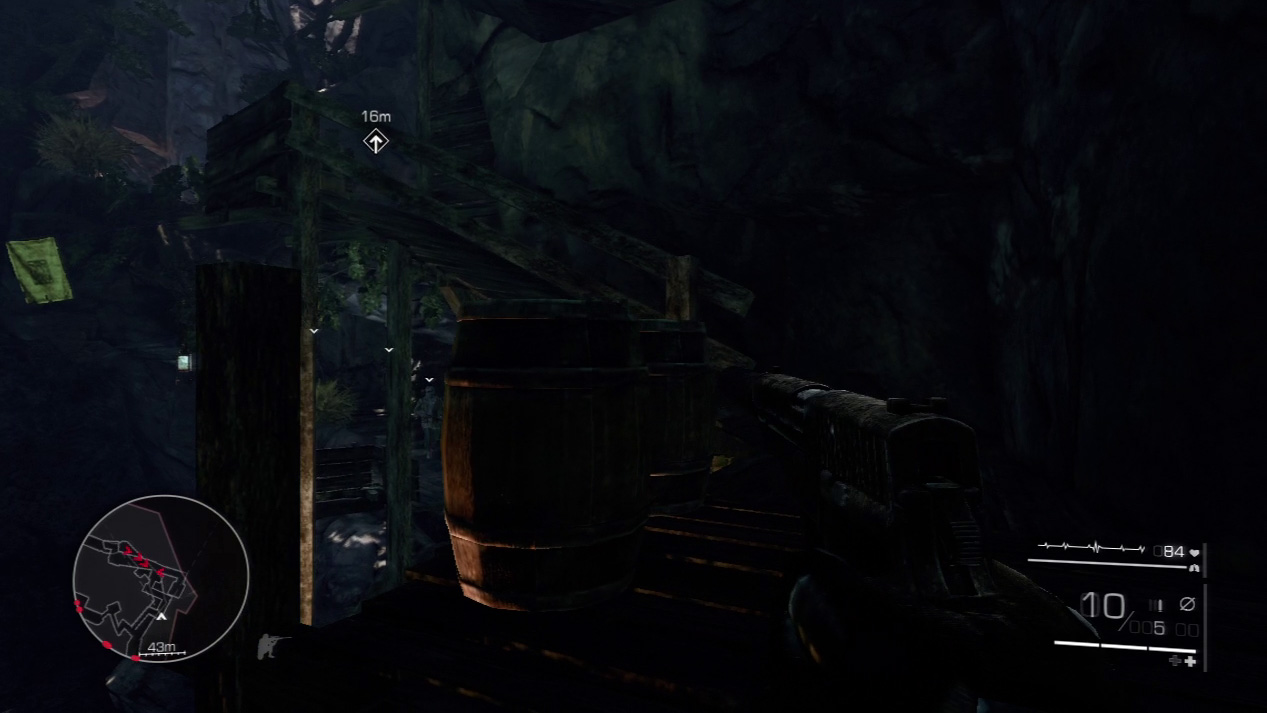
Diaz warns you of another approaching patrol. Take the ramps up to the higher platforms that hang above the advancing patrol.
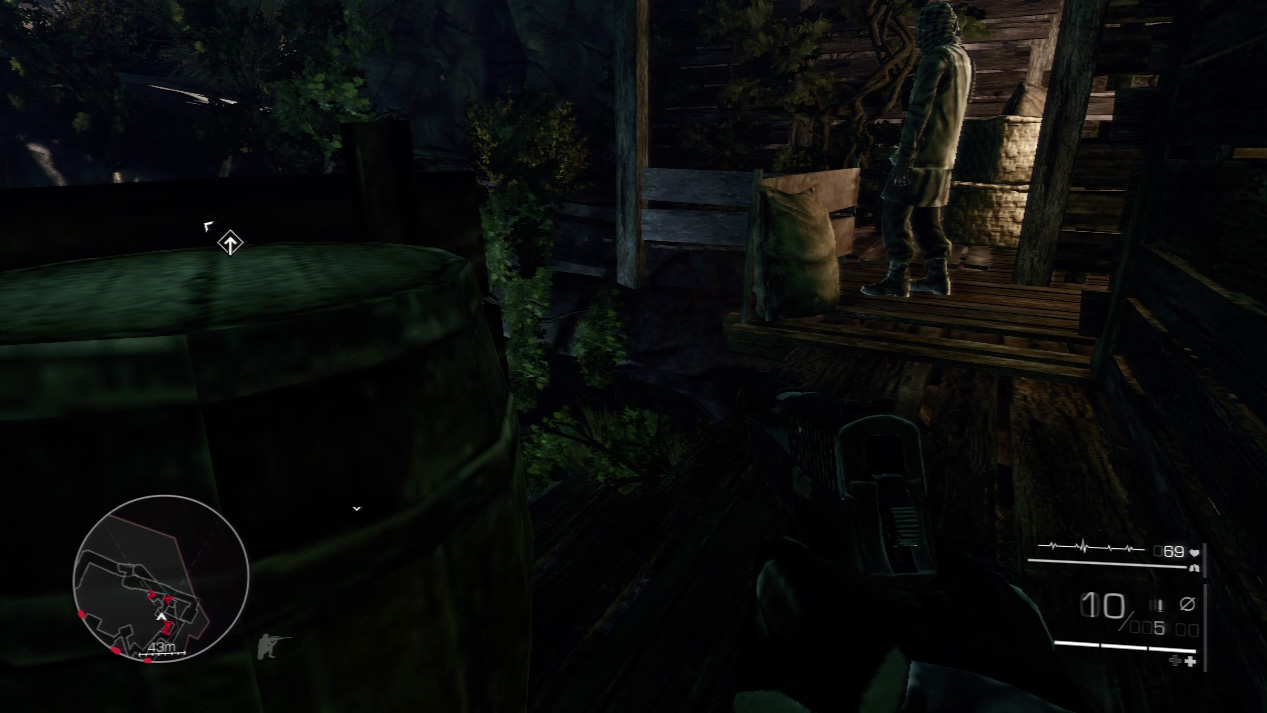
Continue until you see a barrel at the well-lighted corner. When Diaz yells to stop, freeze immediately and duck back against the wall.
A guard walk out on the path around the corner. If you stay out in the open, he will spot you. Wait for him to retreat and then you can slip behind him without incident.
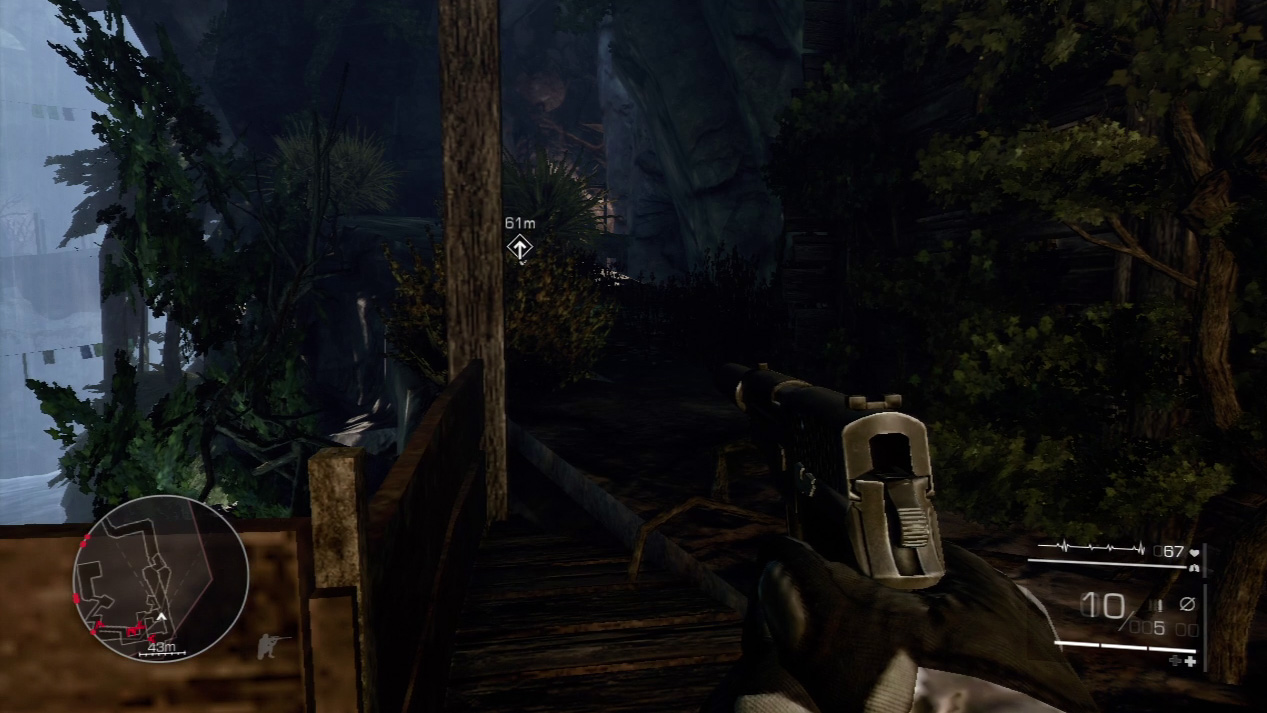
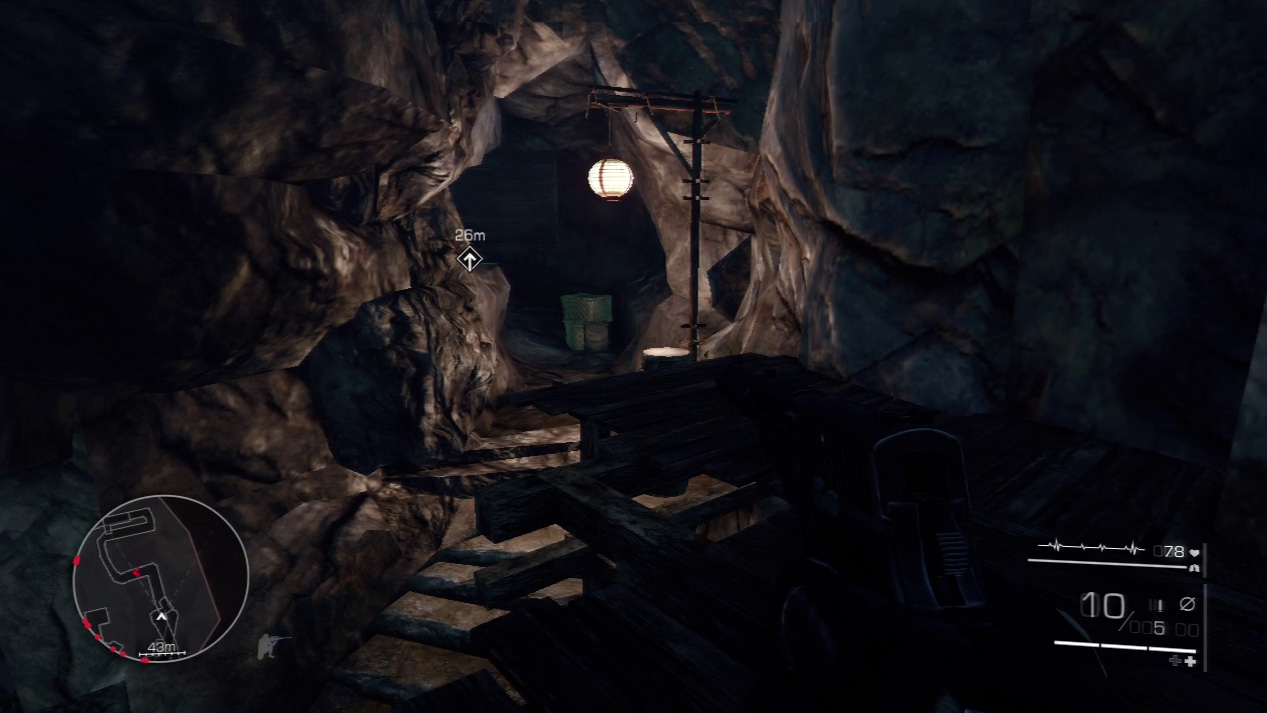
Climb up to the top of the upper path and drop back down to the main path undetected.
Waypoint 9
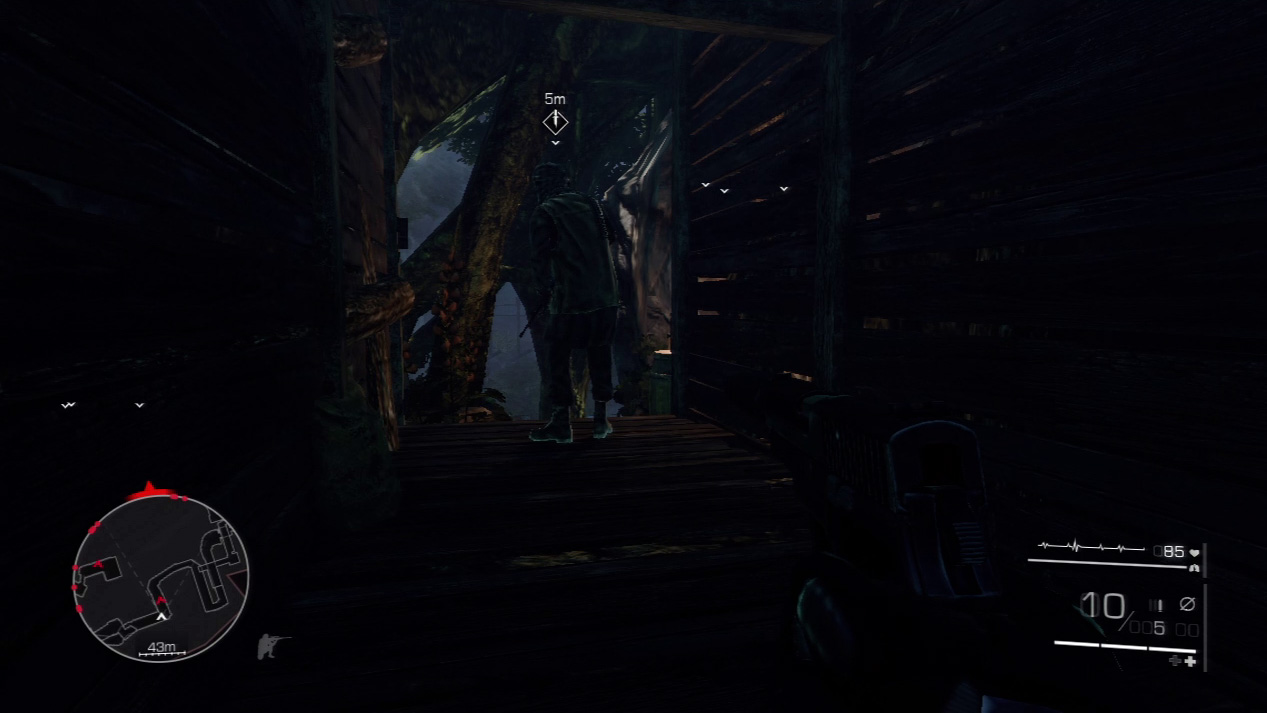
Sneak up on the enemy around the next bend. After you stealth kill him, drag his body back into the shadows and out of sight.
Waypoint 10
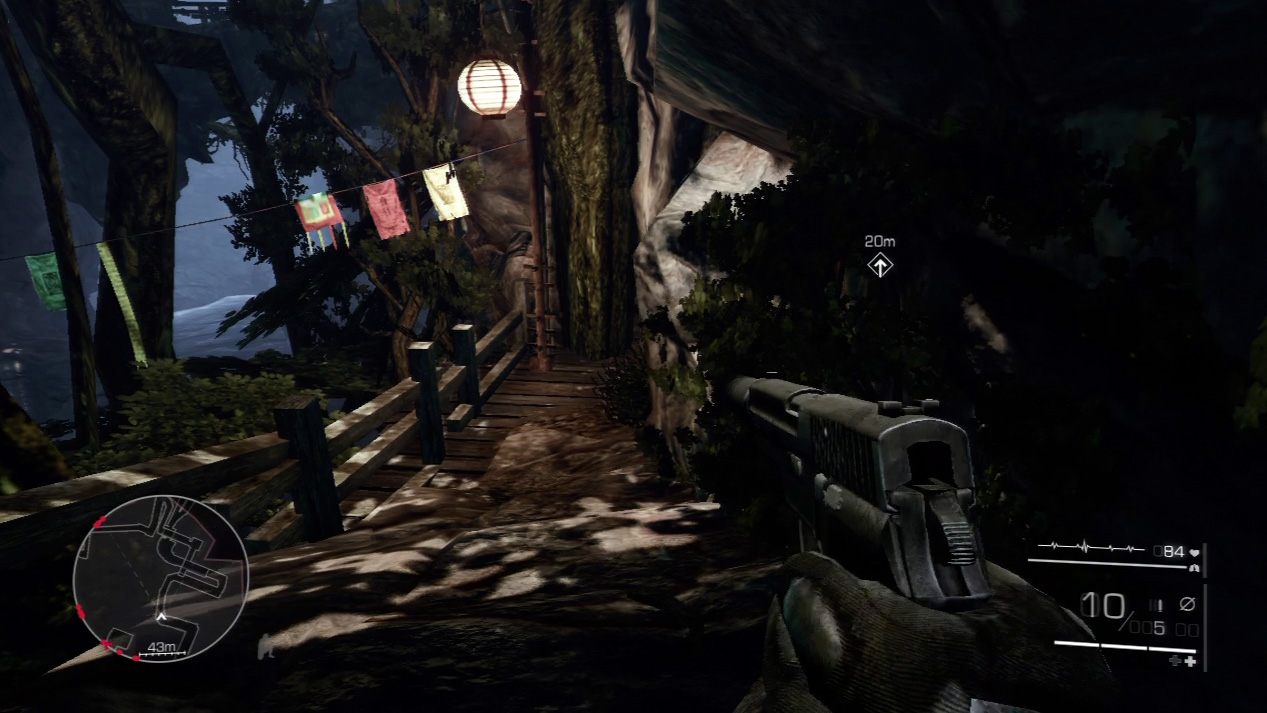
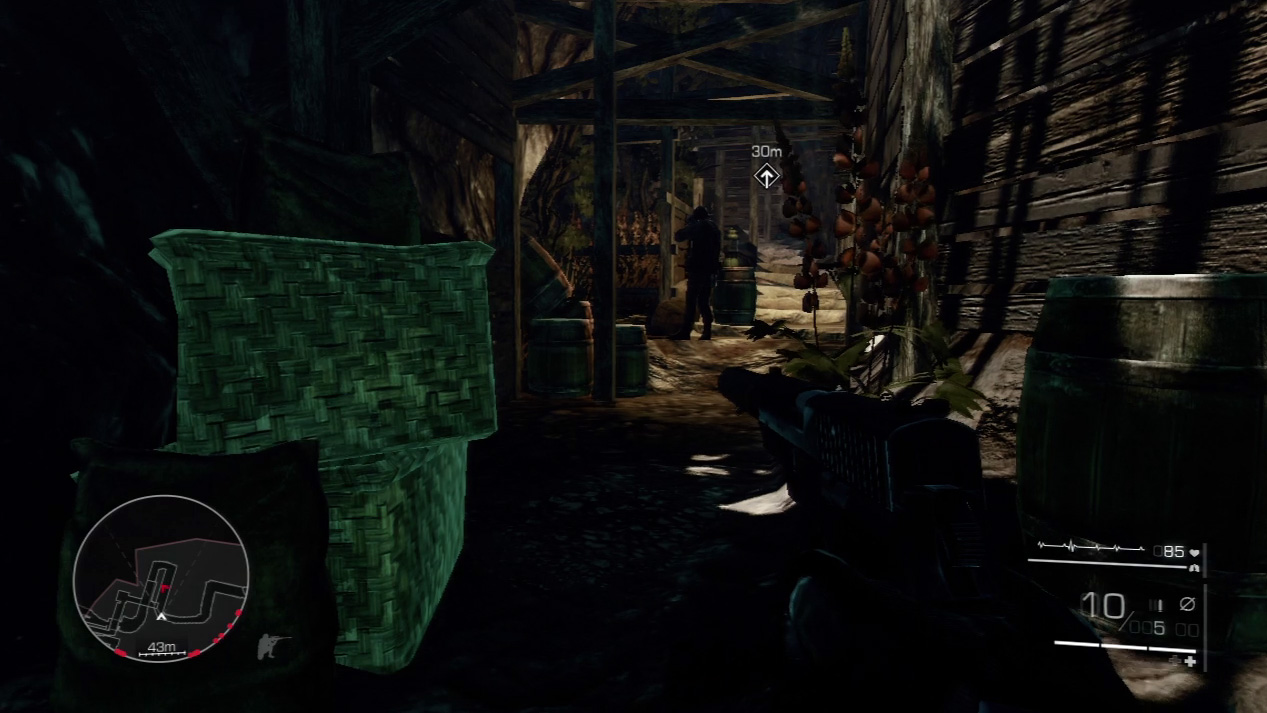
Follow the path down into the next underground section. You’ll hear the next enemy talking on the walkie-talkie before you see him.
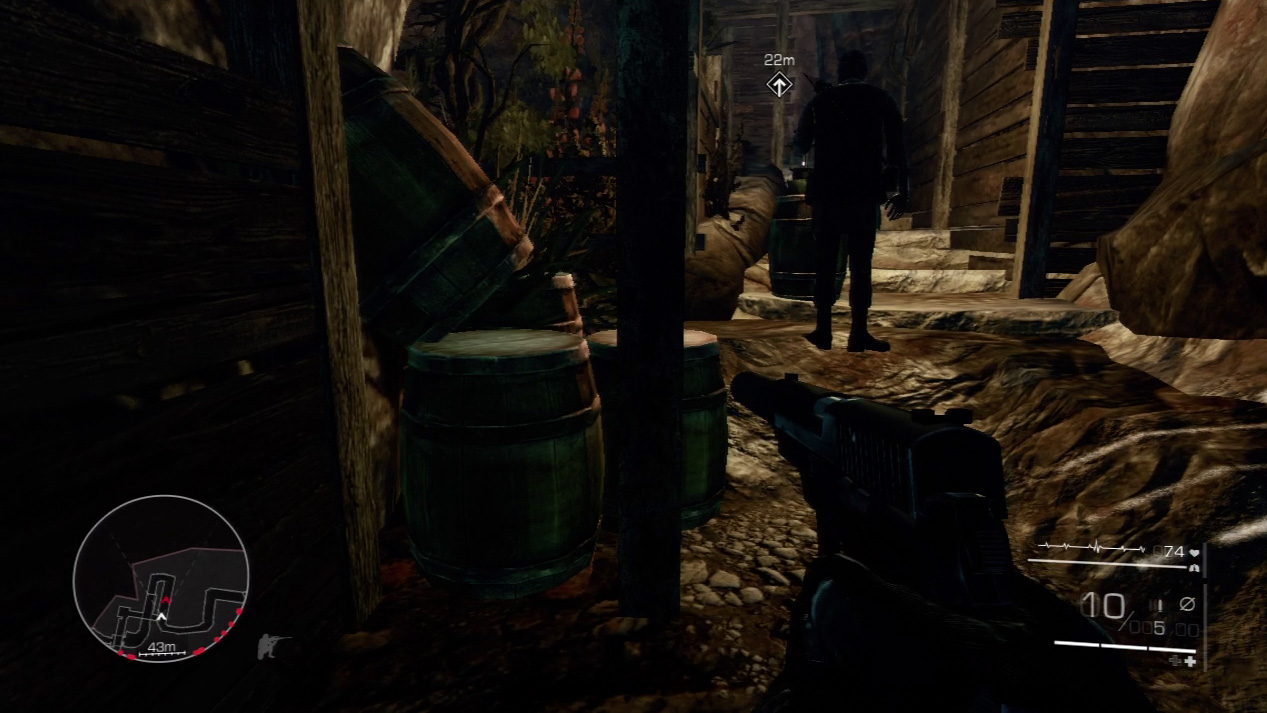
Creep up on him from behind and kill him quietly without alerting anyone else.
Waypoint 11
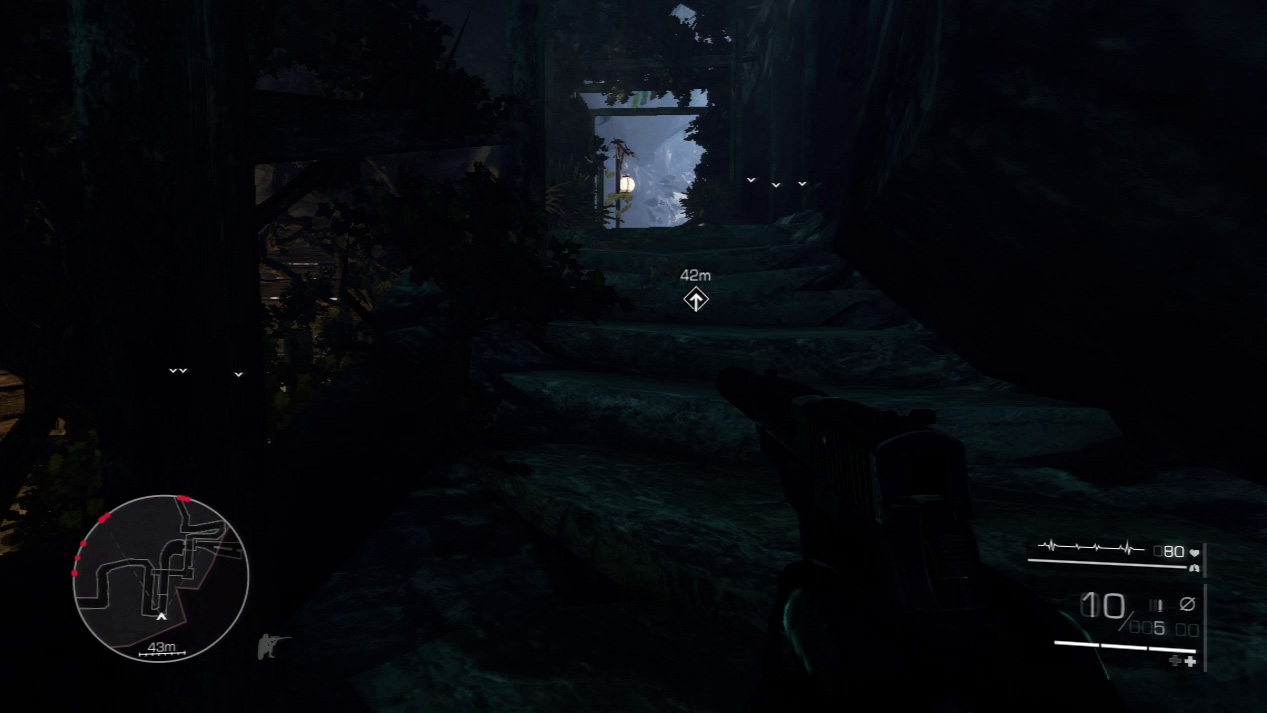
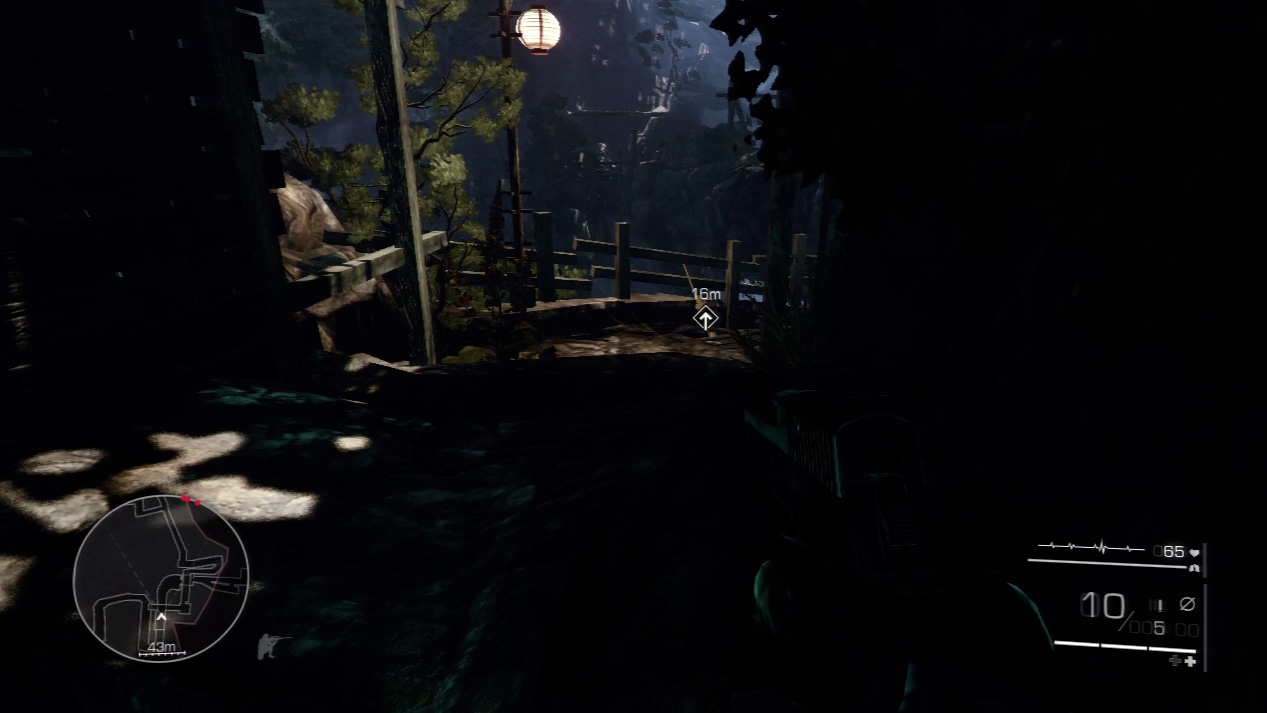
Circle up the stone stairs and pause when you see open air again. The stairs descend down to a landing where your sniper rifle is, but another searchlight scours the area.
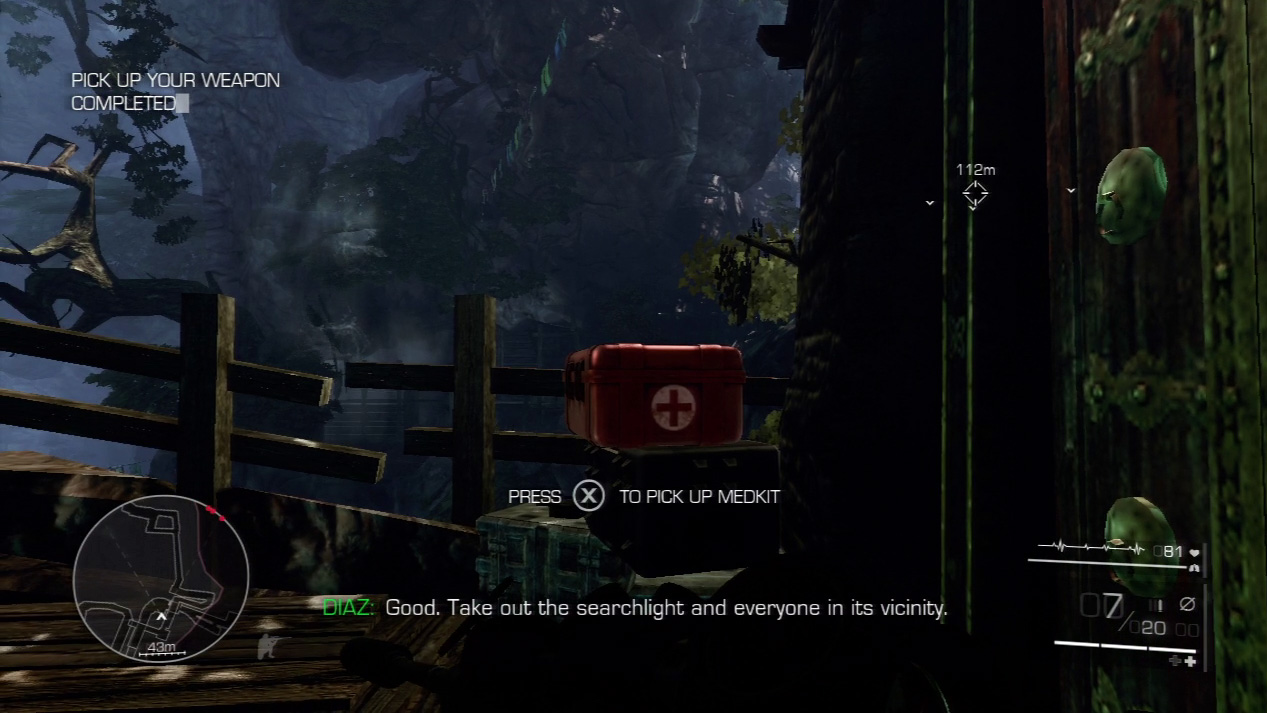
When the searchlight isn’t shining on the landing, run down and grab your sniper rifle. Slip over to the right and hide from the light by the large door set into the cliff face.
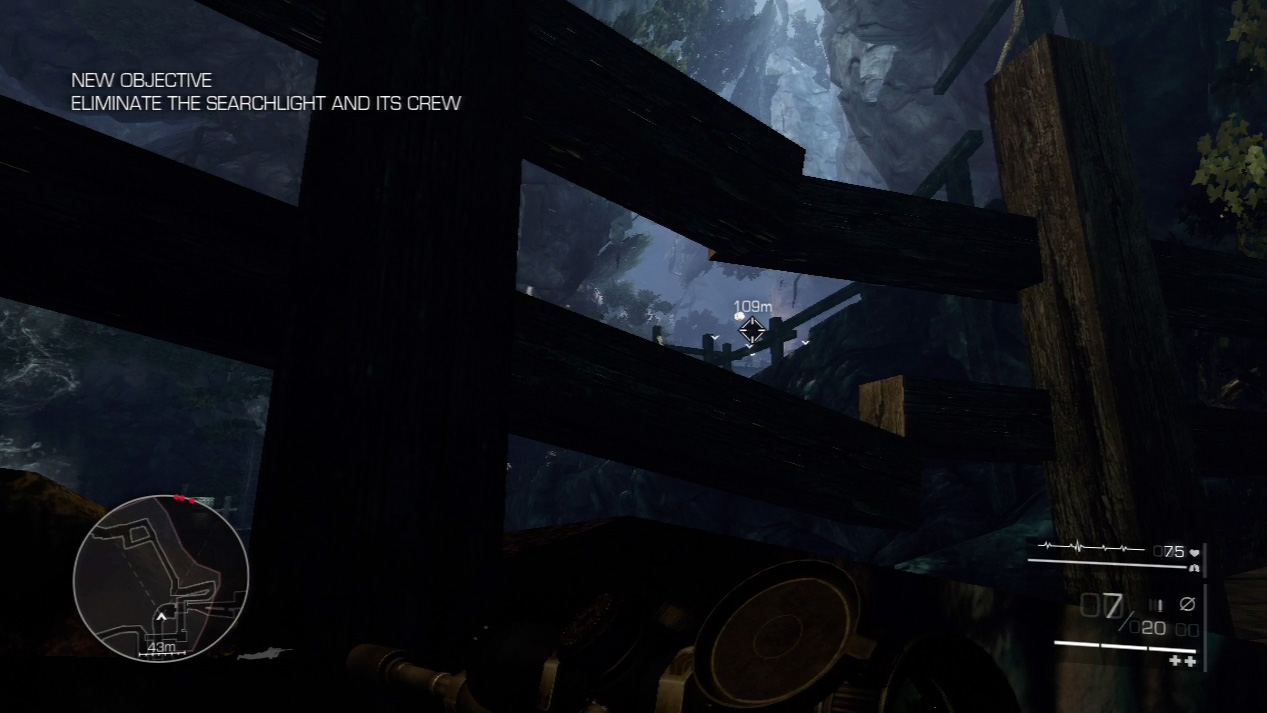
Drop prone and crawl out until you can line up a shot on the searchlight above.
Expert Mode
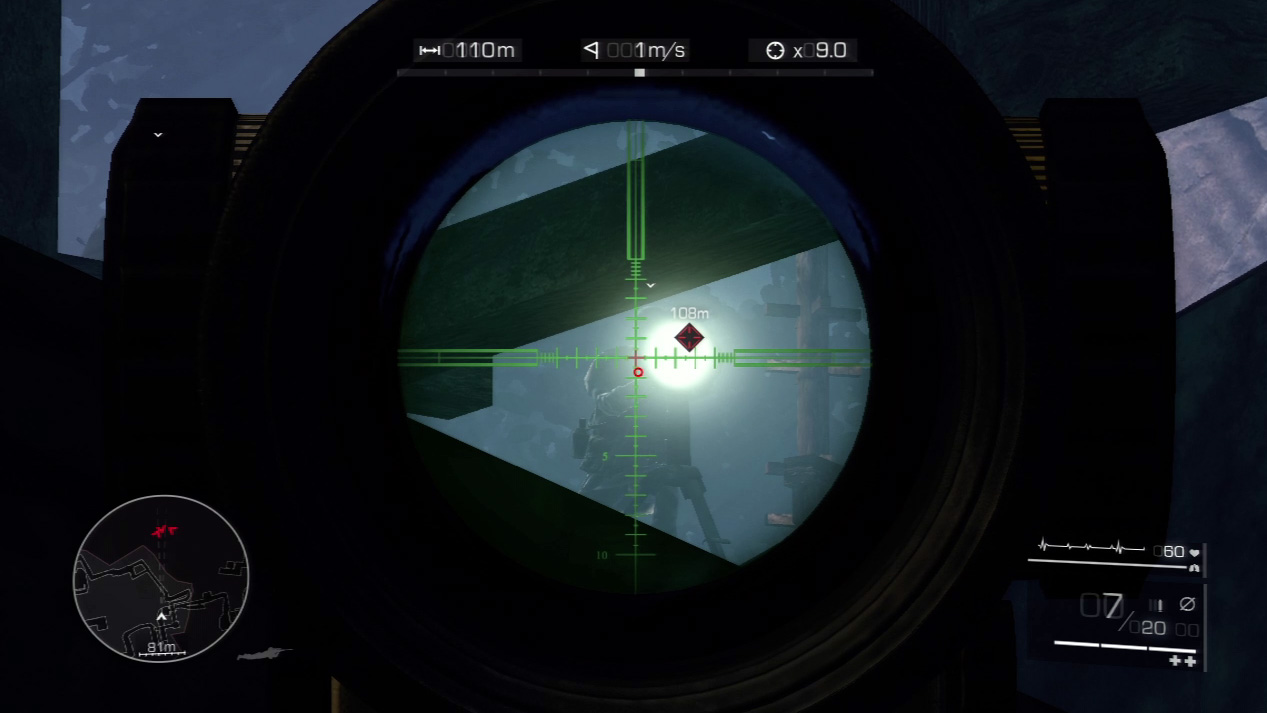
- Distance: Approximately 110 meters
- Wind: 1 meter/second (blowing right)
- Magnification: 9x
Gravity and wind will offset your shot only slightly in the caves. Look for the bullet to push right a tad; it will drop down a little farther, falling to just above the first reticle.
Because you are so close with most of your shots, center your target and aim for the head to guarantee kills in almost all cases.
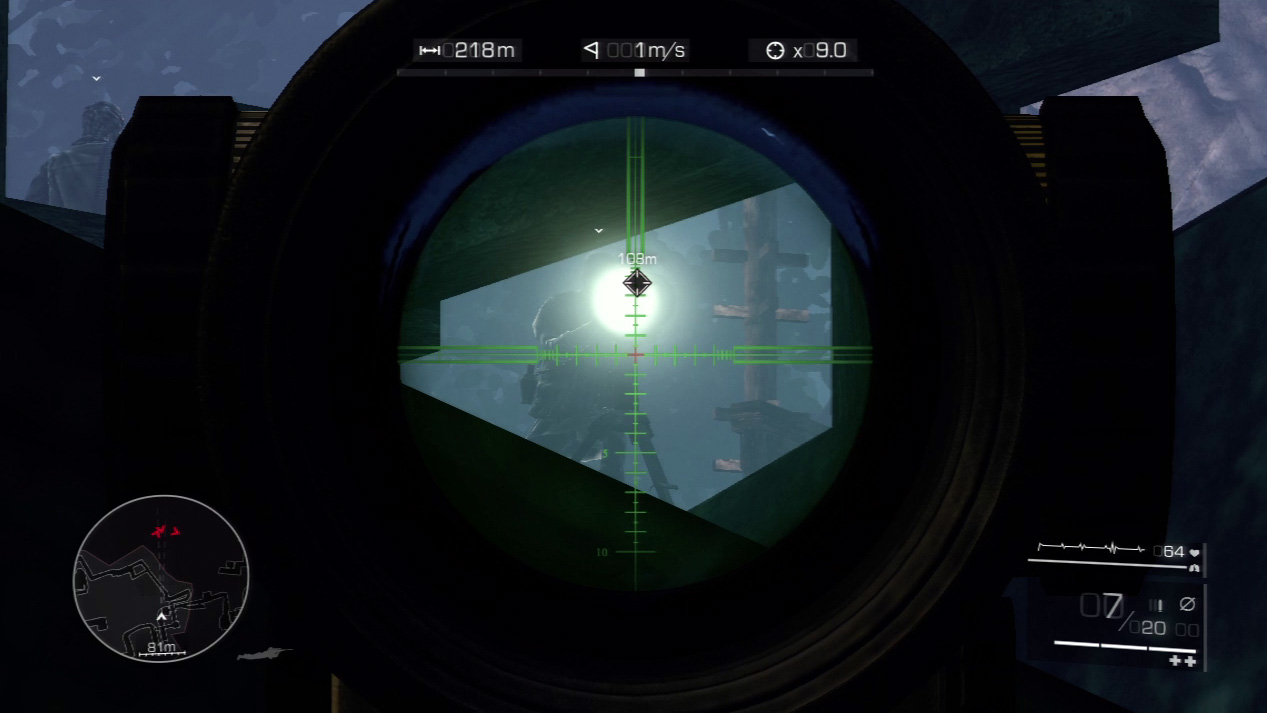
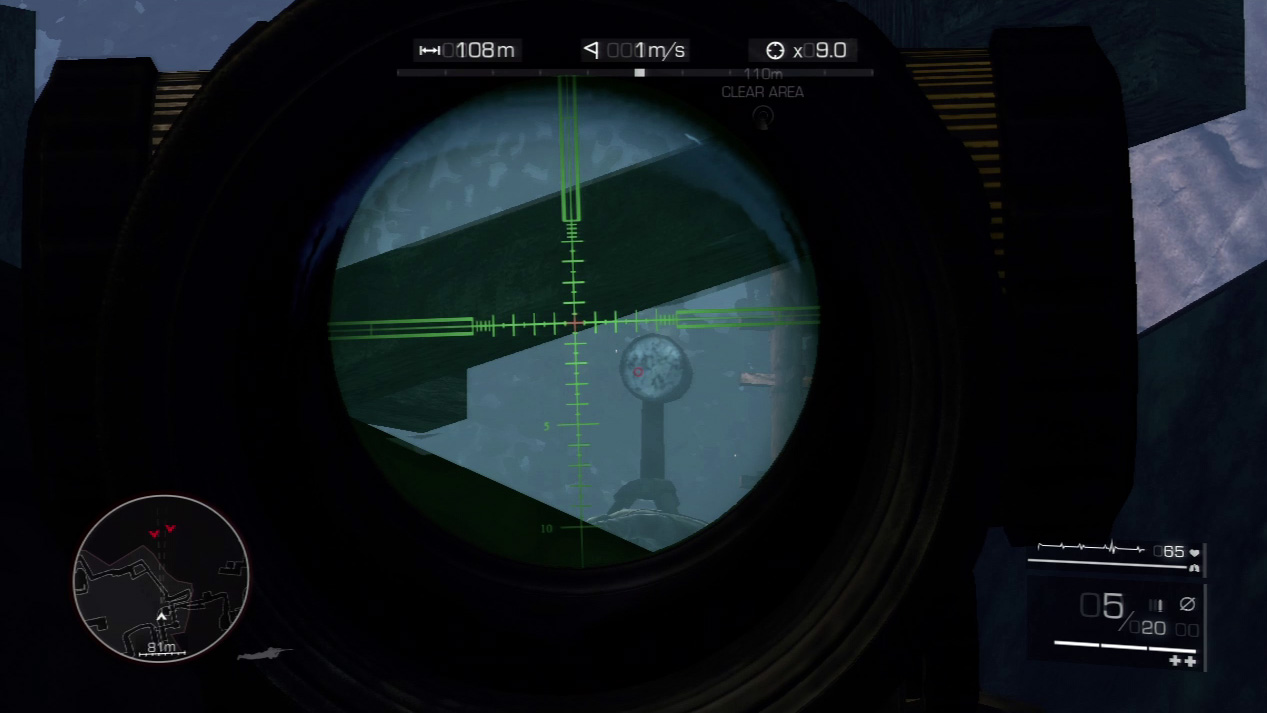
You have several options here. You can aim for the searchlight and confuse the enemies temporarily for the a few seconds, or you can execute one of the three enemies first to reduce the number of threats against you.
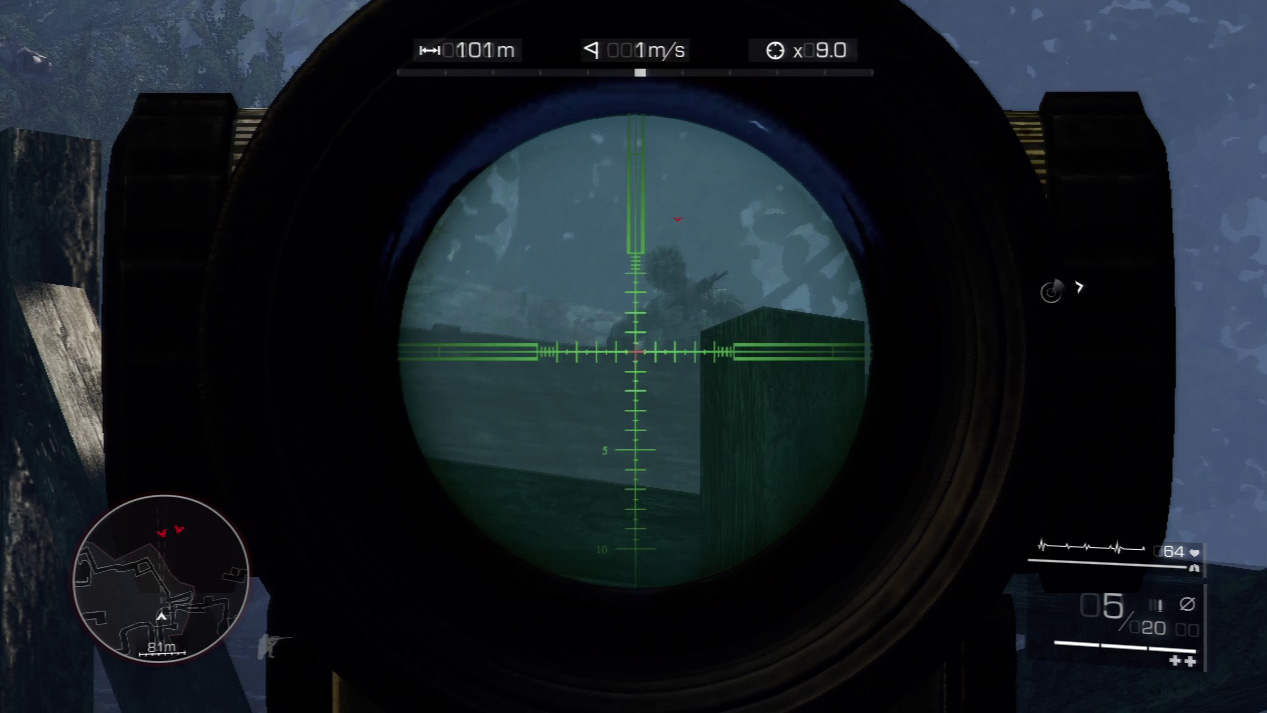
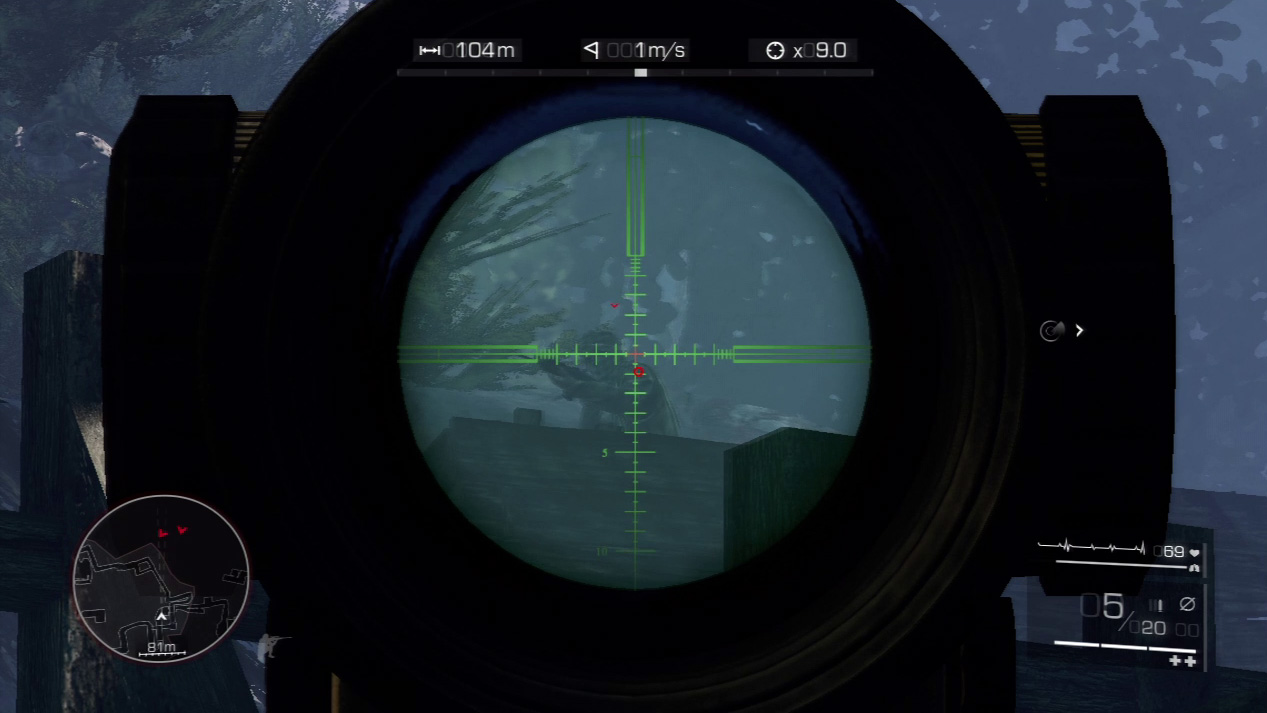
After your first shot, the remaining enemies dash for cover. The enemy to your left ducks behind a wooden barricade. Wait for him to peek over it to plunge a bullet through his chest or head.
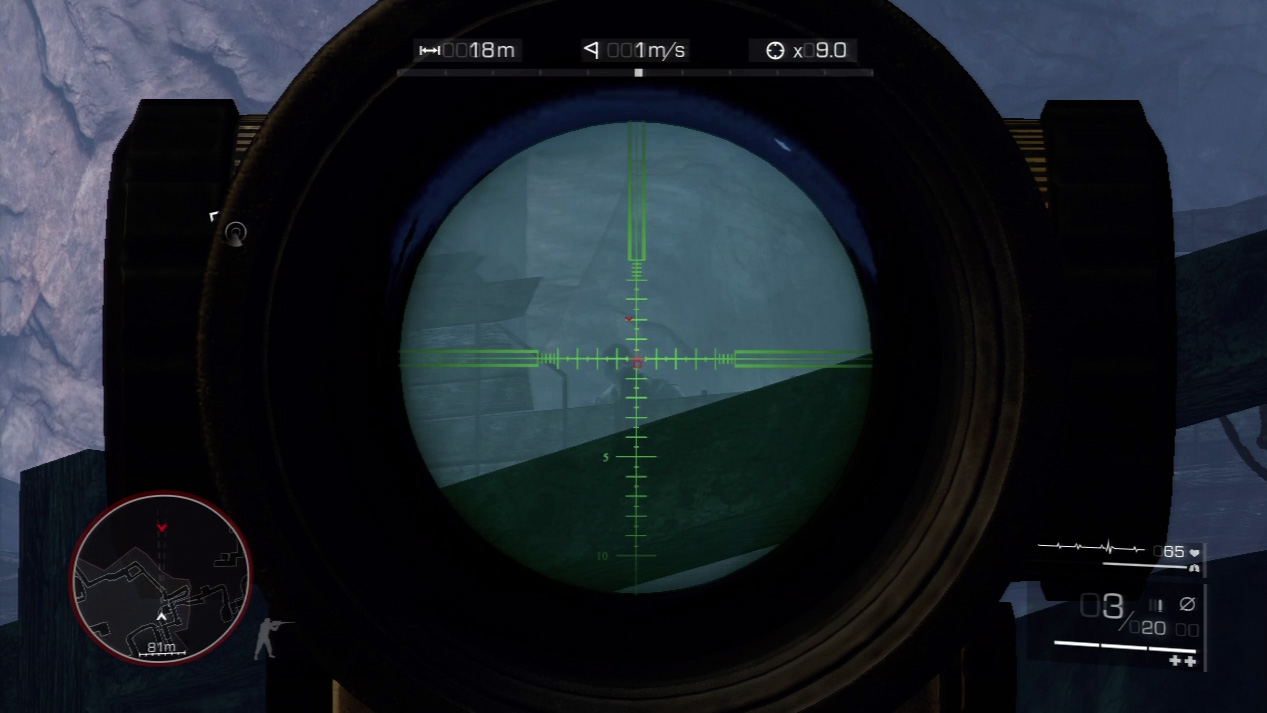
The enemy in the back is a bit trickier. You must wiggle back and forth to find the perfect shot between the fence protecting you and the stonework protecting him.
When you spot motion, zoom and hold until his head comes into view. Pull the trigger when you have him dead to rights.
Waypoint 12
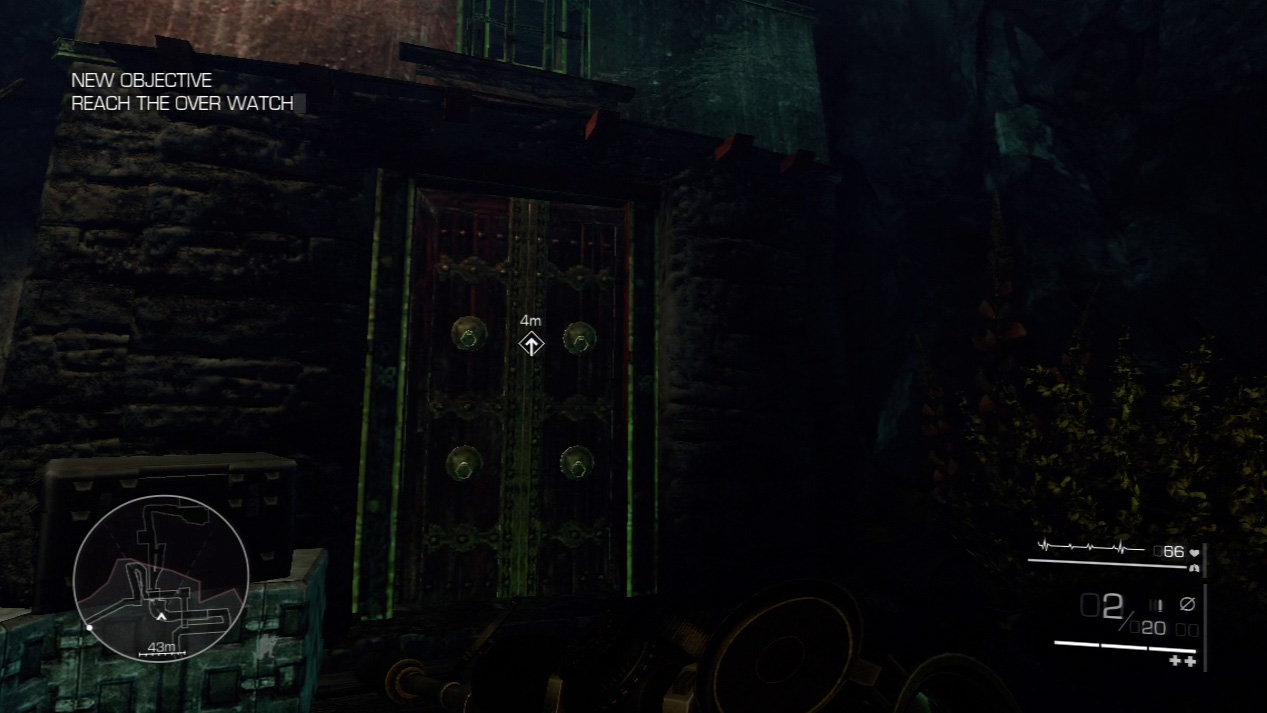
Enter the large door in the cliff wall next to you. Diaz warns of an approaching enemy after you take a few paces inside the door. Retreat to the door and wait for the enemy to take up his post.
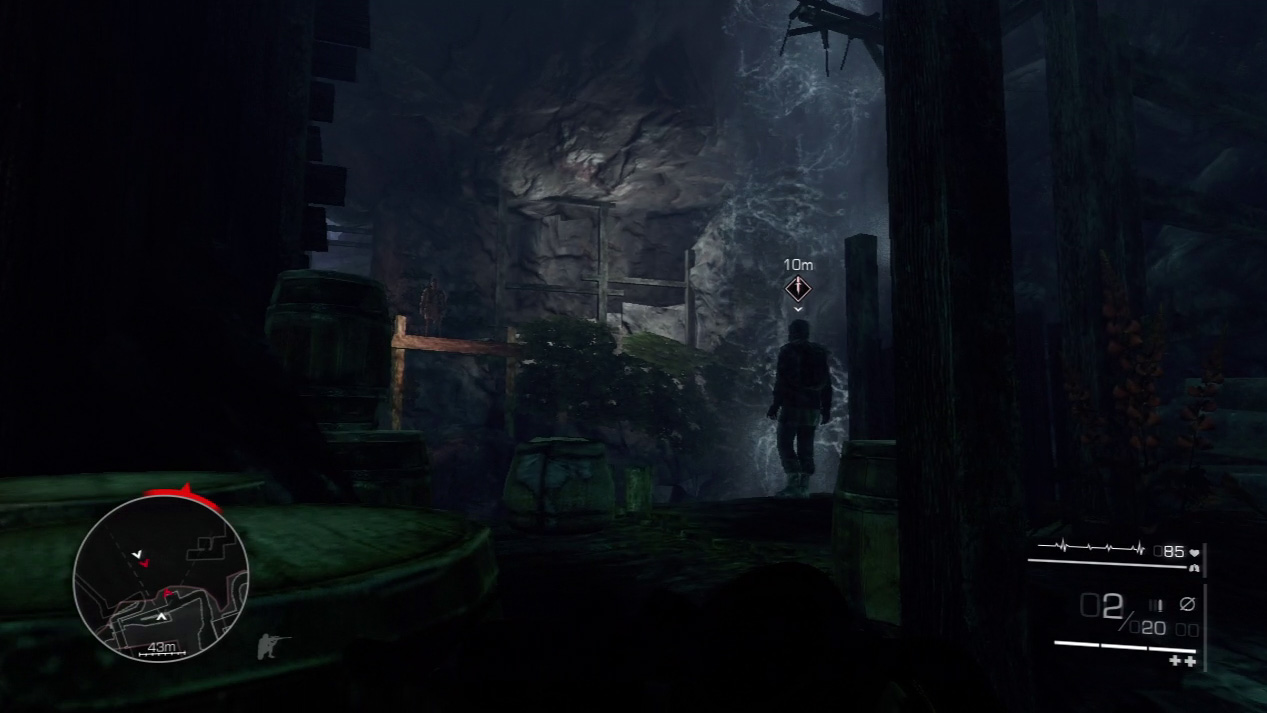
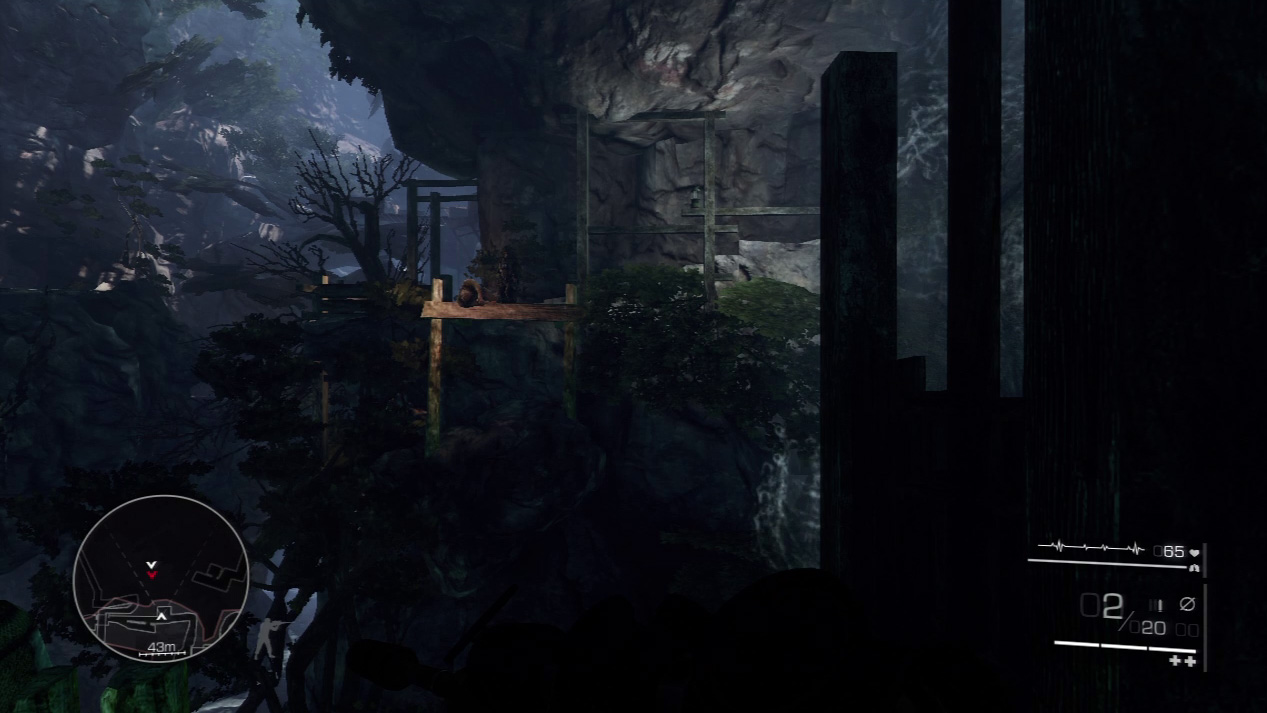
There are actually two enemies on guard here. One is at his post overlooking the underground stream on your side, and a second guard on a platform across the stream on the far side.
While you sneak up on the near guard, Diaz sneaks up on the far guard. As you silence your man with a stealth kill, Diaz does the same on the other side.
Waypoint 13
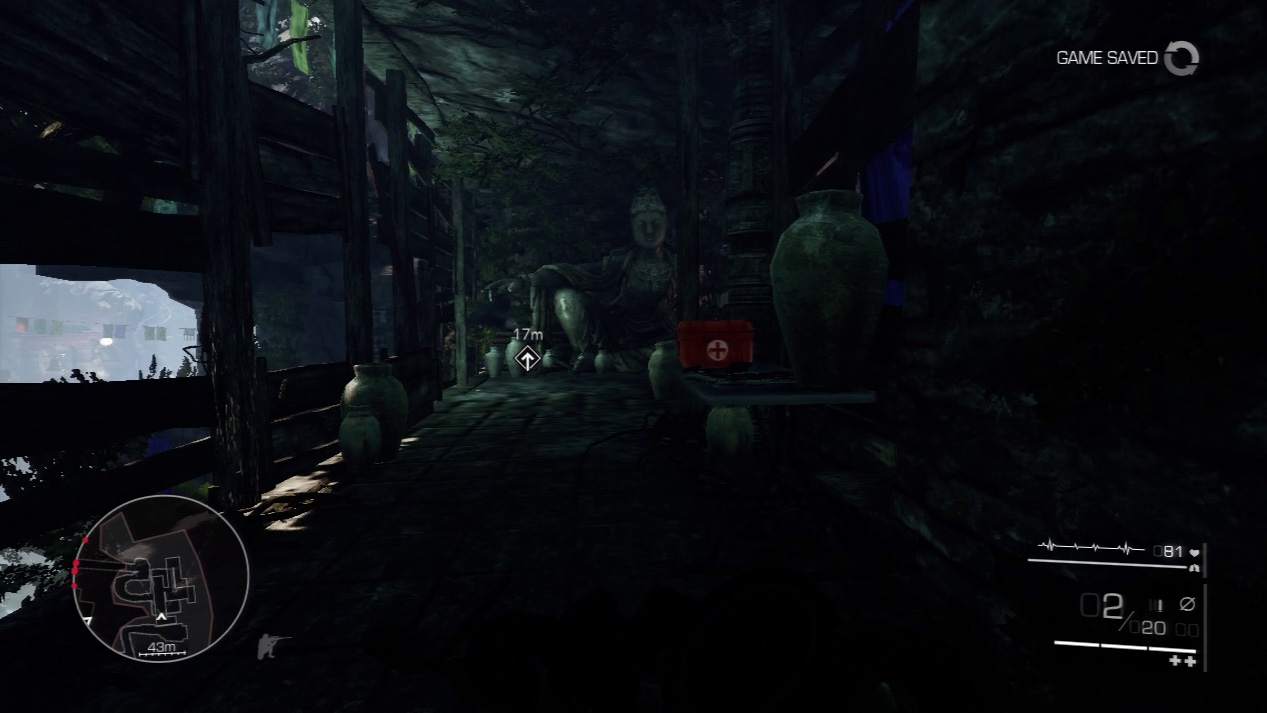
Climb the stairs to the overwatch position when Diaz gives the word. Settle down, looking out between the fence at enemy defenses across the bridge.
Expert Mode
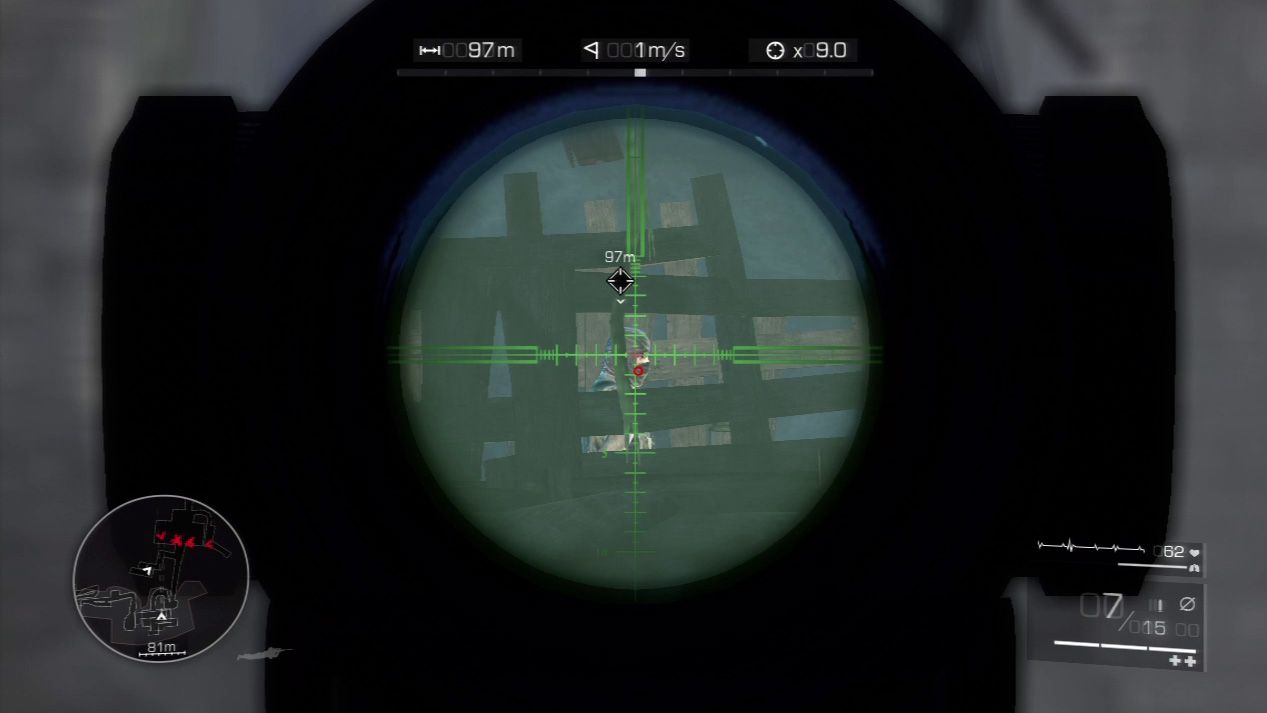
- Distance: Approximately 95 meters
- Wind: 1 meter/second (blowing right)
- Magnification: 9x
Again, your shots will slide only slightly to the right and down one reticle line due to wind and gravity.
The difficulty isn’t with the actual shots once you have them lined up, it’s getting to that point. Most of the enemies in the area are protected by obstructions, and it will take some cunning and patience to eliminate them all.
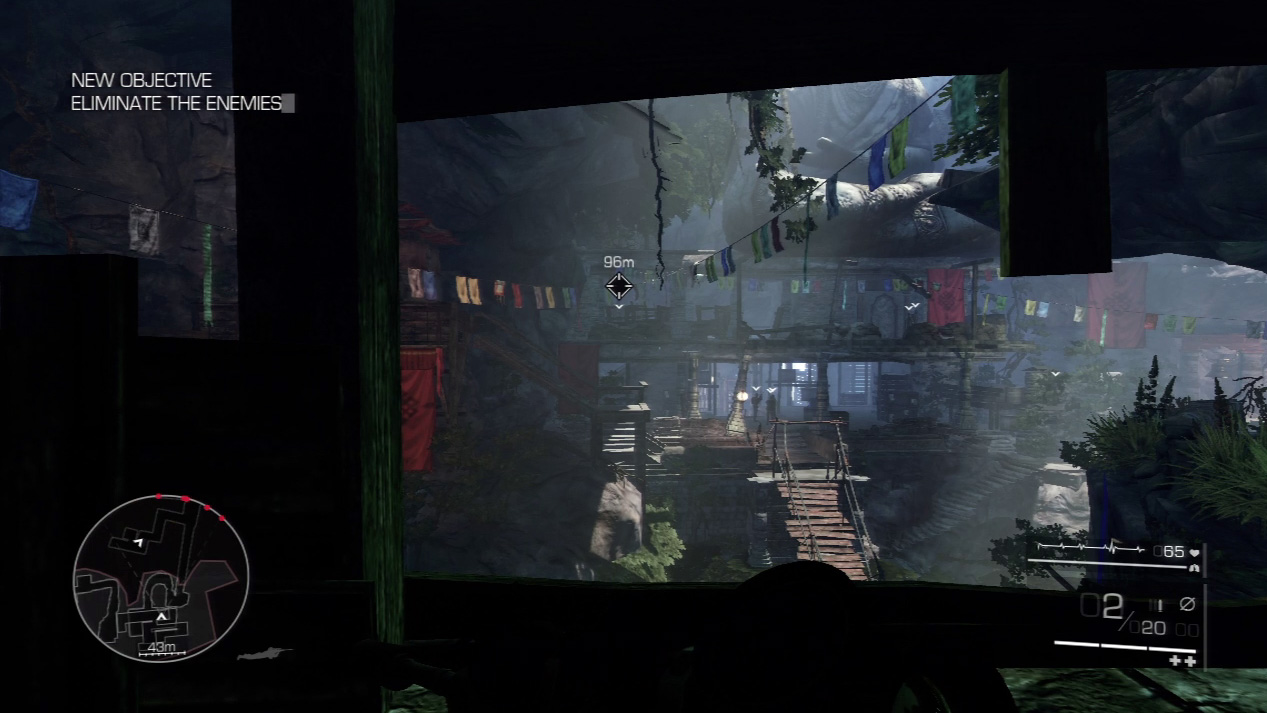
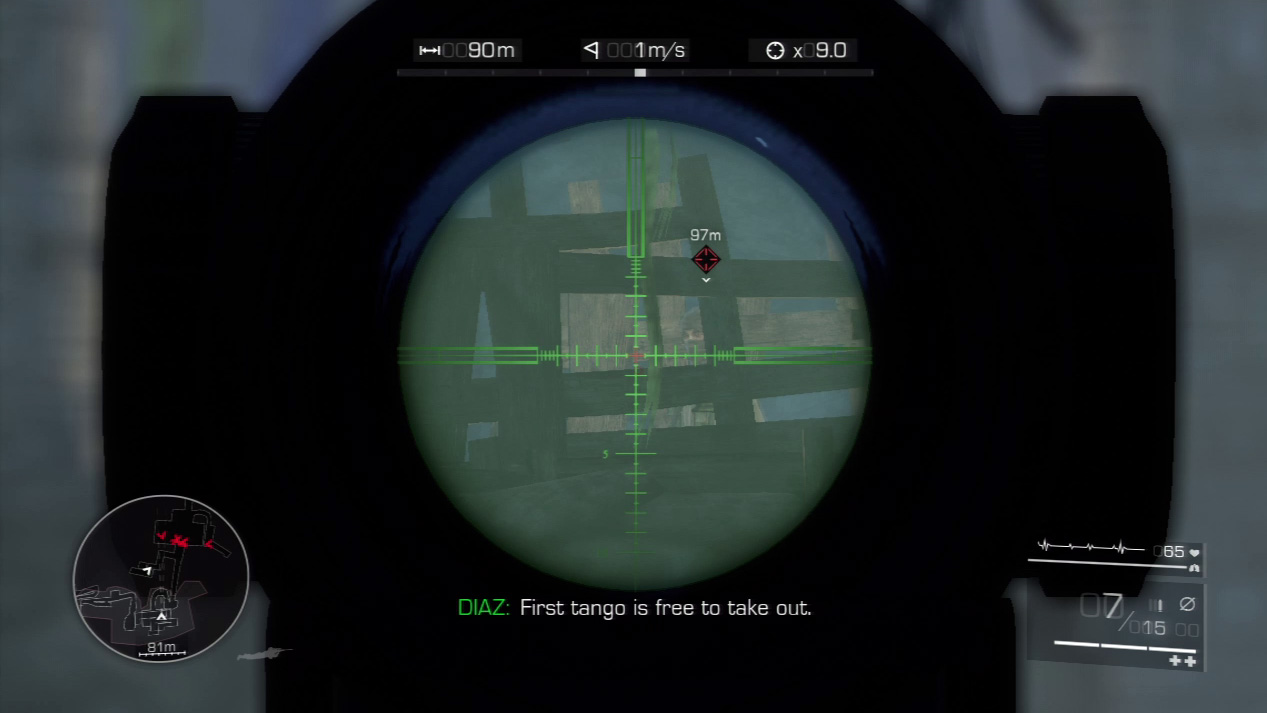
The first of the seven enemies at the bridge patrols on the top level to the left. Wait until Diaz calls out the target and sight on the largest space between the wooden posts.
When the enemy walks by, slow down time with a long breath and pull the trigger for a kill shot.
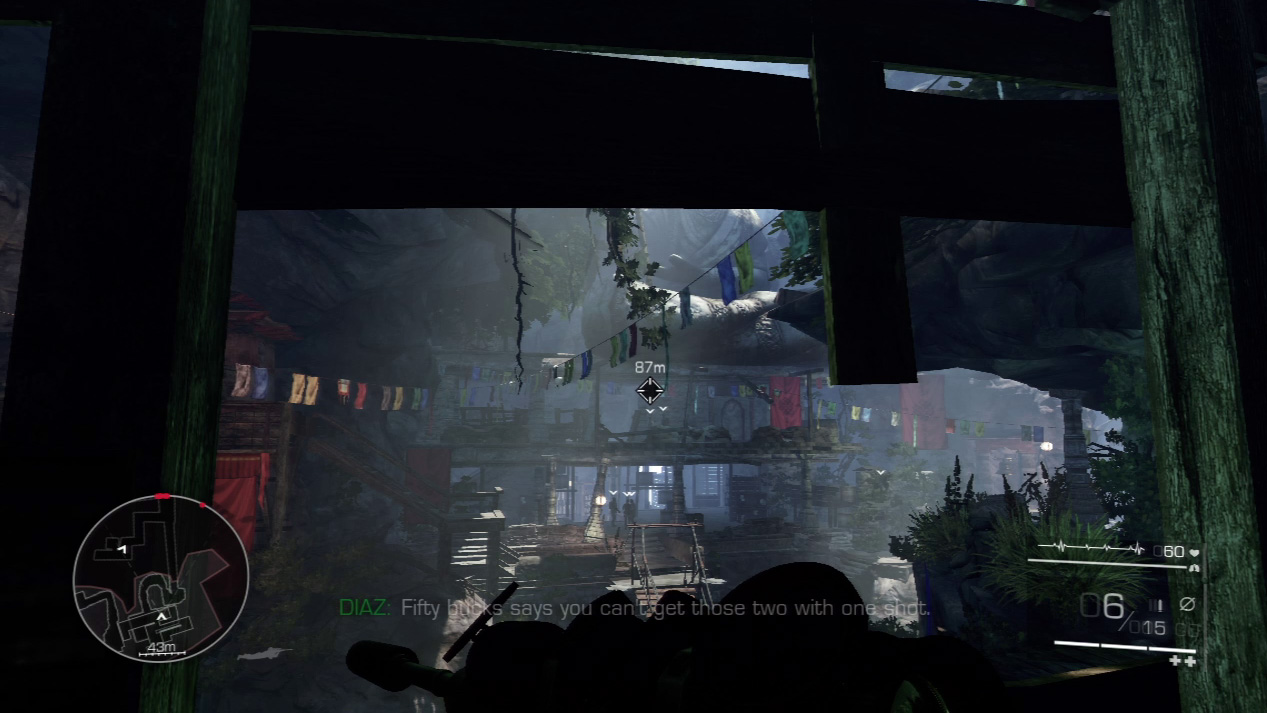
Two more guards remain on the top level. They walk back and forth from the bridge to the far right of the platform.
Special Shot: Double Kill
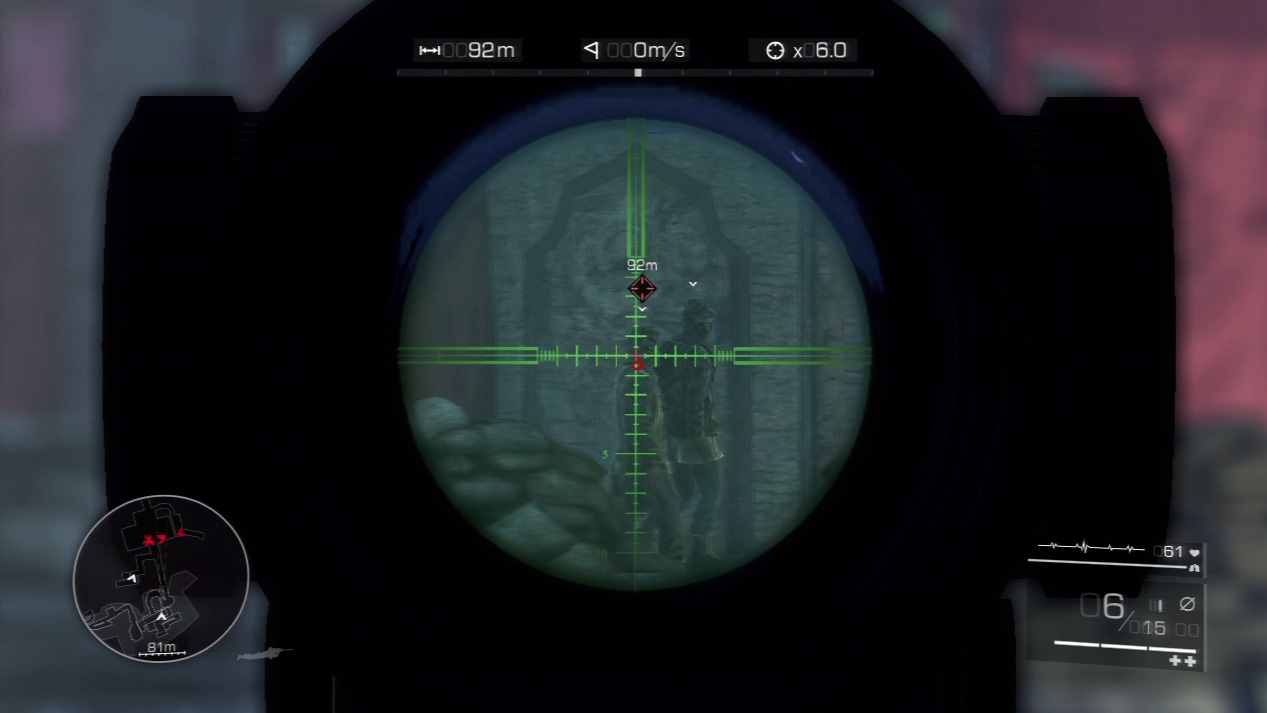
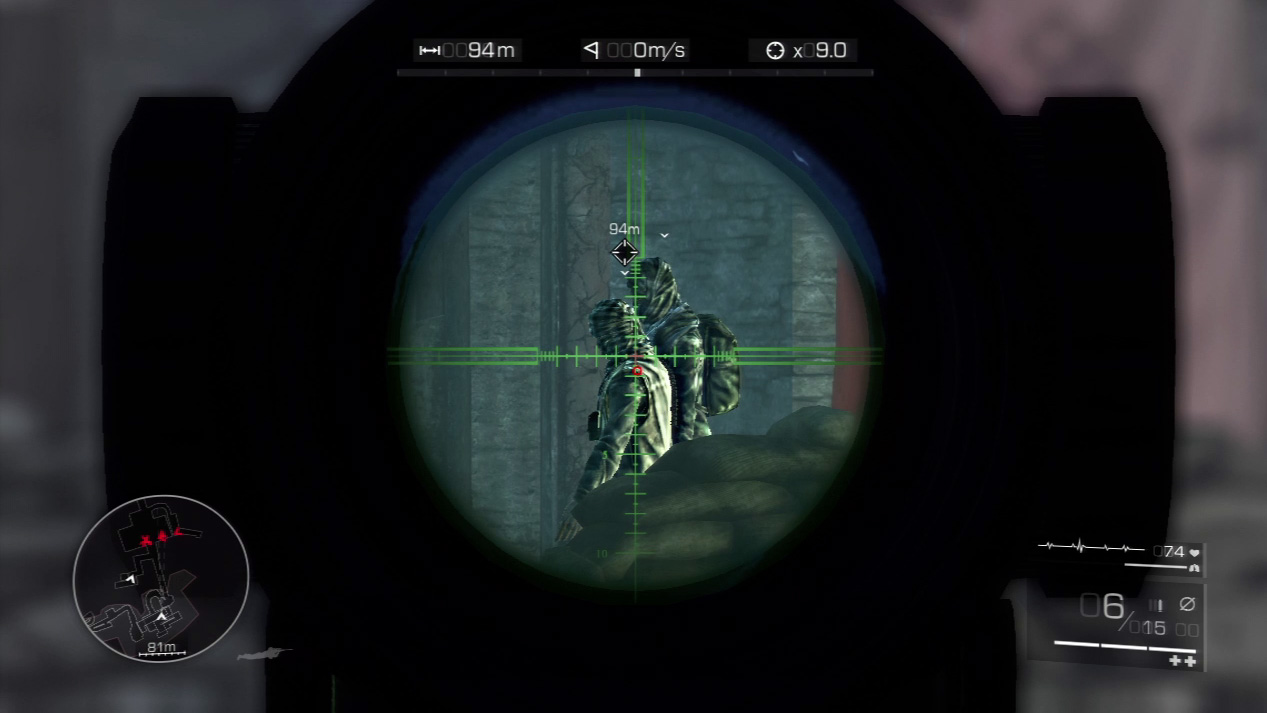
Track the two enemies as they walk to the right. At the end of the platform, the farther guard stands still and, for half a second, the second guard crosses in front of him.
Take the shot at that exact moment, and if have both bodies in your crosshairs, you’ll earn the double kill.
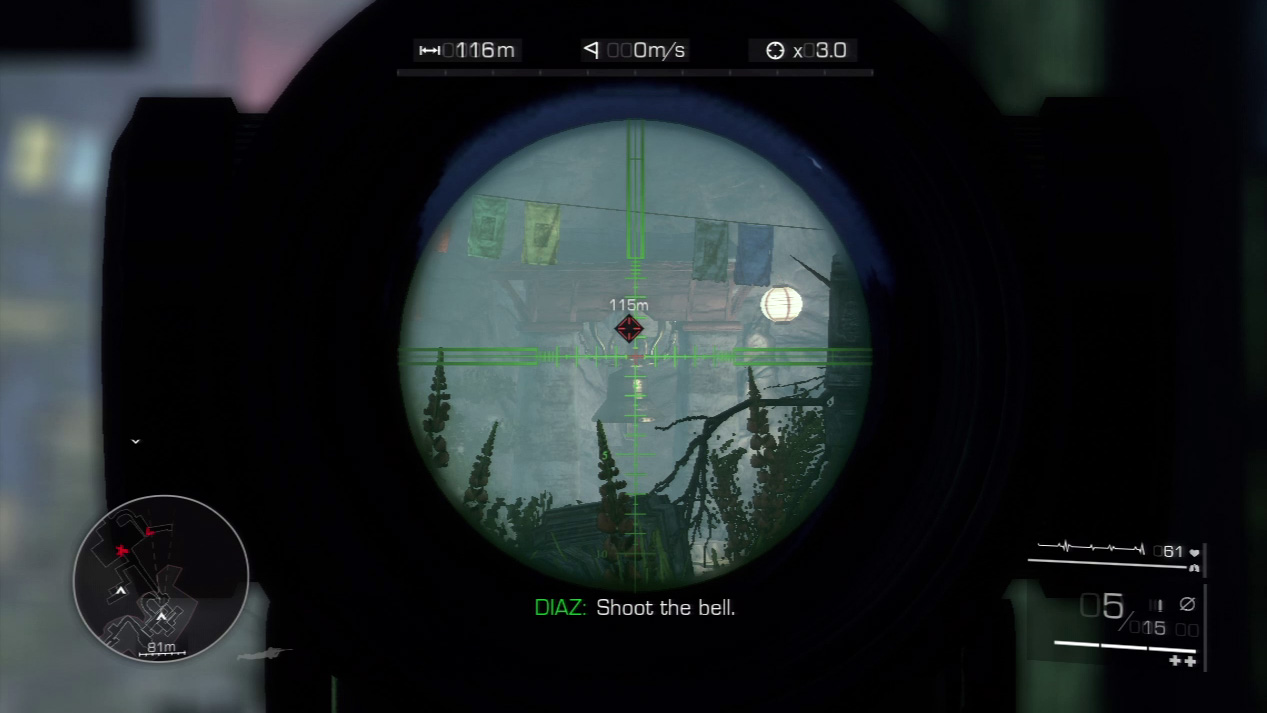
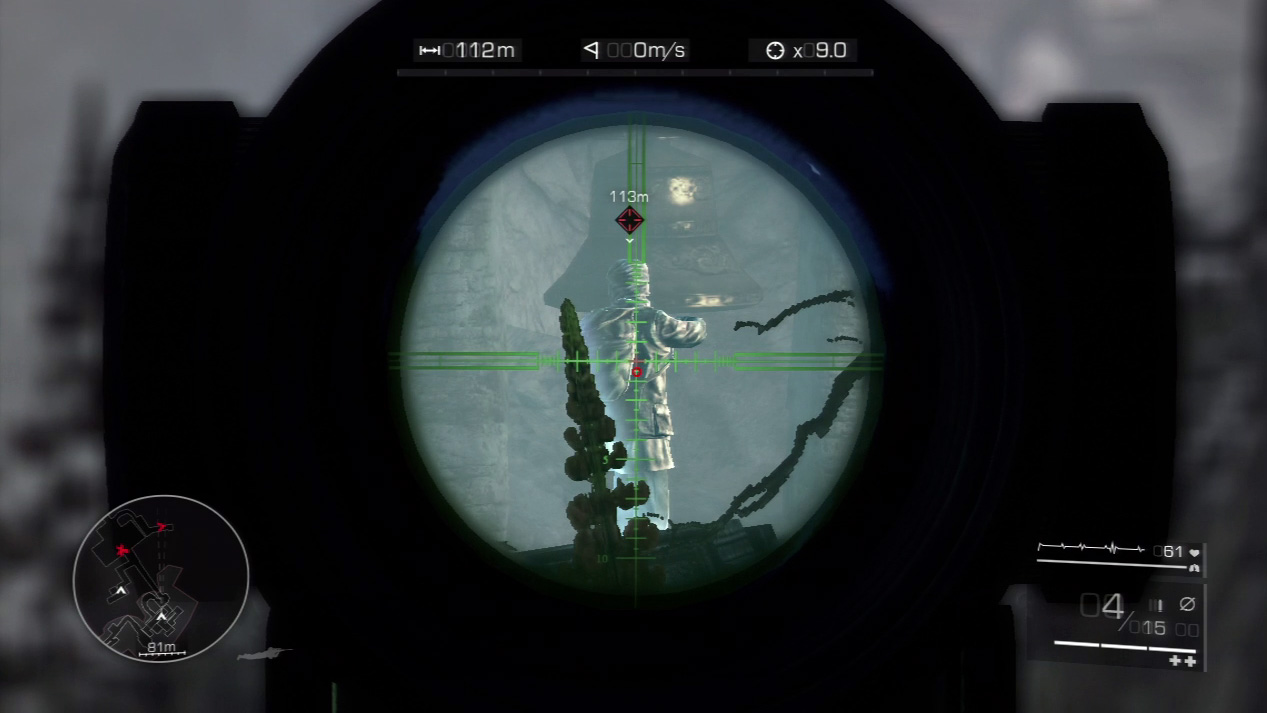
You can’t see the fourth guard from your sniper spot. To draw him out, first ding the bell on your right with a bullet. The sound draws the guard’s attention.
While he investigates the bell, snipe him in the back.
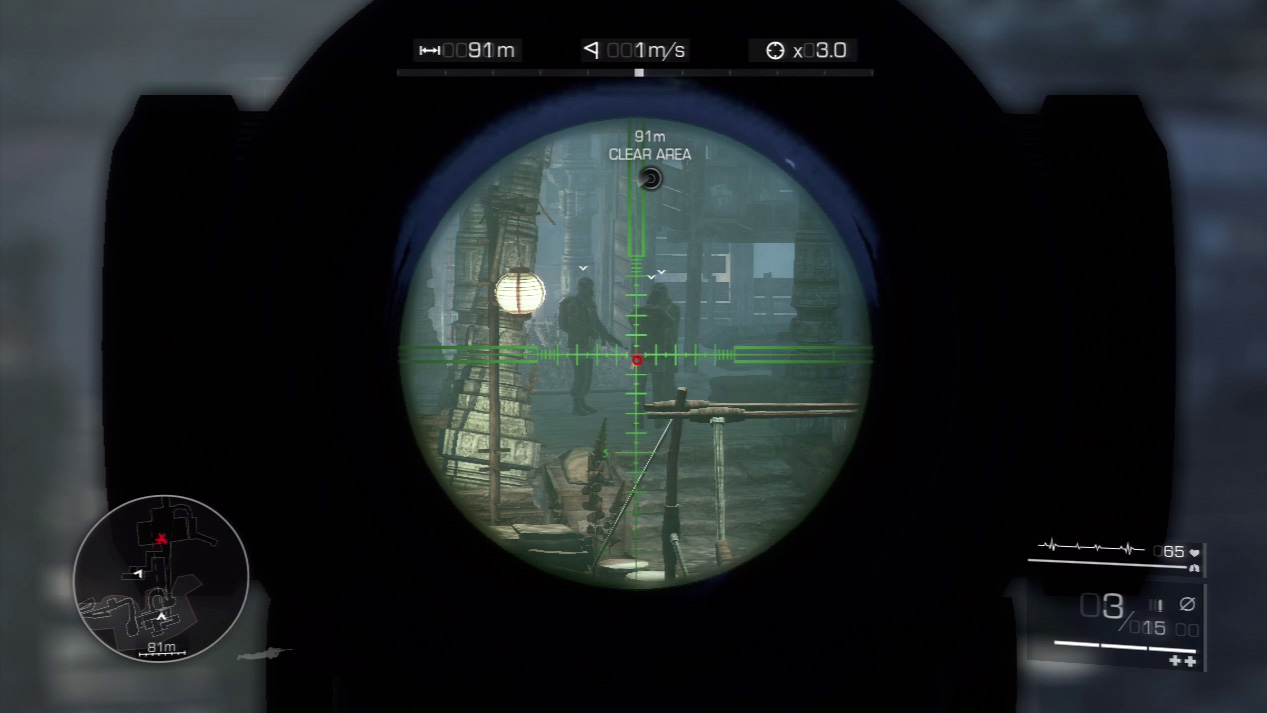
The three remaining guards huddle on the lower level by the bridge. It’s possible to gun them down one by one, but where are the style points in that?
Special Shot: Grenade Explosion
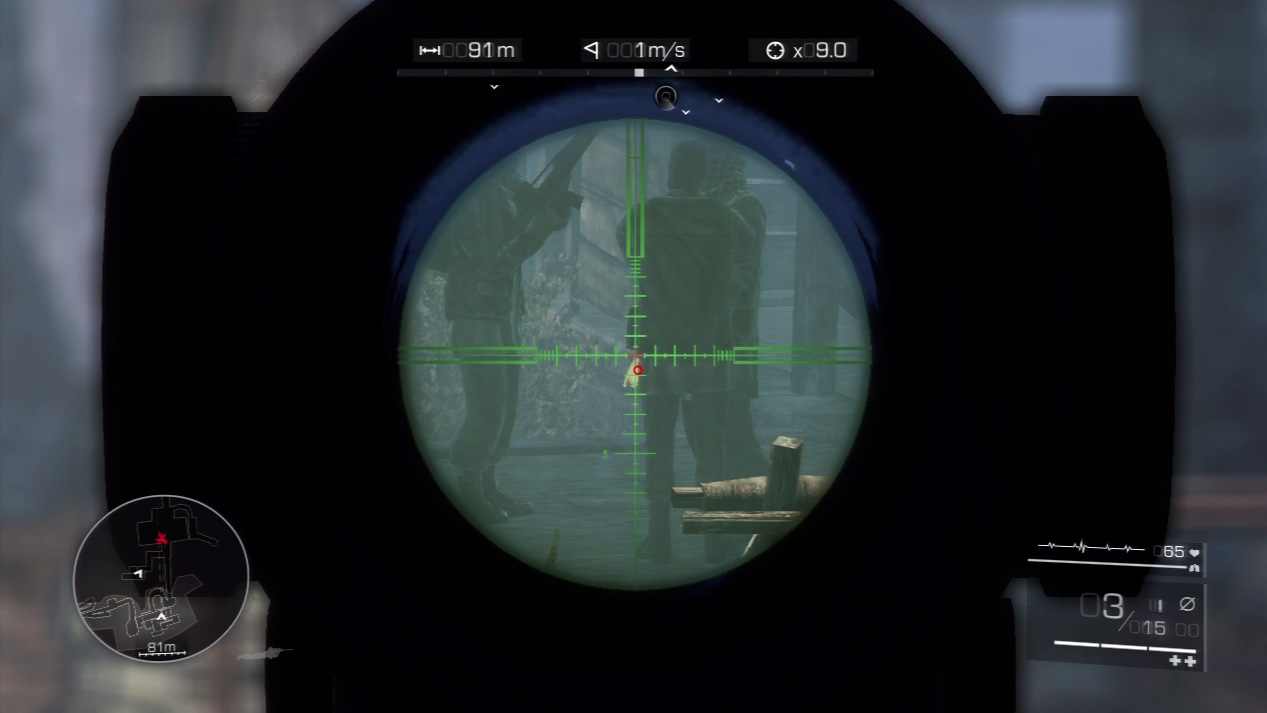
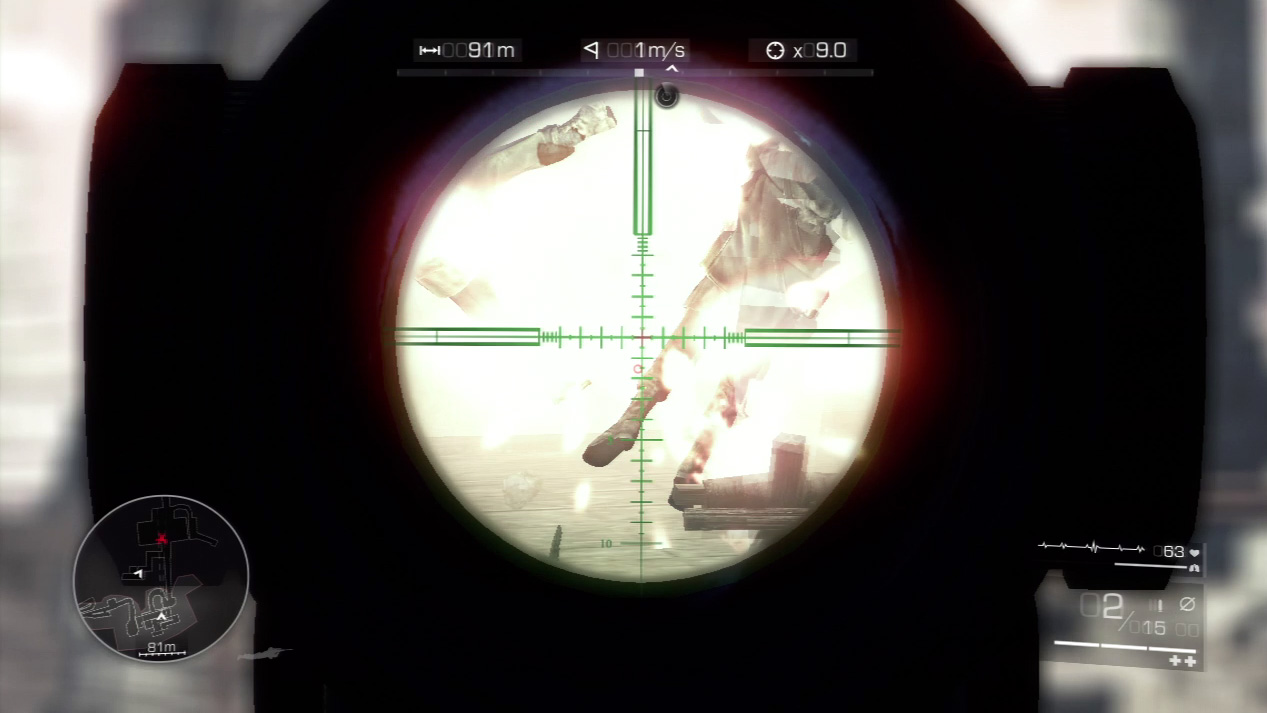
If you can nick the closest guard’s grenade, you can set off an explosion that will kill all three enemies at once.
Zoom on the grenade on the enemy’s belt and squeeze the trigger when you’re sure you’ll hit the explosive. If it goes boom, you’ll kill all three guards, and earn the “Hazardous Materials” achievement if you haven’t already done so.
Act 3: Secret 7
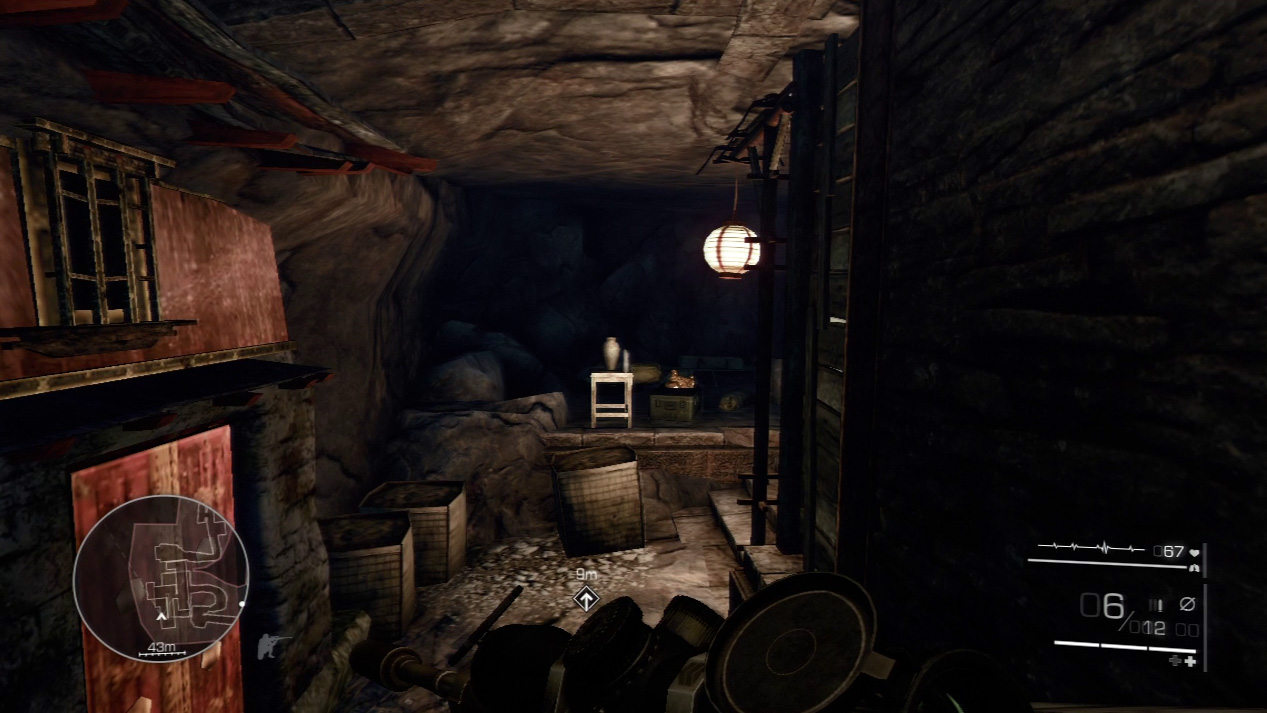
After you dispatch the enemies at the temple where you’ll eventually plant C4 to topple the whole cave system.
Head down the stairs to the bridge.
Before you reach the bridge, look for the third secret of the mission amid some clutter on a small rock shelf to your left.
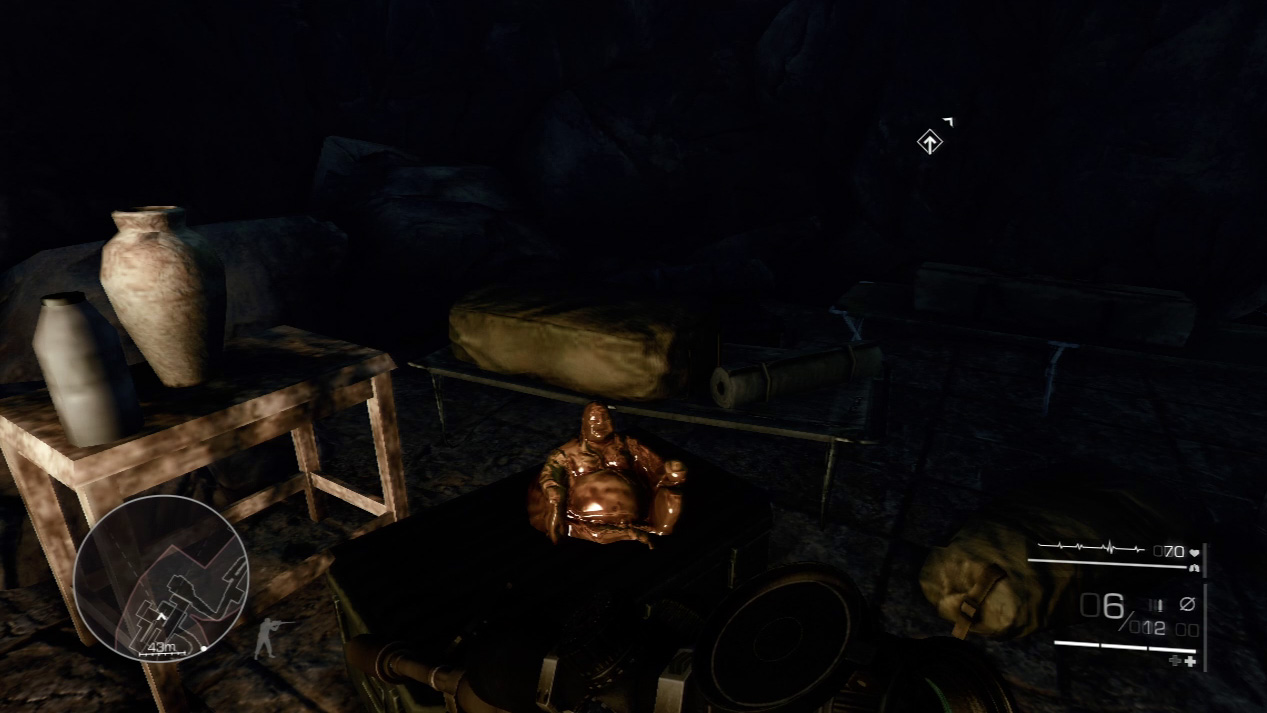
Act 3: Secret 8
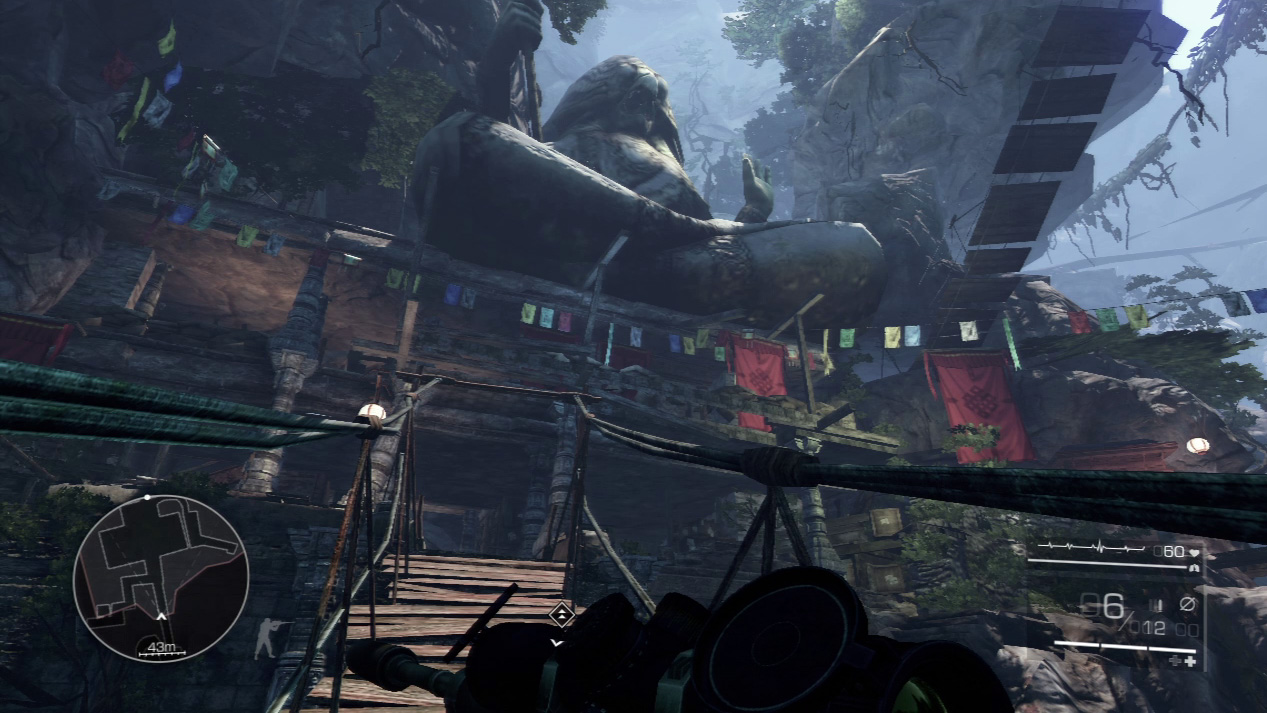
Cross the bridge to rendezvous with Diaz, but before you plant the C4 (or before you detonate it).
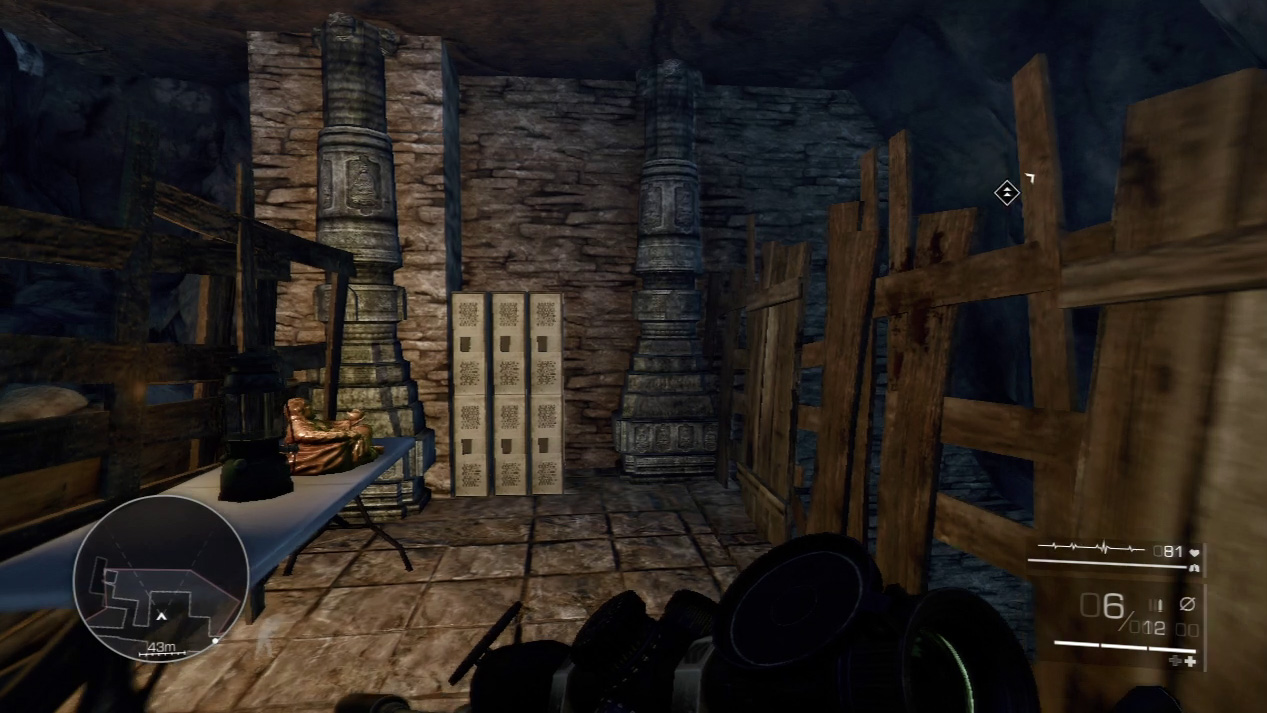
Head up to the level above you.
Turn right at the top of the stairs and you’ll recover the final secret of the mission; it’s on a table in the side room there.
Waypoint 14
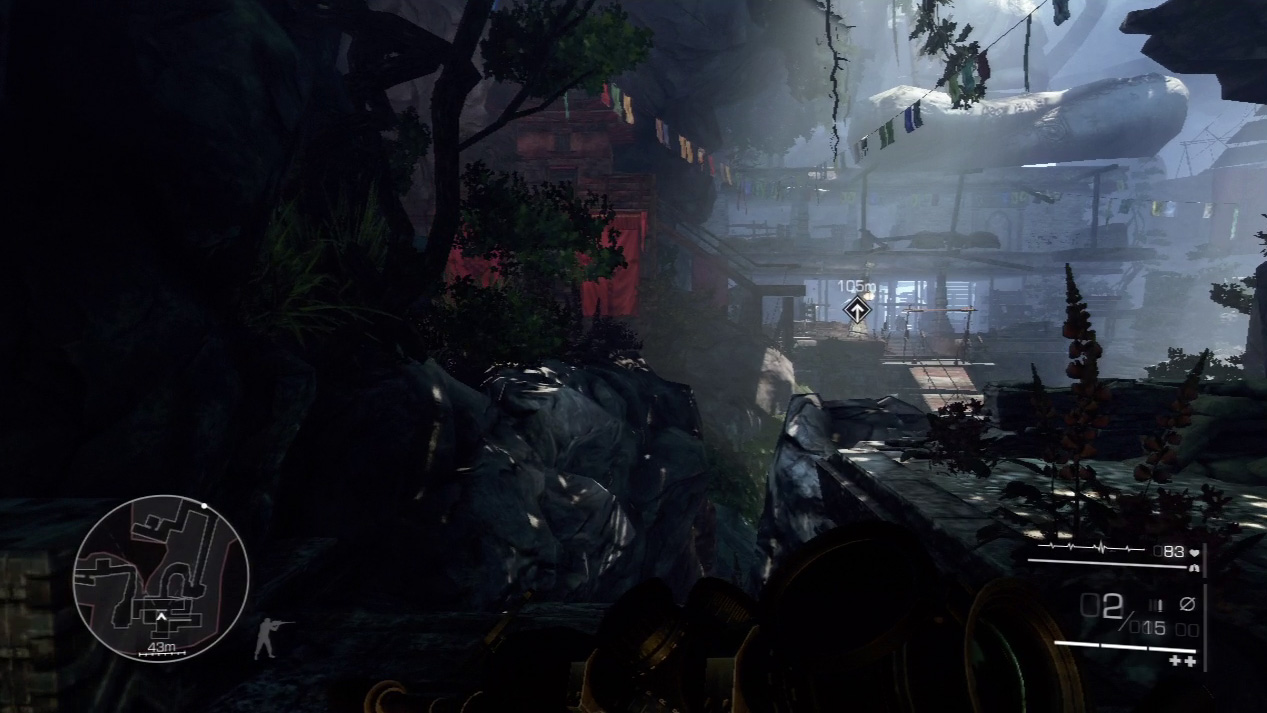
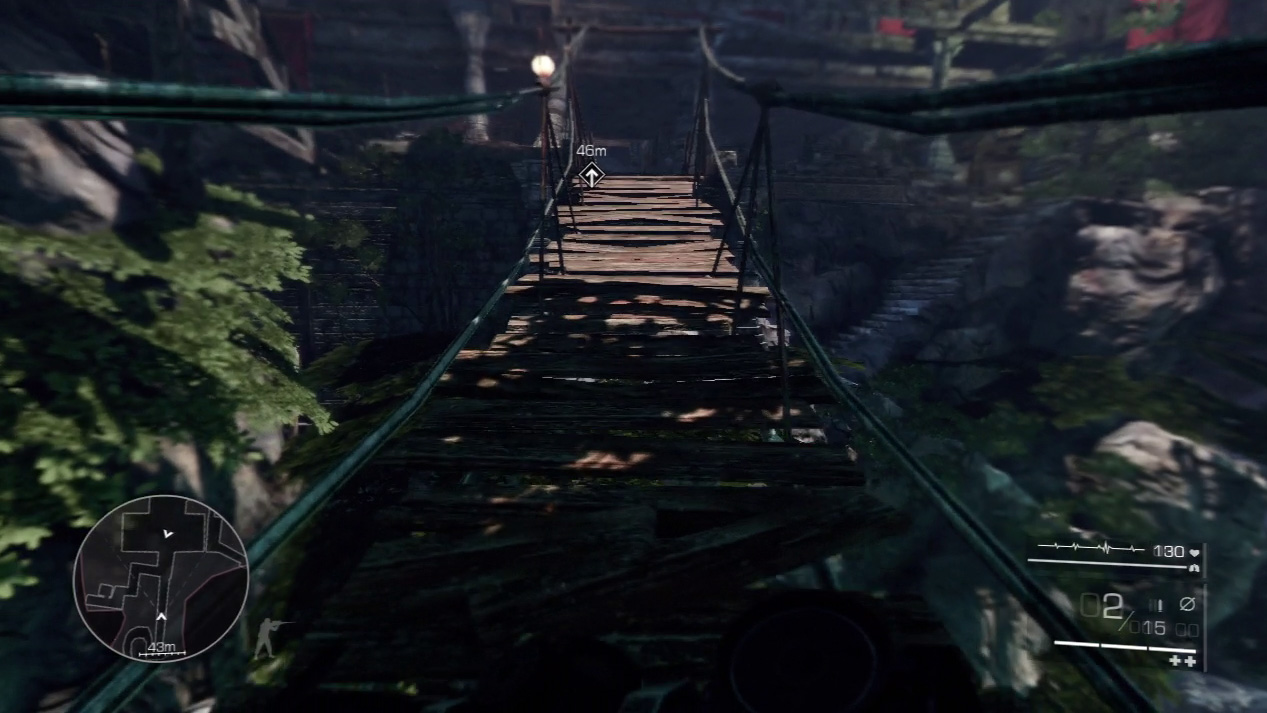
With all enemies dead at the bridge, leave your sniper spot and descend the nearby stairs. Cross the bridge to meet up with Diaz on the other side.
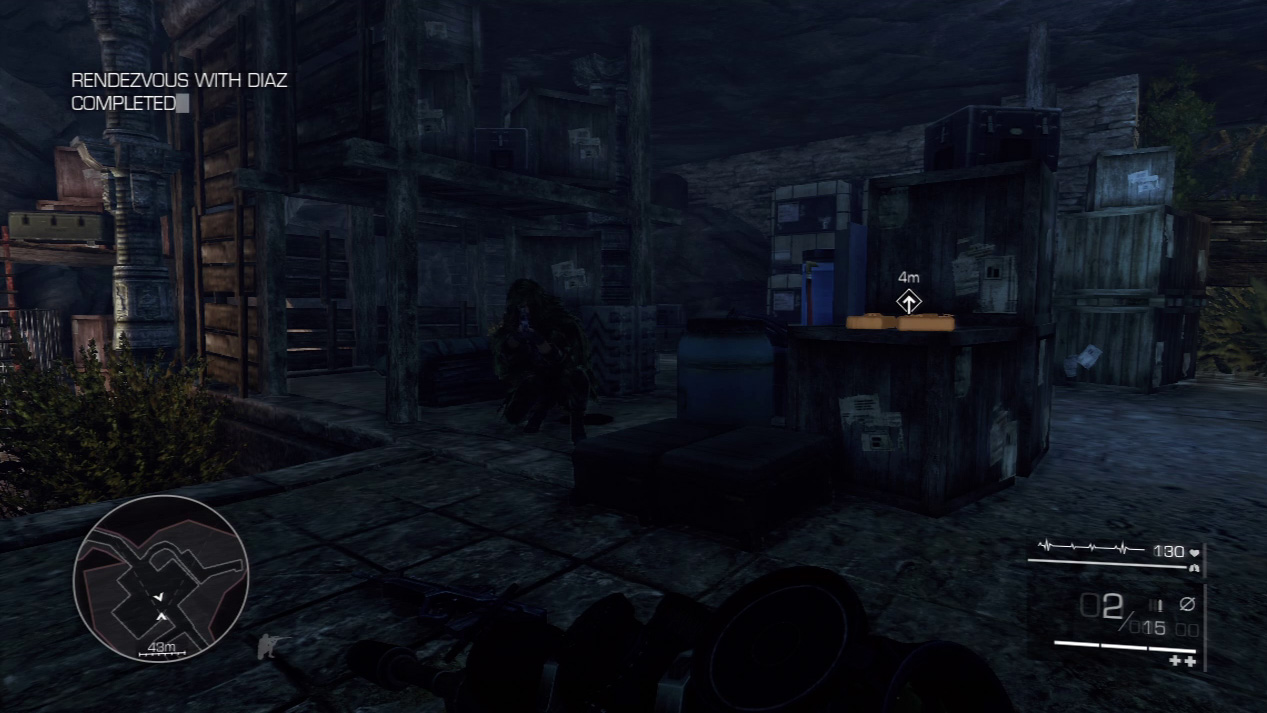
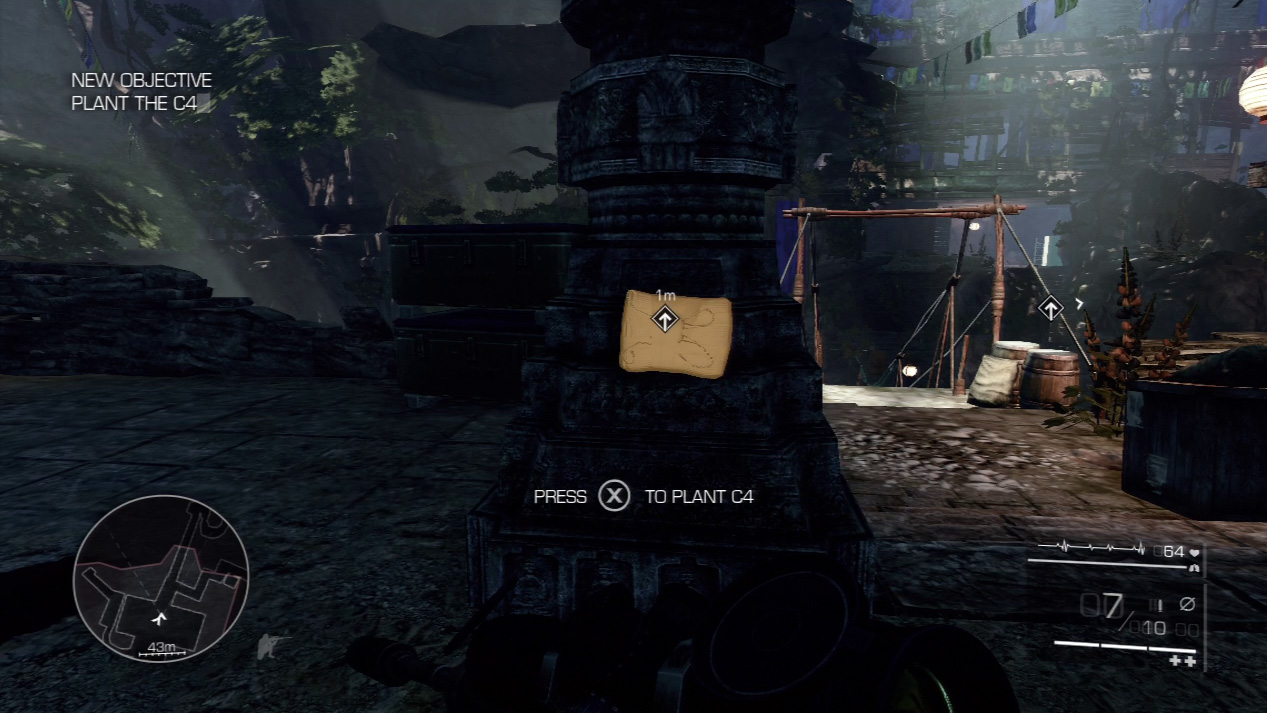
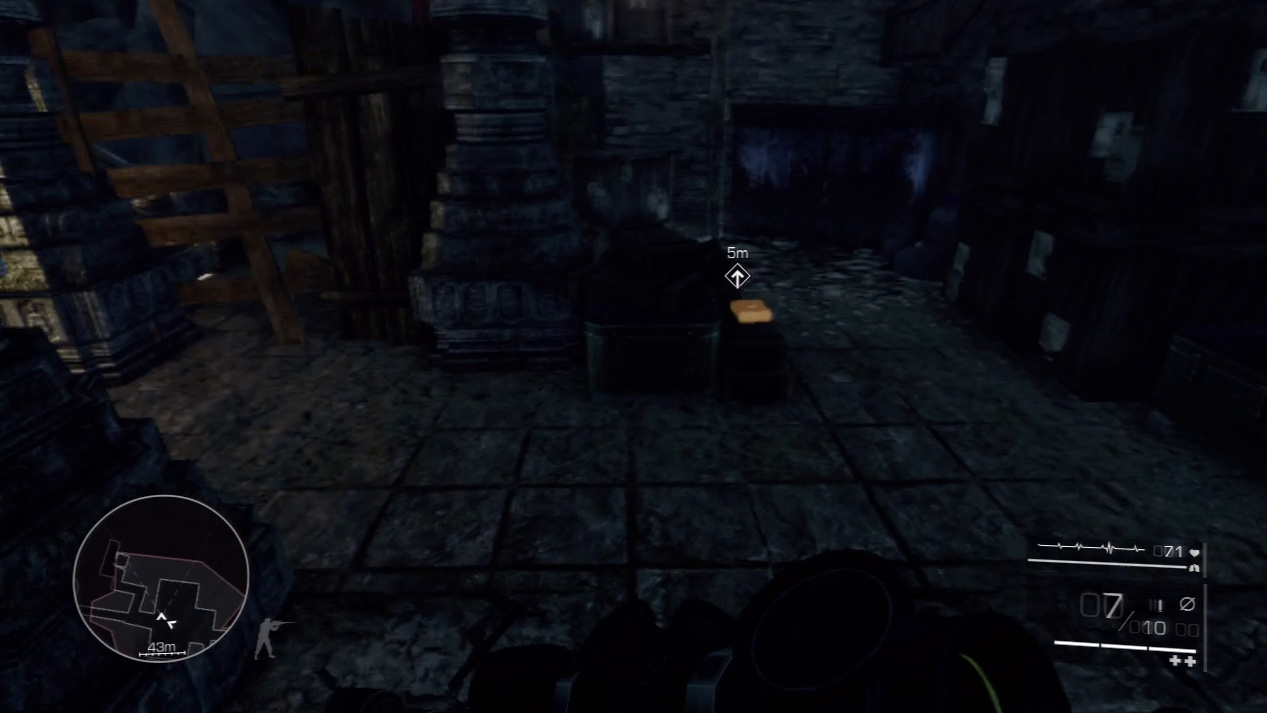
Grab the C4 next to Diaz and plant it on the two columns near the bridge. It’s time to bring the house down.
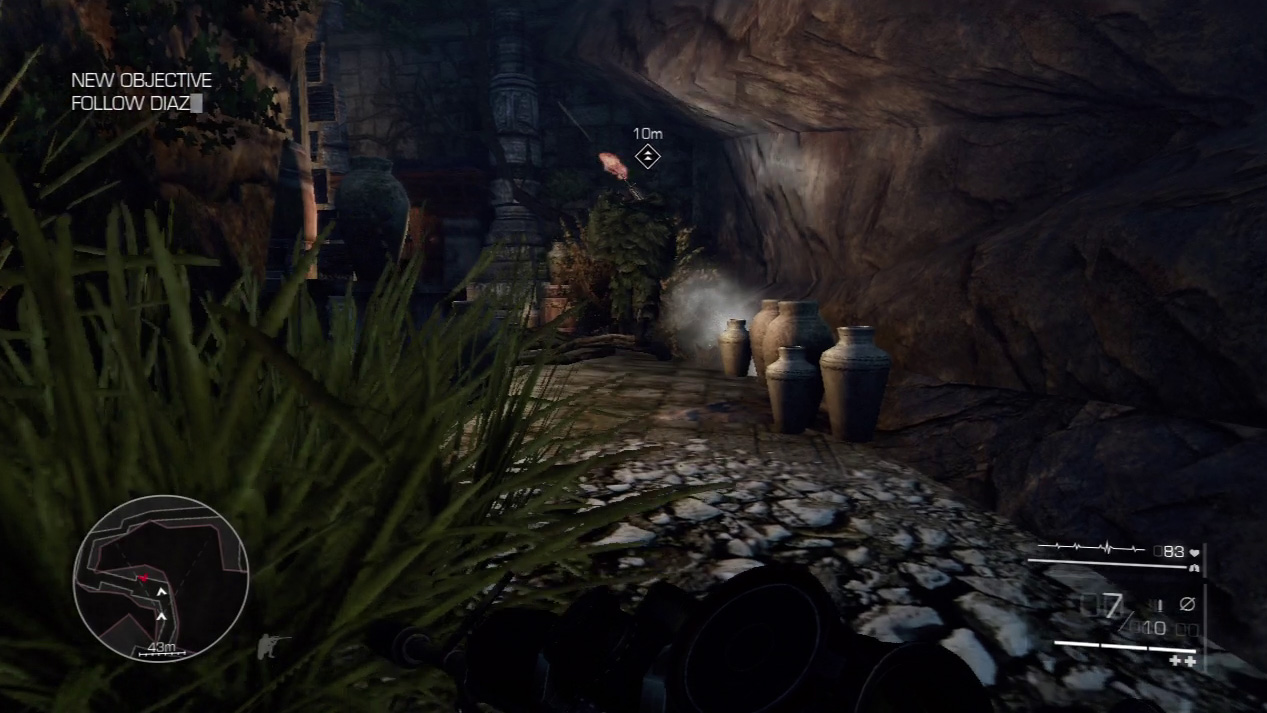
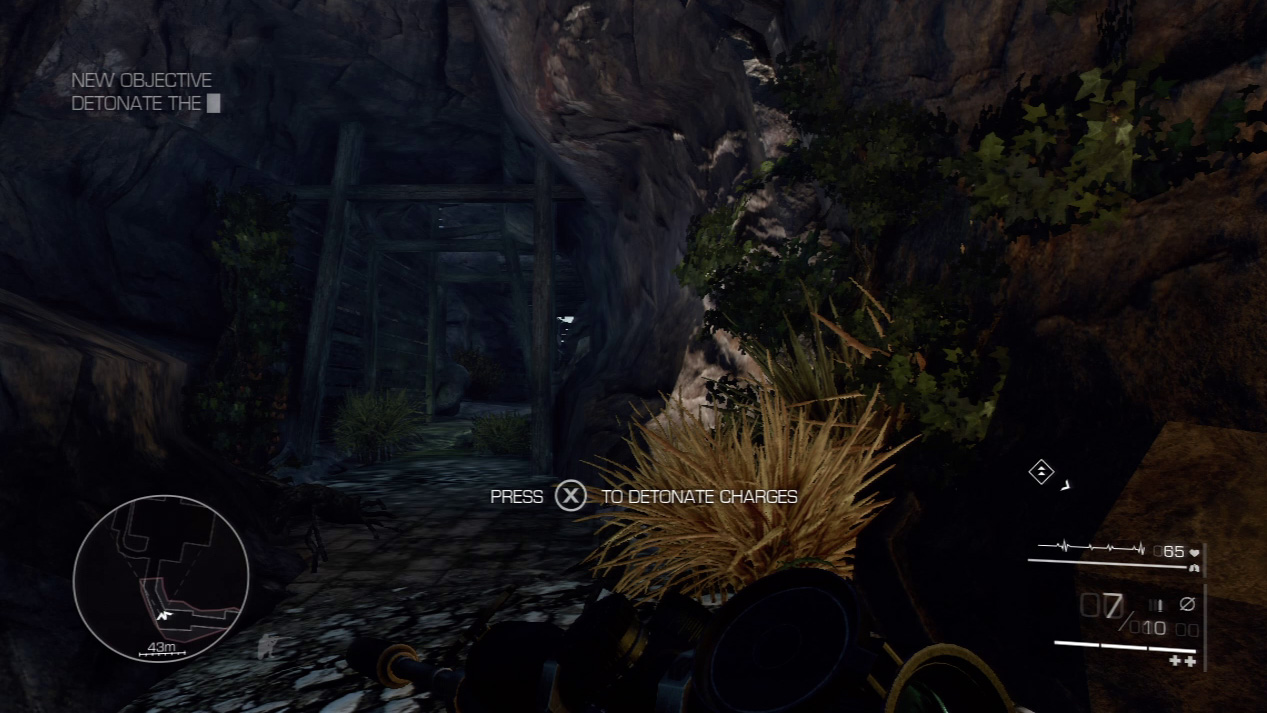
Retreat with Diaz to a safe distance from the bridge and detonate the charges when he gives the word. Unfortunately, the cave system is very unstable.
The C4 does more than crumble the enemy fortress; it begins to cave in everything around you.
Waypoint 15
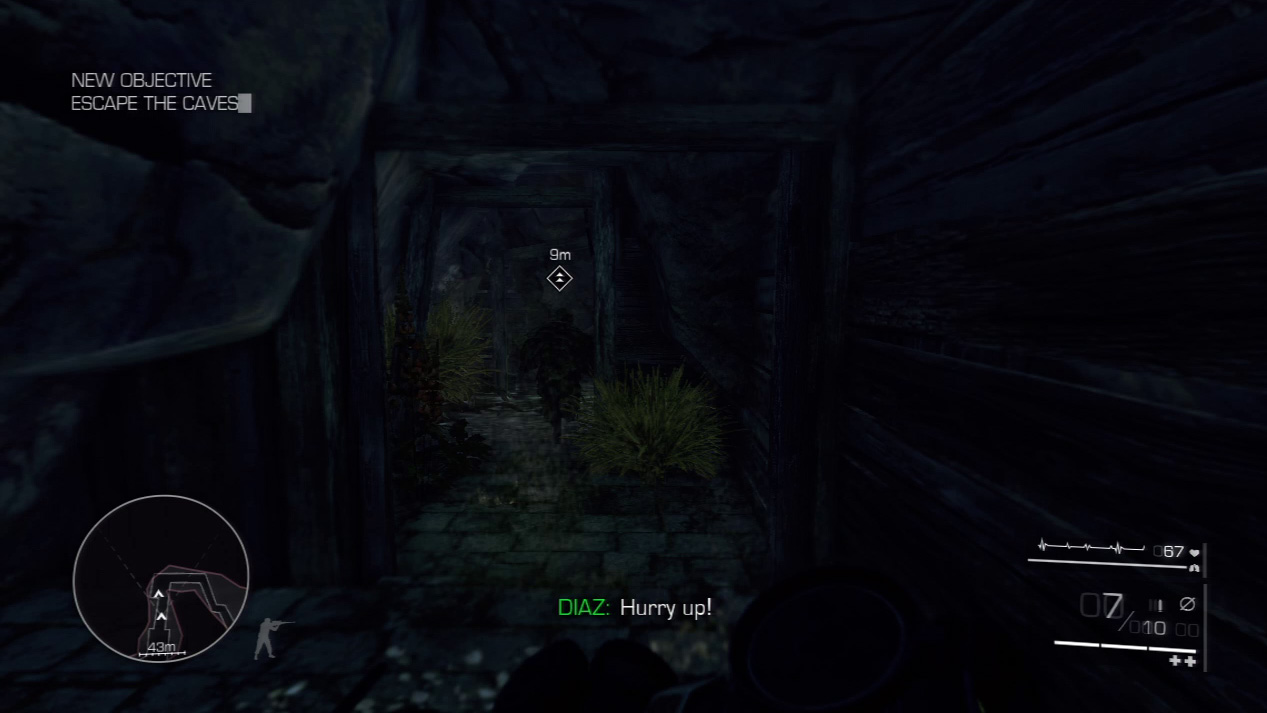
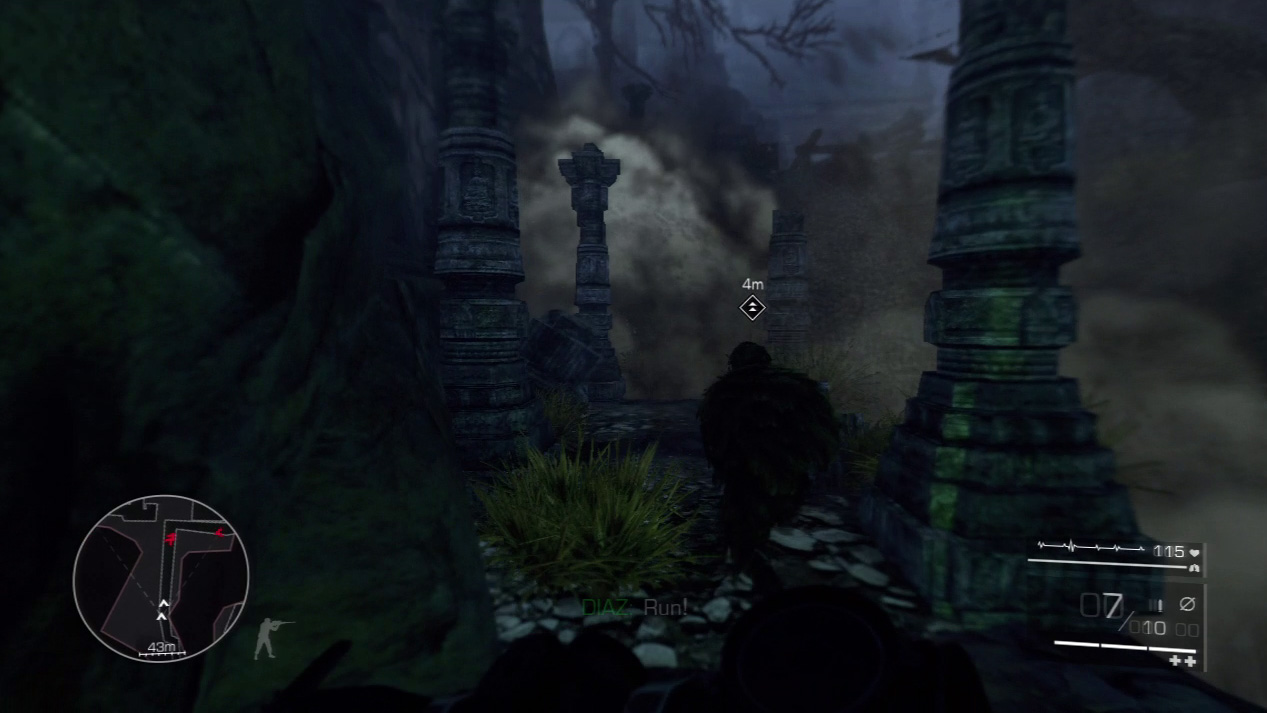
Run! With the caves falling down around you, sprint after Diaz and follow exactly what he does.
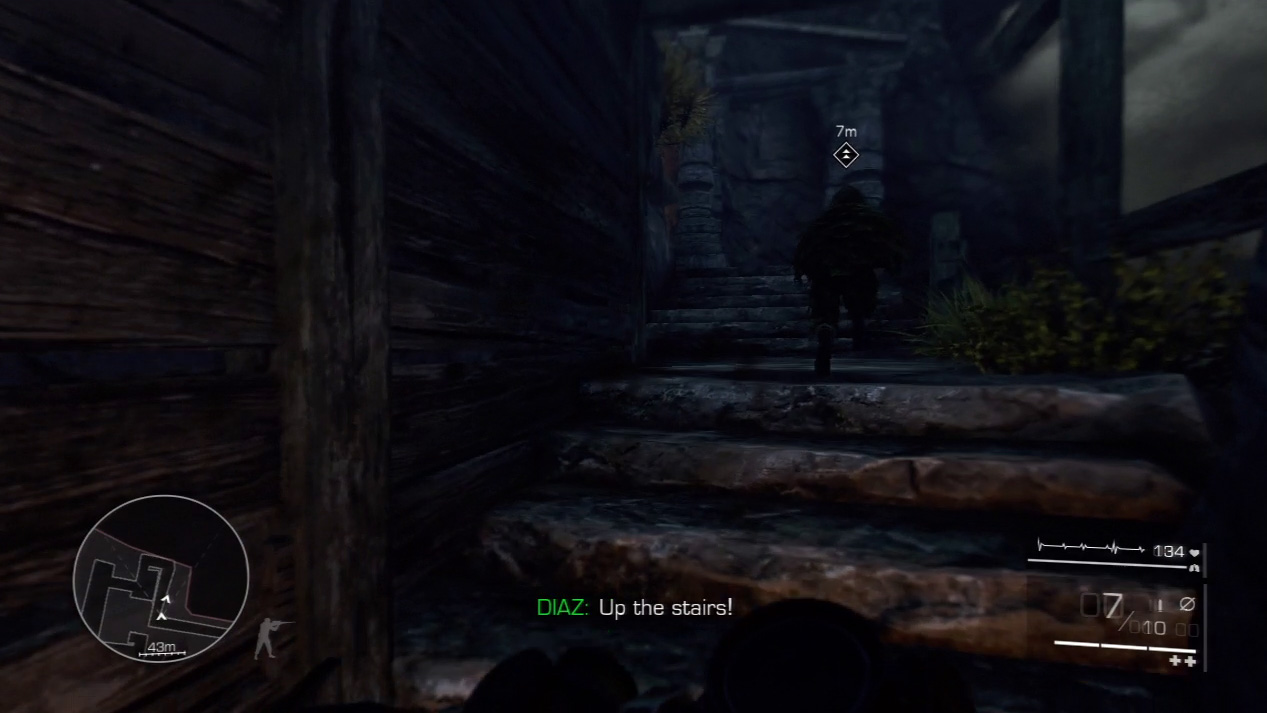
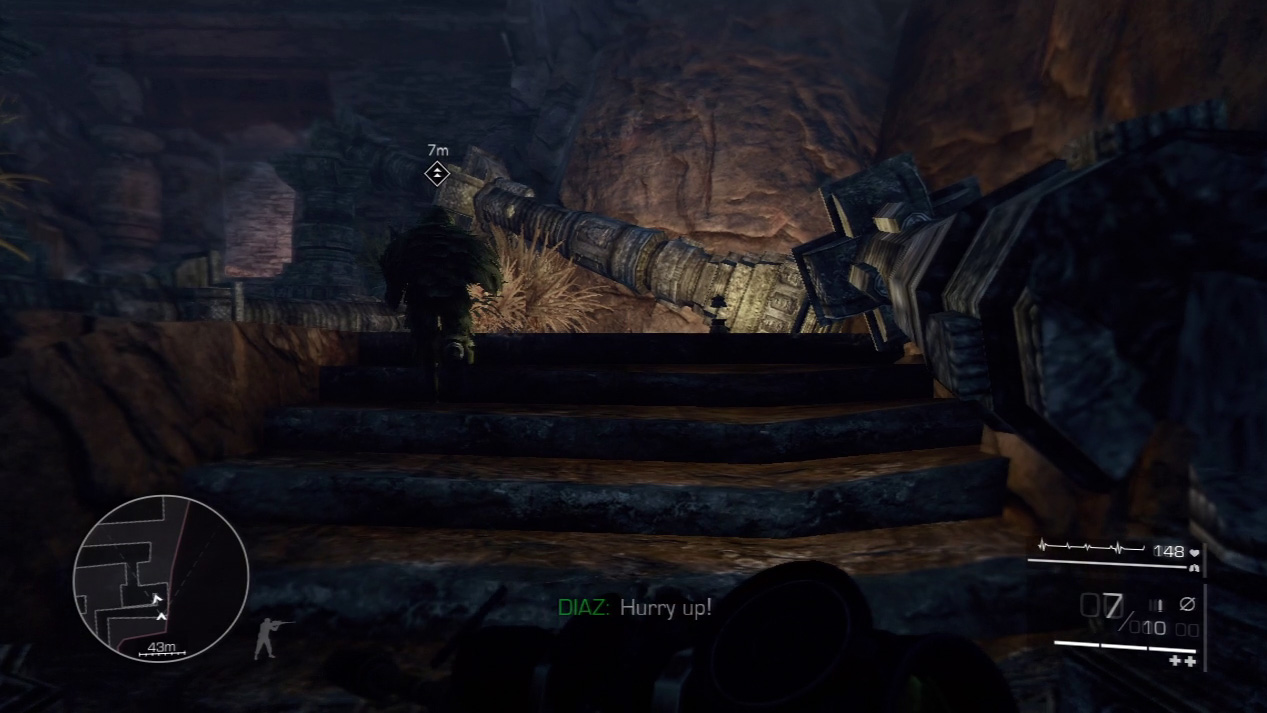
Sprint up the stairs on Diaz’s heels. Listen to Diaz’s cues so you know when you go up, left, or right.
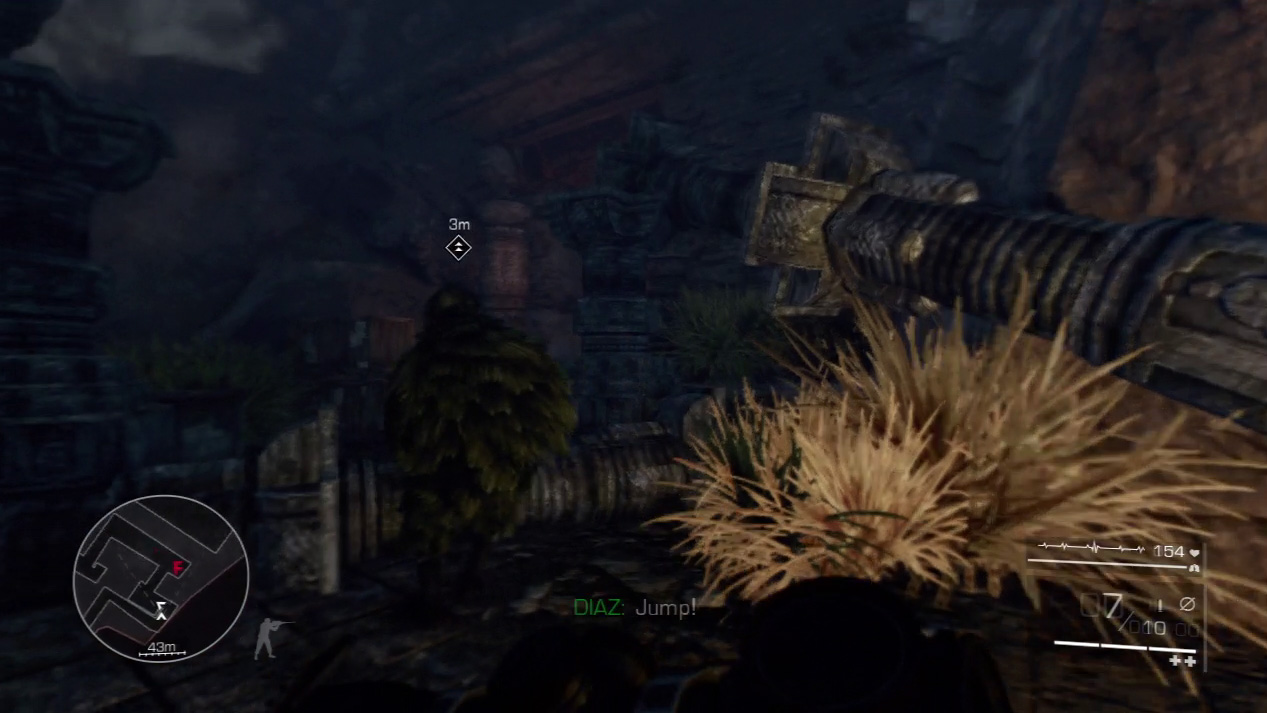
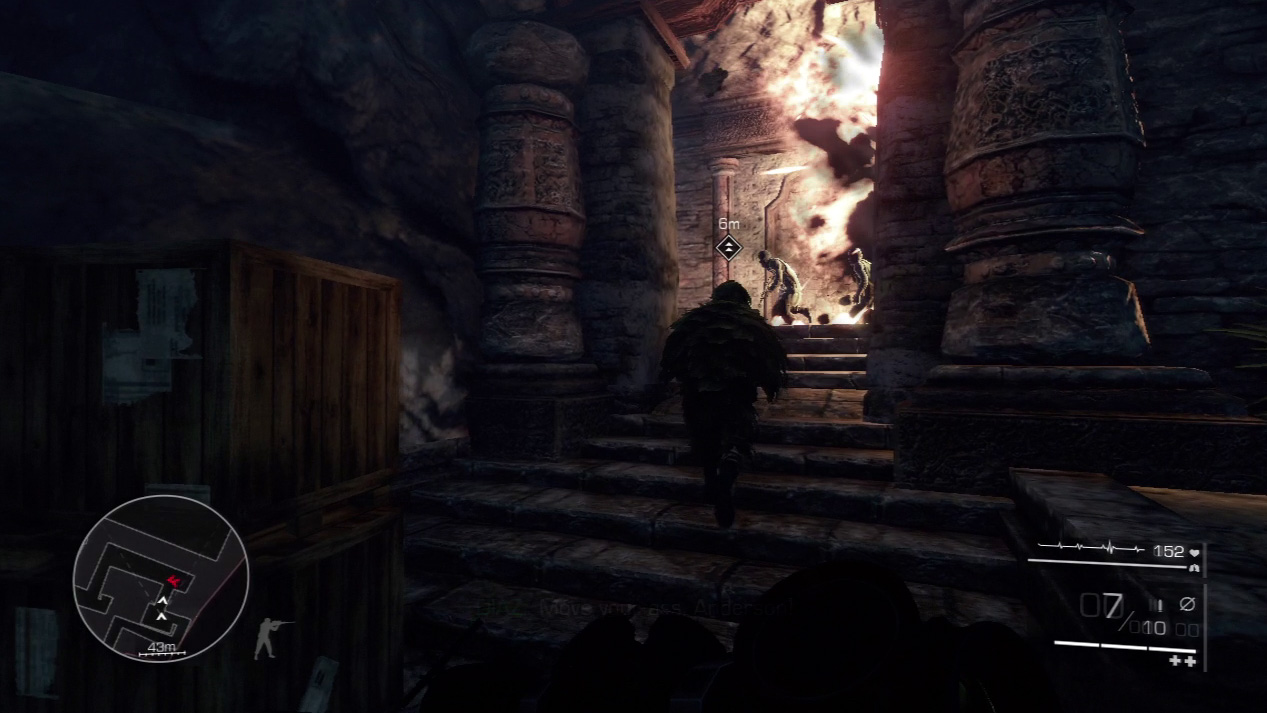
Hop over the fallen pillar to stay on Diaz’s tail. If you get stuck on the pillar, the cave system will collapse on you.
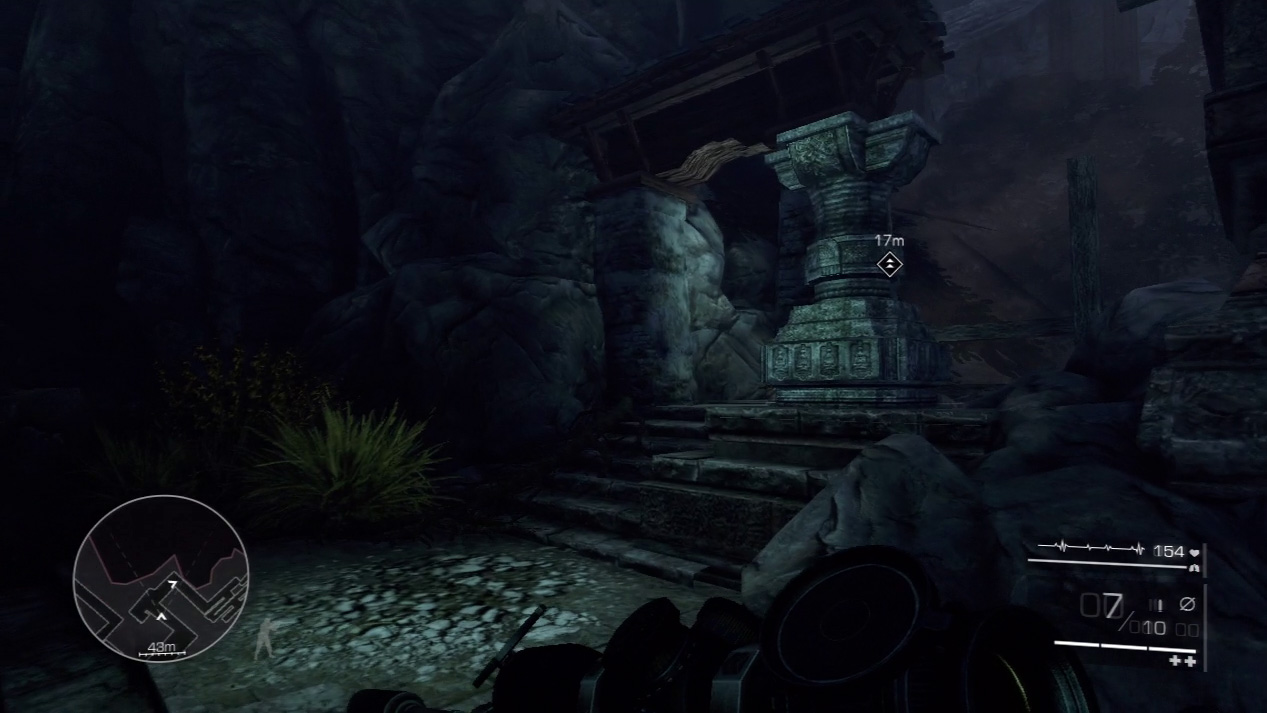
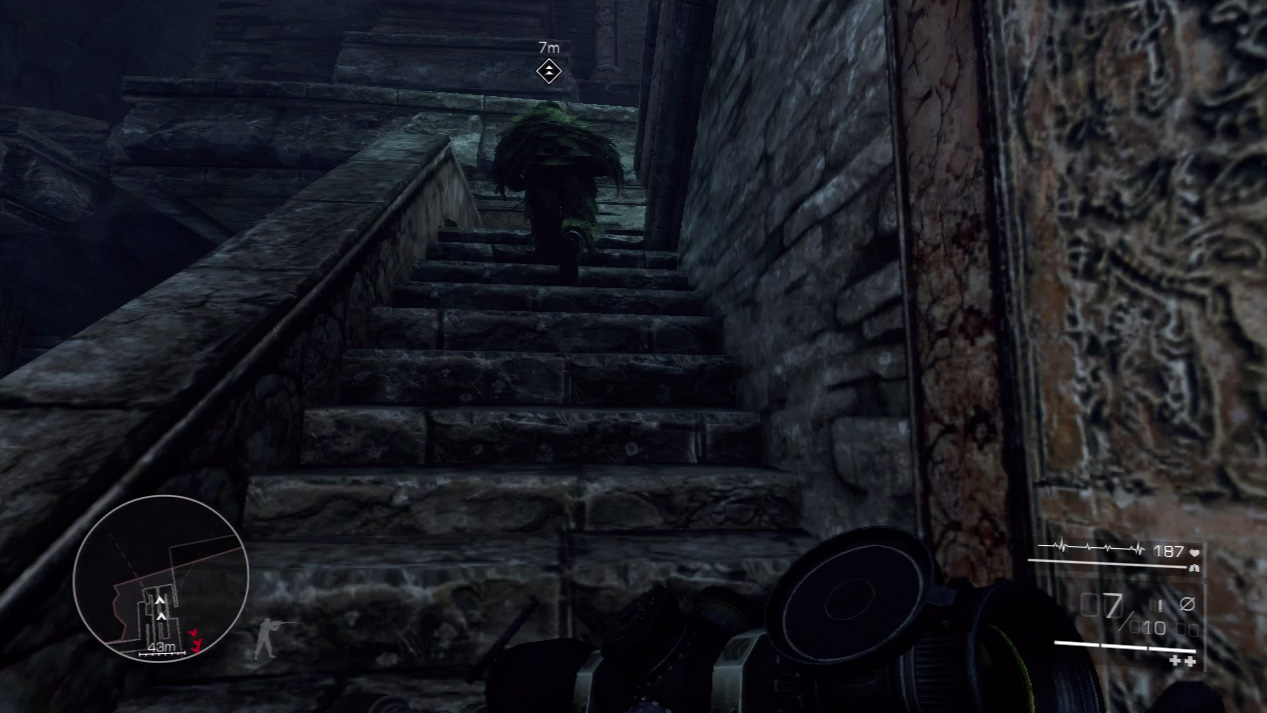
Charge up the stairs after Diaz. Keep him in sight at all times so that you know which direction to turn. If you lose sight of him and make one wrong turn, it’s over.
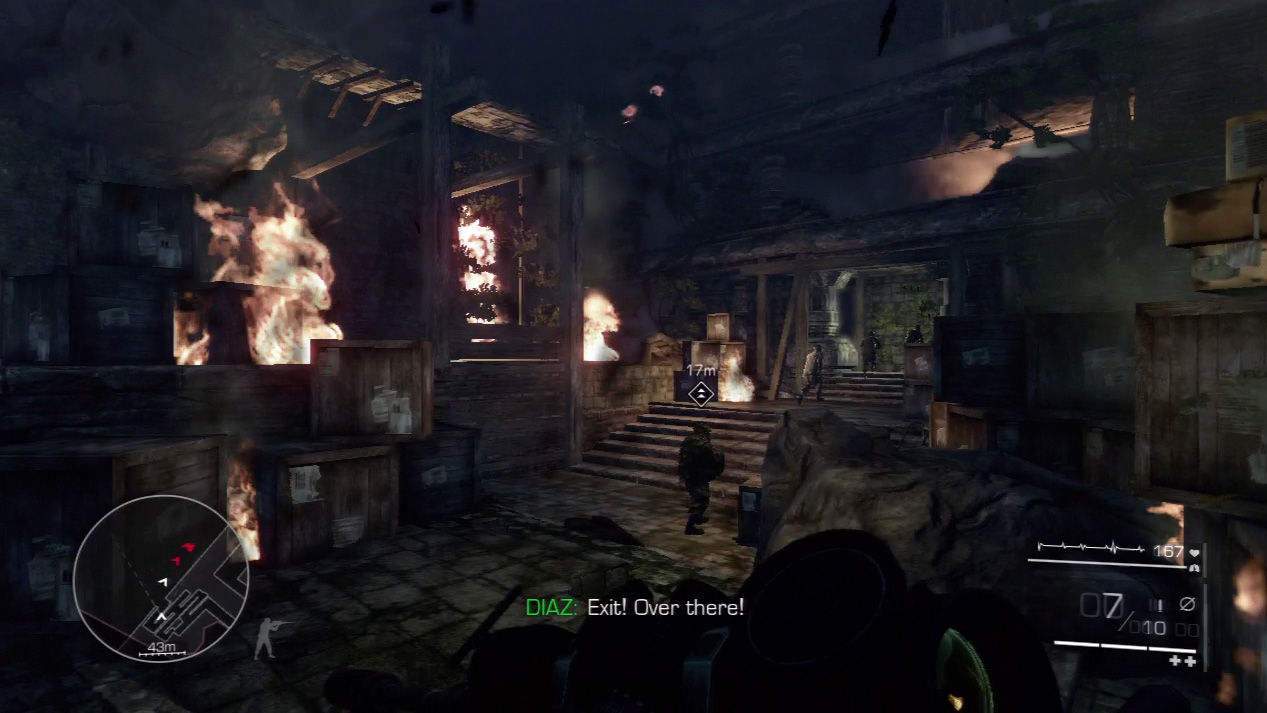
Finally, you spot the exit. Sprint through the fire-ravaged chamber and bolt through the exit with Diaz as the quake levels the whole place.