
Sniper Ghost Warrior 2 Guide Walkthrough Mission 5: And Justice for All
5.4 Waypoints 15-22
Waypoint 15
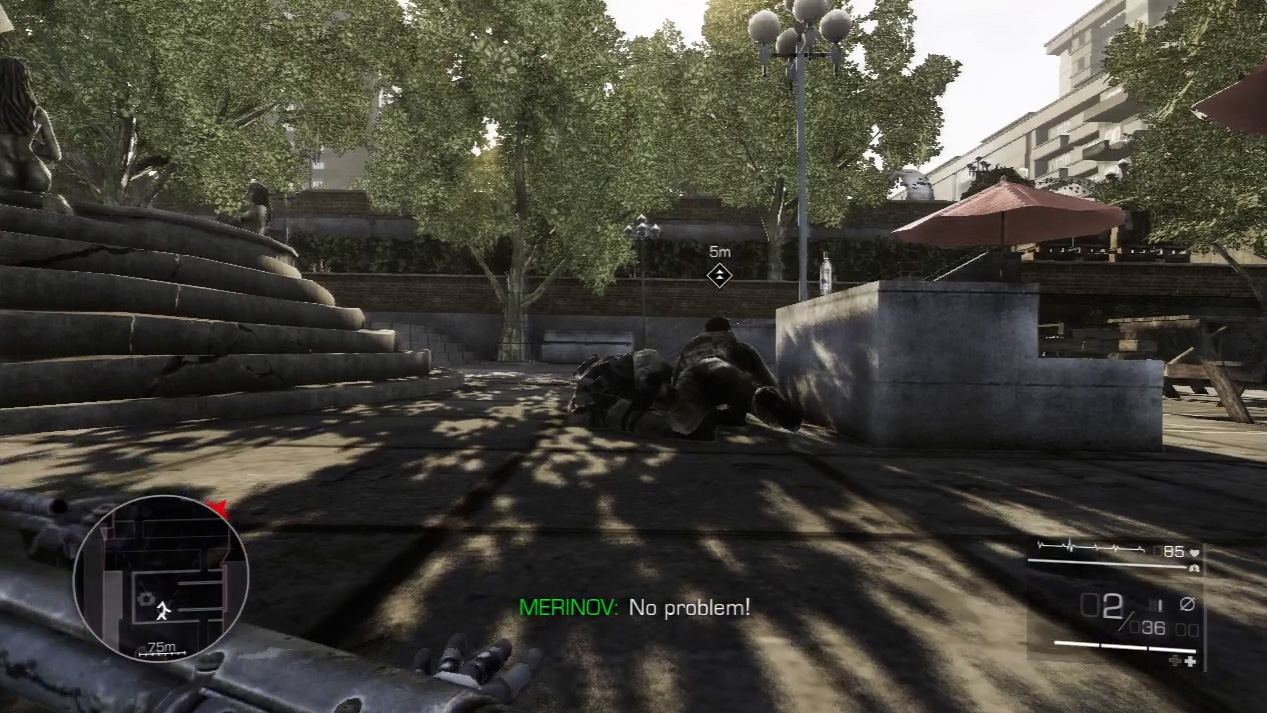
When Maddox yells for you to drop prone in the next courtyard, do so without question. Crawl until you reach the middle, where you can see another apartment complex up and to your right.
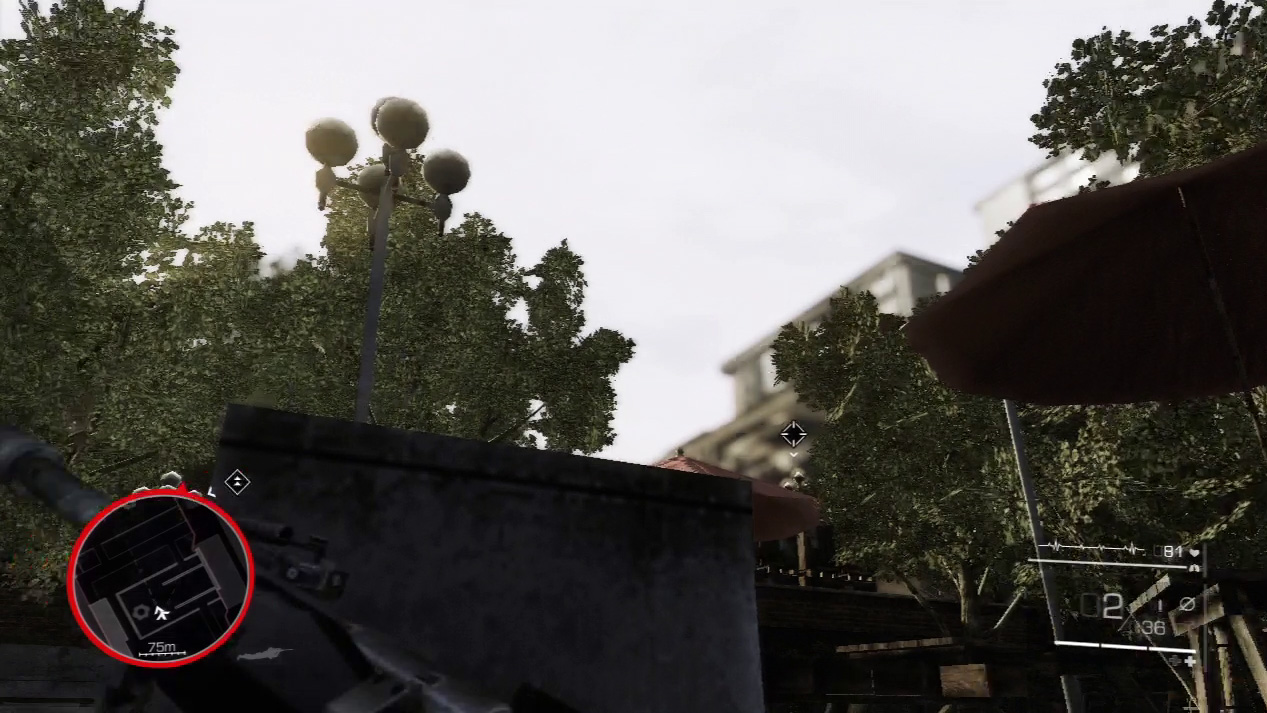
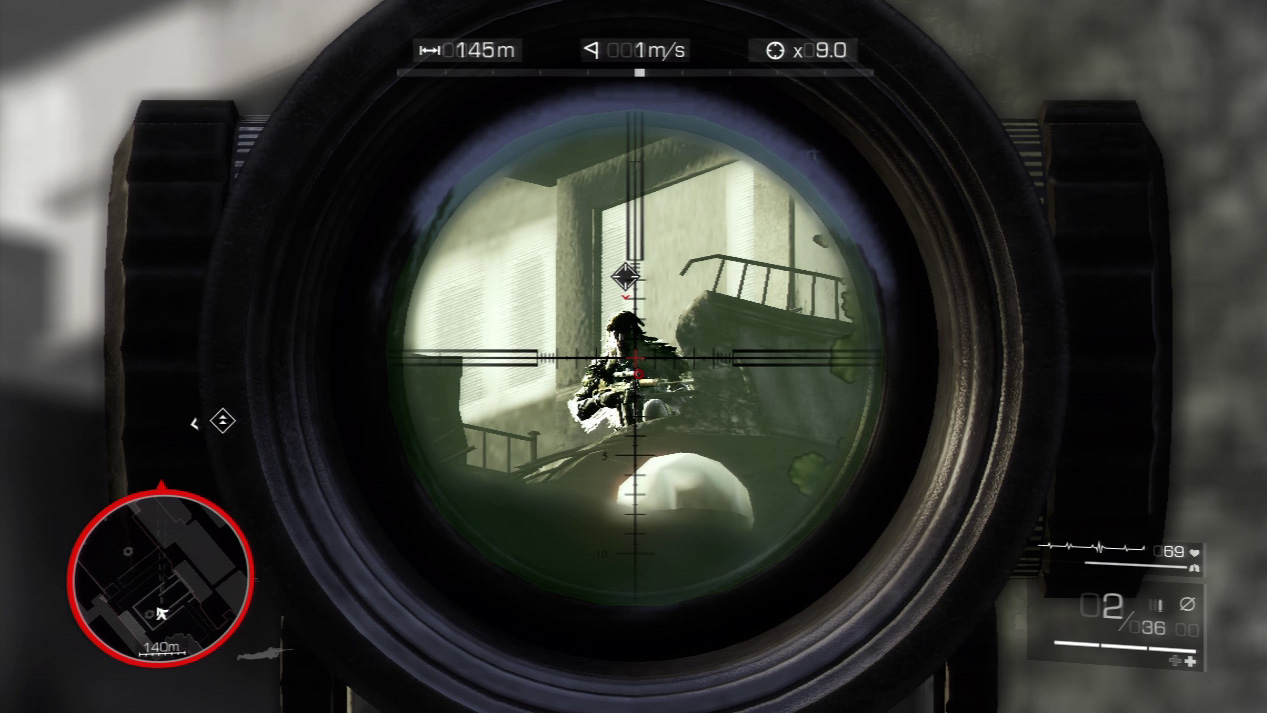
Crawl any farther and an enemy sniper can pick you off. Search for him on one of the destroyed balconies and send him a lethal message, special delivery, via your sniper bullet.
Waypoint 16
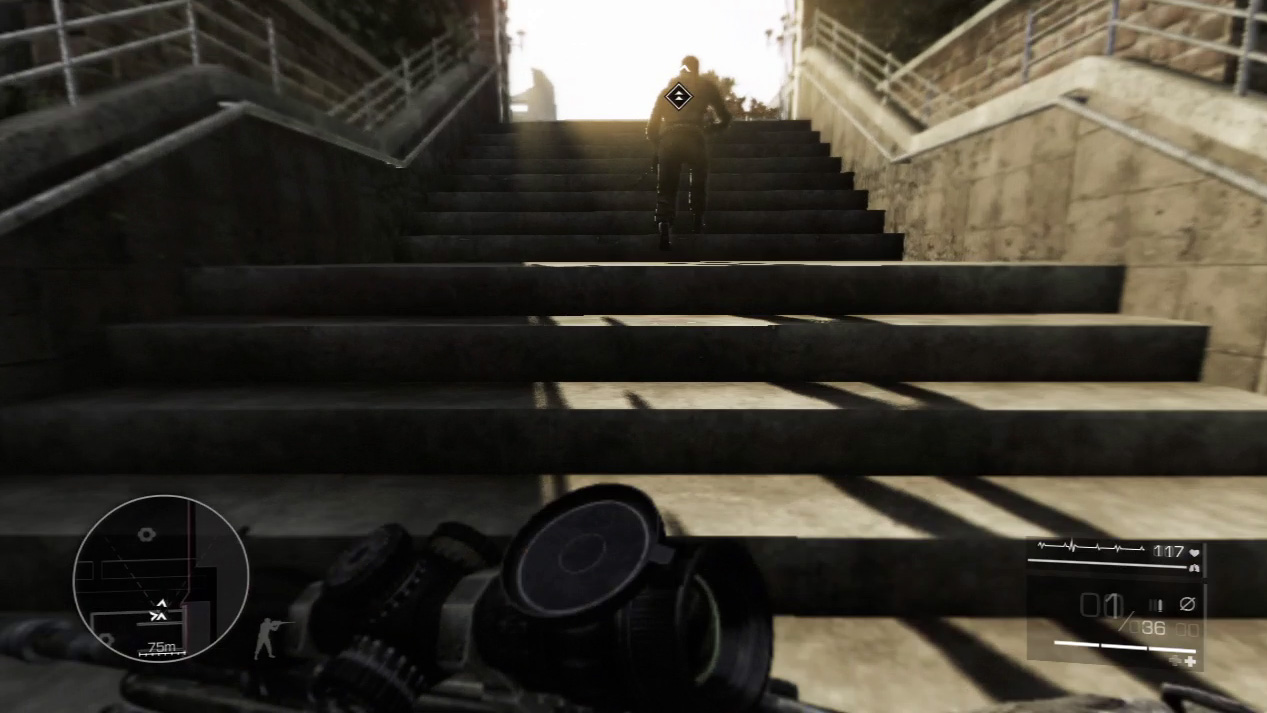
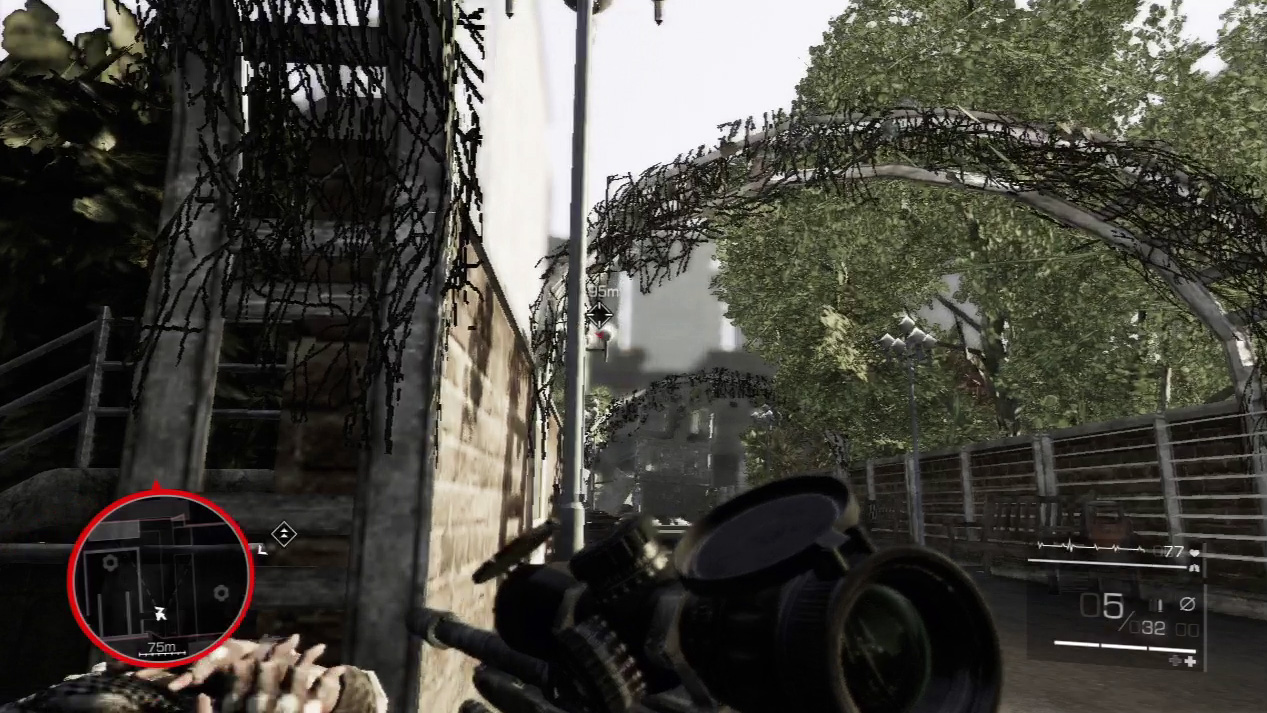
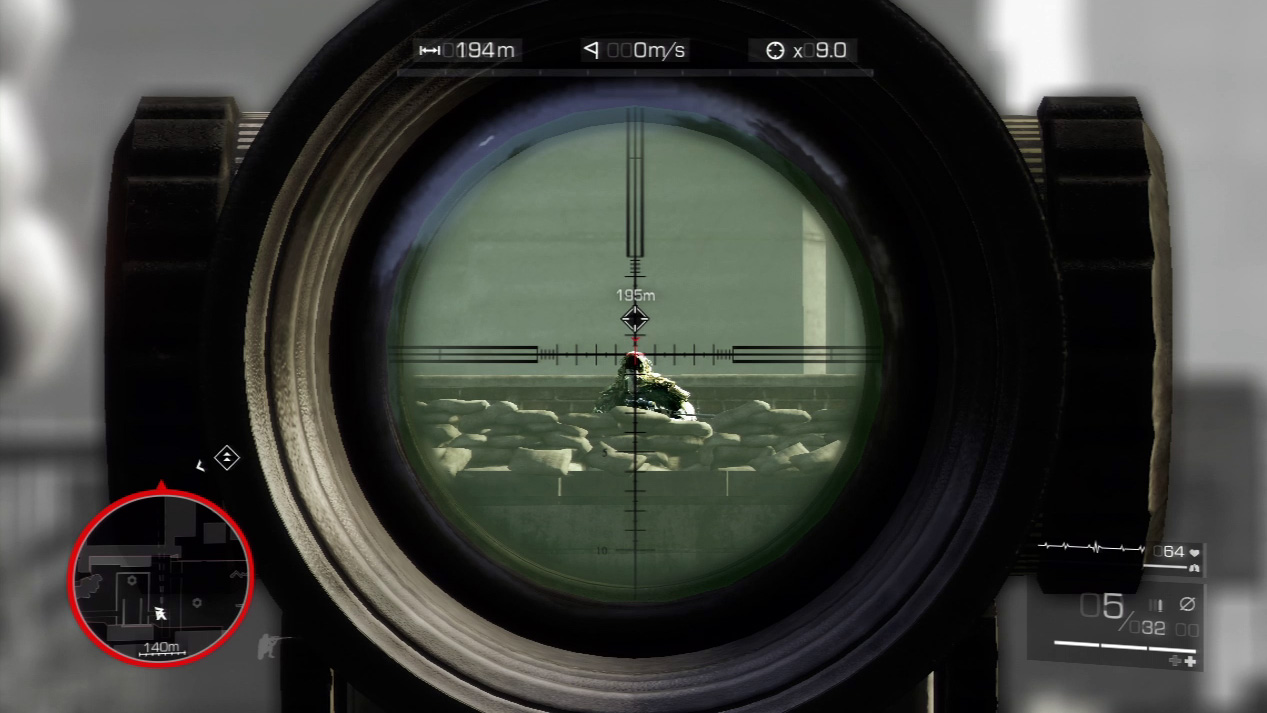
An enemy sniper is waiting for you up the next set of stairs. He comes close to killing Merinov as you reach the landing up top.
Let that shot serve as a warning and immediately lock on to his position left of the corner and across the street. Inch out from the corner and send a single bullet up and into his bunker to retire his ass.
Waypoint 17
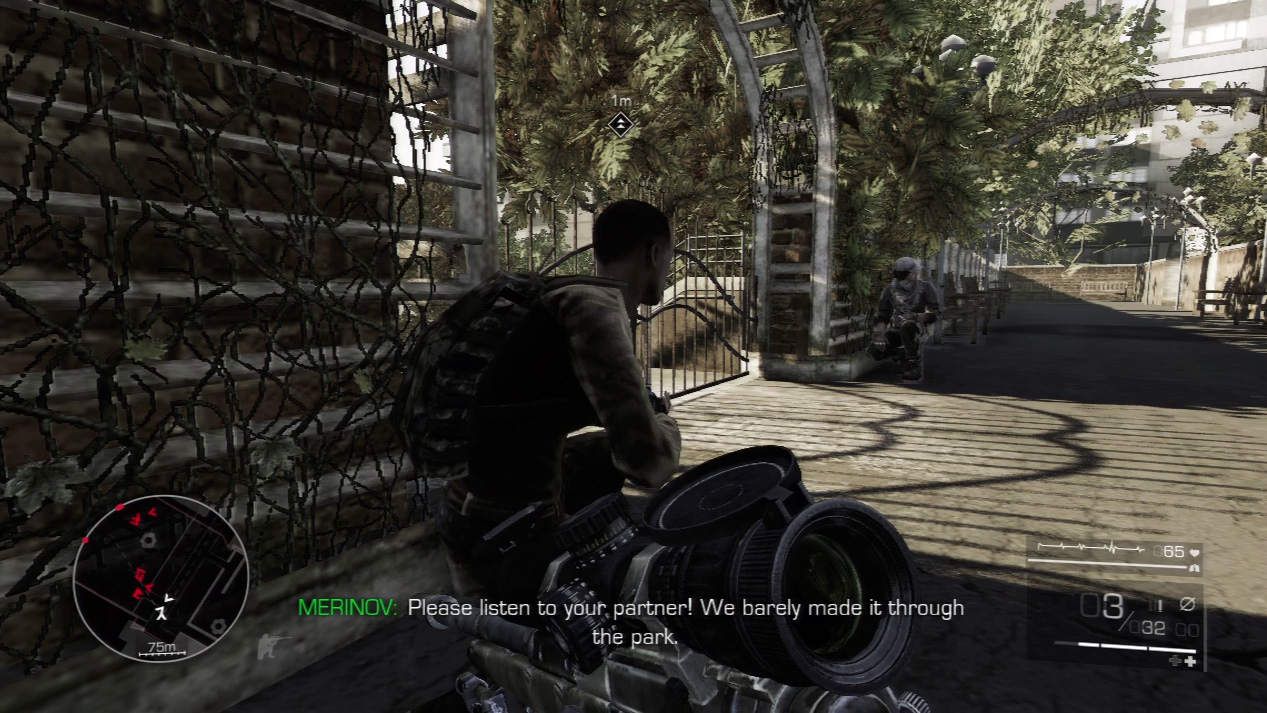
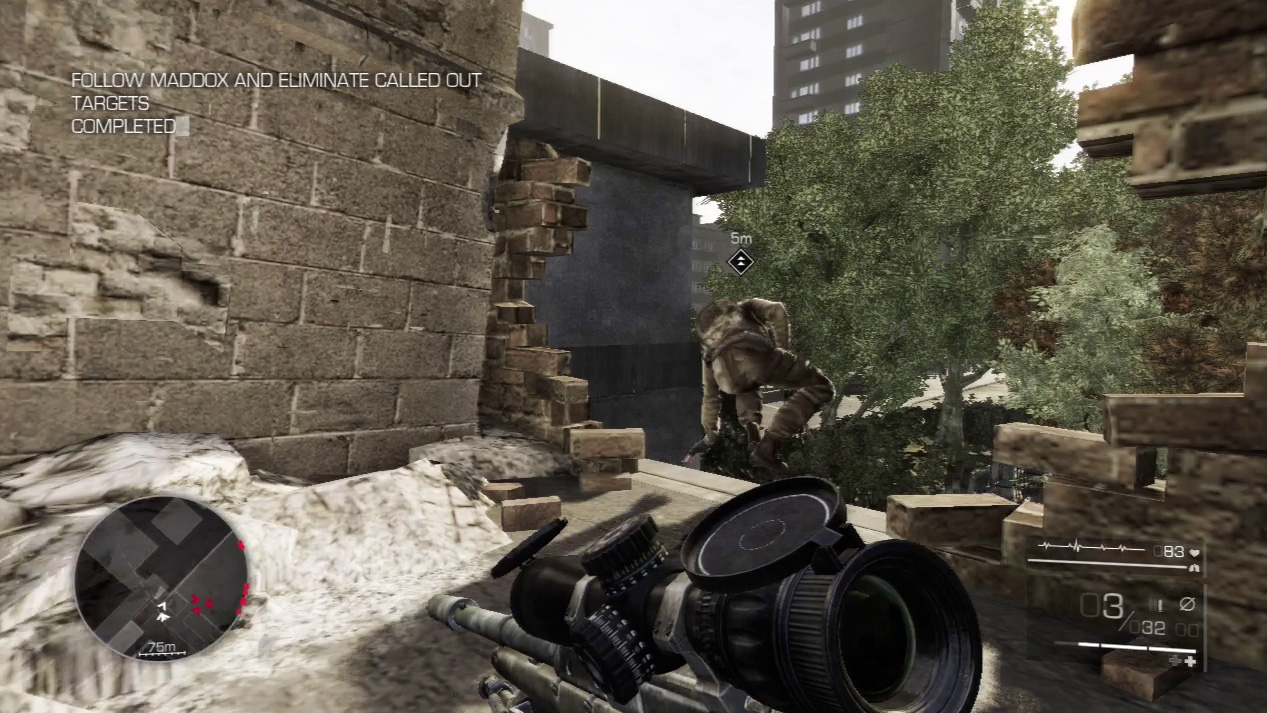
A whole slew of enemies mills about below the stairs at the next gate. Maddox wants to go after them, but you talk him out of that suicide mission. You agree to use stealth and sneak around them.
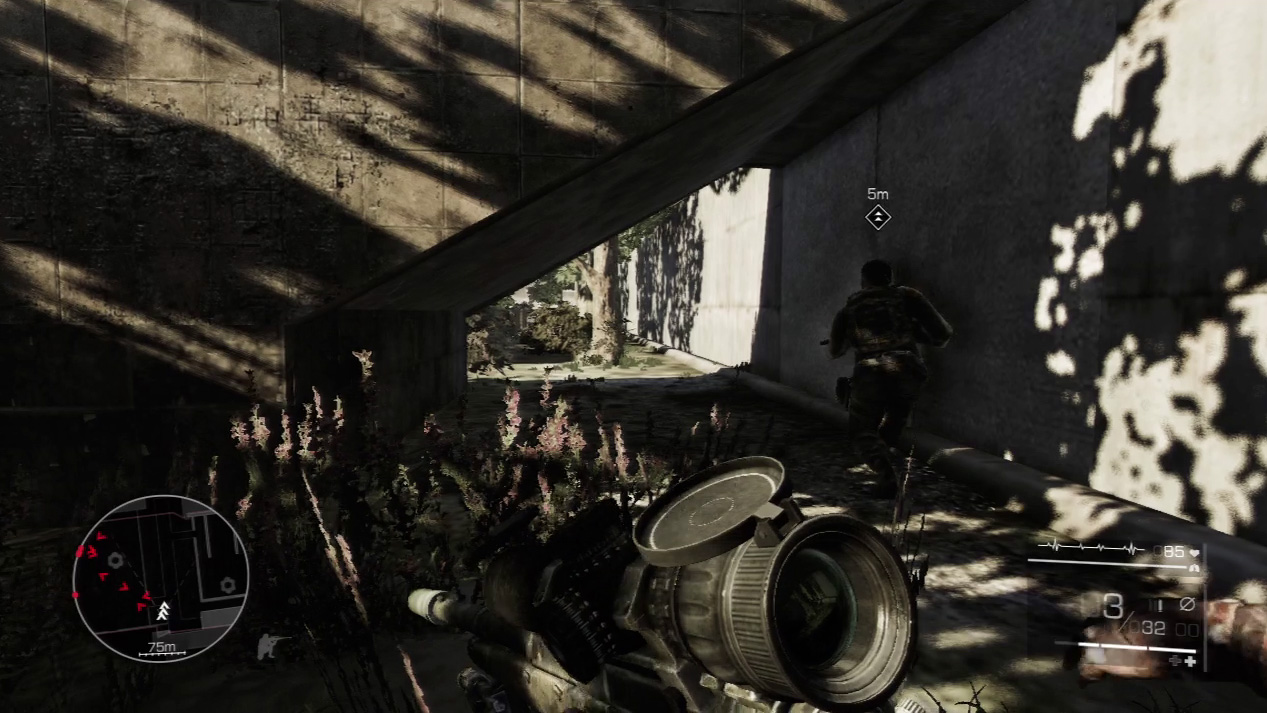
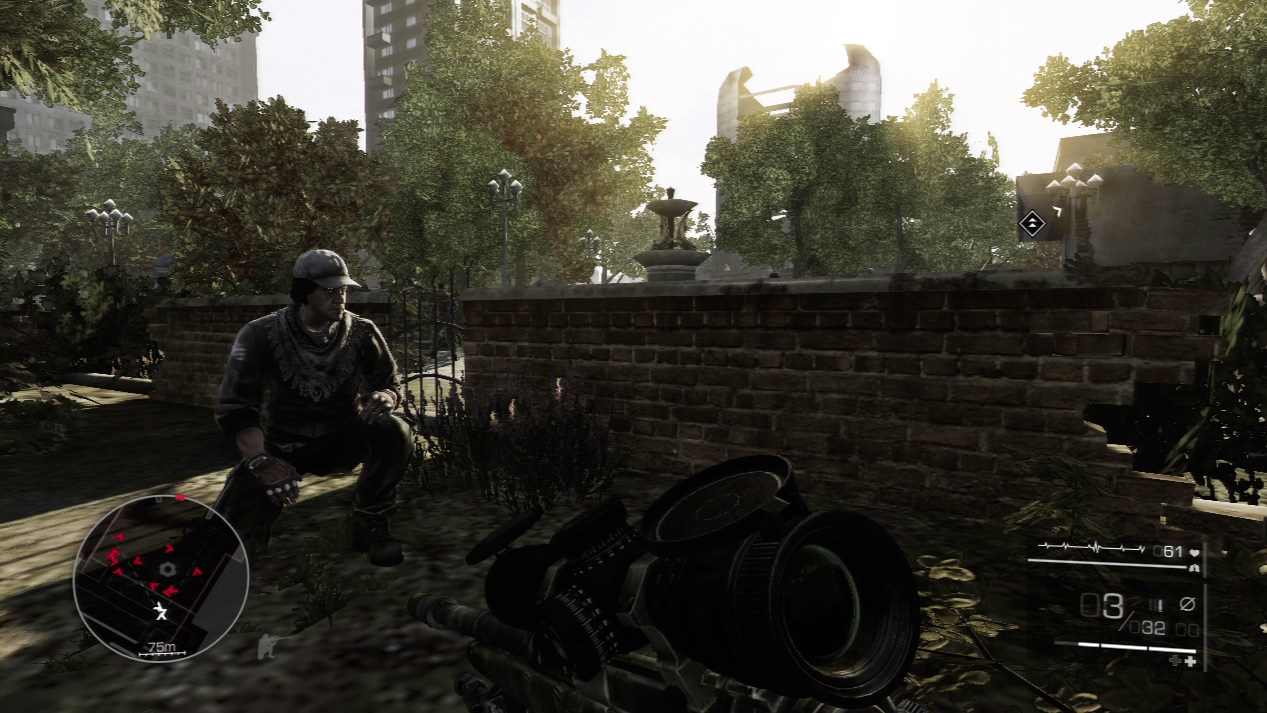
Jump over the wall after Maddox. Follow him along the outer wall and stay crouched the whole time or the enemies will spot you over the wall on your left. When you reach the far corner, pause when Maddox does. You must wait for a circling patrol to walk by before you can press on.
Waypoint 18
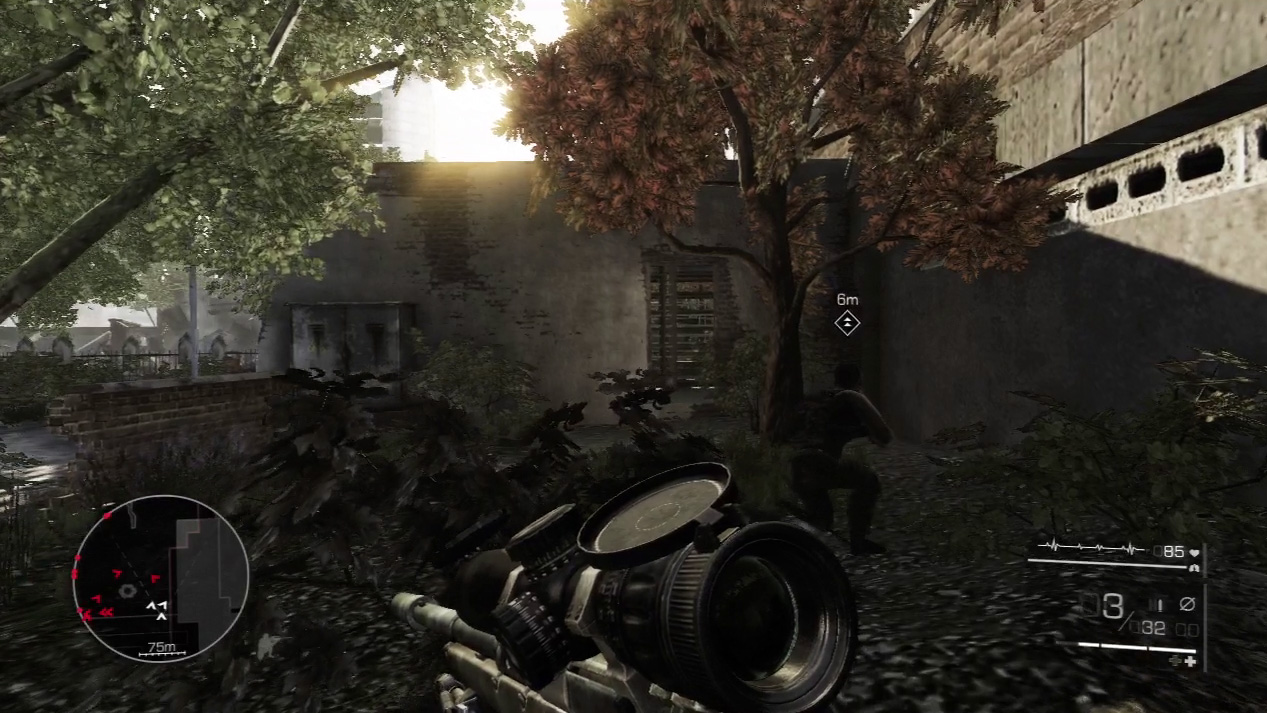
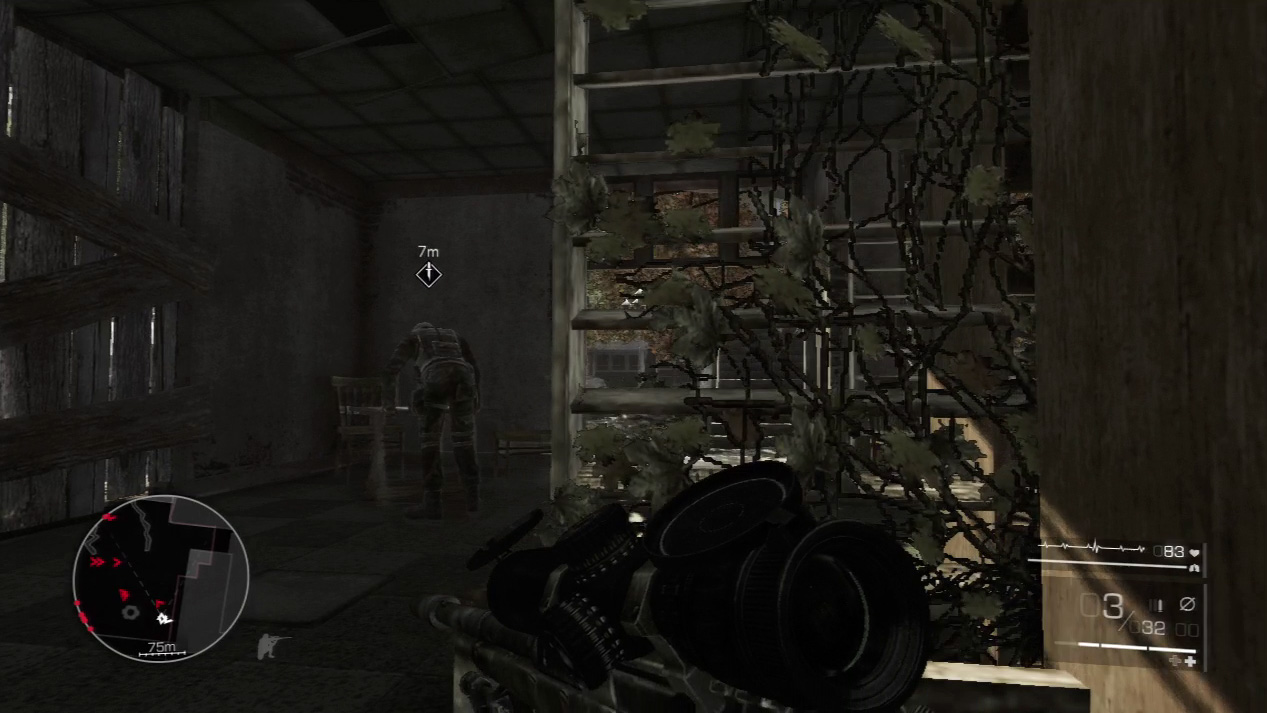
Stay on Maddox’s tail until you reach a small building. He sends you inside to take care of the lone guard. While the enemy reads a map, sneak up behind him and perform another stealth kill.
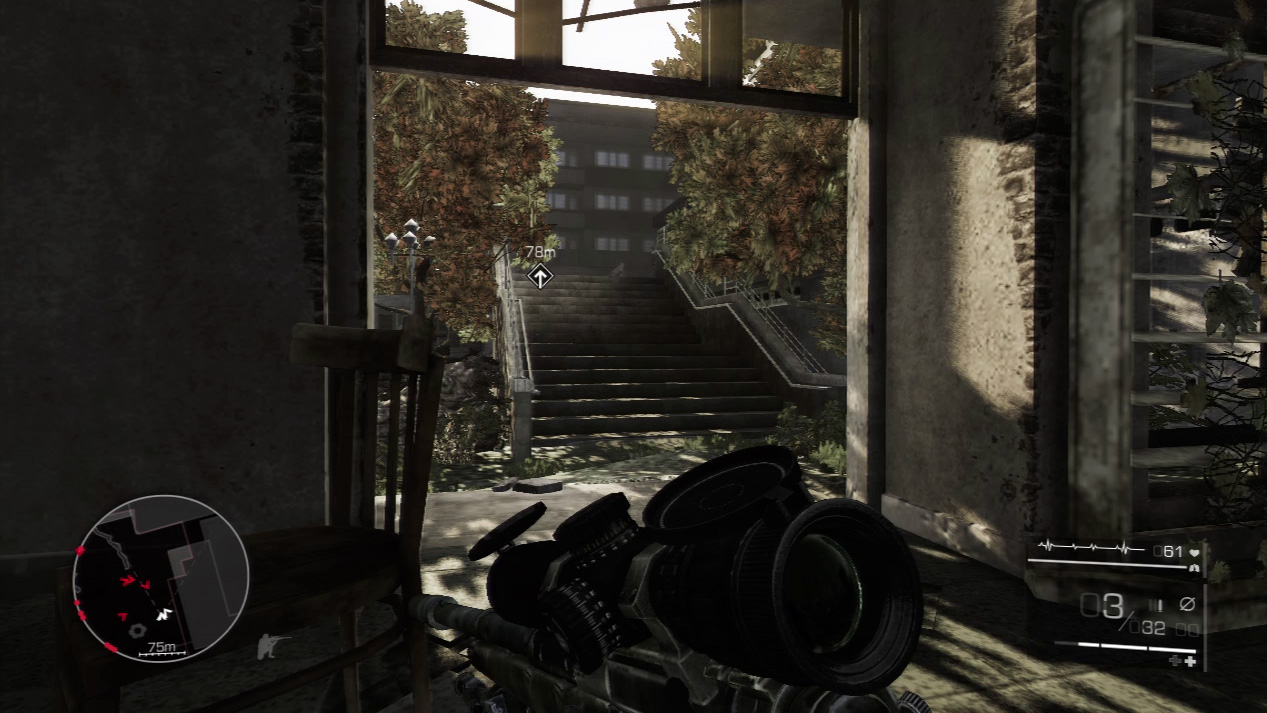
You can leave via the large doorway and run up the stairs. However, enemy patrols circle the park grounds to your left. Watch your minimap for enemy facings.
If an enemy patrol is heading your way and looking at the stairs, don’t exit the building.
Once they turn and begin to leave the area—and before the next patrol arrives—sprint up the stairs.
Waypoint 19
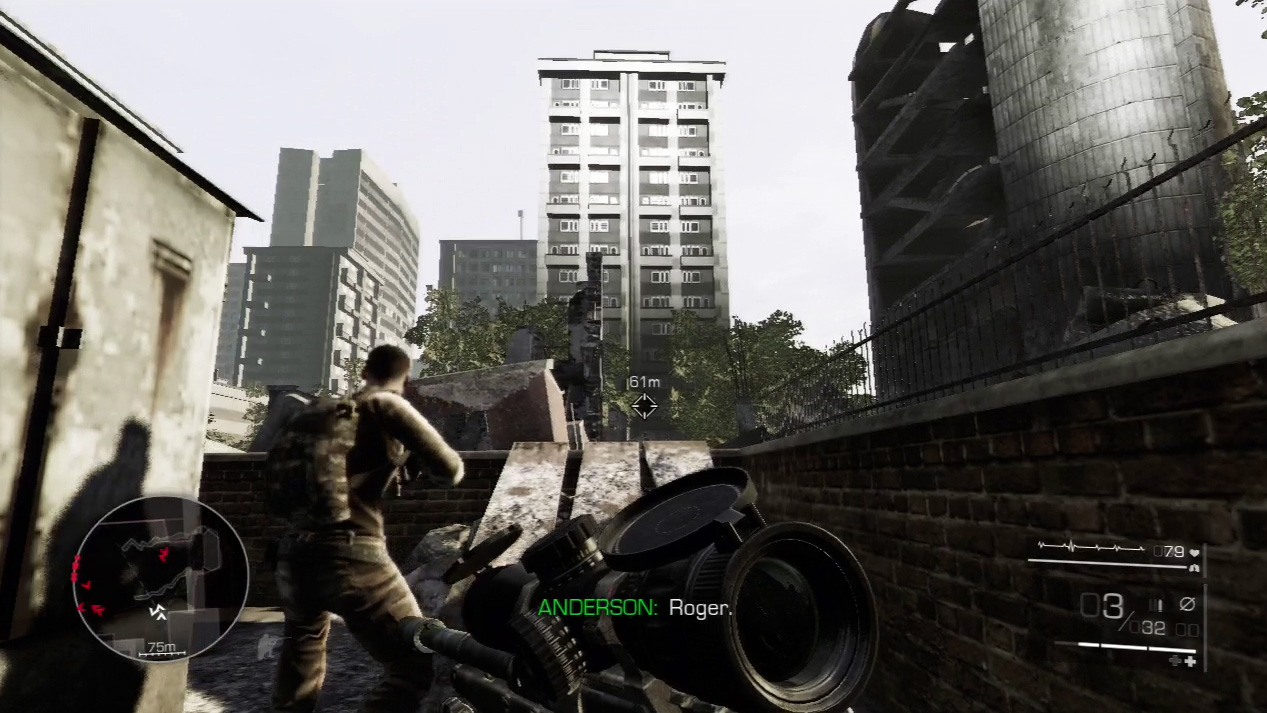
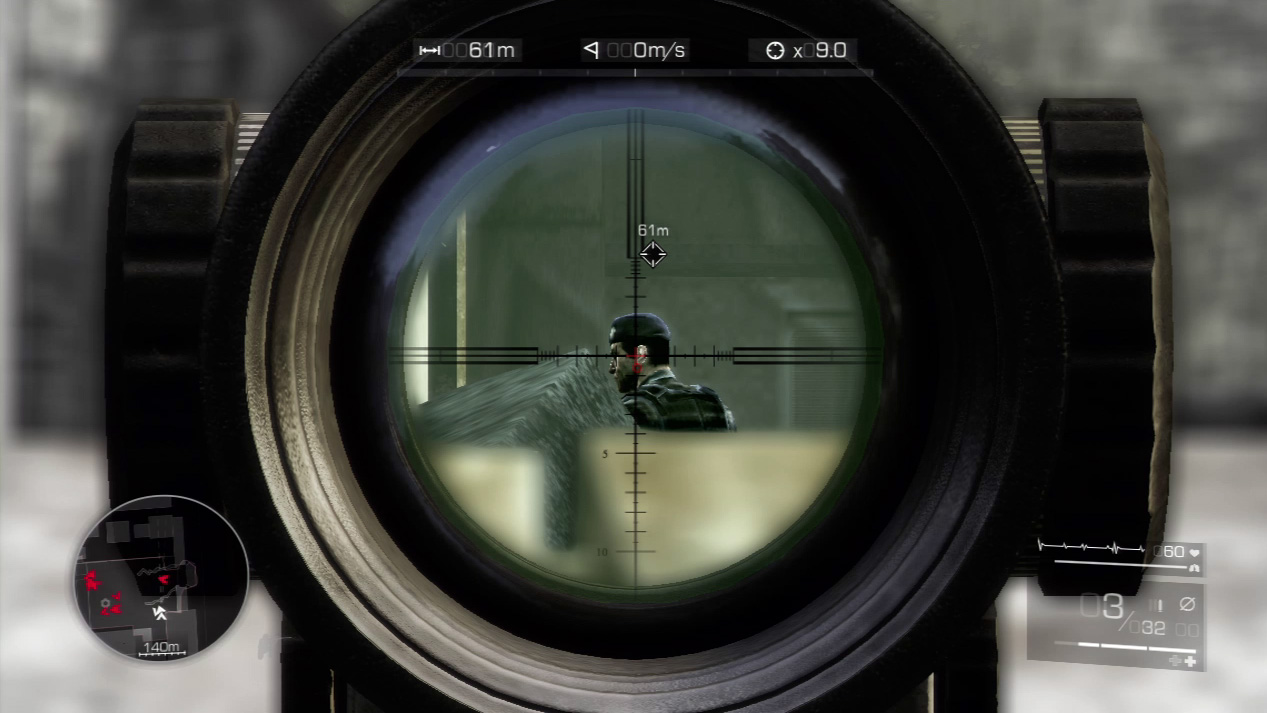
Two guards stand in your way to the abandoned building across from Vladic. Sight on the target Maddox calls out. Eliminate him and Maddox will dispense with the second tango.
Waypoint 20
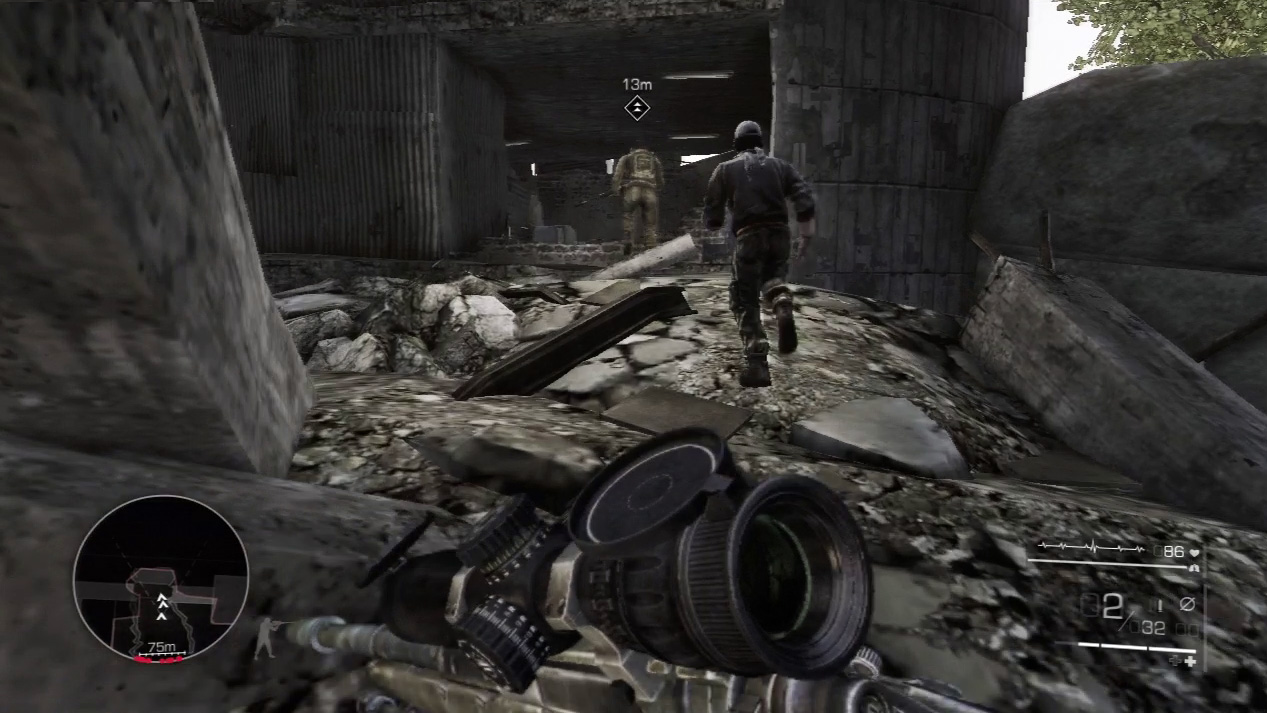
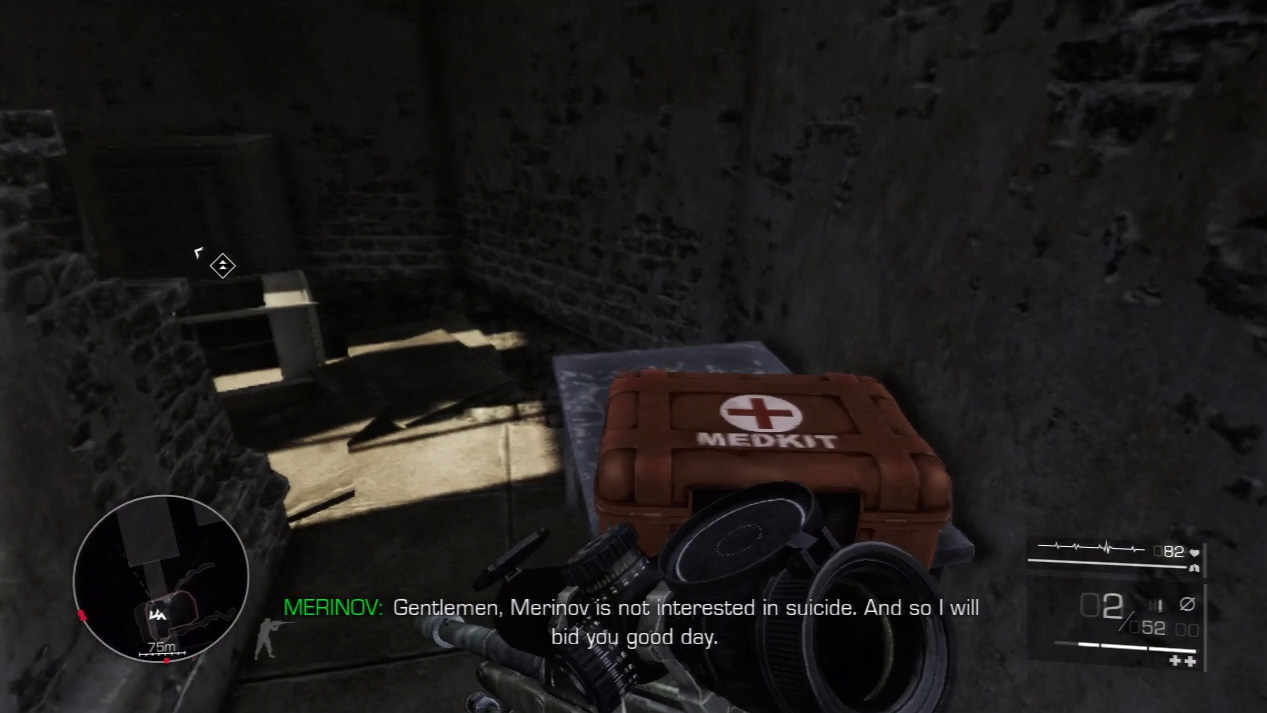
Merinov guides you into the abandoned building and then bids you farewell. He knows a firefight is about to break out and wants no part of it. There are medkits and ammo inside the building, so be sure to stock up before attempting the hit on Vladic.
Act 2: Secret 8
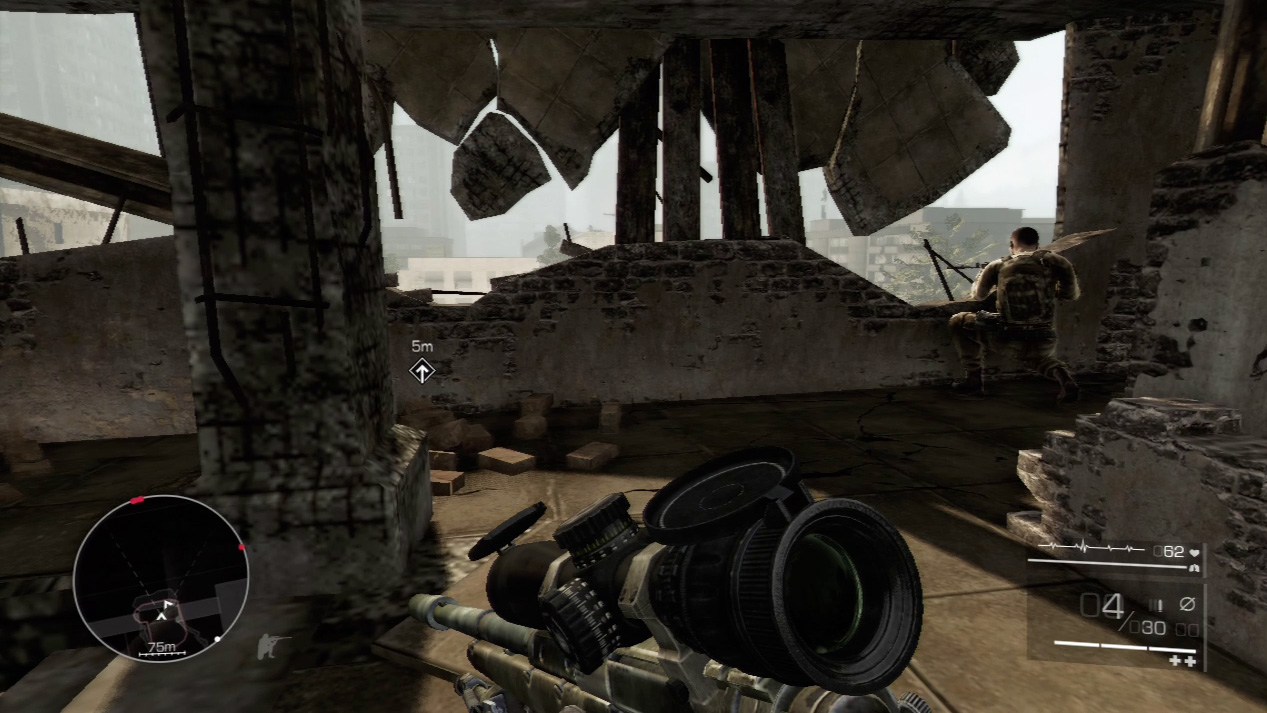
Follow Merinov into the apartment building overlooking the sniping spot against Vladic. There is a medkit behind a ruined wall on the second floor where Merinov parts ways with you.
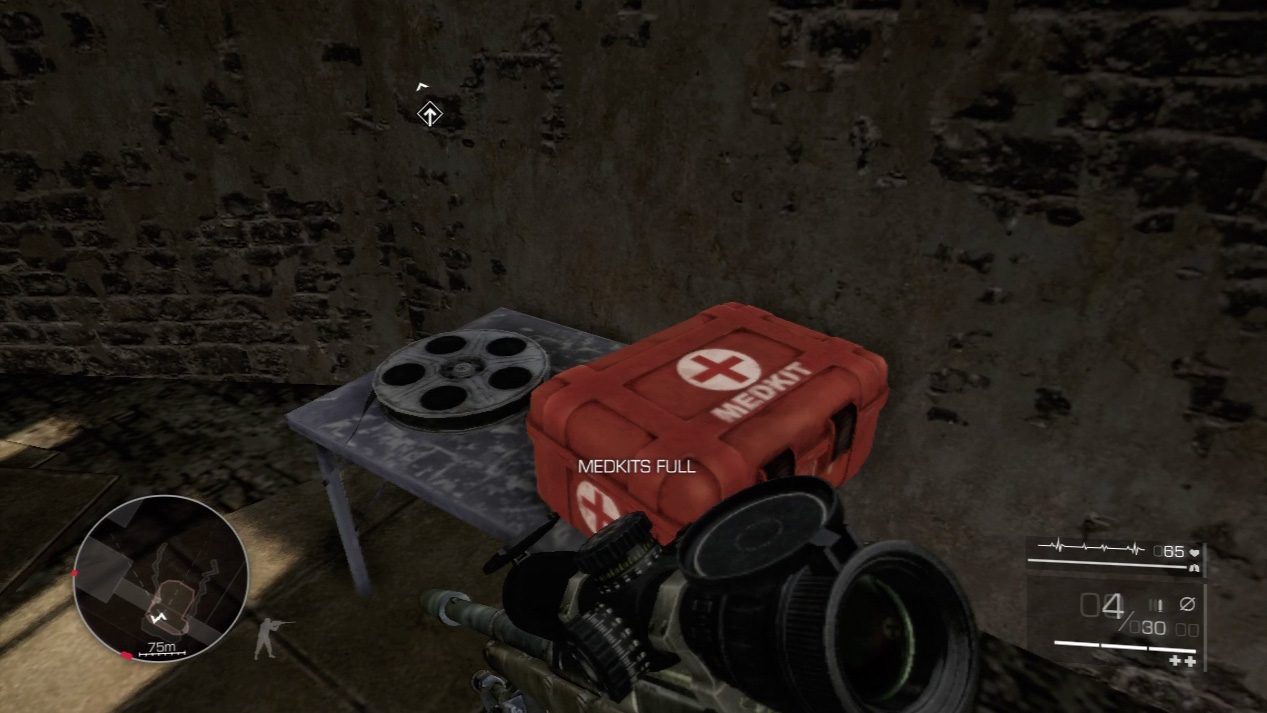
The final secret for this mission is on the table next to the medkit.
Waypoint 21
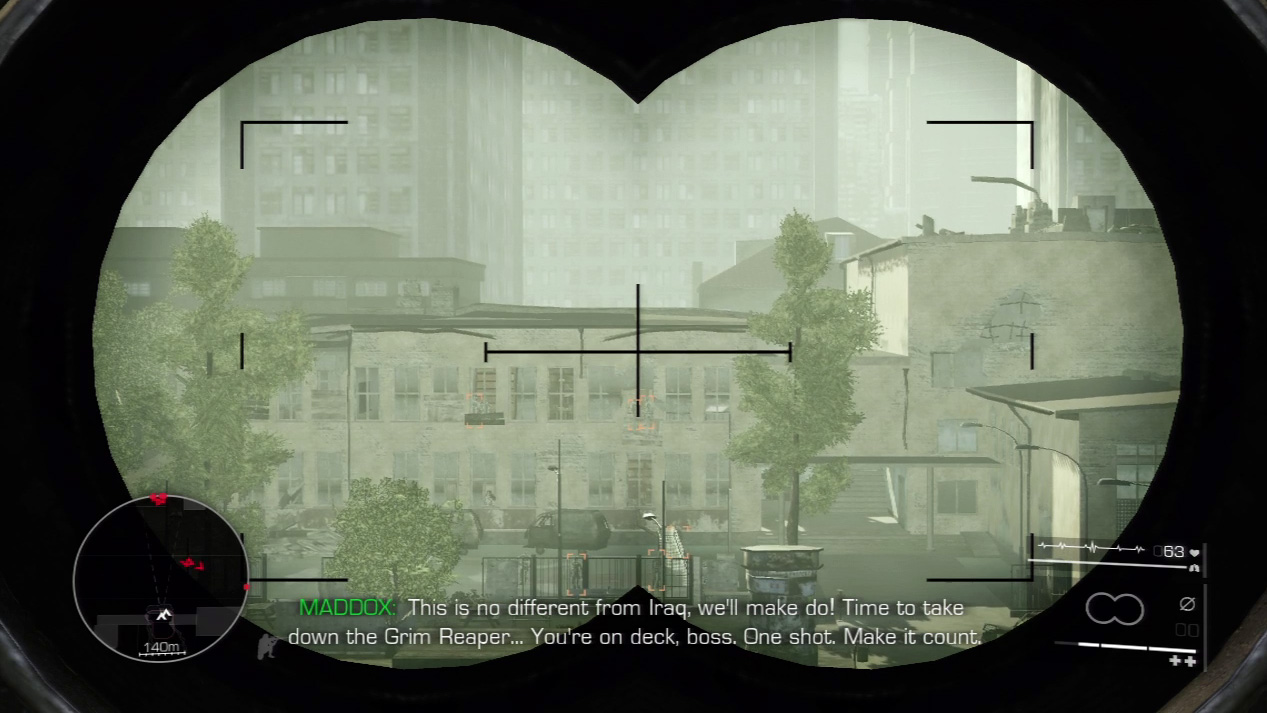
You scan Vladic’s compound with your binoculars prior to the skirmish. You won’t see exact enemy positions here, but it gives you a feel for the battle terrain.
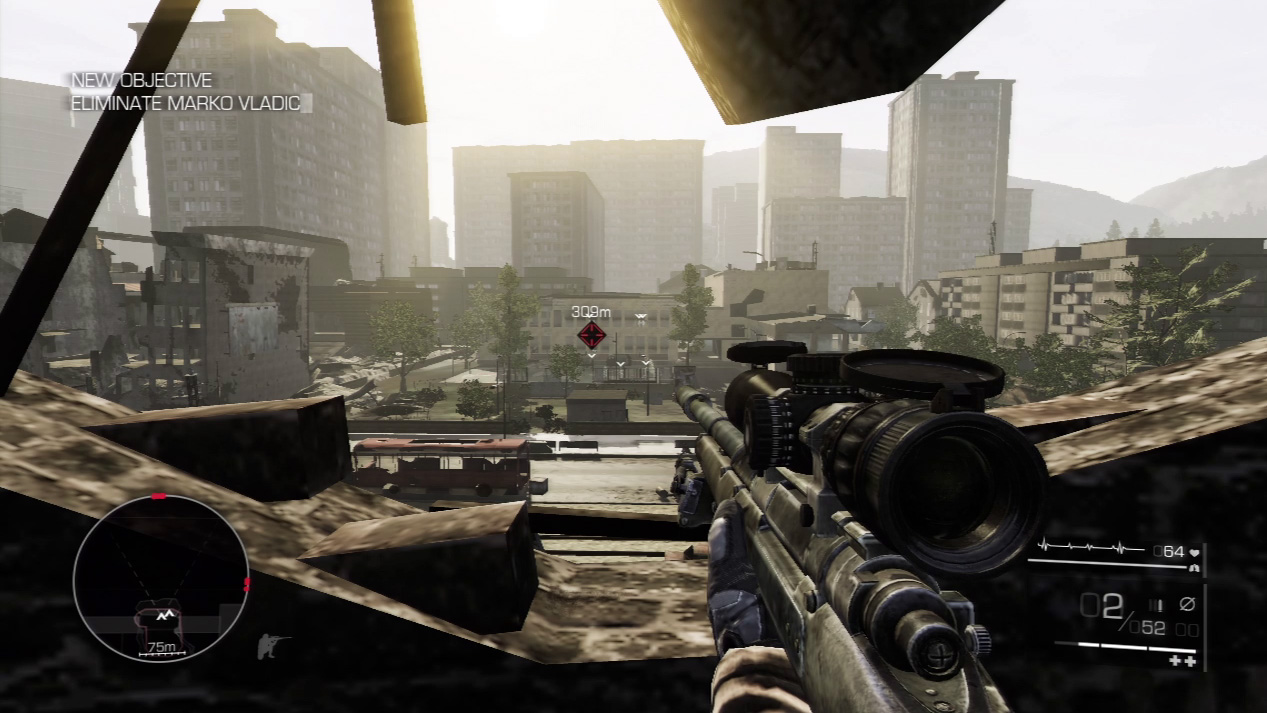
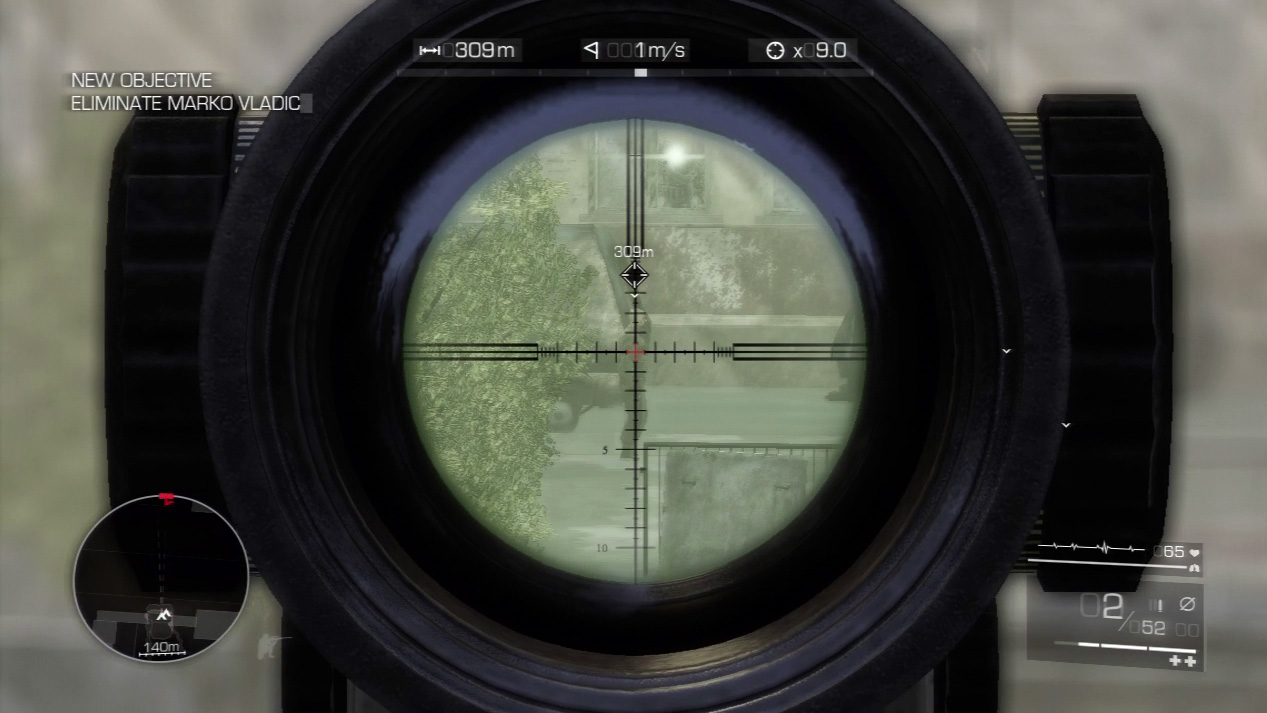
Go ahead and sight on Vladic in the courtyard. However, no matter how fast you are, you won’t be able to hit him.
As soon as you grab him in your sights, his guards notice you and return fire.
Maddox dives and knocks you out of the way as a bullet meant for your brain narrowly misses.
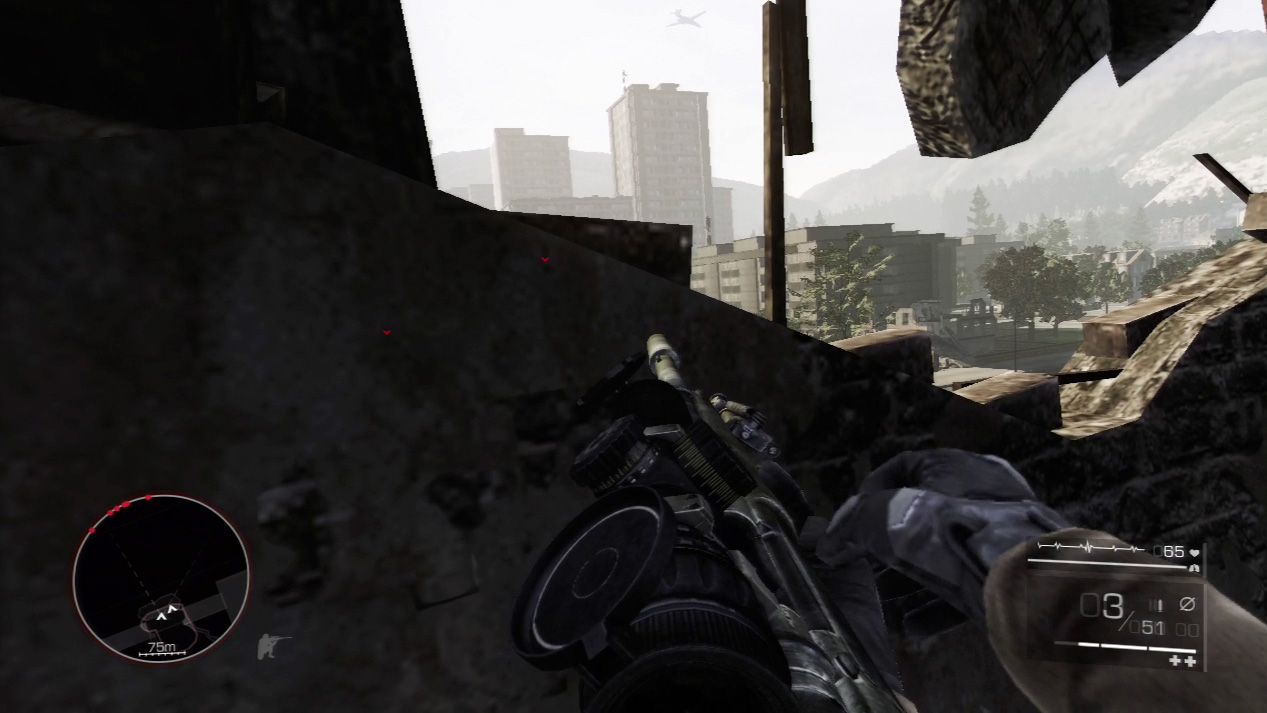
Use the rock wall on the second floor as cover. Slide out in the wall’s dip to fire, then return to the thicker section of the wall for defense. Do not stay out long or you’ll be shot by one of the three enemy snipers protecting Vladic.
Expert Mode
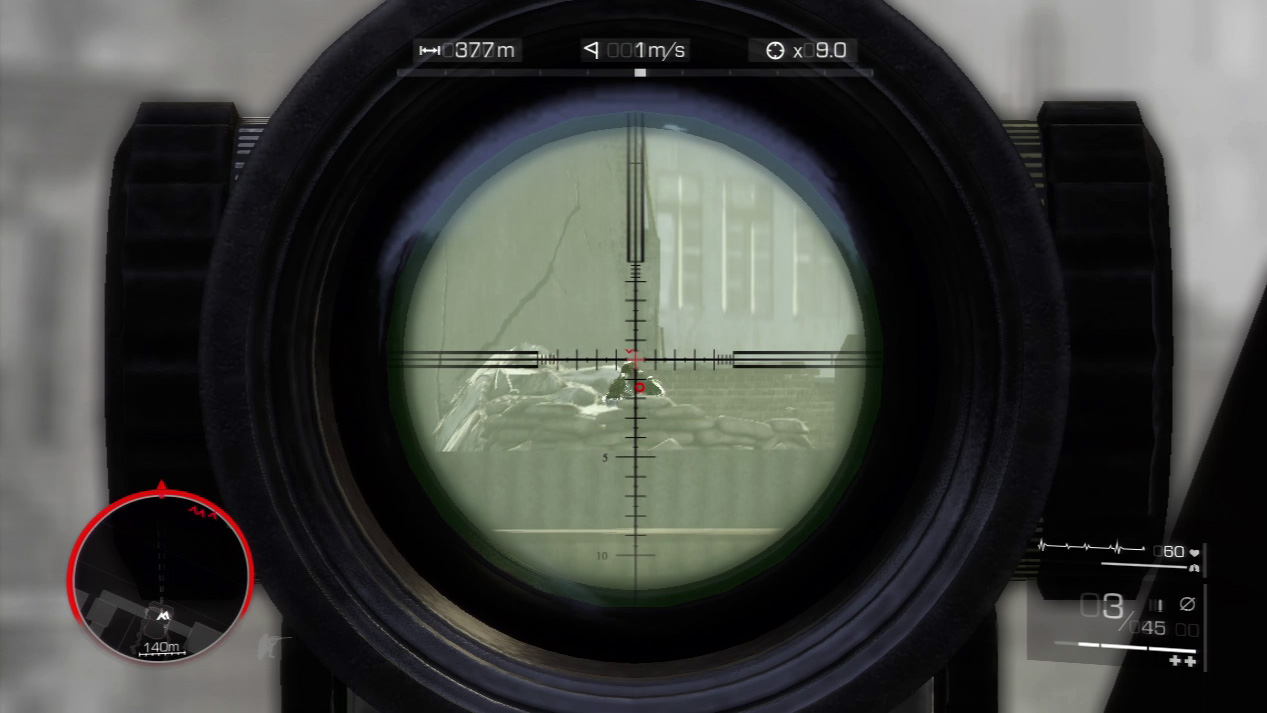
- Distance: Approximately 375 meters
- Wind: 1 meters/second (blowing right)
- Magnification: 9x
Because of the distance and slight wind, your bullet will push slightly to the right of the center line and drop between the first and second reticle line. Your shots must be quick and precise against Vladic’s snipers if you’re to survive the encounter.
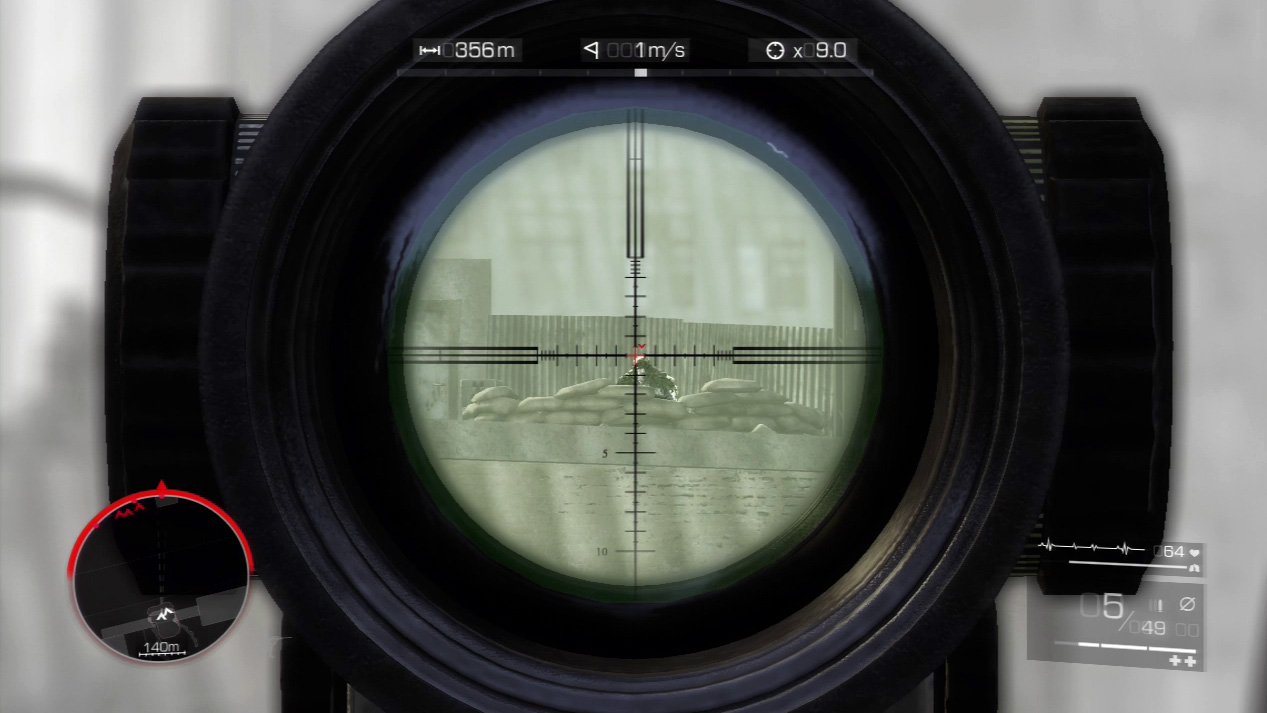
Vladic’s first sniper sits in a sandbag bunker on the rooftop off to your right. You have to find him quickly before your Visibility Indicator lights up. If you can’t draw on his position within a second or two, withdraw back to cover and wait for your Visibility Indicator to die down.
Better to remain cautious and make several attempts than to stay too long out in the open and get killed. You only need one shot to kill him anyway.
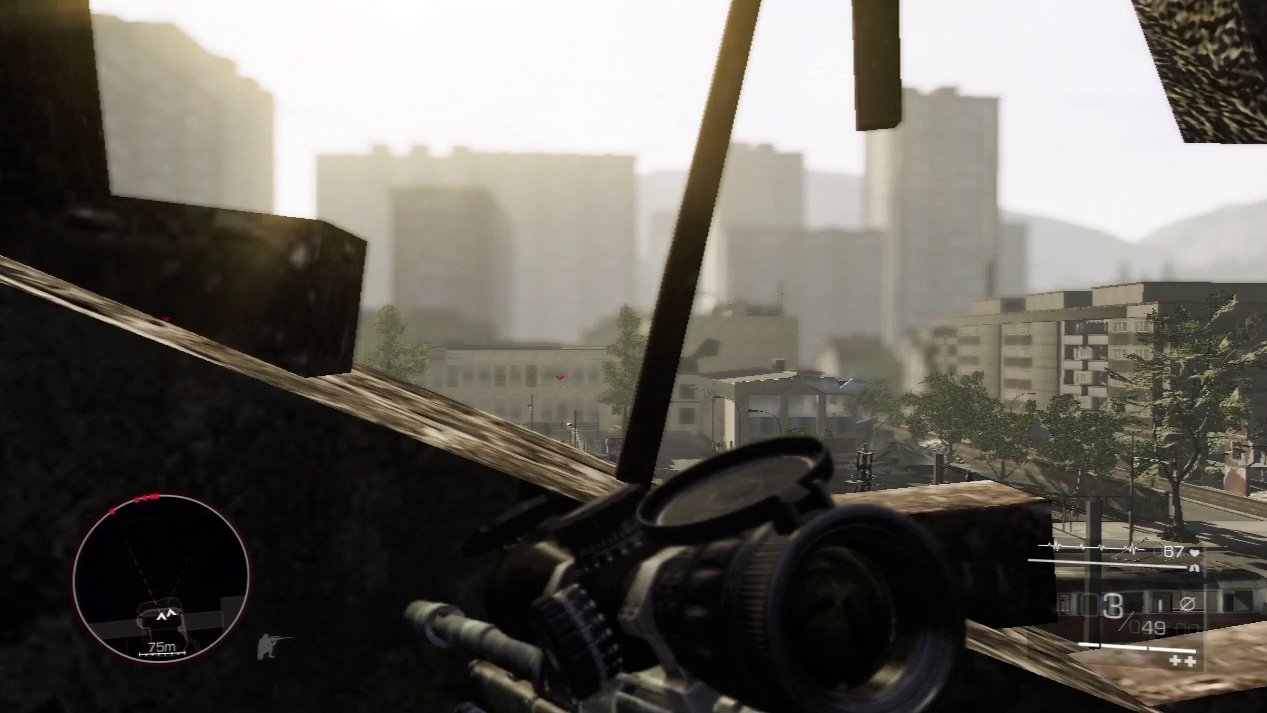
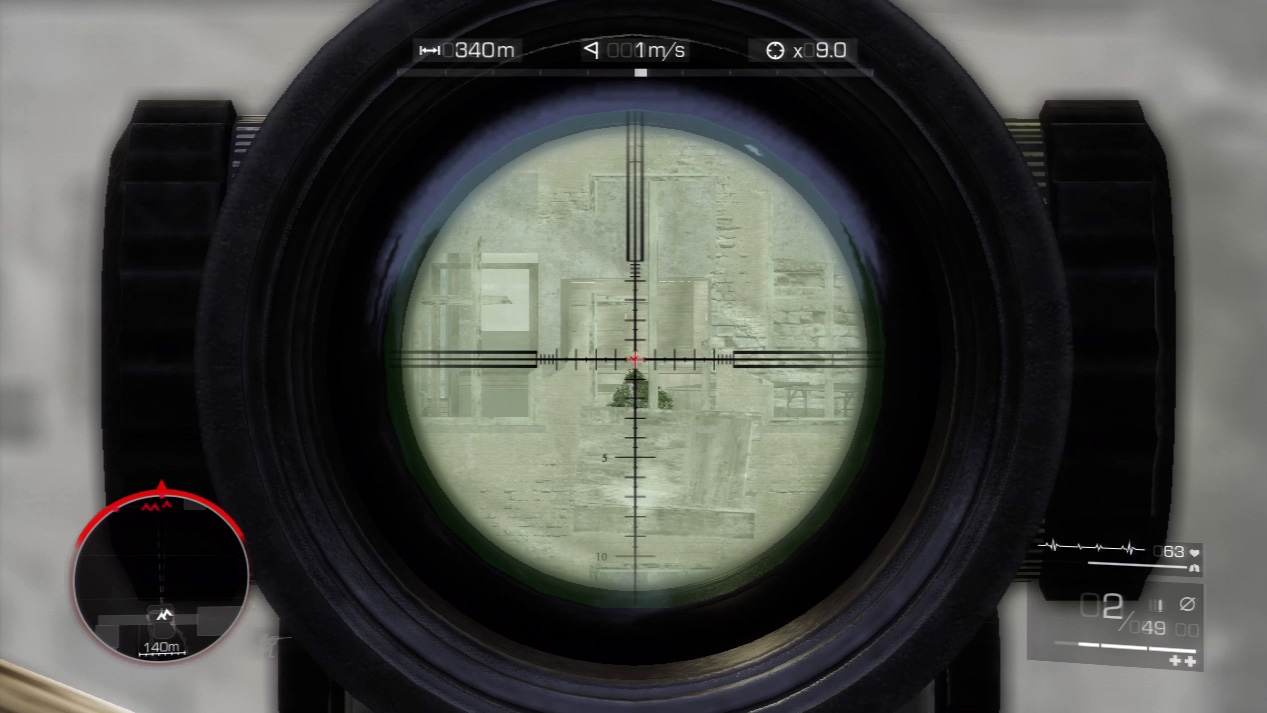
The second of Vladic’s snipers shoots from the top floor in the building in front of you. As you did with the first sniper, pop out of cover only for a few seconds to line up the shot. If you can sight on him quickly, hold your breath to slow down time and fine-tune a lethal shot.
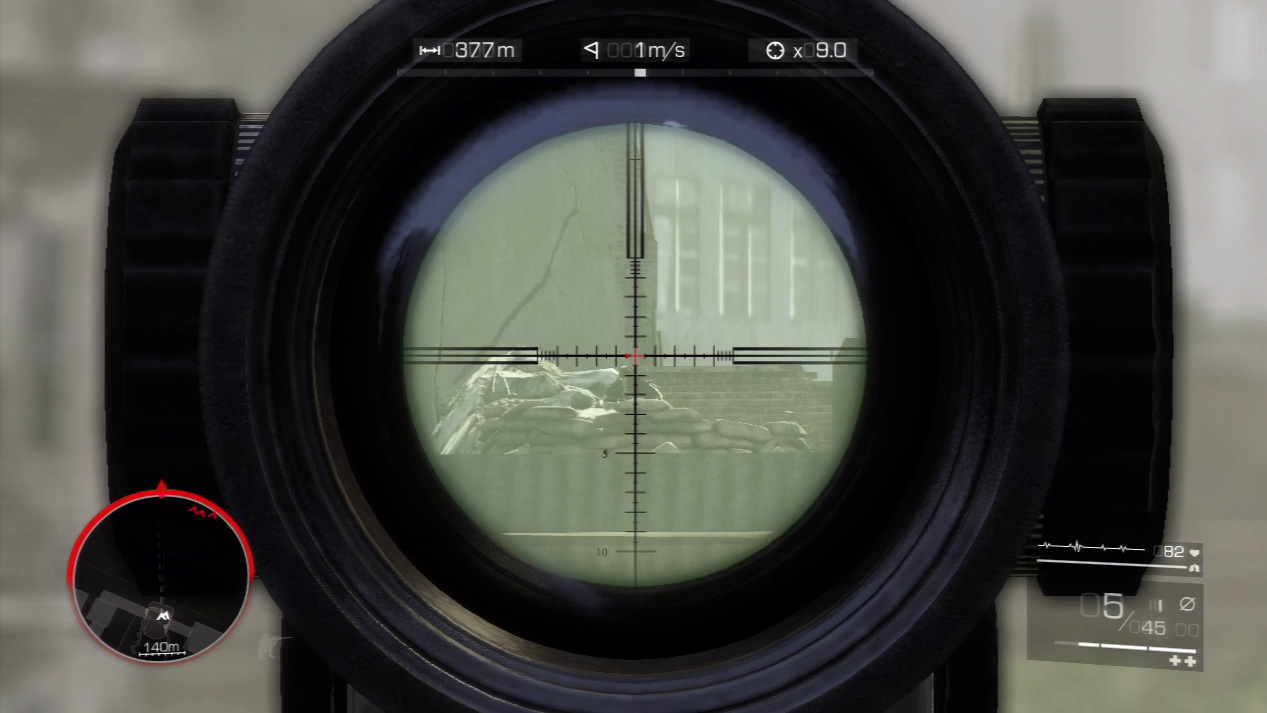
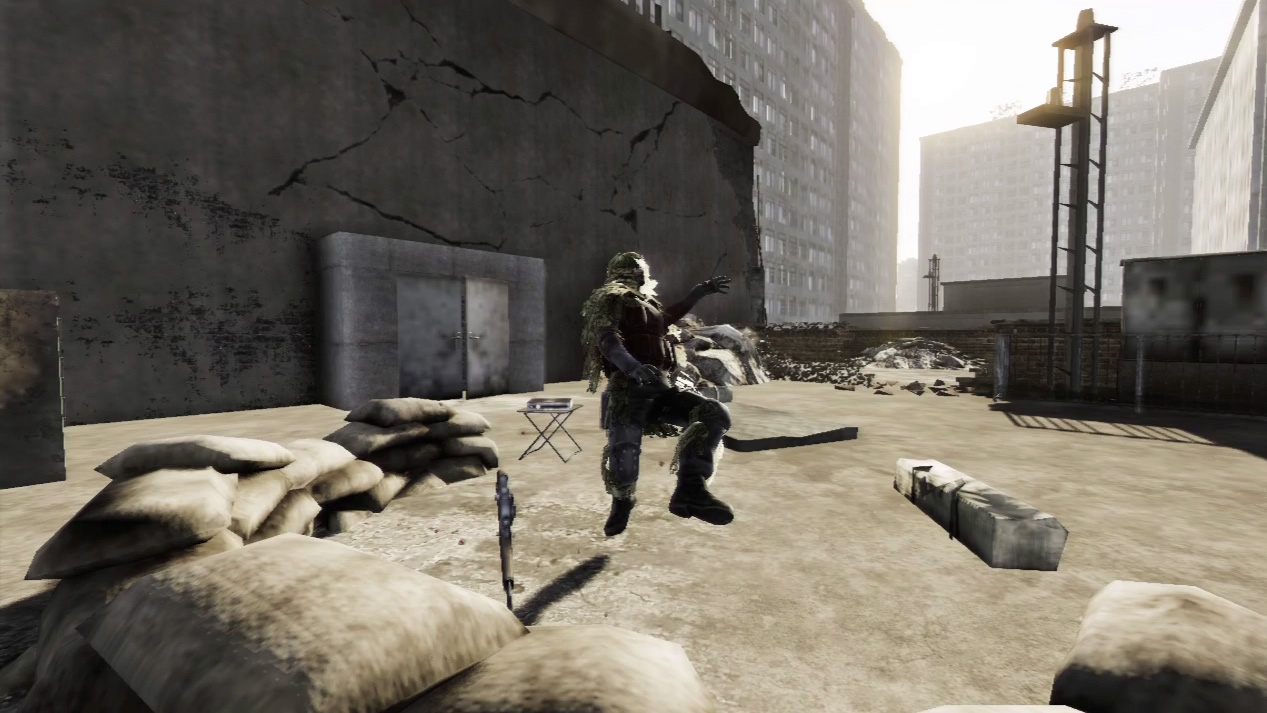
After you eliminate the second of Vladic’s snipers, look for the final one on the rooftop to your left. Don’t rush it, and only stay out in the open if you can set up a kill shot. Launch a bullet over the sandbags and snipe him before he can pull off the same trick against you.
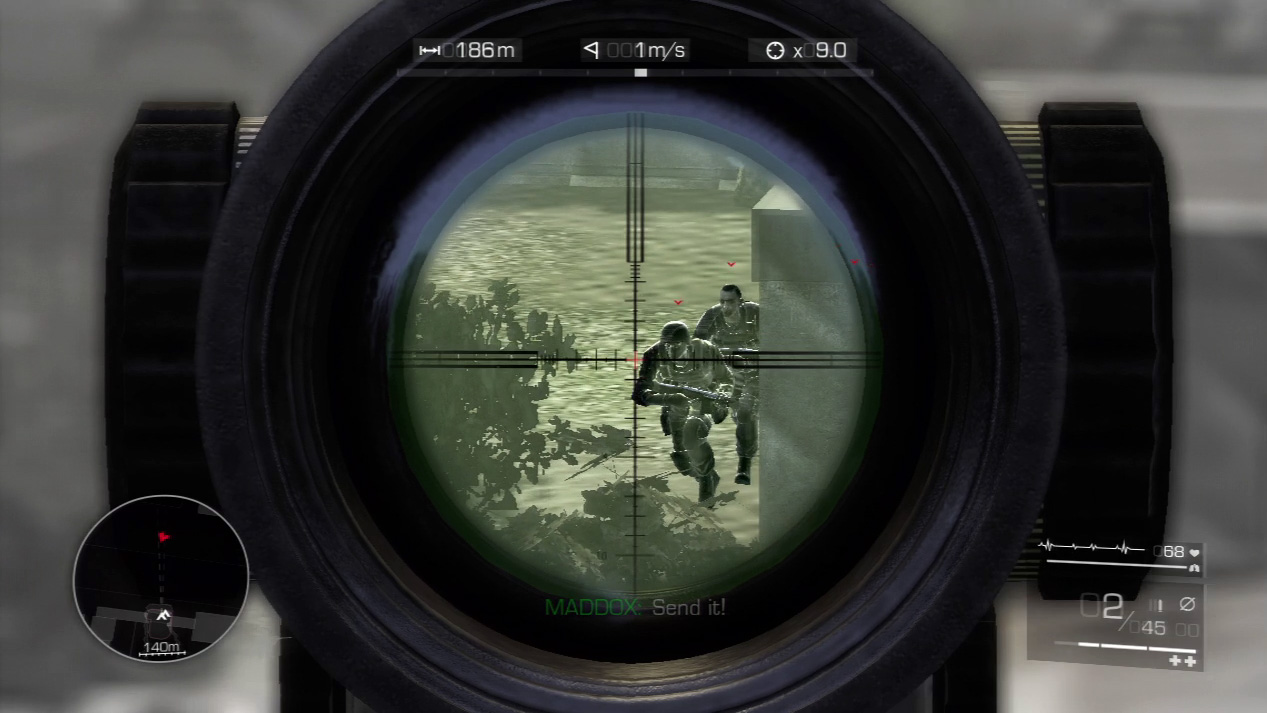
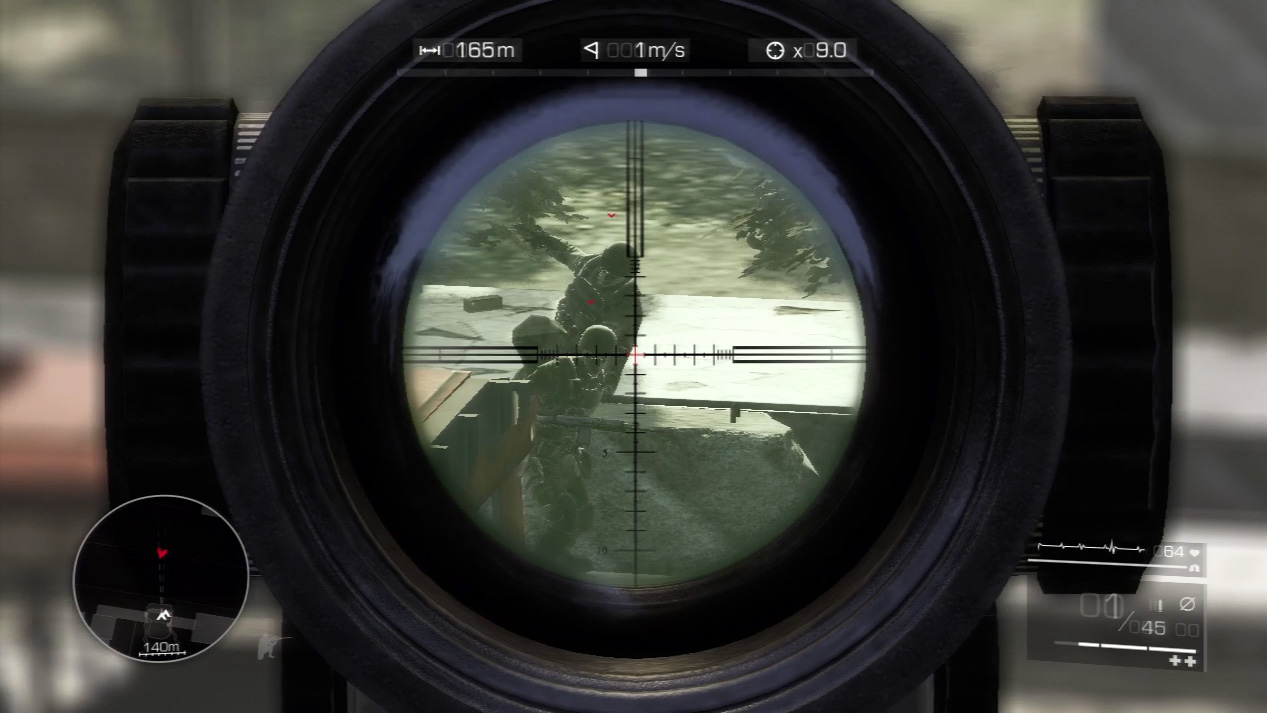
When you defeat the snipers, Vladic sends three enemies armed with semi-automatic weapons out after you. They will cross the street and try and get in close on you.
Pick off one or two as they approach to make the next step easier.
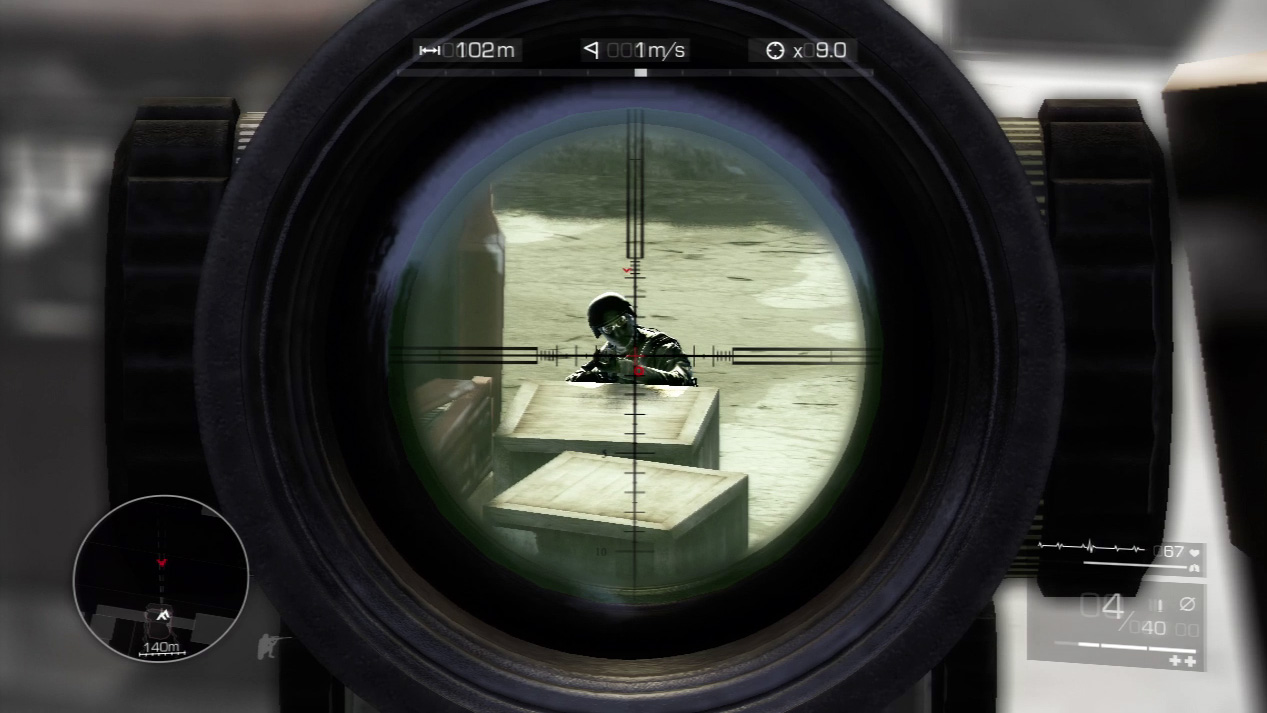
Once the ground enemies set up in cover on the street, life becomes more difficult. They barrage your spot with gunfire. Do not return fire while they are firing; that’s a sure death.
However, if you wait until they have to reload, you have a second or two in between magazines to get off a shot of your own. Zoom on any of the remaining enemies and shoot quickly to avoid damage.
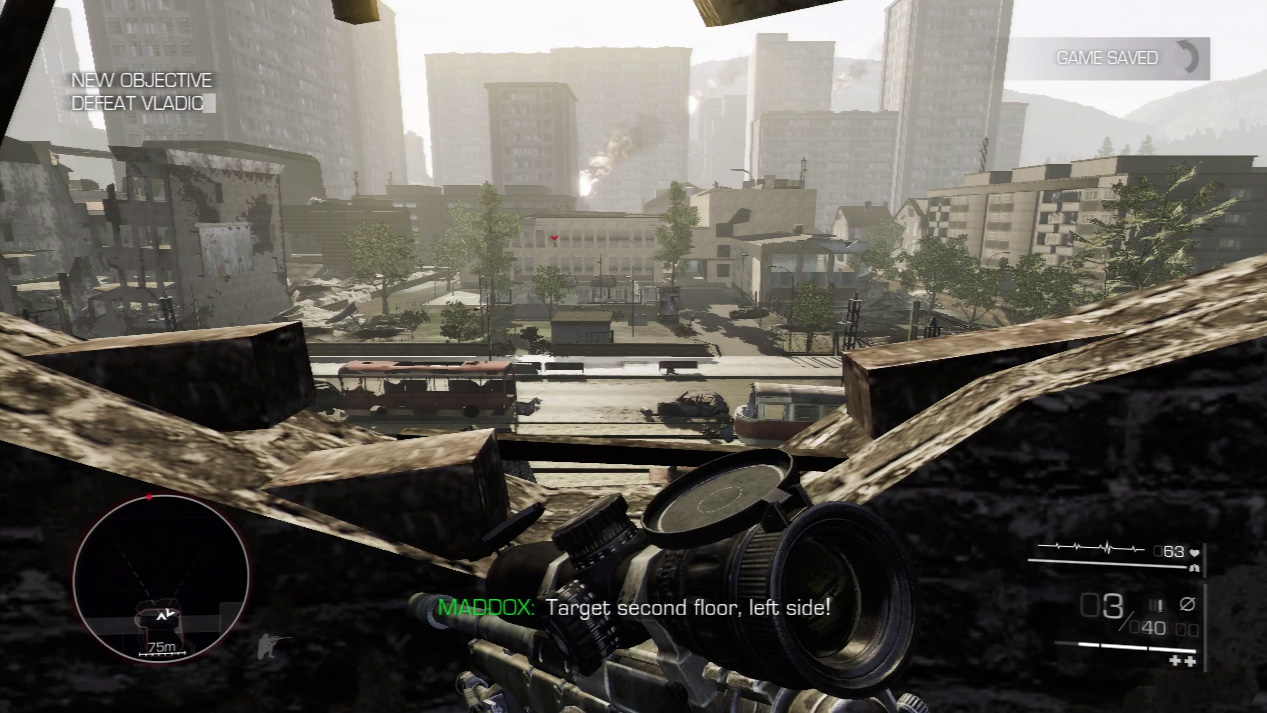
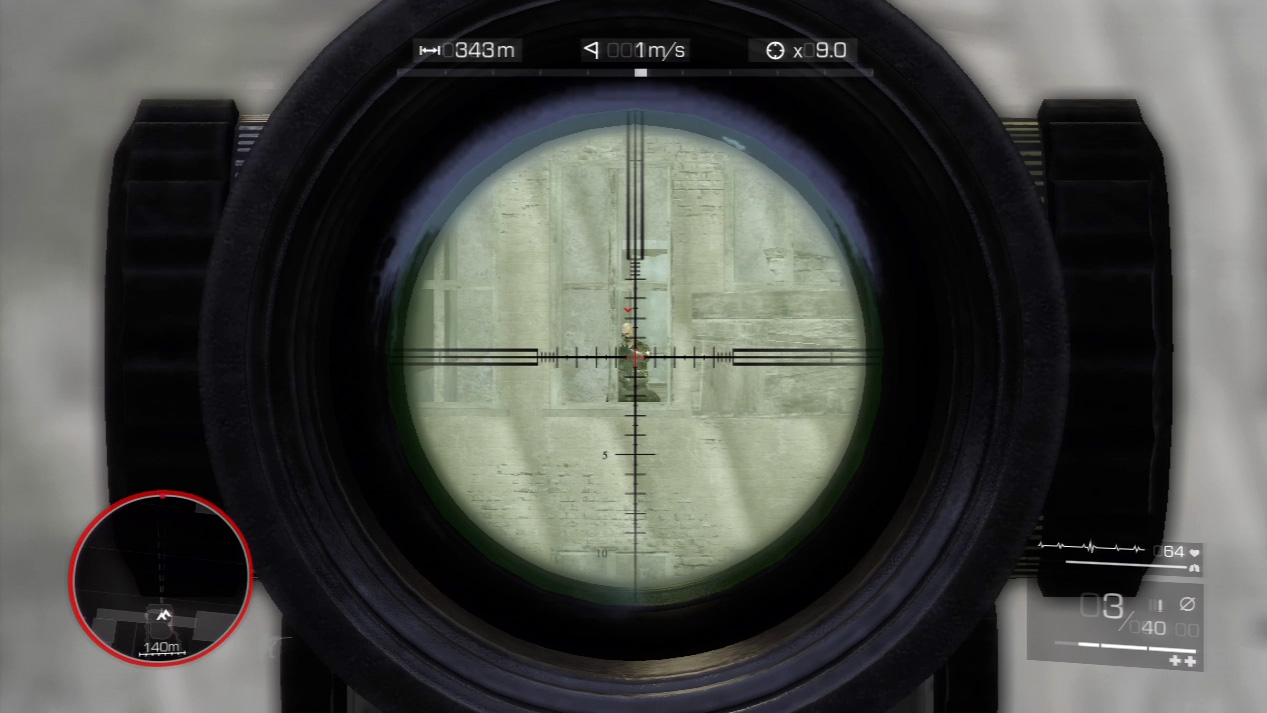
Manage to kill the three semi-automatic enemies and you finally have your shot at Vladic. He’s on the second floor of the main building across from you. Quickly zoom in on the window and fire the killer shot before he can escape.
Waypoint 22
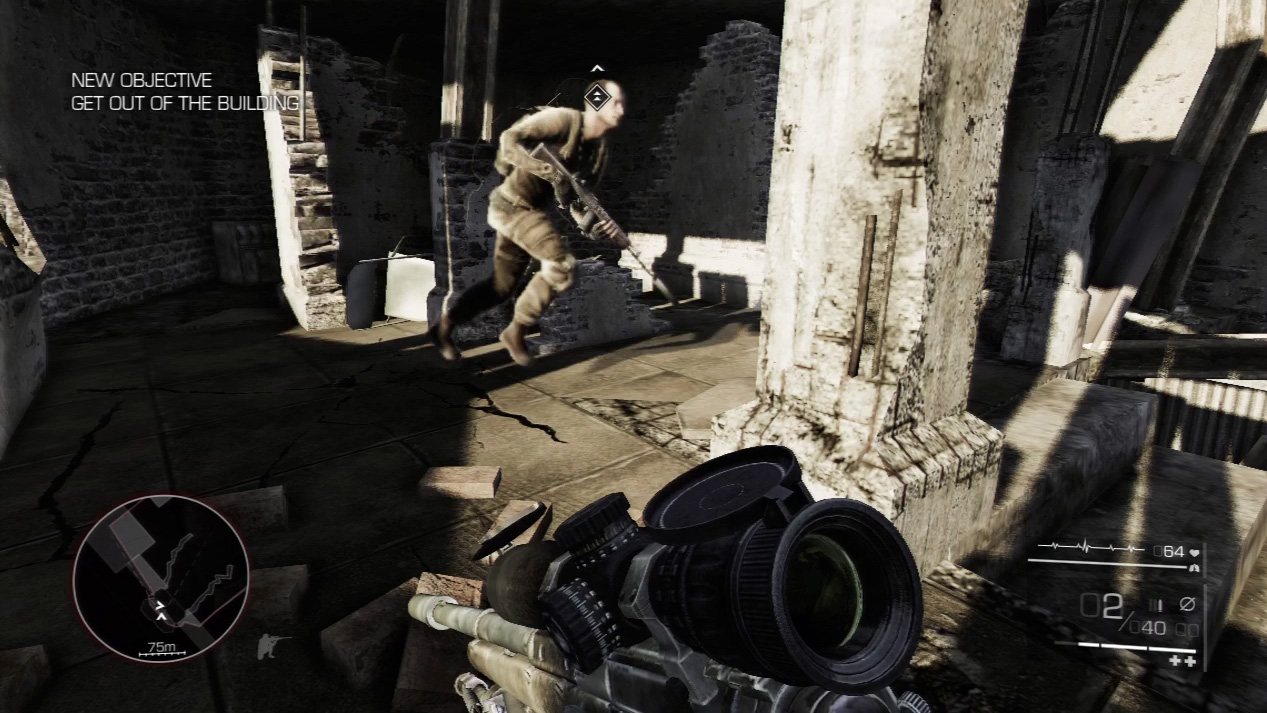
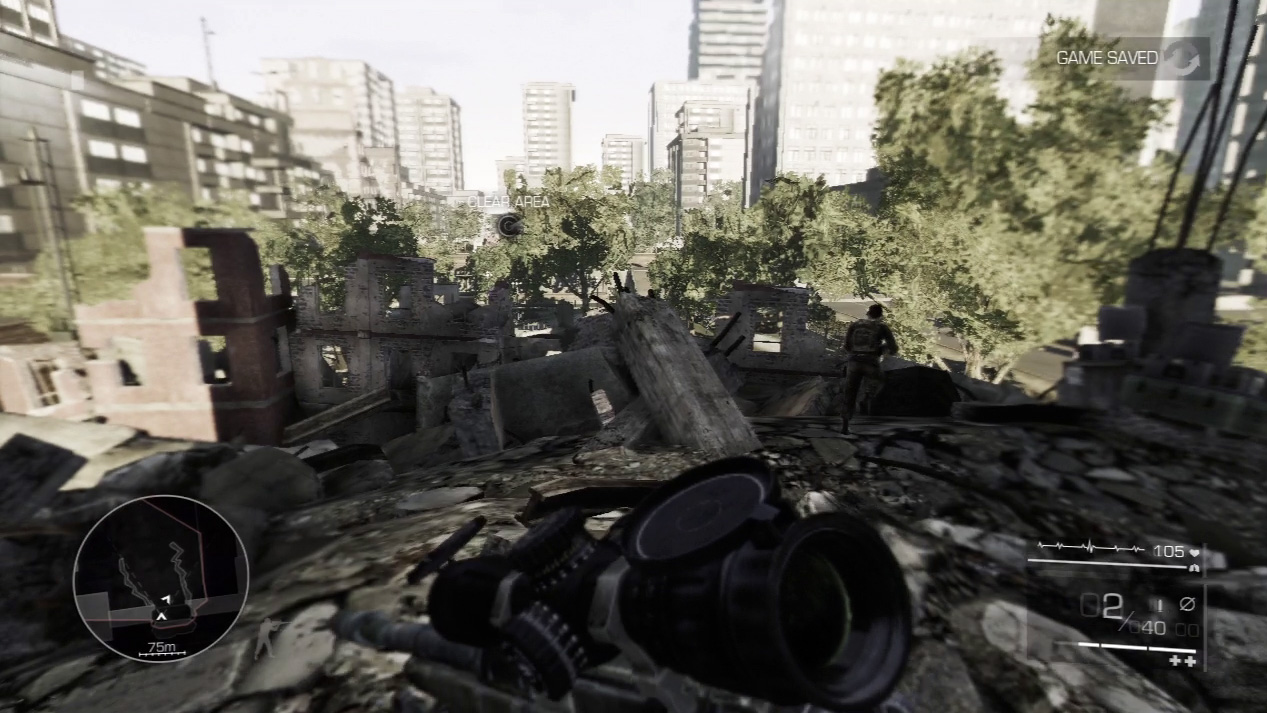
Now the place is buzzing. Enemies have been dispatched to take you down for daring to attack their stronghold. Leave your sniping spot right away and follow Maddox out the back way and to another pile of ruins.
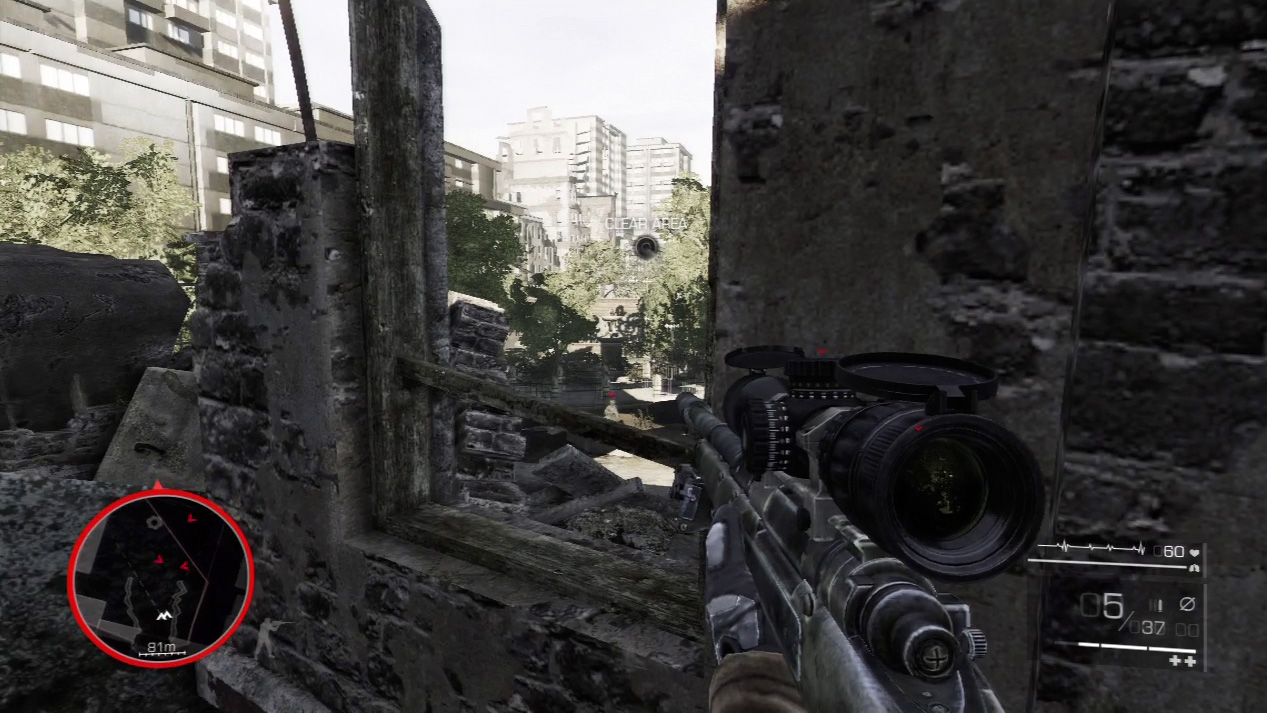
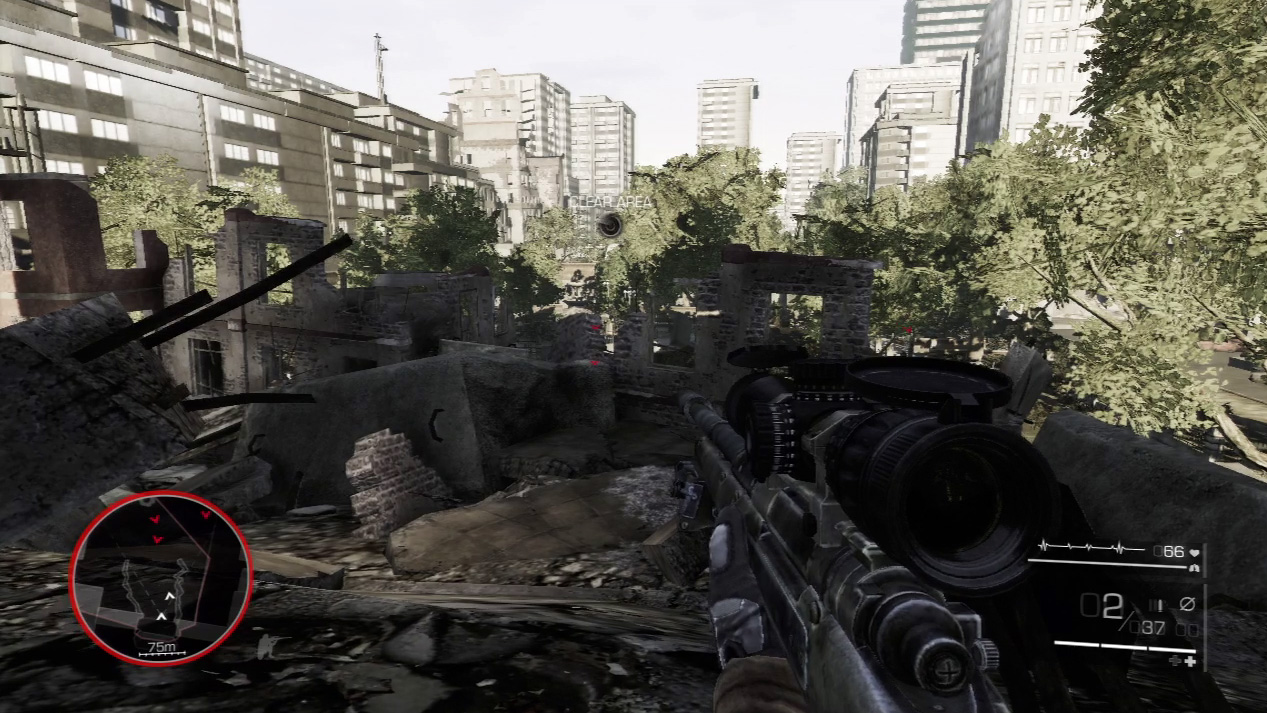
A large enemy group attacks you at the ruins. You can either use the wall as cover and return fire at the enemies from a standing position, or go prone and shoot at them without cover from atop the ruins.
The first option is more defensive, but it’s harder to line up shots from a standing position with your gun shaking more than you’re normally used to seeing.
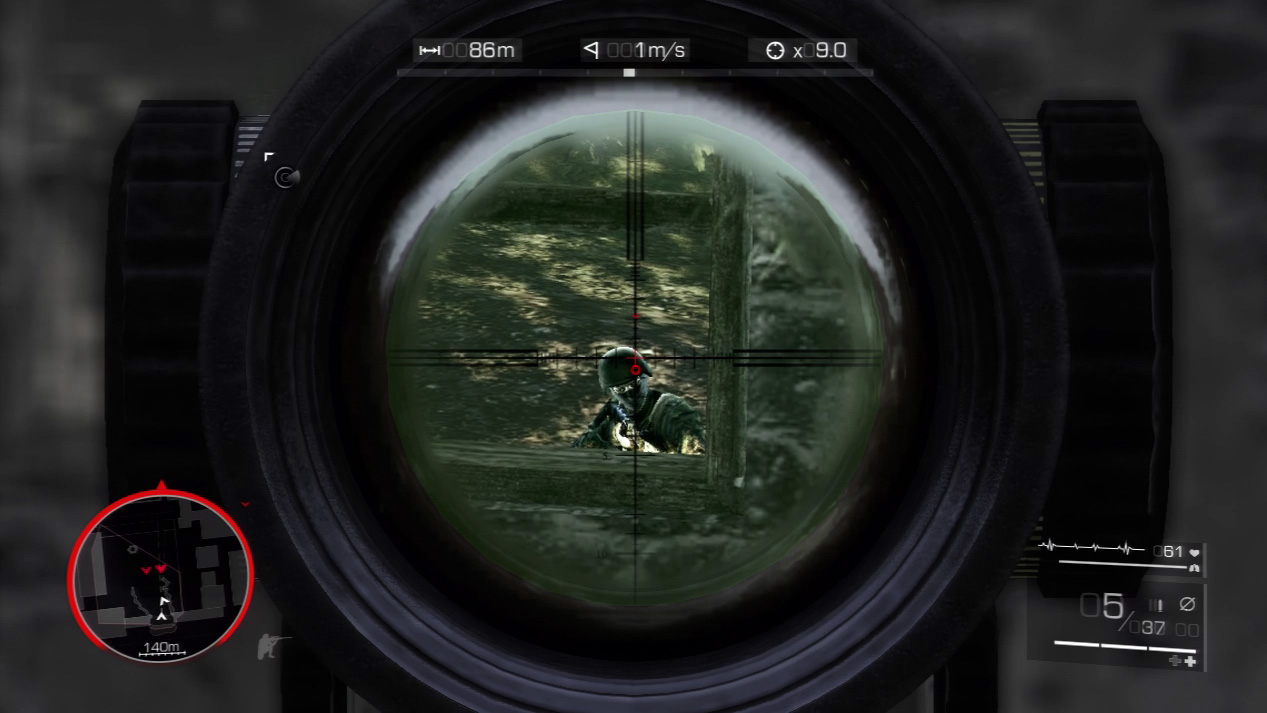
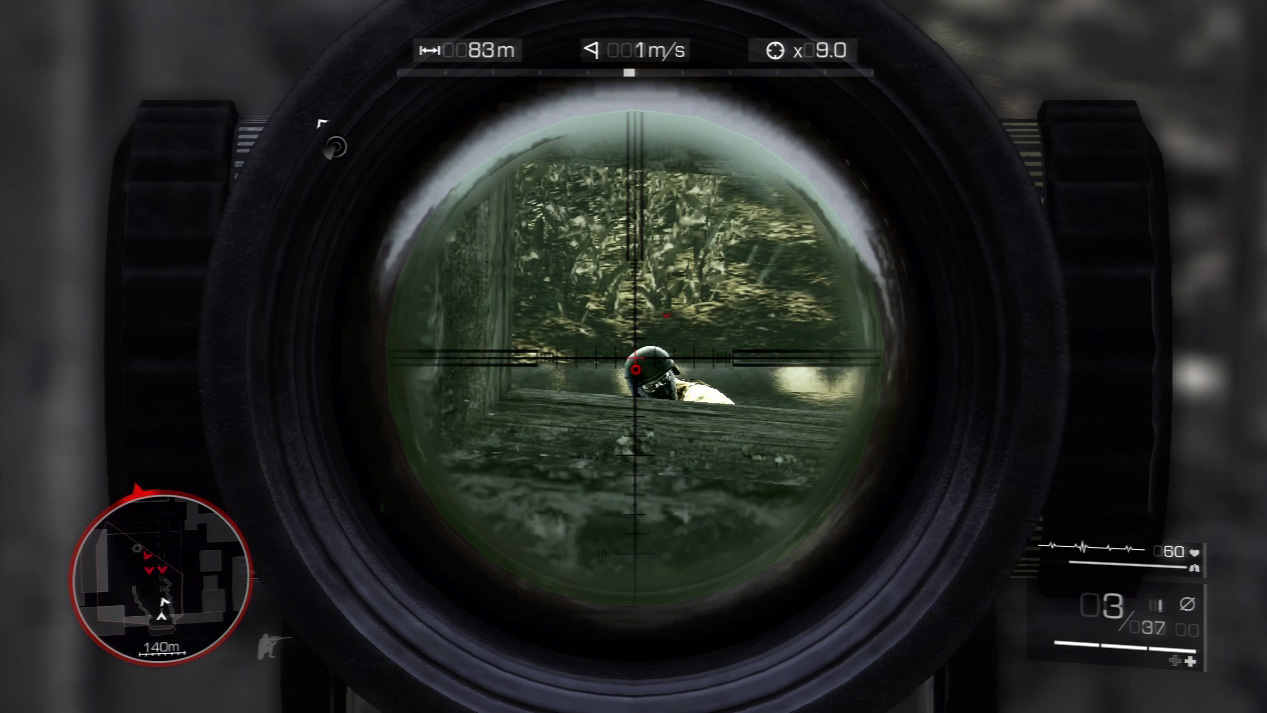
The second option gives you steady shots at the enemy. So long as you spot them first and snipe them as they emerge from hiding, you can take them all down.
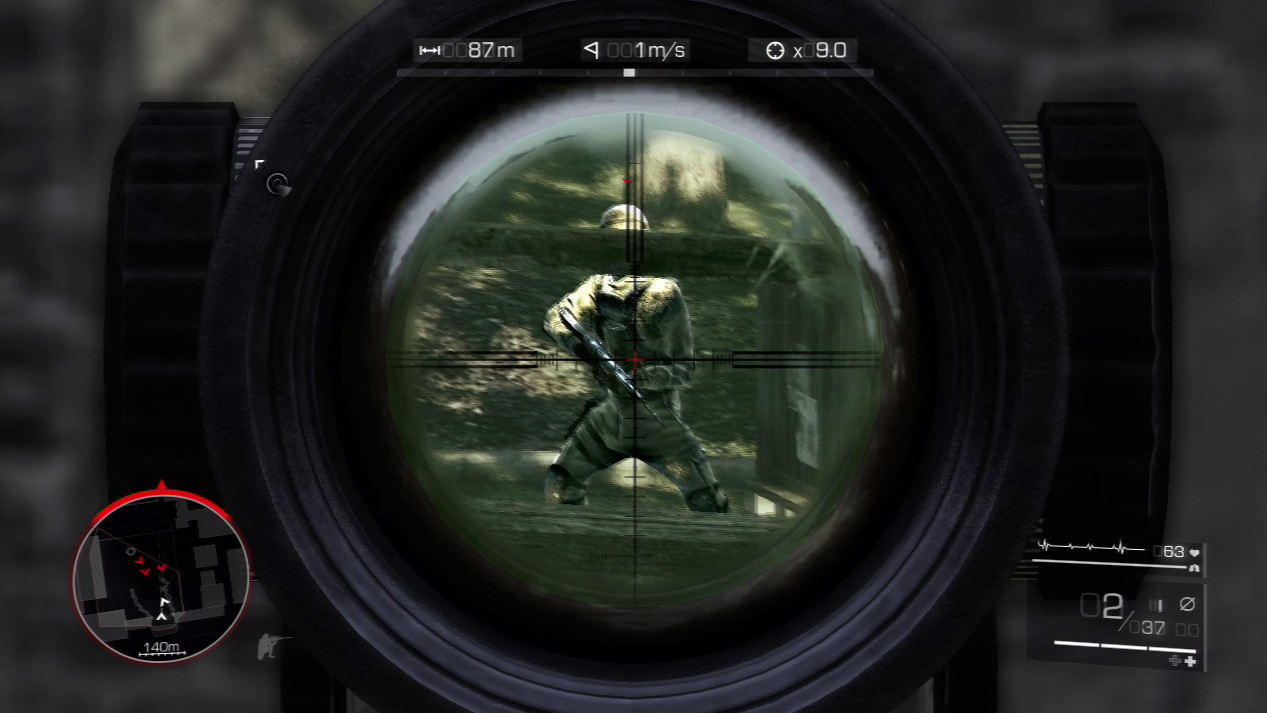
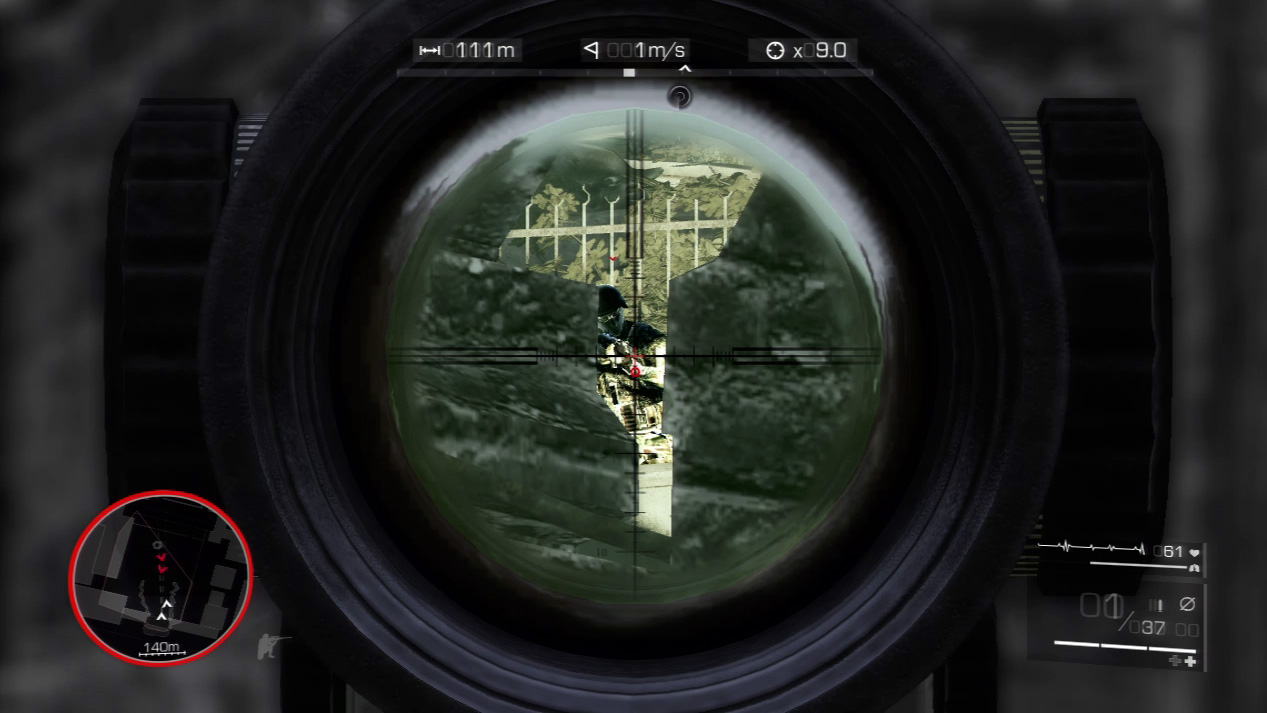
Slide back and forth between the windows and the wall cracks to sight your enemies. One by one they will fall if you can prevent them from knowing where your next shot will come from.
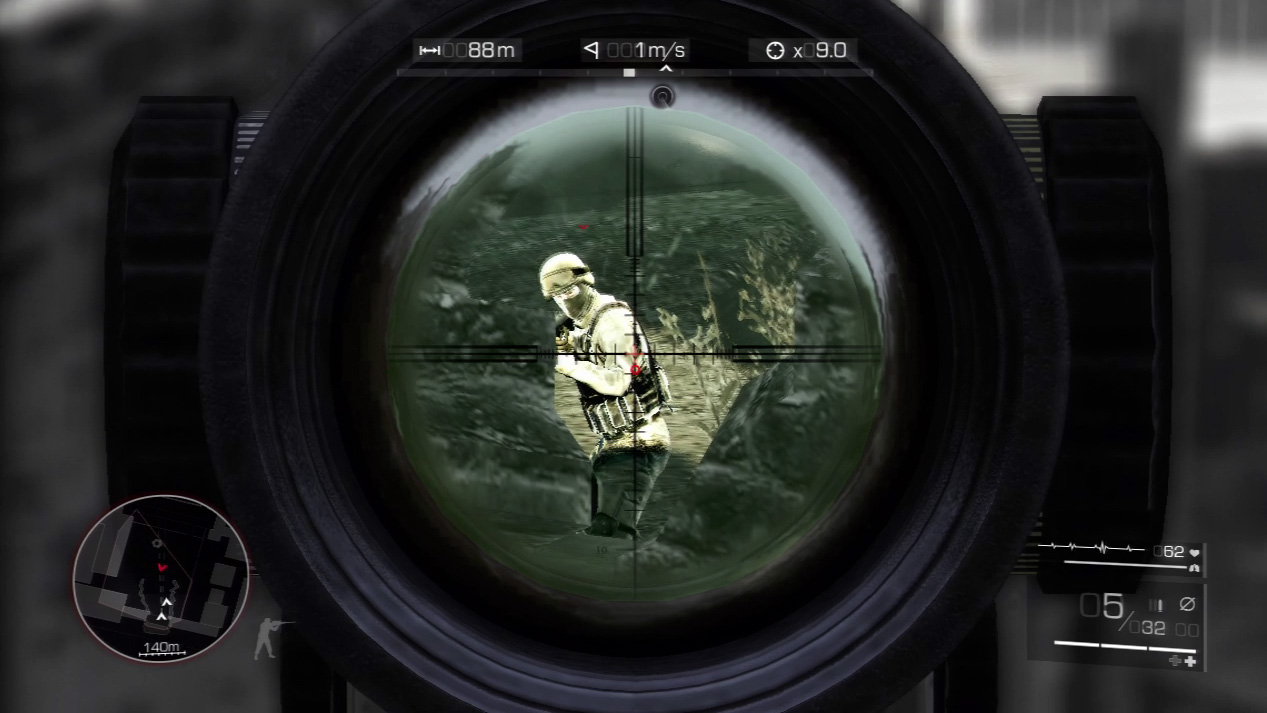
When the last enemy reinforcement falls, get up and follow Maddox out of the ruins. You have no more enemies to fight, but big trouble is about to knock you for a loop.
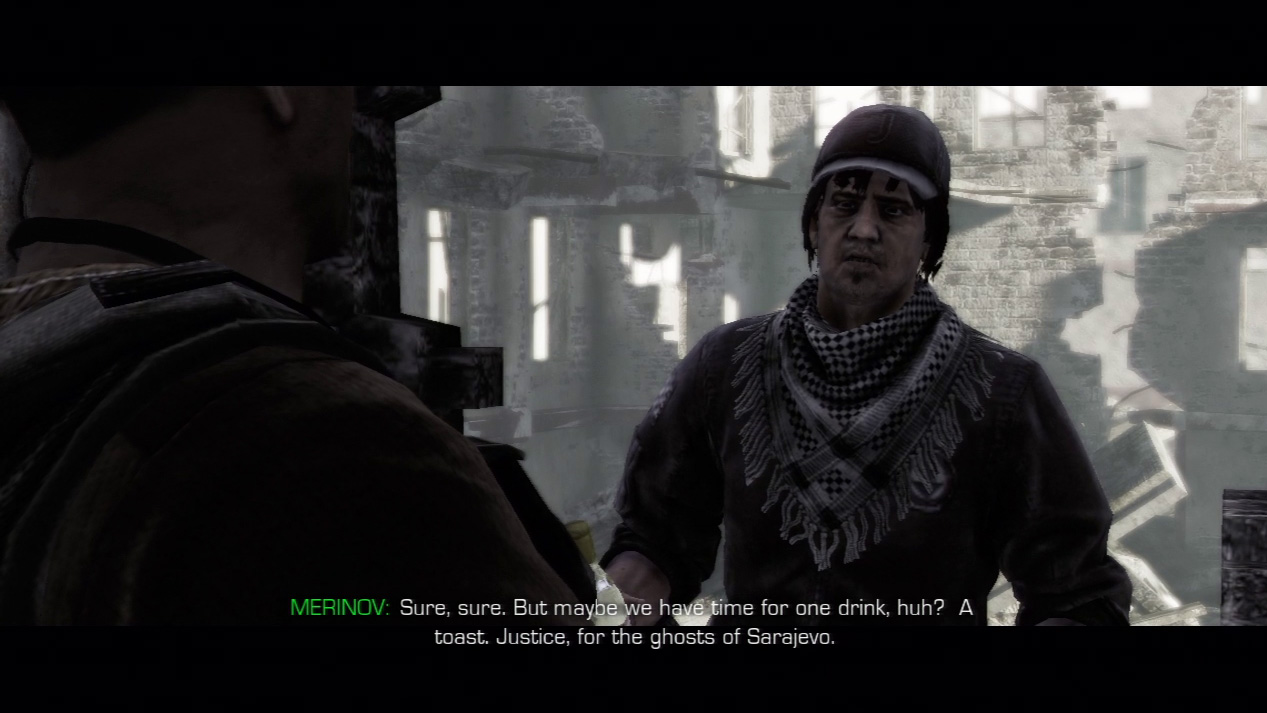
You meet up with Merinov after the Vladic assassination. With all the heat, you want to get out of there quickly, but he stalls and eventually reveals that he’s working with the Serbian army and has set you up.
Before you can react, soldiers surround you and Maddox. A gun butt pummels your head and you drop off into unconsciousness.