
Sniper Ghost Warrior 2 Guide Walkthrough Mission 10: No Loose Ends
10.3 Waypoints 8-11
Waypoint 8
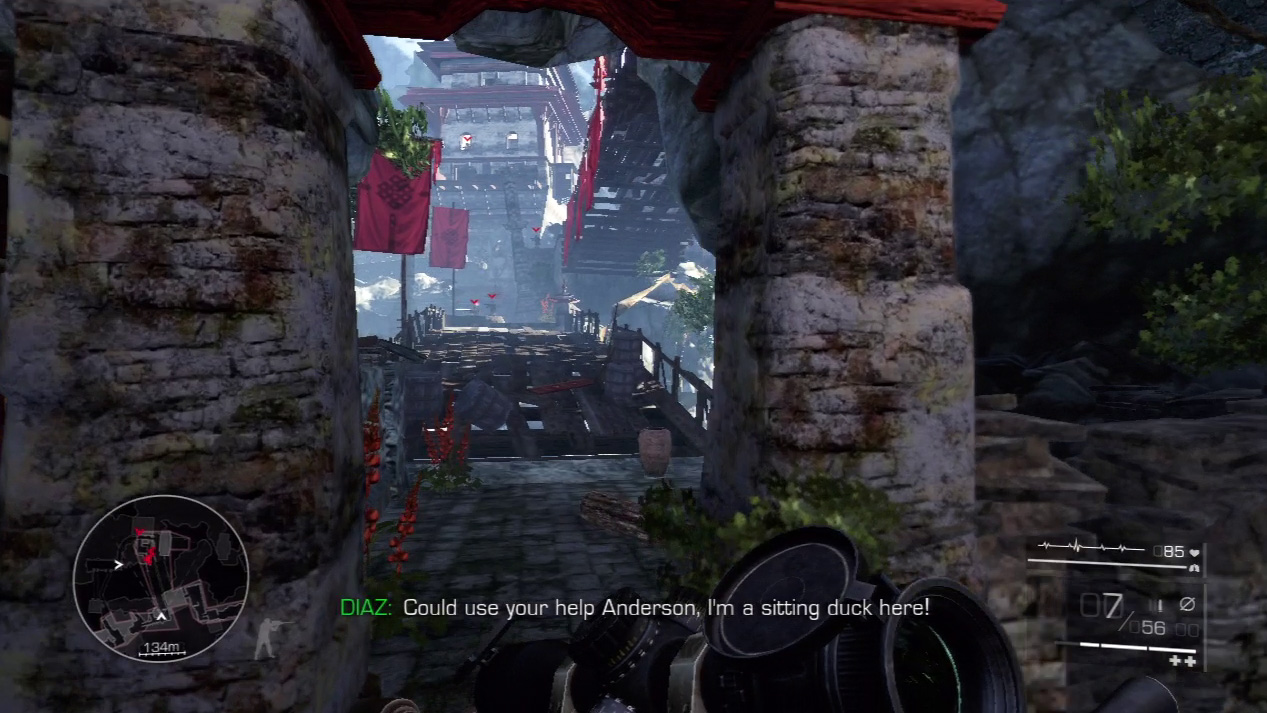
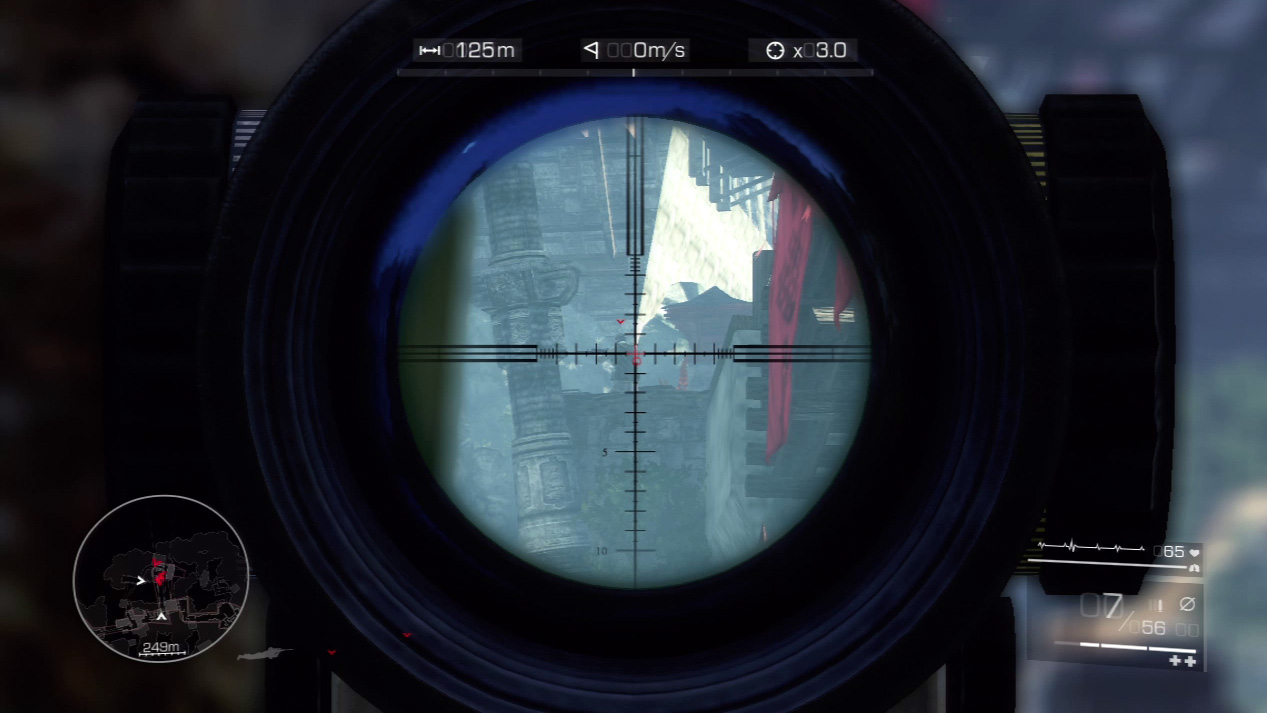
The enemies at the bridge spot Diaz and open fire. He needs your help, and luckily the enemies are concentrating on Diaz and not you.
Position yourself at one of the stone pillars near the bridge and zoom in on any of the targets marked with red indicators.
Expert Mode
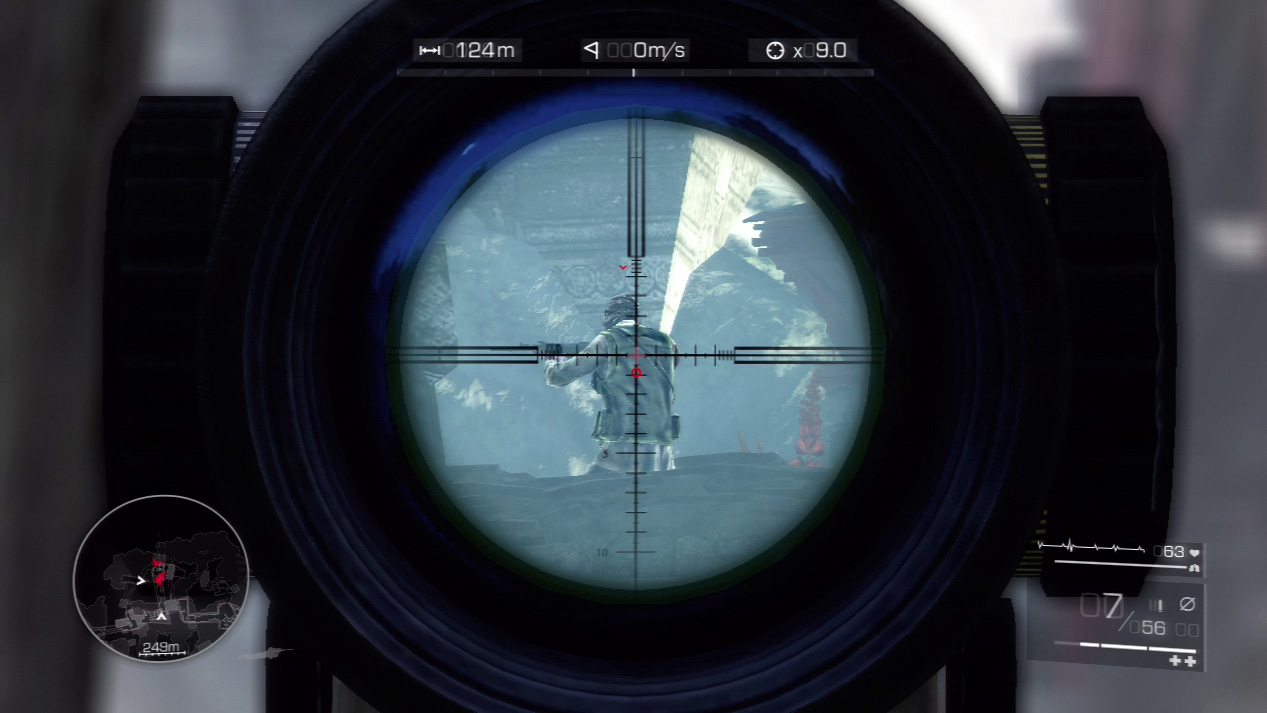
- Distance: Approximately 125 meters
- Wind: 0 meters/second (no wind)
- Magnification: 9x
You’ll be under pressure to shoot the enemies quickly while they unload on Diaz.
With wind not a factor, expect your bullets to drop about one reticle line due to gravity.
Get shots off quickly by using the first of the bottom reticle lines as your sweet spot.
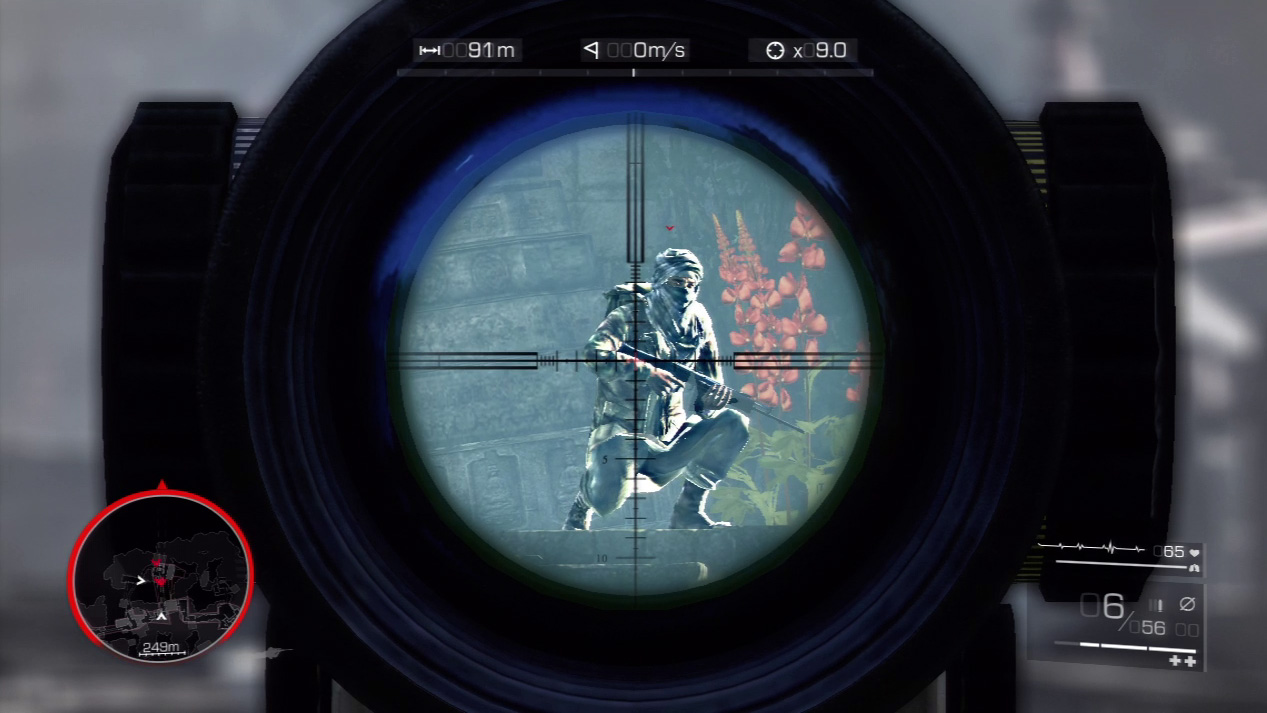
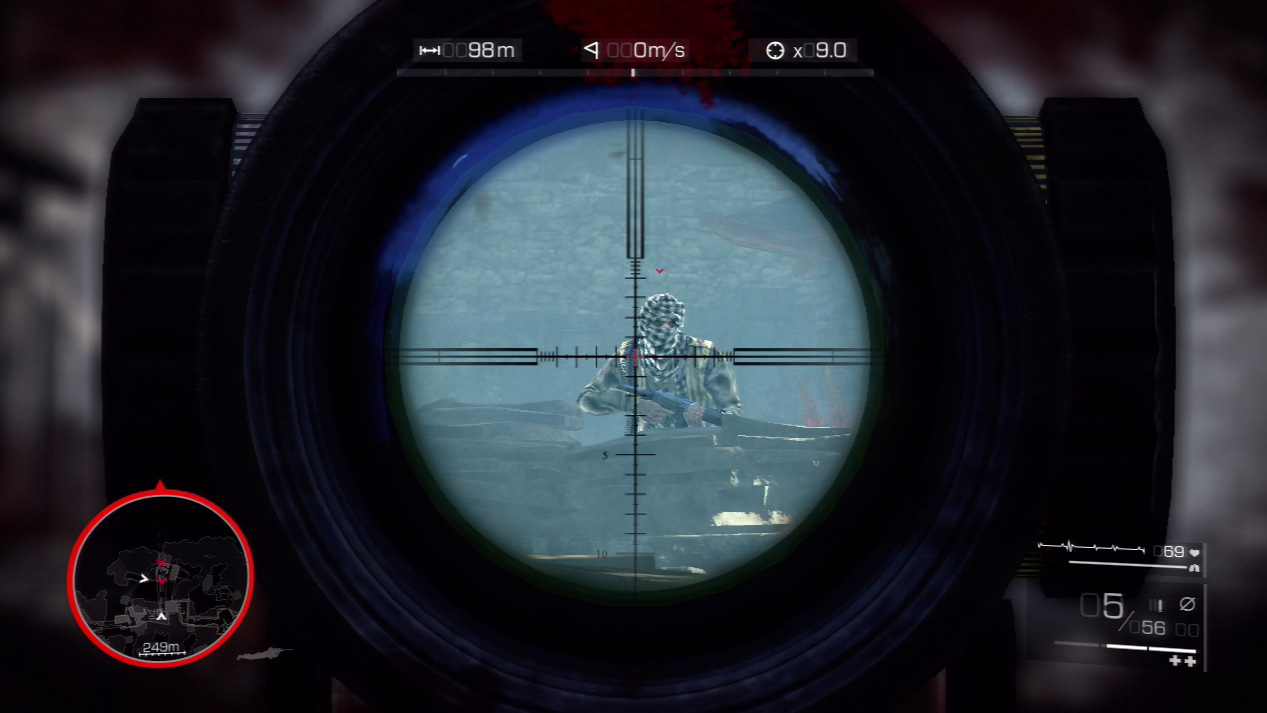
Duck behind the stone pillars if you need cover. Otherwise, aim your shots for the enemies’ center mass and pull the trigger quickly.You may waste a few shots here, but you can’t stay out in the open long once the enemies turn their attention on you.
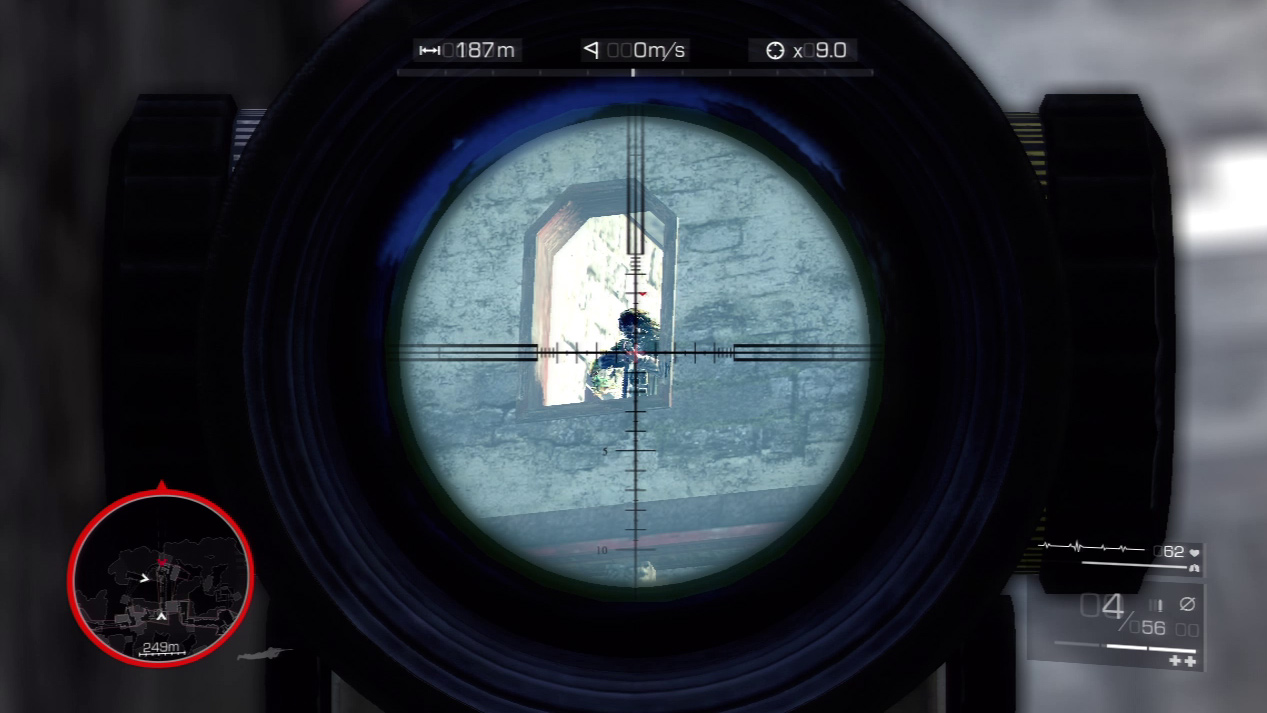
Watch out for the sniper up in the tower window. He can kill you with a single shot from his high vantage point. If you can target him and remove the threat, you’ll have more time to engage the other enemies around the bridge.
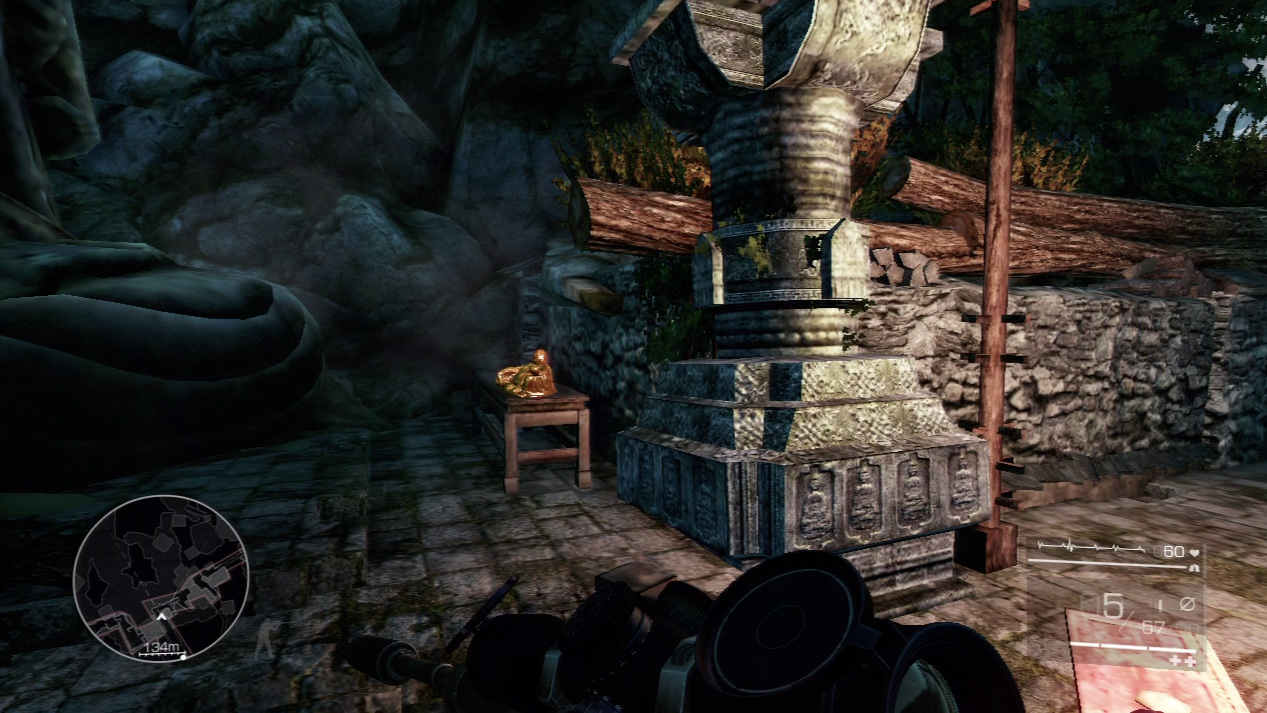
Act 3: Secret 15
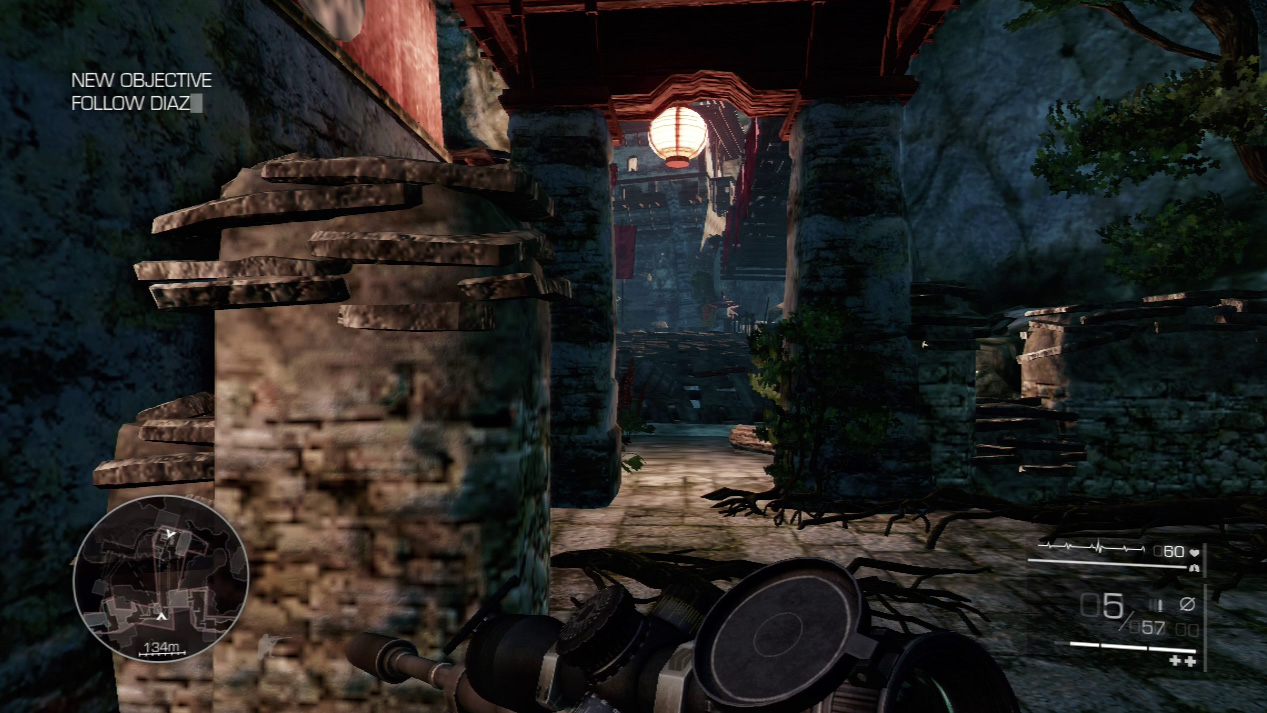
Save Diaz’s butt and eliminate all the enemies on the bridge that are opening fire on him. After you kill the bridge enemies, turn around and you’ll spot another monk statue in the alcove behind the place where you set up to attack the bridge.
Waypoint 9
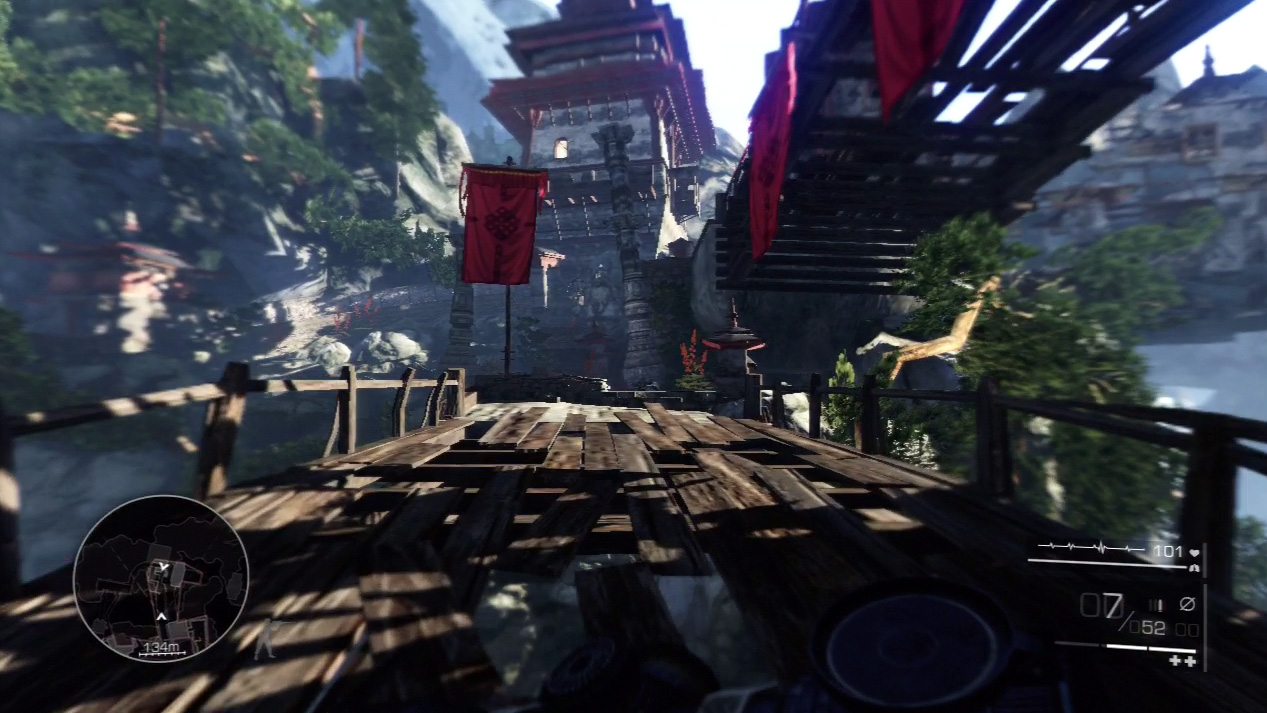
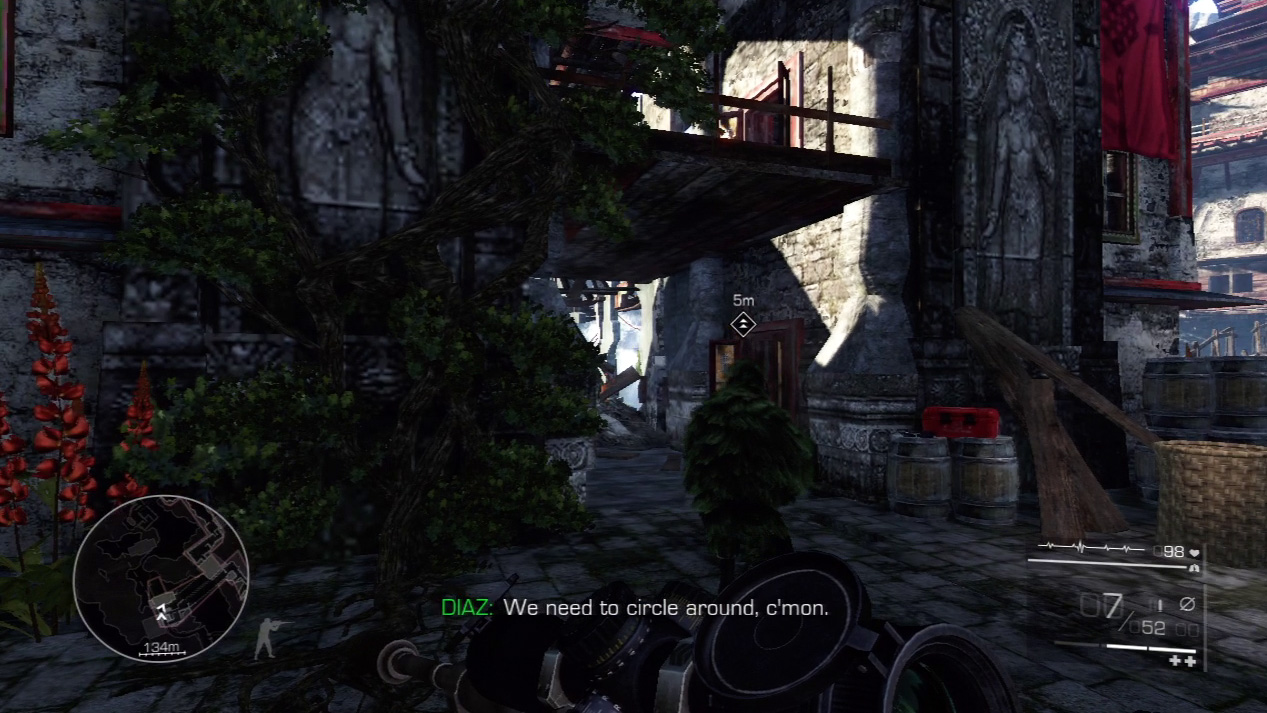
Hook up with Diaz again after the bridge. He’ll use the buildings as cover as you get closer to Maddox’s position.
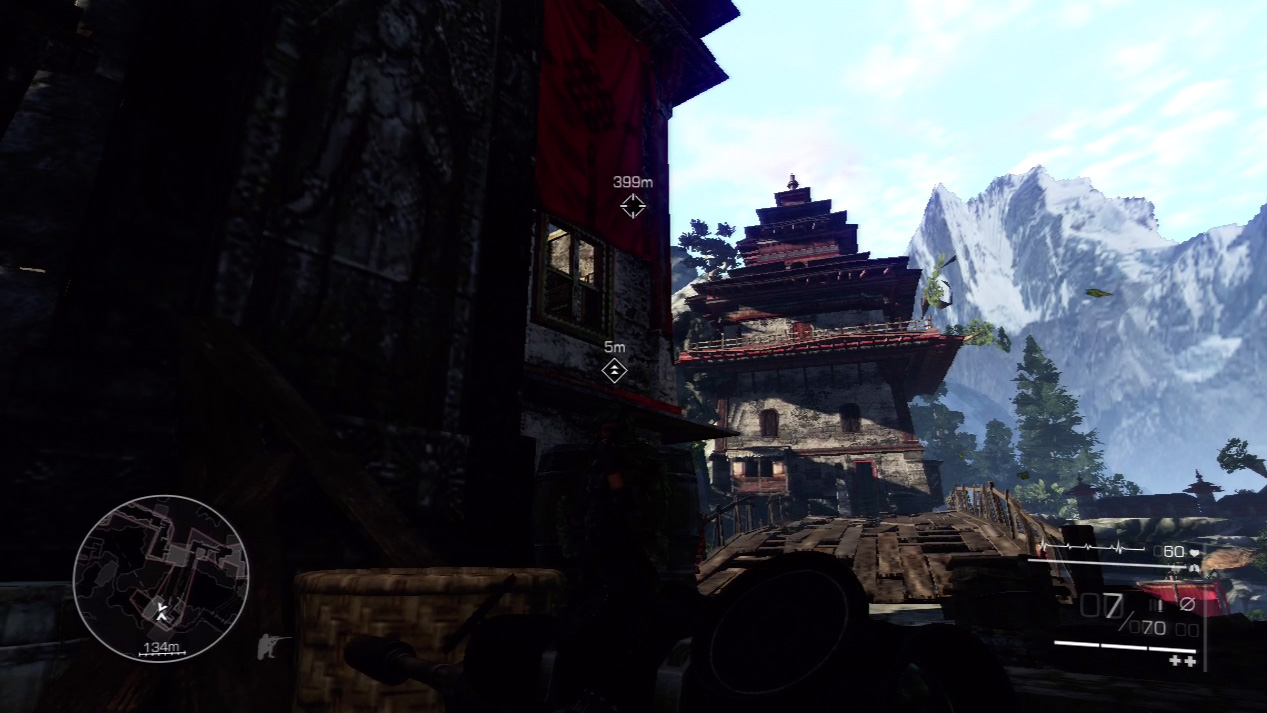
Diaz identifies Maddox’s position in the building in front of the next bridge. Creep up to the corner of your building and peek around the edge.
Locate a stack of fuel canisters in the far-right window on the top floor of Maddox’s building.
Expert Mode
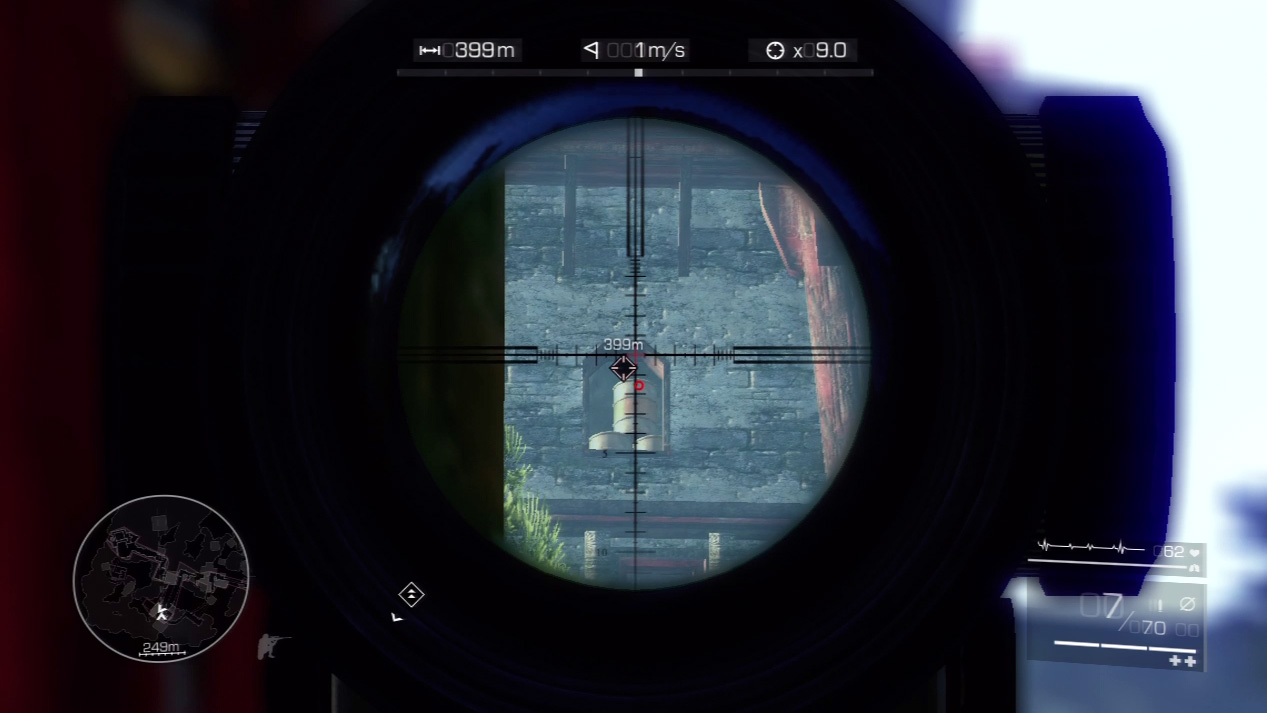
- Distance: Approximately 400 meters
- Wind: 1 meter/second (blowing right)
- Magnification: 9x
Negligible wind won’t really affect your bullet, other than an ever-so-slight slide to the right.
Because it’s a 400 meter shot, gravity will pull the bullet down almost to the second reticle line; however, you’re firing on a stationary target, so take your time.
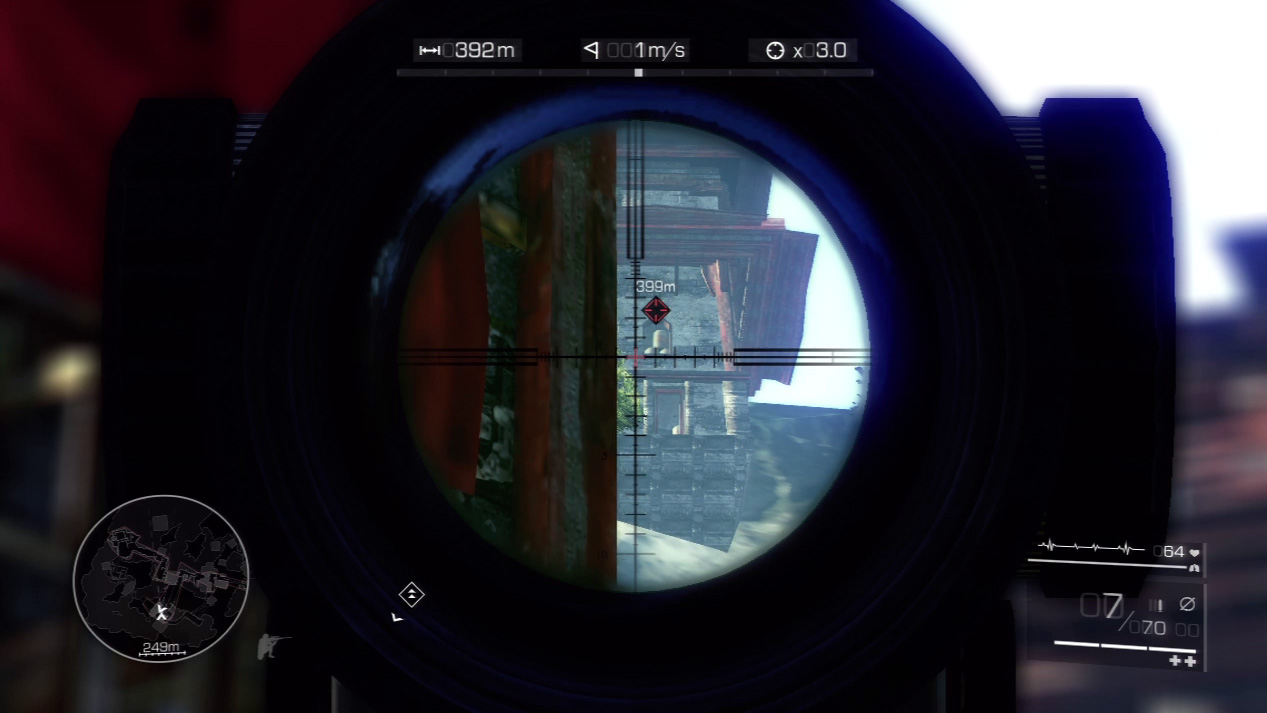
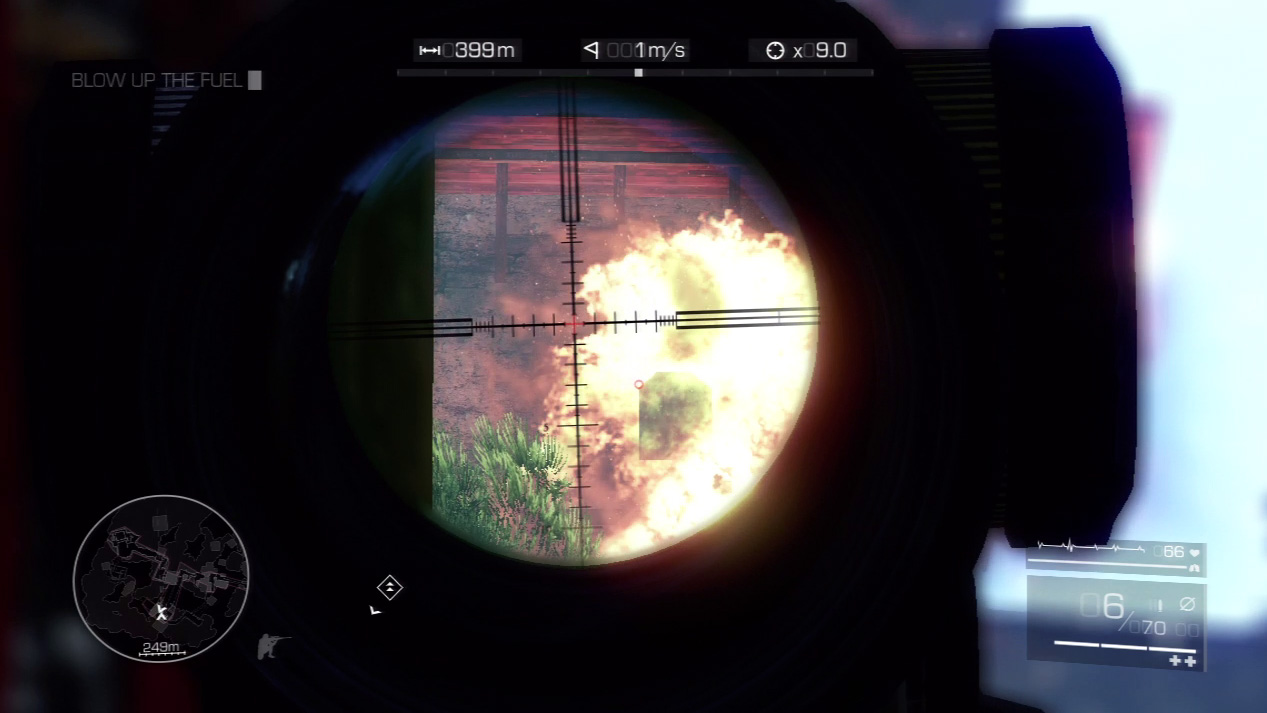
Without exposing yourself, aim at one of the fuel canisters. Plant a bullet square in the middle of the canister and you’ll send the whole room up in flames.
The resulting explosion drives Maddox out of his sniper position and allows you to cross the bridge.
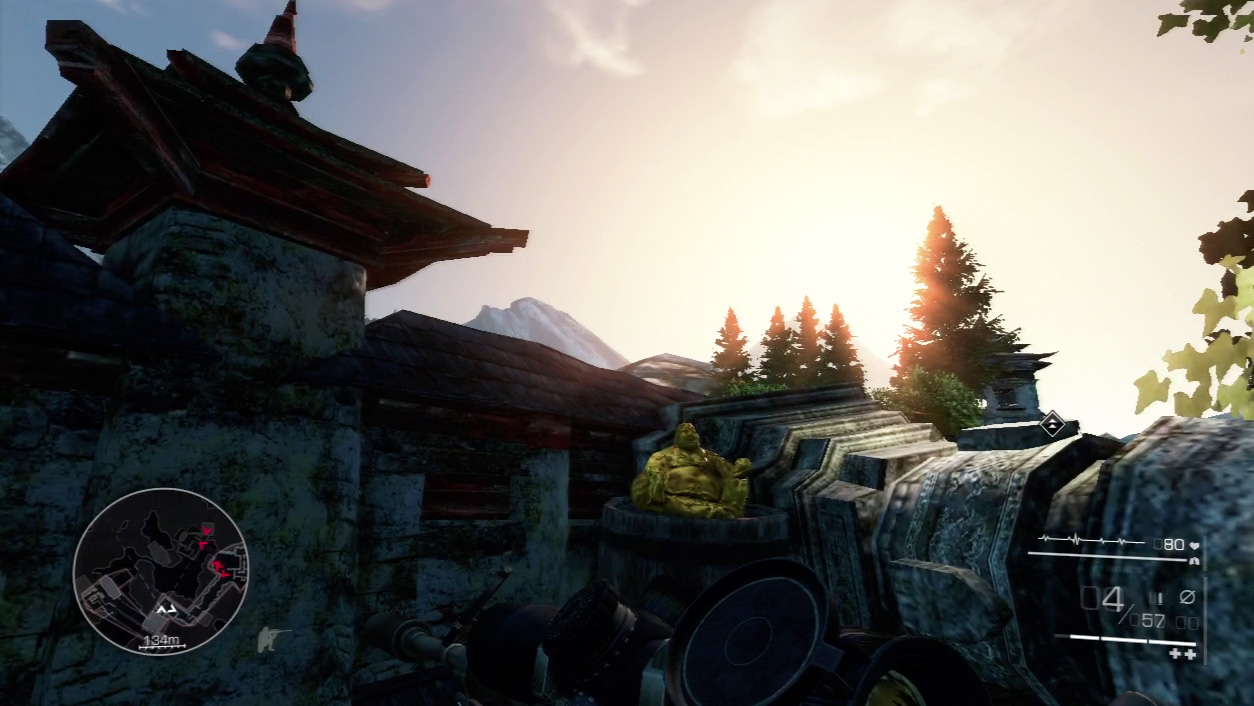
Act 3: Secret 16
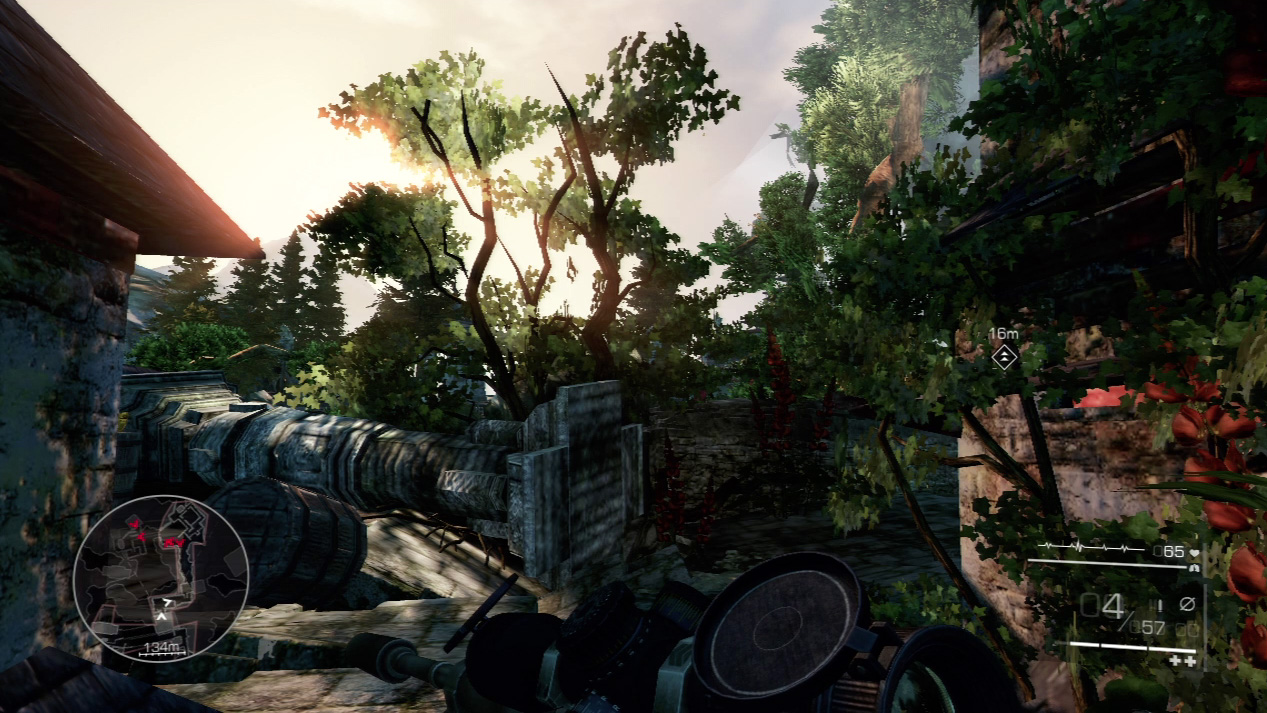
The final secret of the game is an easy one to find. Before you engage the enemies at the pool, turn to your left and explore the side alcove.
You’ll find the last monk statue resting on a barrel in the corner.
Waypoint 10
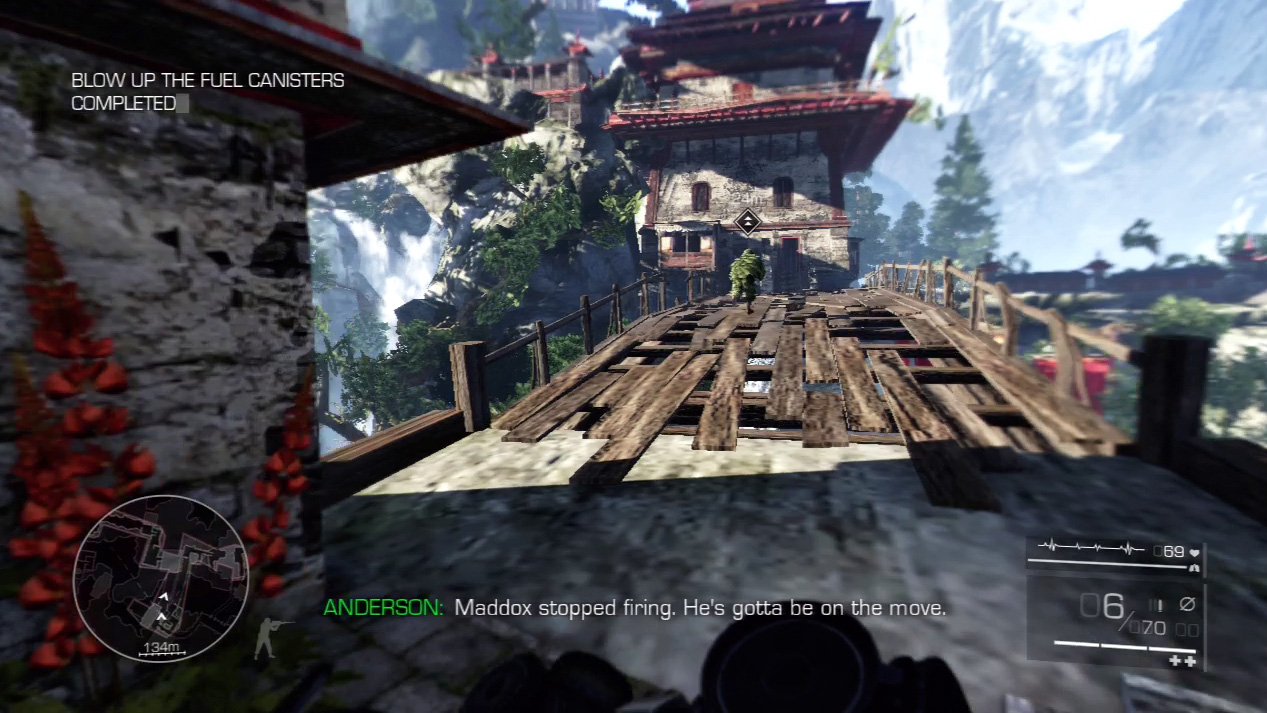
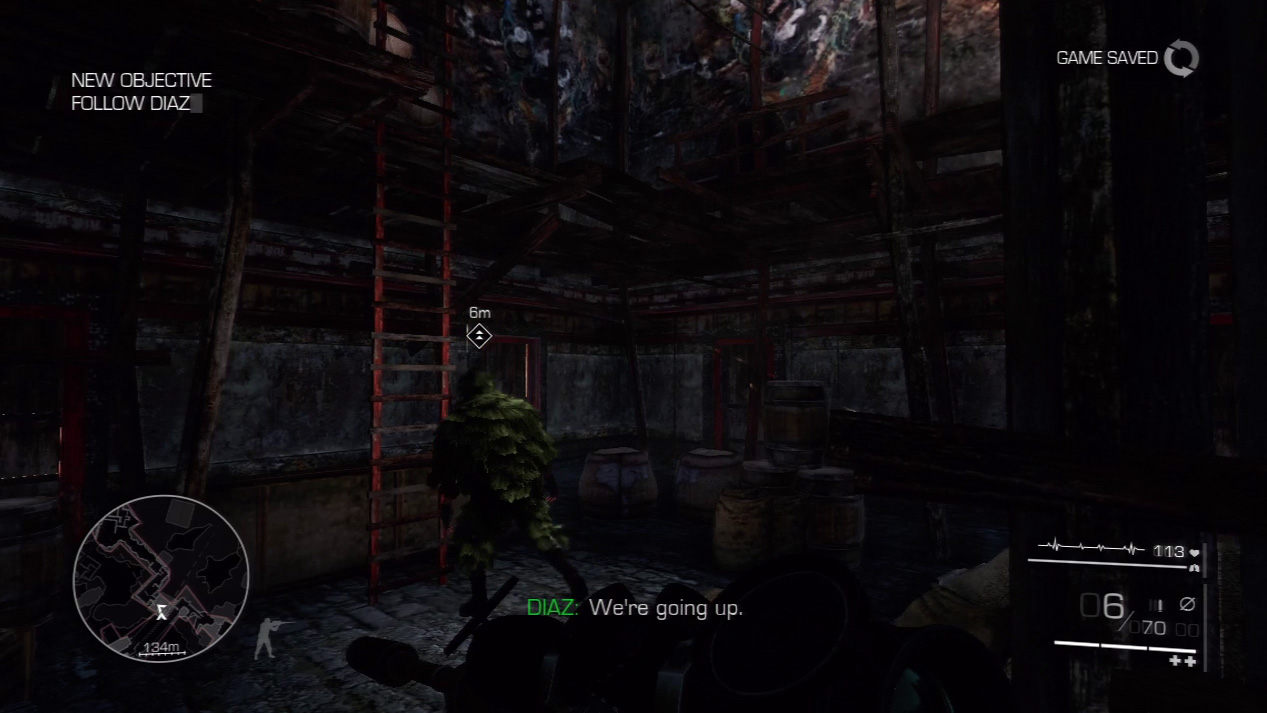
Enter the building on the far side of the bridge. Climb the ladder inside to reach the next plateau in the mountainside fortress.
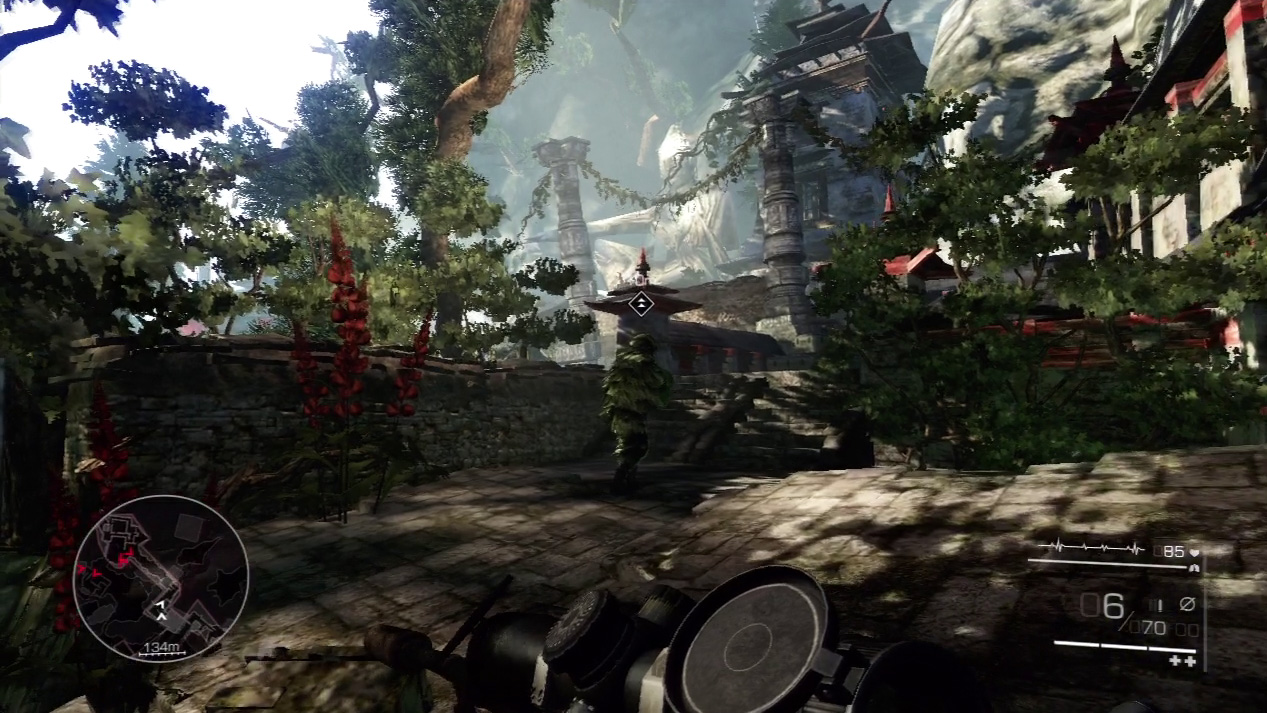
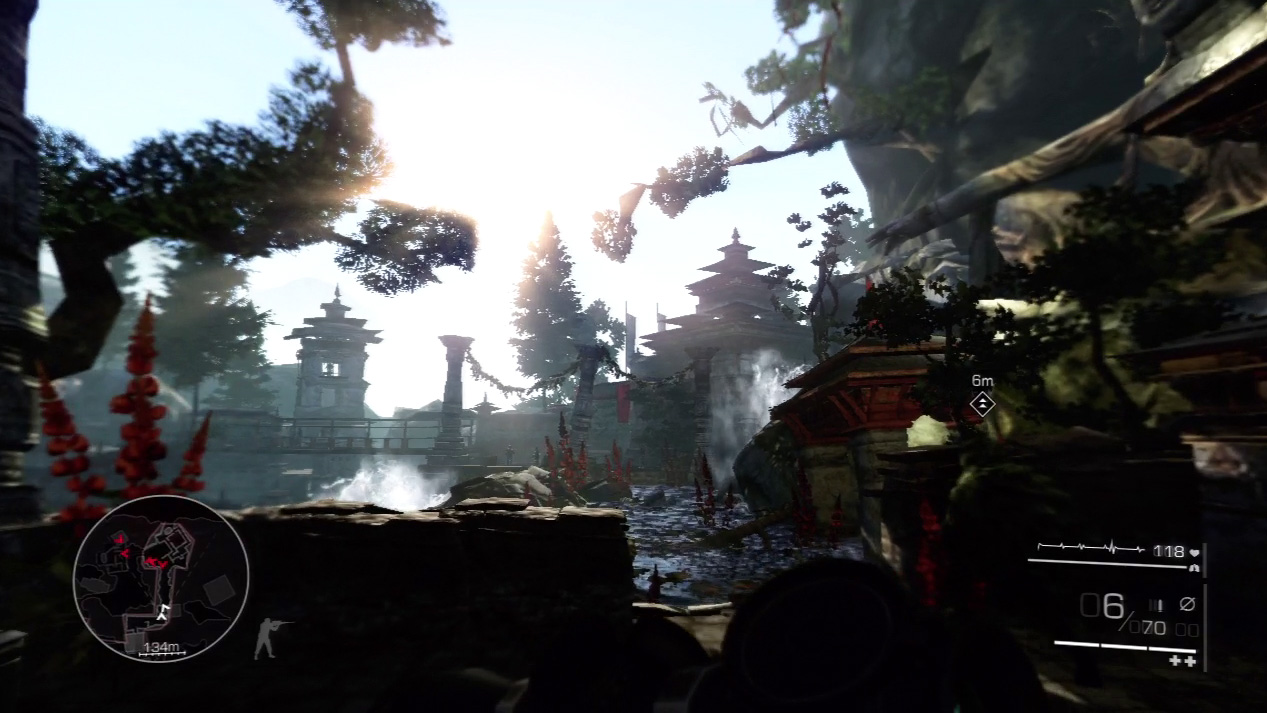
Exit out into the next courtyard and slink along the rock wall toward the pool area. Five enemies secure the area, so stay low when you see water.
Expert Mode
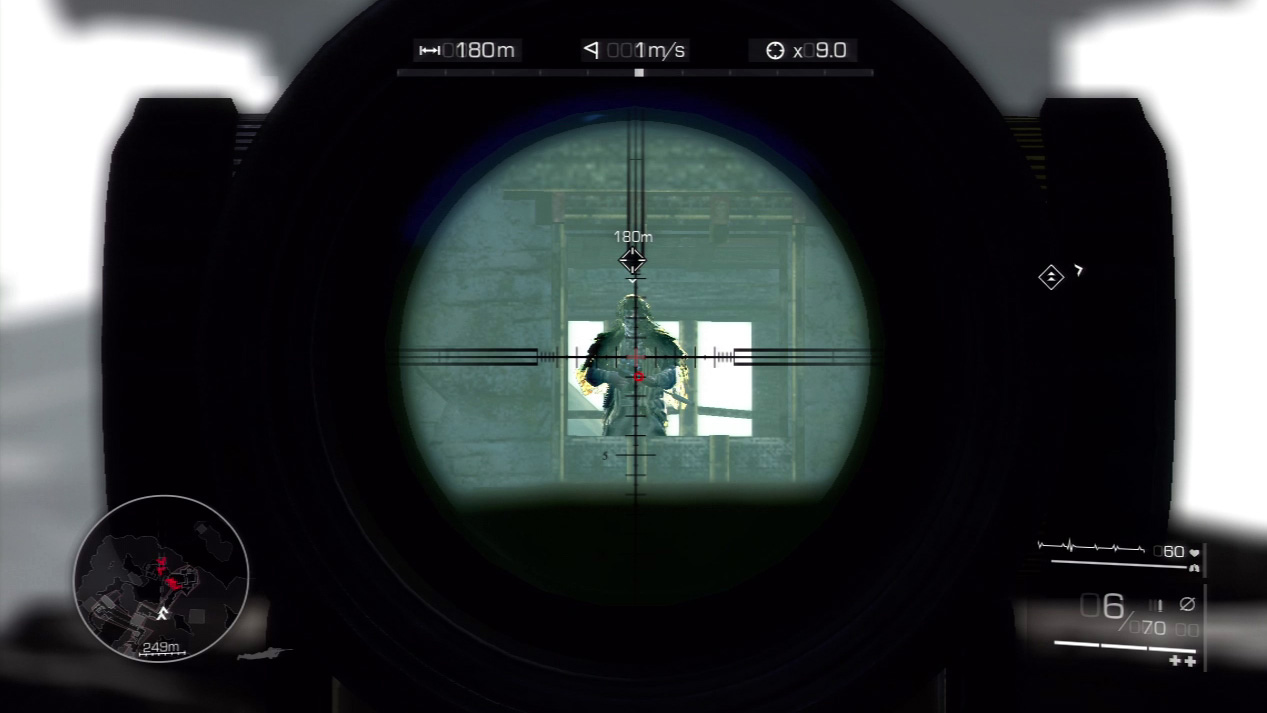
- Distance: Approximately 180 meters
- Wind: 1 meter/second (blowing right)
- Magnification: 9x
The next series of shots are very similar to targeting the fuel canister, only closer. Look for the wind to inch the bullet to the right, while gravity drops the bullet down to the first reticle line.
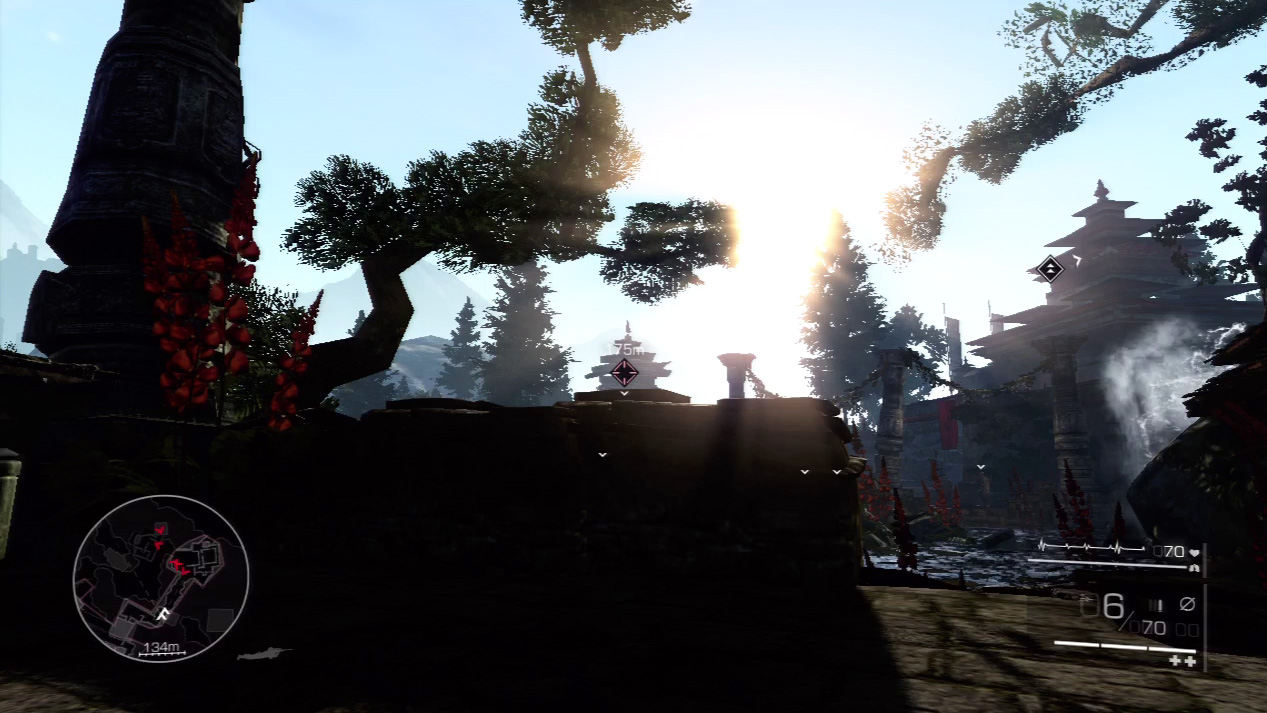
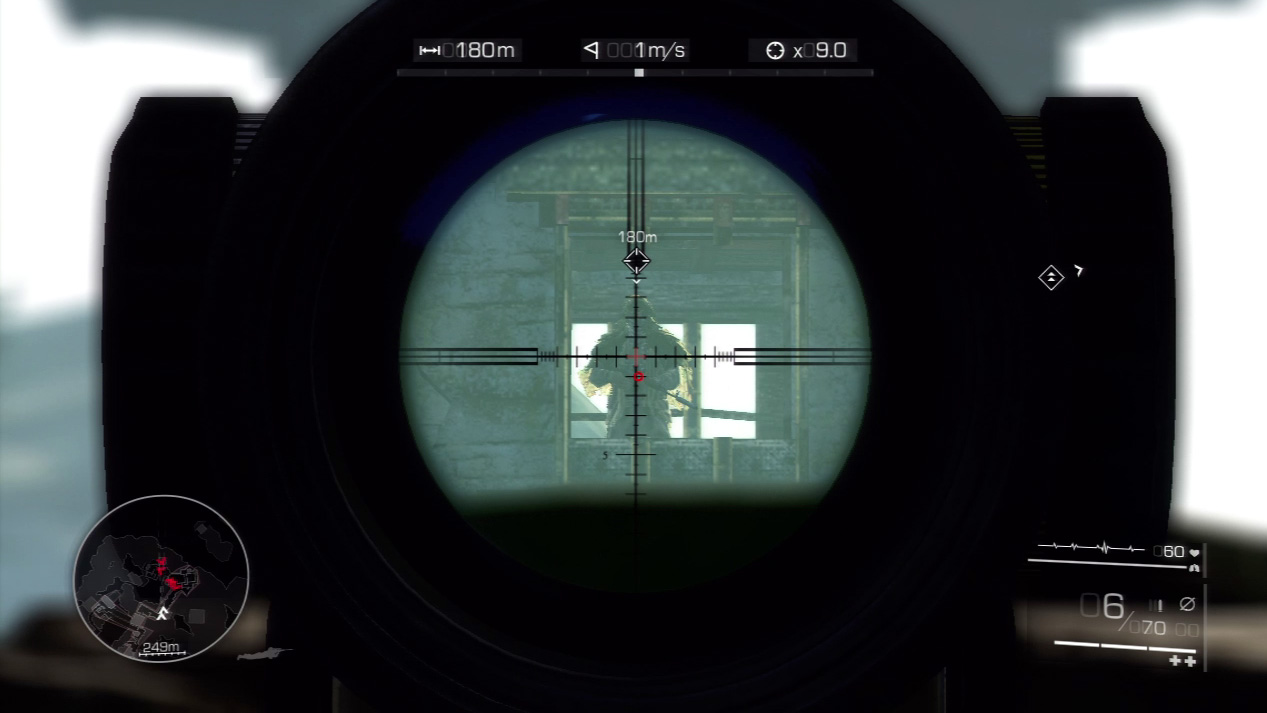
Take out the sniper in the tower first. Slowly retreat from the rock wall until the top of the tower appears above the wall.
Zoom in on the sniper and quiet him so you can eliminate all of his friends without incident.

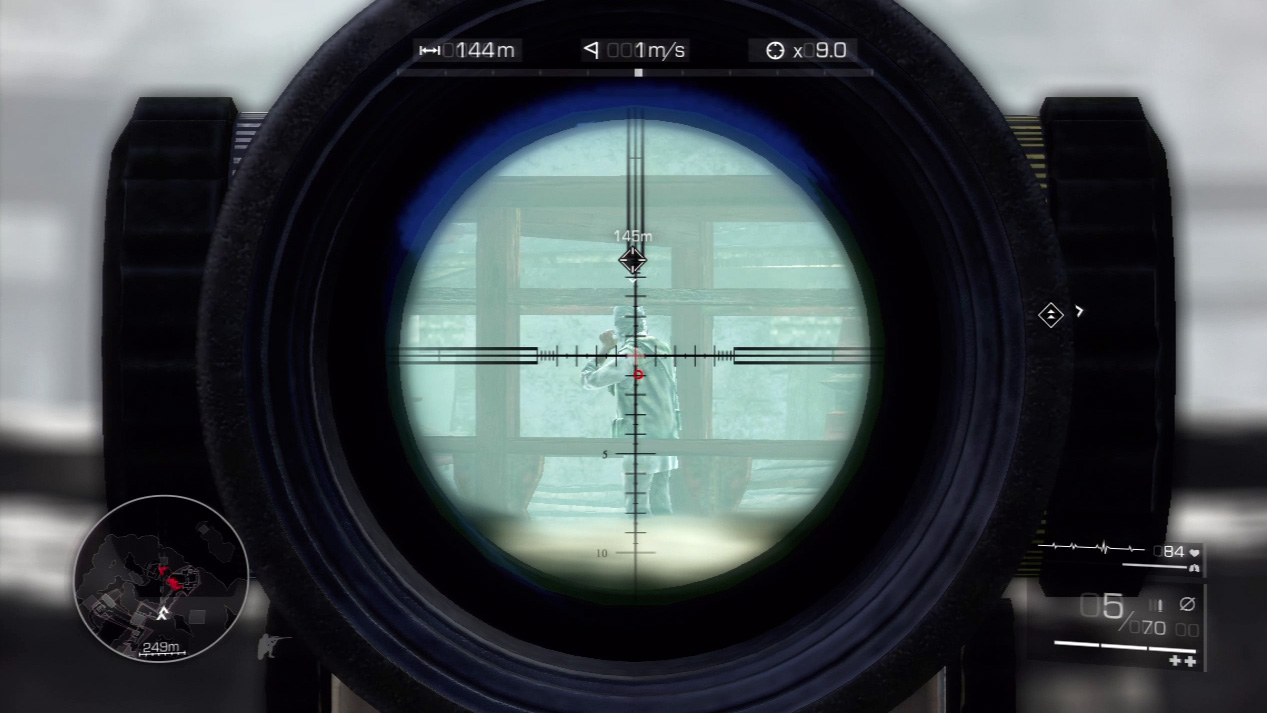
Your second target is off to the left, patrolling near the base of the tower. Again, find a good shot over the top of the wall to simultaneously stay in 90 percent cover and line up a kill shot.
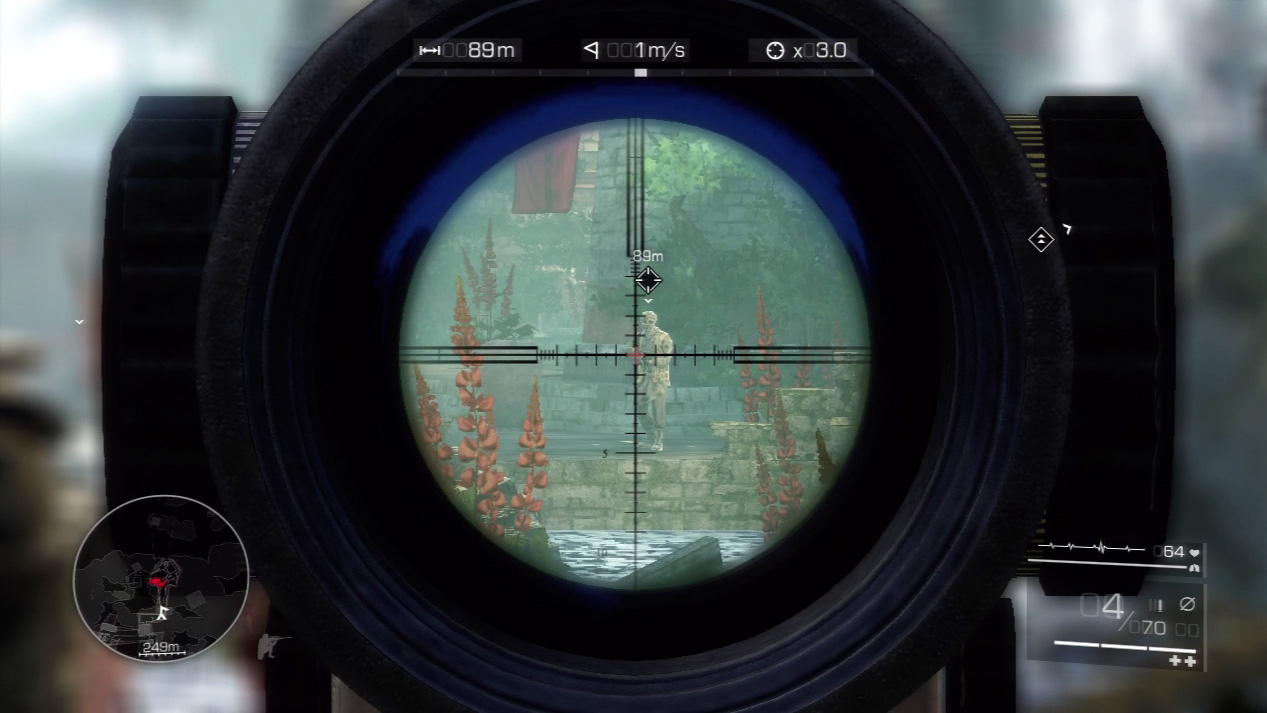
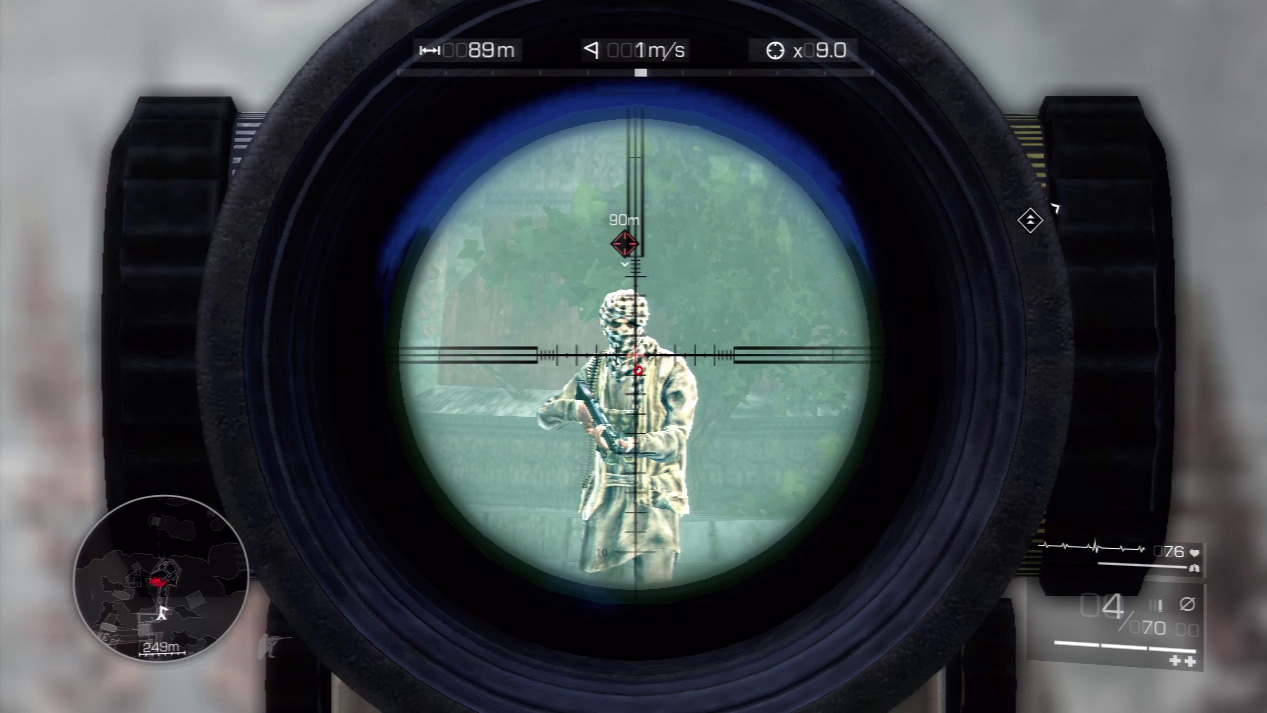
For the third enemy, slide over to the end of the wall. You’ll have a clear shot across the water at the remaining enemies. Scout to the far right and you’ll spy the third guard by his lonesome.
Pull the trigger when you’re sure of a kill.
Special Shot: Explosives
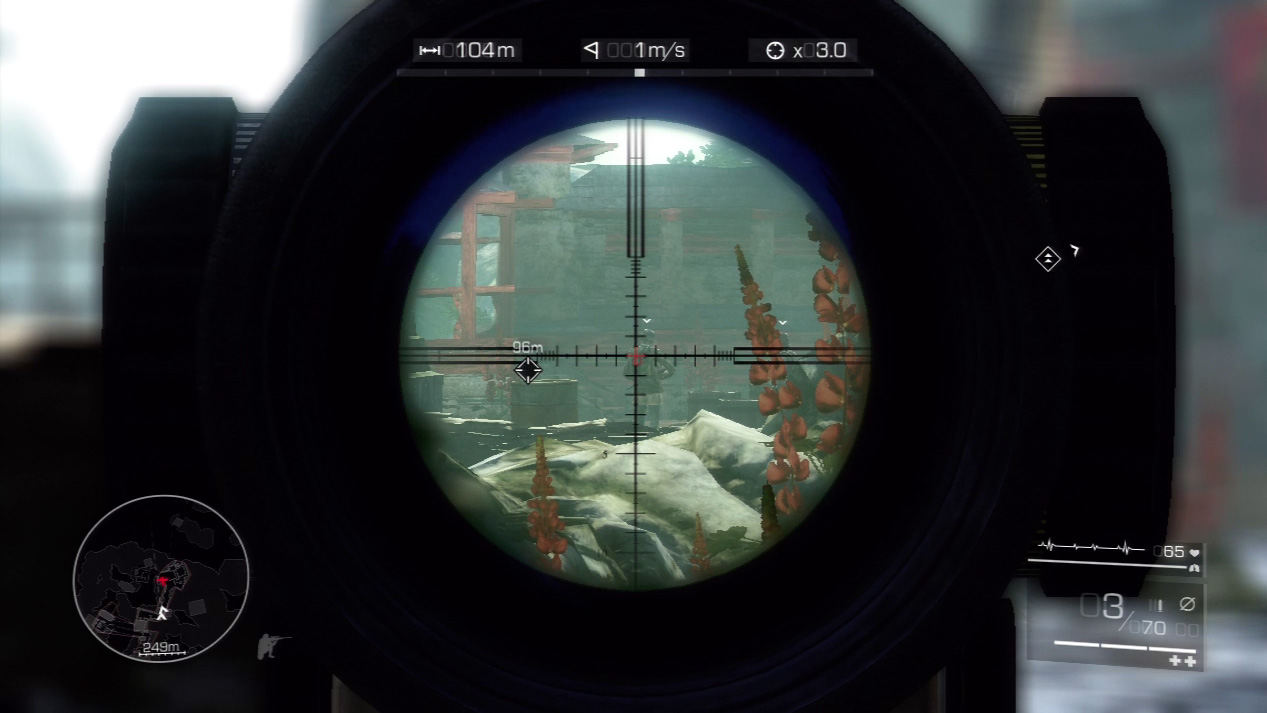
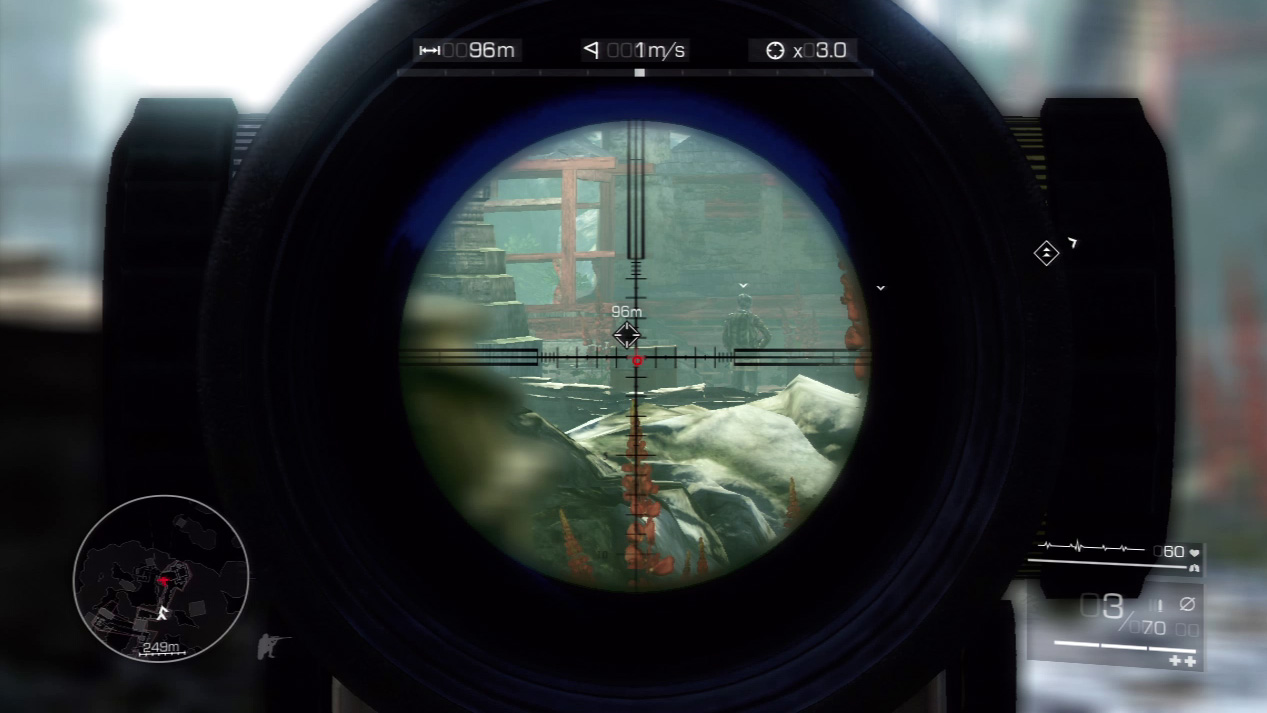
Two enemies remain. However, they’re not close enough to pull off a double kill shot. Instead, look to the left of the closer enemy and you’ll spot a pile of explosives.
Hit the explosives with a bullet and they’ll detonate and destroy the two enemies in the blast.
Waypoint 11
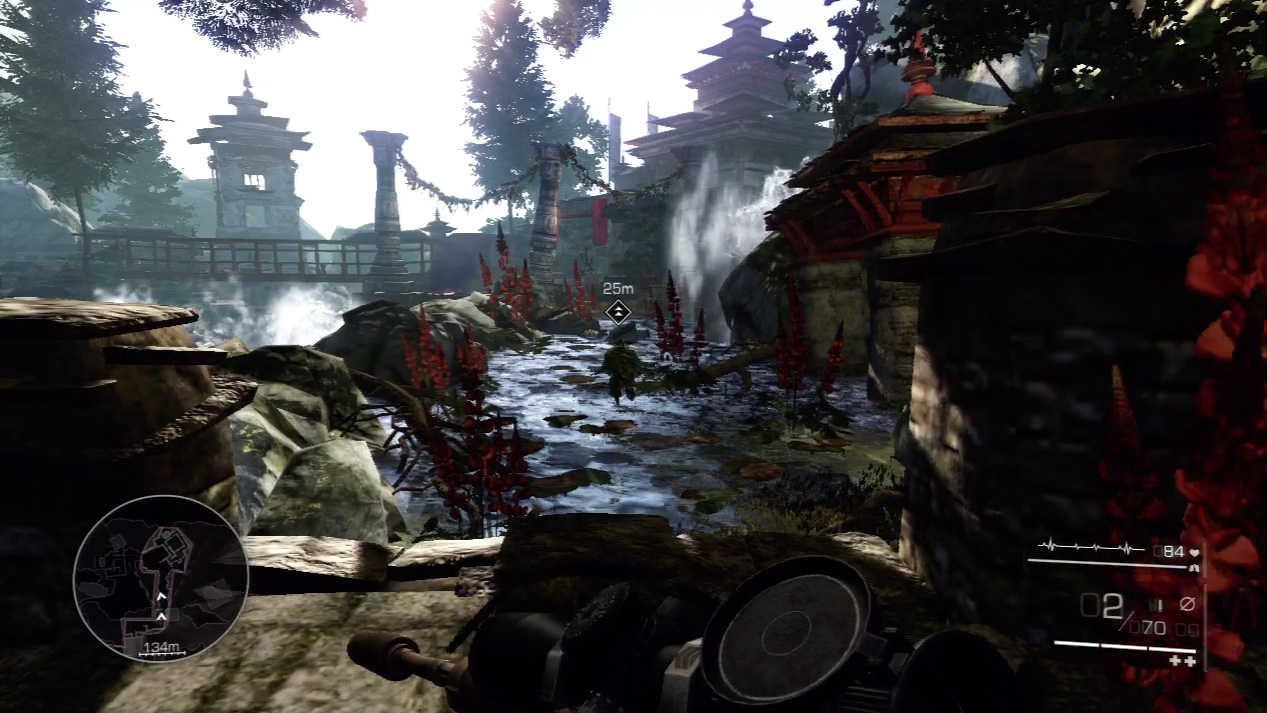
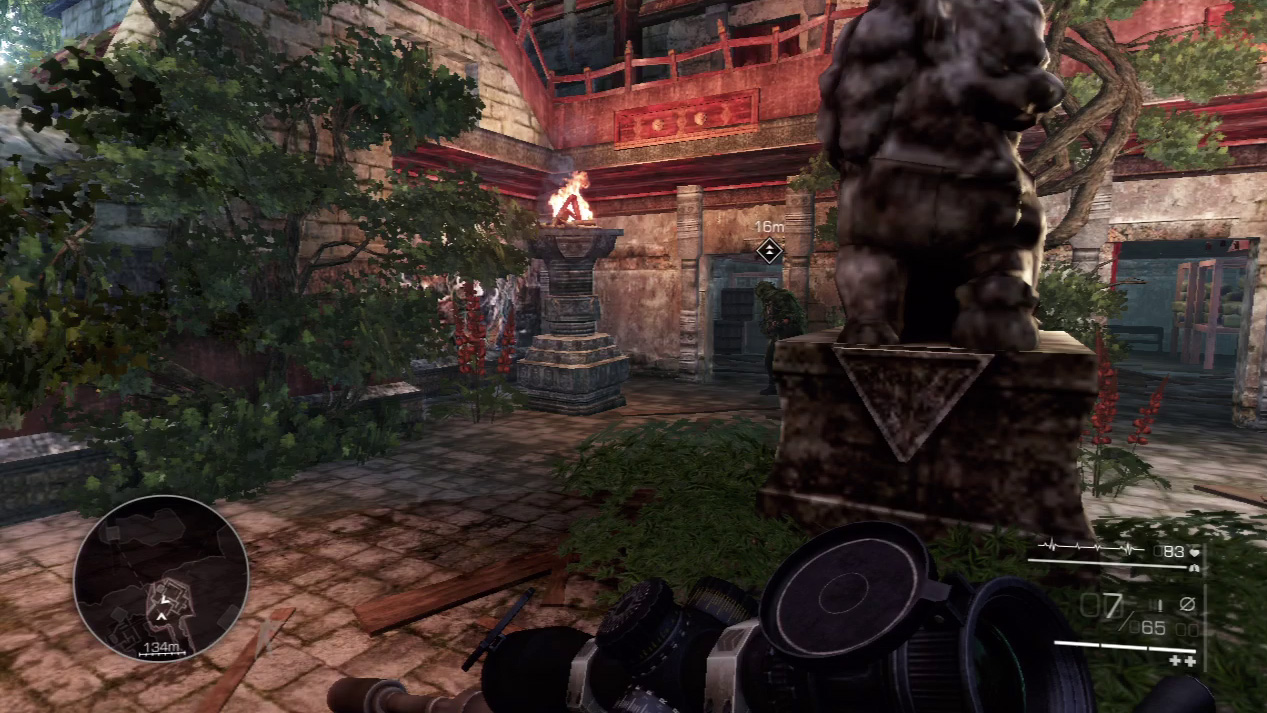
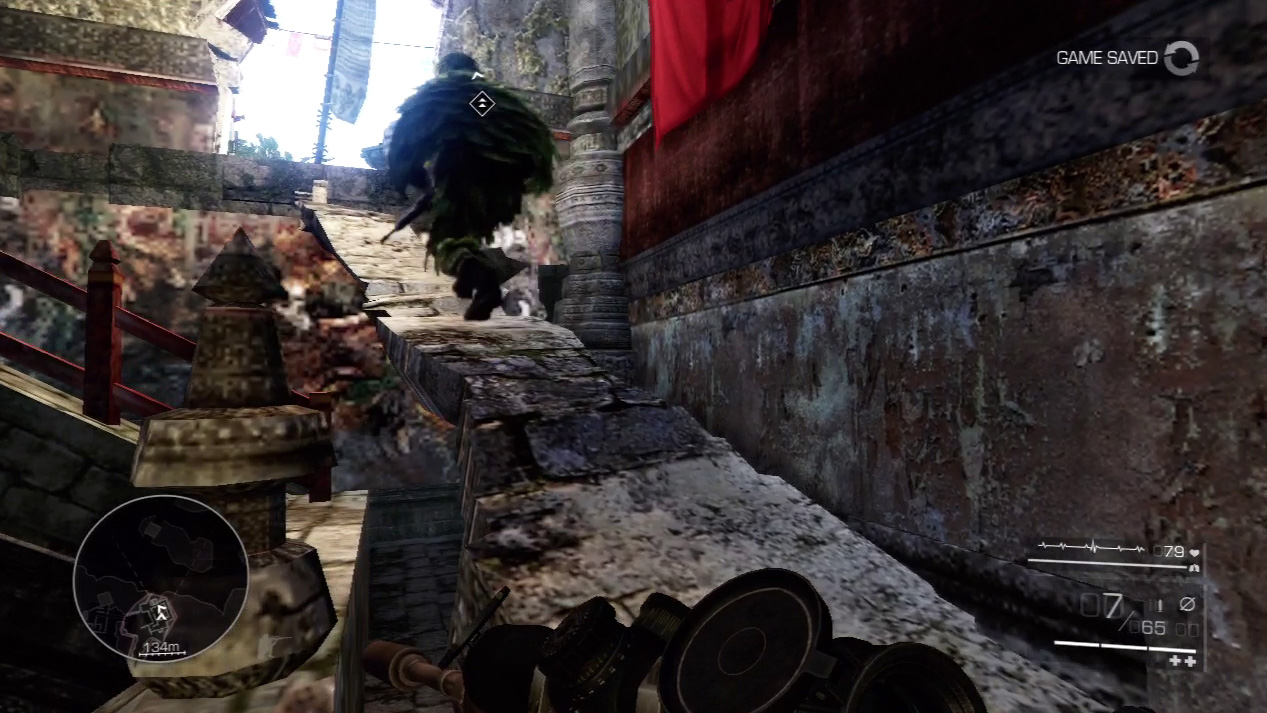
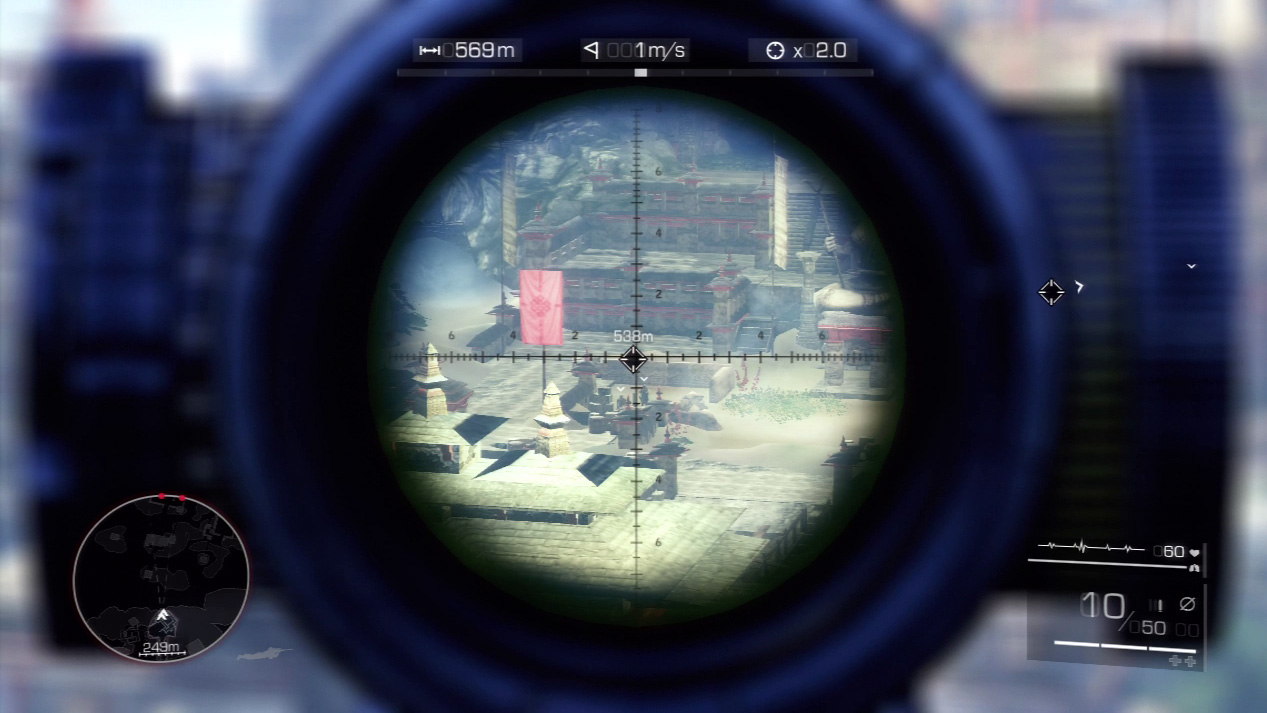
Hustle after Diaz as he cross the water and navigates through the final section of the temple to your last over watch.
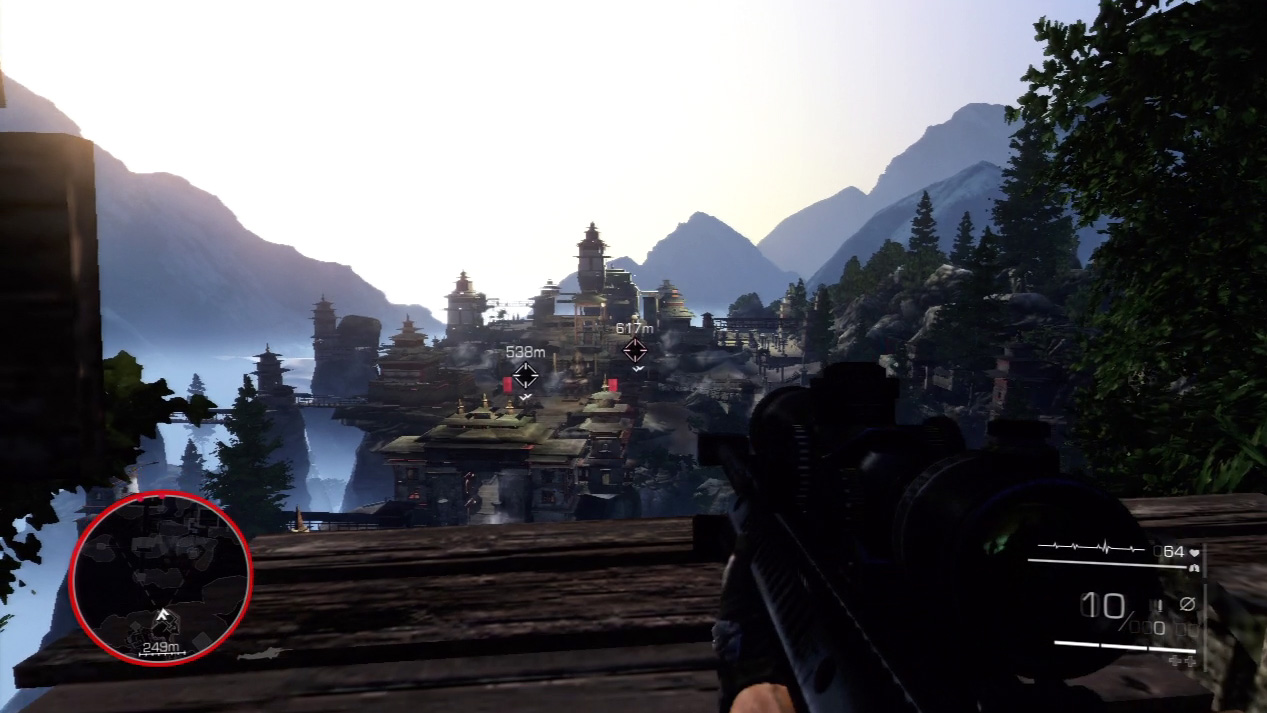
Maddox retreats behind a line of mortars and elite snipers in the final temple courtyard. Because of the very long range, measure your shots carefully before pulling the trigger against the mortar enemies.
Against the elite snipers, you don’t have the same time; you’ll have to be much quicker on the trigger. Against Maddox, you must be on the top of your game to out-duel him.
Expert Mode
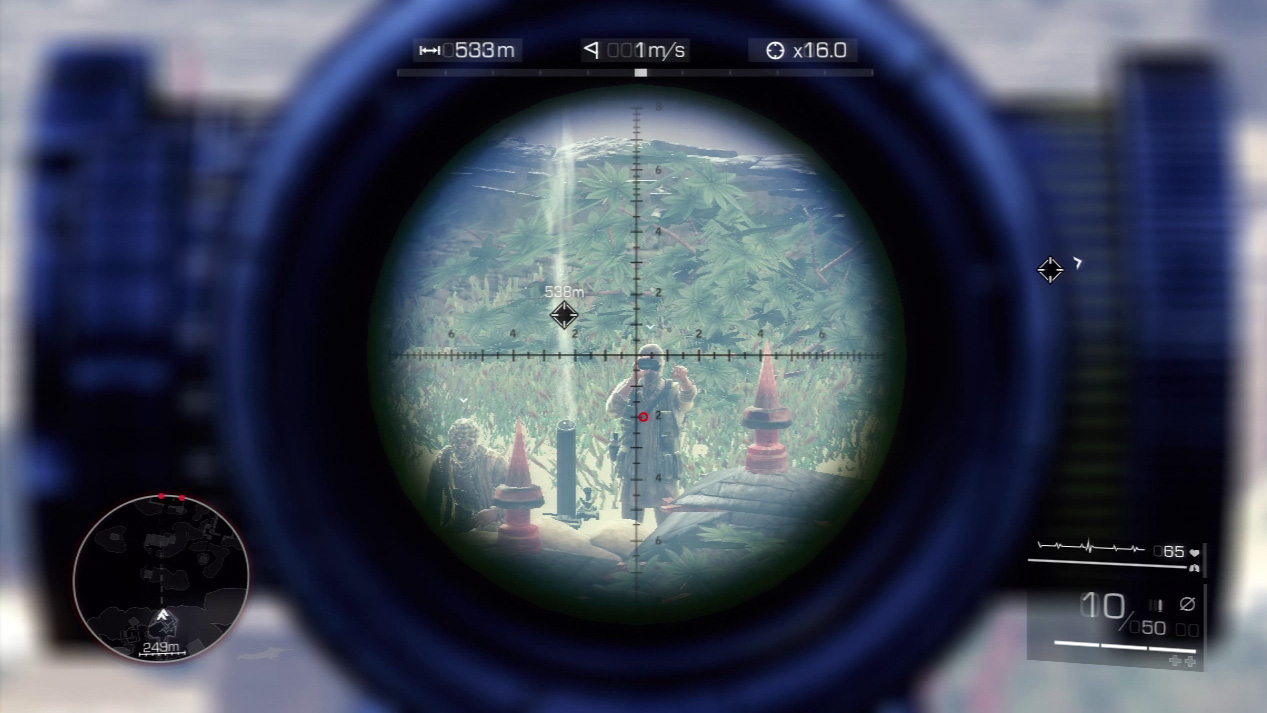
- Distance: Approximately 535 meters
- Wind: 1 meter/second (blowing right)
- Magnification: 16x
For your final sequence behind the sniper rifle, wind won’t be much of a factor, pushing the bullet only slightly right. Gravity, however, will pull on your bullet significantly over the long shots.
Expect your bullet to drop to the fourth reticle line against the mortar enemies.
The shots you must make at the enemy snipers and Maddox are longer; the bullets should fall somewhere between the fourth and fifth reticle lines.
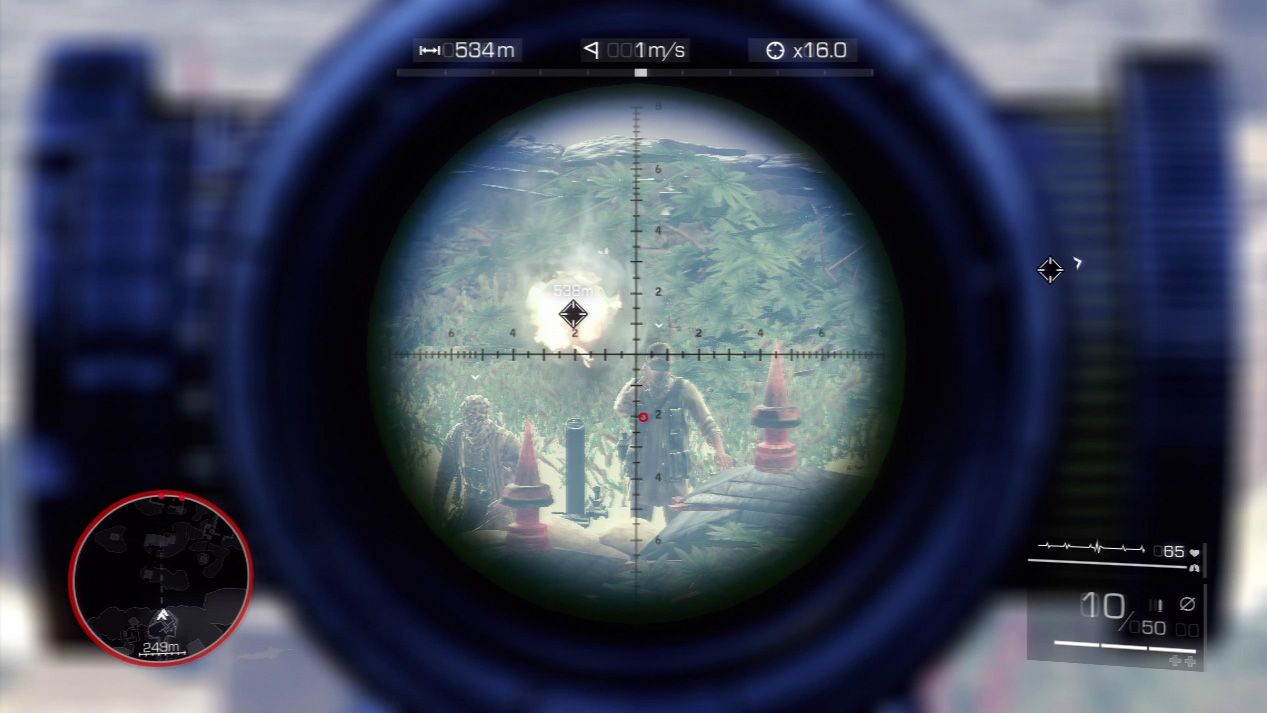
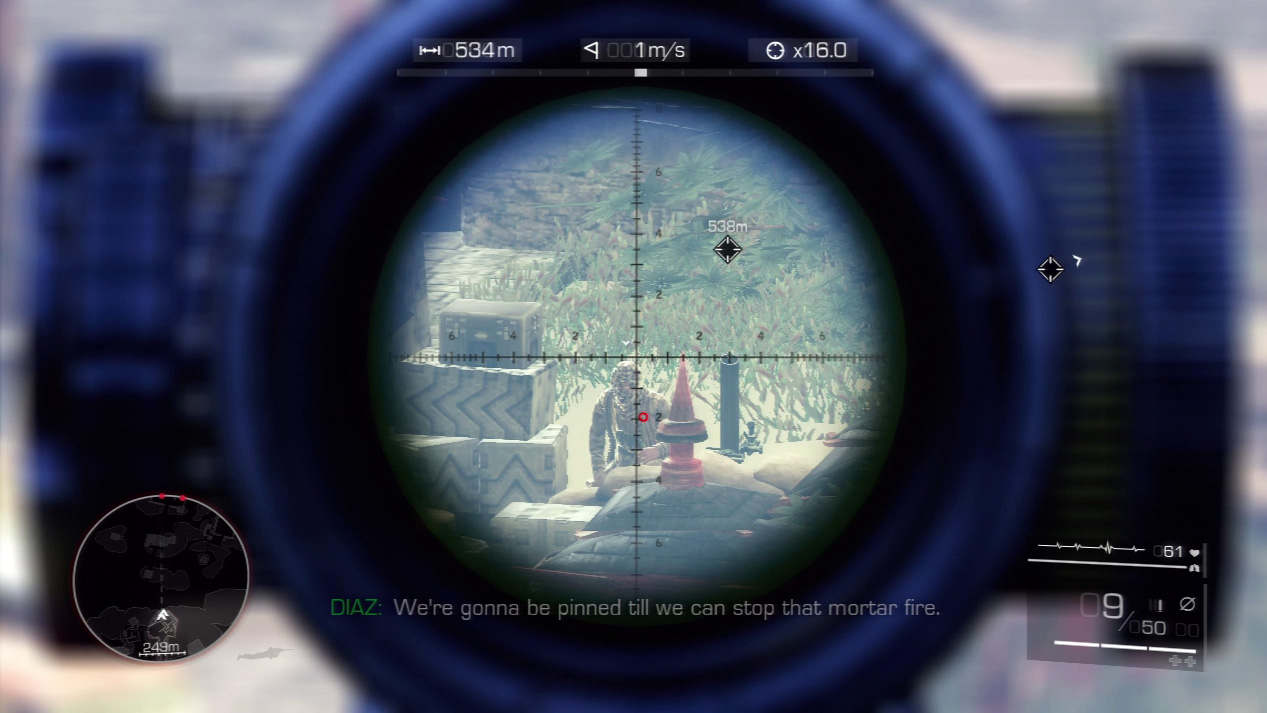
The first mortar setup is closer and to the left. Zoom on the mortar placement and search out the two enemies feeding the projectiles into the mortar.
You don’t have to shoot the mortar; simply kill both enemies controlling the mortar to stop the shelling.

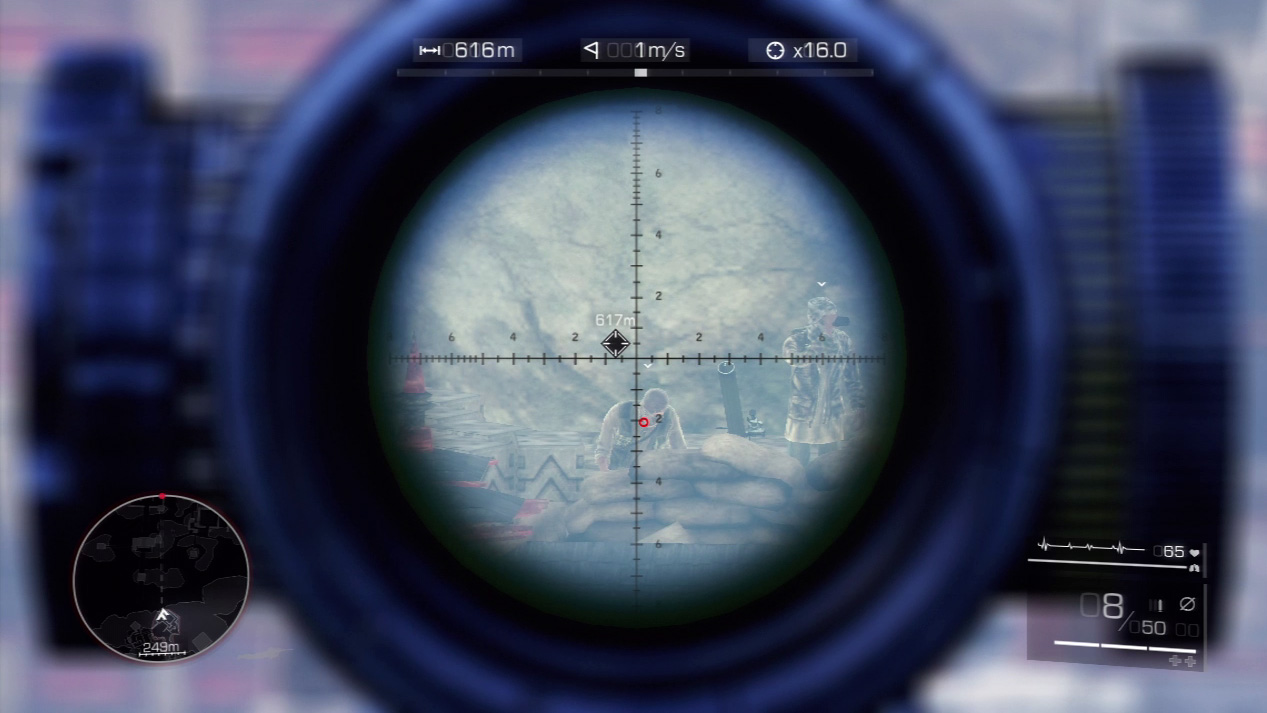
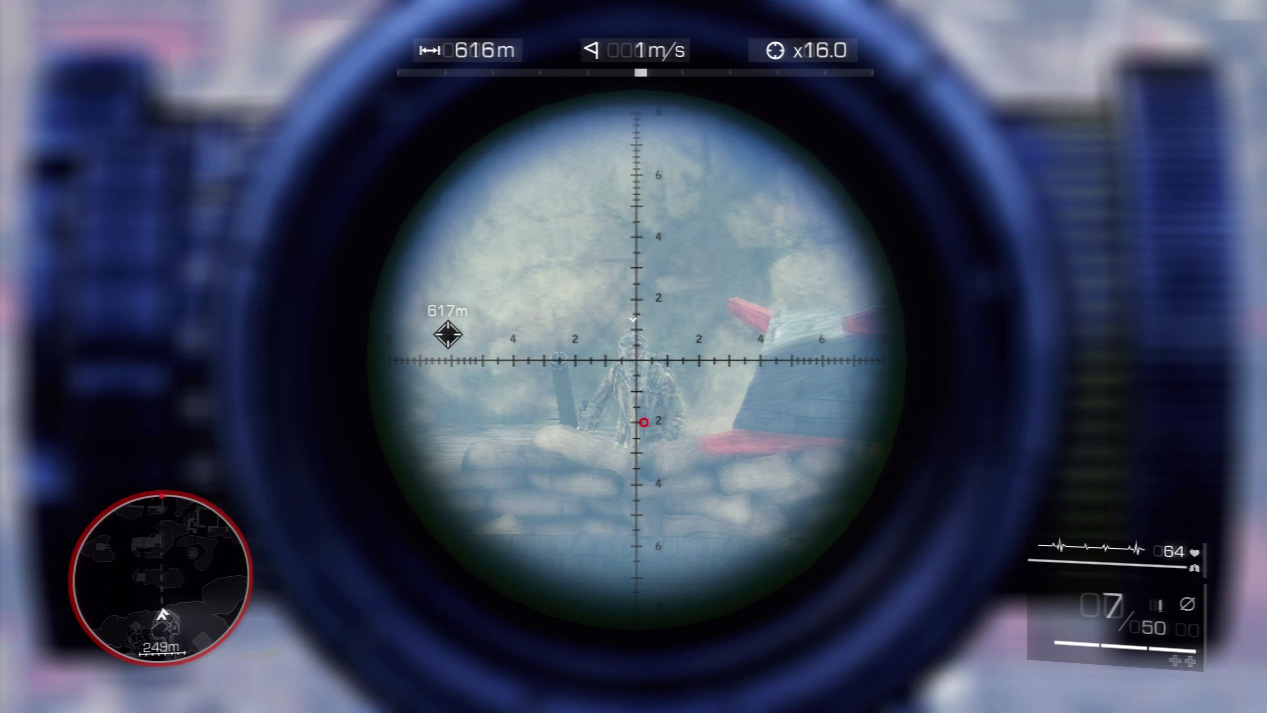
The second mortar sits up the hill to the right. Pursue the same strategy against the second mortar team: sight on one mortar enemy, aim for the head or torso, pull the trigger for a clean kill shot, then repeat on the second foe.
If you ignore the explosions raining down around you, the shots can be made without too much trouble.
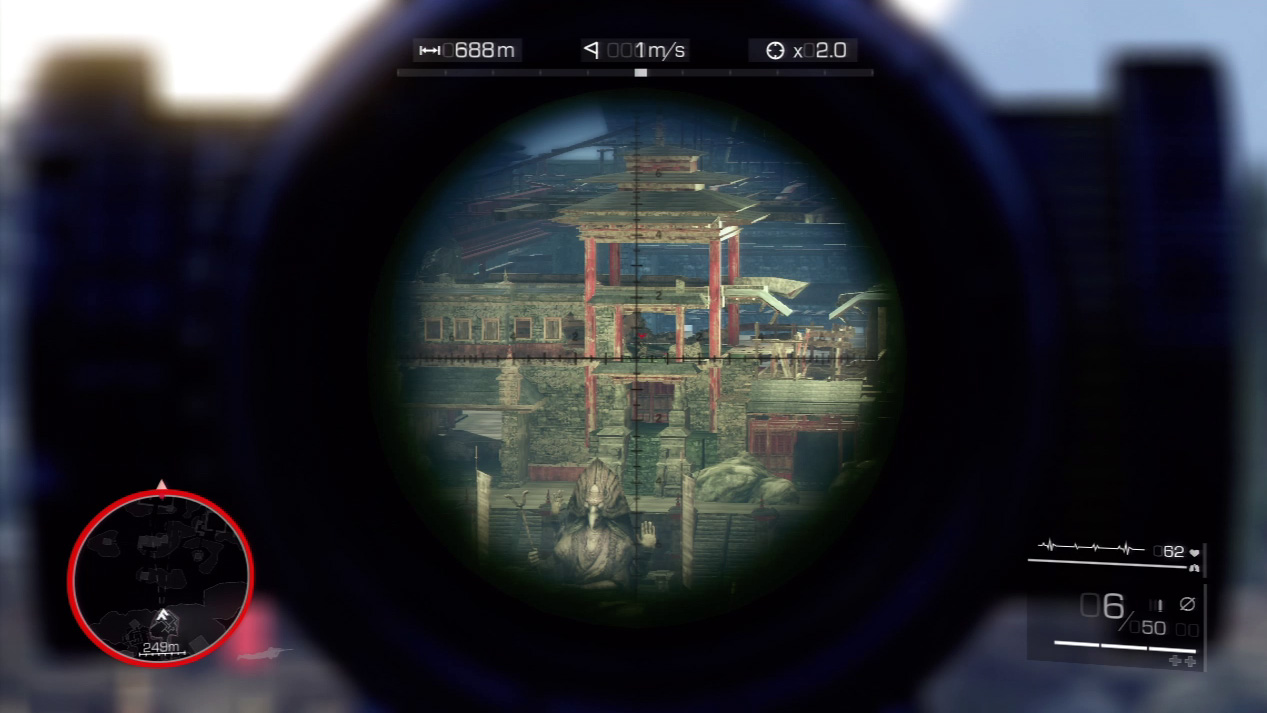
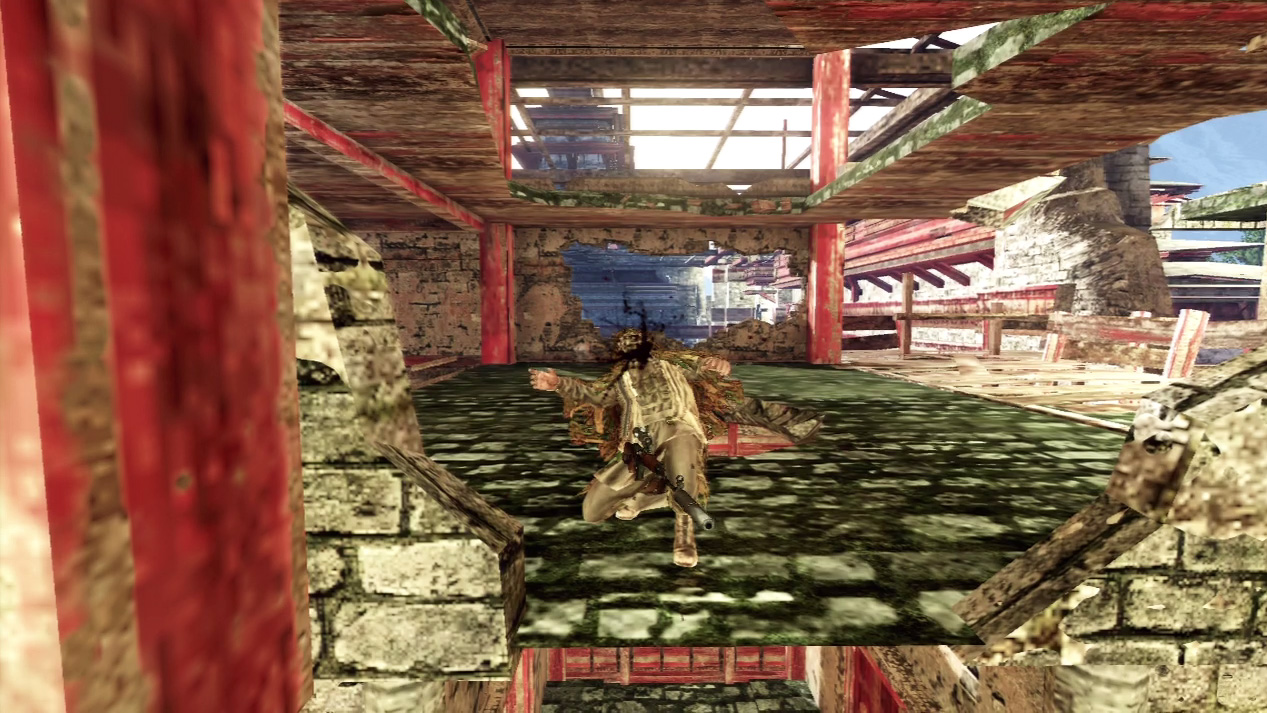
Maddox sets three elite snipers on you next. He’s trained them himself, and they are very deadly. You have very little time to locate each one.
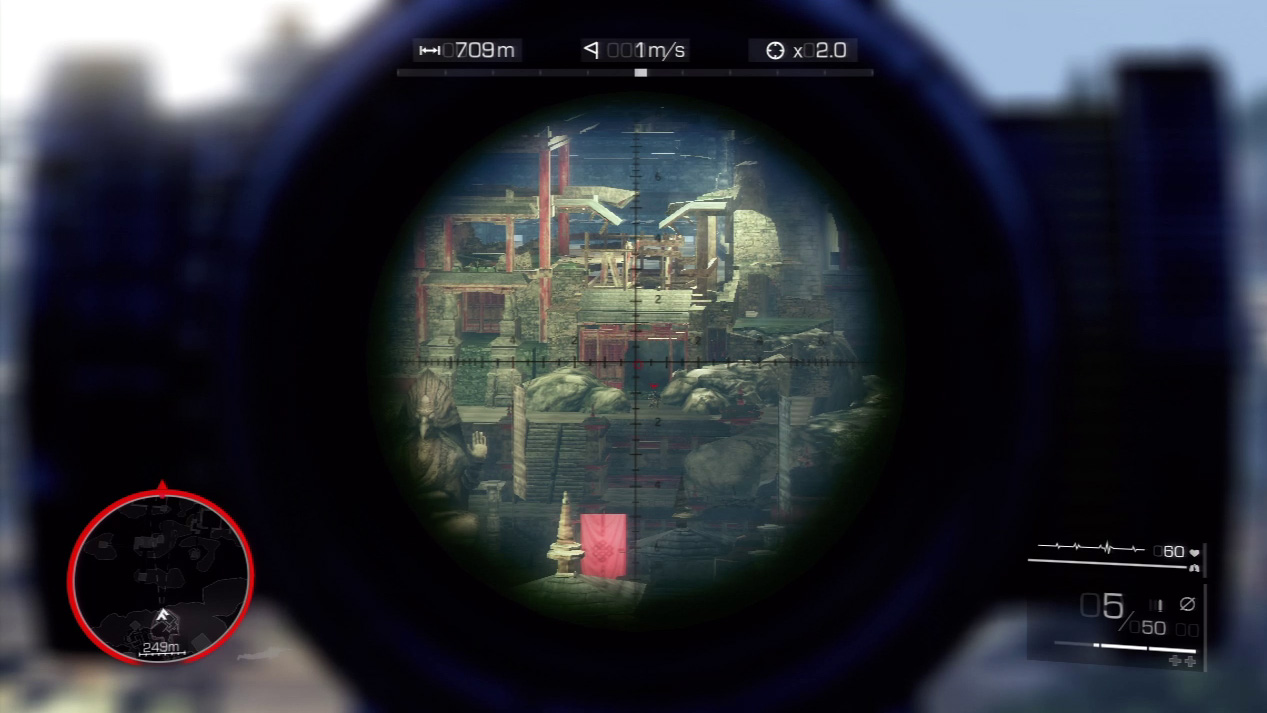
For the first elite sniper, zoom on the landing above the stairs in the central tower.
The elite sniper squats amid the rubble and will aim directly at you within seconds. Beat him to the trigger.
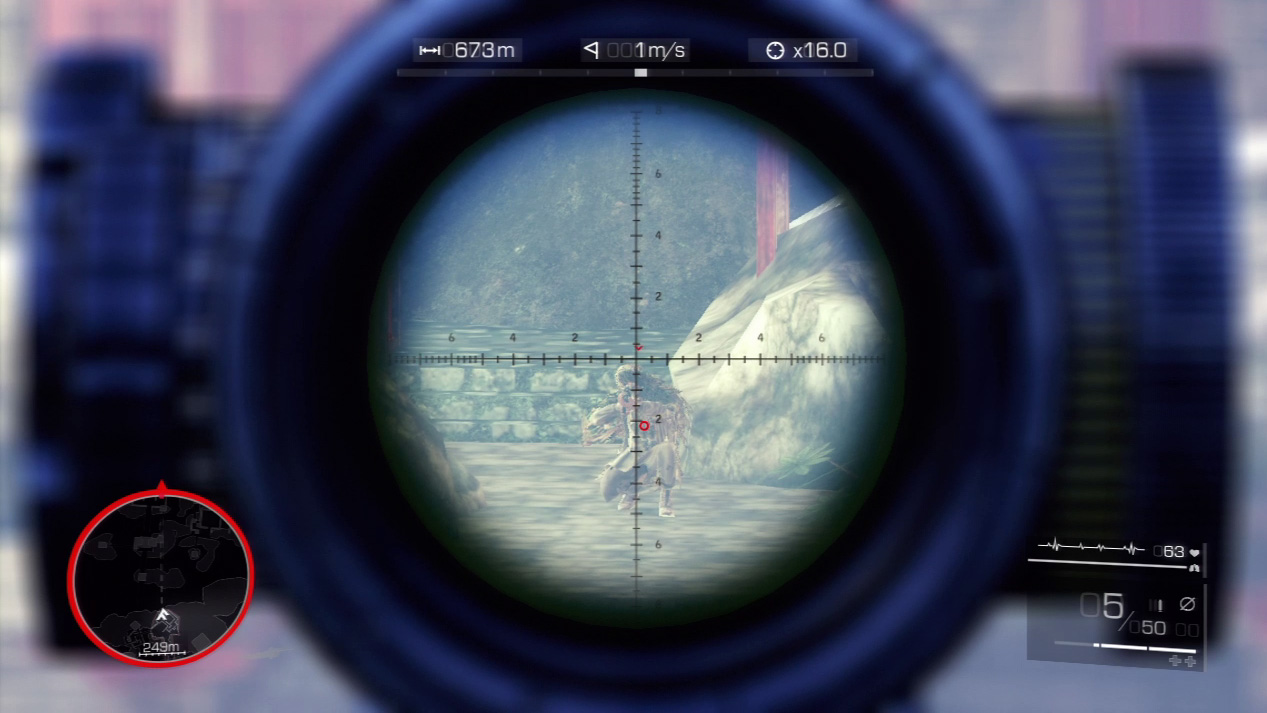
Immediately slide your scope down to the right. The second elite sniper hides in the shadows in the alcove on the level below the first elite sniper.
Zip a bullet through his midsection before he returns fire.
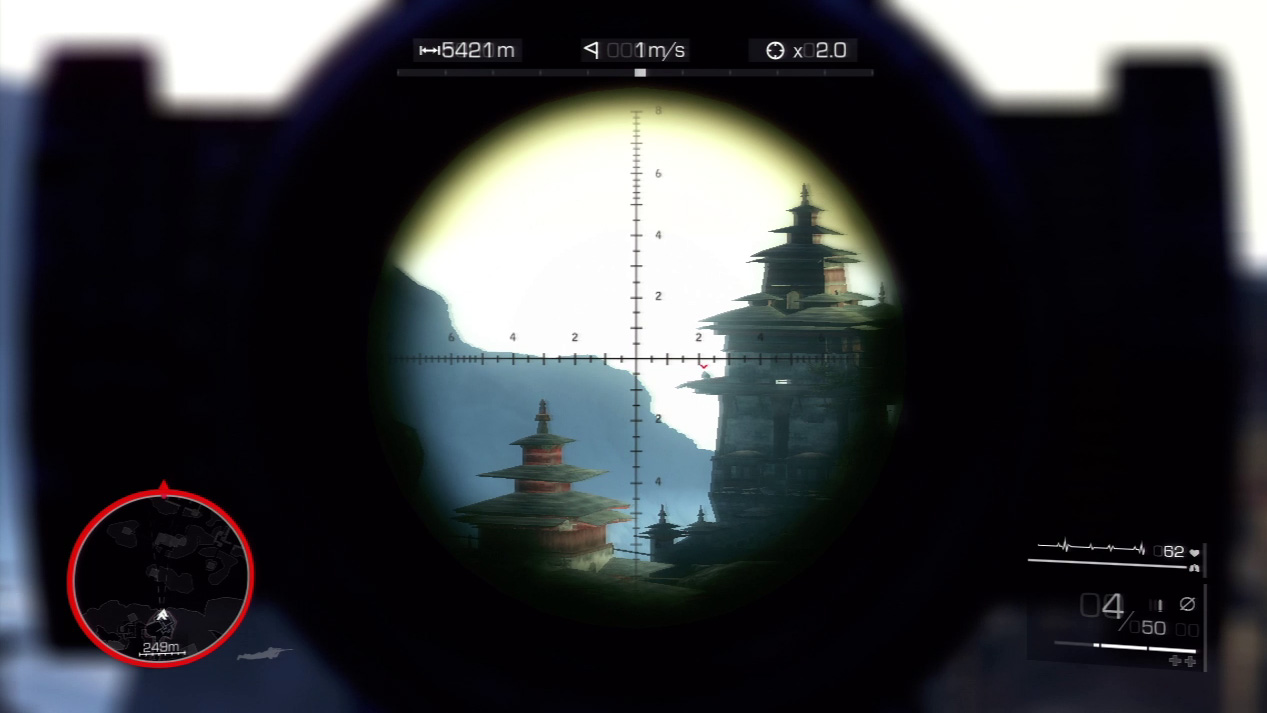
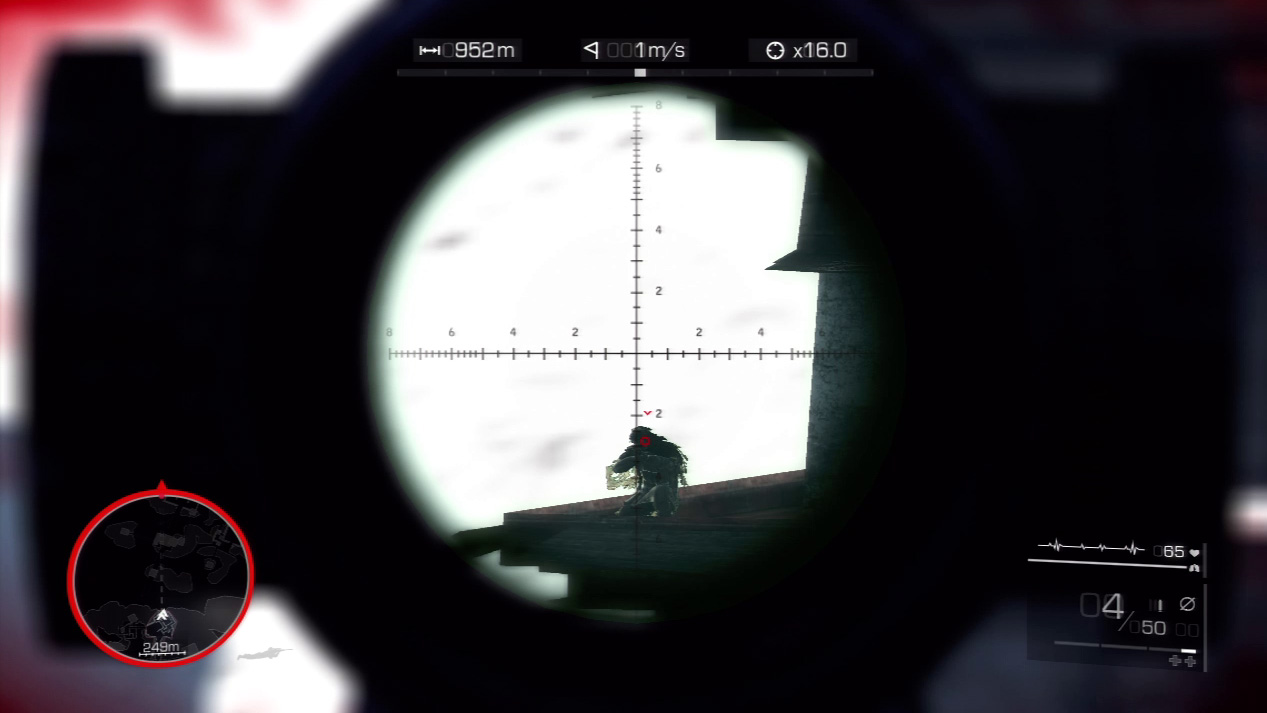
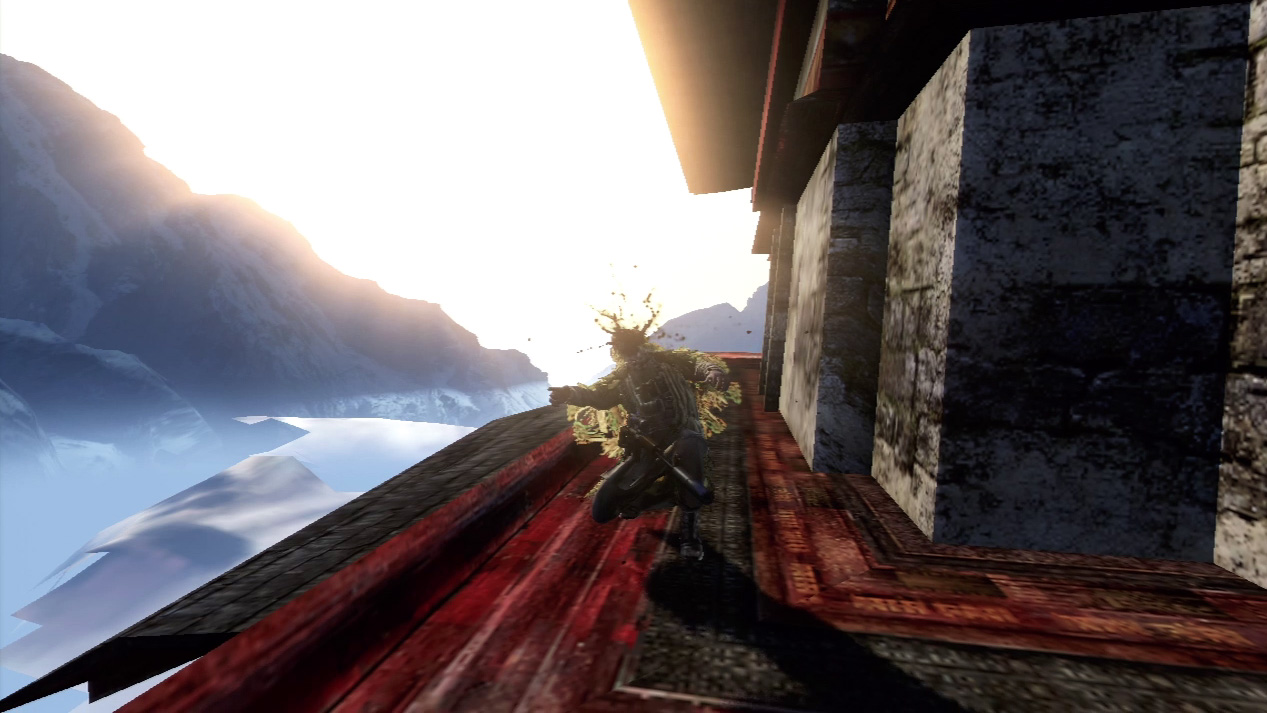
The third elite sniper sits out on the balcony of the far left tower. Zoom quickly on the tower and you’ll spot his silhouette against the bright sky. Fire off a kill shot as soon as you have him in your sights.
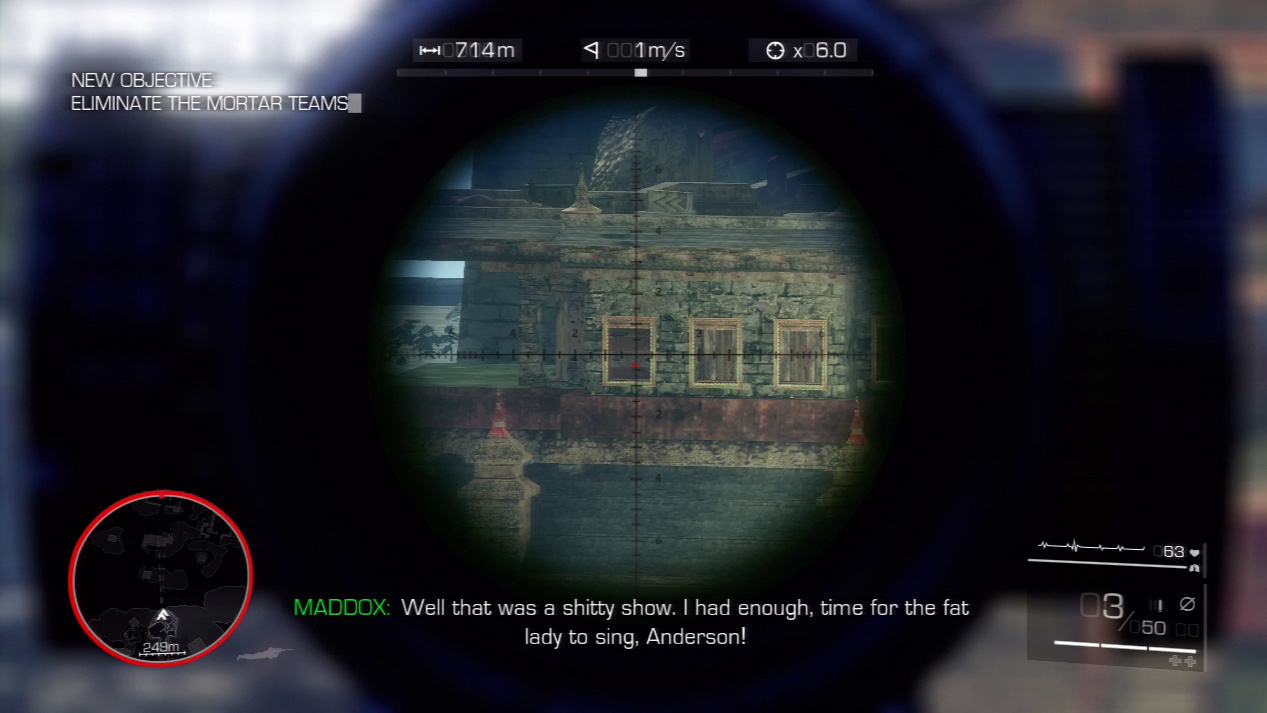
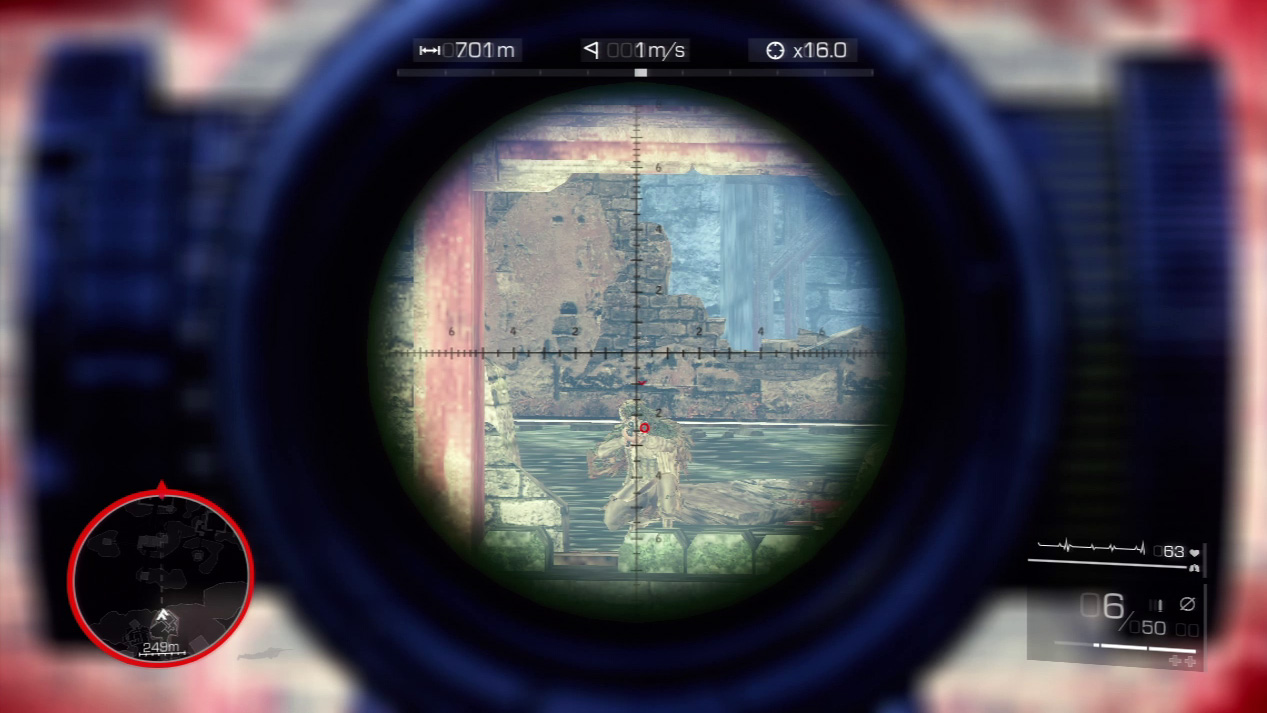
Finally, it’s down to you and Maddox, sniper on sniper. You’ll find him in the building with the long line of square windows.
Some of the windows are boarded-up; other windows are open. Ignore the boarded-up windows and concentrate your attention on the open windows.
Maddox can appear in any one of the open windows.
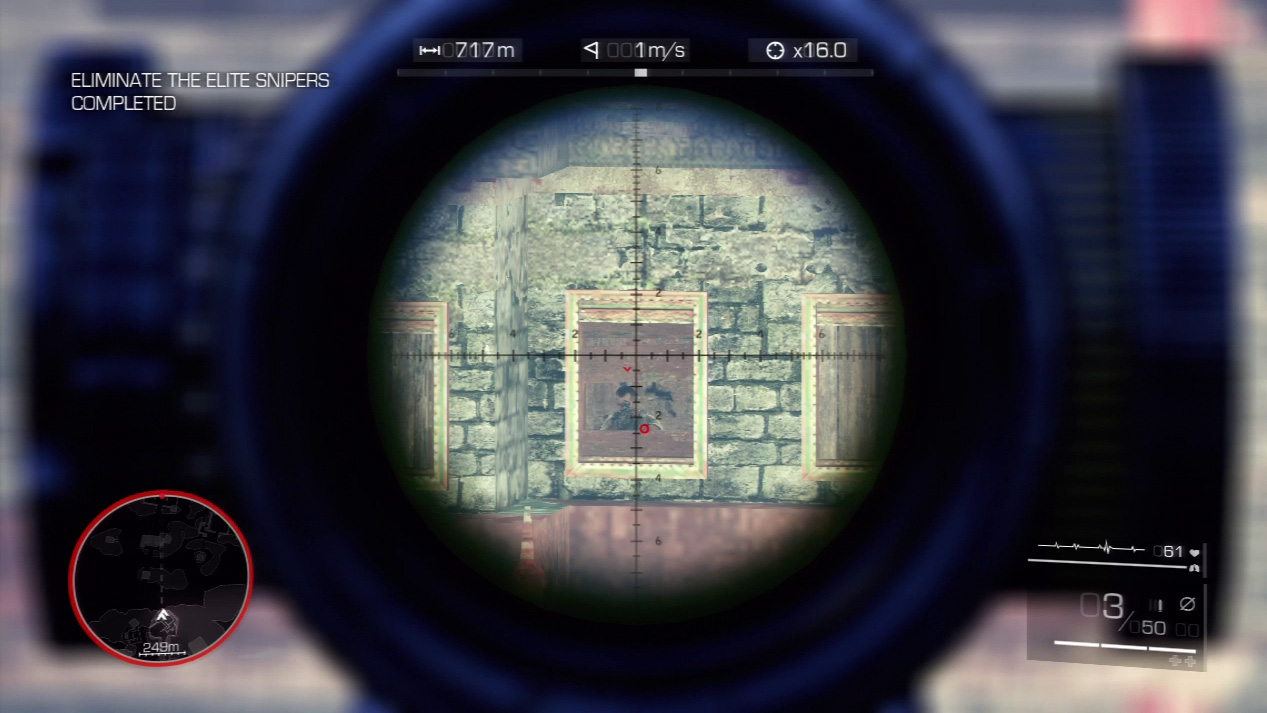
Maddox will kill you if he’s given time to take aim. Don’t give him that chance. As soon as you spot him at a window, zoom on the window. He will duck for cover if he thinks you’re taking a shot.
Even if you don’t get off a shot, you can use this scare tactic to prevent him from firing on you.
In a pinch, you can also fire off a quick bullet to distract him; however, if you waste bullets like this, you can’t earn the “Laugh This Off” achievement for killing Maddox with a single bullet.
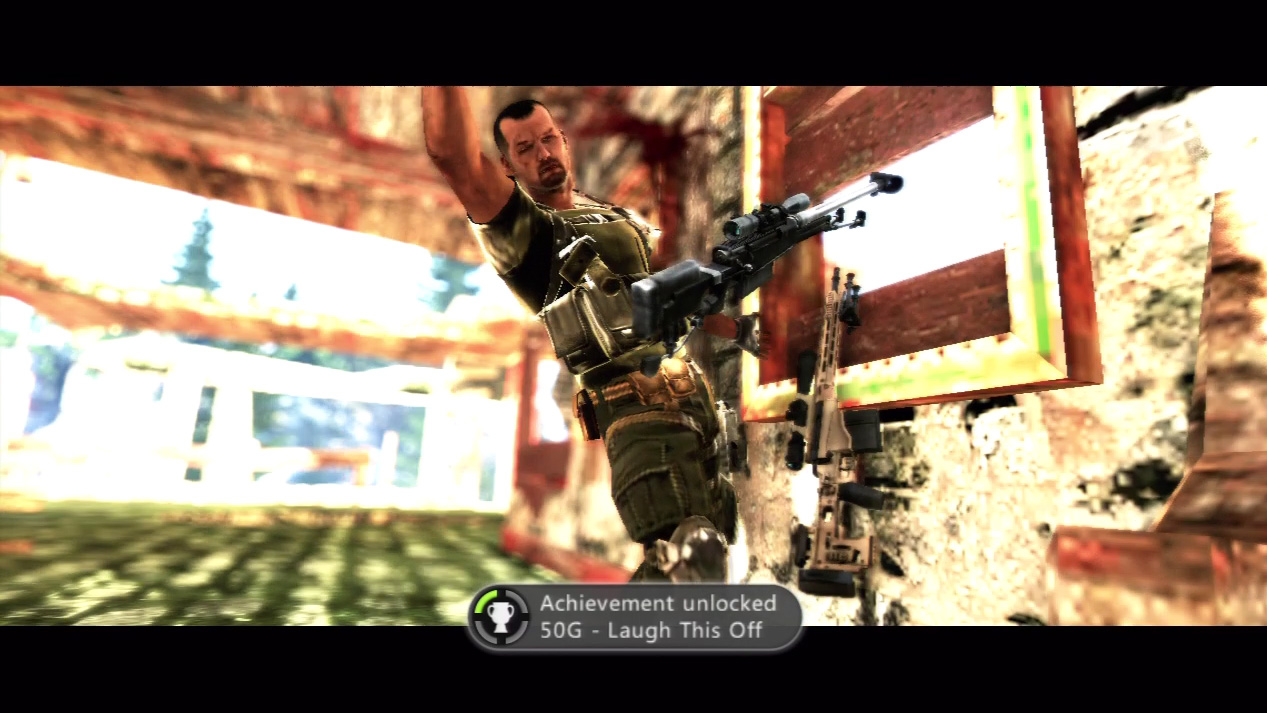
You’ll have to be super-quick, but your sniper skills to this point have been training you to eliminate Maddox. When you spot his head in a window, quickly zoom on the window and pull that trigger when you have him dead to rights.
Your final bullet will end the traitor’s life.
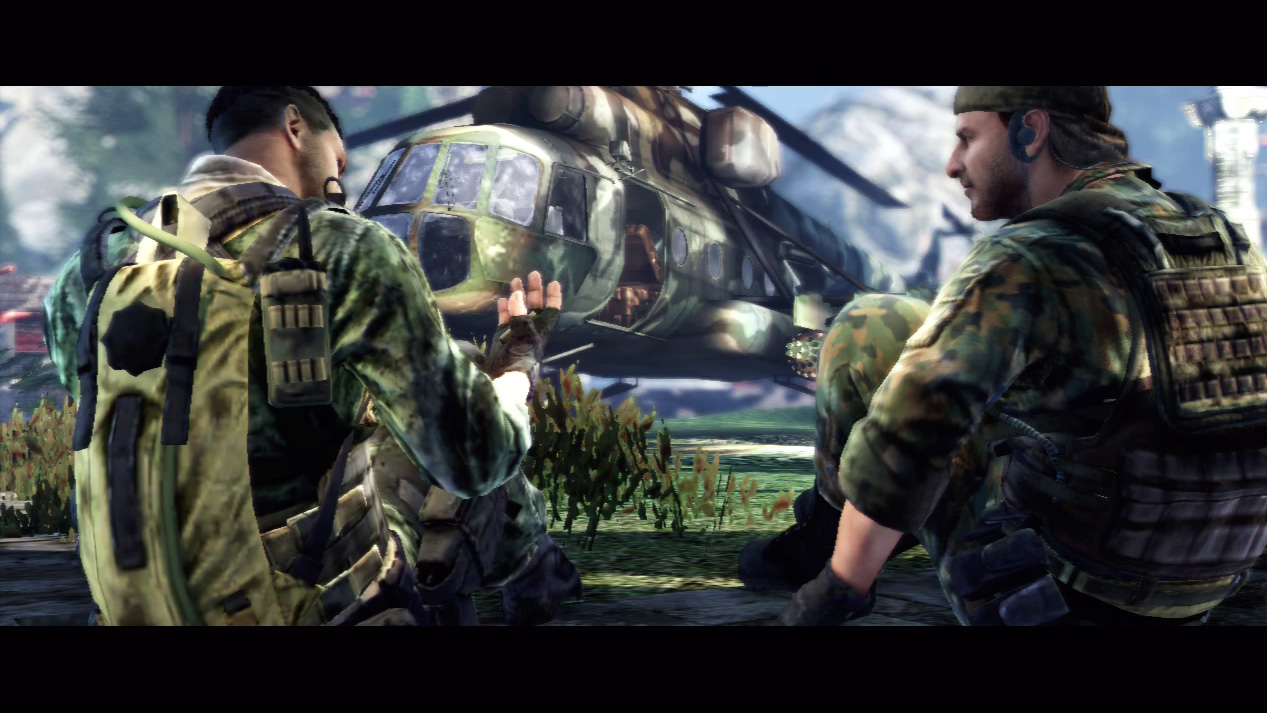
With Maddox and his men gone, the task force can move in and recover the bio-agent. You and Diaz finally can rest after a grueling mission against some of the toughest foes you’ve ever faced.
As your helicopter takes off, you can rest, with your rifle packed away for the next time America needs you.