
Sniper Ghost Warrior 2 Guide Walkthrough Mission 3: Leave No Man Behind
3.2 Waypoints 1-7
Waypoint 1
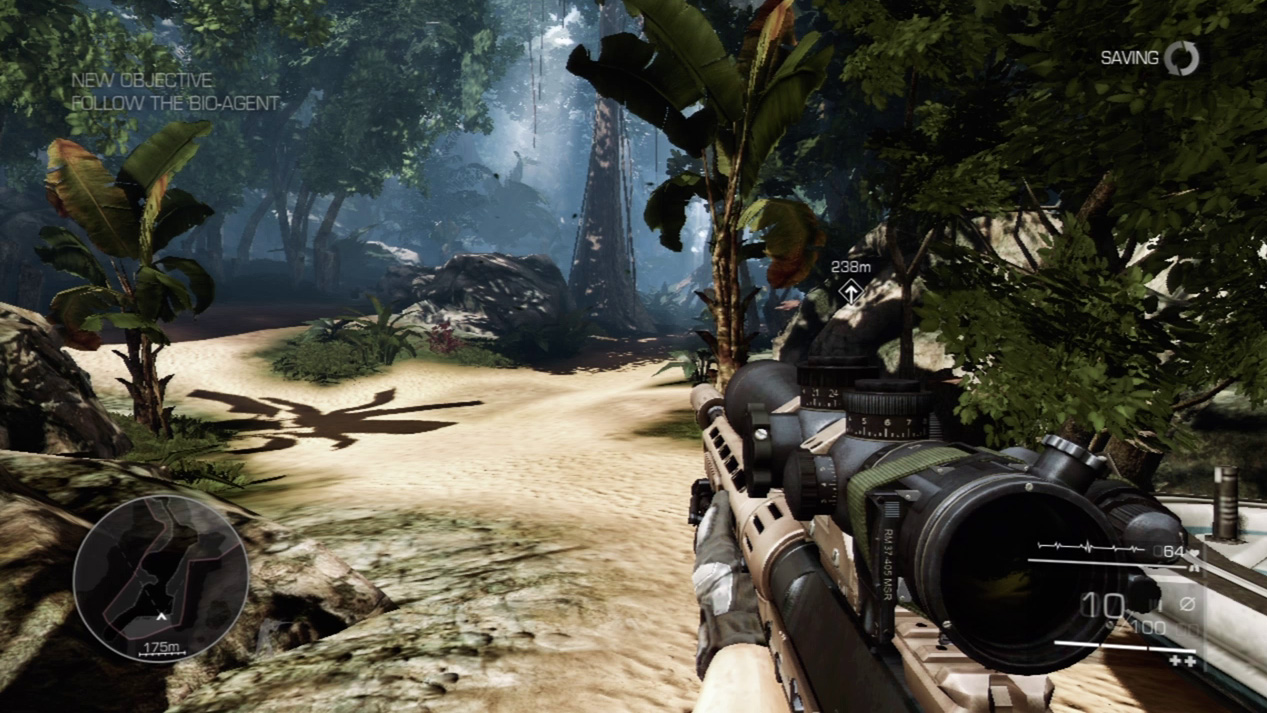
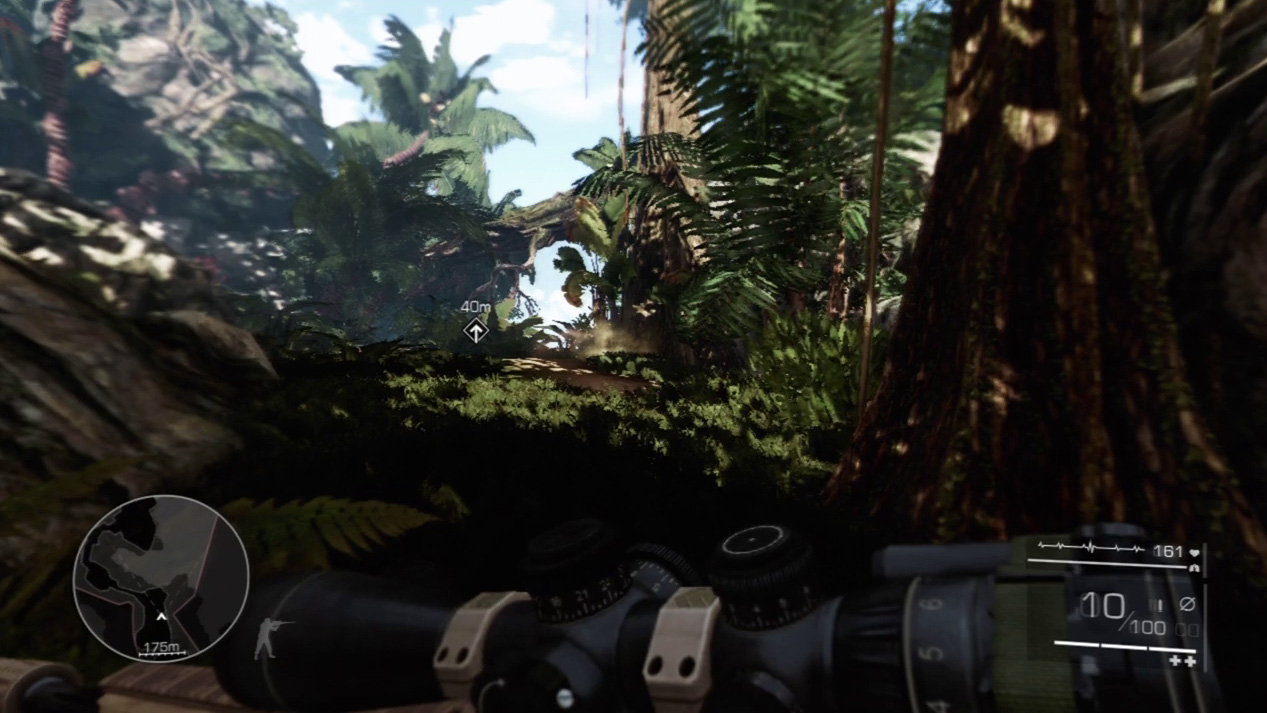
You begin this mission on a quiet beach. The beaches won’t stay quiet for long, so take advantage of the momentary peace and race up the hill while there are no enemies in sight.
Waypoint 2
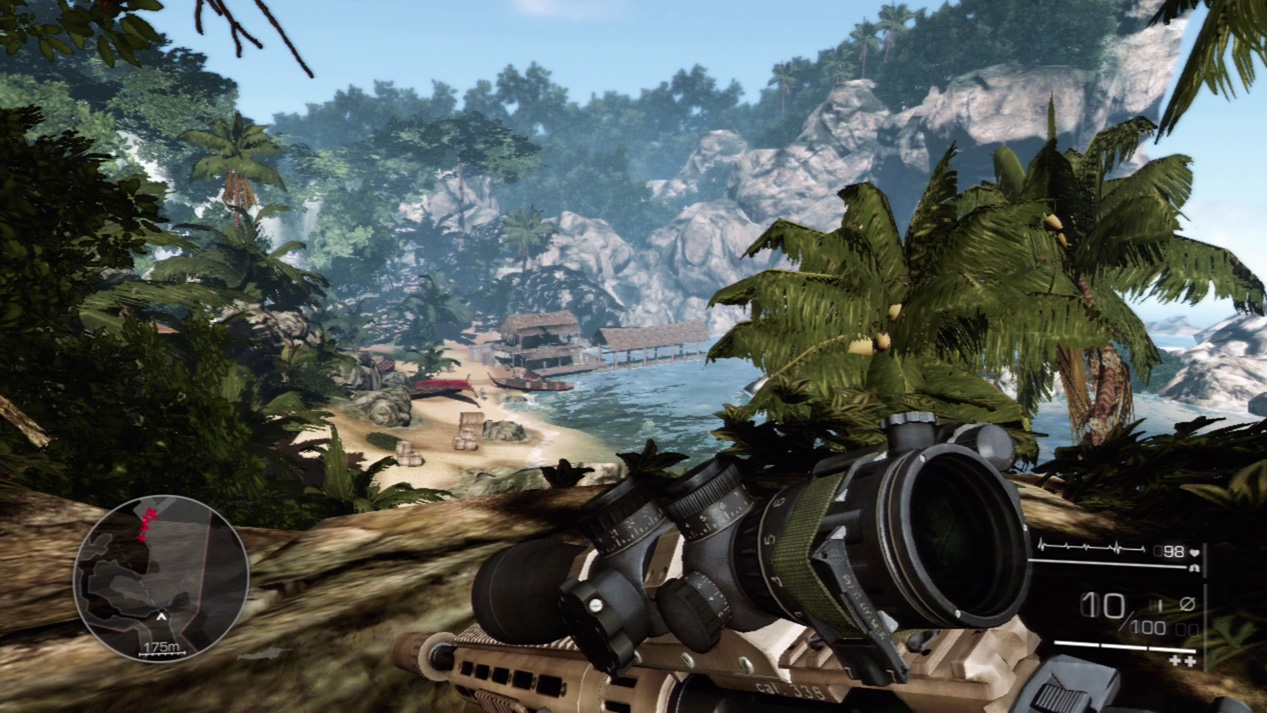
Set your sniper spot at the top of the hill overlooking the beach house. There are five enemies to eliminate, and it helps to silence them in the correct order to avoid tripping the alarm and bringing reinforcements into the battle.
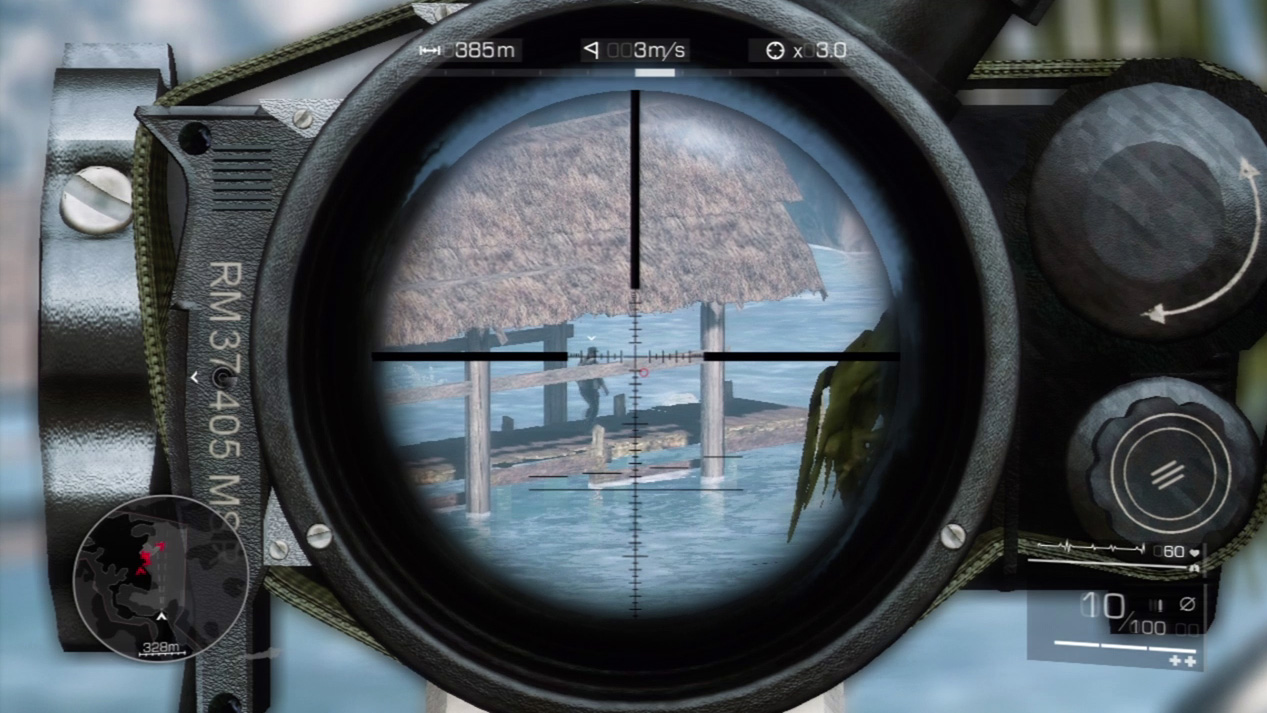
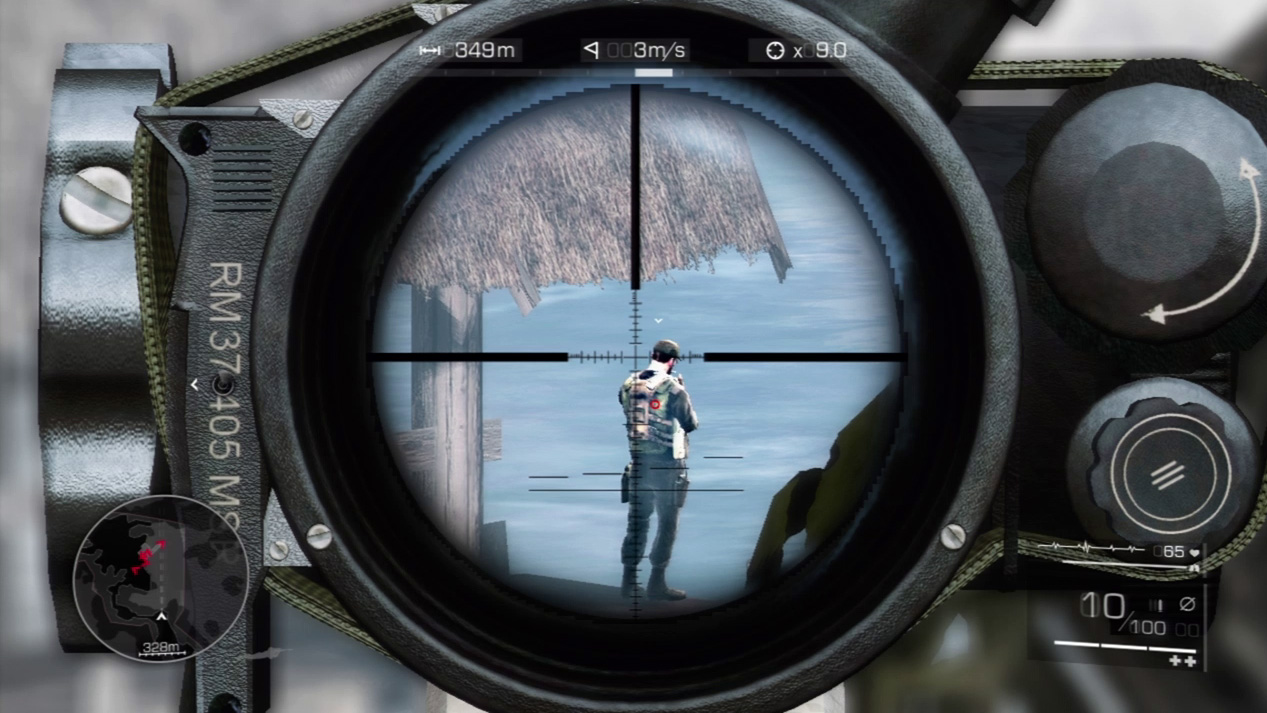
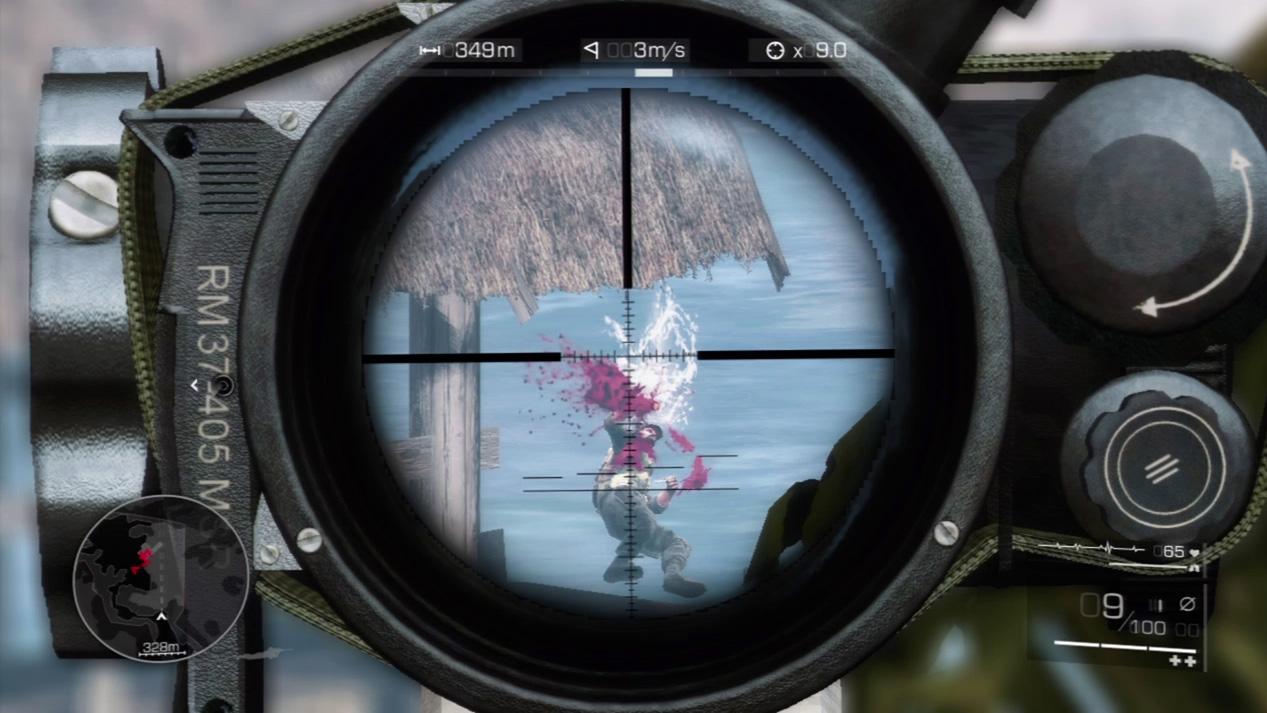
Survey the beach house for a minute or two before engaging. Your first target should be the enemy farthest away from the group. Wait for the guard patrolling the pier to walk out near the water. When he pauses to light a cigarette, snipe him into the waters.
Expert Mode
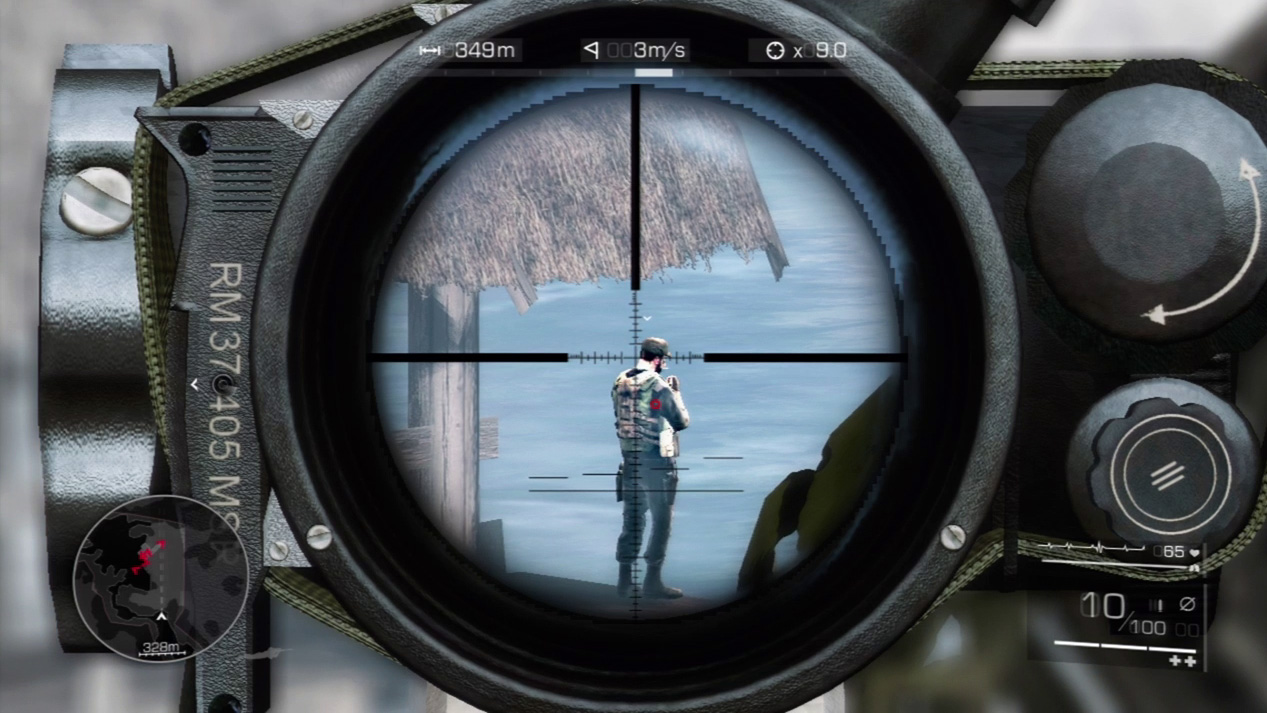
- Distance: Approximately 350 meters
- Wind: 3 meters/second (blowing right)
- Magnification: 9x
For these first long shots at the beach house, compensate to the right and down. The shots will land approximately on the second horizontal reticle line to the right and the sixth vertical reticle line on the bottom. If your crosshairs line up just left of the enemy’s neck, the bullet should drop down and strike torso.
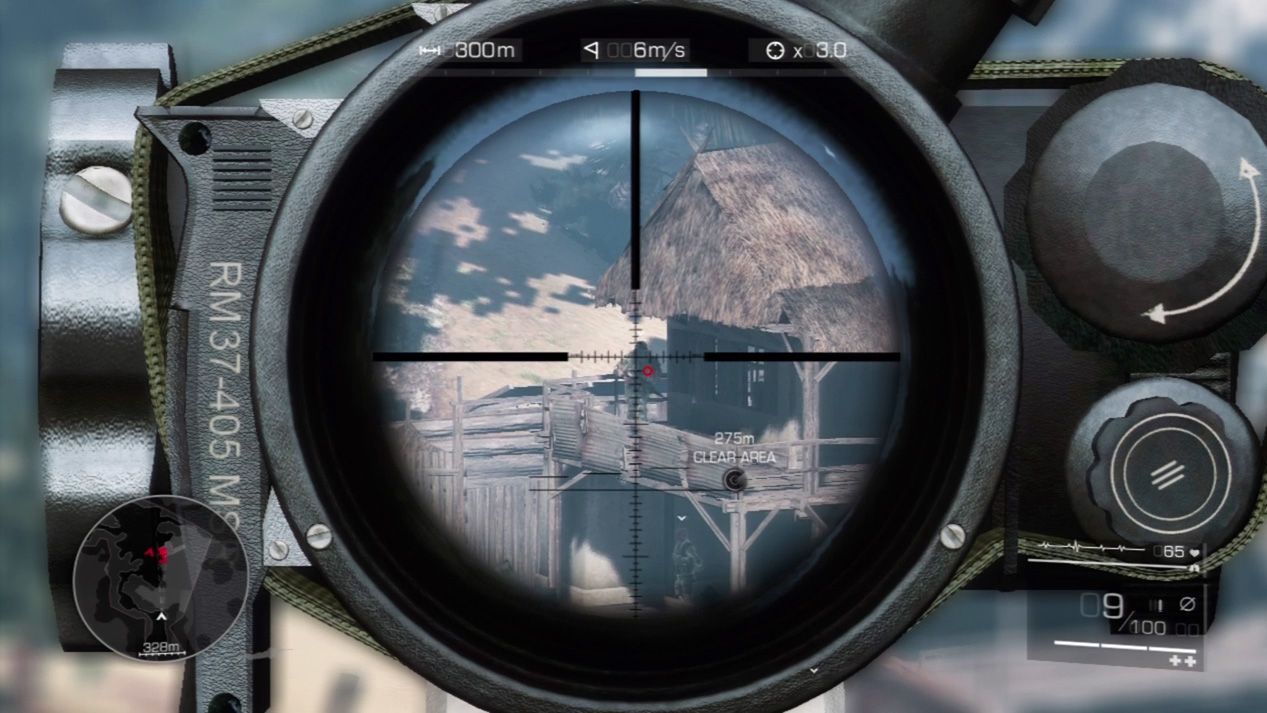
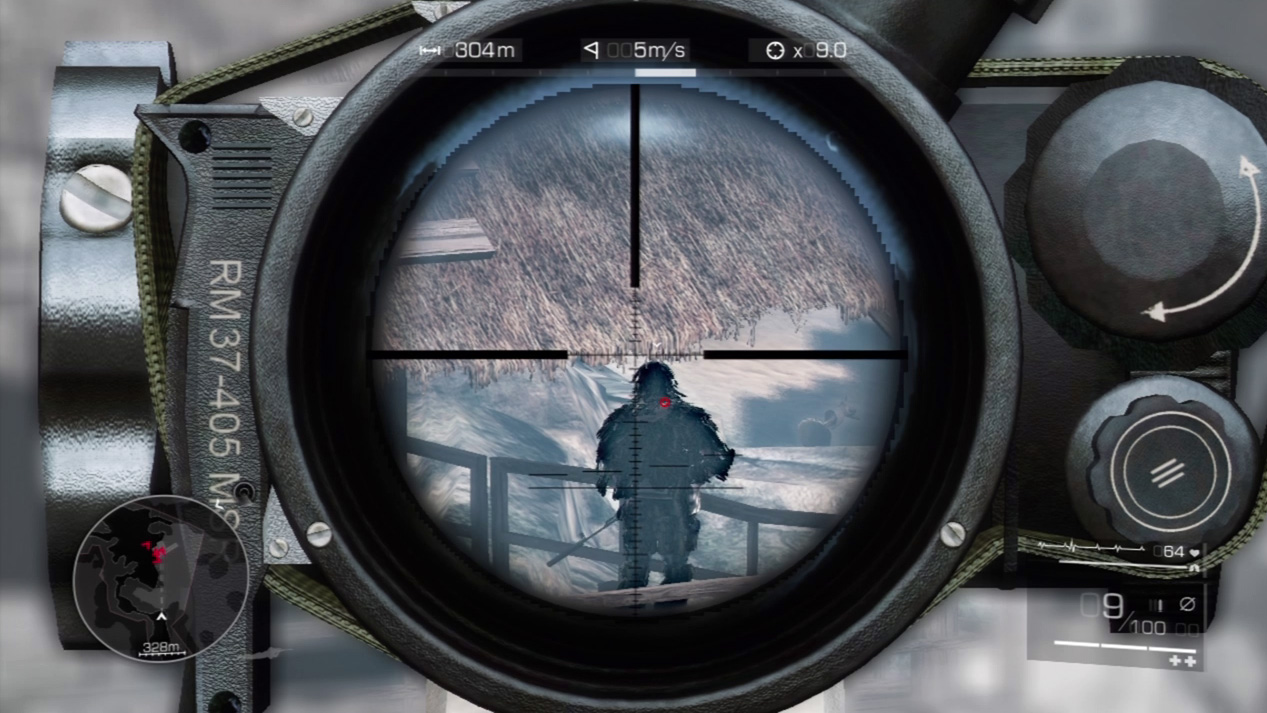
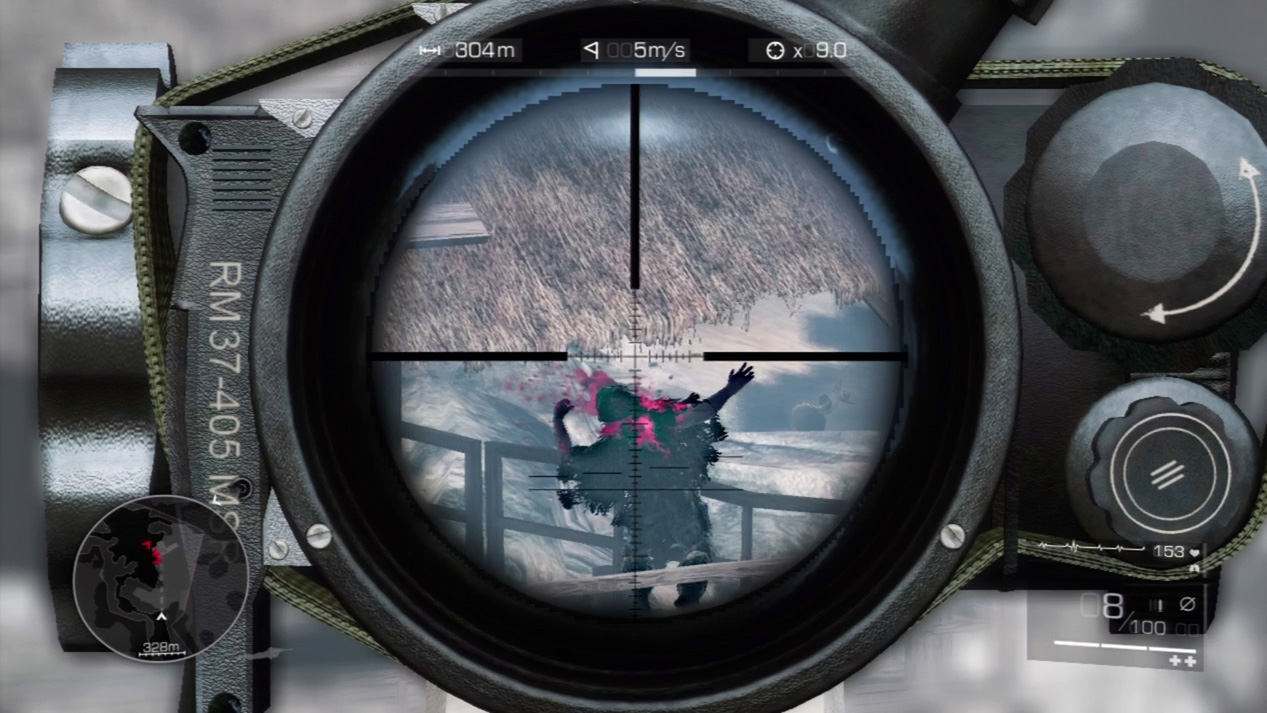
Next, you want to take out the enemy sniper who oversees everything from the beach house’s top floor. He’s a nervous sniper, circling the house continuously. He does, however, pause momentarily on the right corner of the building. Down him here and no one will see him fall.
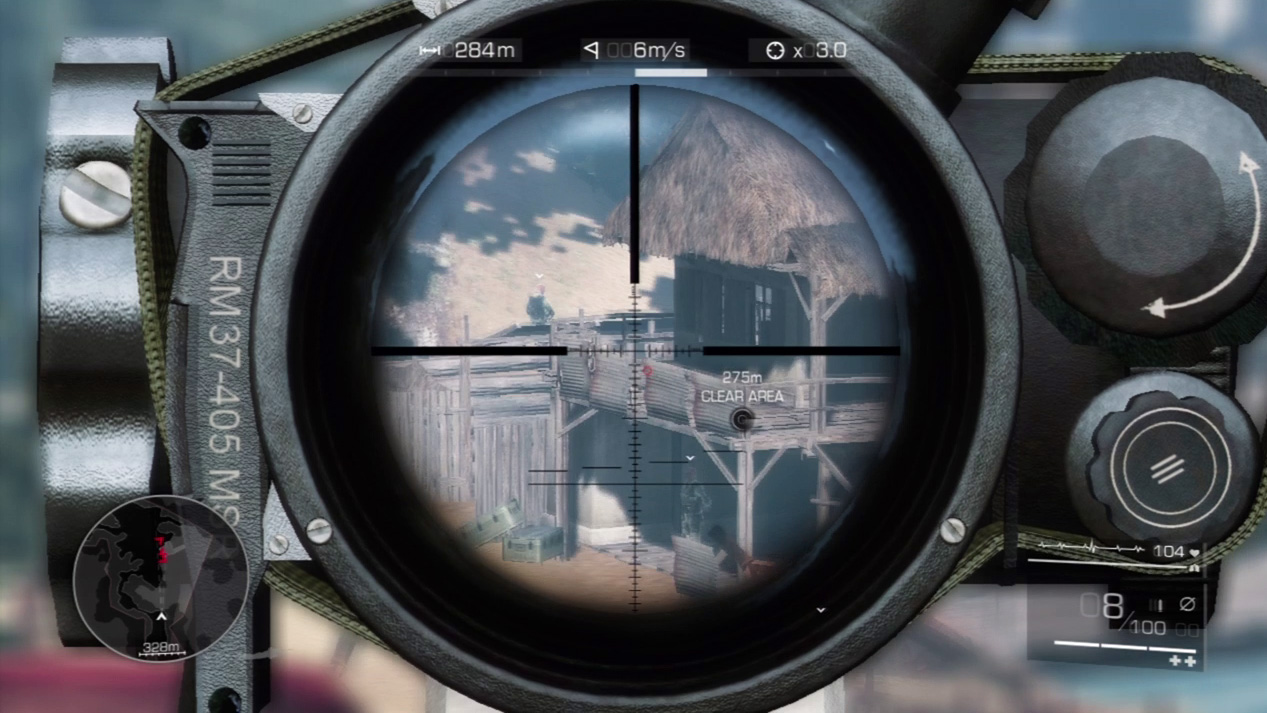
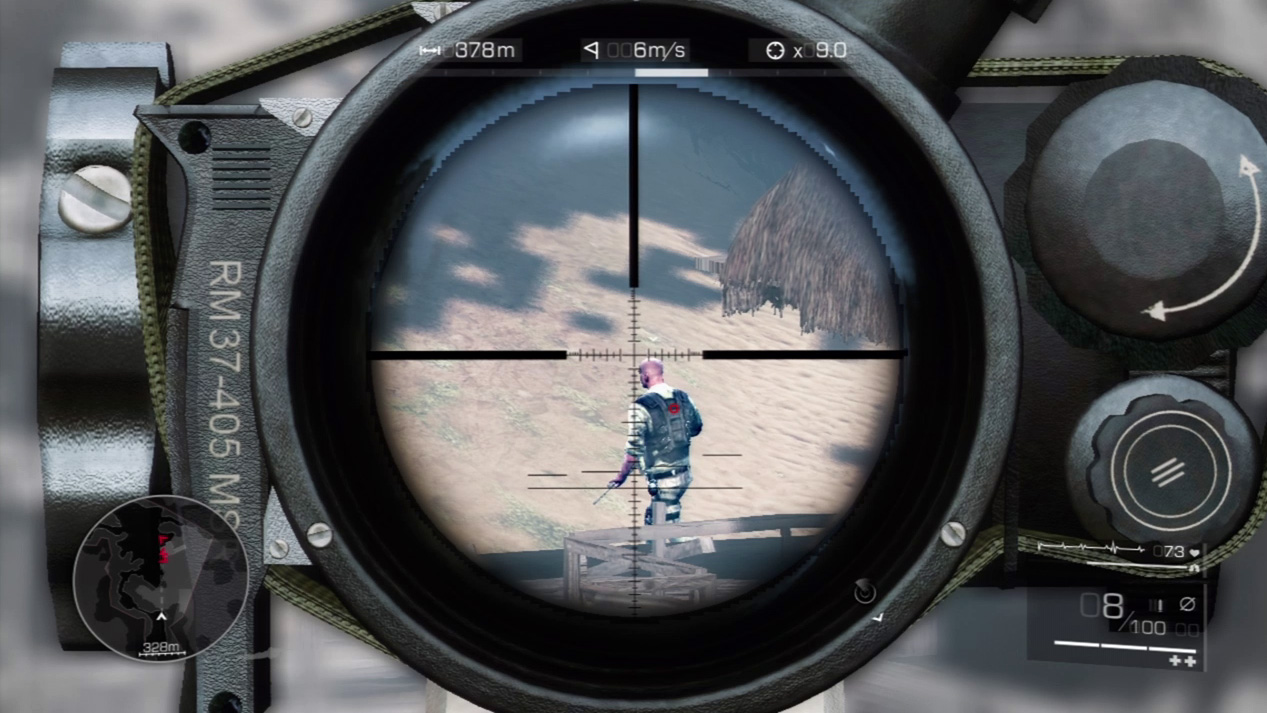
The third enemy searches the jungle to the left of the beach house. He’s the most difficult to locate from you sniper spot. With patience, however, you’ll see him break off from his jungle patrol and check out the beach behind the house. When he comes into sight, quickly zoom in on him and drop him out of view of the remaining enemies out front.
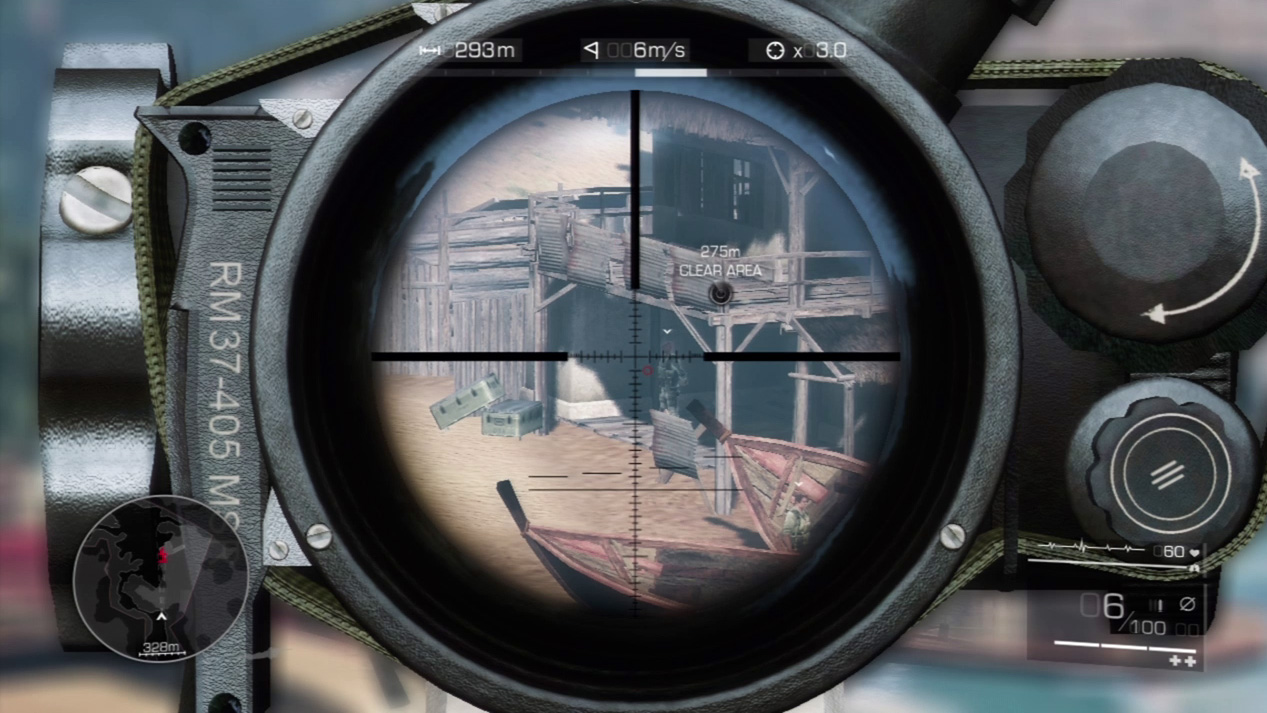
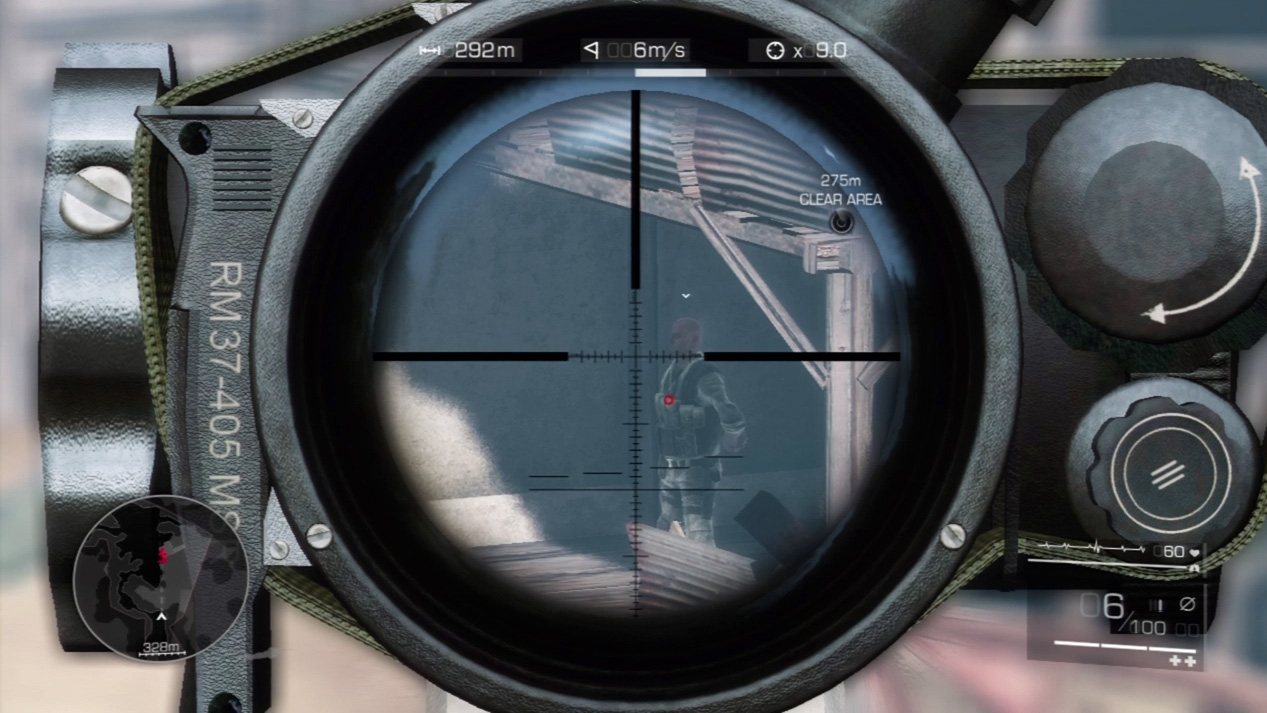
There are two more enemies out front, one standing in the shadows by the left, front corner and one working on the boats closer to you. The one in the shadows can see you shoot the enemy by the boats, which means he has to go first. Take your time as you line up either a headshot or the safer torso shot.
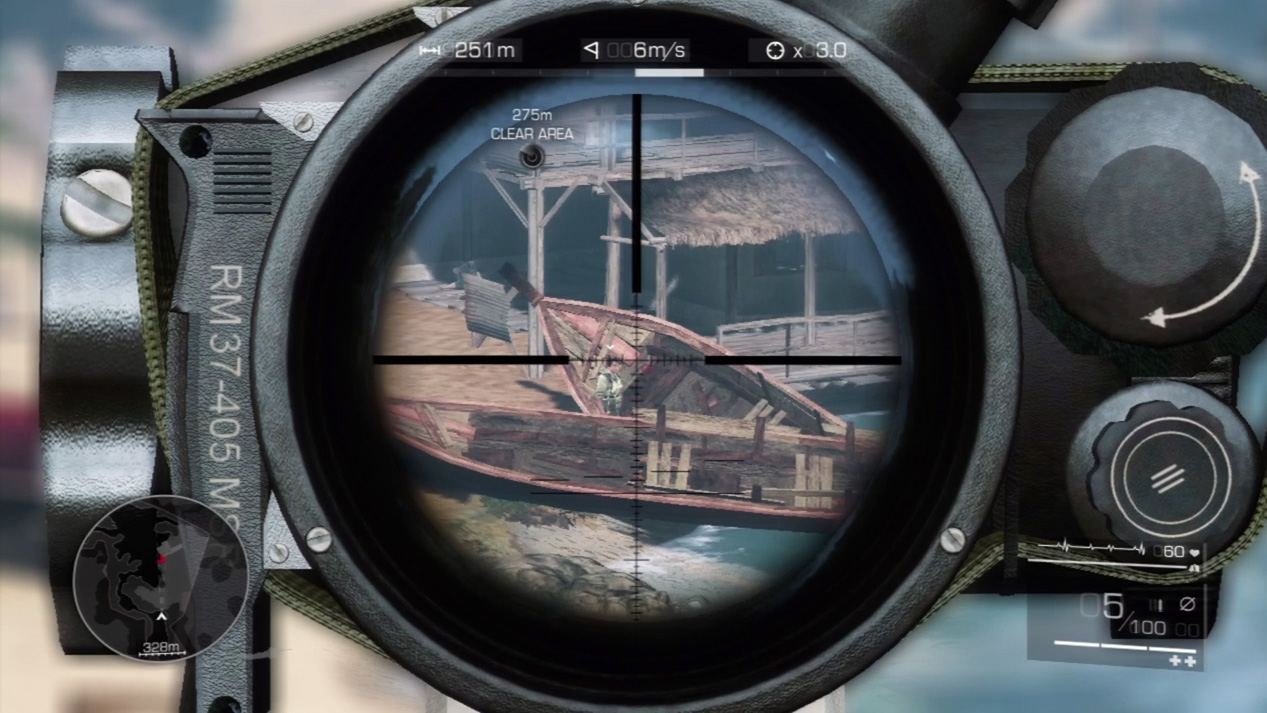
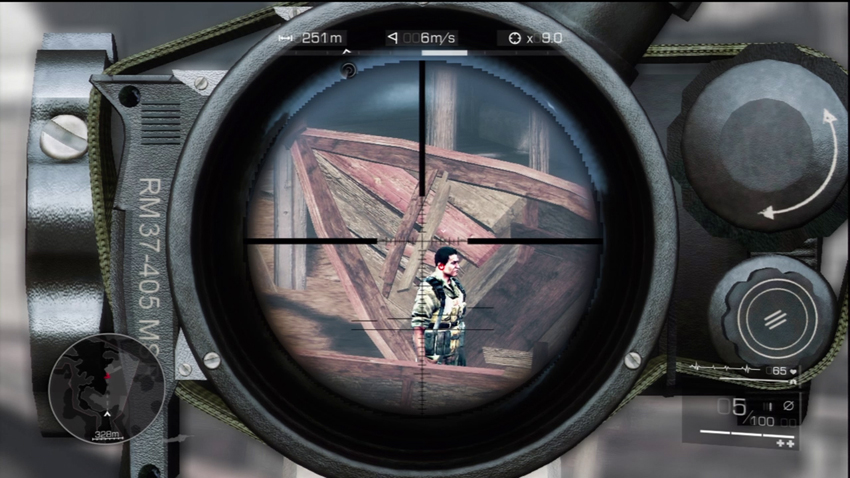
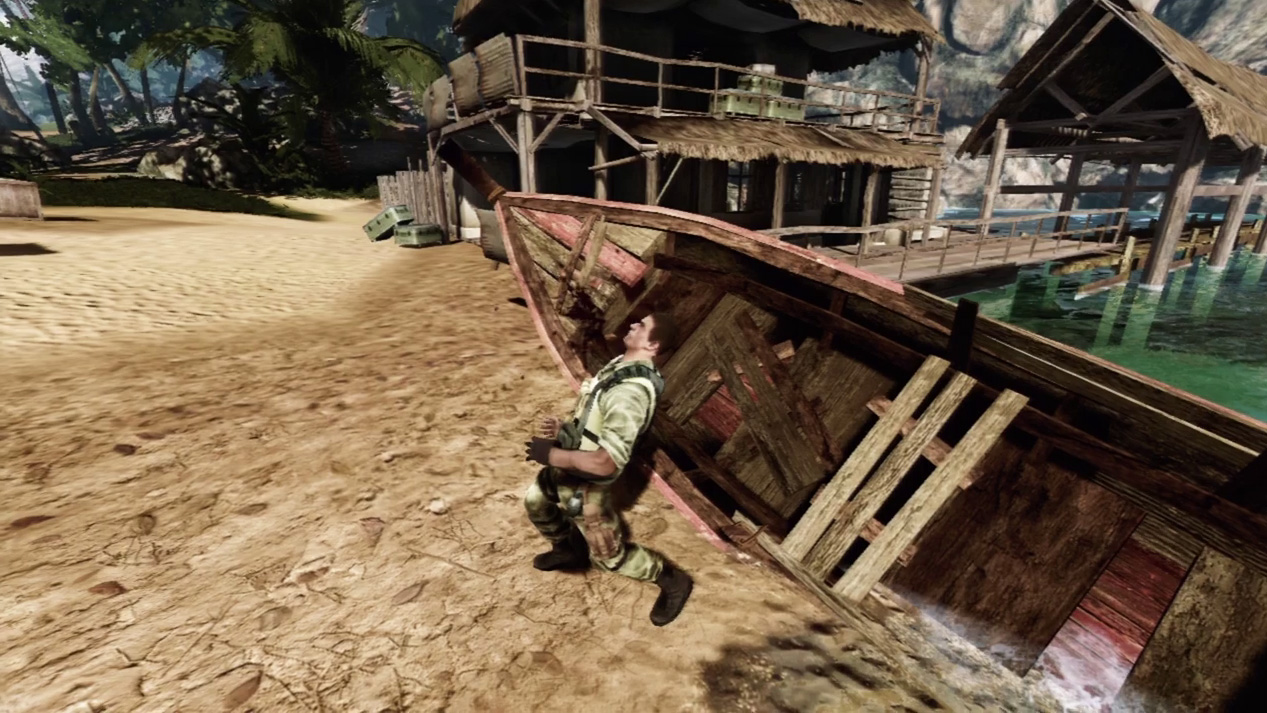
Look for the final beach house enemy between the two boats. Zero in on a clear shot and take it when he’s in your sights. When he falls, it’s clear to proceed.
Waypoint 3
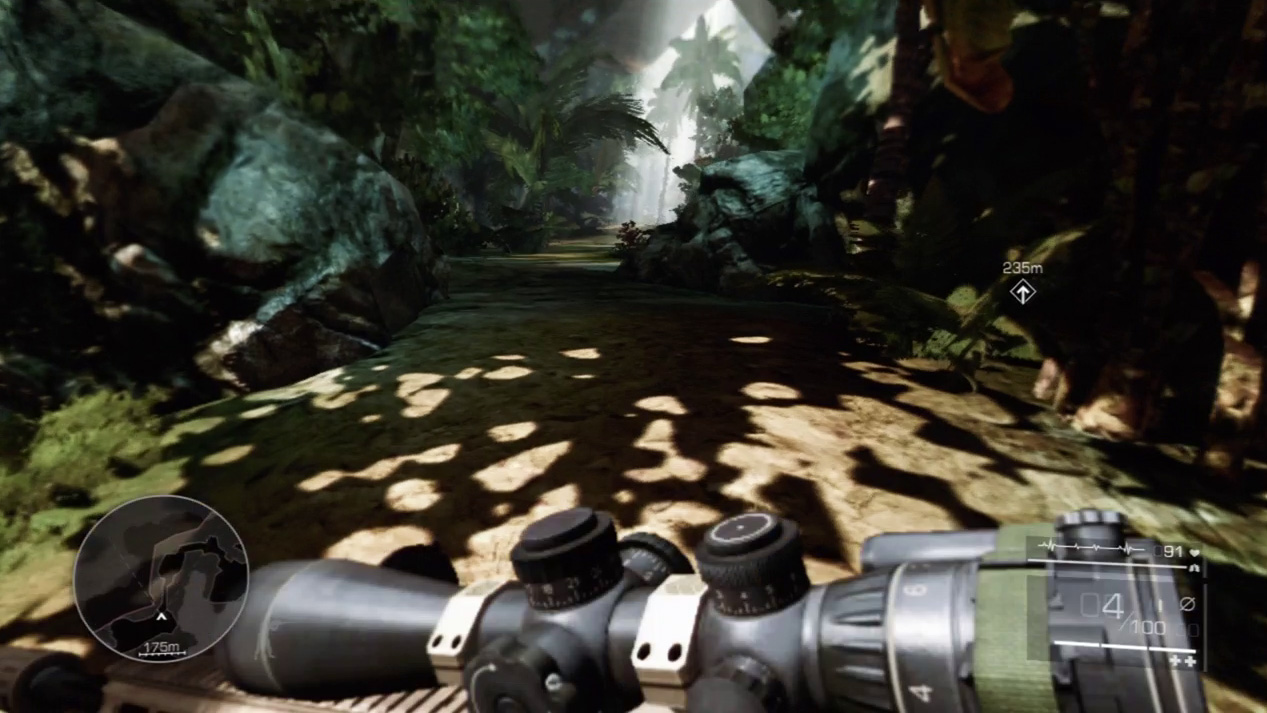
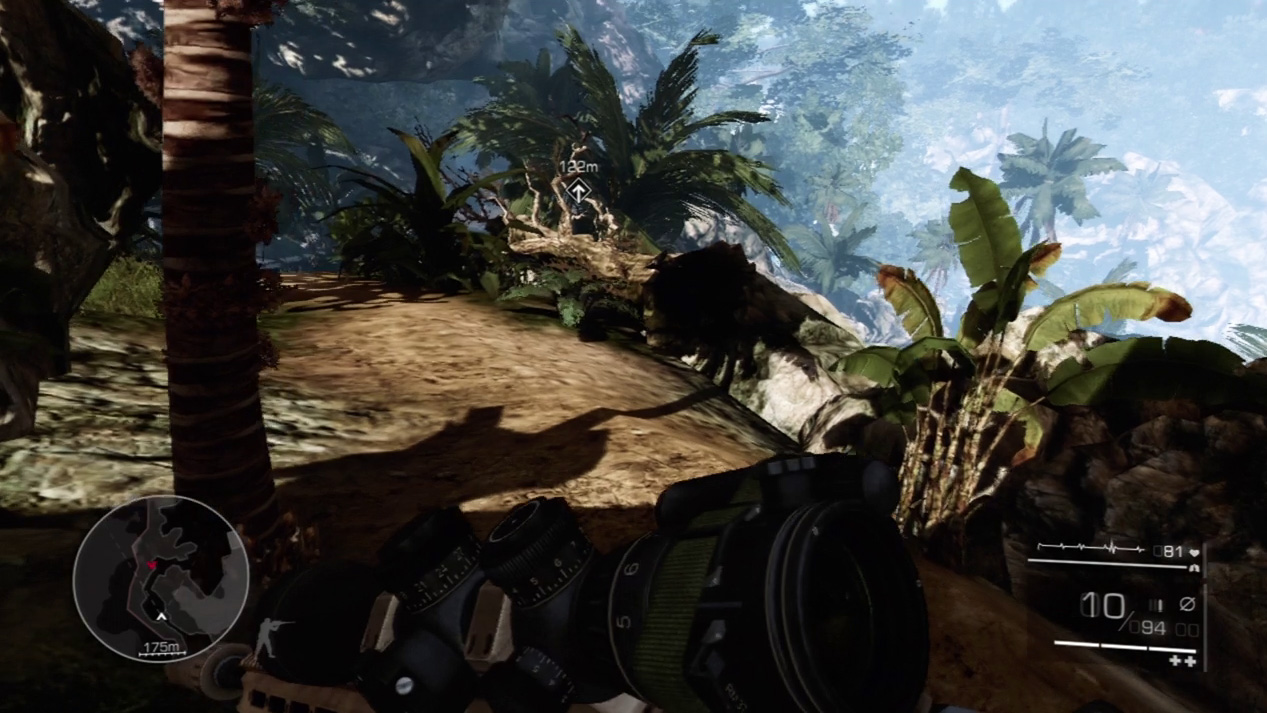
Take the path toward the beach house. It will slowly wind down toward the beach, but there is one final enemy in a small outpost ahead.
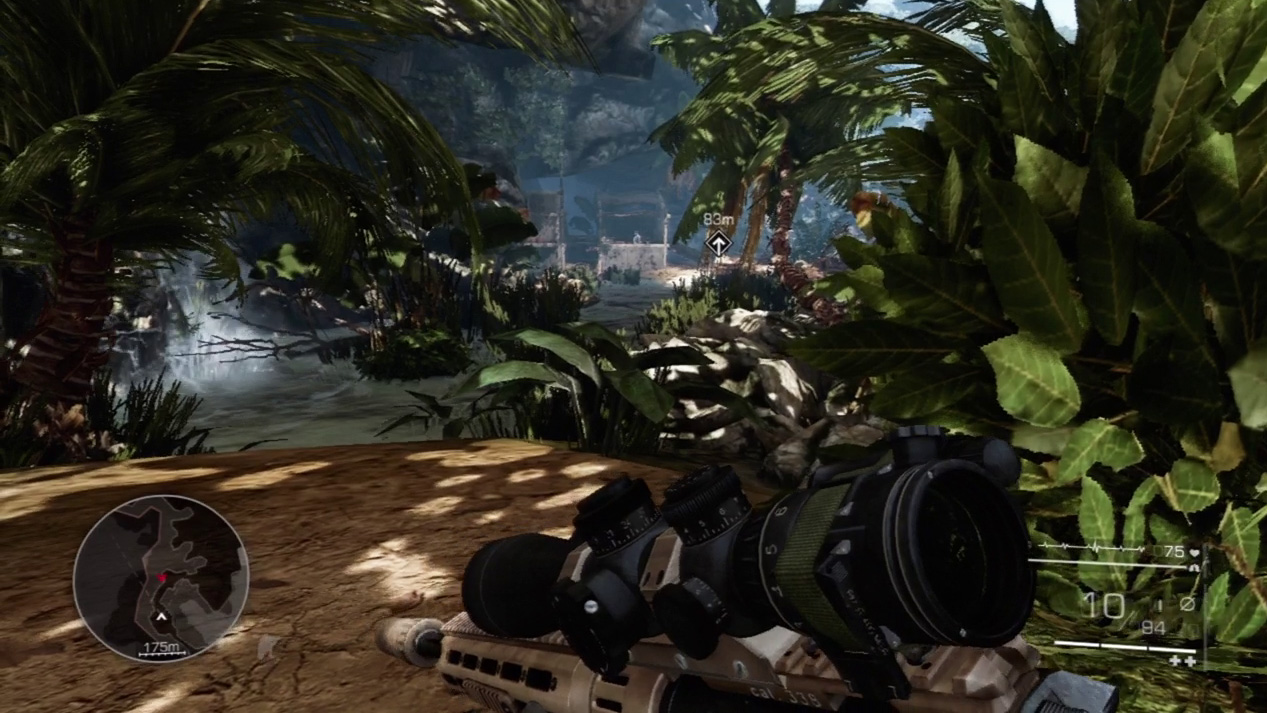
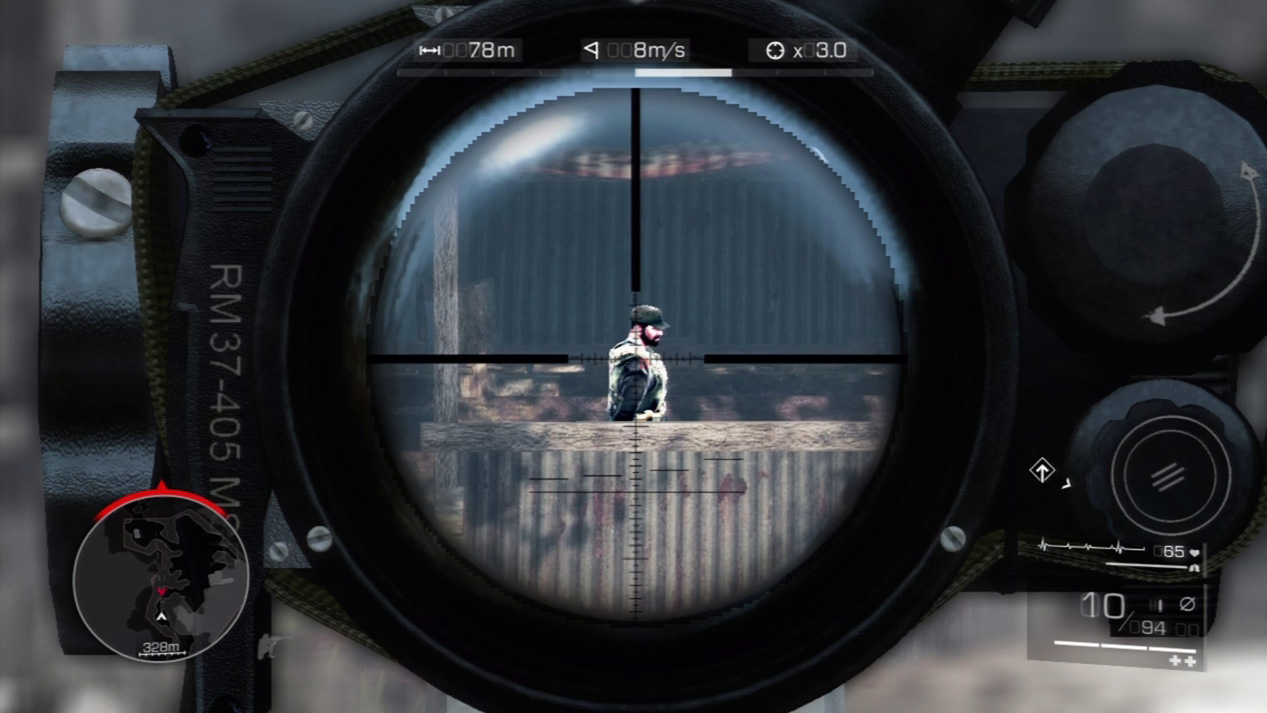
Go into a crouch when the enemy appears on your minimap. Slide along the vegetation until you spot the small outpost.
The enemy watches the path, so either drop into a prone position and pick him off from the edge of the vegetation or take one step out into the open and unload on him with a quicker shot from the crouch position.
Act 1: Secret 9
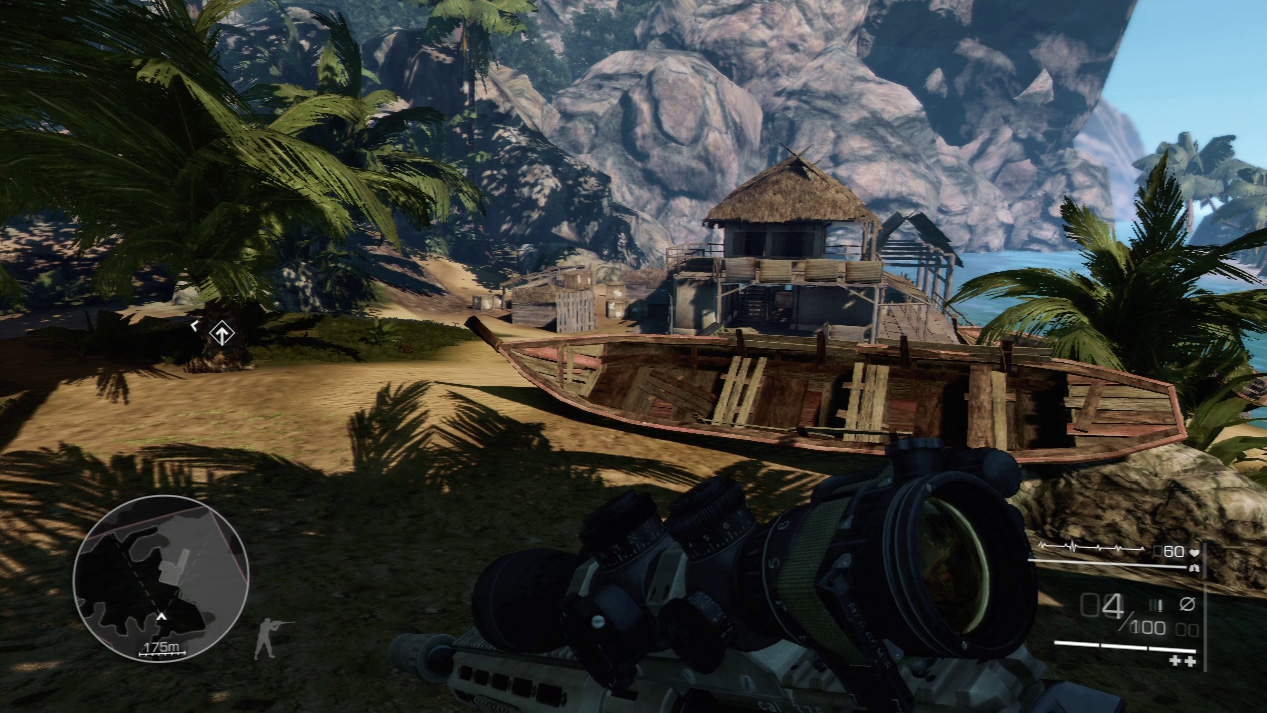
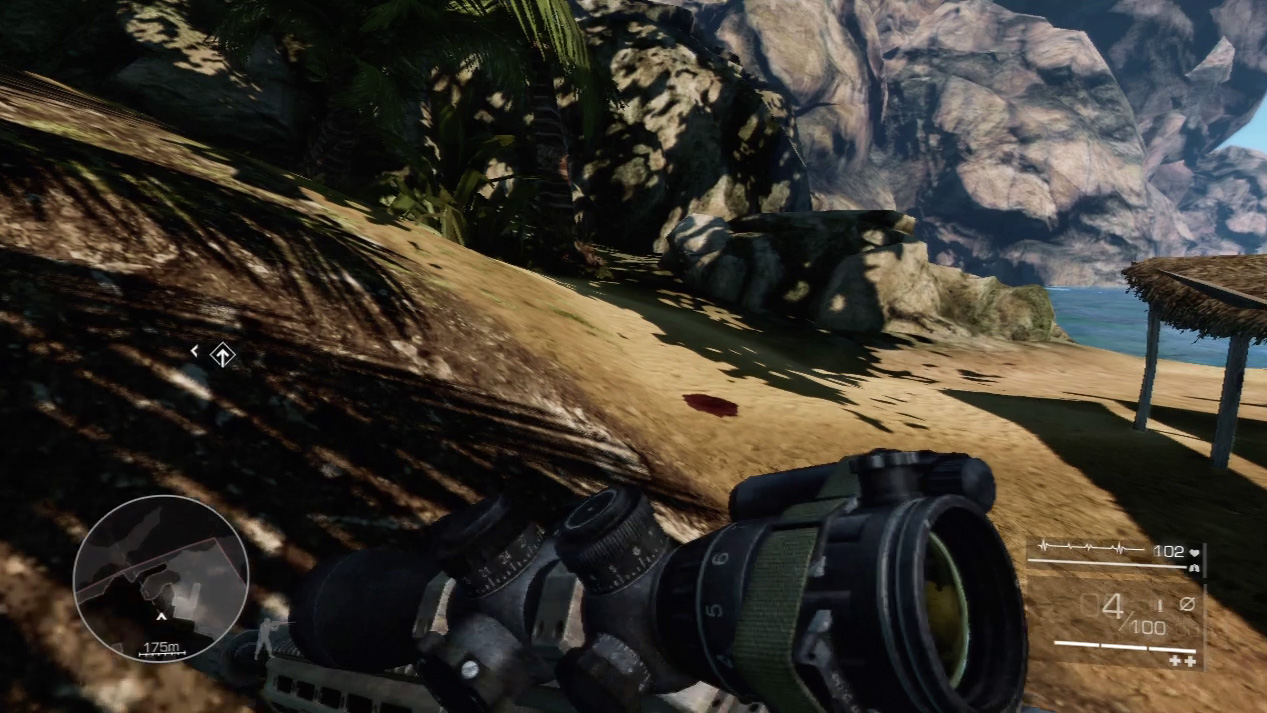
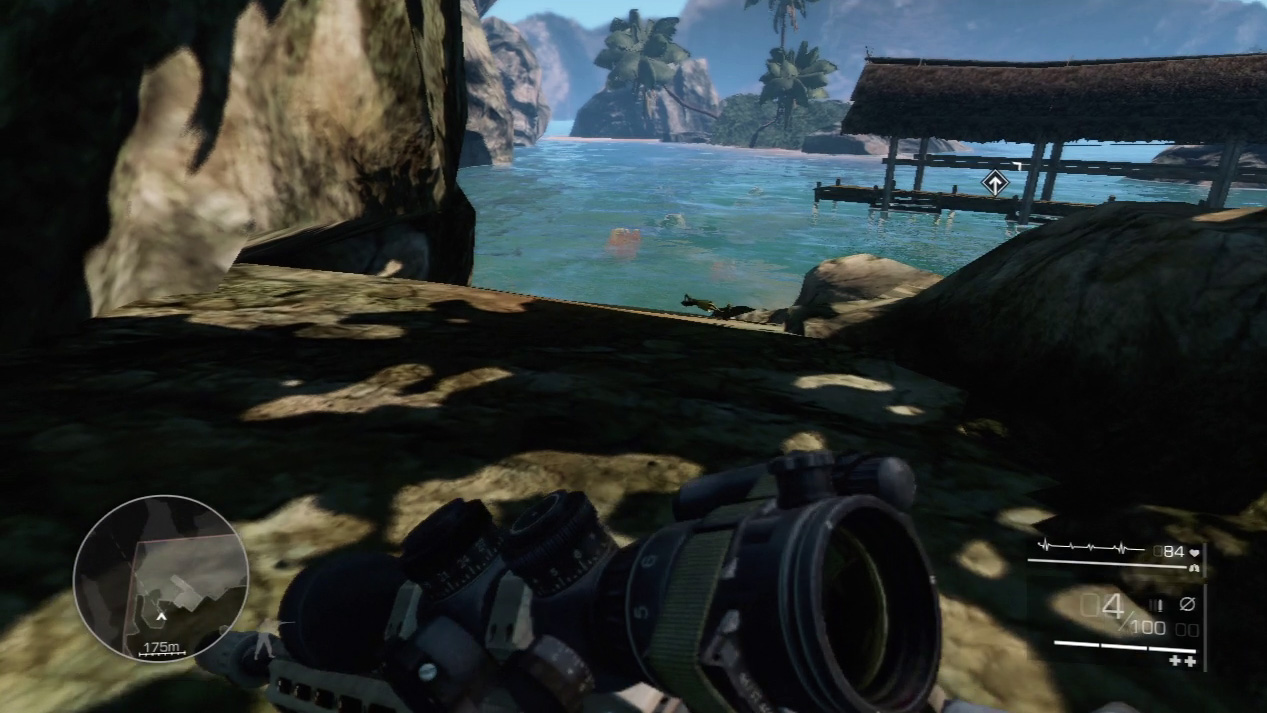
Someone has discarded the first secret of mission 3 in the sand behind the beach house. Walk around the beach house to a large rock by the shoreline.
Turn right. You’ll see the pier in the background and the statue lying on its side in the sand in front of you.
Waypoint 4
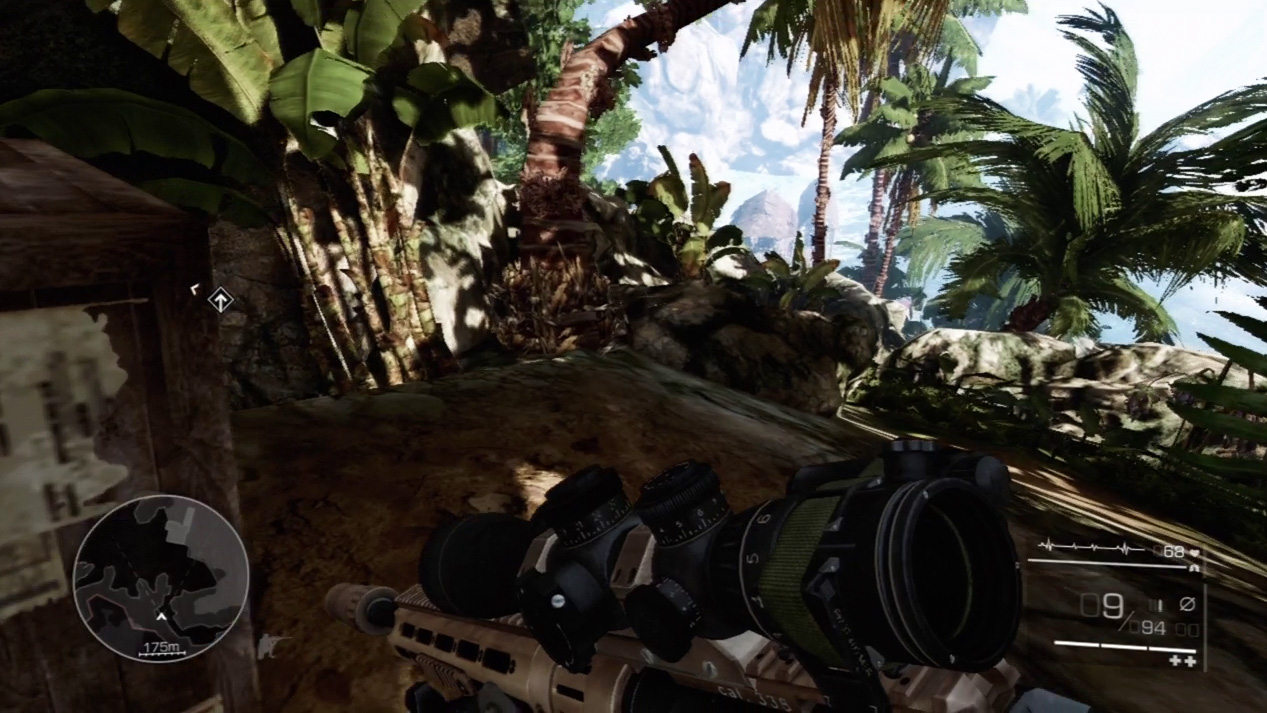
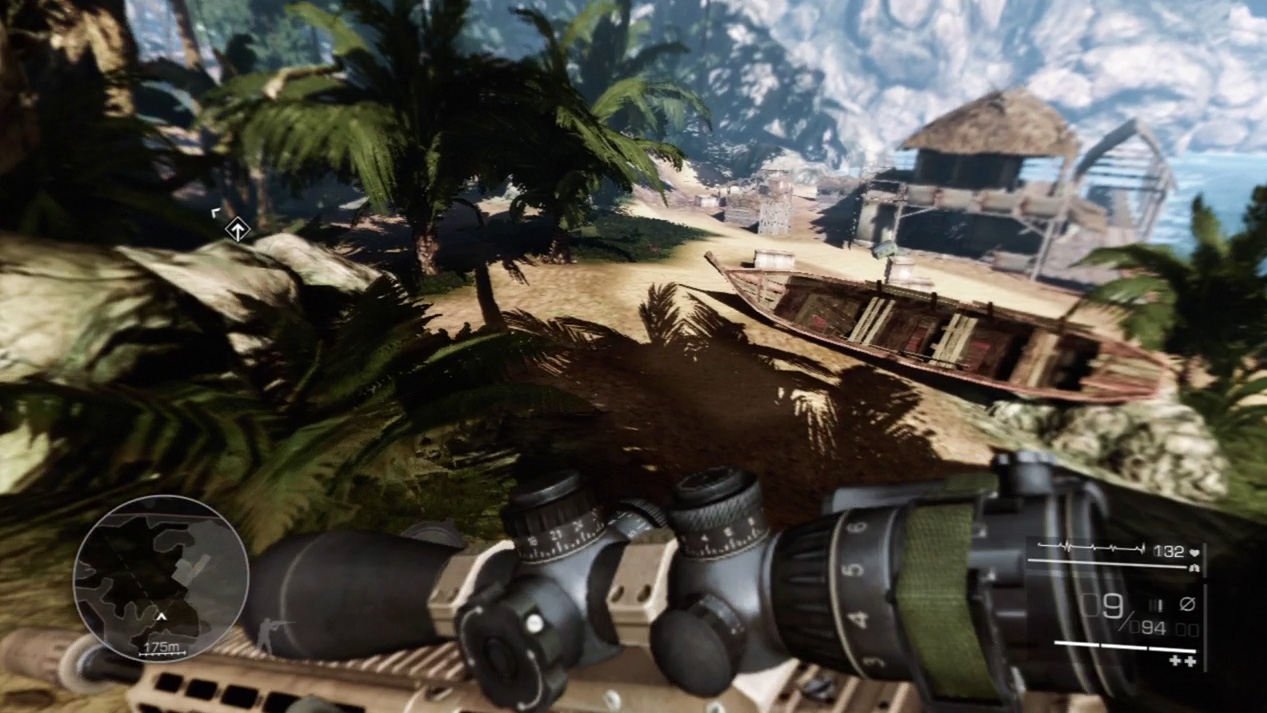
Descend to the beach and travel alongside the beach house.
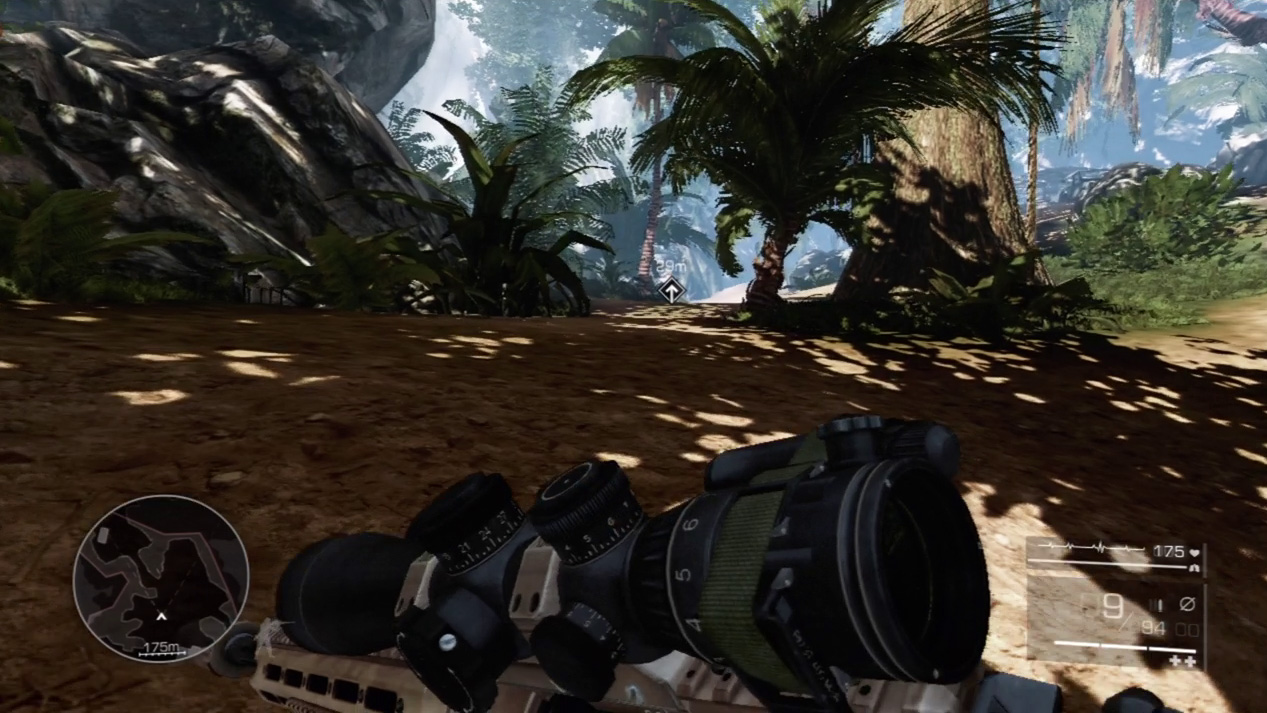
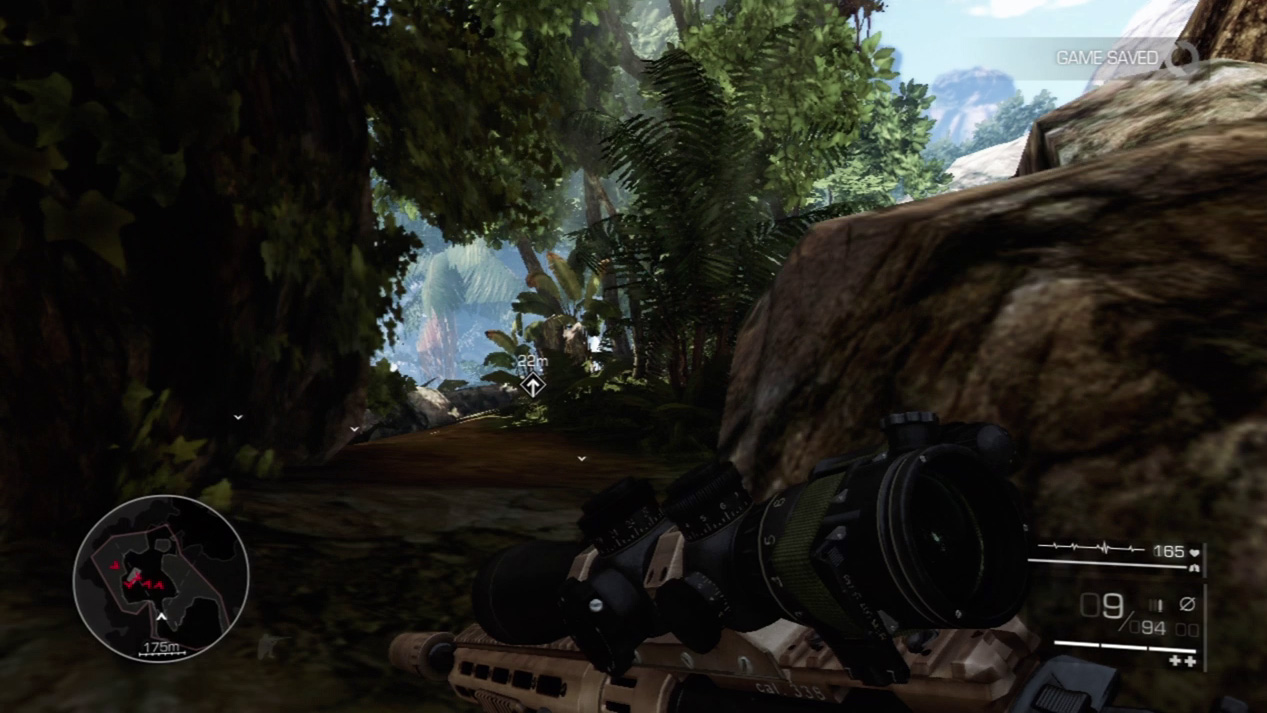
Sprint back into the jungle and follow the path up the hill to the next enemy encampment.
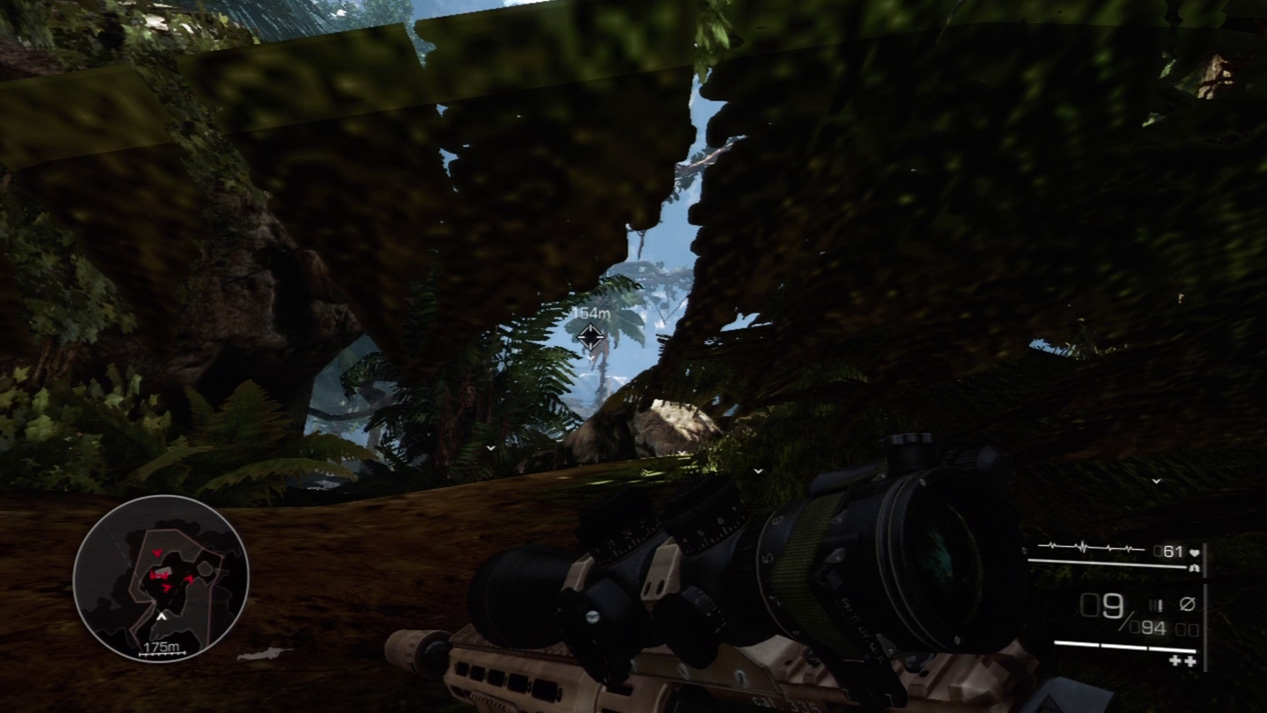
Drop prone and crawl through the foliage until you can see an enemy sniper on the rocks in the distance. If you stay hidden within the foliage and just stick your gun out to scope him, you can surprise the enemy sniper.
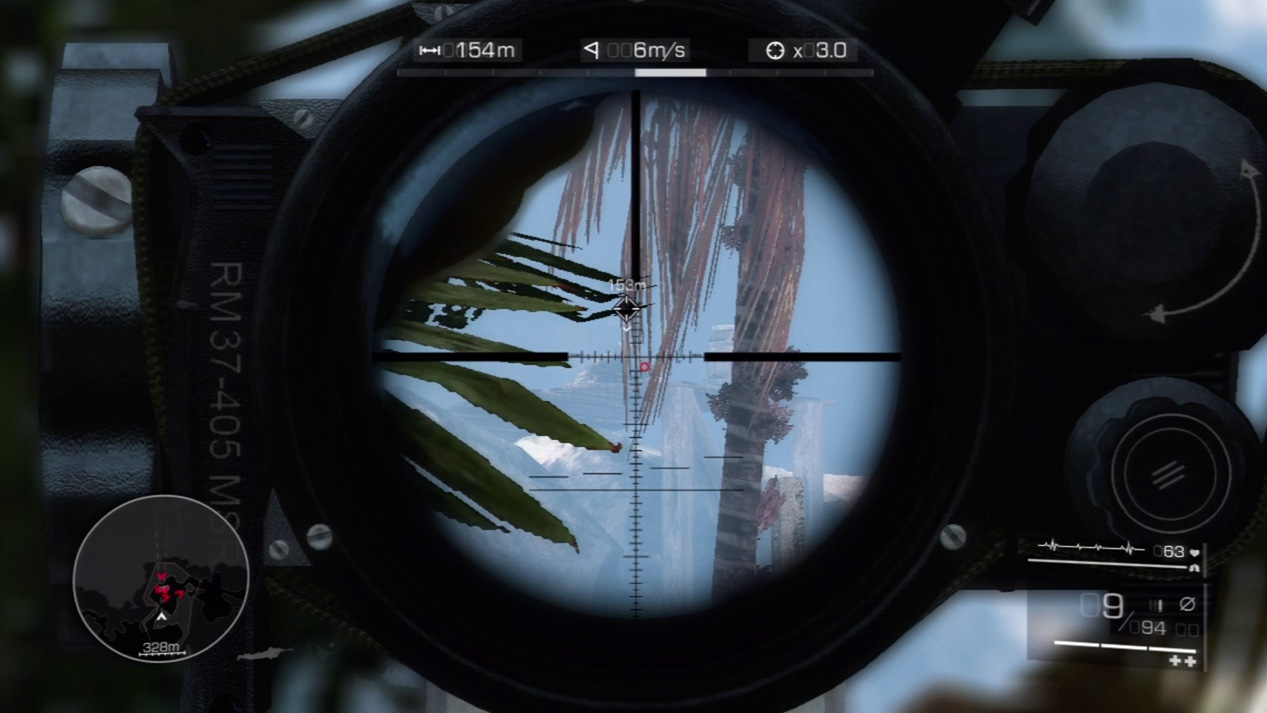
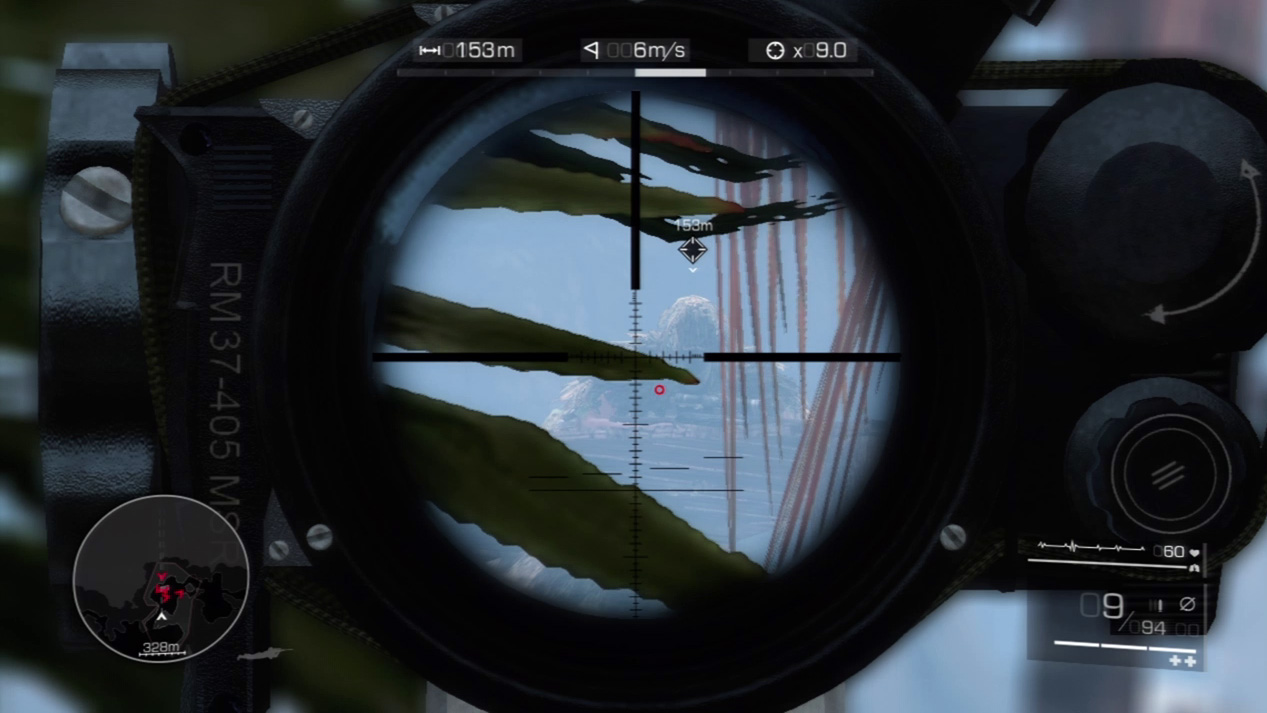
It’s not a very long shot; however, it can prove tricky through all the overhanging plants and trees. Wiggle back and forth until you can spot the enemy sniper clearly. Zoom in and pull the trigger for another kill.
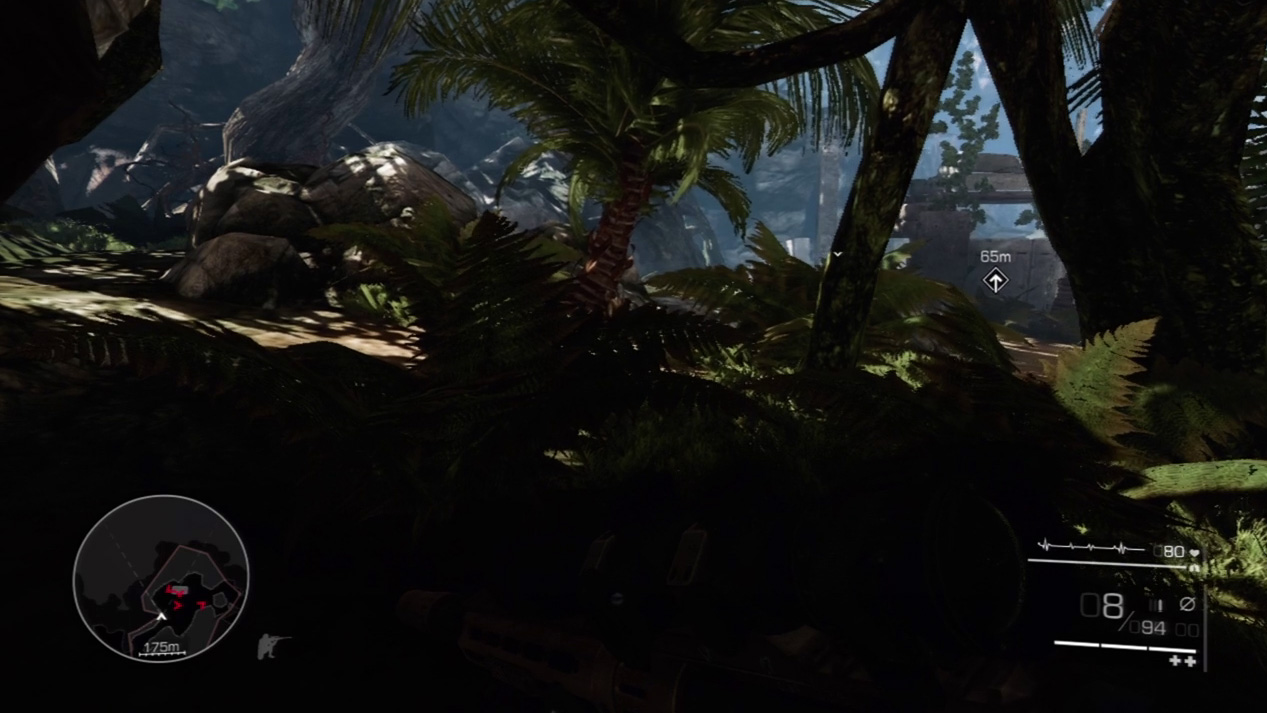
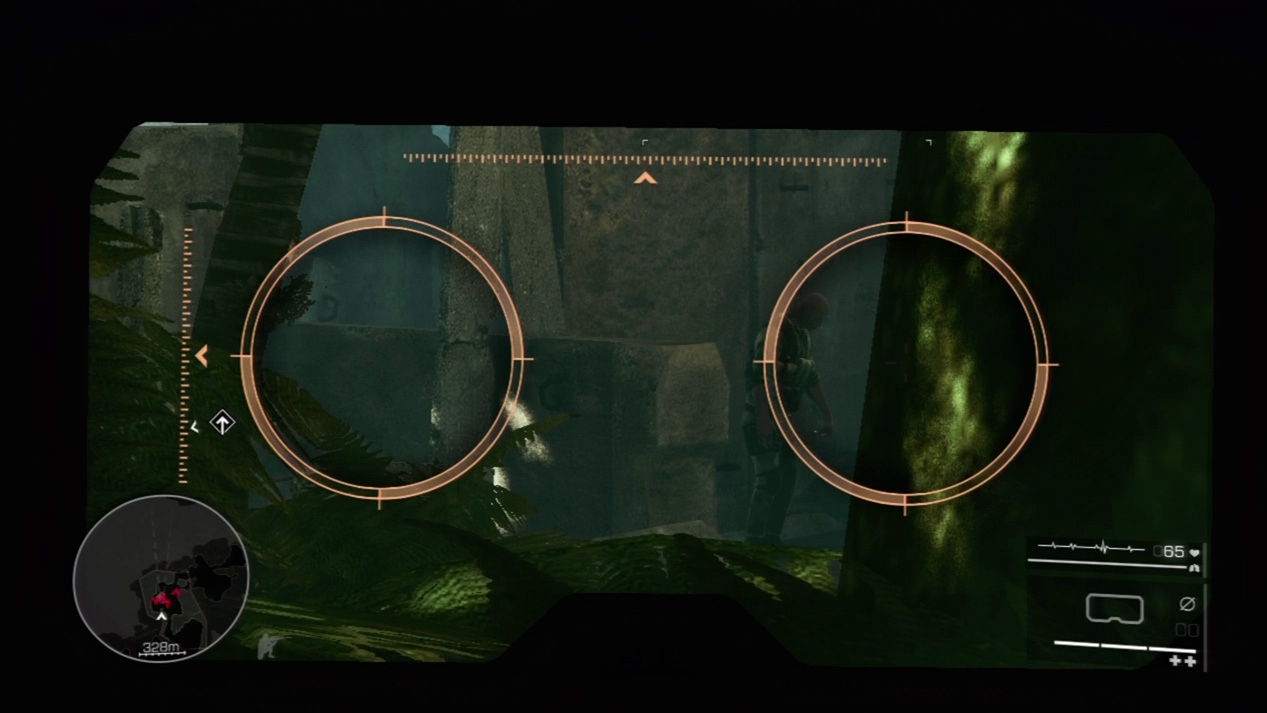
Creep up and hide in the tree clump in front of the enemy bunker. Break out your binoculars to locate the four remaining enemies.
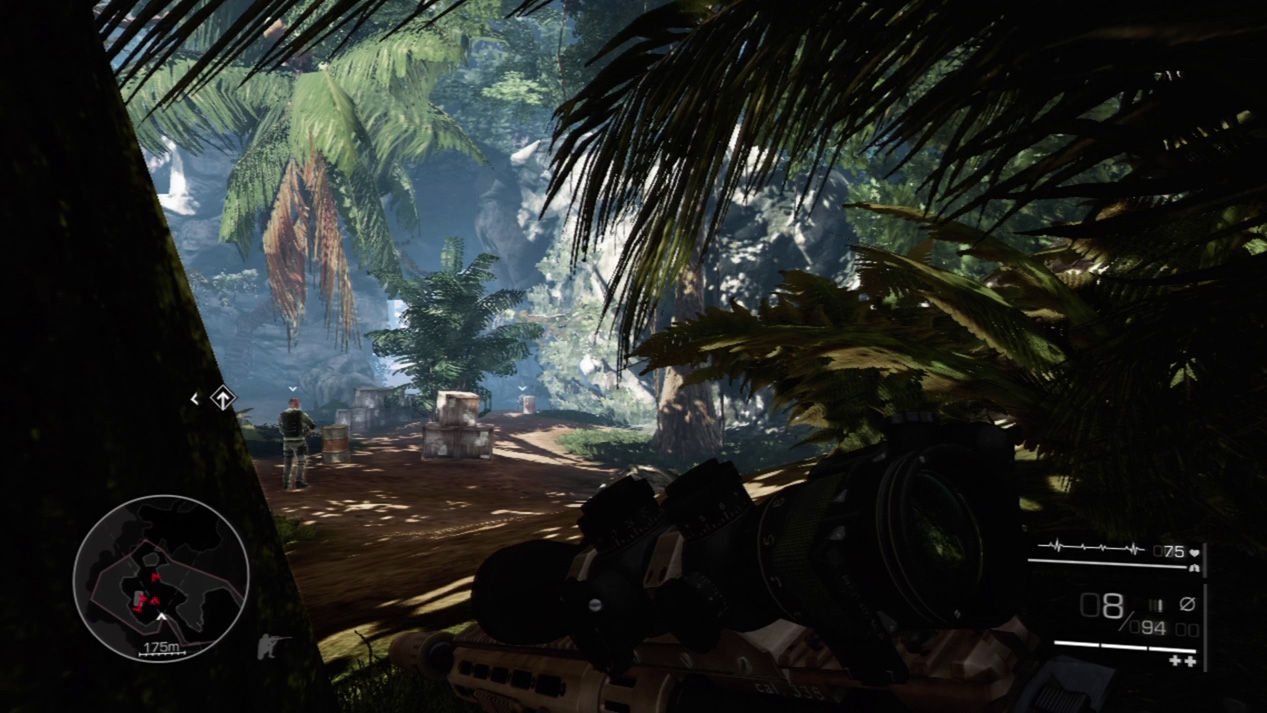
Look to your right for the first enemy. You will take out the enemy on the far right first, then move back to take out the enemy on the far left, then you’ll worry about the two enemies in the middle.
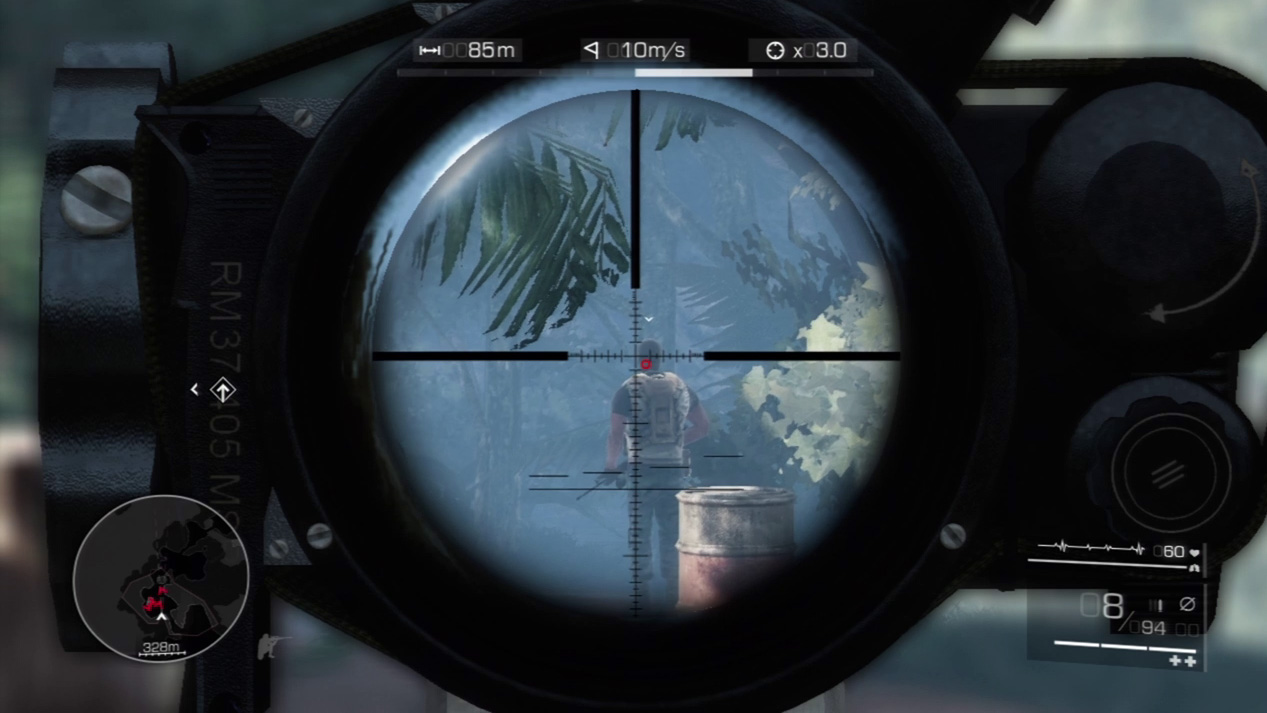
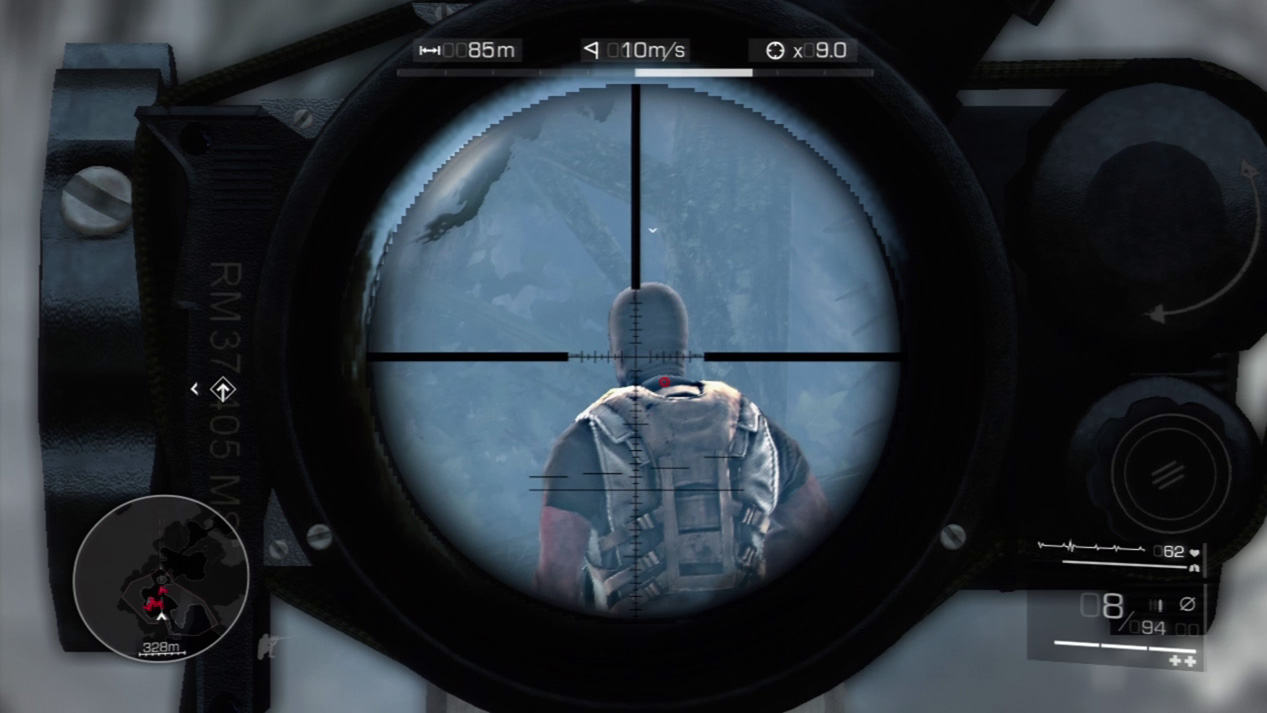
Zoom in on the guard to the far right standing by the barrels. A precise, quiet shot does not alert the other guards and means one less threat against you.
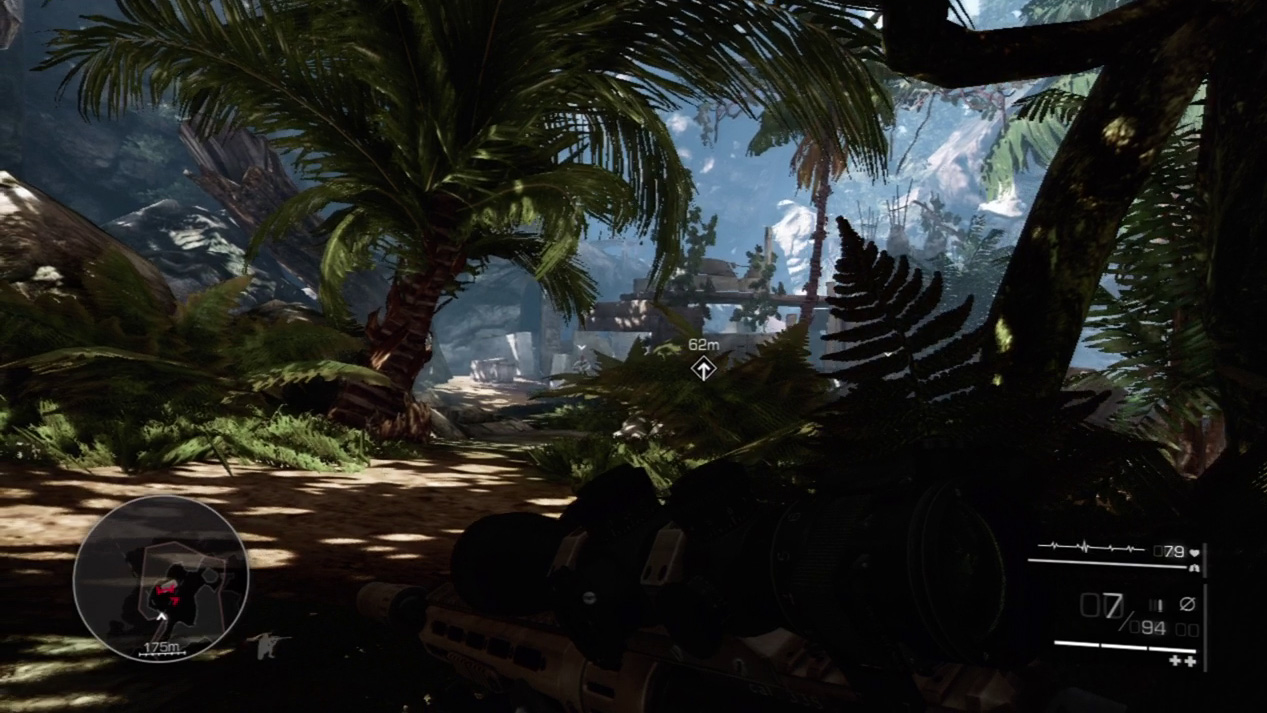
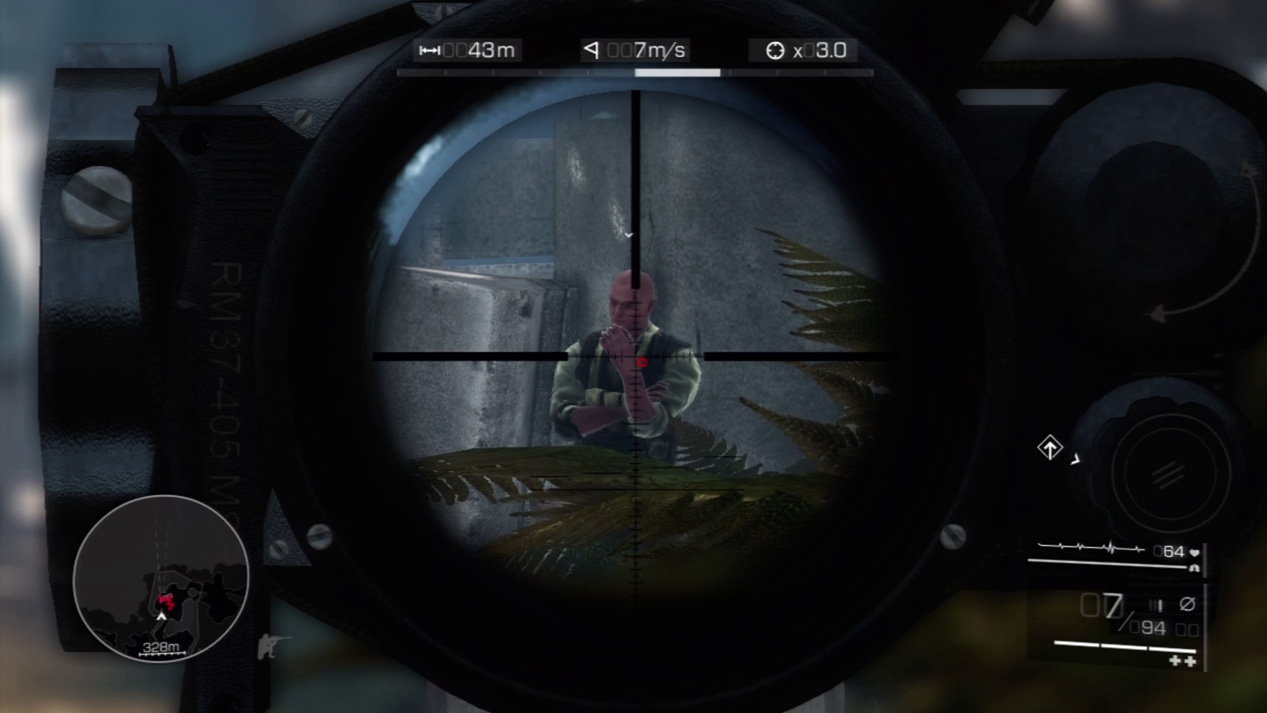
Shift back to the left and search for the guard standing near the corner. Take him out with a single shot.
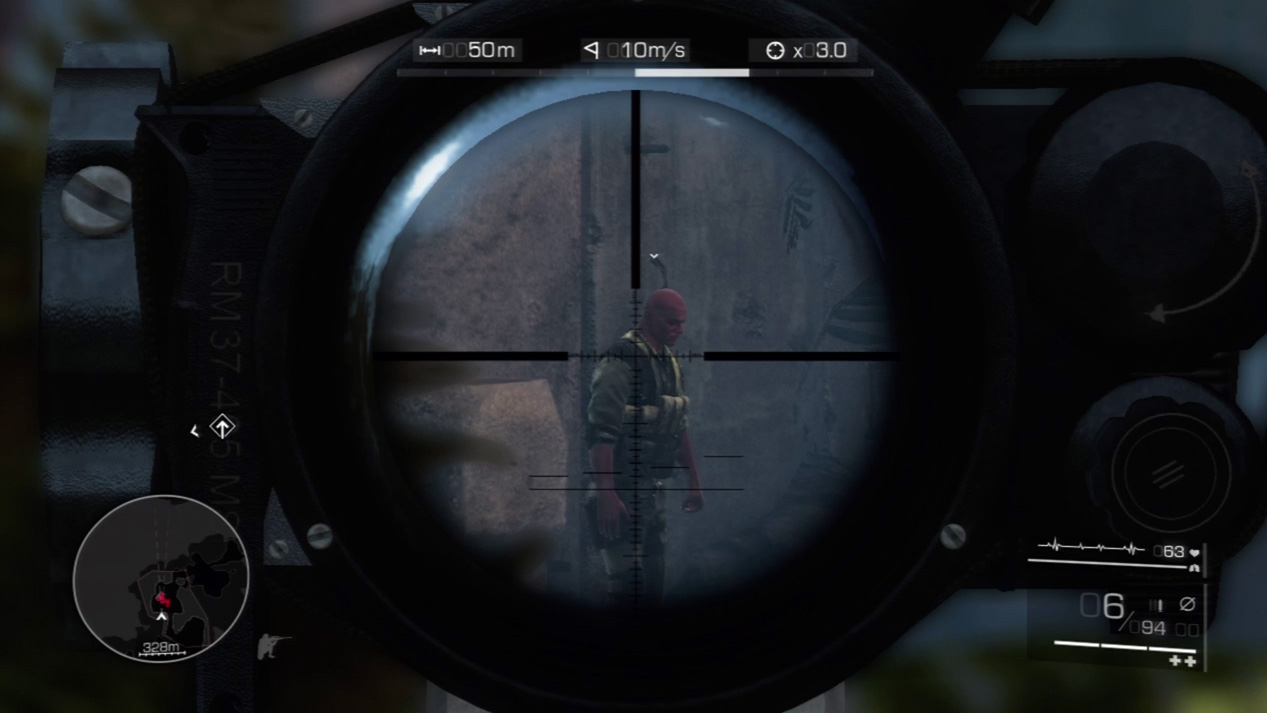
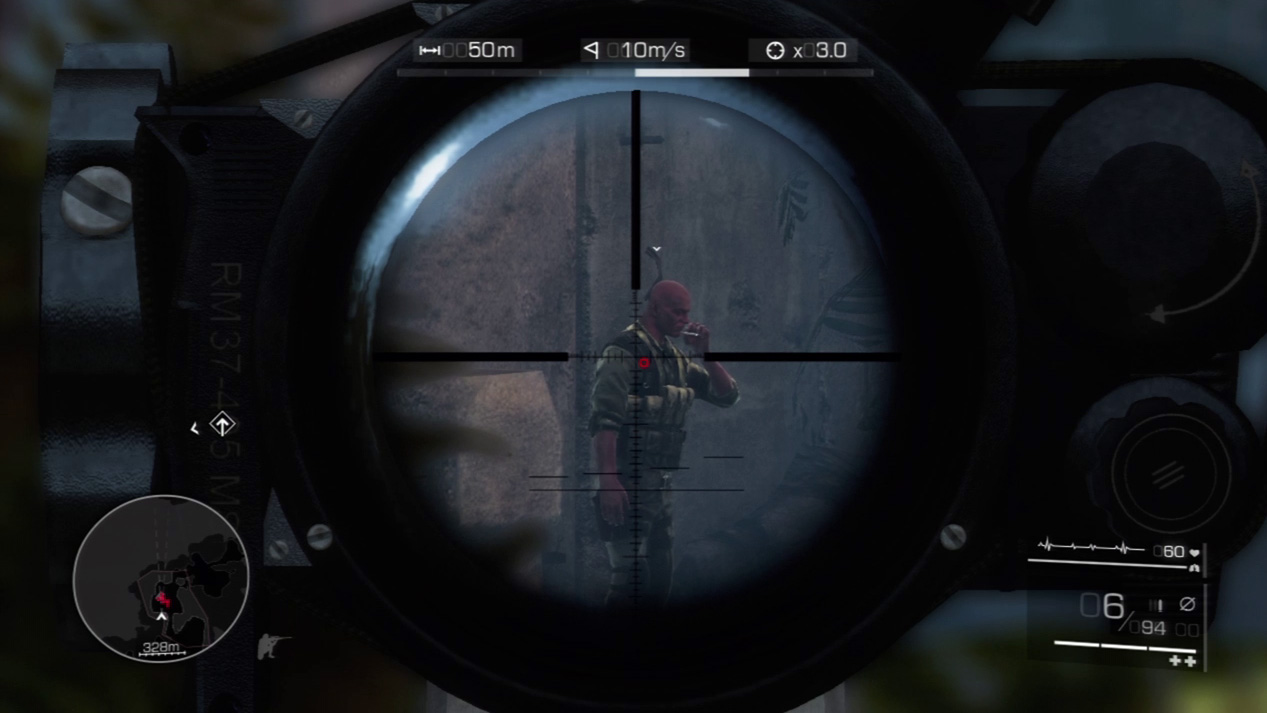
Shift slightly to your right and you should locate the first of the two middle enemies. While he slacks off on a smoke break, end his life with one more bullet.
Special Shot: Threading the Needle
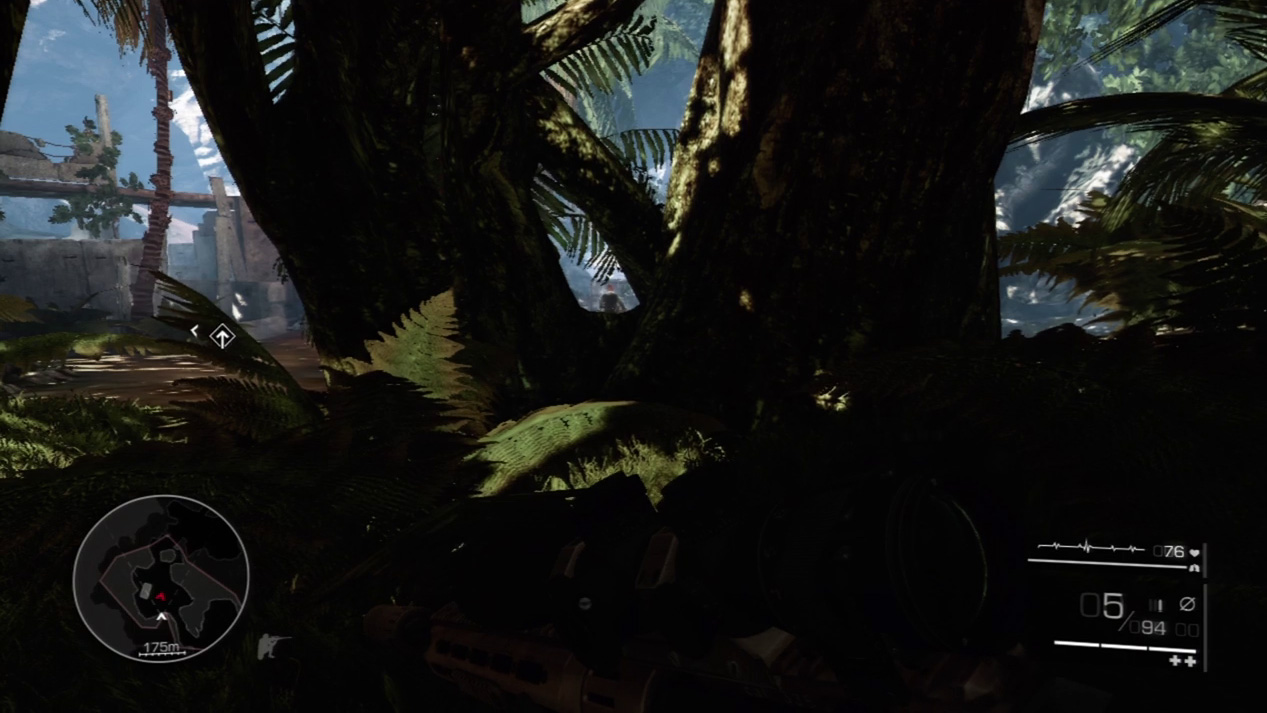
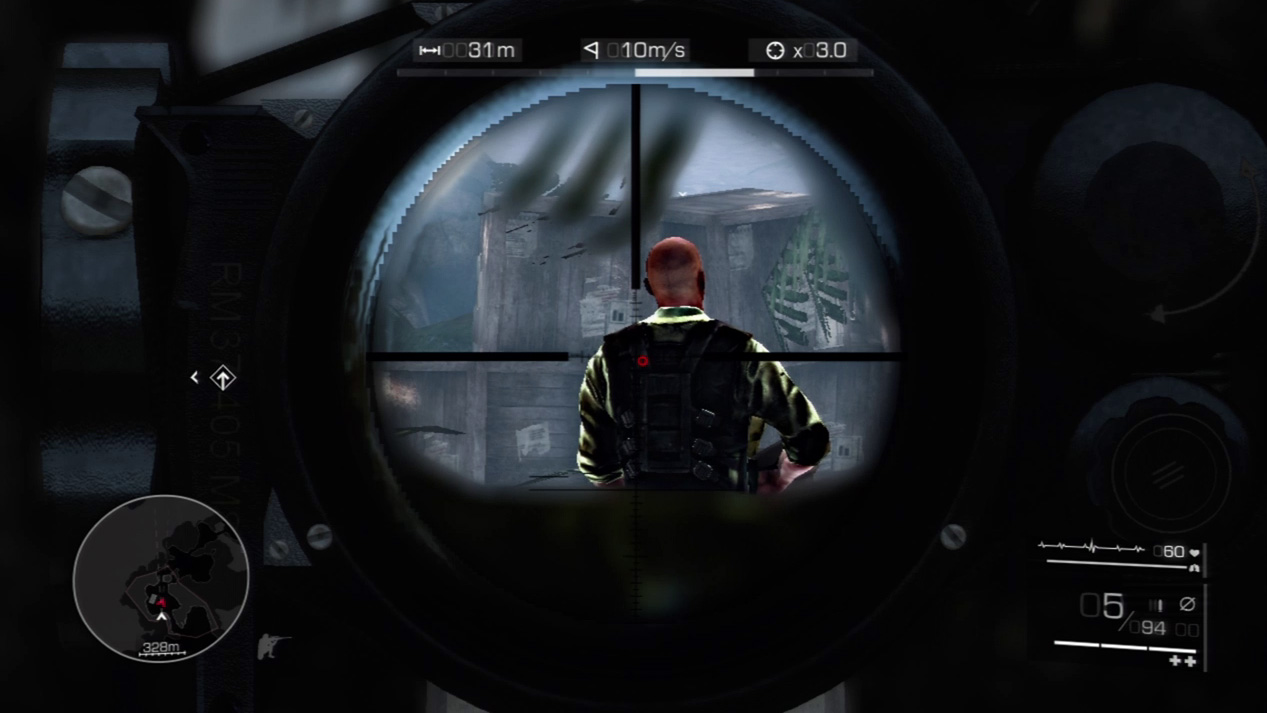
Some shots in the game requiring pure precision. You may have to put your bullet in a gap of only few centimeters, such as the case here if you want to slug the last enemy in the back. Aim between the two trees and score a skilled kill shot with a back headshot or torso shot.
Waypoint 5
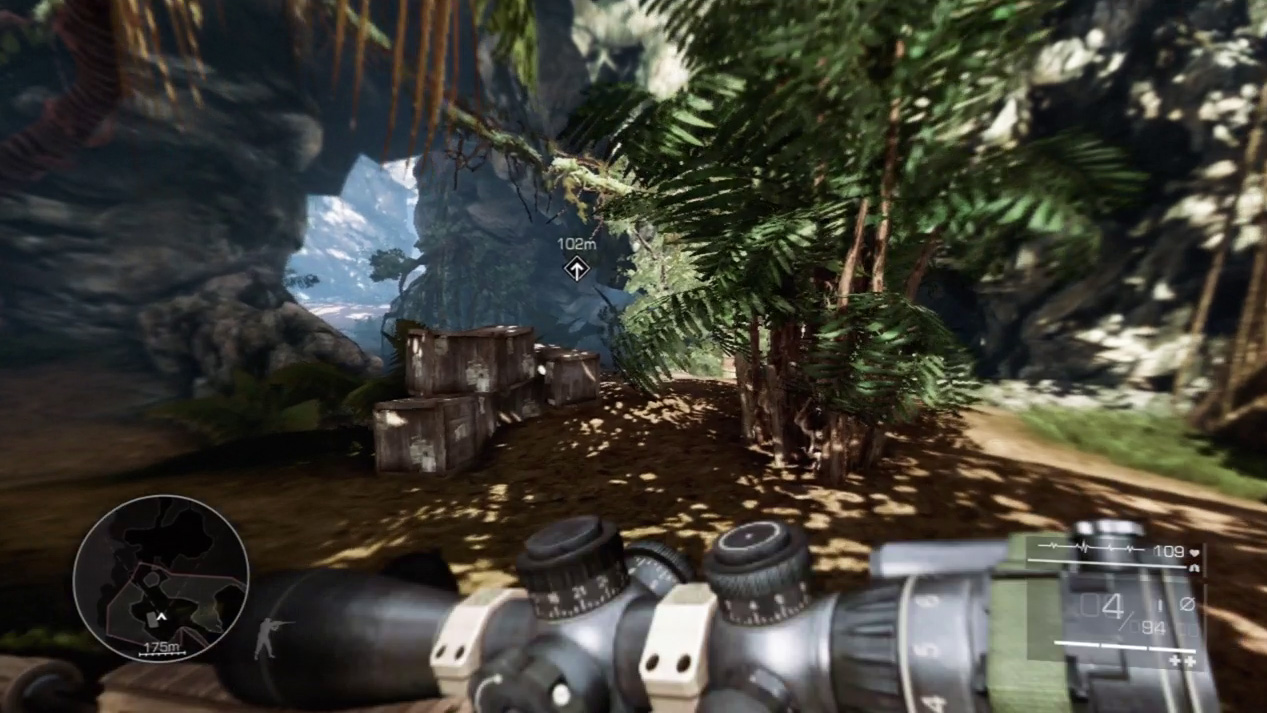
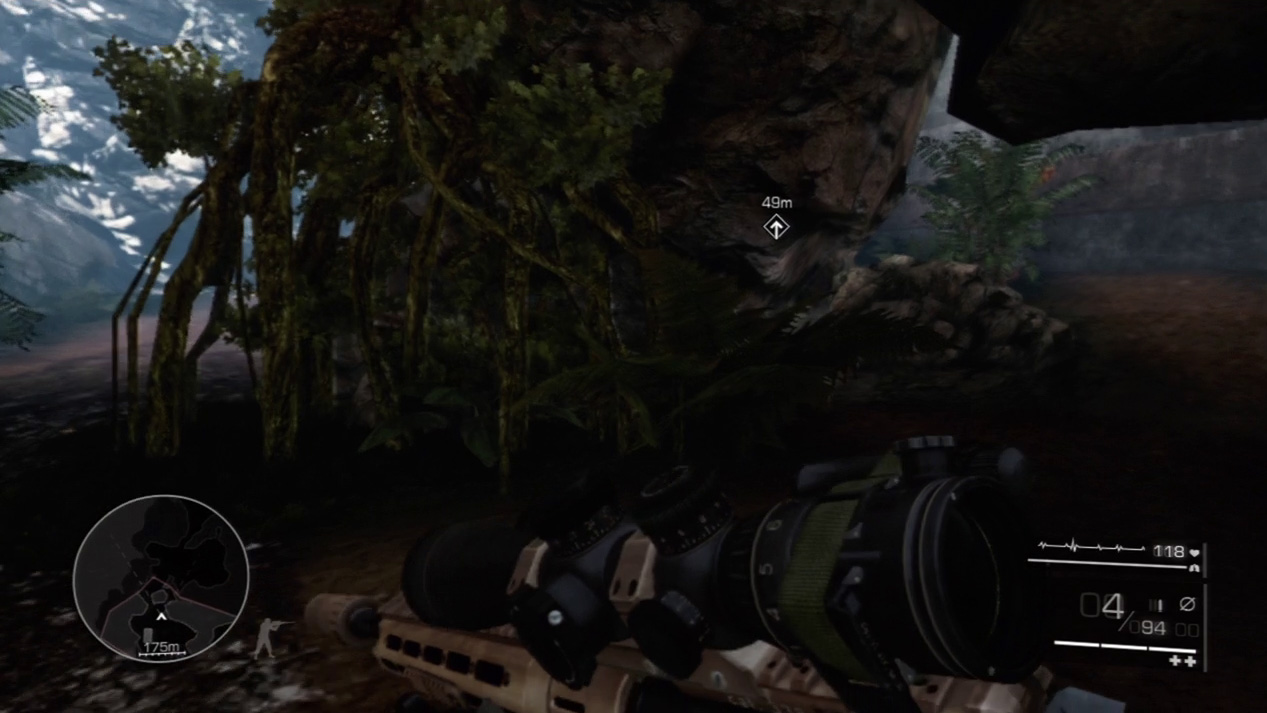
Follow the path deeper into the enemy encampment. When you come to a fork, head to the right. If you go left, you’ll run into the main gate and most likely a firefight with the patrolling guards.
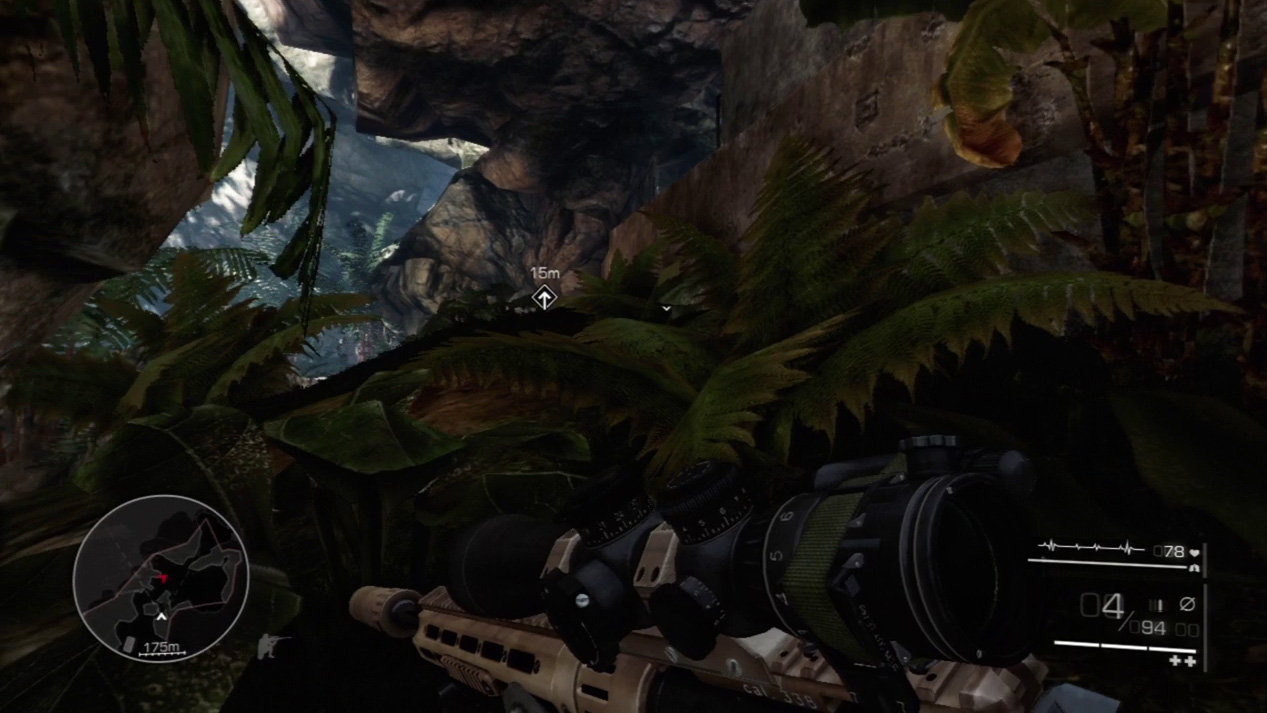
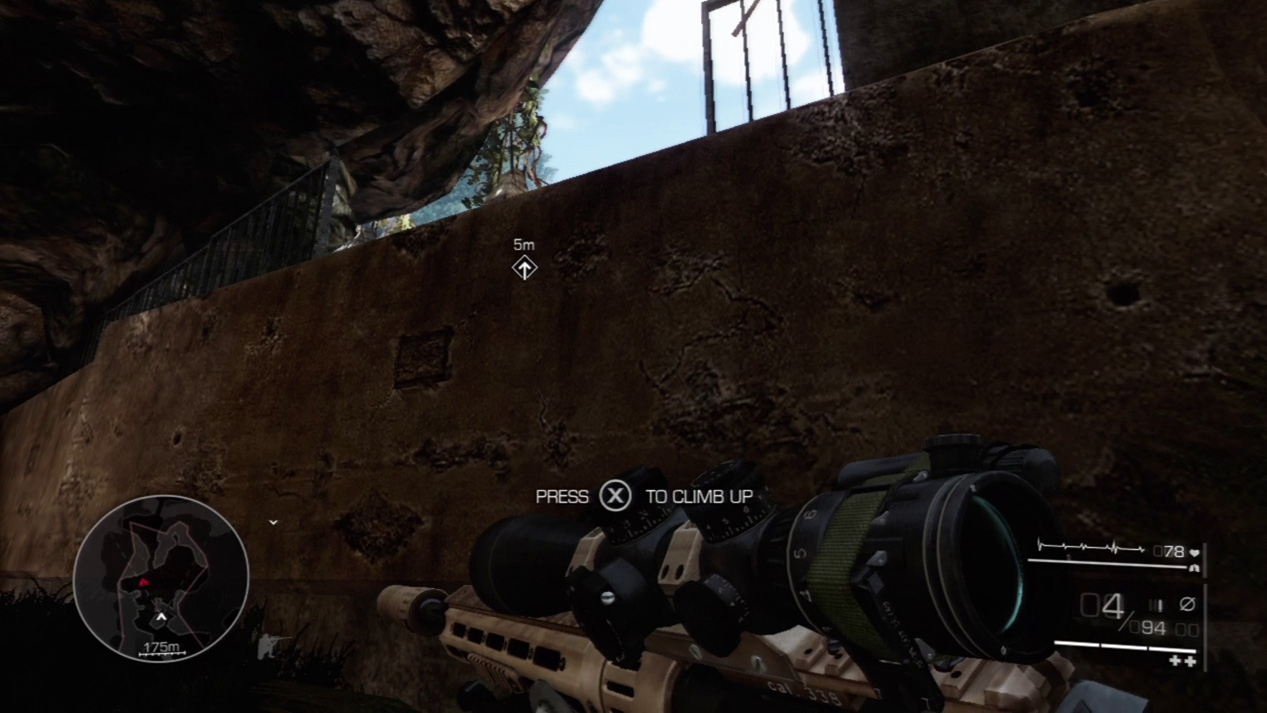
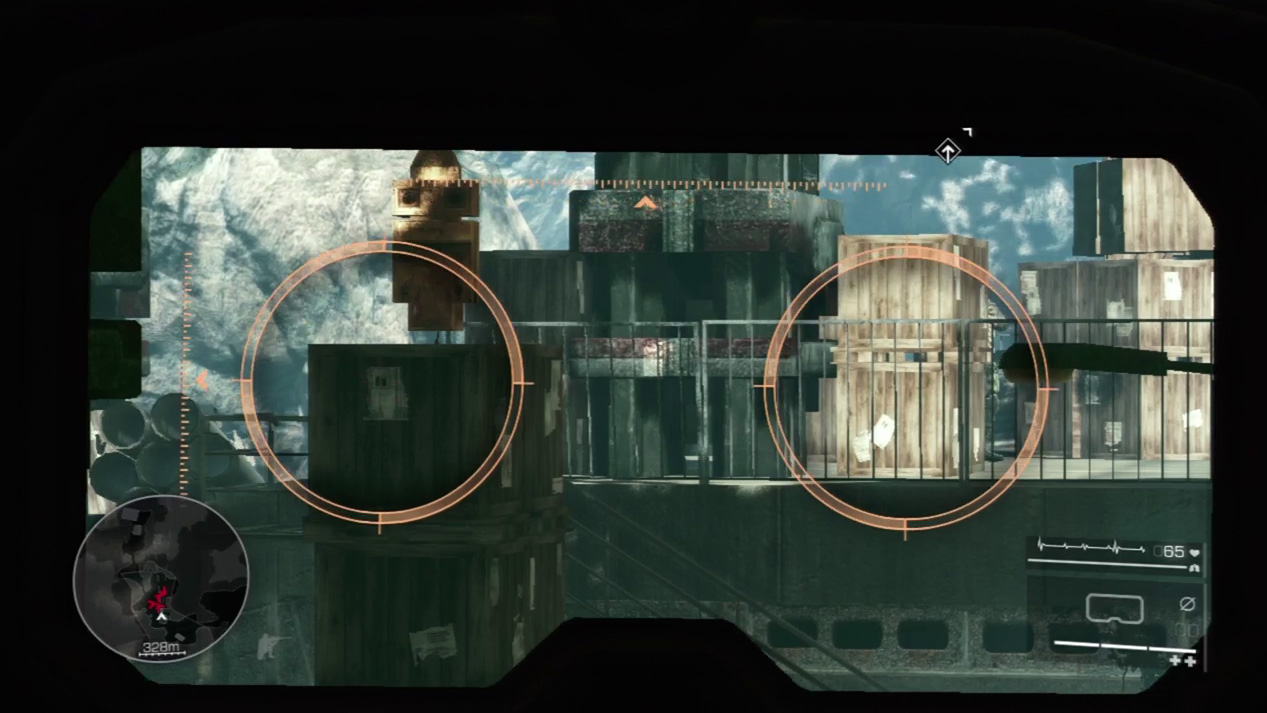
Stay in the vegetation and hug the bunker wall. Look for a gap in the wall near the main entrance. You can climb up on the wall here to get a good view of the surroundings, without fear of an enemy noticing you. Your binoculars will help you pick up the four enemies in the immediate area.
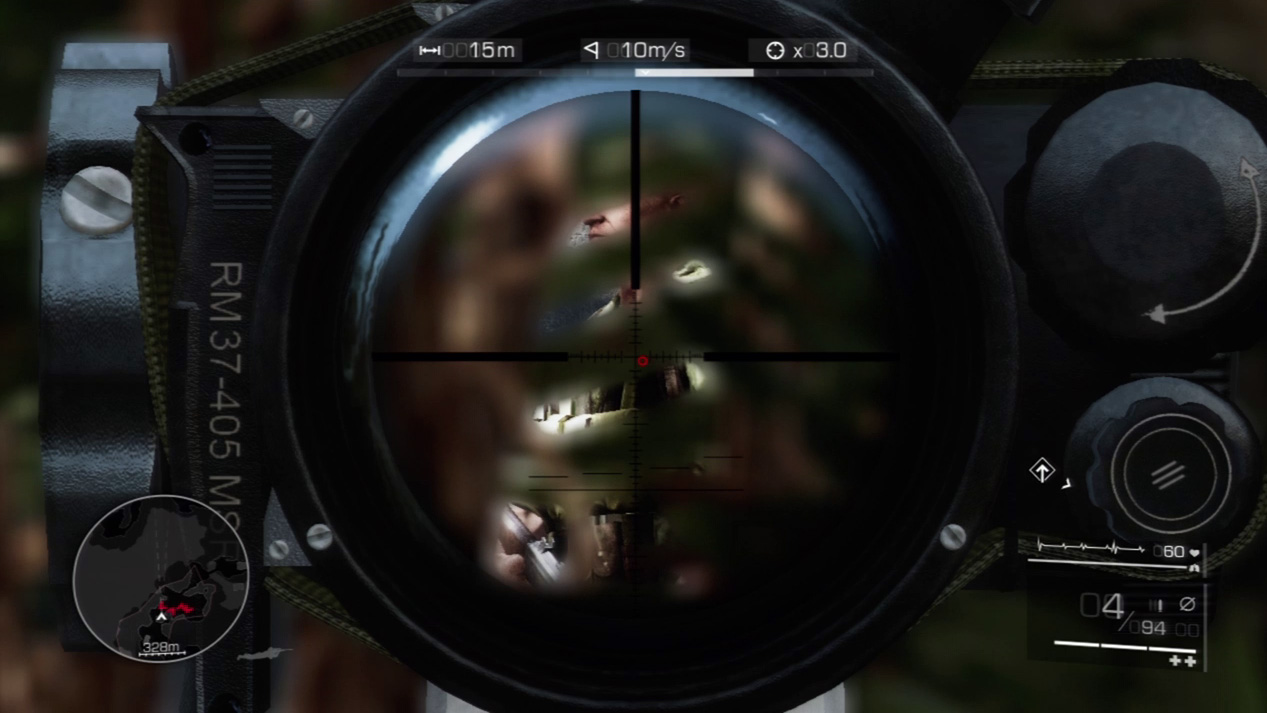
As usual, look to isolate the guards and pick them off one by one. Your first target is the main entrance guard. He walks out in front of the gate, before retreating back into the complex. Drop down off the wall and hide in cover while lining up a shot on the main gate. It’s hard to spot him through the brush, but if you can locate him, killing the enemy when he’s farthest away from the complex’s interior does not raise the alarm.
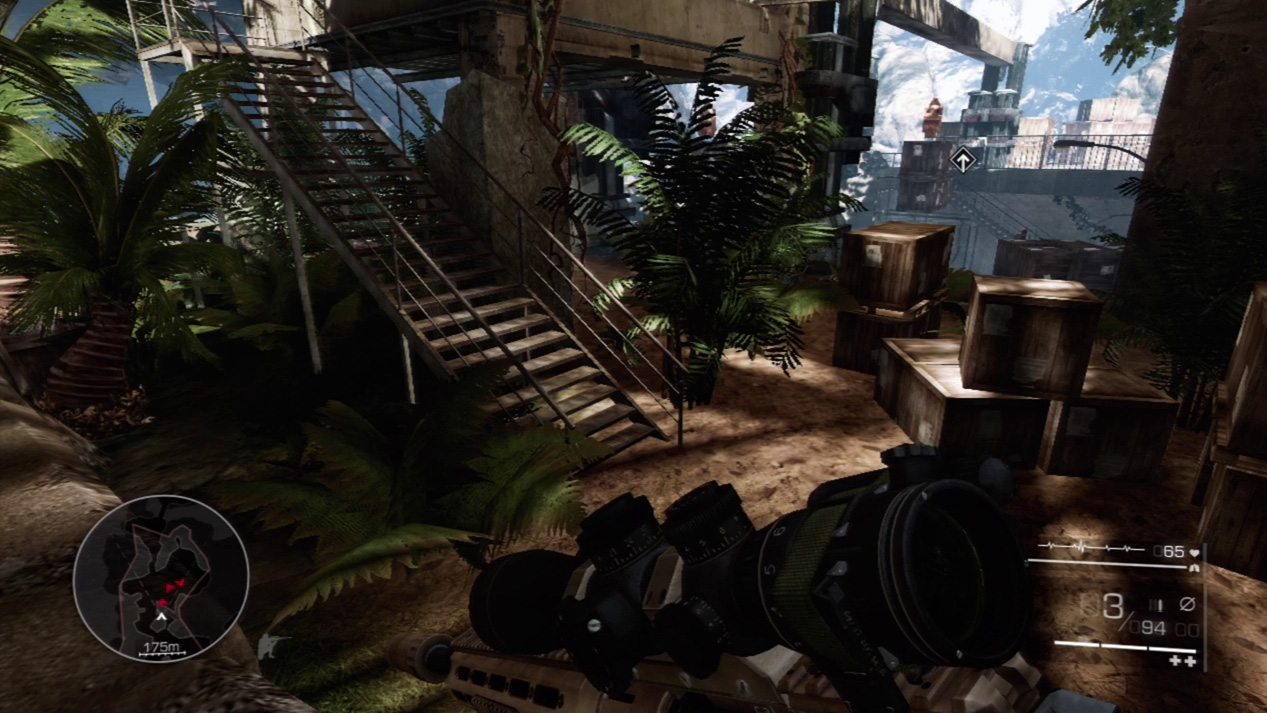
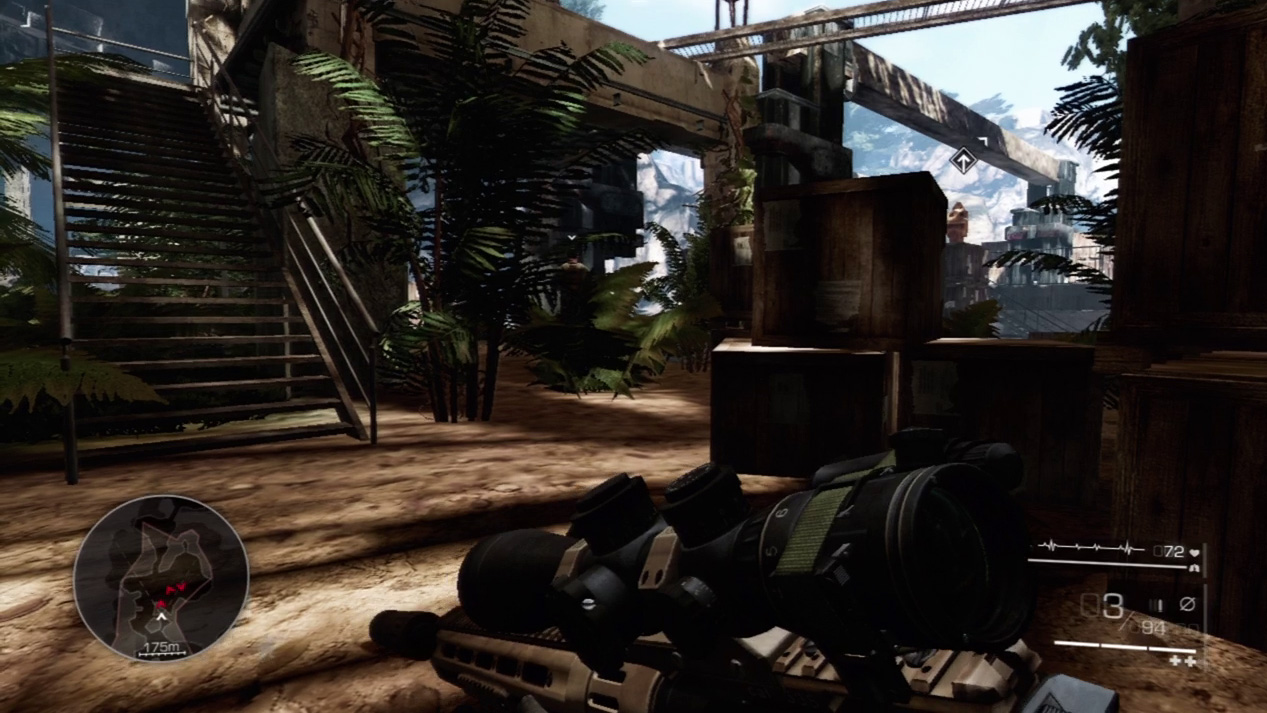
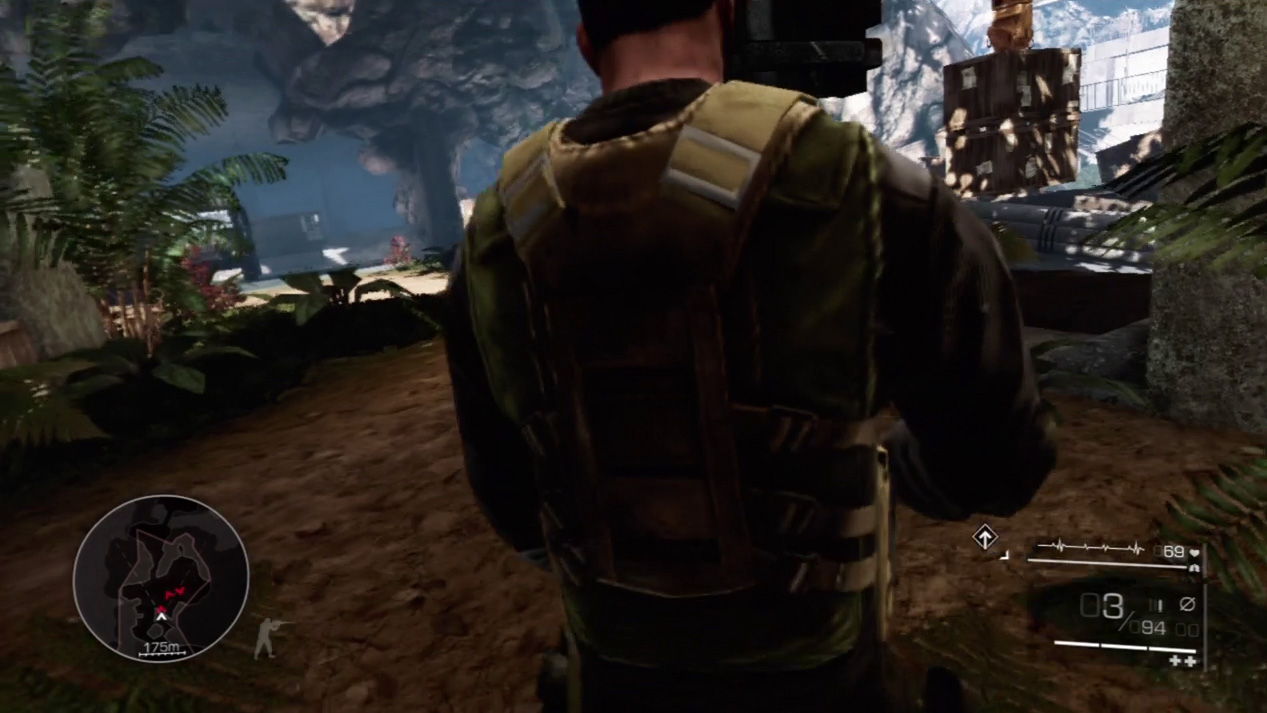
Climb back up on the wall and over into the courtyard below. The second enemy stands a few meters in front of the crates near the gap in the wall. Slink out and kill this second guard quietly with a stealth kill.
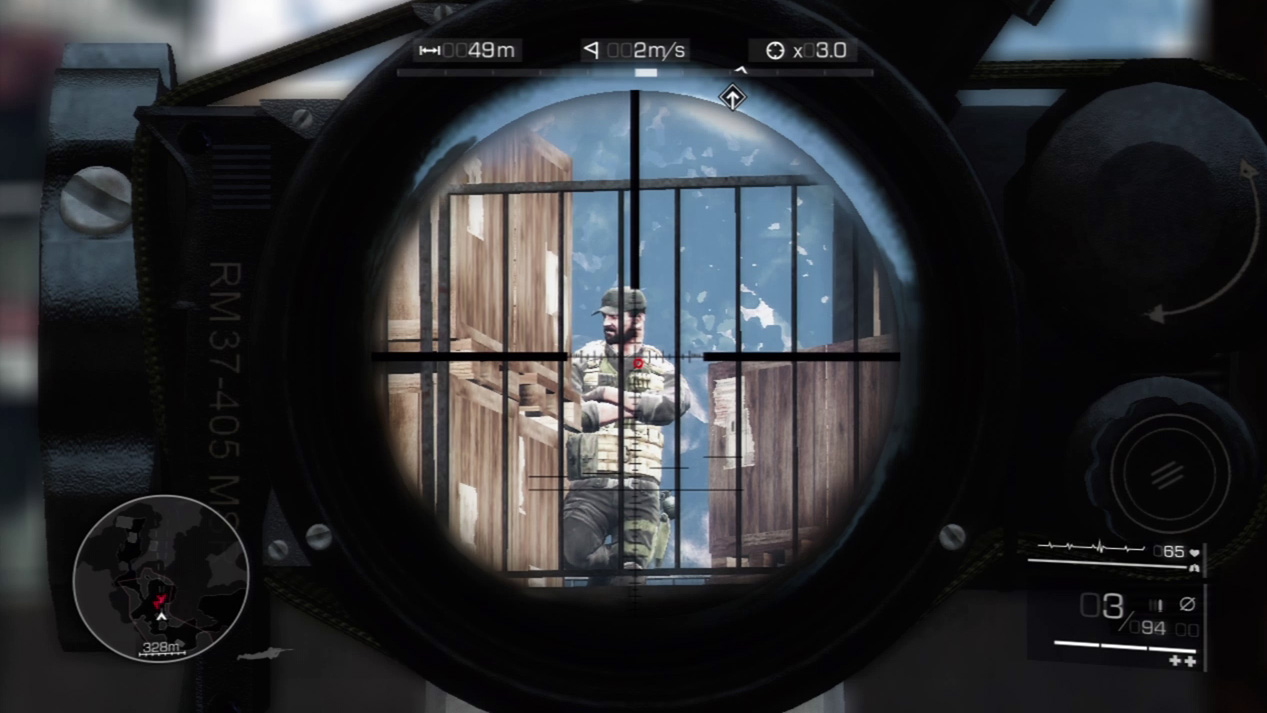
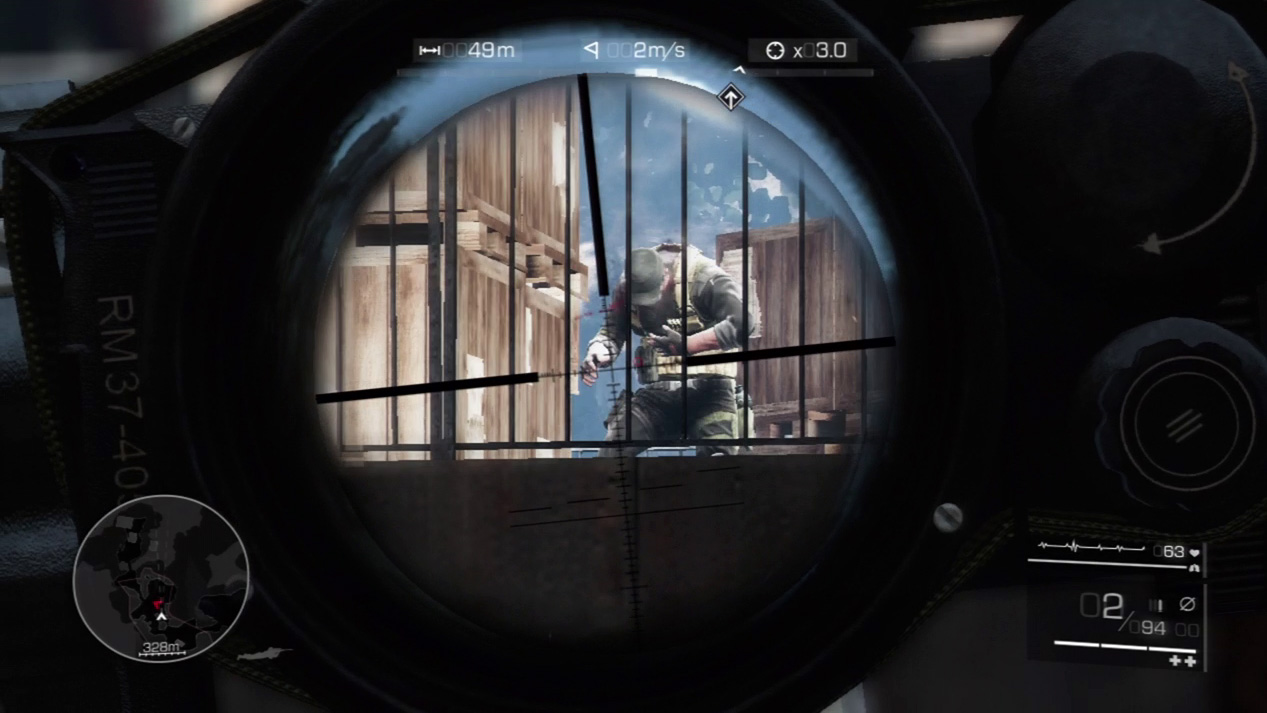
Search for the third enemy up on the road to your right. He stands up there, with his arms crossed, amid piles of crates. It might take you a while to get a fix on him, but you should have a safe shot at him through the railing along the road.
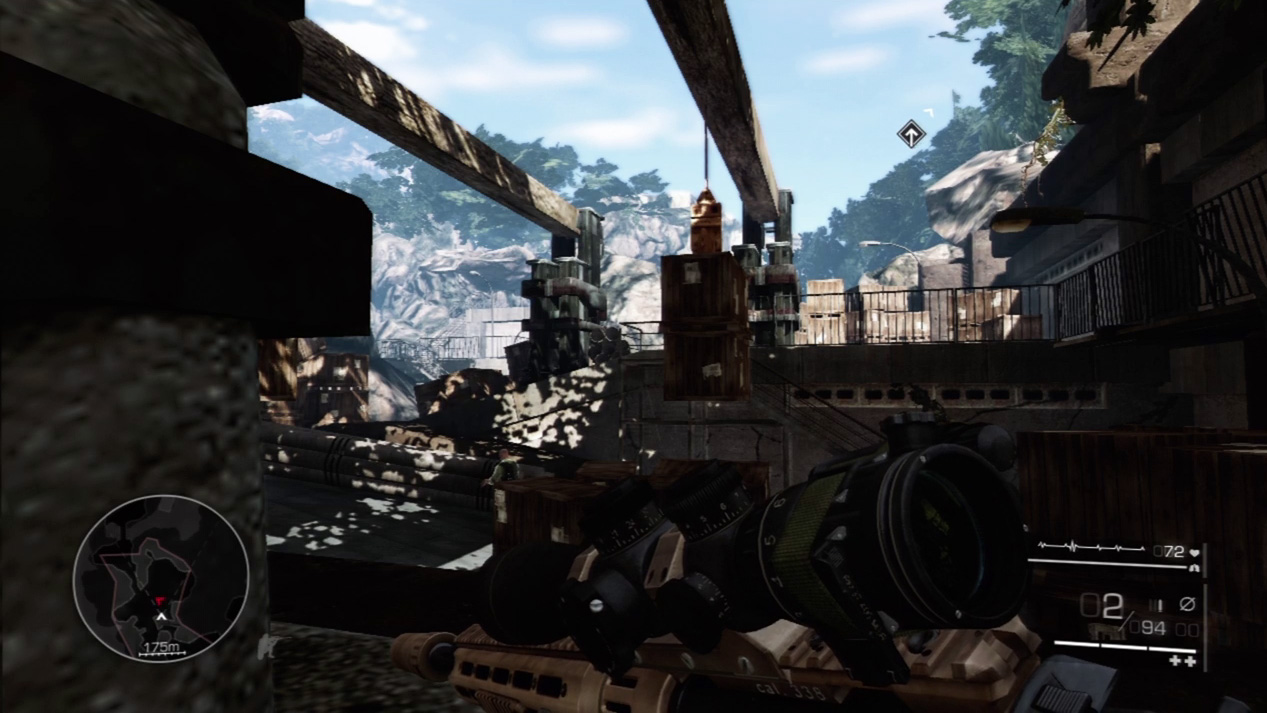
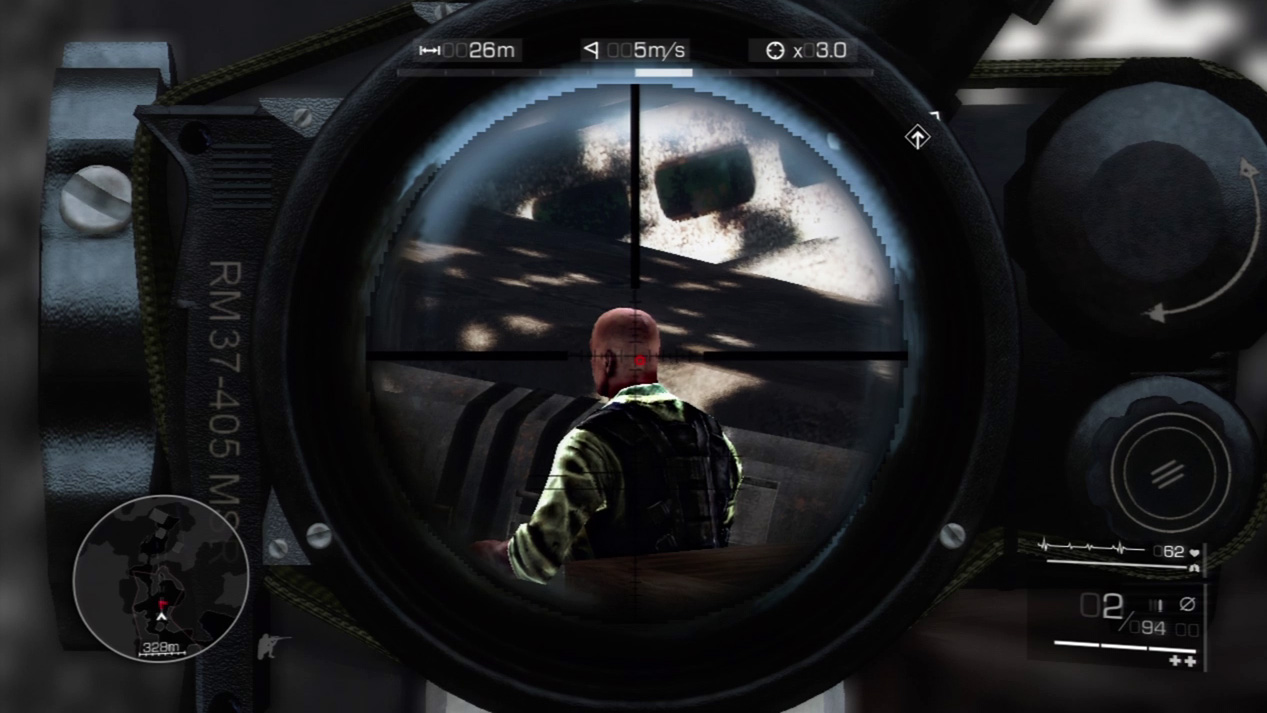
Inch out to the stone column near the road. Look for the final enemy in the immediate area down on the lower road. He stands in front of some crates, his back to you. So long as you stay close to the building and don’t advance far out, he won’t see you, and there’s no pressure to make a quick shot.
Waypoint 6
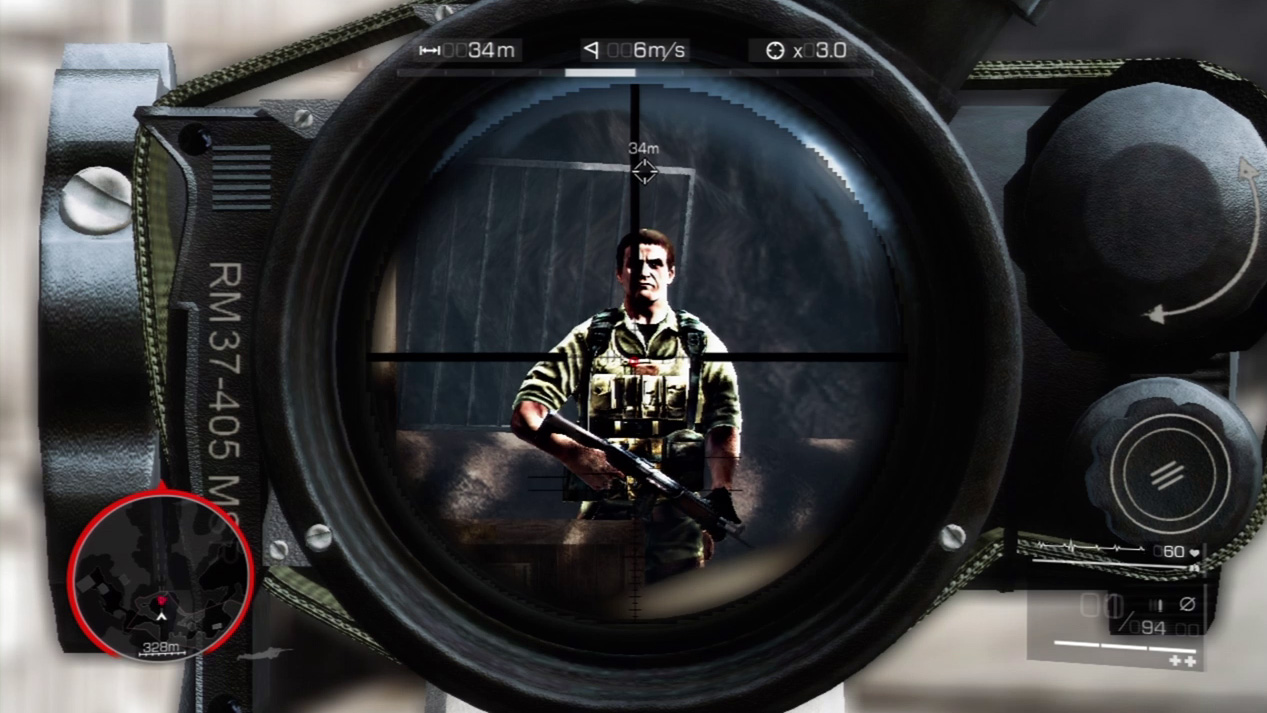
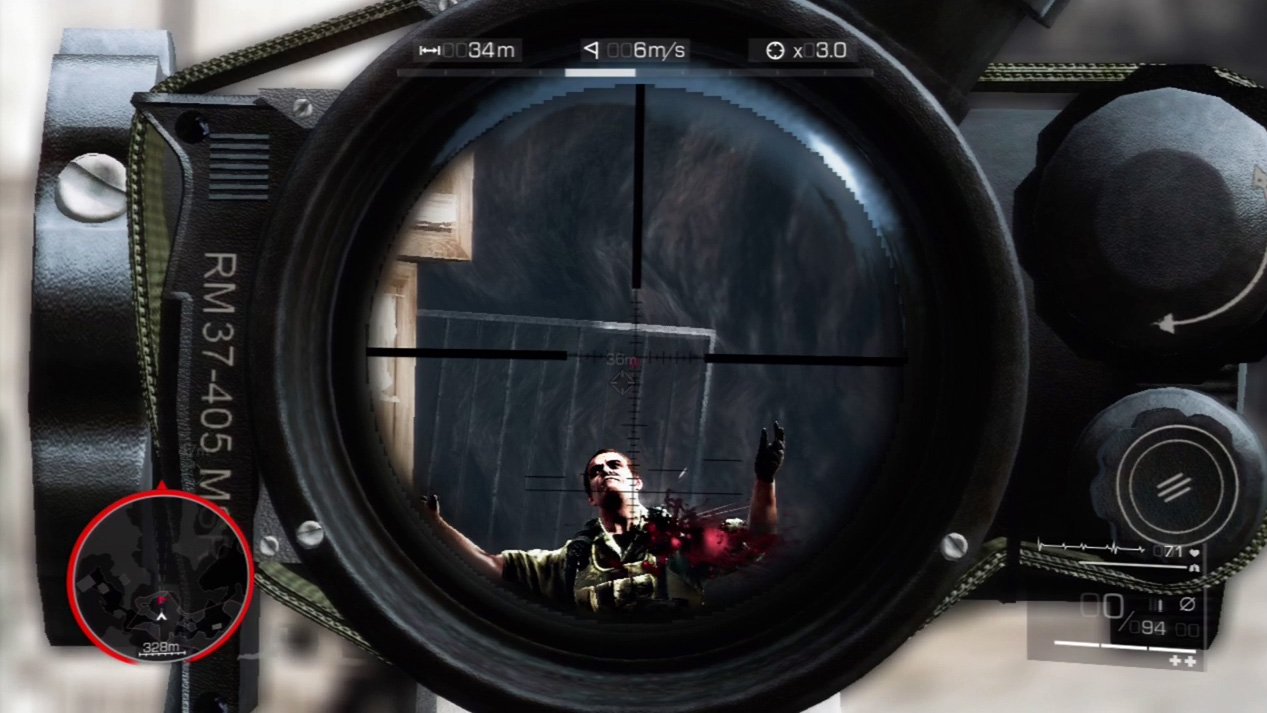
With the four guards near the guard eliminated, move up to the nearby road. Stay low as you pass the crates and go prone when you reach open ground. Two enemies guard the back of the loading bay area. Zoom on the first one and pick him off while the second’s back is turned.
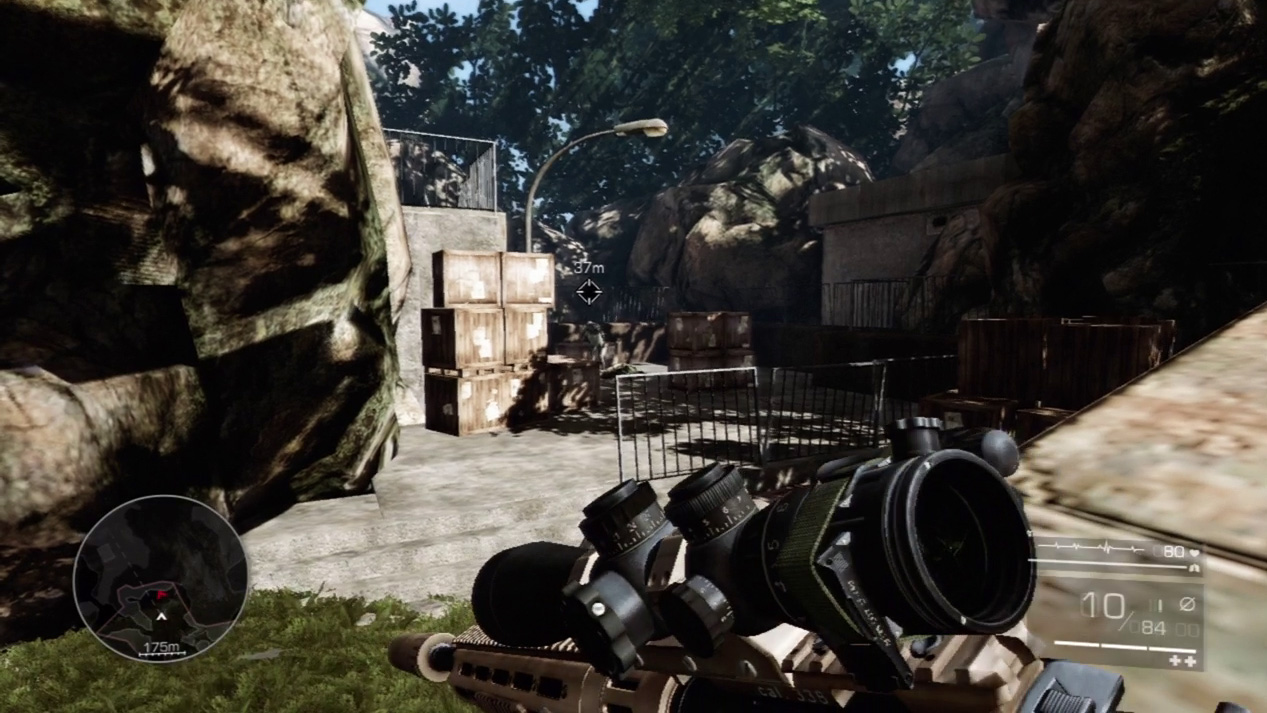
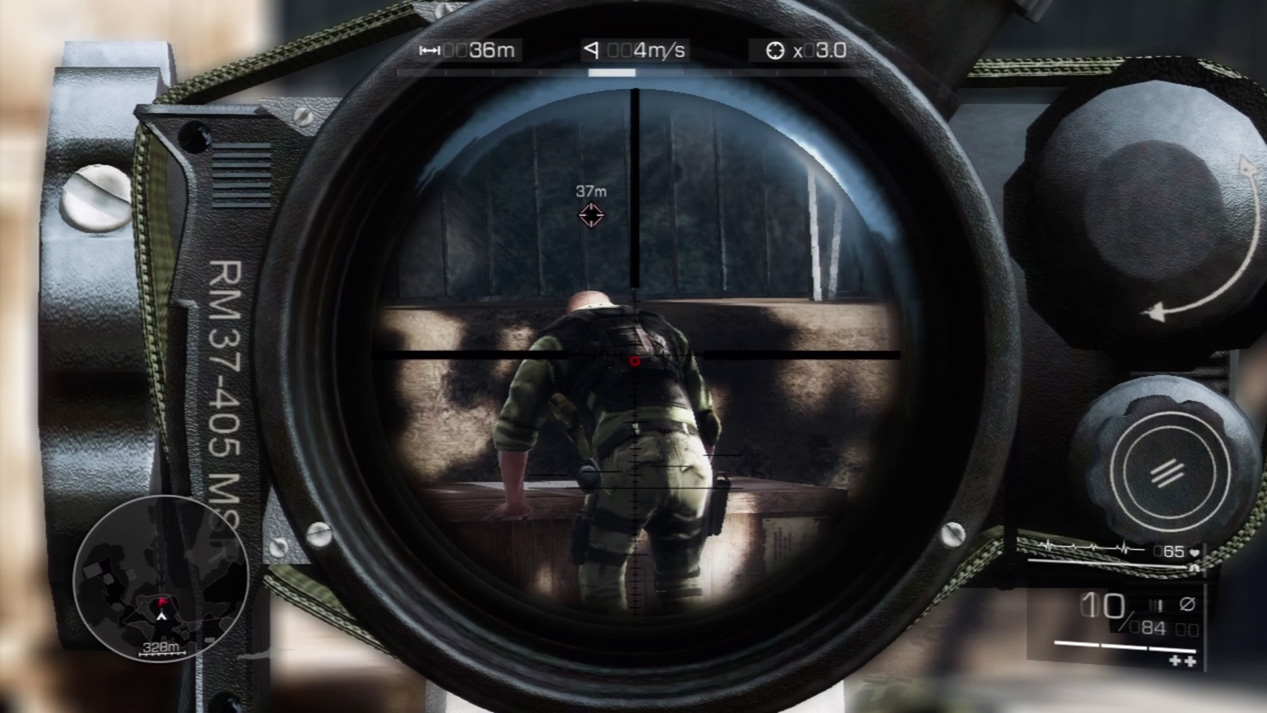
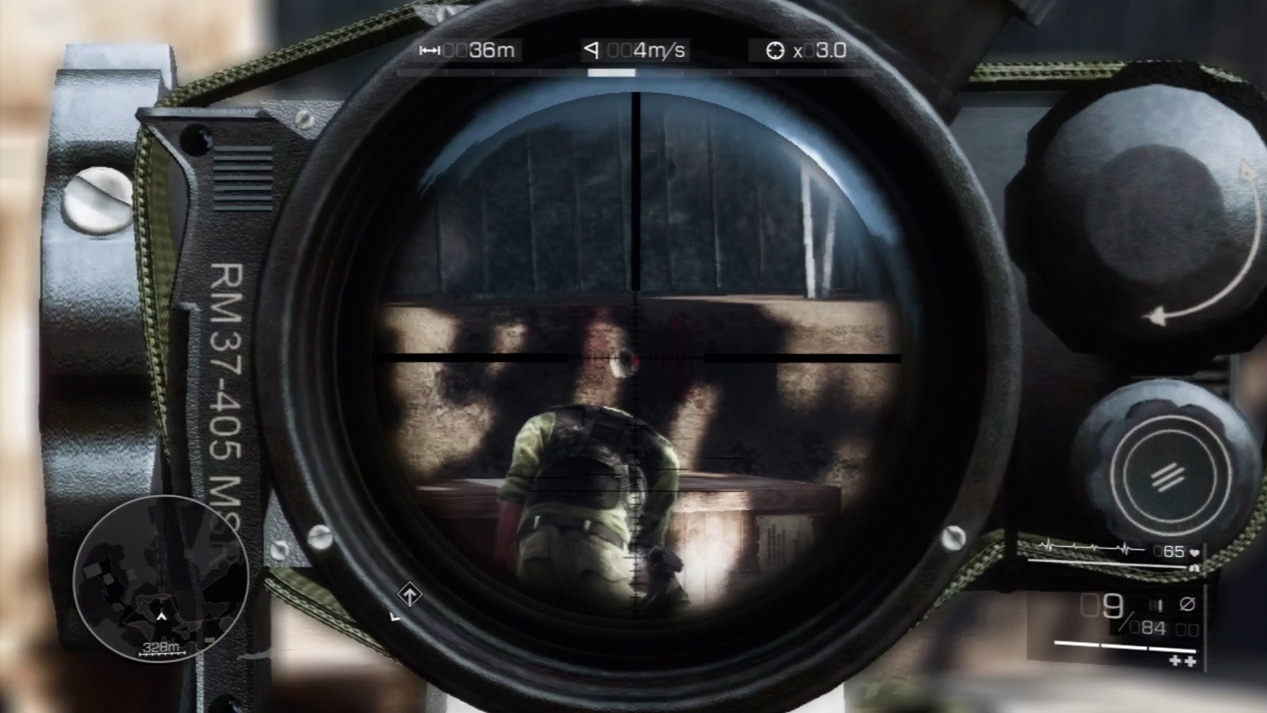
As soon as you hit the first guard in the back loading bay, advance to the road’s edge and set up for the second enemy. He has his back turned while working near the back crates. Execute him with a bullet to the back of the head or torso.
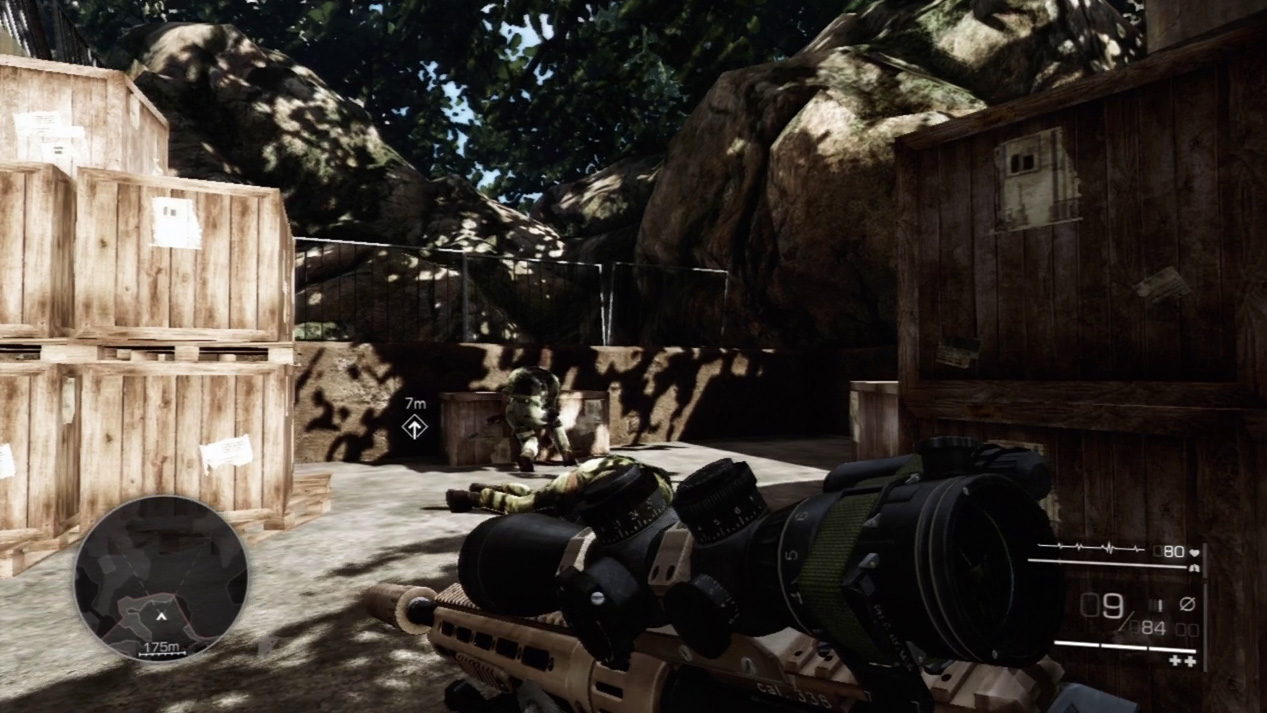
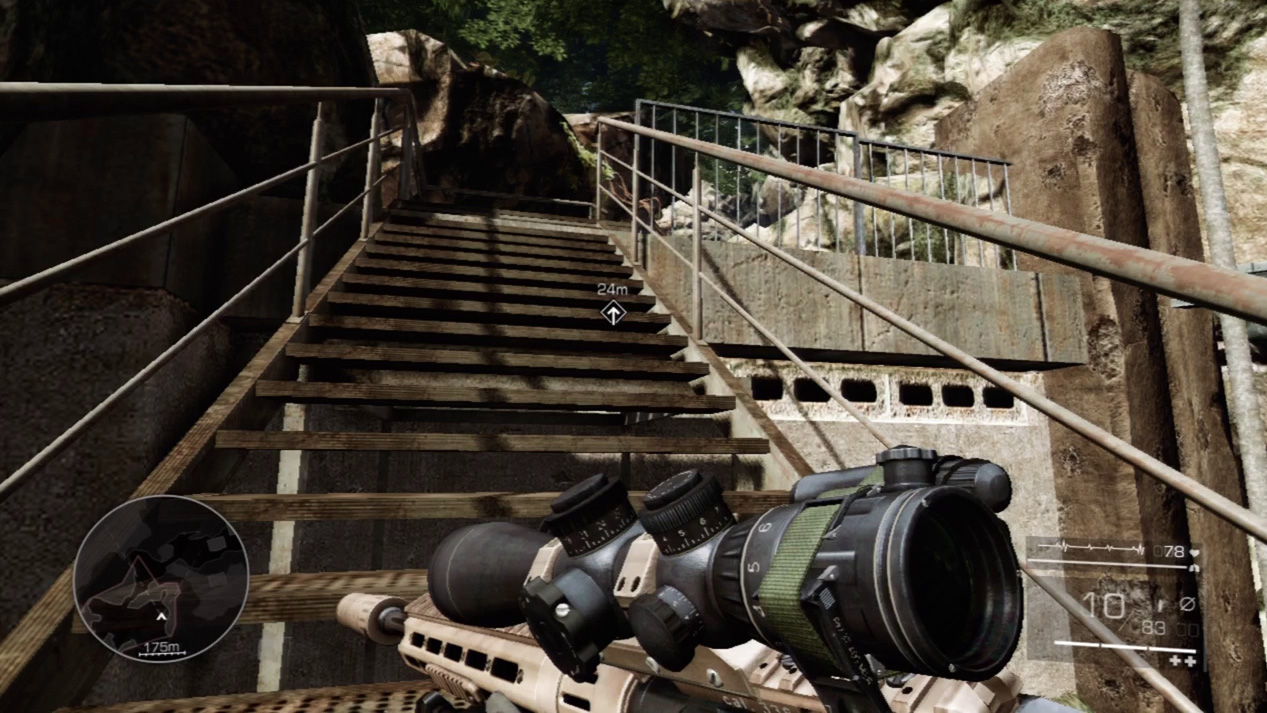
After you remove the threat of the guards, climb up the crates next to them. When you reach the upper level, take the stairs up to a balcony overlooking the oceanfront.
Waypoint 7
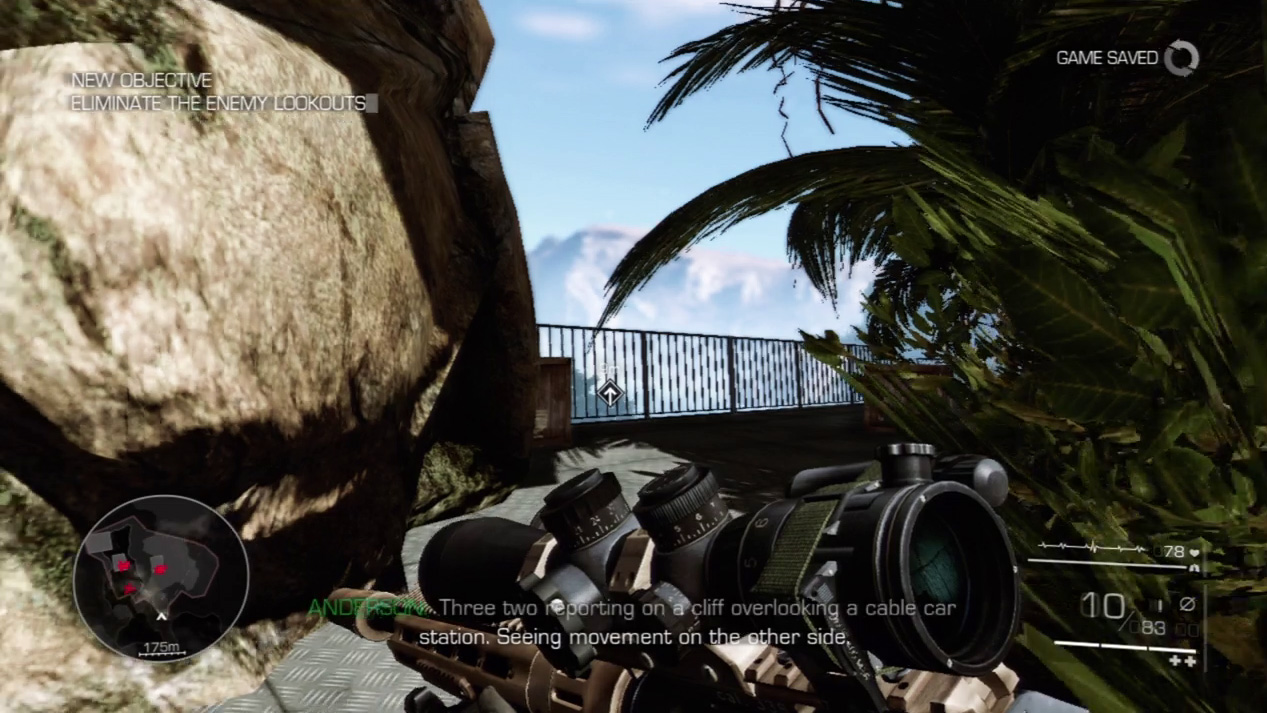
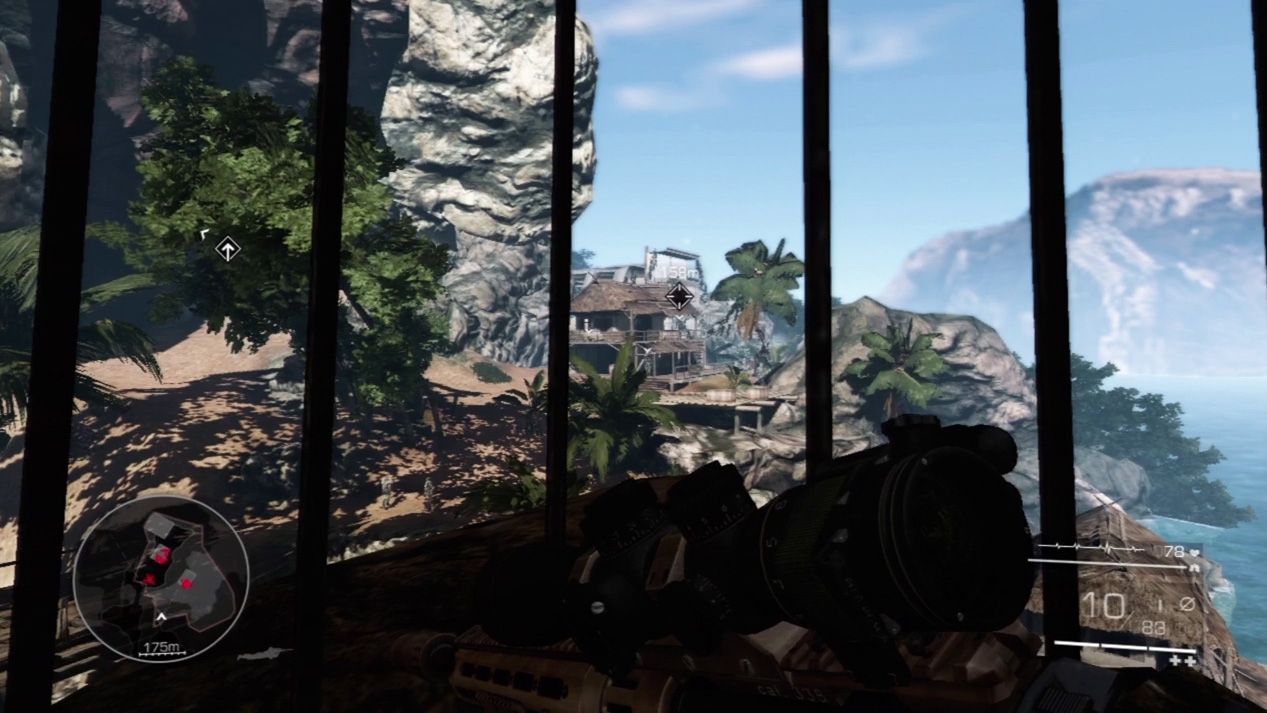
Set up your next sniper spot on the balcony across from the enemy guardhouse. Be sure that you get the whole house in your field of vision between the balcony’s railing bars.
Expert Mode
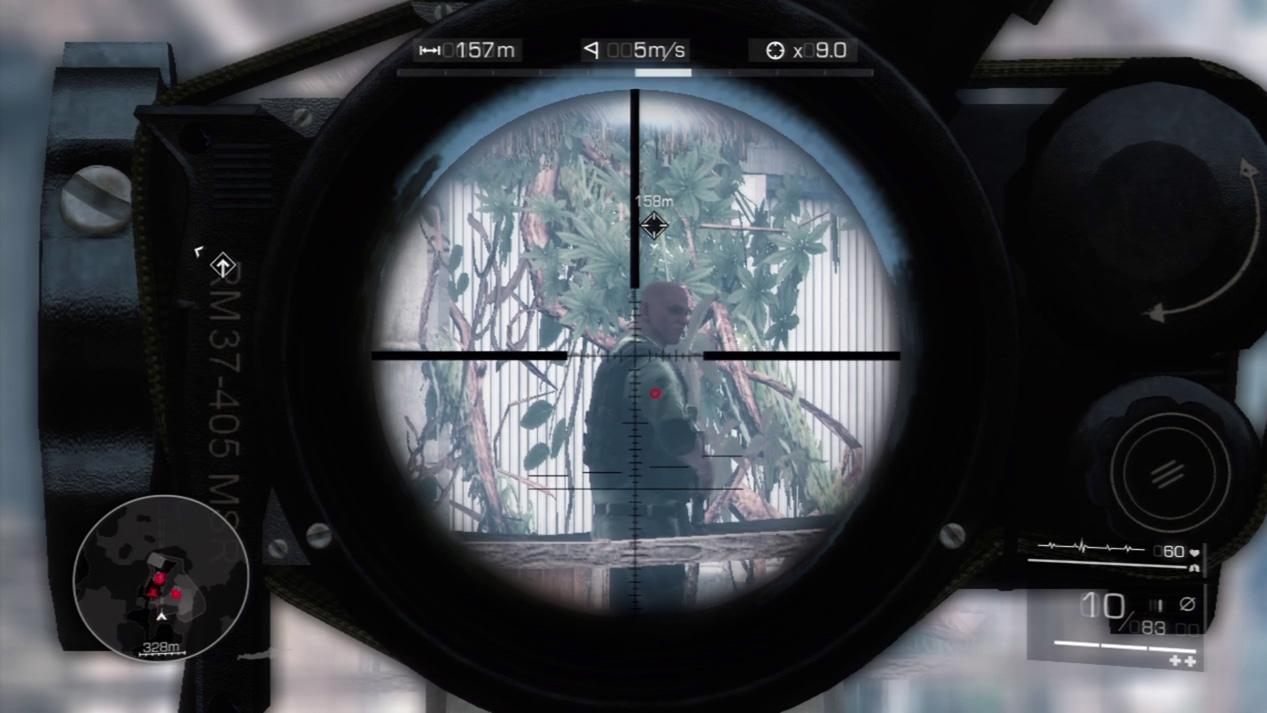
- Distance: Approximately 155 meters
- Wind: 5 meters/second (blowing right)
- Magnification: 9x
A steady wind can slide your bullet to the right here, and gravity will have an effect as you shoot across the divide to the enemy guardhouse. Expect your shots to land approximately on the second horizontal reticle line to the right and between the fourth and fifth vertical reticle line on the bottom.
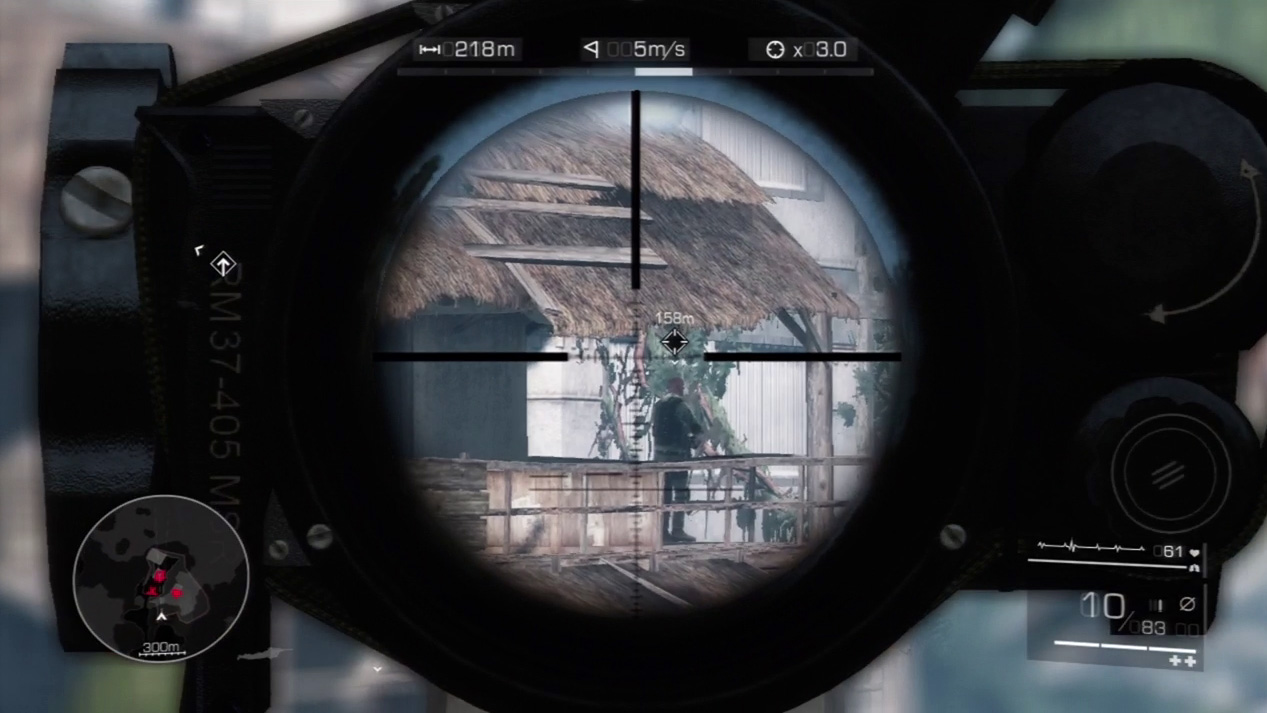
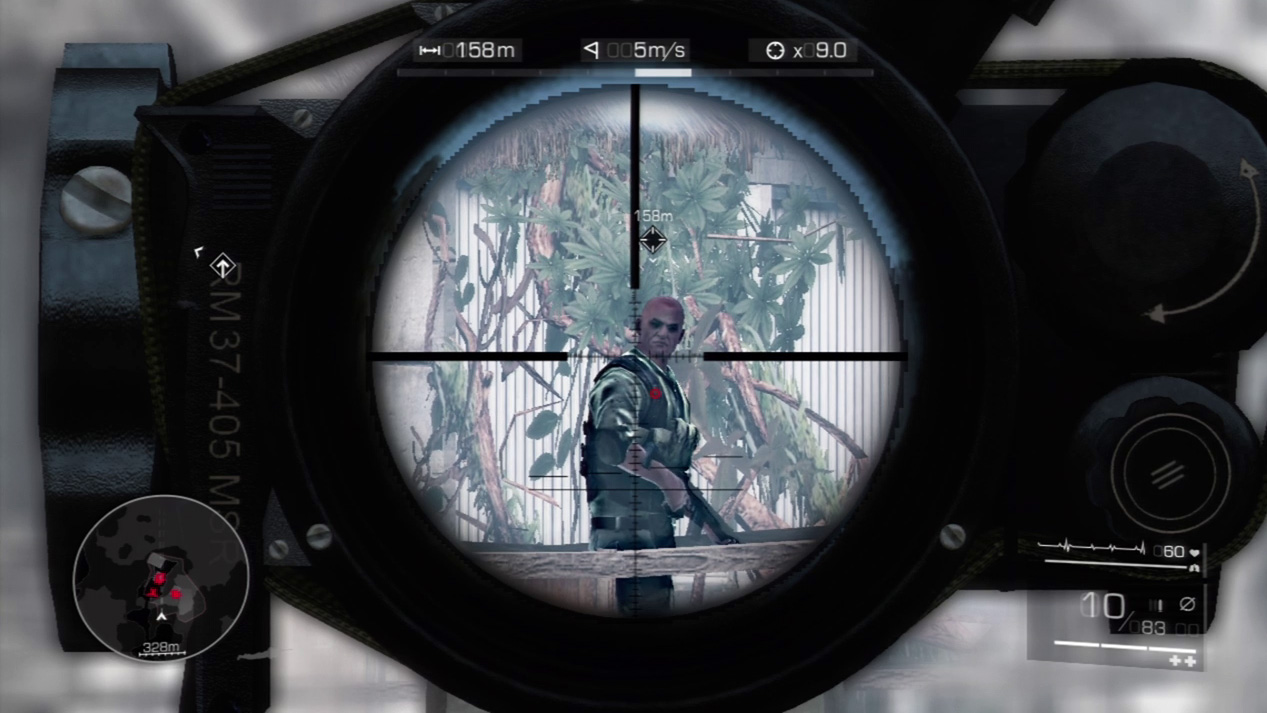
Start from the top and work your way down. Watch as the mobile guard on the top floor patrols in a circle around the house. When he reaches the right corner, snipe him and no one will spot the body.
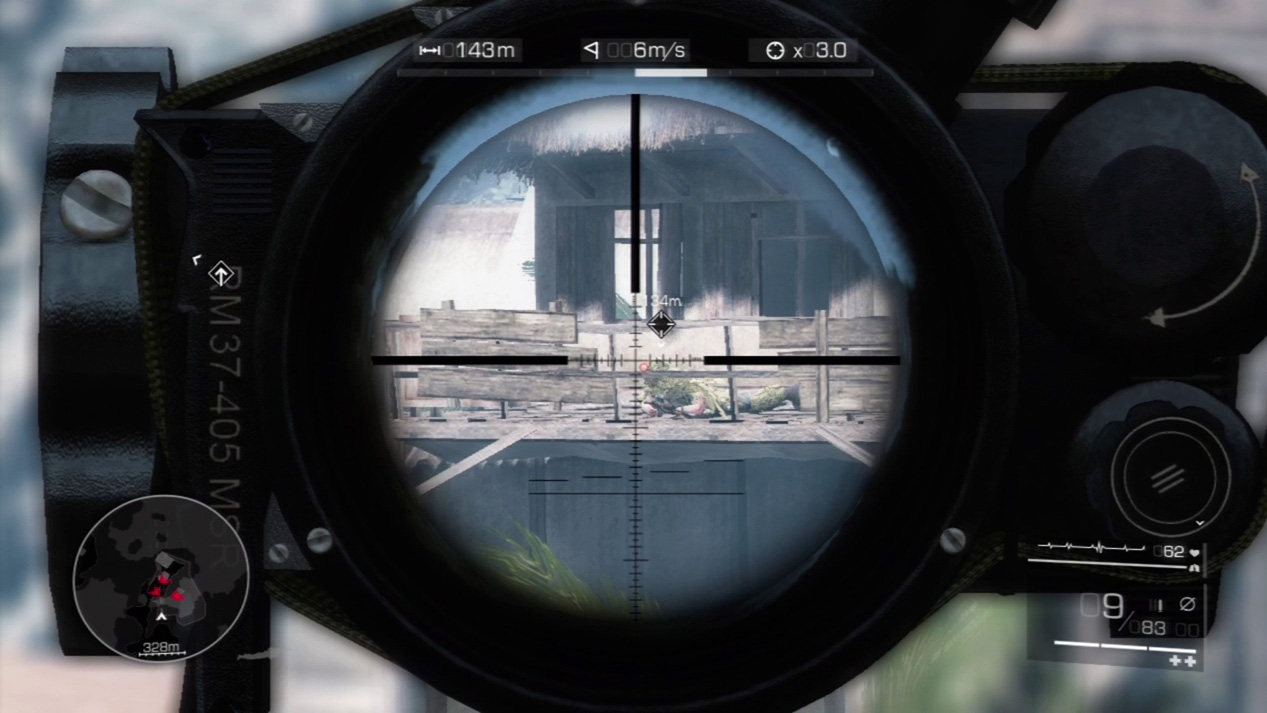
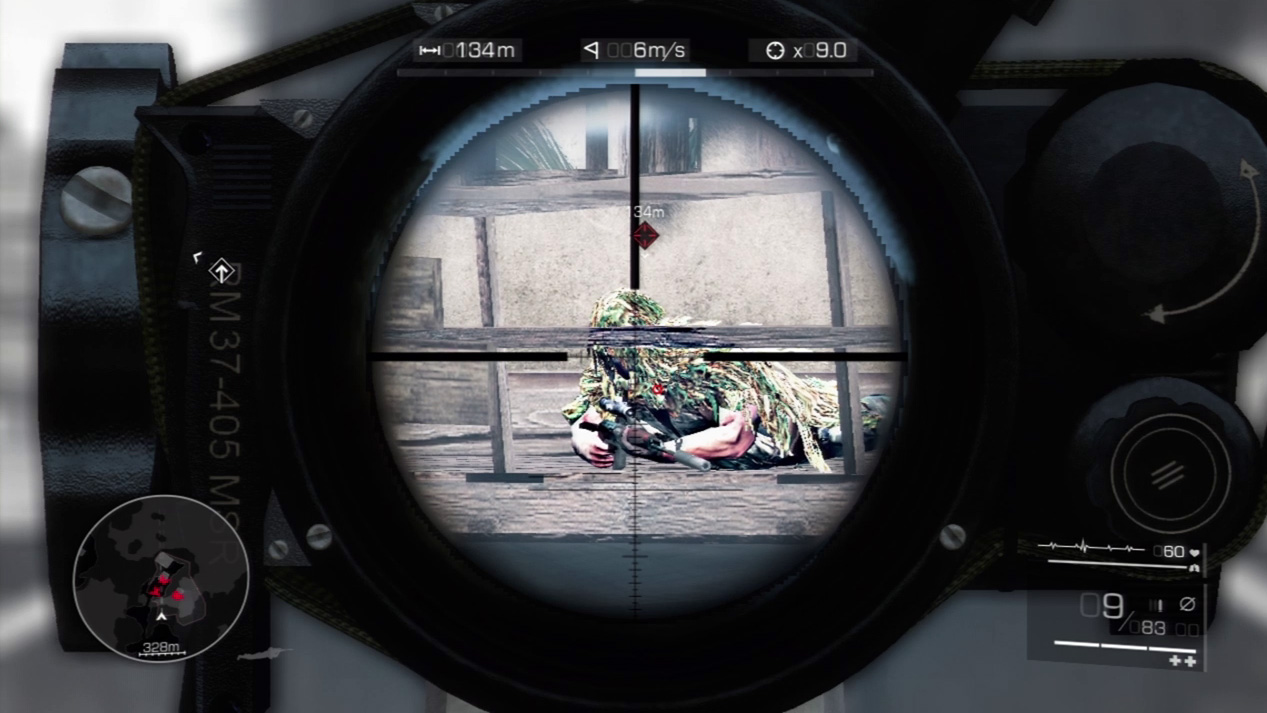
Now scan to the left on the top floor. If you look carefully, you’ll spy an enemy sniper prone on the balcony floor looking directly across the divide at you. Zoom on him and launch a kill shot before he has a chance to notice you.
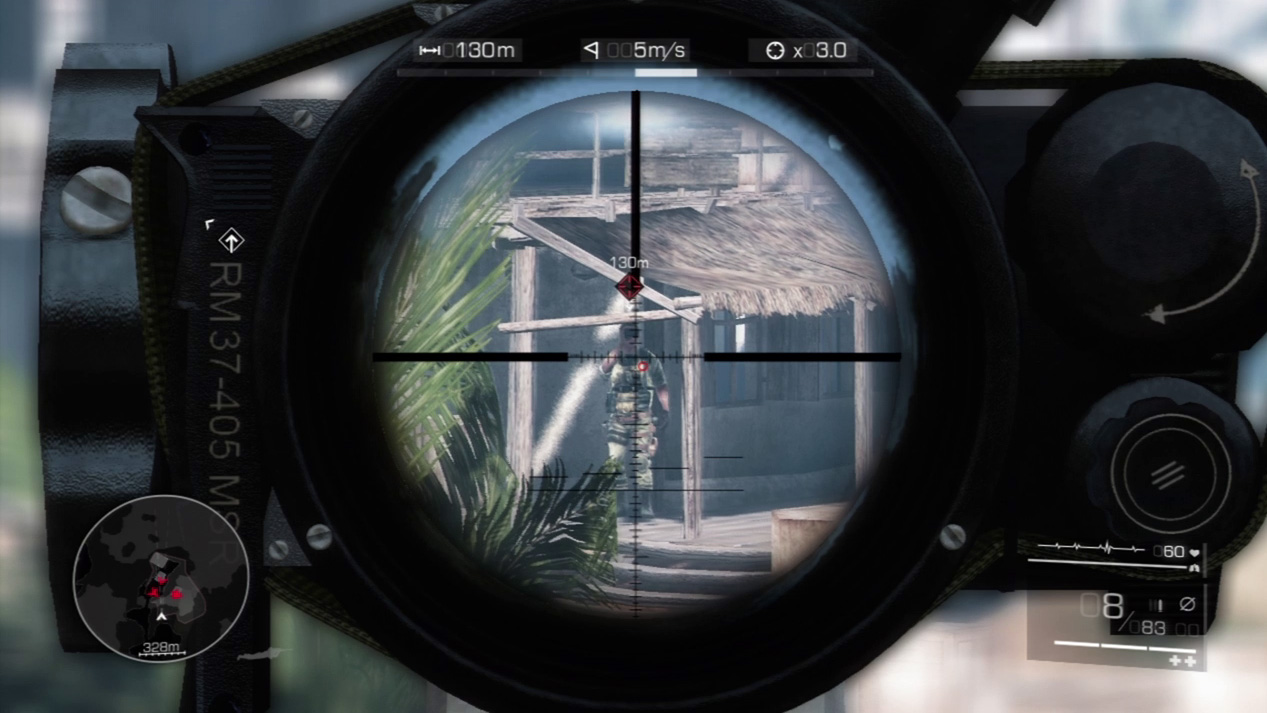
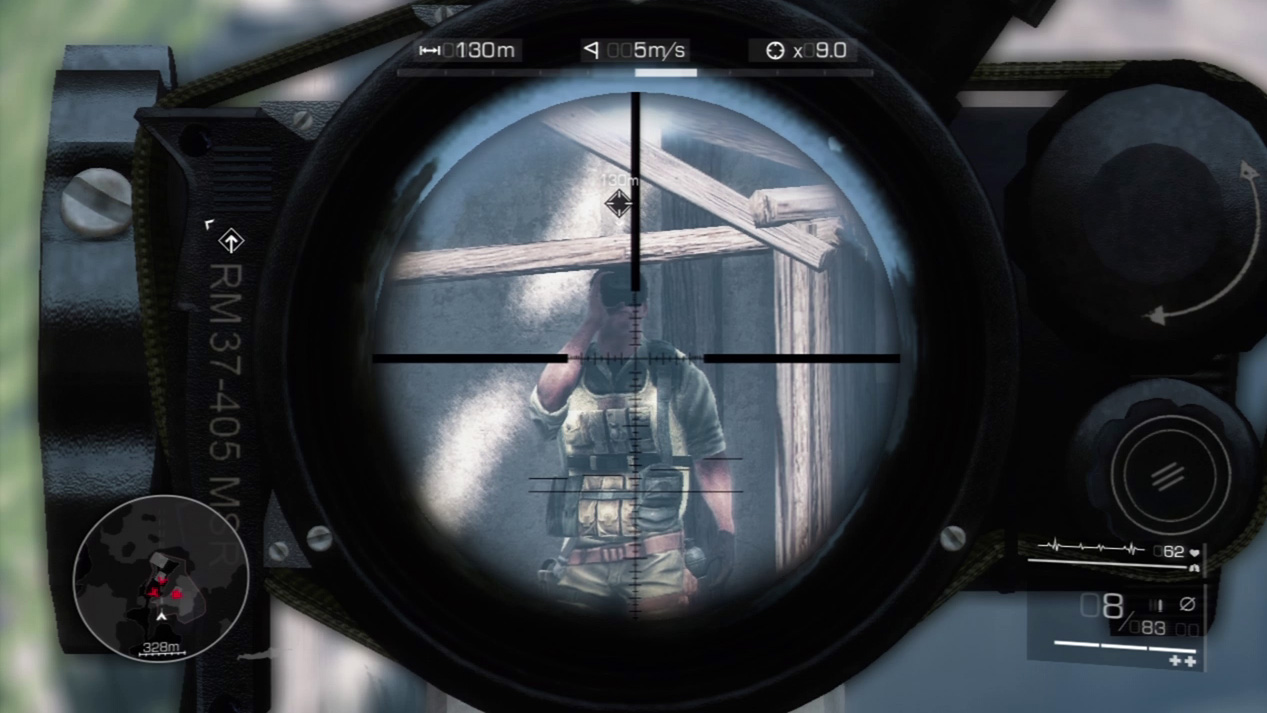
Dip your attention to the first floor. A single guard remains. He stands at the corner closest to you and scans the horizon with binoculars. If you haven’t alerted him with the previous shots over his head, you can take your time and finish him with another kill shot.