Prima Games eGuides
primagames.com Browse Redeem a code Help
Army of Two: The Devil's Cartel eGuide
Sign in My Guides

Sign in or create an account

We'll email you a link. No password needed, and if you don't have an account yet, the link makes one.

By creating an account or signing in, you agree to our Terms of Service and Privacy Policy.

Have a password?

Had an account on the old eGuides site, or a code from a printed guide? Help and troubleshooting

Sign in with a password

By signing in, you agree to our Terms of Service and Privacy Policy.

Check your email

A sign-in link is on its way. It works once and expires in 15 minutes. Open it and you're in, with an account if you didn't already have one.

Contents

  • Essentials
    • Welcome Back to Tactical Worldwide Operations
      • Welcome Back to Tactical Worldwide Operations
    • Operational History and Character Bios
      • Operational History and Character Bios
    • Tactical Operations Manual
      • Tactical Operations Manual
    • Two Gear
      • The Gear Makes The Man
      • Modifications
      • Weapon Skins
      • Tactical Gear
      • Tattoos
    • The Enemy
      • The Enemy
    • Contracts
      • Contracts
    • Achievements and Trophies
      • Achievements and Trophies
    • Concept Art
      • Concept Art
  • Walkthrough
    • Mission 1: New Blood
      • Special Callouts
      • Chapter 1: Protection
      • Chapter 2: Tutorial
    • Mission 2: Cause And Effect
      • Chapter 3: Permission to Engage
      • Chapter 4: Foxhunt
      • Chapter 5: Split Decision
      • Chapter 6: Baptism by Fire
    • Mission 3: Rally Point
      • Chapter 7: Politics in Action
      • Chapter 8: Picking Up the Pieces
      • Chapter 9: Into the Chaos

      • Chapter 10: Riot Act

      • Chapter 11: Urban Chaos

    • Mission 4: Outside Contact
      • Chapter 12: Fuel for the Fire

      • Chapter 13: Observe and Detect

      • Chapter 14: Local Heroes

      • Chapter 15: Stronghold Assault
      • Chapter 16: Suicide Run

    • Mission 5: Last Resort
      • Chapter 17: Holiday Retreat

      • Chapter 18: Room Service

    • Mission 6: Salvation
      • Chapter 19: Among the Dead

      • Chapter 20: Open Season

      • Chapter 21: Rest for the Wicked

      • Chapter 22: Shadows Walk

      • Chapter 23: Into the Light

      • Chapter 24: Loose Cannon

      • Chapter 25: Special Delivery

    • Mission 7: Enemy Territory
      • Chapter 26: Behind Enemy Lines

      • Chapter 27: Guardian Angel

      • Chapter 28: Manhunt

      • Chapter 29: Fight for the Future

      • Chapter 30: Desperate Measures

      • Chapter 31: Objective Lost

    • Mission 8: Narco Hell
      • Chapter 32: Scavengers

      • Chapter 33: Game Face

      • Chapter 34: A Ray of Sun

      • Chapter 35: Rooftop Rampage

      • Chapter 36: Adrenaline High

      • Chapter 37: Mad Science

      • Chapter 38: The Butcher

    • Mission 9: Assault
      • Chapter 39: The Assault

      • Chapter 40: Down But Not Out

      • Chapter 41: Get Her Back

      • Chapter 42: Race to the Quarry

      • Chapter 43: Fish in a Barrel

    • Mission 10: Confrontation
      • Chapter 44: Burning Bridges

      • Chapter 45: No Return

      • Chapter 46: A Hero's Rescue

      • Chapter 47: The Lion's Den

      • Chapter 48: Salem On Trial

      • Chapter 49: The Devil's Due

  • Overkill Vids
    • Mission Overkill Videos
      • Mission Overkill Videos

Army of Two: The Devil's Cartel Guide › Walkthrough › Mission 9: Assault

Chapter 40: Down But Not Out


Chapter 40: Down But Not Out
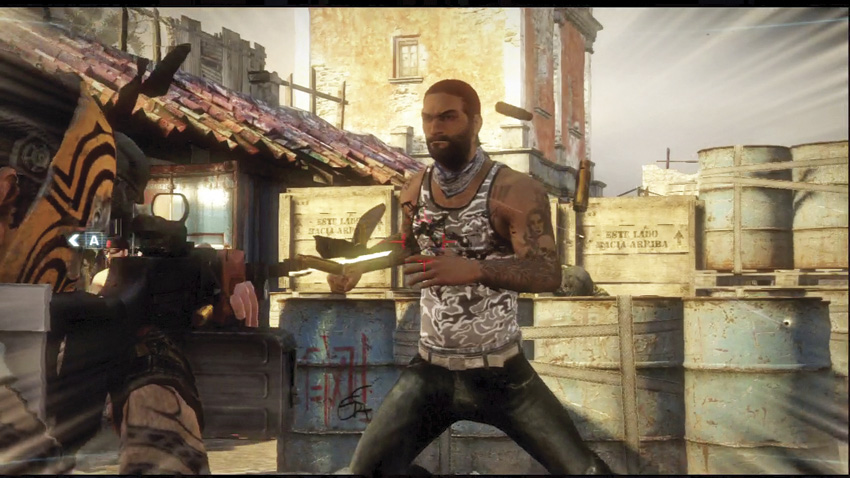
This chapter opens up with a dual breach sequence and five available targets. Among them are three elites, which by now you know are tougher to kill than the average scumbag.

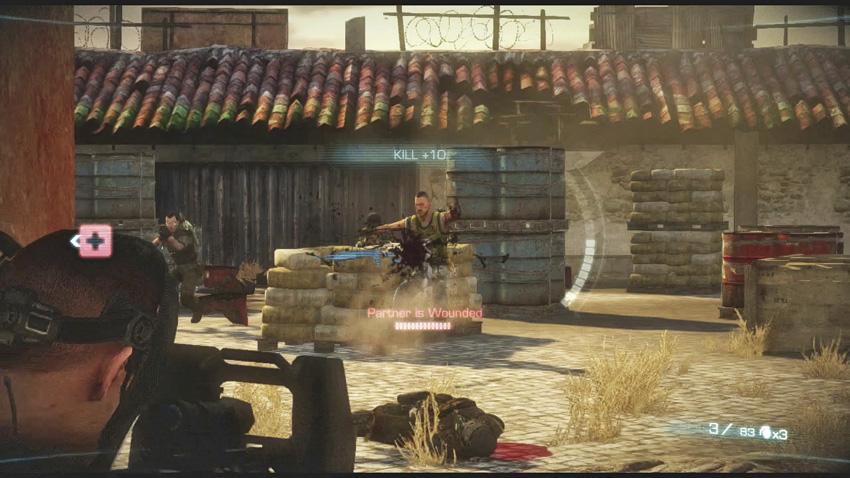
The rest of the courtyard is filled with cartel mercs and elites, and explosive oil drums are mixed in with all the cover. After completing the breach sequence, look to your right and find a building with support pillars that you can use for protection . Make that place your little Alamo for the next bit. More cartel members continue to stream in from the bell tower across the plaza from the pillars . Keep an eye on the shipping containers throughout the plaza, as some enterprising cartel members will try to get on top of them to shoot down at you.

As you wrestle with the ground troops, a cartel chopper roars in to provide air support for its allies. In order to bring it down, you have to trigger Overkill and shoot it until flames start issuing from it’s frame, prompting it to retreat. Another wave of cartel troops will approach from the tower. Wiping them out draws the chopper back into the fight, and a second application of Overkill to its front will finally end the threat.

The chopper spins out of control, crashing into the bell tower where Fiona and Bautista are. As you travel through the next set of abandoned buildings , you discover that Bautista has captured Fiona, and he taunts you about it. Seriously, Bautista... bad call.

The next firefight opens just after you kick your way out of a long-forgotten pub. Elites patrol the street, while a sniper holds position on the top floor of a building overlooking the exit you just came out of .

Flanking Route

All of the buildings on the right side of the street have a number of elites covering the entire street. With proper aggro management, one operative can stay outside of the buildings to hold their attention while the second operative pushes through the buildings and flanks the whole lot of them, room by room.

The path turns left into the start of an abandoned rail yard . More elites and mercenaries try to hold their ground here. Watch out for the RPG on the rooftops as you press onward to the train cars.

The train tracks lead to a closed mineshaft, and the tracks themselves are filled with rusty mine carts and explosive barrels. As you engage the hostiles on the ground, make sure you check the rooftop on the left side of the tracks for snipers attempting to flank you.

You just need to take another left turn away from the train tracks to reach your exit . One last group of elites, including a Brute, stands in your way.

Keep reading with a free account

The first 3 sections of Army of Two: The Devil's Cartel are open to everyone. An account opens the rest of it, and every other guide in the archive. It's free, and there's nothing to buy.

Bought guides on the old Prima Games site? Your account and every guide you own moved here, so there's nothing to buy again. Sign in.

Create a free account Or browse our free guides

PreviousChapter 39: The Assault
 NextChapter 41: Get Her Back