Prima Games eGuides
primagames.com Browse Redeem a code Help
Army of Two: The Devil's Cartel eGuide
Sign in My Guides

Sign in or create an account

We'll email you a link. No password needed, and if you don't have an account yet, the link makes one.

By creating an account or signing in, you agree to our Terms of Service and Privacy Policy.

Have a password?

Had an account on the old eGuides site, or a code from a printed guide? Help and troubleshooting

Sign in with a password

By signing in, you agree to our Terms of Service and Privacy Policy.

Check your email

A sign-in link is on its way. It works once and expires in 15 minutes. Open it and you're in, with an account if you didn't already have one.

Contents

  • Essentials
    • Welcome Back to Tactical Worldwide Operations
      • Welcome Back to Tactical Worldwide Operations
    • Operational History and Character Bios
      • Operational History and Character Bios
    • Tactical Operations Manual
      • Tactical Operations Manual
    • Two Gear
      • The Gear Makes The Man
      • Modifications
      • Weapon Skins
      • Tactical Gear
      • Tattoos
    • The Enemy
      • The Enemy
    • Contracts
      • Contracts
    • Achievements and Trophies
      • Achievements and Trophies
    • Concept Art
      • Concept Art
  • Walkthrough
    • Mission 1: New Blood
      • Special Callouts
      • Chapter 1: Protection
      • Chapter 2: Tutorial
    • Mission 2: Cause And Effect
      • Chapter 3: Permission to Engage
      • Chapter 4: Foxhunt
      • Chapter 5: Split Decision
      • Chapter 6: Baptism by Fire
    • Mission 3: Rally Point
      • Chapter 7: Politics in Action
      • Chapter 8: Picking Up the Pieces
      • Chapter 9: Into the Chaos

      • Chapter 10: Riot Act

      • Chapter 11: Urban Chaos

    • Mission 4: Outside Contact
      • Chapter 12: Fuel for the Fire

      • Chapter 13: Observe and Detect

      • Chapter 14: Local Heroes

      • Chapter 15: Stronghold Assault
      • Chapter 16: Suicide Run

    • Mission 5: Last Resort
      • Chapter 17: Holiday Retreat

      • Chapter 18: Room Service

    • Mission 6: Salvation
      • Chapter 19: Among the Dead

      • Chapter 20: Open Season

      • Chapter 21: Rest for the Wicked

      • Chapter 22: Shadows Walk

      • Chapter 23: Into the Light

      • Chapter 24: Loose Cannon

      • Chapter 25: Special Delivery

    • Mission 7: Enemy Territory
      • Chapter 26: Behind Enemy Lines

      • Chapter 27: Guardian Angel

      • Chapter 28: Manhunt

      • Chapter 29: Fight for the Future

      • Chapter 30: Desperate Measures

      • Chapter 31: Objective Lost

    • Mission 8: Narco Hell
      • Chapter 32: Scavengers

      • Chapter 33: Game Face

      • Chapter 34: A Ray of Sun

      • Chapter 35: Rooftop Rampage

      • Chapter 36: Adrenaline High

      • Chapter 37: Mad Science

      • Chapter 38: The Butcher

    • Mission 9: Assault
      • Chapter 39: The Assault

      • Chapter 40: Down But Not Out

      • Chapter 41: Get Her Back

      • Chapter 42: Race to the Quarry

      • Chapter 43: Fish in a Barrel

    • Mission 10: Confrontation
      • Chapter 44: Burning Bridges

      • Chapter 45: No Return

      • Chapter 46: A Hero's Rescue

      • Chapter 47: The Lion's Den

      • Chapter 48: Salem On Trial

      • Chapter 49: The Devil's Due

  • Overkill Vids
    • Mission Overkill Videos
      • Mission Overkill Videos

Army of Two: The Devil's Cartel Guide › Walkthrough › Mission 5: Last Resort

Chapter 17: Holiday Retreat

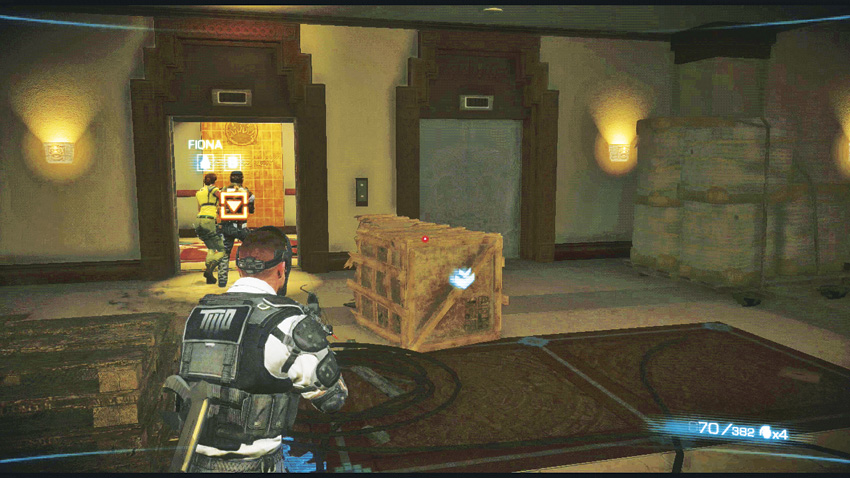
Fiona has joined Alpha and Bravo as they move in on a resort located along the outskirts of La Puerta. Mayor Cordova’s guard detail, consisting of P.I. and Castle, have been located at the resort via GPS, and all living T.W.O. operatives are converging on that location. If Alpha and Bravo are fortunate, Fiona’s pessimism about the plan will prove to be totally unfounded.

Chapter 17: Holiday Retreat
Suggested Armament

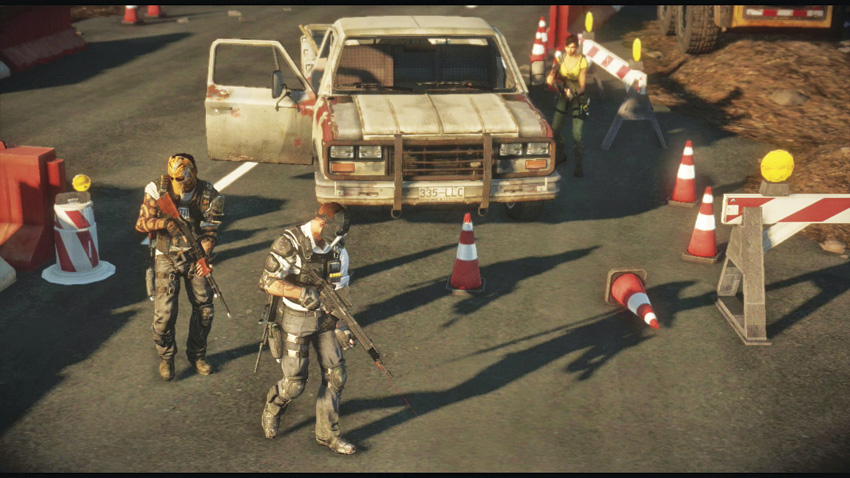
By now you should have more than enough cash and rank to properly kit a preferred weapon of choice. However, for sheer efficiency, an RPD with extended magazines or a BR-19 with a drum magazine are tough to beat. Hard-hitting and accurate in their respective weapon classes, these make great standard weapons for any loadout.

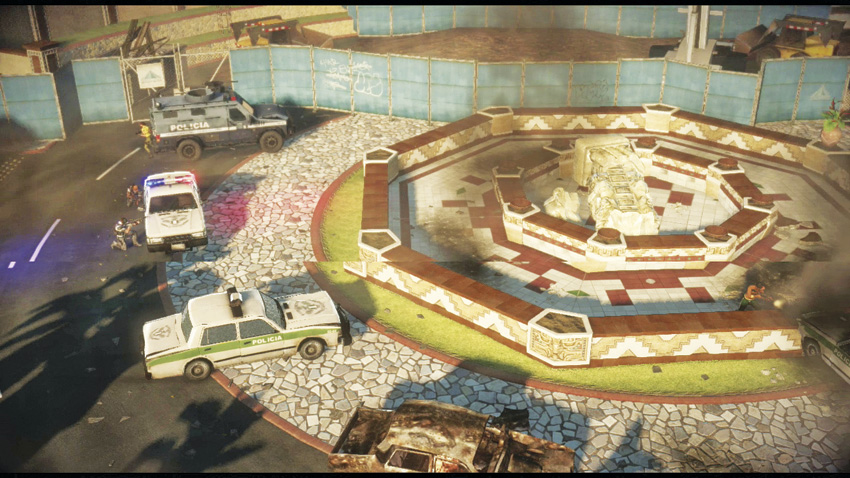
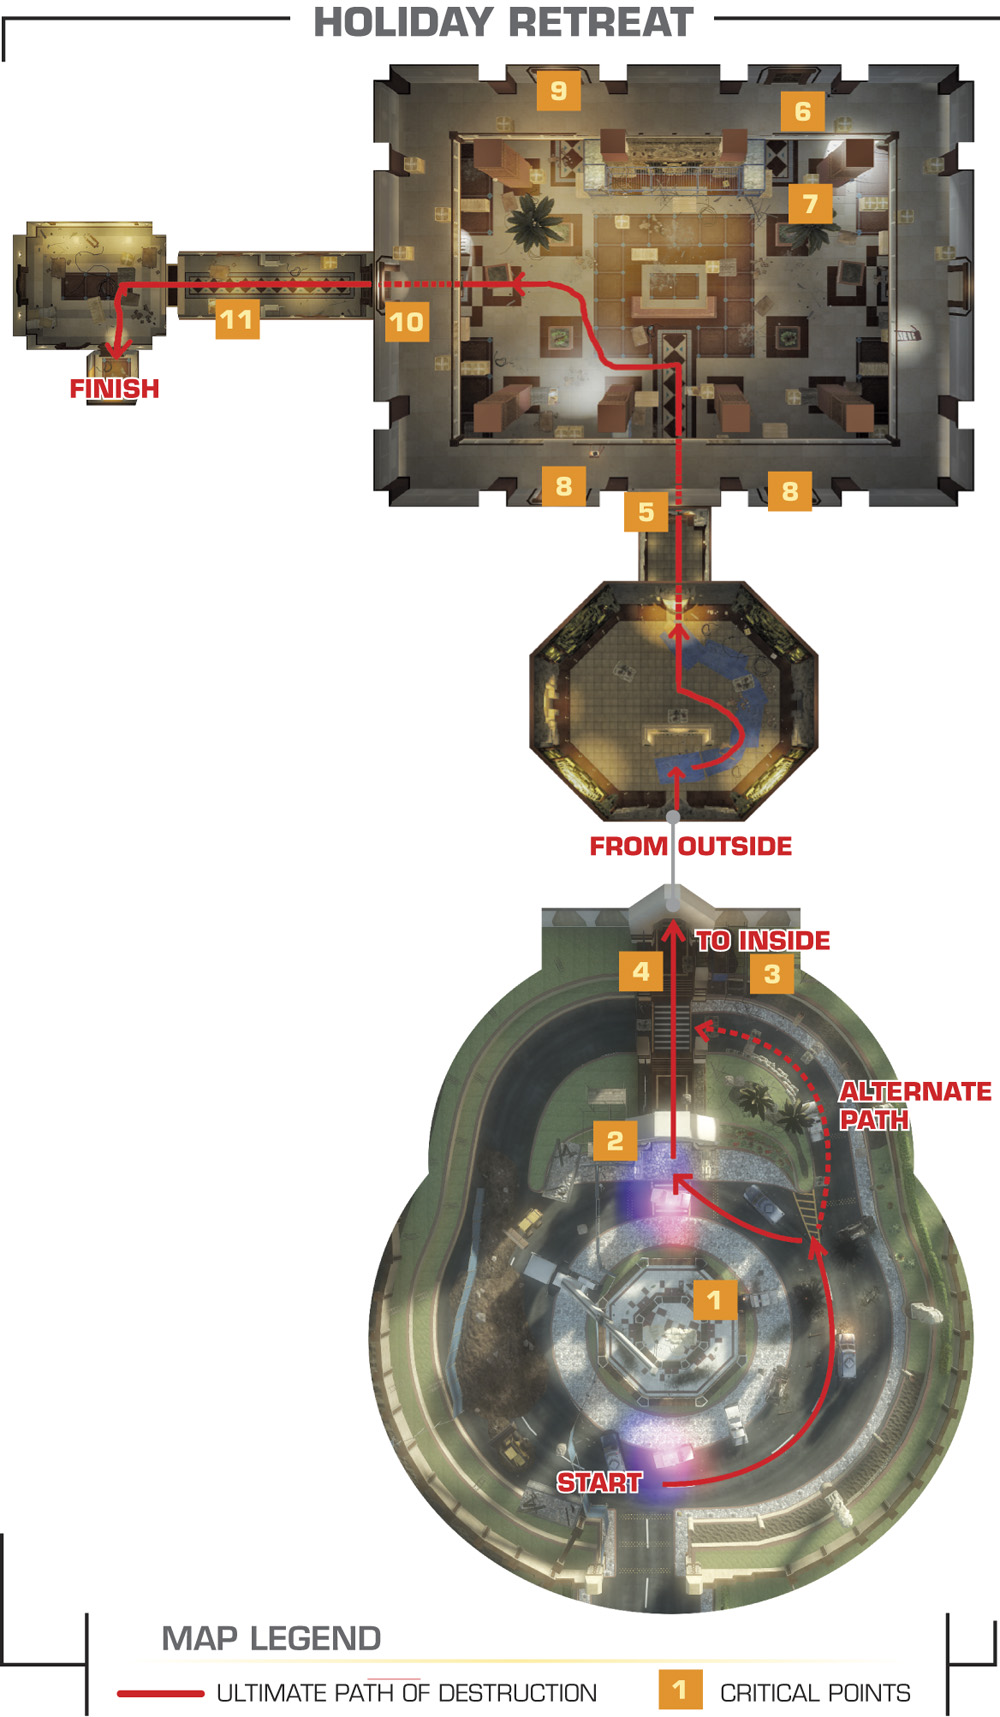
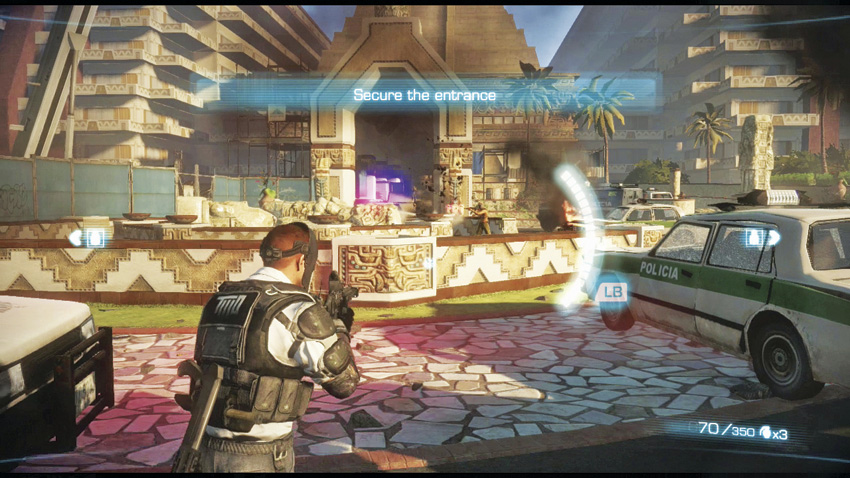
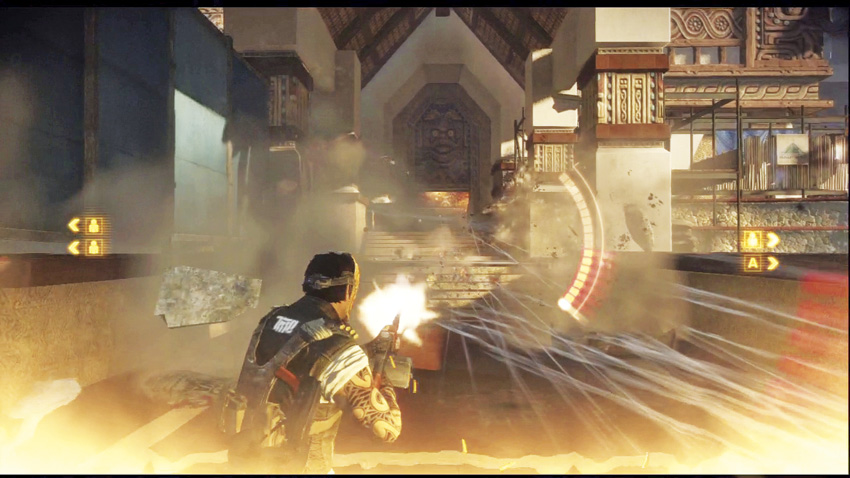
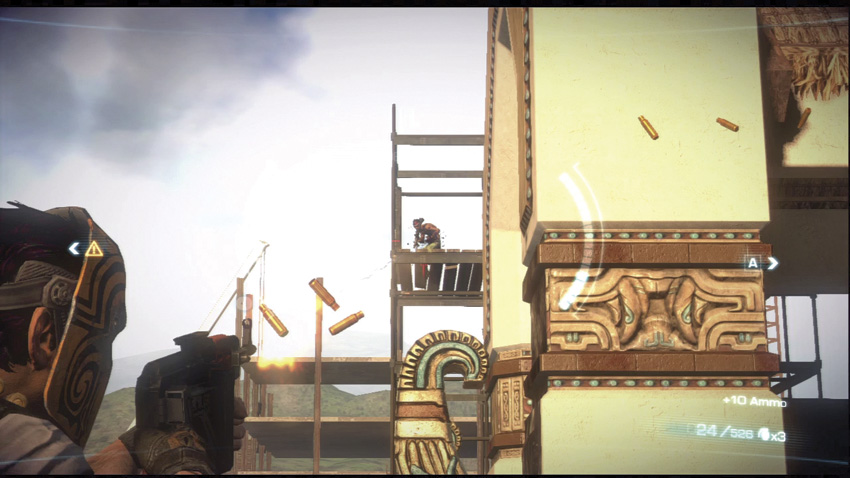
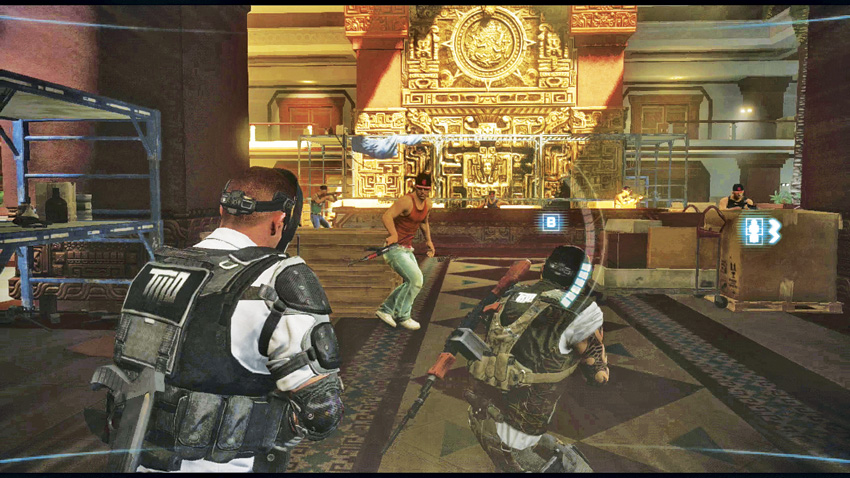
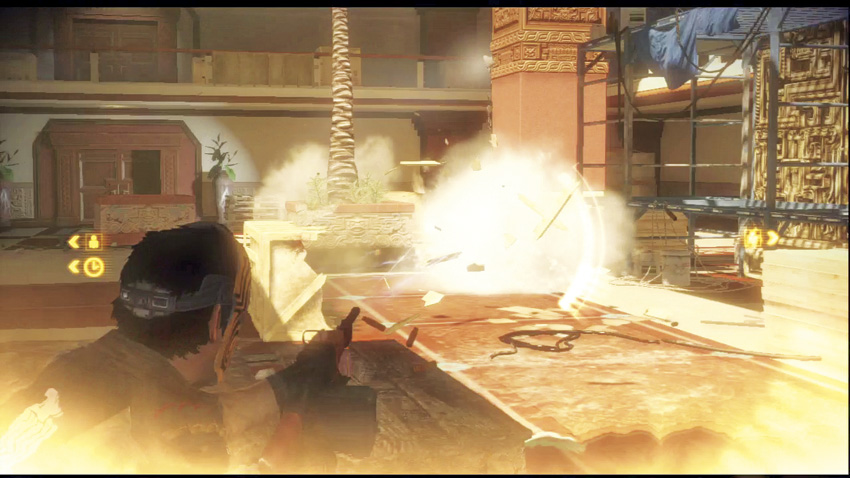
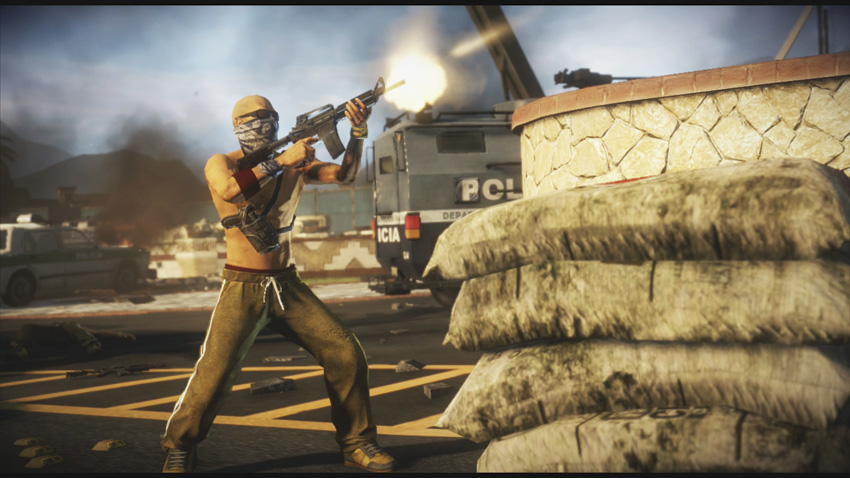
After Pike and Bradley add new orfices to cartel heads, it’s time to get back to work. The fountain directly in front of your starting position contains some cartel thugs to contend with. To the left of the fountain, next to the stairs that take you to the hotel’s lobby , the construction scaffolding contains an RPG shooter who will make his appearance if you advance forward. If you follow the pavement to the right of the fountain, another set of scaffolds hides more cartel members , including a sniper. The entrance to the hotel lobby itself is also well-defended with gunmen and Stabbers.
OVERKILL

If you’ve managed to carry over a full Overkill gauge from the previous chapter, this opening scuffle is a perfect place to use it. If you move quickly, you can catch all of the lobby defenders before they have a chance to break out and spread out across the area in front of the hotel entrance, which can lead to significant co-op score bonuses.

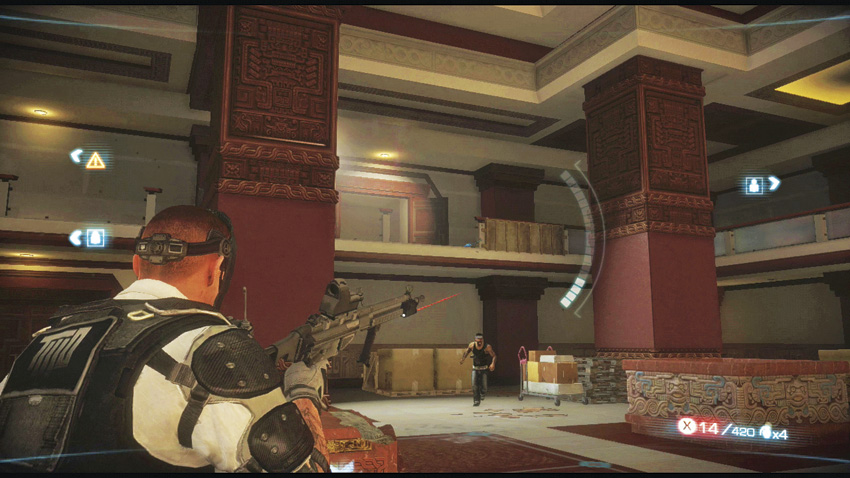
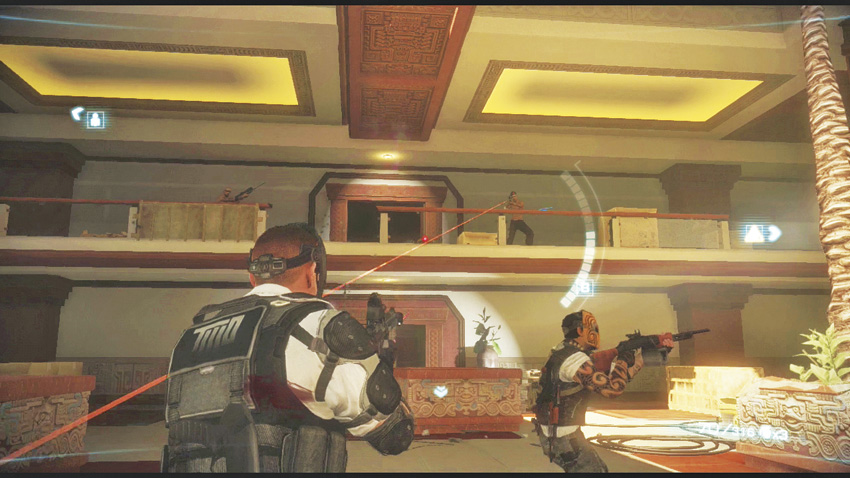
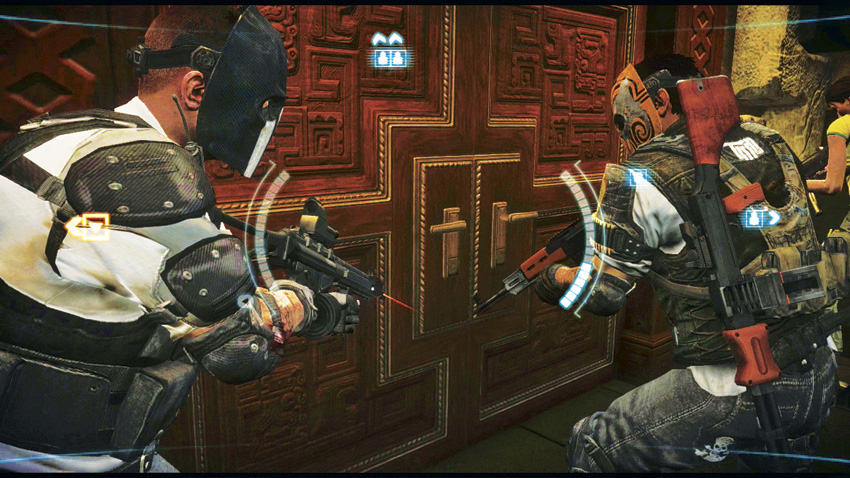
With the front entrance secured, you need to push into the hotel itself to rendezvous with Pike and Bradley. You’ll quickly come to a set of locked double doors , prompting you to execute a dual breach of the room beyond. The enemies inside are focused on your two comrades who are positioned on the second floor balcony, meaning that you can score a significant amount of points just off of flanking kills alone. If you are playing with a buddy and sweep the room from left to right, you can tack on a healthy co-op action bonus on top of the Flawless Sweep, which will almost certainly refill your Overkill meters.
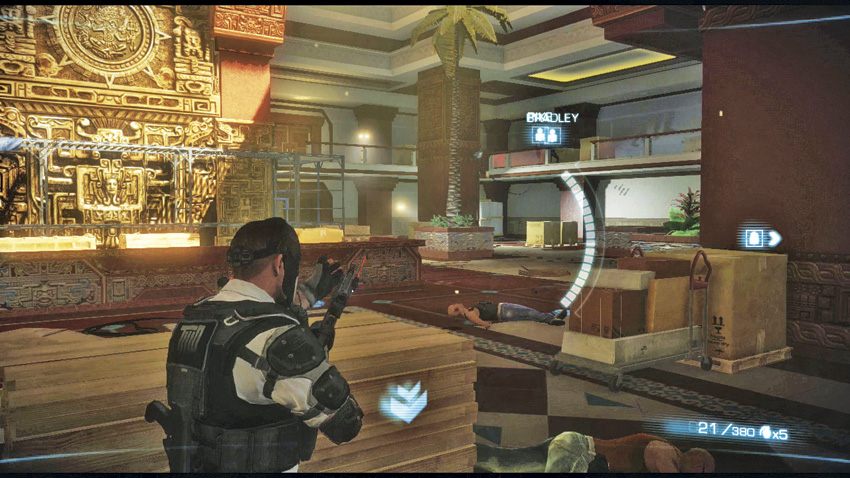
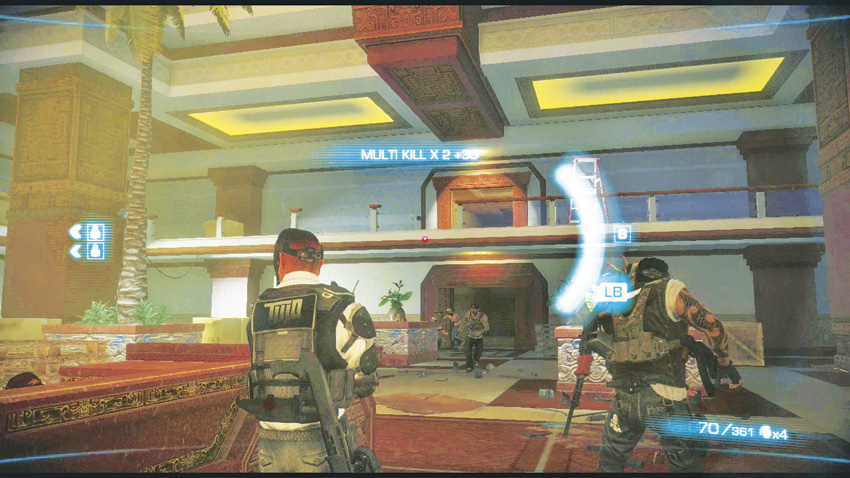
From where you enter, Pike and Bradley are on the upper balcony on the right side of the room . They are being chased down by cartel thugs. Support them from the ground floor as best you can, but be prepared for hostile reinforcements to come at you from a ground level entrance close to your allies’ starting position on the balcony.
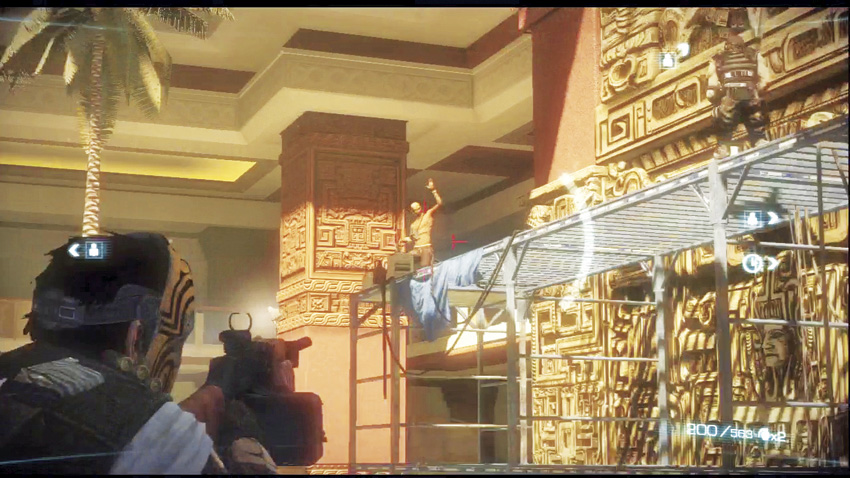
As Pike and Bradley cross the scaffolding near the large decorative statue, more cartel thugs join the fun from a balcony entrance directly across from them . Some of these guys are Stabbers who will try to drop down to the ground floor to take you on. More reinforcements will try to flank your allies from another entrance near the scaffolding itself . Eventually, one last group of cartel snipers will charge out from the door your two allies are trying to reach . Don’t get blindsided by these guys.
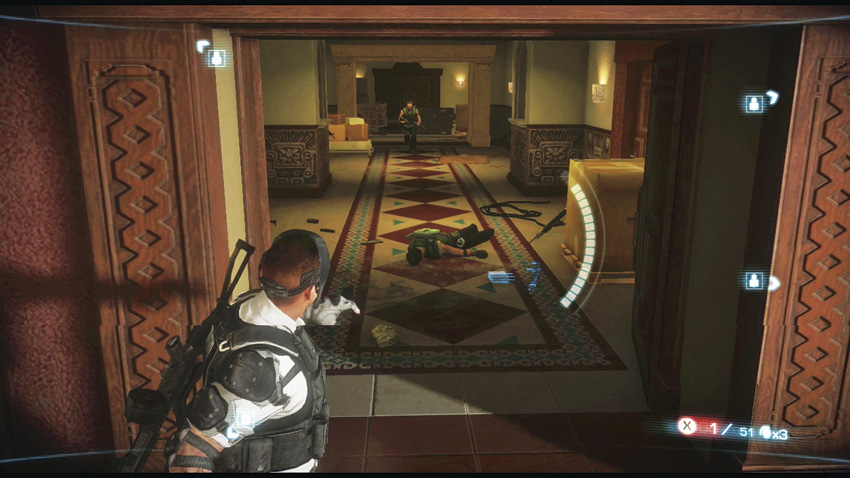
With the lobby clear and in ruins, the two balcony snipers push forward toward a corridor that will lead to the elevators. You need to follow them via a corridor on the ground floor. Waiting for you on the other side are more cartel troops, but these men are different. They’ve got tactical gear, and are better armed than your average Los Marcados member. These are proper mercenaries, capable of delivering and withstanding more punishment than the usual goons you’ve been tearing through. This last corridor stands between you and the elevators you need to access.

One you reach the elevators, Pike and Bradley call in that they have spotted a large contingent of cartel fleeing the hotel, and they want to split off to investigate these movements. Alpha, Bravo, and Fiona are left behind to deal with the cartel at the hotel itself, and to hopefully find P.I. and Castle.

OVERKILL

The firefight in the lobby and the final corridor leading to the elevators are perfect opportunities to score big Overkill bonuses. It actually might be more advantageous to stagger Overkills, rather than triggering a Double Overkill, specifically to keep things moving along so it doesn’t cost you your time bonus at the end of the chapter.

Keep reading with a free account

The first 3 sections of Army of Two: The Devil's Cartel are open to everyone. An account opens the rest of it, and every other guide in the archive. It's free, and there's nothing to buy.

Bought guides on the old Prima Games site? Your account and every guide you own moved here, so there's nothing to buy again. Sign in.

Create a free account Or browse our free guides

PreviousChapter 16: Suicide Run
 NextChapter 18: Room Service