
Army of Two: The Devil's Cartel Guide Walkthrough Mission 10: Confrontation
Chapter 49: The Devil's Due
Chapter 49: The Devil’s Due
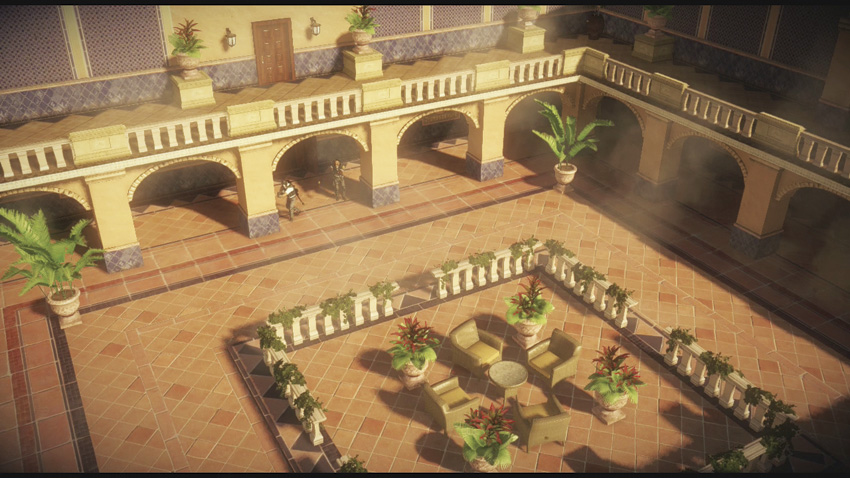
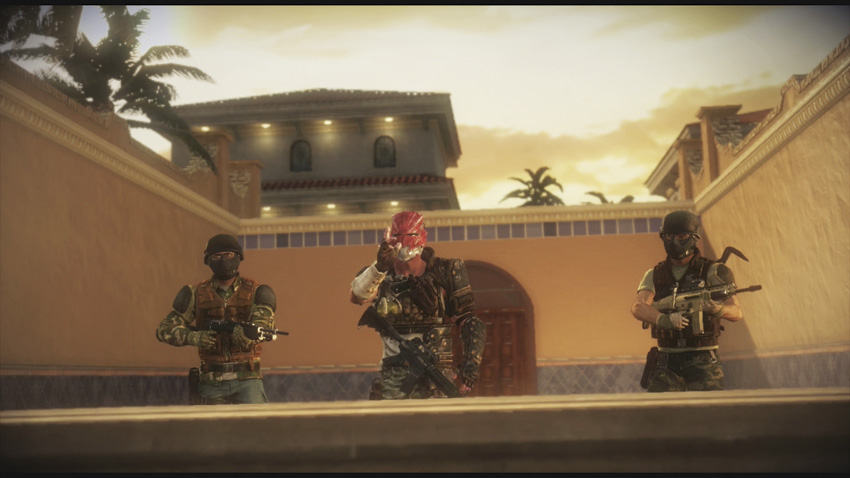
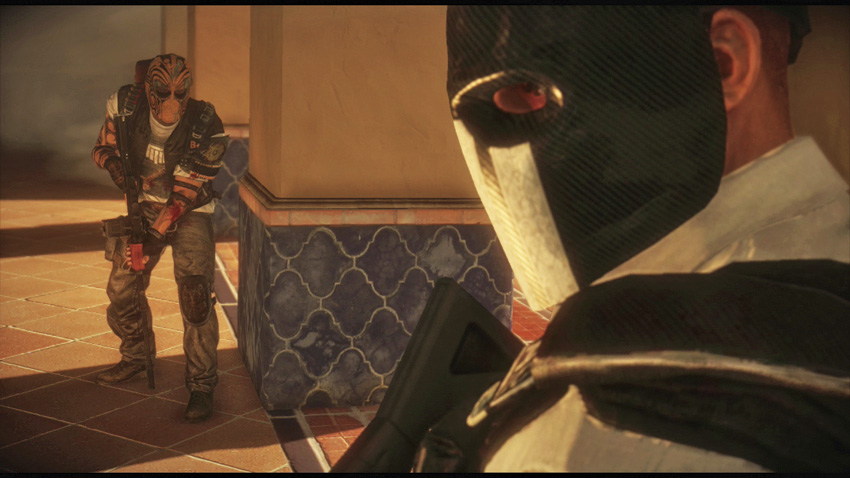
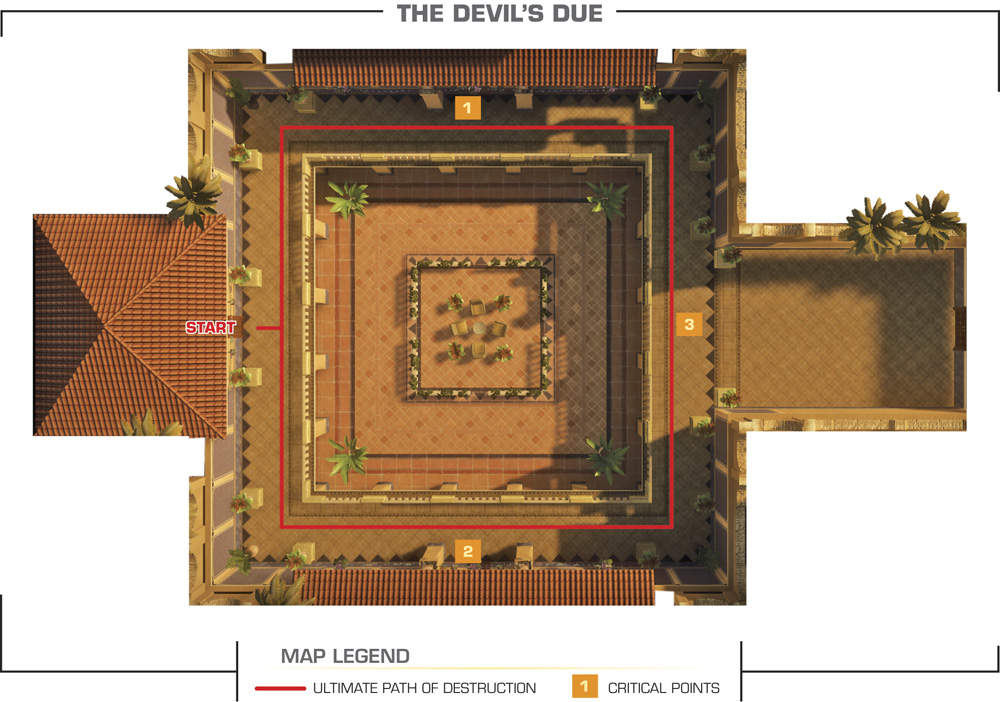
This is it. It’s Alpha and Bravo against Salem and the remnants of his elite guards. If Salem wasn’t totally crazy, he’d have taken the first opportunity to bug out and never show his face again, but at the end of the day this is his personal vendetta against the people who he feels left him to die. He’s more than happy to stick around and kill you.
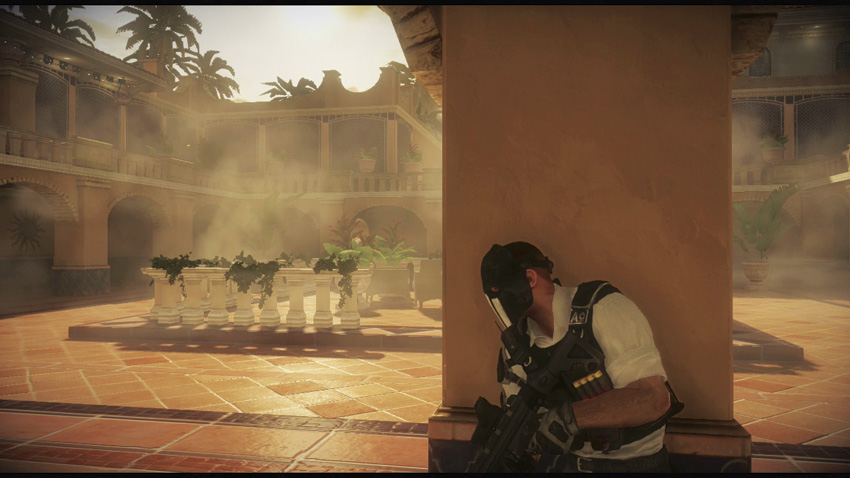
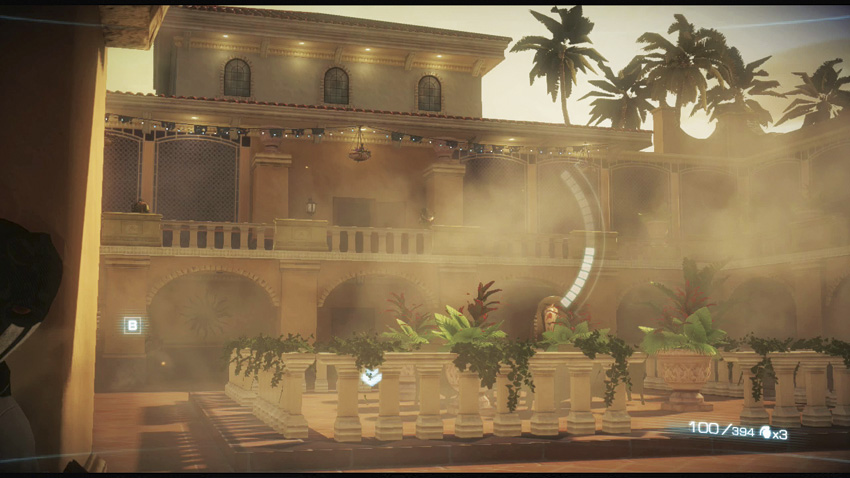
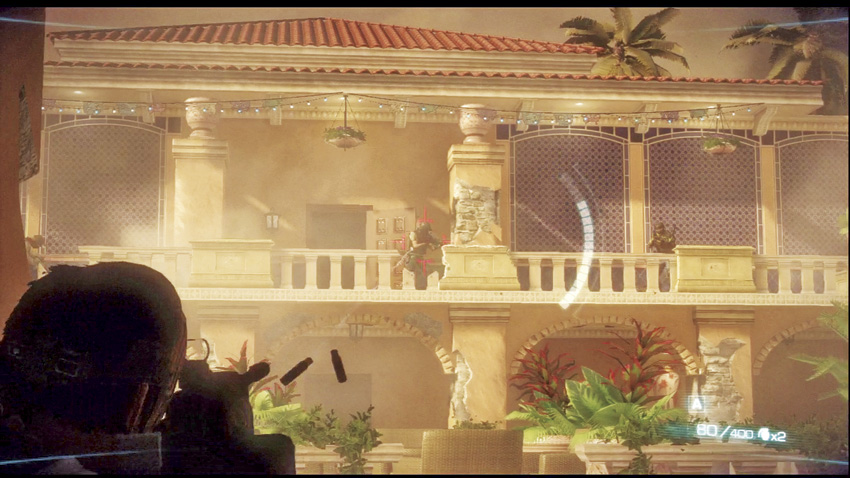
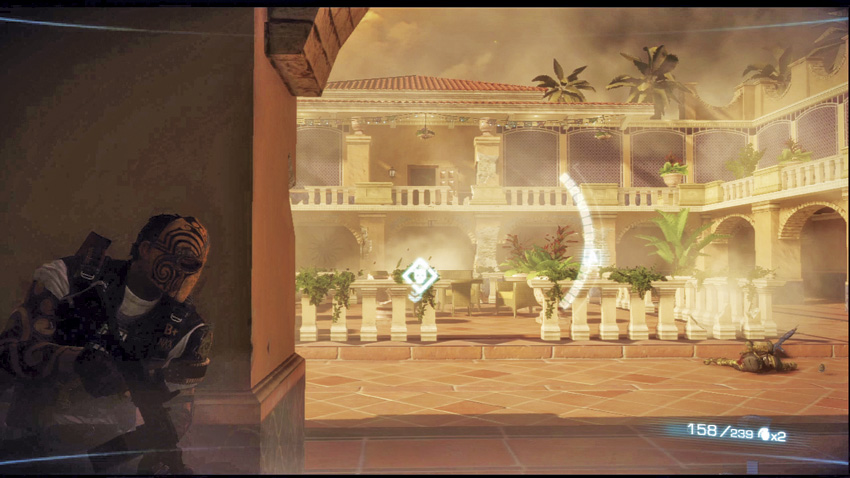
You start this fight next to some support pillars on the lower level of the plaza. Elites begin arriving through a set of doors on the upper level walkways directly above you

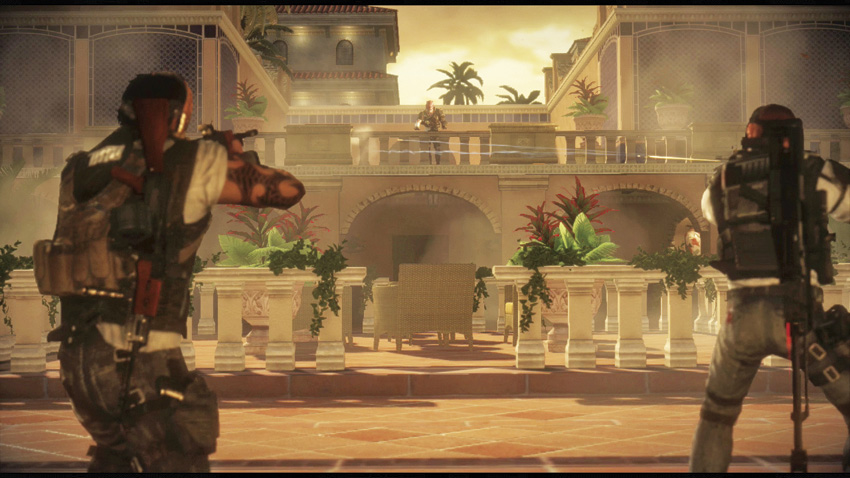
 . Salem is also on the upper level, directly across from your position
 , and he will constantly harrass you with gunfire. Don’t waste time shooting at him; you can’t kill him just yet. At most, pop off a few rounds to get him to back off. Your first objective here is to eliminate the elites, but from where you start you don’t have great angles on them, and you don’t have a way to get to the upper level. There are a couple of different methods you can use to handle this situation.
One way to deal with the elites is to post yourself underneath the points they arrive from and shoot at the ones on the other side of the plaza. This makes you vulnerable to elites dropping down near your position, and it does expose you to occasional fire from Salem if you stick to the pillars for cover. This method works much better in co-op games when you can better communicate with your partner about elites dropping down next to them.
The other relatively safe spot is underneath Salem. This gives you poor angles on the elites who remain on the balcony,. but you’ll be able to catch them when they inevitably drop down to engage you. Better yet, Salem can’t shoot at you from his position.
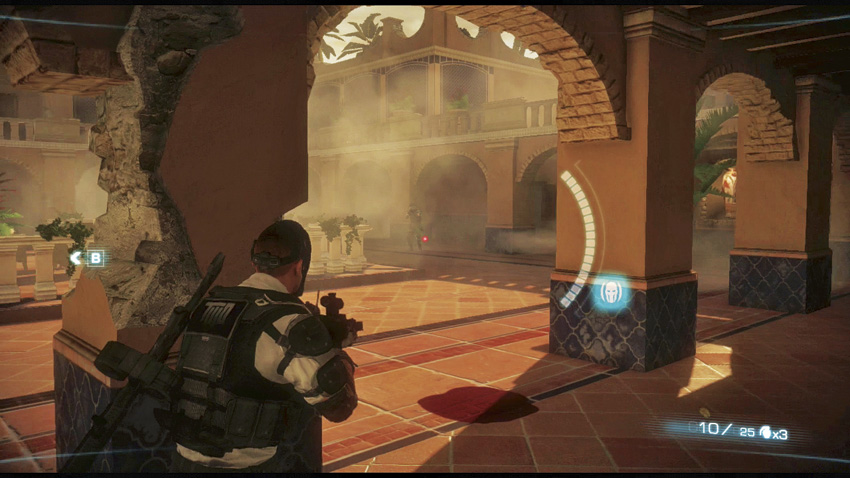
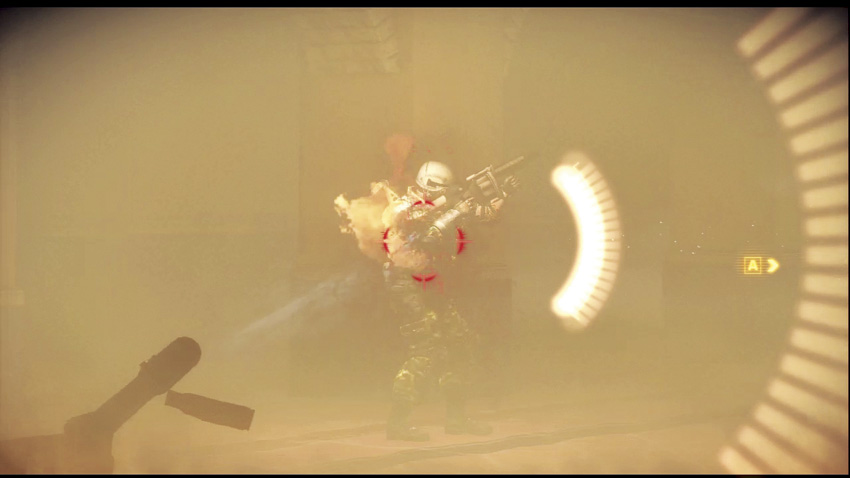
As you’re cutting through the upper level elites, eventually three Brutes will enter the area from doors on the lower level: one under each of the entrances the balcony elites are using, and the third from the center of the wall on Salem’s side of the plaza. The last Brute is the real threat, as he is armed with a grenade launcher. Take them out, and then finish off any elite stragglers.
.jpg)
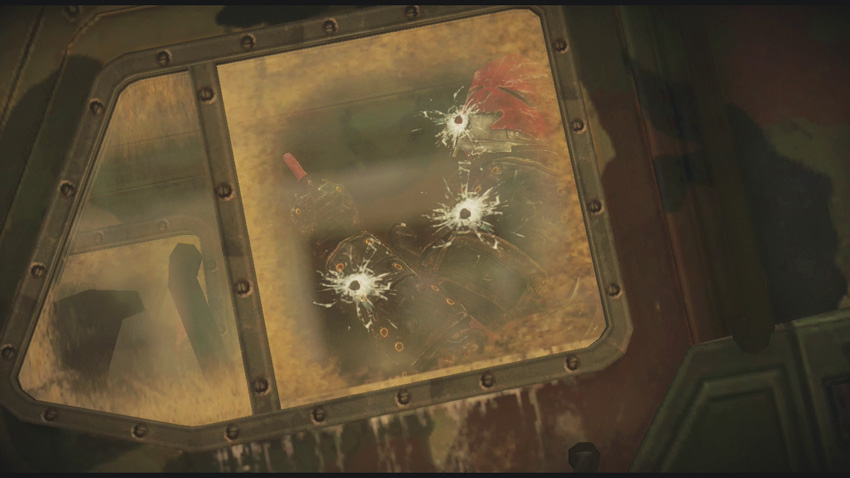
At first, it seems like Salem has abandoned the fight, but he soon crashes into the arena inside a custom cartel destroyer. This marks the start of this battle’s second phase. You need to disable the destroyer before you can finally take out Salem, and to do that you need to blast the hell out of the vehicle using Overkill. Double Overkill works faster, as you might expect. If you don’t have Overkills available as soon as the vehicle comes out to play, you can build up your Overkill meters just by shooting at the Destroyer.
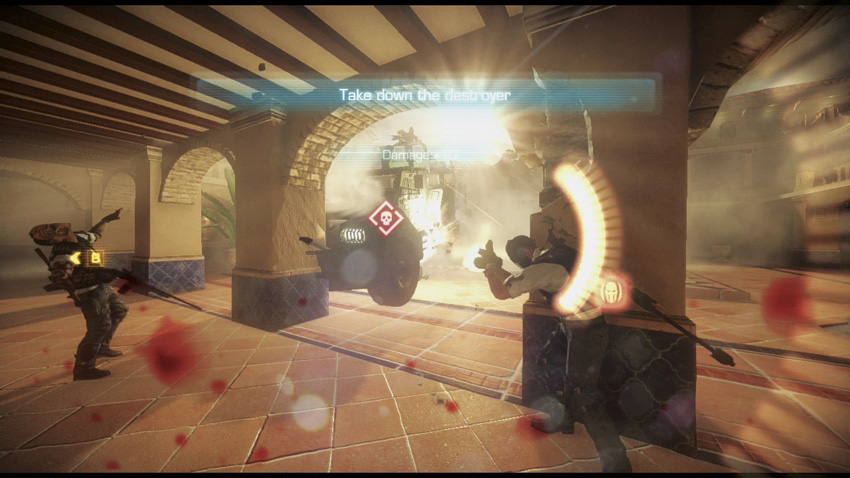
Salem doesn’t make it easy on you. He drives around the courtyard like a madman while the MMG on the Destroyer constantly tries to take you down. Use the pillars for cover, but don’t stick close to them. Salem will ram into pillars with the destroyer, knocking over Alpha and Bravo if they are too close to the pillar being rammed.
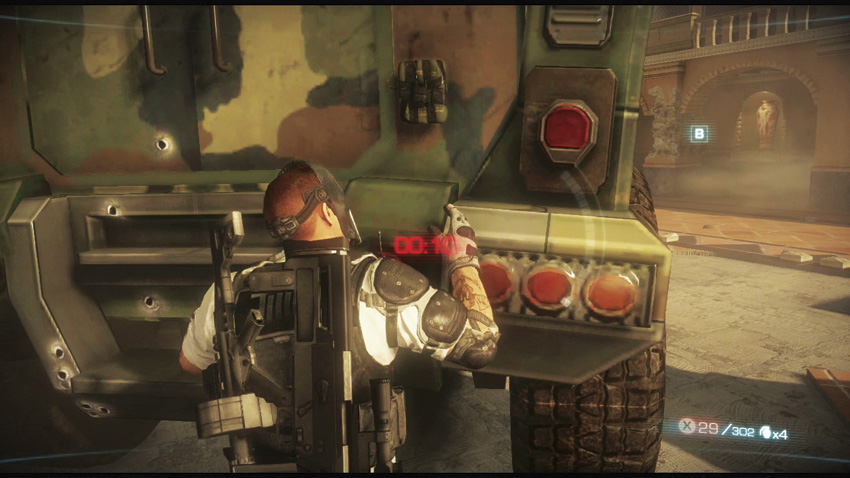
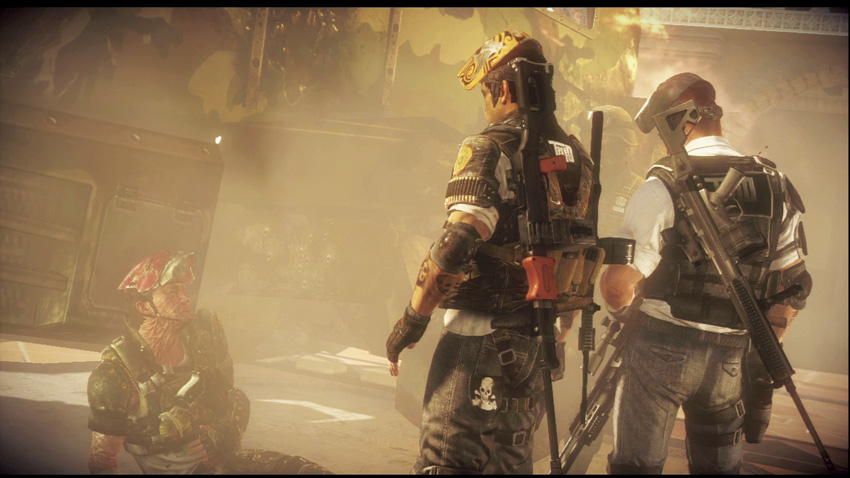
Eventually, the Destroyer finally takes more punishment than it can bear, and it stops moving. If you’re playing alone, you have to rely on Bravo to hold aggro on the MMG while you run up to the destroyer and plant C4 on it. In co-op games, either player can do this. Once the C4 is planted, you have to survive another ten seconds while the C4 counts down to detonation. With one last explosion, Salem’s days as a cartel lieutenant are over, and you can watch the conclusion to Army of Two: The Devil’s Cartel!

Alpha and Bravo can finally get that R&R they’ve been wanting, but their days as mercenaries are far from finished. Make sure you keep paying attention once the credits have rolled, as there might be a little surprise for you at the end.