Prima Games eGuides
primagames.com Browse Redeem a code Help
Army of Two: The Devil's Cartel eGuide
Sign in My Guides

Sign in or create an account

We'll email you a link. No password needed, and if you don't have an account yet, the link makes one.

By creating an account or signing in, you agree to our Terms of Service and Privacy Policy.

Have a password?

Had an account on the old eGuides site, or a code from a printed guide? Help and troubleshooting

Sign in with a password

By signing in, you agree to our Terms of Service and Privacy Policy.

Check your email

A sign-in link is on its way. It works once and expires in 15 minutes. Open it and you're in, with an account if you didn't already have one.

Contents

  • Essentials
    • Welcome Back to Tactical Worldwide Operations
      • Welcome Back to Tactical Worldwide Operations
    • Operational History and Character Bios
      • Operational History and Character Bios
    • Tactical Operations Manual
      • Tactical Operations Manual
    • Two Gear
      • The Gear Makes The Man
      • Modifications
      • Weapon Skins
      • Tactical Gear
      • Tattoos
    • The Enemy
      • The Enemy
    • Contracts
      • Contracts
    • Achievements and Trophies
      • Achievements and Trophies
    • Concept Art
      • Concept Art
  • Walkthrough
    • Mission 1: New Blood
      • Special Callouts
      • Chapter 1: Protection
      • Chapter 2: Tutorial
    • Mission 2: Cause And Effect
      • Chapter 3: Permission to Engage
      • Chapter 4: Foxhunt
      • Chapter 5: Split Decision
      • Chapter 6: Baptism by Fire
    • Mission 3: Rally Point
      • Chapter 7: Politics in Action
      • Chapter 8: Picking Up the Pieces
      • Chapter 9: Into the Chaos

      • Chapter 10: Riot Act

      • Chapter 11: Urban Chaos

    • Mission 4: Outside Contact
      • Chapter 12: Fuel for the Fire

      • Chapter 13: Observe and Detect

      • Chapter 14: Local Heroes

      • Chapter 15: Stronghold Assault
      • Chapter 16: Suicide Run

    • Mission 5: Last Resort
      • Chapter 17: Holiday Retreat

      • Chapter 18: Room Service

    • Mission 6: Salvation
      • Chapter 19: Among the Dead

      • Chapter 20: Open Season

      • Chapter 21: Rest for the Wicked

      • Chapter 22: Shadows Walk

      • Chapter 23: Into the Light

      • Chapter 24: Loose Cannon

      • Chapter 25: Special Delivery

    • Mission 7: Enemy Territory
      • Chapter 26: Behind Enemy Lines

      • Chapter 27: Guardian Angel

      • Chapter 28: Manhunt

      • Chapter 29: Fight for the Future

      • Chapter 30: Desperate Measures

      • Chapter 31: Objective Lost

    • Mission 8: Narco Hell
      • Chapter 32: Scavengers

      • Chapter 33: Game Face

      • Chapter 34: A Ray of Sun

      • Chapter 35: Rooftop Rampage

      • Chapter 36: Adrenaline High

      • Chapter 37: Mad Science

      • Chapter 38: The Butcher

    • Mission 9: Assault
      • Chapter 39: The Assault

      • Chapter 40: Down But Not Out

      • Chapter 41: Get Her Back

      • Chapter 42: Race to the Quarry

      • Chapter 43: Fish in a Barrel

    • Mission 10: Confrontation
      • Chapter 44: Burning Bridges

      • Chapter 45: No Return

      • Chapter 46: A Hero's Rescue

      • Chapter 47: The Lion's Den

      • Chapter 48: Salem On Trial

      • Chapter 49: The Devil's Due

  • Overkill Vids
    • Mission Overkill Videos
      • Mission Overkill Videos

Army of Two: The Devil's Cartel Guide › Walkthrough › Mission 2: Cause And Effect

Chapter 6: Baptism by Fire

Chapter 6: Baptism by Fire

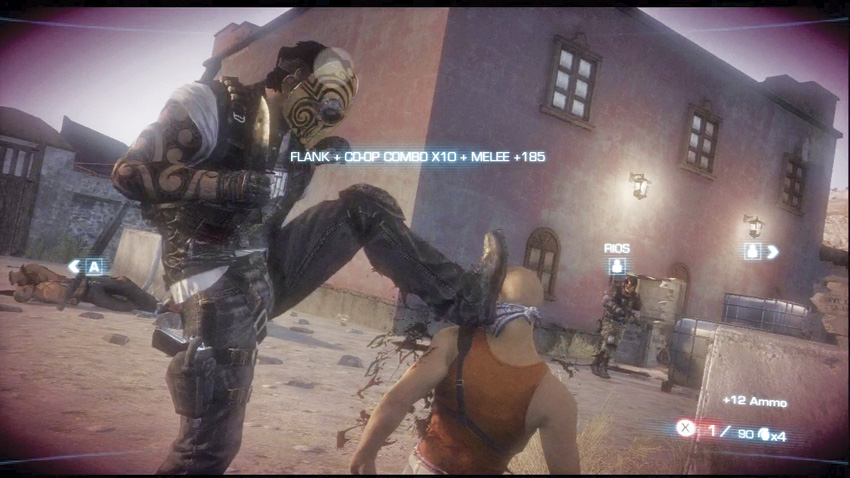
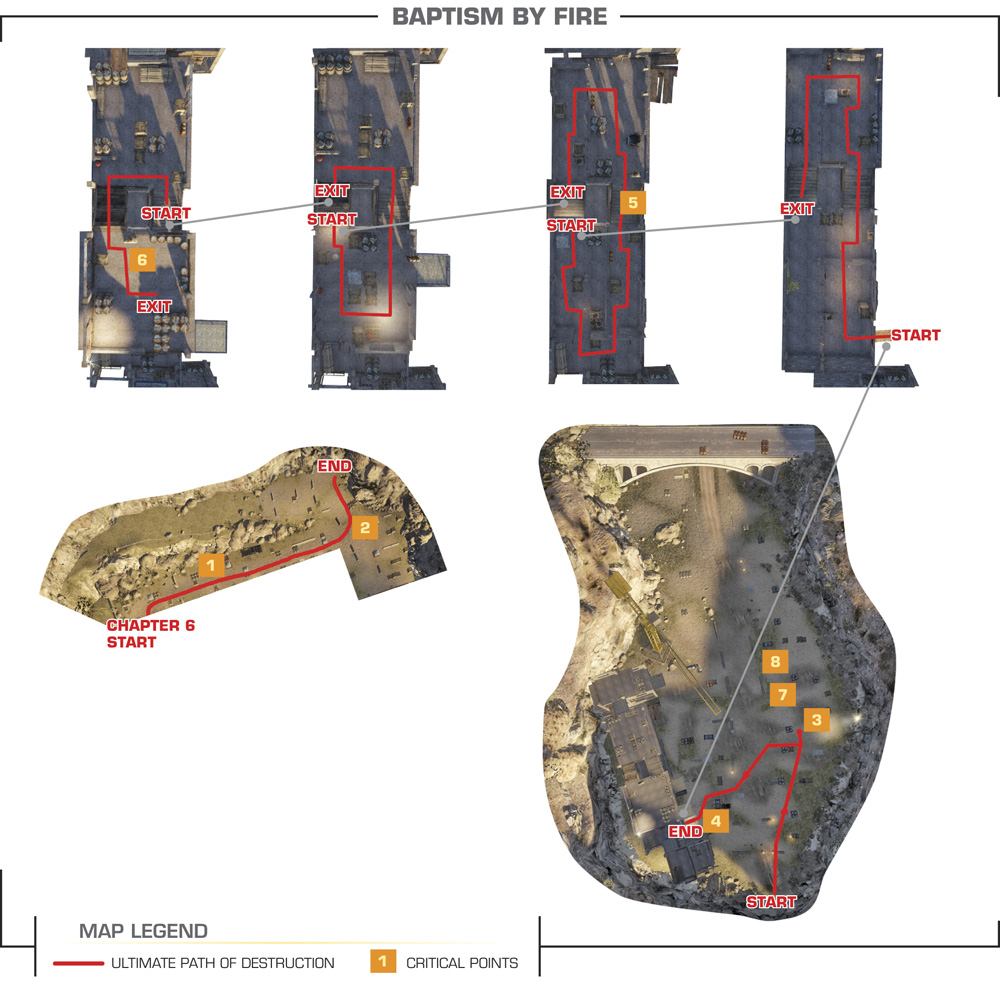
As per T.W.O. custom, everything has gone to Hell very quickly. The objective is dead, Salem has run off looking for an exit, and now Alpha, Bravo, and Rios have to escort a hostage through cartel-held territory. The back alley you enter after leaving the warehouse is narrow, offering little room to maneuver. Advance toward the tunnel to the left at the far end of the alley , but be on the lookout for the cartel members who rush out from the tunnel to stop you. Wipe them out, and then proceed through the tunnel.

OVERKILL

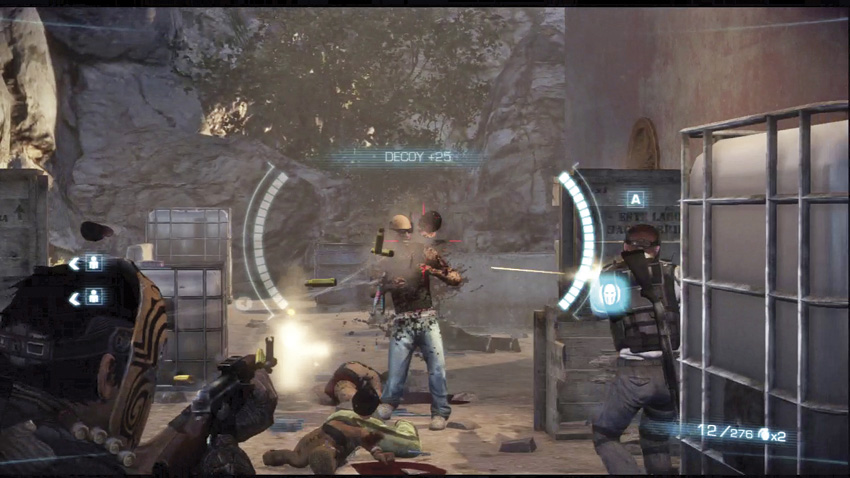
The starting alley for this chapter is a good place to build up a significant Overkill bonus to add to your end of chapter totals. There aren’t very many places for the enemy to hide. If you clear them out quickly, you can even cancel the Overkill and save some of your meter for the upcoming battle.

After passing through the tunnel, the scene cuts to Salem getting hold of a truck to make his escape while a cartel thug with an RPG has other ideas. Rios elects to take the hostage with the group across the wide open field to reach the truck and rescue Salem, if he’s still alive. Don’t feel too rushed by Rios’ urgency. Just clear out all hostiles in the area before approaching the truck.

The truck explodes when Rios gets close to it, greivously wounding him. In the confusion, cartel thugs manage to haul off the hostage. Alpha is forced to make a decision on how to proceed.

Decision Point: Rescue Hostage or Protect Rios

Rescue Hostage

Whomever ends up going after the hostage probably has the harder job. First, you need to cross a fairly large field between Rios’s position and the construction site the girl was taken to. The merc sticking with Rios will be hard pressed to give you covering fire, as a mounted machine gun will try to suppress you. Once you manage to get inside the structure, you’ll have to fight your way though a number of thugs and climb up to the MMG’s position to kill the gunner.

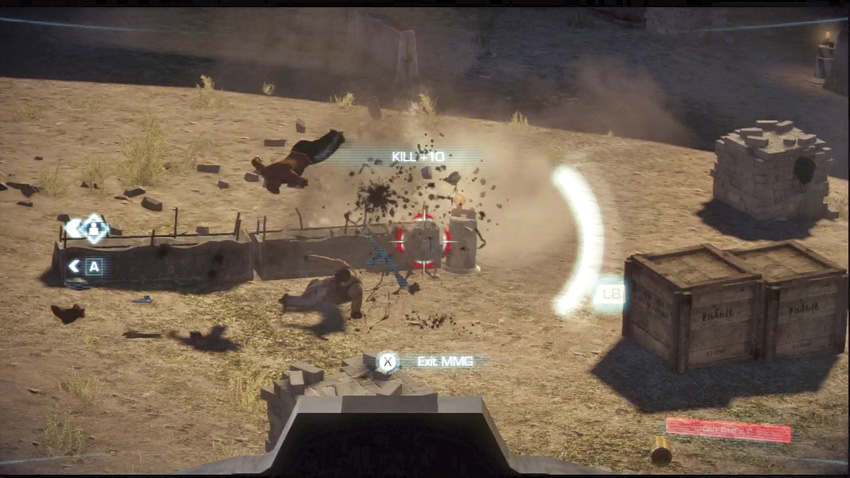
With the MMG now under your control, use it to eliminate all hostiles on the field. Eventually, a cartel technical roars onto the scene, threatening Rios’ position with a mounted grenade launcher. Either you or your partner must take out the gunner on the technical, which forces the driver to crash the truck. Your partner will then man the grenade launcher and assist you in taking out all of the hostiles. You’ll also have to take out an RPG user, with the resulting misfire destroying the nearby construction crane. This is an excellent moment to use Overkill, if you have it ready.

After the initial hostiles have been handled by your combined efforts, get to the rooftop of the construction site and rescue the girl once again. Don’t get reckless; she has a number of cartel enforcers protecting her. Once she’s been secured, help her into an evacuation chopper, and then climb aboard yourself. You’ll then be given a sniper rifle to help keep Rios and your buddy covered while the chopper makes a slow circle around the field. Eventually, the chopper settles near Rios’ location, and your partner will help him aboard.

Protect Rios

You’ll need to take cover where the MMG can’t get to you. Right next to Rios is a solid bet, which will also give you a chance to cover your partner as they enter the building to take out the MMG. Once your partner gets inside the construction site, concentrate on the goons trying to rush your position. Eventually, when the MMG comes under your partner’s control, you can really start laying down the hate on your enemy. When the technical with its grenade launcher becomes available for you to use , you can pretty much stick to this weapon for the duration of the mission. The grenade launcher has infinite ammo, but can only have a maximum of six rounds ready to fire. If it runs empty, it will automatically reload one shot at a time. Place your shots carefully to ensure you score kills.

Take out the indicated RPG thug, and then lay waste to any hostiles on the ground. Eventually, your partner will rescue the hostage and climb aboard the chopper to provide you with sniper support. Just keep laying waste to the enemy until the chopper comes down near your position to extract you and Rios.

As soon as you manage to get Rios aboard the chopper, a cartel vehicle shows up on the nearby bridge, forcing the team to leave Salem’s body behind in the burning truck as cartel forces converge on the area. Despite the terrible loss, the team did manage to save at least one person in the end, even if it wasn’t the actual target.

Keep reading with a free account

The first 3 sections of Army of Two: The Devil's Cartel are open to everyone. An account opens the rest of it, and every other guide in the archive. It's free, and there's nothing to buy.

Bought guides on the old Prima Games site? Your account and every guide you own moved here, so there's nothing to buy again. Sign in.

Create a free account Or browse our free guides

PreviousChapter 5: Split Decision NextChapter 7: Politics in Action