Prima Games eGuides
primagames.com Browse Redeem a code Help
Army of Two: The Devil's Cartel eGuide
Sign in My Guides

Sign in or create an account

We'll email you a link. No password needed, and if you don't have an account yet, the link makes one.

By creating an account or signing in, you agree to our Terms of Service and Privacy Policy.

Have a password?

Had an account on the old eGuides site, or a code from a printed guide? Help and troubleshooting

Sign in with a password

By signing in, you agree to our Terms of Service and Privacy Policy.

Check your email

A sign-in link is on its way. It works once and expires in 15 minutes. Open it and you're in, with an account if you didn't already have one.

Contents

  • Essentials
    • Welcome Back to Tactical Worldwide Operations
      • Welcome Back to Tactical Worldwide Operations
    • Operational History and Character Bios
      • Operational History and Character Bios
    • Tactical Operations Manual
      • Tactical Operations Manual
    • Two Gear
      • The Gear Makes The Man
      • Modifications
      • Weapon Skins
      • Tactical Gear
      • Tattoos
    • The Enemy
      • The Enemy
    • Contracts
      • Contracts
    • Achievements and Trophies
      • Achievements and Trophies
    • Concept Art
      • Concept Art
  • Walkthrough
    • Mission 1: New Blood
      • Special Callouts
      • Chapter 1: Protection
      • Chapter 2: Tutorial
    • Mission 2: Cause And Effect
      • Chapter 3: Permission to Engage
      • Chapter 4: Foxhunt
      • Chapter 5: Split Decision
      • Chapter 6: Baptism by Fire
    • Mission 3: Rally Point
      • Chapter 7: Politics in Action
      • Chapter 8: Picking Up the Pieces
      • Chapter 9: Into the Chaos

      • Chapter 10: Riot Act

      • Chapter 11: Urban Chaos

    • Mission 4: Outside Contact
      • Chapter 12: Fuel for the Fire

      • Chapter 13: Observe and Detect

      • Chapter 14: Local Heroes

      • Chapter 15: Stronghold Assault
      • Chapter 16: Suicide Run

    • Mission 5: Last Resort
      • Chapter 17: Holiday Retreat

      • Chapter 18: Room Service

    • Mission 6: Salvation
      • Chapter 19: Among the Dead

      • Chapter 20: Open Season

      • Chapter 21: Rest for the Wicked

      • Chapter 22: Shadows Walk

      • Chapter 23: Into the Light

      • Chapter 24: Loose Cannon

      • Chapter 25: Special Delivery

    • Mission 7: Enemy Territory
      • Chapter 26: Behind Enemy Lines

      • Chapter 27: Guardian Angel

      • Chapter 28: Manhunt

      • Chapter 29: Fight for the Future

      • Chapter 30: Desperate Measures

      • Chapter 31: Objective Lost

    • Mission 8: Narco Hell
      • Chapter 32: Scavengers

      • Chapter 33: Game Face

      • Chapter 34: A Ray of Sun

      • Chapter 35: Rooftop Rampage

      • Chapter 36: Adrenaline High

      • Chapter 37: Mad Science

      • Chapter 38: The Butcher

    • Mission 9: Assault
      • Chapter 39: The Assault

      • Chapter 40: Down But Not Out

      • Chapter 41: Get Her Back

      • Chapter 42: Race to the Quarry

      • Chapter 43: Fish in a Barrel

    • Mission 10: Confrontation
      • Chapter 44: Burning Bridges

      • Chapter 45: No Return

      • Chapter 46: A Hero's Rescue

      • Chapter 47: The Lion's Den

      • Chapter 48: Salem On Trial

      • Chapter 49: The Devil's Due

  • Overkill Vids
    • Mission Overkill Videos
      • Mission Overkill Videos

Army of Two: The Devil's Cartel Guide › Walkthrough › Mission 6: Salvation

Chapter 19: Among the Dead
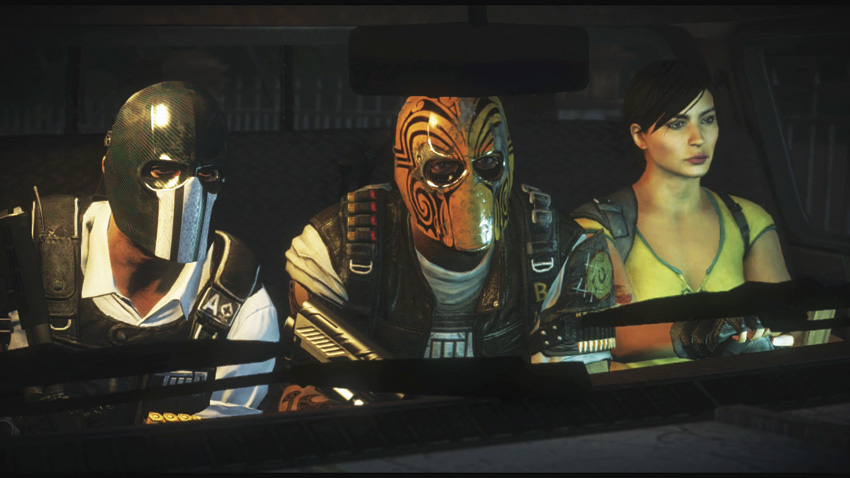

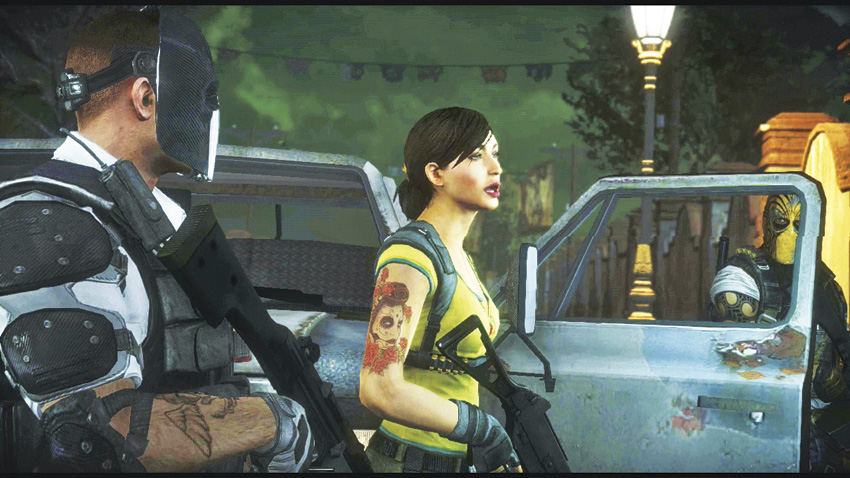
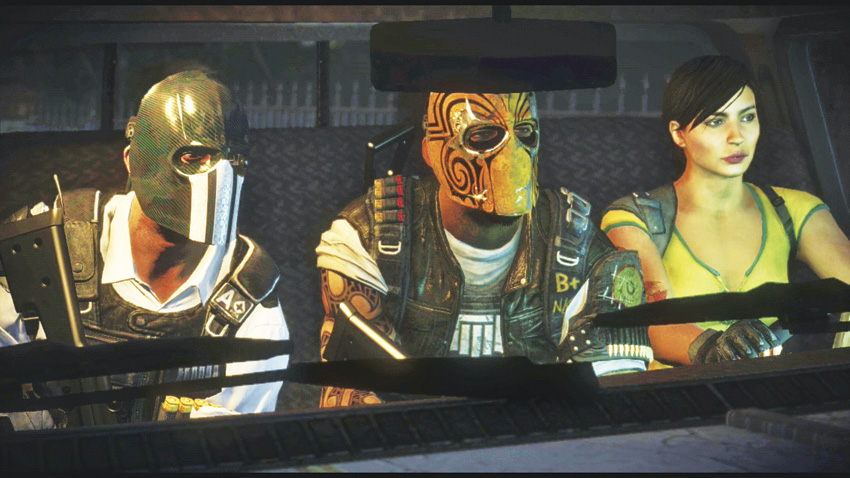
After the disastrous rendezvous at the hotel, Alpha, Bravo, and Fiona make their way to a church that the cartel has converted into a secret base of operations. Fiona is convinced that Mayor Cordova was taken here immediately after his capture, but the trio will have to fight their way through an army of La Guadaña mercenaries in order to discover if she is right or wrong.

Chapter 19: Among the Dead
Suggested Armament

By now, you’ve likely unlocked a healthy amount of firepower for your arsenal. The type of fighting you’ll face in this chapter makes shotguns less effective, as they have low enough magazine capacities (even with extended mags) to become a liability. LMGs and assault rifles are kings of the graveyards here, although a shotgun can still be quite effective as a secondary weapon.

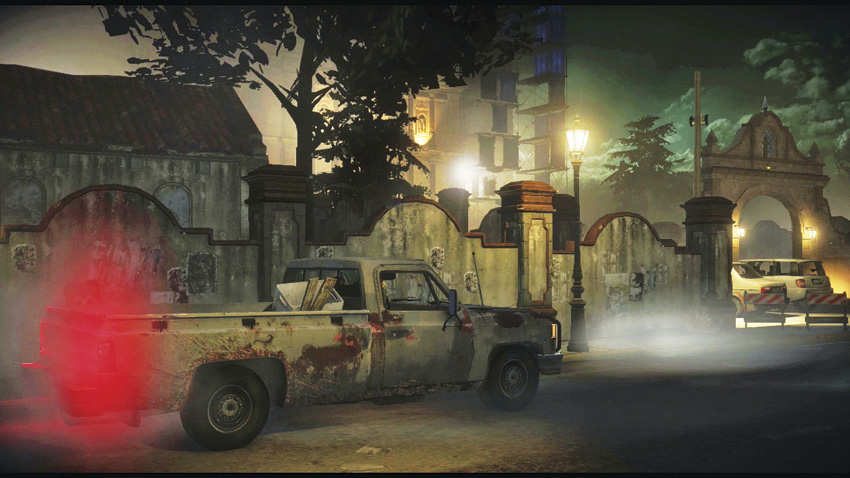
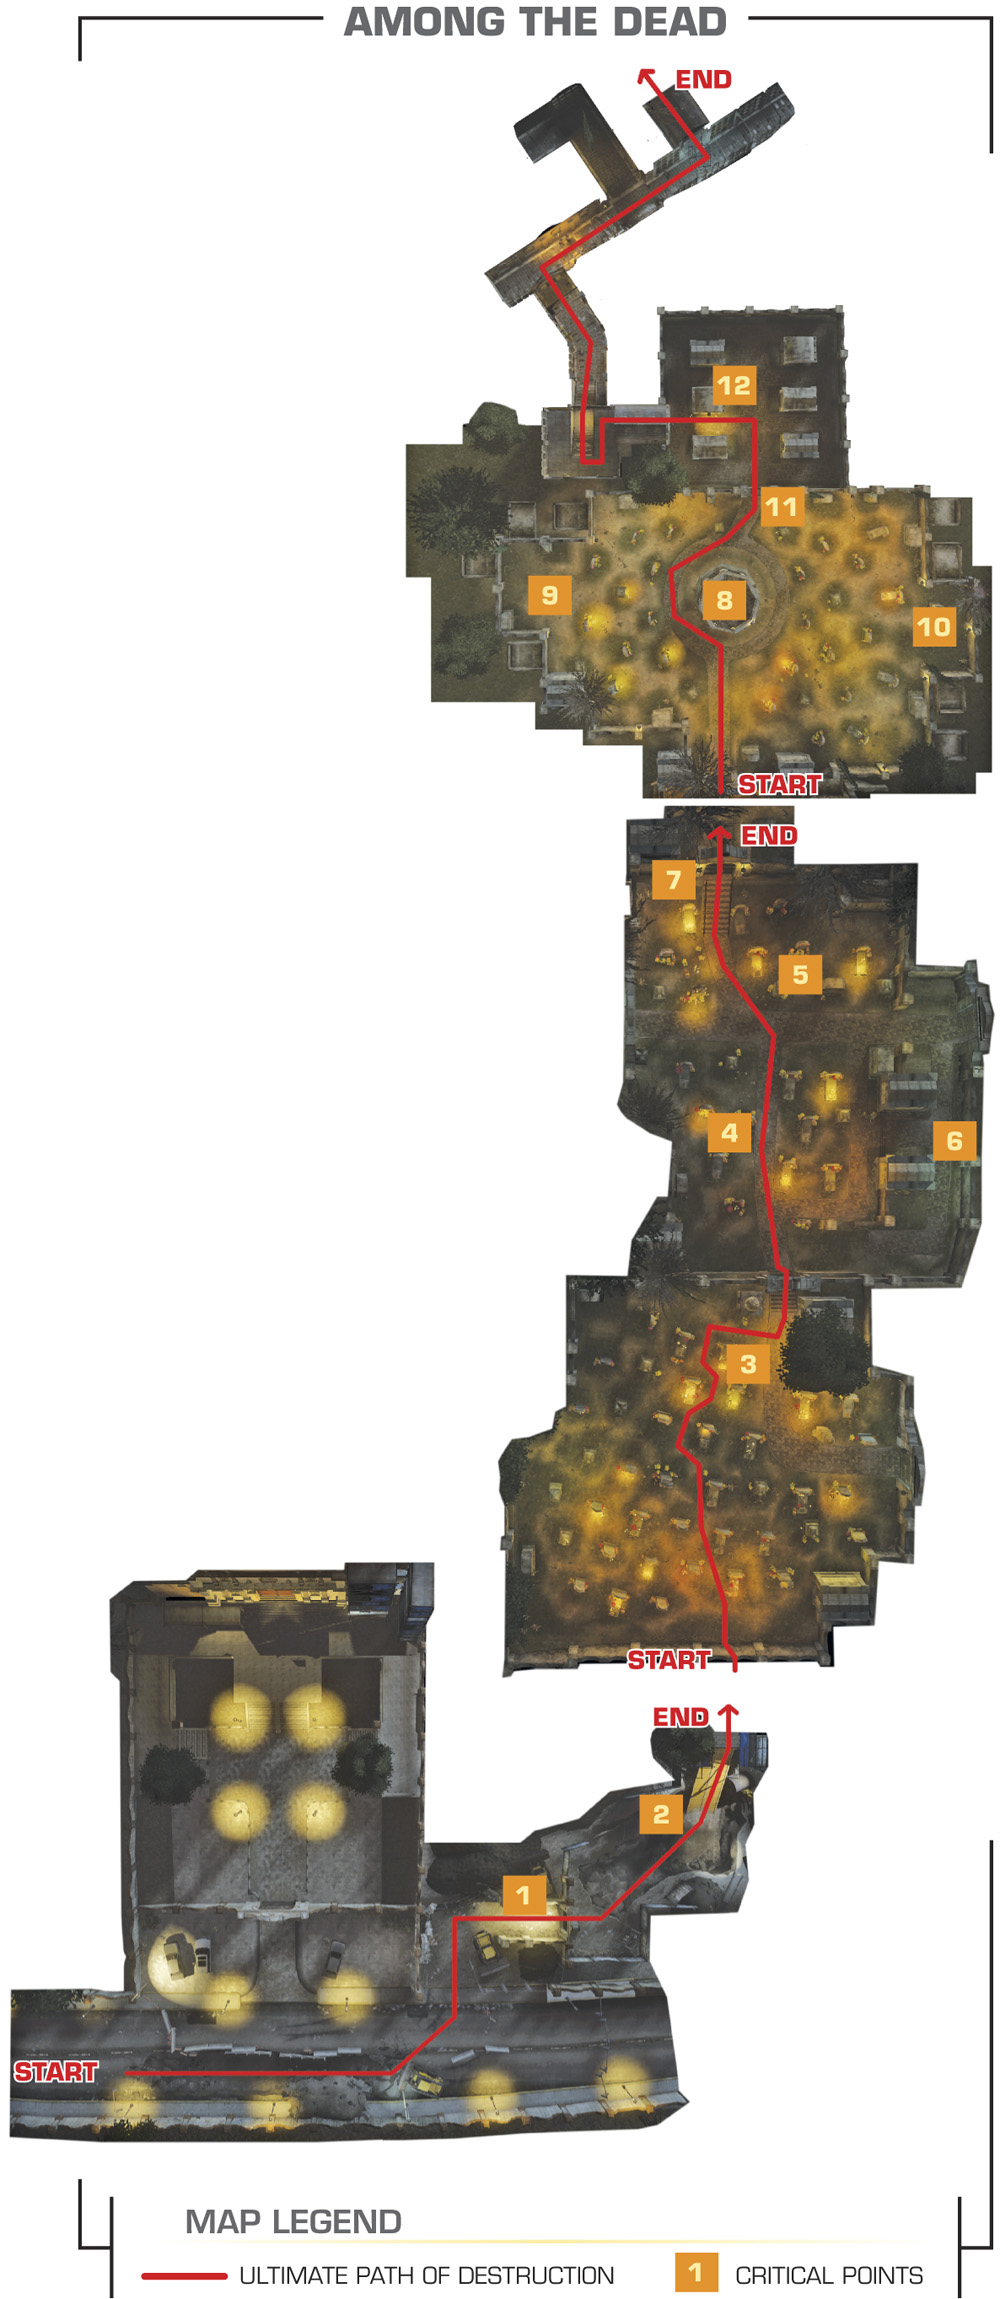
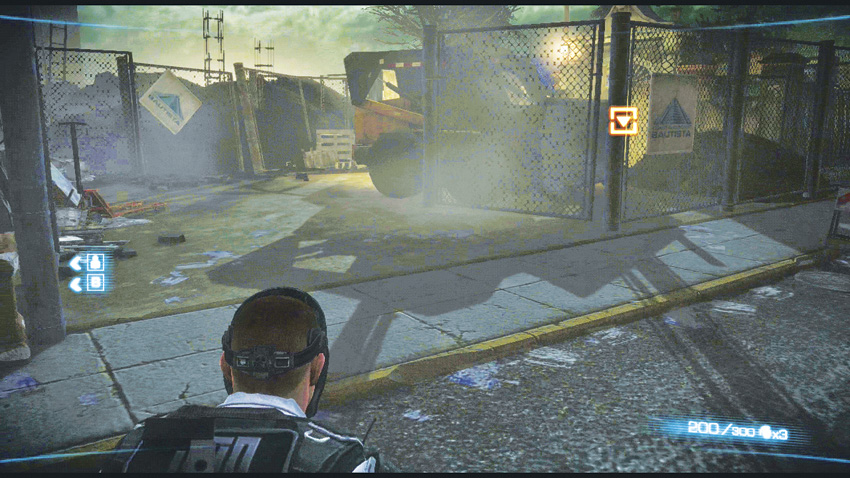
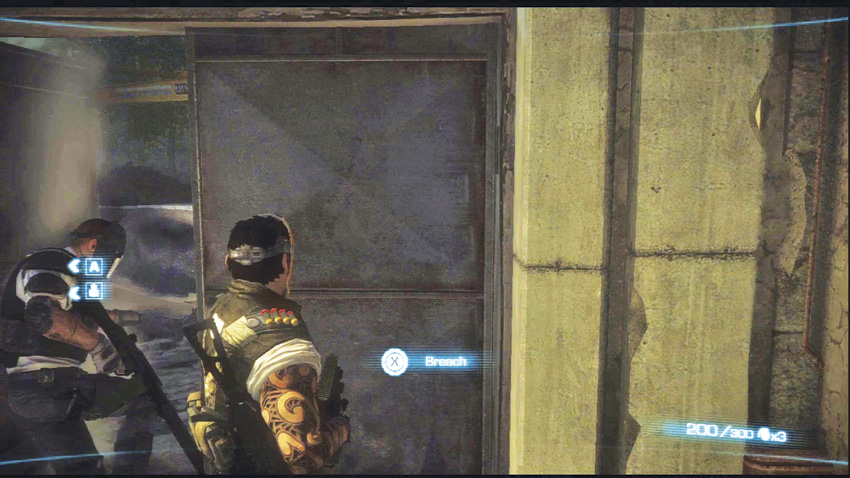
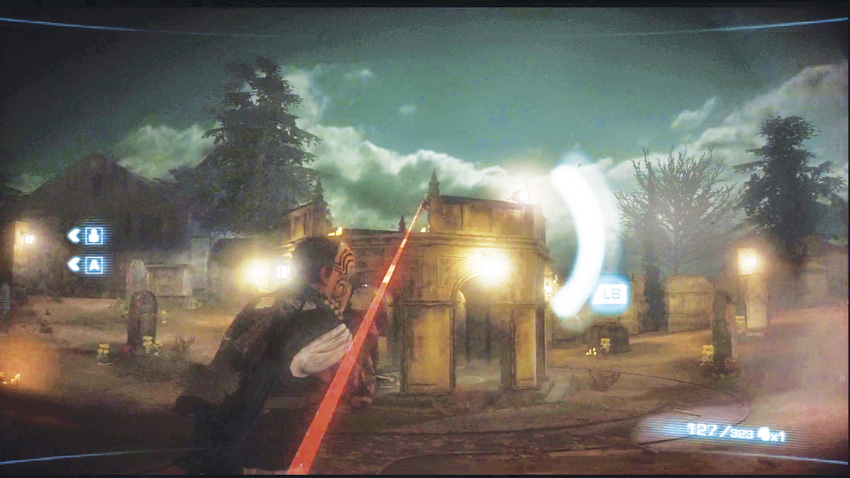
The church can’t be approached from the front entrance. The presence of MMGs and patrolling guards means that the resulting firefight would cost the team their advantage, the element of surprise, so Fiona suggests taking a route with less resistance. Head toward the waypoint . Don’t fire your weapons or try to approach the front entrance, as this will trigger an alarm and force you to restart the chapter. Breach the door to proceed into the graveyard.
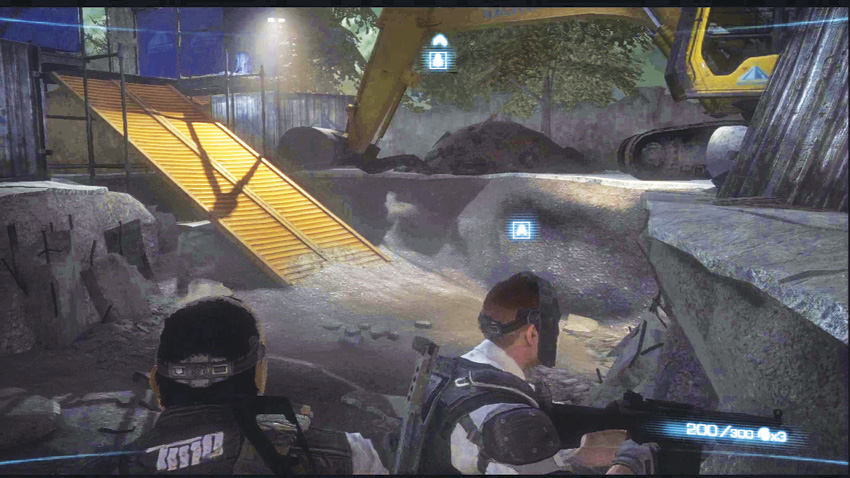
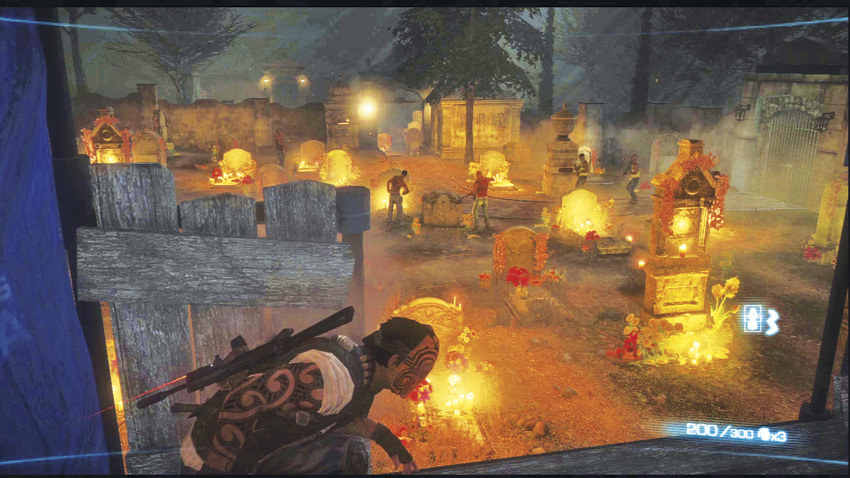
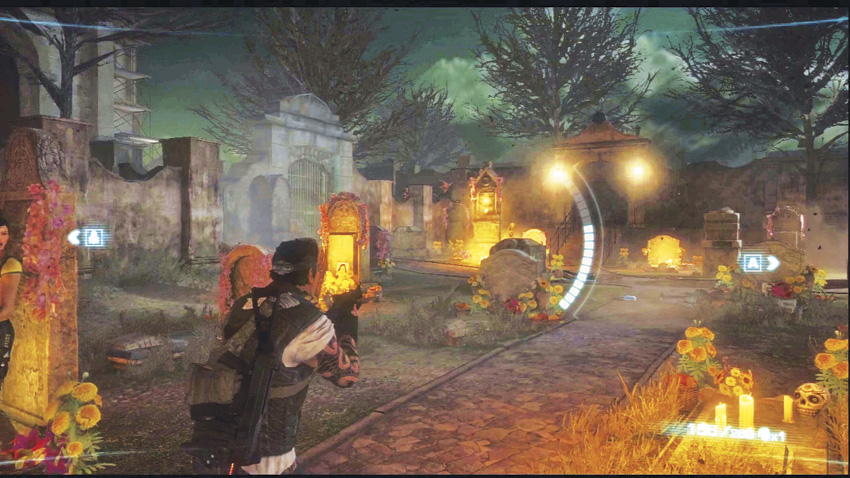
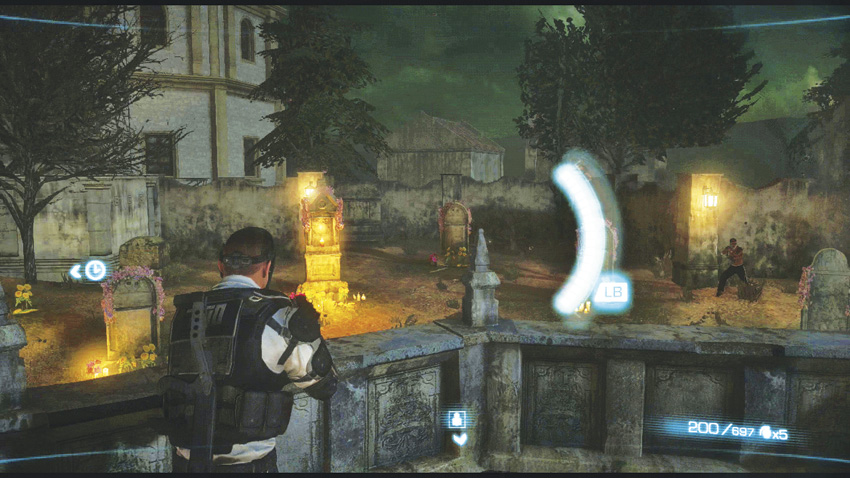
Climbing up the cargo container ramp puts you in a position that overlooks the first part of the graveyard, which is filled with cartel thugs and mercs on roaming patrols. Alpha and Bravo suggest a stealthier approach to entering the graveyard, but the moment you drop any of the thugs, the whole place goes on alert and your enemies take defensive positions behind tombstones and other pieces of stonework. You can try staying at the elevated position, but the cover there is essentially a set of flimsy wooden boards that will not survive long under fire. Take out as many enemies as you can, but be prepared to drop down into the graveyard to continue the fight.
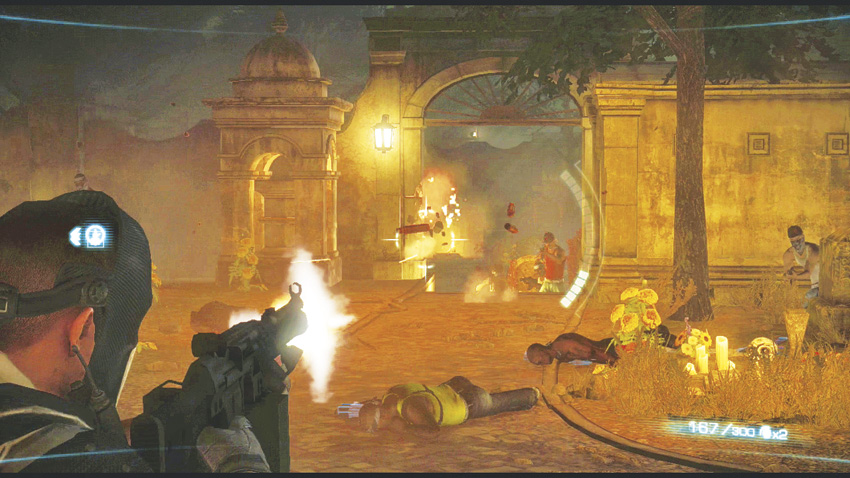
In addition to the hostiles that start off in the graveyard, reinforcements arrive through an entrance on the far side of the graveyard from your entry point .
Caution

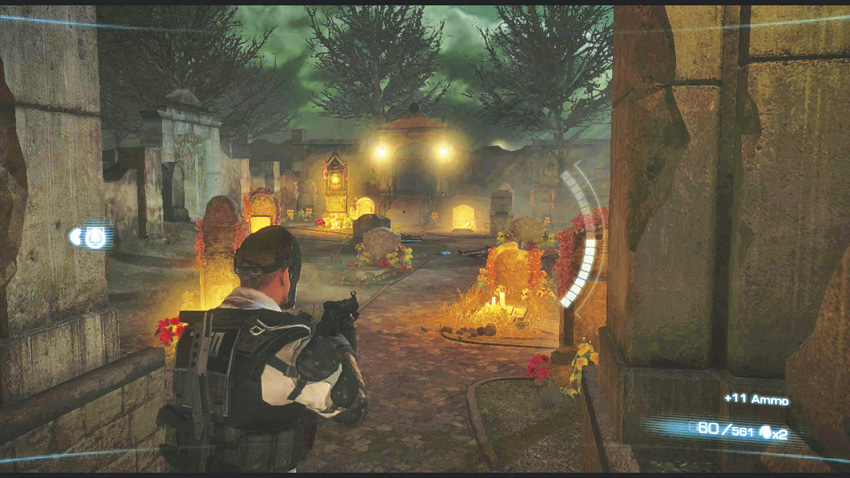
It’s important to realize just how short-lived most of the grave markers are as cover against incoming fire. Even basic assault rifles can quickly chip and shatter the headstones, and that’s without Overkill being active. This means that you can quickly put down enemies trying to take cover, but it also means that the same thing can happen to you.

The next section of the graveyard has more cover than the previous area, and the cartel steps up its resistance significantly. Your enemies start off near larger and tougher grave markers and coffins , which act as superior cover in comparison to what is available on your half of the graveyard.
Flanking Route

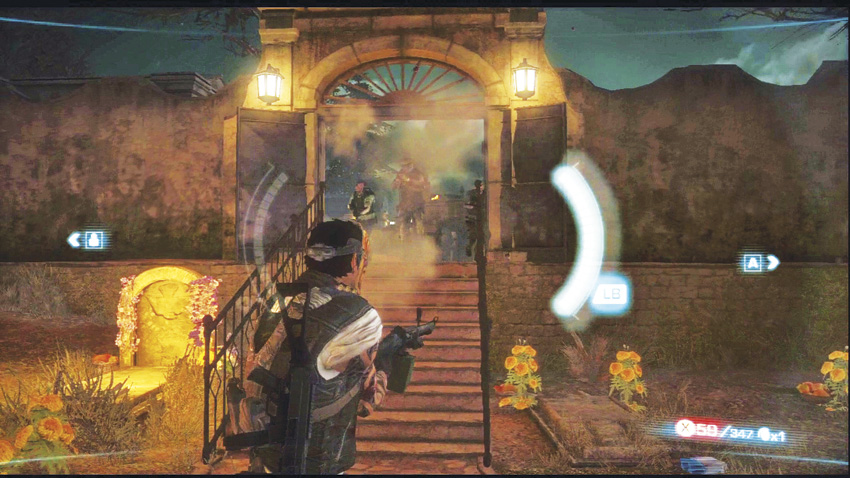
There is a stone wall on the right side of the graveyard that separates part of the yard from the rest of it. This can be used to flank hostiles in the center of the area. Should cover in the rest of the yard be unavailable, this side path provides permanent protection from direct fire as long as you don’t get flanked yourself.

OVERKILL

You can rack up some amazing Overkill and Co-op Action bonuses during the first two firefights in the graveyard. With two players, it’s possible to use Overkill across both firefights almost constantly. Have one player trigger Overkill in the first firefight and quickly clear it out. Then, when approaching the second graveyard, wait until your enemies expose themselves and for the first Overkill to end before triggering the second. If you’re fast, you can wipe out both groups and refill the first Overkiller’s meter by the time the second Overkill fades away.

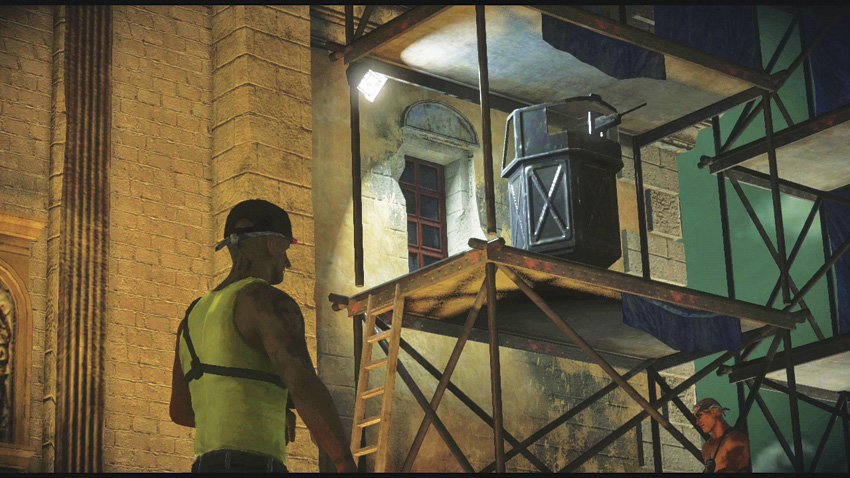
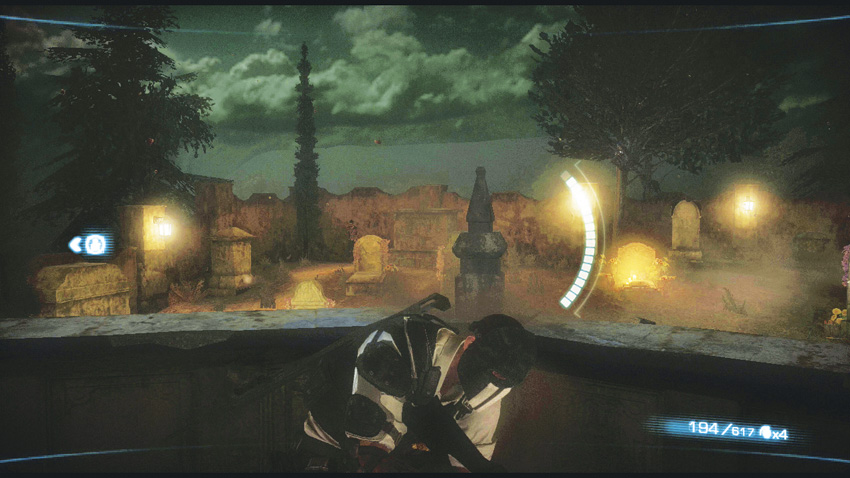
Clearing out the second graveyard gives you a moment to take a breather, but approaching the exit to the next section triggers an ambush. A mercenary Brute kicks the door down, supported two other mercs. At the center of the graveyard behind these ambushers, a pair of snipers hide in the small balcony that rests on a series of support pillars . Bravo suggests that either himself or Alpha be boosted up to the former sniper post in order to get a better look at the surroundings.
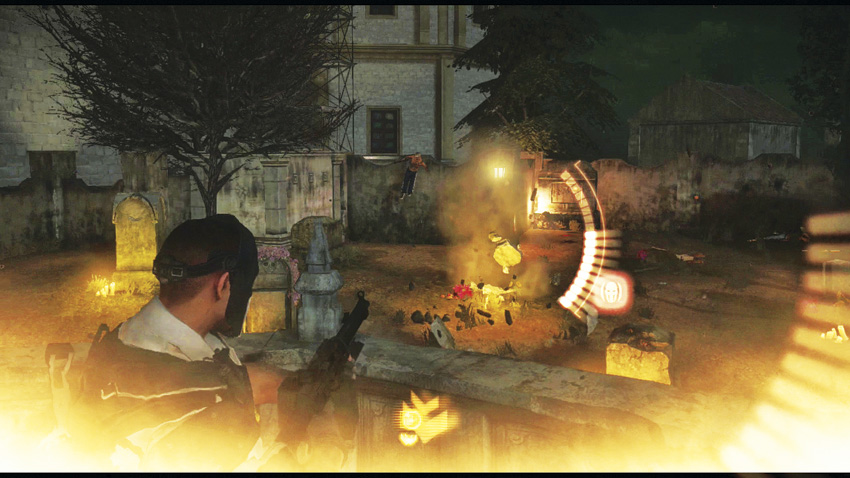
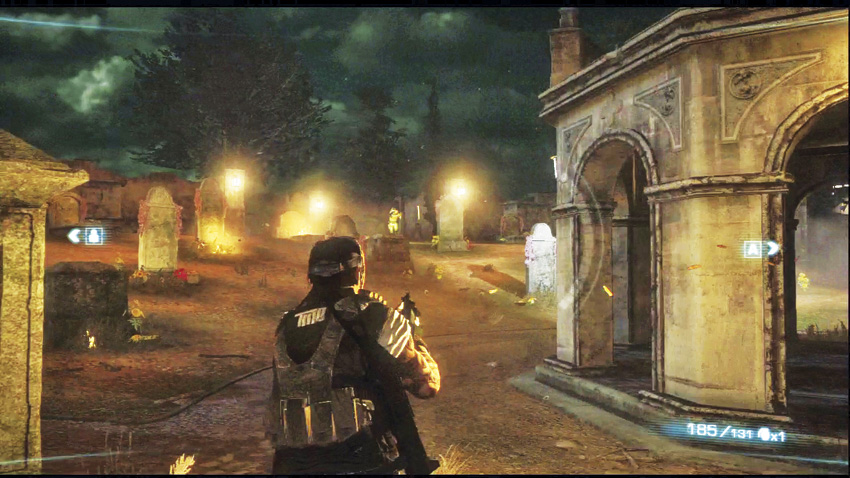
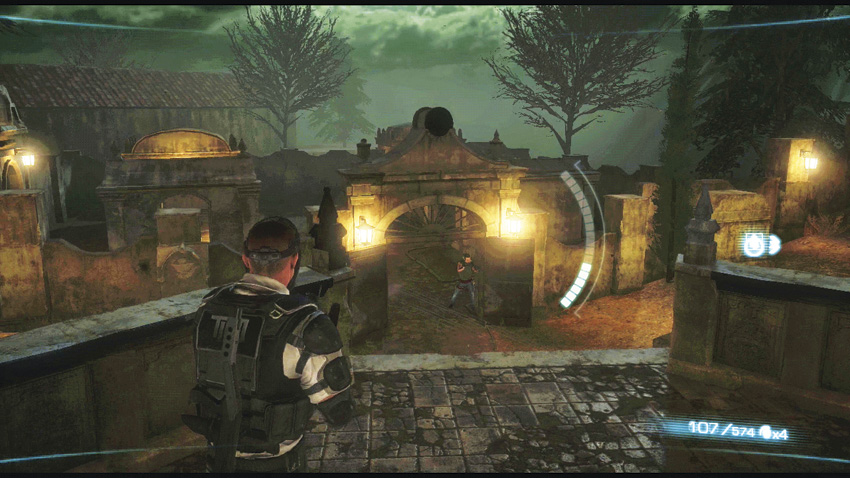
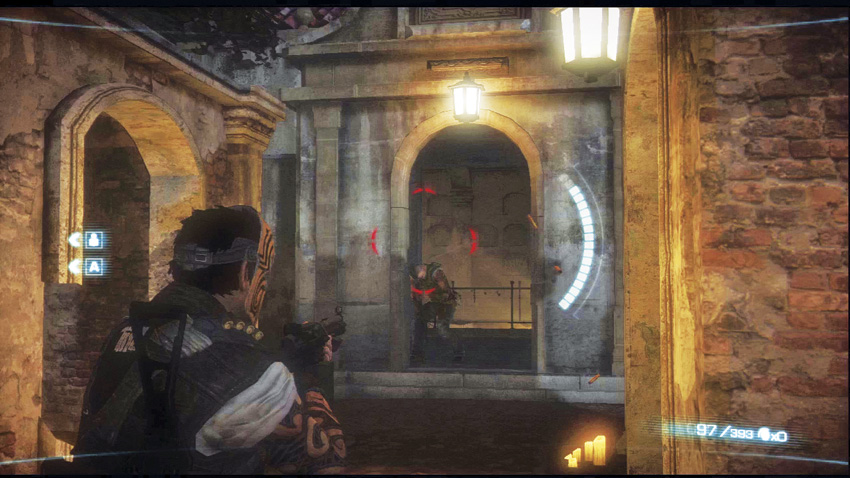
Whomever you decide to boost up to the sniper post, get ready for a brutal fight. Cartel mercs begin hopping over one of the stone walls in an attempt to overwhelm you with sheer numbers. Cutting enough of them down will trigger a second wave of attackers climbing over the wall on the opposite side of the yard . If you’re manning the sniper post, be aware that the thin retaining wall is easily destroyed by incoming fire. Be prepared to shift to a different position if your cover becomes completely ruined.
OVERKILL

The two large waves of enemies you face here are ripe for the Overkilling, particularly if you alternate Alpha and Bravo’s Overkills to mow down the enemy. In fact, this mission can be extremely lucrative for speed runs that abuse Overkill. On average, Visceral Games testers appeared to score somewhere in the neighborhood of $10,000 or more by the time they completed the chapter, and it can easily be run in less than five minutes with a skilled partner.

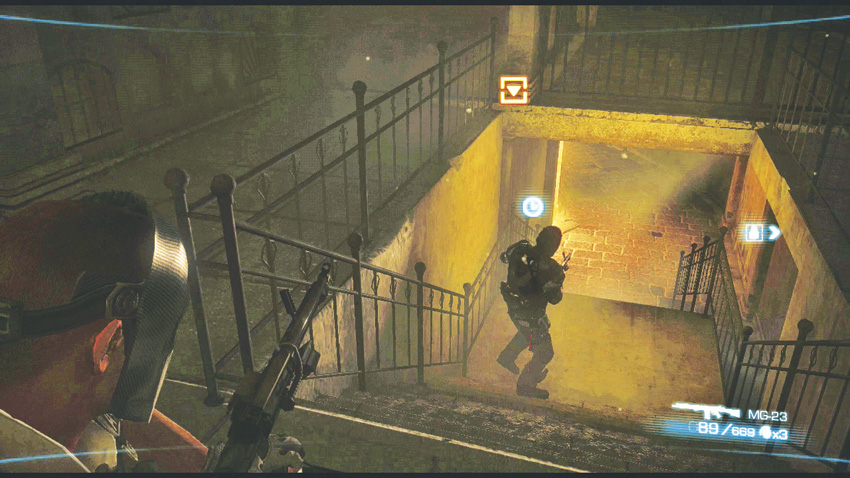
After killing off both waves of attackers, another door leading further into the graveyard is kicked down by a mercenary , with more behind him sprinting toward defensive positions inside small stone huts . They are attempting to bar entry to the underground mausoleum that you need to pass through to reach the forest, where hopefully Fiona’s prediction of lighter defenses actually pans out.

Keep reading with a free account

The first 3 sections of Army of Two: The Devil's Cartel are open to everyone. An account opens the rest of it, and every other guide in the archive. It's free, and there's nothing to buy.

Bought guides on the old Prima Games site? Your account and every guide you own moved here, so there's nothing to buy again. Sign in.

Create a free account Or browse our free guides

PreviousChapter 18: Room Service
 NextChapter 20: Open Season