
Prima Games eGuides
primagames.com Browse Redeem a code Help
Army of Two: The Devil's Cartel eGuide
Sign in My Guides

Sign in or create an account

We'll email you a link. No password needed, and if you don't have an account yet, the link makes one.

By creating an account or signing in, you agree to our Terms of Service and Privacy Policy.

Have a password?

Had an account on the old eGuides site, or a code from a printed guide? Help and troubleshooting

Sign in with a password

By signing in, you agree to our Terms of Service and Privacy Policy.

Check your email

A sign-in link is on its way. It works once and expires in 15 minutes. Open it and you're in, with an account if you didn't already have one.

Contents

  • Essentials
    • Welcome Back to Tactical Worldwide Operations
      • Welcome Back to Tactical Worldwide Operations
    • Operational History and Character Bios
      • Operational History and Character Bios
    • Tactical Operations Manual
      • Tactical Operations Manual
    • Two Gear
      • The Gear Makes The Man
      • Modifications
      • Weapon Skins
      • Tactical Gear
      • Tattoos
    • The Enemy
      • The Enemy
    • Contracts
      • Contracts
    • Achievements and Trophies
      • Achievements and Trophies
    • Concept Art
      • Concept Art
  • Walkthrough
    • Mission 1: New Blood
      • Special Callouts
      • Chapter 1: Protection
      • Chapter 2: Tutorial
    • Mission 2: Cause And Effect
      • Chapter 3: Permission to Engage
      • Chapter 4: Foxhunt
      • Chapter 5: Split Decision
      • Chapter 6: Baptism by Fire
    • Mission 3: Rally Point
      • Chapter 7: Politics in Action
      • Chapter 8: Picking Up the Pieces
      • Chapter 9: Into the Chaos

      • Chapter 10: Riot Act

      • Chapter 11: Urban Chaos

    • Mission 4: Outside Contact
      • Chapter 12: Fuel for the Fire

      • Chapter 13: Observe and Detect

      • Chapter 14: Local Heroes

      • Chapter 15: Stronghold Assault
      • Chapter 16: Suicide Run

    • Mission 5: Last Resort
      • Chapter 17: Holiday Retreat

      • Chapter 18: Room Service

    • Mission 6: Salvation
      • Chapter 19: Among the Dead

      • Chapter 20: Open Season

      • Chapter 21: Rest for the Wicked

      • Chapter 22: Shadows Walk

      • Chapter 23: Into the Light

      • Chapter 24: Loose Cannon

      • Chapter 25: Special Delivery

    • Mission 7: Enemy Territory
      • Chapter 26: Behind Enemy Lines

      • Chapter 27: Guardian Angel

      • Chapter 28: Manhunt

      • Chapter 29: Fight for the Future

      • Chapter 30: Desperate Measures

      • Chapter 31: Objective Lost

    • Mission 8: Narco Hell
      • Chapter 32: Scavengers

      • Chapter 33: Game Face

      • Chapter 34: A Ray of Sun

      • Chapter 35: Rooftop Rampage

      • Chapter 36: Adrenaline High

      • Chapter 37: Mad Science

      • Chapter 38: The Butcher

    • Mission 9: Assault
      • Chapter 39: The Assault

      • Chapter 40: Down But Not Out

      • Chapter 41: Get Her Back

      • Chapter 42: Race to the Quarry

      • Chapter 43: Fish in a Barrel

    • Mission 10: Confrontation
      • Chapter 44: Burning Bridges

      • Chapter 45: No Return

      • Chapter 46: A Hero's Rescue

      • Chapter 47: The Lion's Den

      • Chapter 48: Salem On Trial

      • Chapter 49: The Devil's Due

  • Overkill Vids
    • Mission Overkill Videos
      • Mission Overkill Videos

Army of Two: The Devil's Cartel Guide › Walkthrough › Mission 7: Enemy Territory

Chapter 28: Manhunt


Chapter 28: Manhunt
Suggested Armament

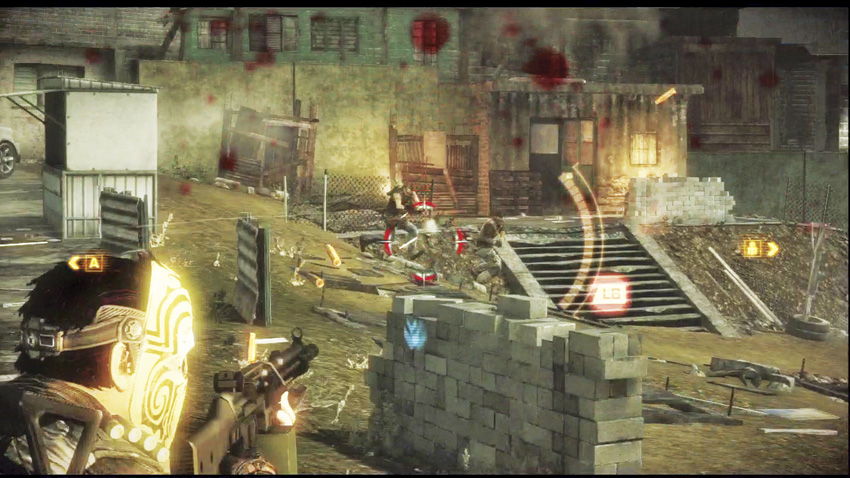
There are actually two fights where a sniper rifle can be useful in this chapter for very specific tactics, but during co-op games it’s not necessary that both players take a sniper rifle. Additionally, the ASG-500 can still rock faces in closer-ranged engagements, and by now you’ve probably unlocked Dragon’s Breath rounds which can really boost the lethality of any shotgun that can use them.

For an older gentlemen, Cordova is extremely fast on his feet. You can’t follow him directly, so find an alternate route that will get you to the street he’s on.

As you get to the street, a short scene plays out where a number of cartel thugs and mercs pull up in SUVs, preparing to pursue Cordova on foot. The mayor runs through a lot filled with shacks, trying to lose the cartel.

The shack lot is surprisingly organized, with small alleys in between each shack. Cartel mercs have taken up positions throughout the area, which can make it a challenge to traverse this section. Never advance past intersecting paths between huts without checking your corners. Expect a Brute to be near these buildings as well. You can stand back and snipe with a properly scoped assault rifle or sniper rifle, which can thin out of the more aggressive hostiles. Clear the shack lot, and then push through to the indicated alley to continue the chase for Cordova.

OVERKILL

While you can’t destroy the shacks with Overkill, this is a good place to use it if you want to make a quick clear of the area. It’s also a good defensive measure, as there are a lot of chances for enemies to outflank you while you’re navigating the shacks.

The alley is clear of hostiles, but you eventually reach the bottom of a hill where multiple mercs are waiting for you. Take them out, and then assess the terrain.

The bottom of the hill itself is fairly open, with cover dotting the area that will allow you to advance toward the road at the center of the hill. The road is flanked by multiple buildings that can act as posts for more enterprising mercs, with one elevated position that covers almost the entire hill . Mercenaries wil try to use a house on the right side of the road to cover the hill , and a technical with an MMG will position itself on the road to try and lock down the entire area . Look for opportunities to use explosive barrels or canisters against the enemy.

After taking out the first small group of mercs , as well as the single merc on top of a building on the left side of the road , you have to advance toward the MMG. Keep in mind that there are going to be additional mercs on foot while the MMG is also pinning you down. In co-op games, it’s easier to have Alpha and Bravo advance up the hill on opposite sides, turning the gun in their direction as needed. You only need to get close enough to lob a grenade behind the technical in order to take out the gunner, but you can also use aggro management to make the gunner turn the MMG enough that he exposes himself to a headshot.

Getting past the MMG doesn’t mean you’re finished. From an alley on the right, another pair of mercs will run out and try to take cover in the middle of the road . Further ahead, a Brute marches forward from another small alley . The worst is the gunman who takes up a spot on the rooftop directly across from the alley the other mercs came from . He can easily gun down Alpha and Bravo in seconds if you wander past him without paying attention.

OVERKILL

This hill is a deliberately designed test of the skills you’ve acquired over the whole game thus far. However, this is also a good spot to cheat on the test. Even a single Overkill can let you close in on the technical quickly and eliminate the gunner with very little fuss, and you can also use it on the last group of mercenaries beyond the technical.

The alleys you encounter after taking the hill are peaceful and quiet—a stark contrast to the meat grinder you just fought through. Eventually, you reach an abandoned market filled with narrow passages that pass between many of the shuttered stalls. This couldn’t possibly be the site of an ambush...

You have to kick down three doors in the area while searching for Cordova, and these are indicated on your HUD as you get closer. The first two are devoid of life. The third reveals a mercenary Stabber.

From the third door, you’ll take a small ramp up to the next section of the market. This is when the cartel mercenaries attack. Pay close attention to your surroundings! This is a cramped environment with a lot of blind corners, and a firefight can be decided in a single burst of gunfire at this range. Work your way through the hostiles until your reach the last door , where you will find Cordova.

Cordova refuses to be evacuated until he knows that the man who saved him, Bradley, is alive and well. As touching and respectful as that is, it also means that he is leading Alpha and Bravo back into cartel territory. Head toward the exit indicated on the HUD.

Keep reading with a free account

The first 3 sections of Army of Two: The Devil's Cartel are open to everyone. An account opens the rest of it, and every other guide in the archive. It's free, and there's nothing to buy.

Bought guides on the old Prima Games site? Your account and every guide you own moved here, so there's nothing to buy again. Sign in.

Create a free account Or browse our free guides

PreviousChapter 27: Guardian Angel
 NextChapter 29: Fight for the Future