Chapter 4: Foxhunt
Decision Point: Search the Upper Path or Search the Lower Path
This is your first decision point of the game: a choice between taking the upper path or the lower path. Alpha must decide which path he will take, and Bravo will take the one he doesn’t.
The Upper Path
Follow the path up the ridge until you reach a wooden bridge with two abandoned vehicles parked on it
The Lower Path
Tip
All decision points in the game can be difficult if you’re not careful. Since getting downed during these moments is an instant game over, don’t feel bad about taking your time to carefully clear an area before moving forward. If it looks like you’re about to die, don’t hesitate to activate Overkill if you have it ready! As a general rule, almost every decision point in the game can be dealt with in a swift and decisive fashion with clever use of Overkill.
Once you’ve cleared the paths, you meet up with Rios and Salem in front of the chapel. Breach the entrance to find and interrogate the lieutenant. He proves to be unsurprisingly forthcoming once sharp knives join the conversation.

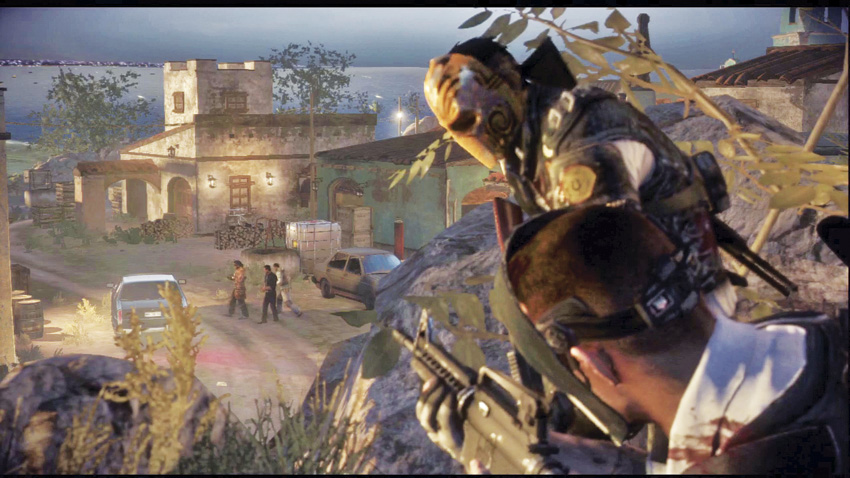
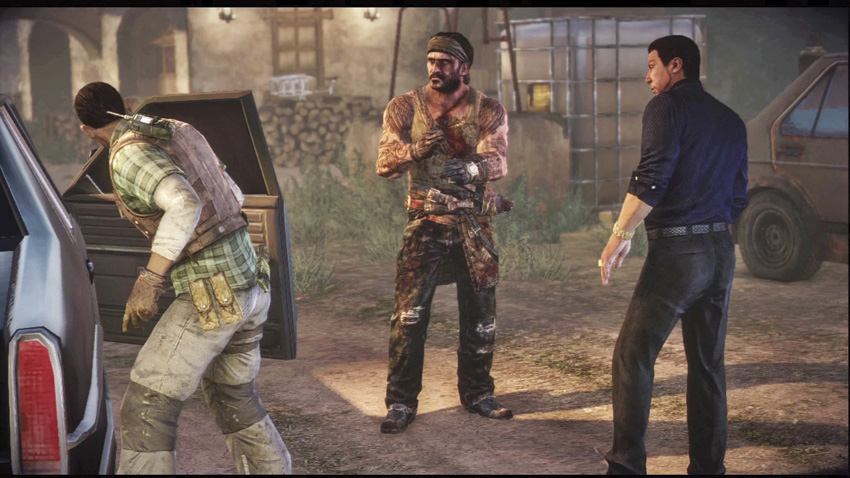
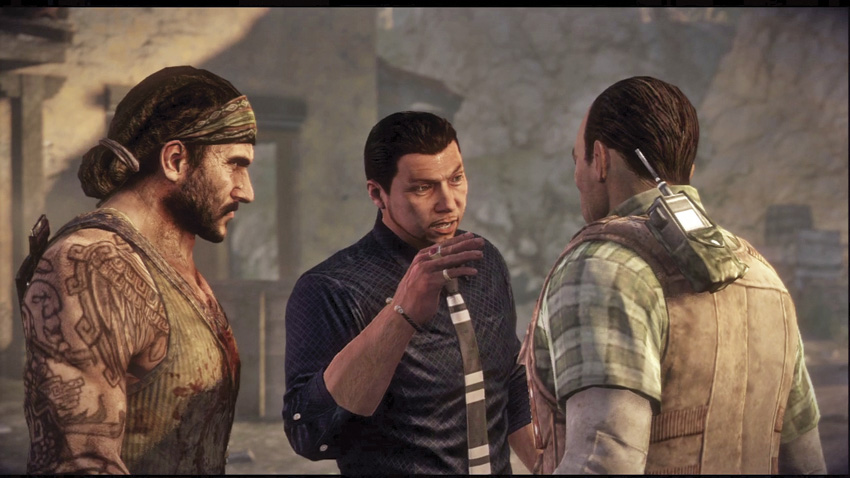
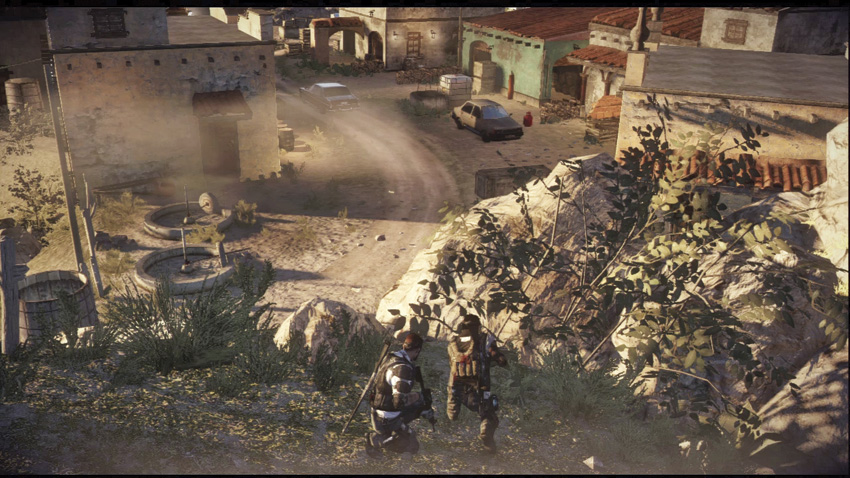
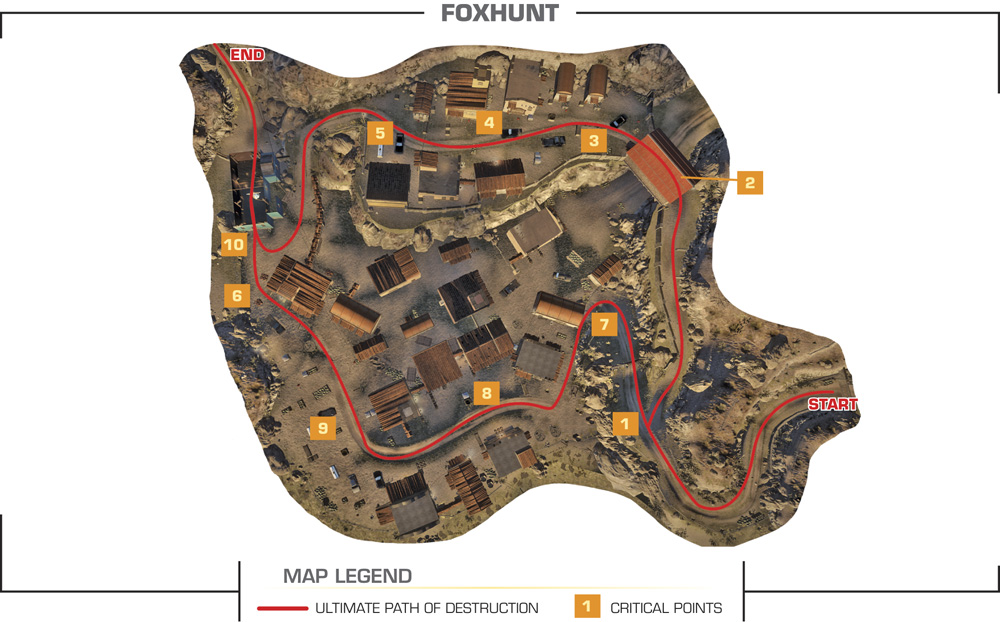
 As you follow the dirt path deeper into the compound, you’ll find a ledge where you can observe La Guadaña leader Bautista issuing some final orders to one of his men before he and one of his enforcers enter a vehicle to make a hasty exit. As he leaves, Alpha and Bravo formulate a plan to get their hands on the lieutenant he spoke to, and hopefully use him to find out where the girl is being held.

