Prima Games eGuides
primagames.com Browse Redeem a code Help
Army of Two: The Devil's Cartel eGuide
Sign in My Guides

Sign in or create an account

We'll email you a link. No password needed, and if you don't have an account yet, the link makes one.

By creating an account or signing in, you agree to our Terms of Service and Privacy Policy.

Have a password?

Had an account on the old eGuides site, or a code from a printed guide? Help and troubleshooting

Sign in with a password

By signing in, you agree to our Terms of Service and Privacy Policy.

Check your email

A sign-in link is on its way. It works once and expires in 15 minutes. Open it and you're in, with an account if you didn't already have one.

Contents

  • Essentials
    • Welcome Back to Tactical Worldwide Operations
      • Welcome Back to Tactical Worldwide Operations
    • Operational History and Character Bios
      • Operational History and Character Bios
    • Tactical Operations Manual
      • Tactical Operations Manual
    • Two Gear
      • The Gear Makes The Man
      • Modifications
      • Weapon Skins
      • Tactical Gear
      • Tattoos
    • The Enemy
      • The Enemy
    • Contracts
      • Contracts
    • Achievements and Trophies
      • Achievements and Trophies
    • Concept Art
      • Concept Art
  • Walkthrough
    • Mission 1: New Blood
      • Special Callouts
      • Chapter 1: Protection
      • Chapter 2: Tutorial
    • Mission 2: Cause And Effect
      • Chapter 3: Permission to Engage
      • Chapter 4: Foxhunt
      • Chapter 5: Split Decision
      • Chapter 6: Baptism by Fire
    • Mission 3: Rally Point
      • Chapter 7: Politics in Action
      • Chapter 8: Picking Up the Pieces
      • Chapter 9: Into the Chaos

      • Chapter 10: Riot Act

      • Chapter 11: Urban Chaos

    • Mission 4: Outside Contact
      • Chapter 12: Fuel for the Fire

      • Chapter 13: Observe and Detect

      • Chapter 14: Local Heroes

      • Chapter 15: Stronghold Assault
      • Chapter 16: Suicide Run

    • Mission 5: Last Resort
      • Chapter 17: Holiday Retreat

      • Chapter 18: Room Service

    • Mission 6: Salvation
      • Chapter 19: Among the Dead

      • Chapter 20: Open Season

      • Chapter 21: Rest for the Wicked

      • Chapter 22: Shadows Walk

      • Chapter 23: Into the Light

      • Chapter 24: Loose Cannon

      • Chapter 25: Special Delivery

    • Mission 7: Enemy Territory
      • Chapter 26: Behind Enemy Lines

      • Chapter 27: Guardian Angel

      • Chapter 28: Manhunt

      • Chapter 29: Fight for the Future

      • Chapter 30: Desperate Measures

      • Chapter 31: Objective Lost

    • Mission 8: Narco Hell
      • Chapter 32: Scavengers

      • Chapter 33: Game Face

      • Chapter 34: A Ray of Sun

      • Chapter 35: Rooftop Rampage

      • Chapter 36: Adrenaline High

      • Chapter 37: Mad Science

      • Chapter 38: The Butcher

    • Mission 9: Assault
      • Chapter 39: The Assault

      • Chapter 40: Down But Not Out

      • Chapter 41: Get Her Back

      • Chapter 42: Race to the Quarry

      • Chapter 43: Fish in a Barrel

    • Mission 10: Confrontation
      • Chapter 44: Burning Bridges

      • Chapter 45: No Return

      • Chapter 46: A Hero's Rescue

      • Chapter 47: The Lion's Den

      • Chapter 48: Salem On Trial

      • Chapter 49: The Devil's Due

  • Overkill Vids
    • Mission Overkill Videos
      • Mission Overkill Videos

Army of Two: The Devil's Cartel Guide › Walkthrough › Mission 9: Assault

Chapter 39: The Assault
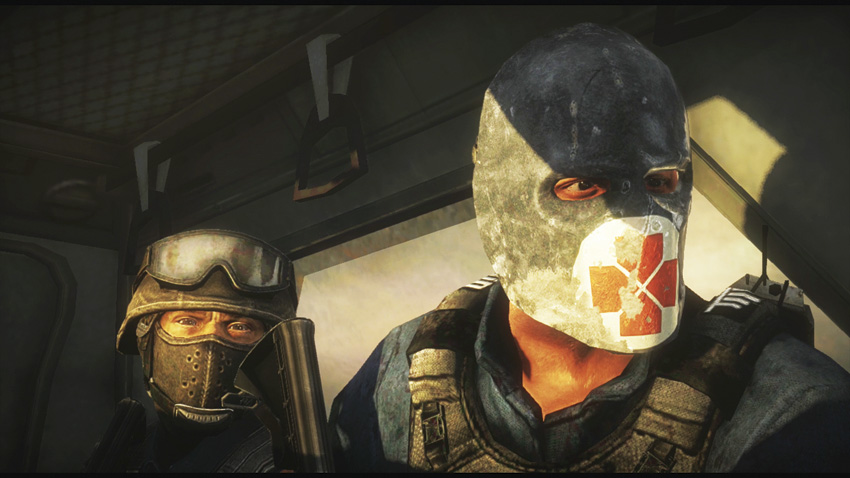

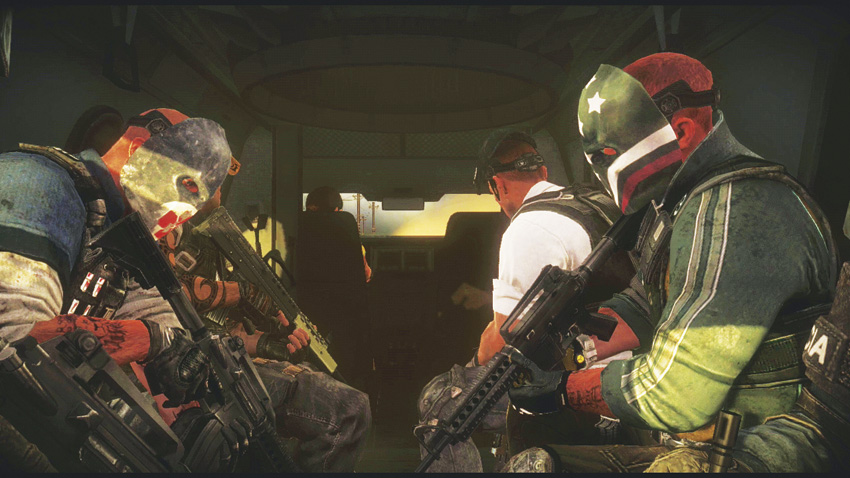
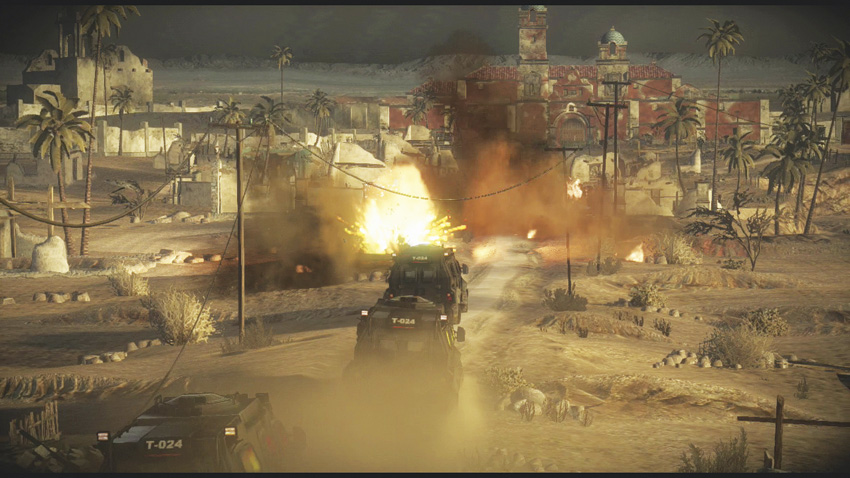
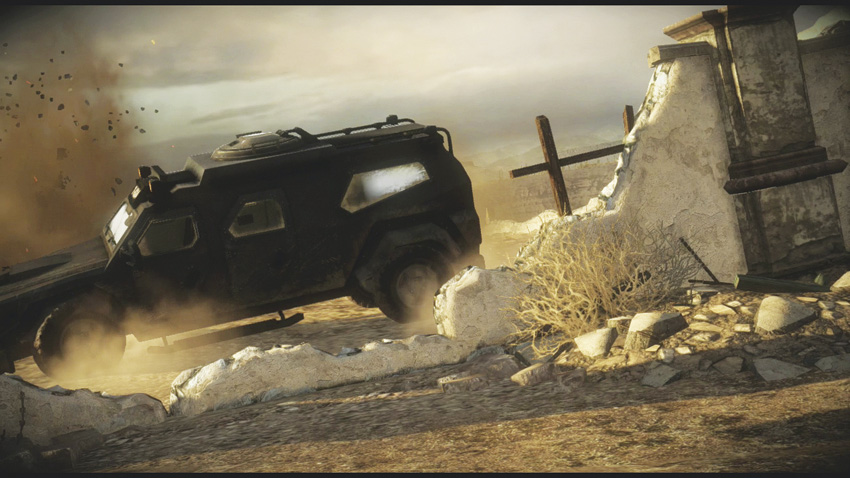
Alpha and Bravo are fortunate. They don’t have to wait five years like Fiona did to have their vengeance against Esteban Bautista and Eliot Salem. Riding in with some of Mexico’s finest, the remaining T.W.O. operatives in the field are set to stage a counterattack on a La Guadaña training facility.

It’s no longer about the money. This is about justice. Well, the money isn’t too bad, either.

Chapter 39: The Assault
Suggested Armament

There are a number of sniping opportunities throughout this entire mission, starting with this chapter right here. If you’ve been replaying missions for cash and rank ups, consider buying the AMR-50 sniper rifle. Fully kitted out, this is one of the hardest-hitting guns in the entire game, and is among the most accurate. Even Brutes become less of a problem with this baby. Compliment the AMR-50 with a good all-around assault rifle and you’ll have a loadout that can handle anything at any time.

For extra fun, slap a laser sight on the AMR-50 and get explosive ammo for it. Activate Overkill, and hip-fire that sucker as fast as you can. Oh yeaaaaaaaaaaaaaaaaaah.

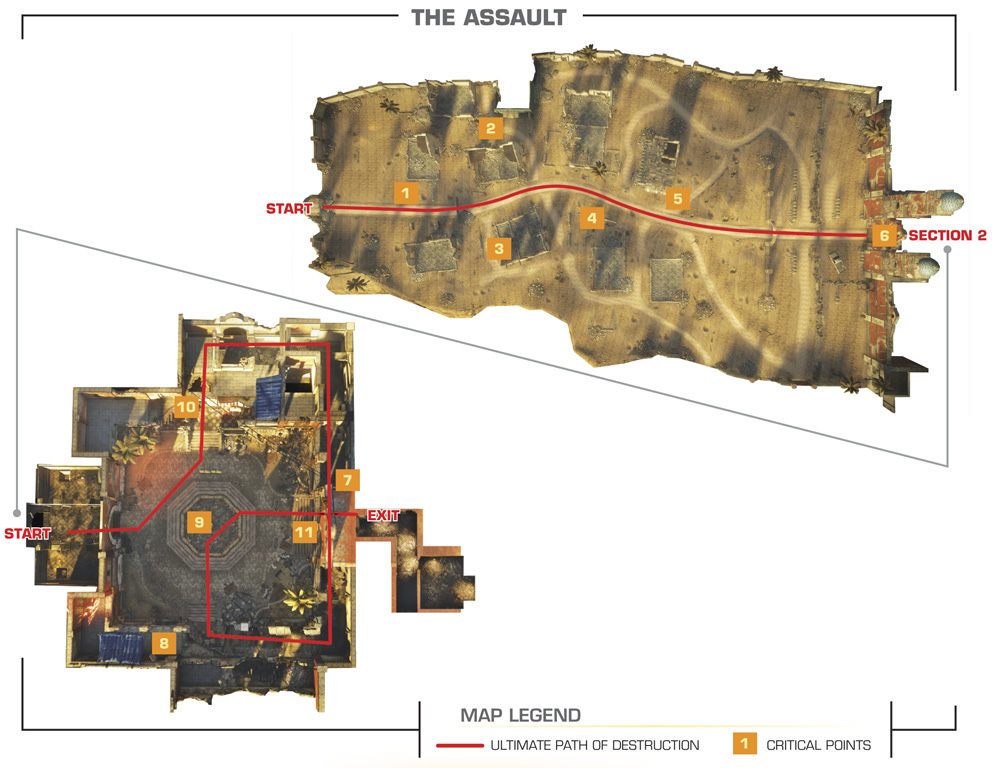
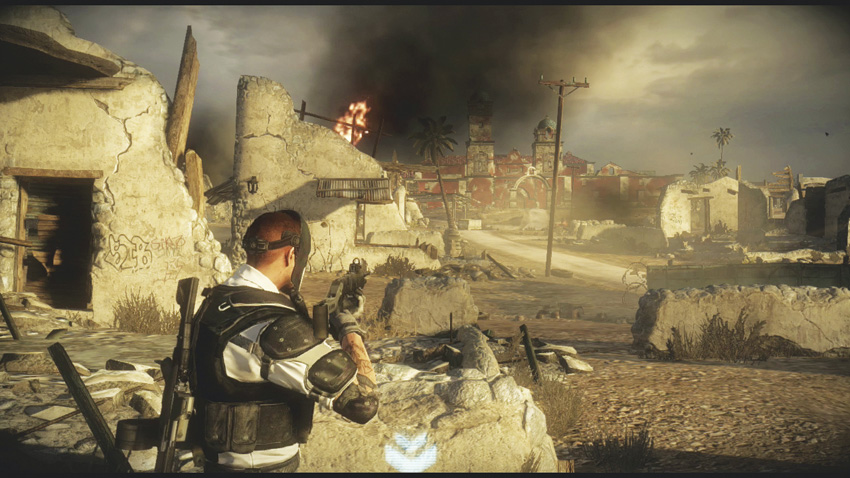
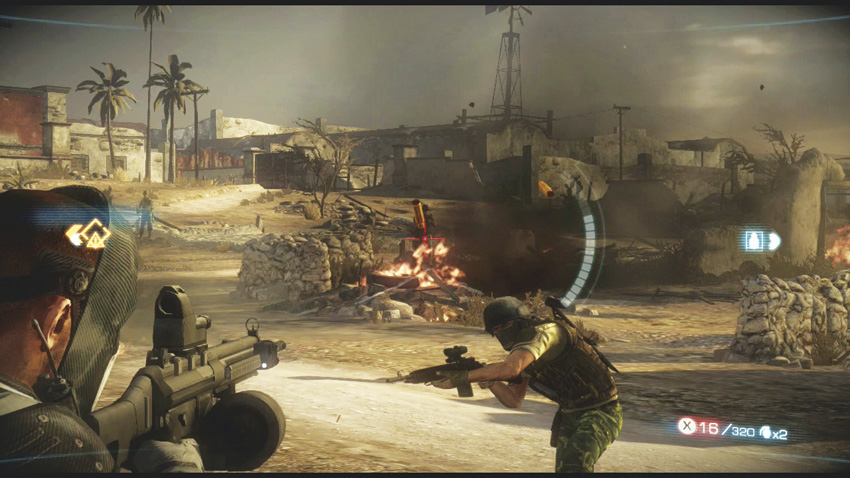
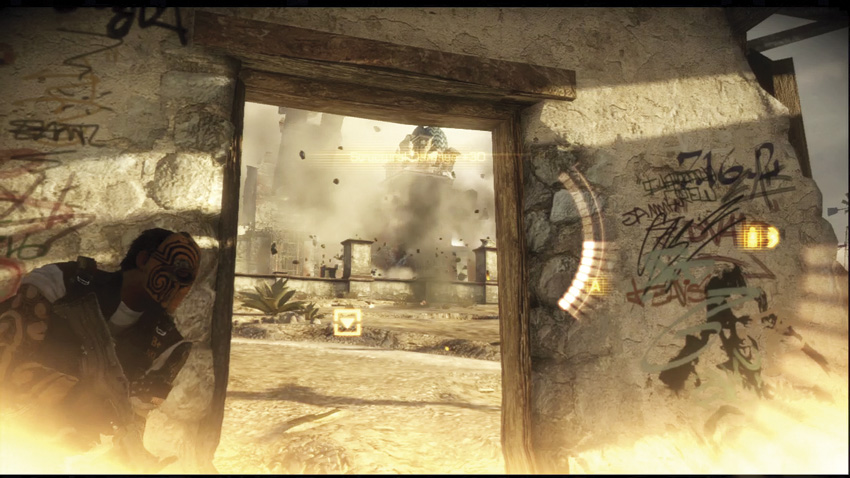
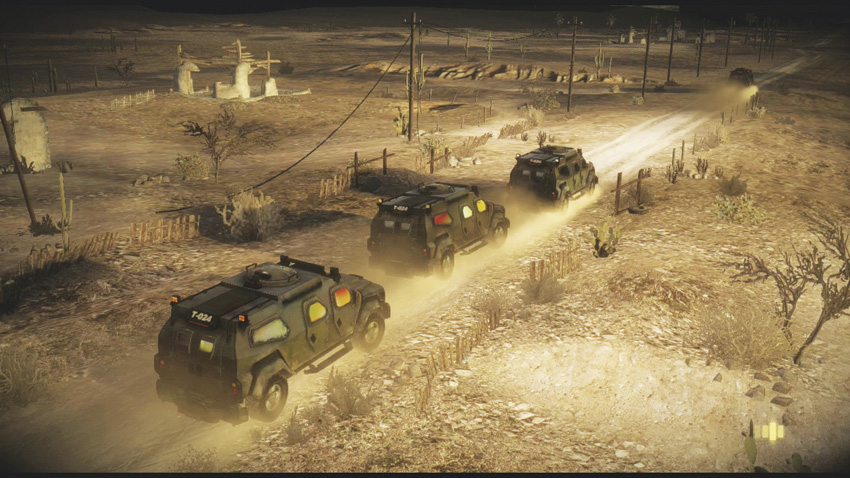
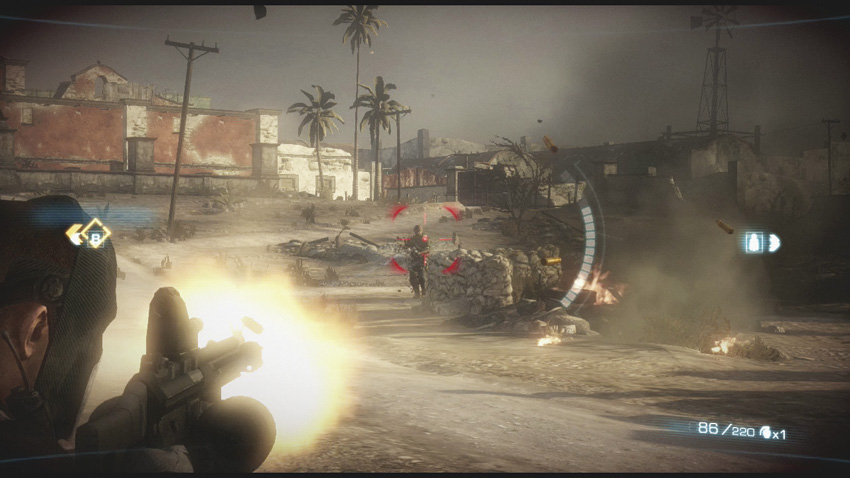
A frontal assault powered by little more than bravery or insanity can only be a costly one. Shortly after exiting the T.W.O. vans, the assault force is met by hostile ground forces scattered throughout the ruins. The hired mercenaries are still a threat, but mixed among them are Los Soldados, the military-equipped elites of the cartel. All members of Los Soldados wear protective helmets that can resist a headshot. The fighting here can be particularly brutal since Los Soldados elites can take more punishment than the thugs and mercs you’ve fought thus far.

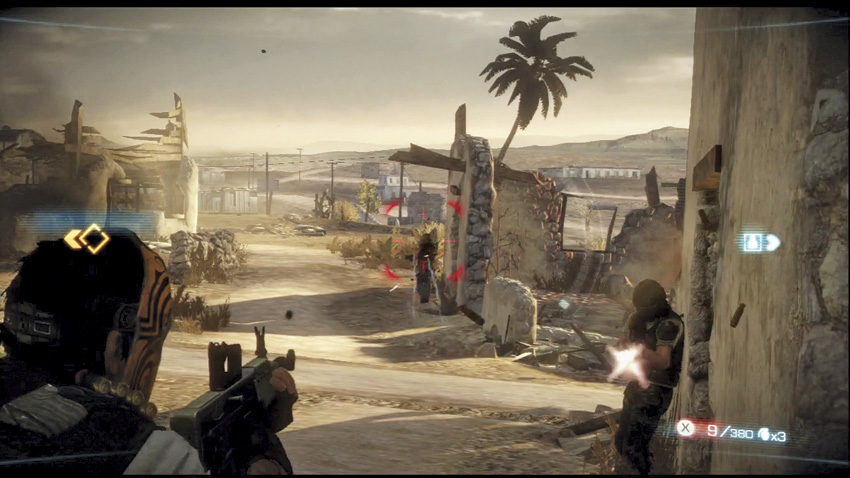
You can try to advance up the center dirt road, but even though there is some cover, you’ll probably just get flanked and killed by the enemies using the ruins on both sides of the road , if not splattered outright by incoming mortar fire. Your allies, and even Alpha and Bravo themselves, will shout out mortar and RPG warnings. Those are typically your cues to find some cover. Your ultimate goal is to get to the front door of the hacienda, where Bautista and Salem hopefully await.
Watch out for Brutes as you reach the end of the ruins. It’s an exceedingly unpleasant surprise to be flanked by them when you’re moving quickly forward.
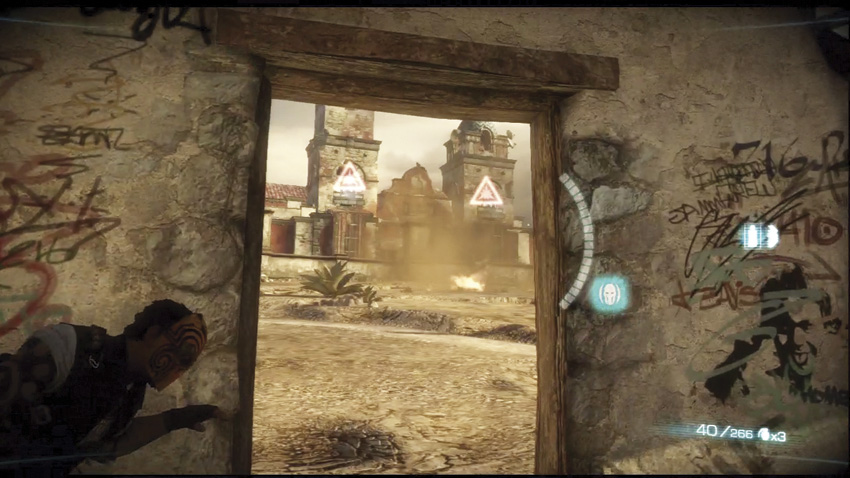
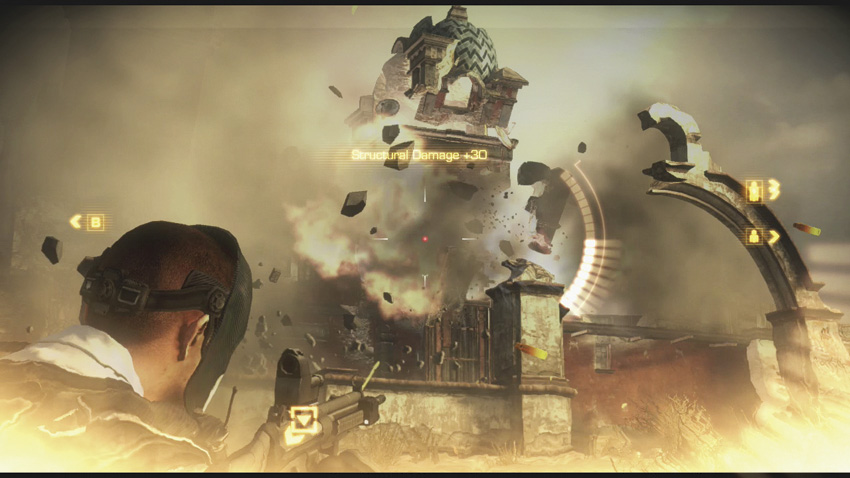
As you get to the edge of the ruins in front of the hacienda, MMGs placed inside the two towers overlooking the ruins open up on you. Build up your Overkill meter by shooting at the MMGs, and when you have the ability to do so, trigger Overkill and blast the two towers into rubble. Try to do this with a single Overkill; if you can save one for later, it will make completing the chapter a bit easier. Afterward, rush to the hacienda and breach the door with the survivors of the assault .
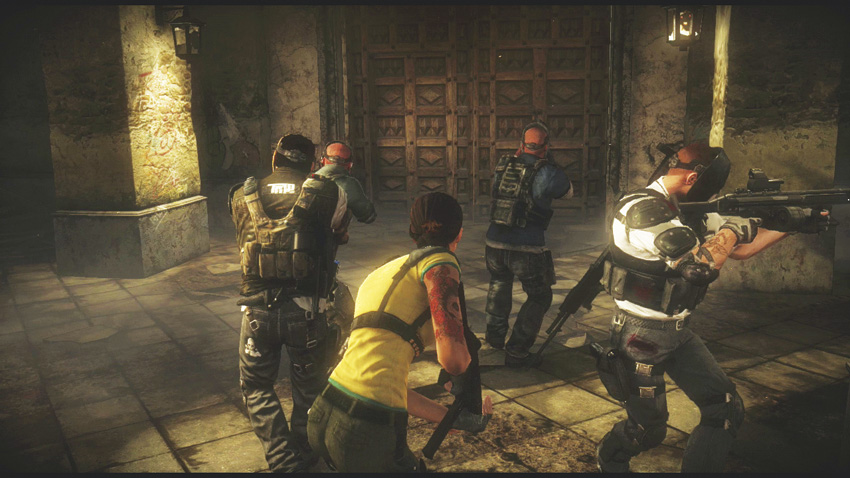
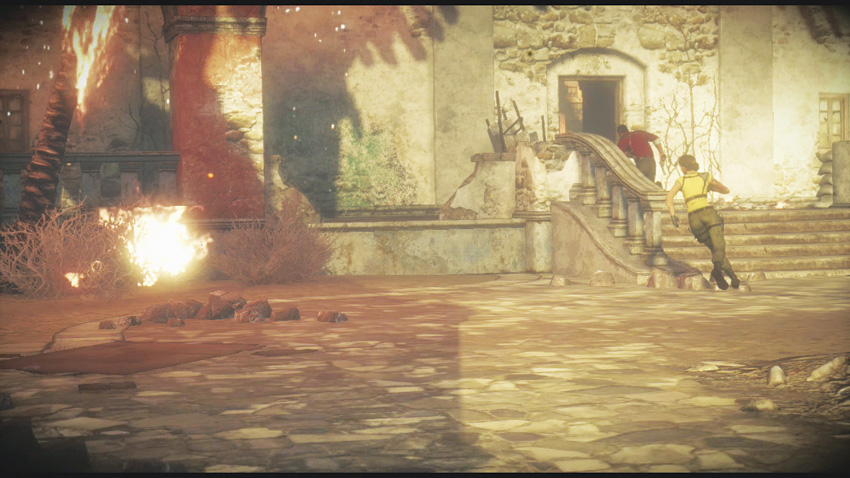
Once inside, it becomes apparent that Bautista is far from a helpless coward when cornered. Blinded by rage, Fiona chases after the overconfident drug lord.
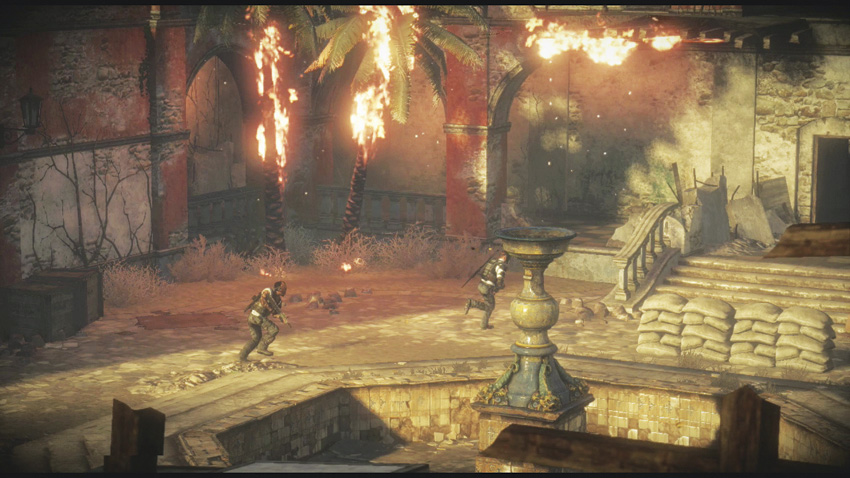
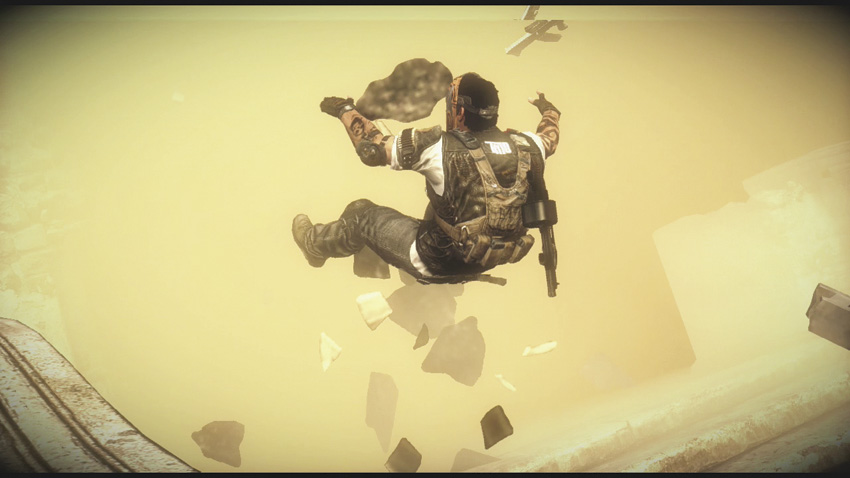
Alpha and Bravo try to go after her, but a cartel attack chopper blasts the pair with a missile, wounding Bravo and separating him from Alpha.
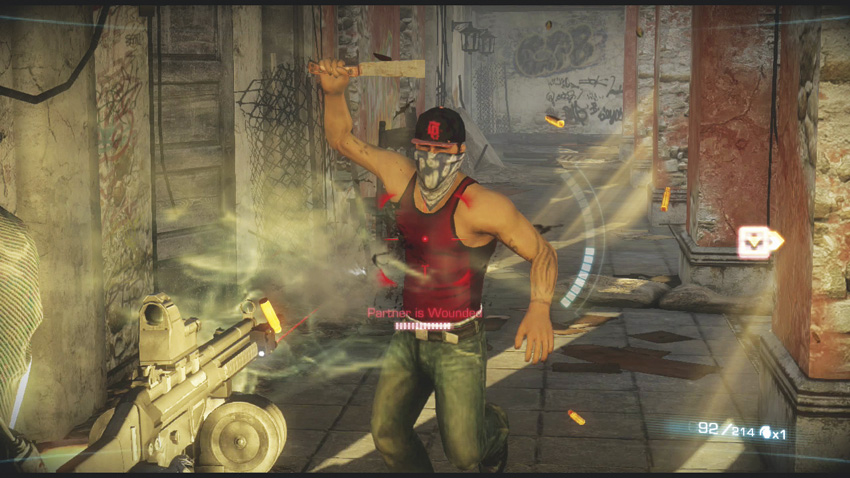
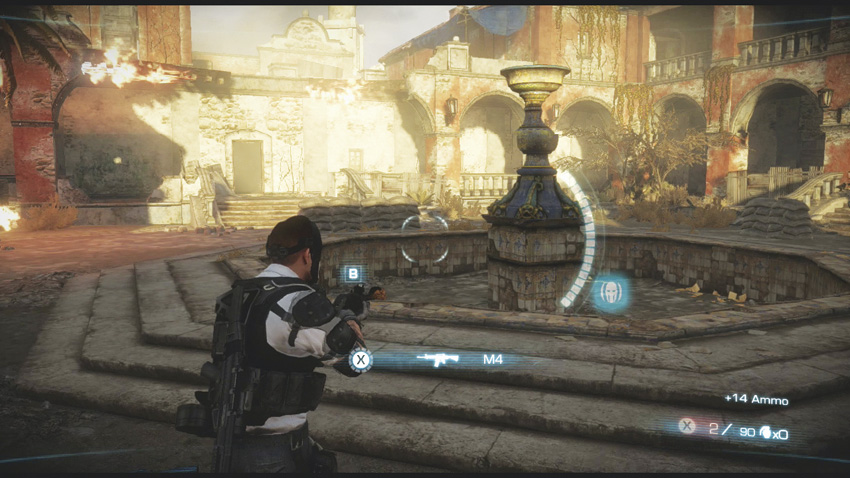
If you’re playing as Alpha, you have fight your way across a balcony to flank the troops that are closing in on Bravo . Work fast! Bravo is bleeding out from his injury, and the cartel troops will go after him and speed up the process by adding more bullets to his body. Stabbers may try to slow you down, but don’t let them waste your time and allow them to grapple you! Do not stop running until you manage to flank and kill the hostiles shooting at Bravo.

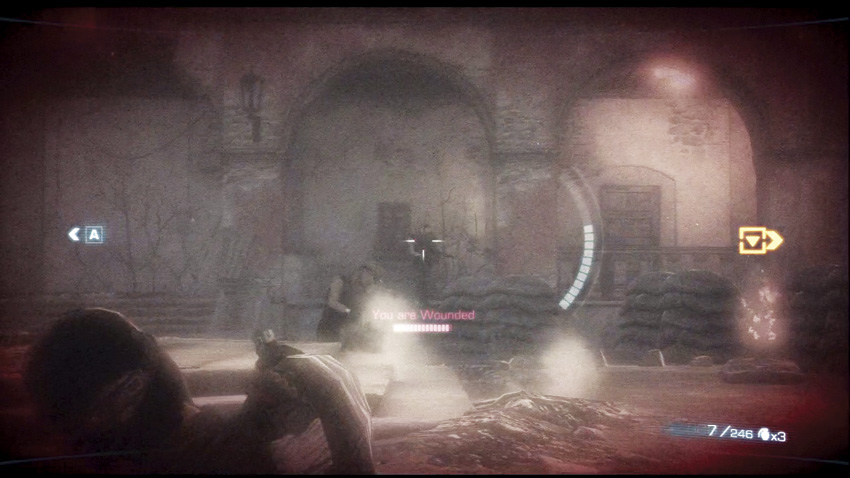
If you’re playing as Bravo during a co-op game, do your partner a favor and drag yourself to the nearby empty fountain for cover. Control yourself, and don’t go too crazy with your pistol. If you get the full attention of the first group of hostiles shooting at you, you’re probably a dead man.
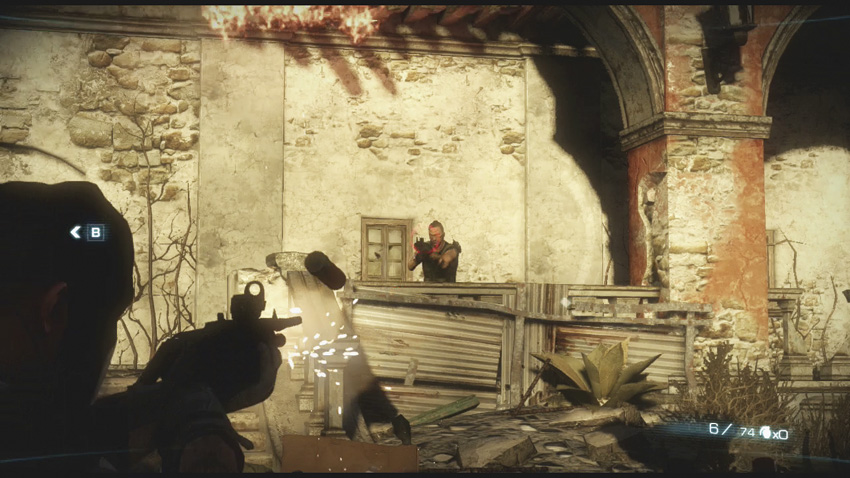
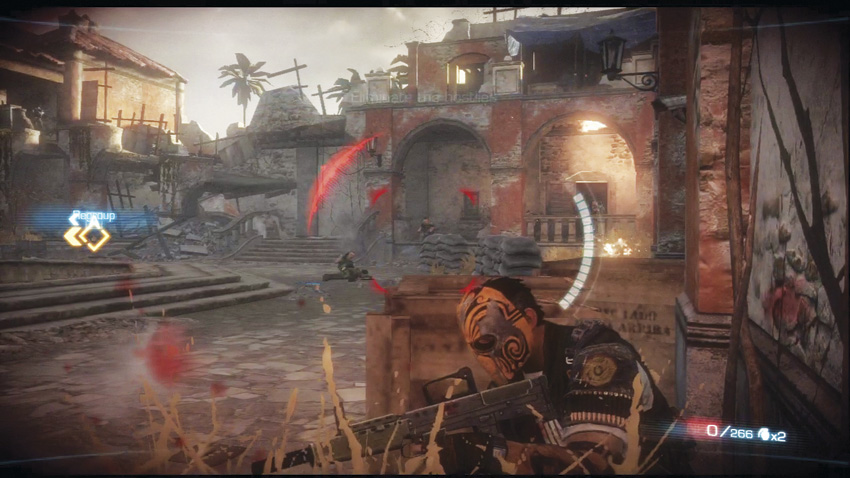
Once Alpha gets Bravo back on his feet, you have to deal with multiple waves of mercenaries coming into the fountain plaza from two separate directions . Use the fountain itself for cover while you deal with the hostiles coming at you. After the mercenaries run out of bodies to throw in front of your bullets, exit the plaza and head deeper into the hacienda.

OVERKILL

As exciting as it is to do this fight the hard way, you can always just trigger Overkill mode and make the run to Bravo much easier—provided you saved one of your meters while taking out the towers during the initial assault, that is. There are enough targets shooting at Bravo when this battle begins that the Co-op Action and Overkill bonuses can go a long way toward filling up another meter.

Keep reading with a free account

The first 3 sections of Army of Two: The Devil's Cartel are open to everyone. An account opens the rest of it, and every other guide in the archive. It's free, and there's nothing to buy.

Bought guides on the old Prima Games site? Your account and every guide you own moved here, so there's nothing to buy again. Sign in.

Create a free account Or browse our free guides

PreviousChapter 38: The Butcher
 NextChapter 40: Down But Not Out