
Army of Two: The Devil's Cartel Guide Essentials Tactical Operations Manual
Tactical Operations Manual
Basic Training
Xbox 360 Default Controls
| Move |

|
| Look |

|
| Cover |

|
| Crouch |

|
| Vault |
(hold)
|
| Aim |

|
| Fire |

|
| Reload |

|
| Throw Grenade |

|
| Aim Grenade |
(hold), aim with
|
| Melee |

|
| Activate Overkill |

|
| Dash |
(while moving to toggle)
|
| Switch Weapons |

|
| Equip Pistol |
(double tap)
|
| Toggle Mounted Grenade Launcher (when available) |
(hold)
|
| AI Orders |
 ,
,
 ,
,
 , and
, and

|
| TWO Vision |

|
| Pause |

|
Playstation 3 Default Controls
| Move | Left Stick |
| Look | Right Stick |
| Cover |

|
| Crouch |

|
| Vault |
(hold)
|
| Aim |

|
| Fire |

|
| Reload |

|
| Throw Grenade |

|
| Aim Grenade |
(hold), aim with Left Stick
|
| Melee |

|
| Activate Overkill |

|
| Dash |
 (while moving to toggle)
|
| Switch Weapons |

|
| Equip Pistol |
(double tap)
|
| Toggle Mounted Grenade Launcher (when available) |
(hold)
|
| AI Orders |
 ,
,
 ,
,
 , and
, and

|
| TWO Vision |

|
| Pause |

|
You’ve got to crawl before you can walk, and walk before you can run. The life of a mercenary is violent and potentially very short if you don’t know what you’re doing, or if you’re just plain unlucky.
Movement
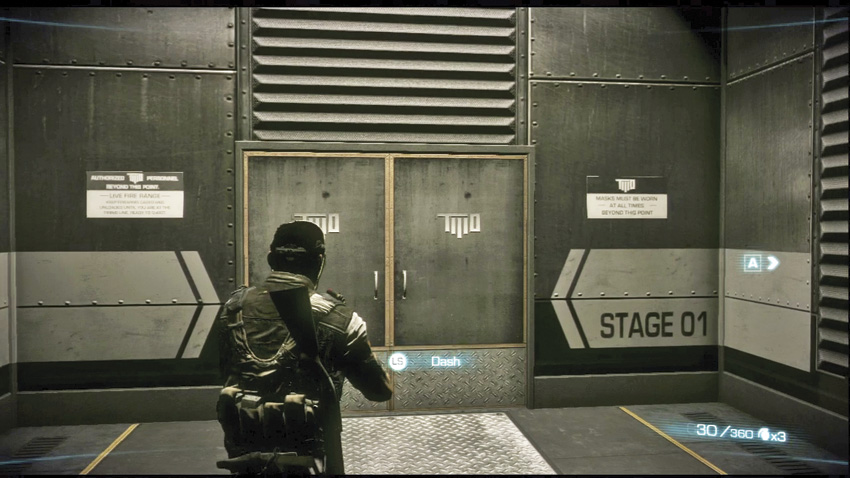
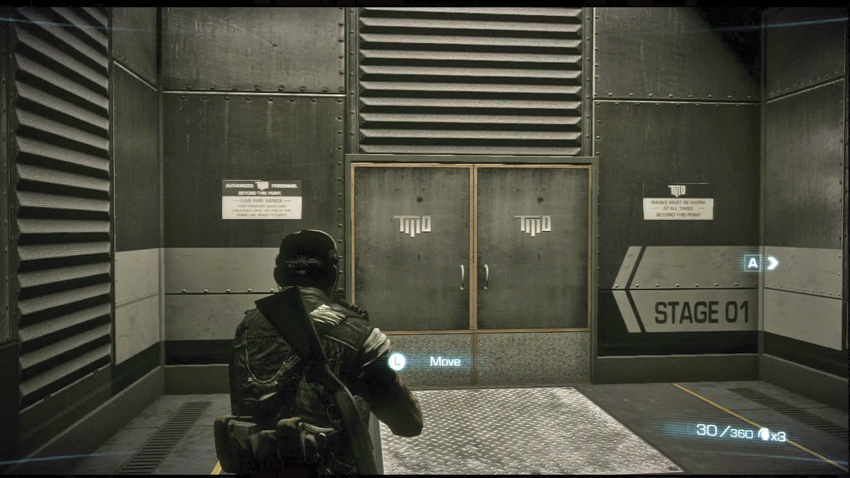
You have a range of basic movement options. It’s possible to creep slowly forward, jog, or sprint at the cost of your ability to aim and fire. You can even strafe around corners to maintain a tactical advantage.
Depending on the weapons you have equipped, you may suffer movement penalties that slow down your operator. As a general rule, it is not an advantage to always keep your heaviest weapons equipped, particularly in situations that require speed and mobility.
You can still move if you become Wounded during combat. Once you enter the Wounded state, all aggro transfers from you to your partner. Use this opportunity to drag yourself to relative safety before starting to fight back with your sidearm. Moving to a safe position also makes it easier for your partner to revive you.
Look
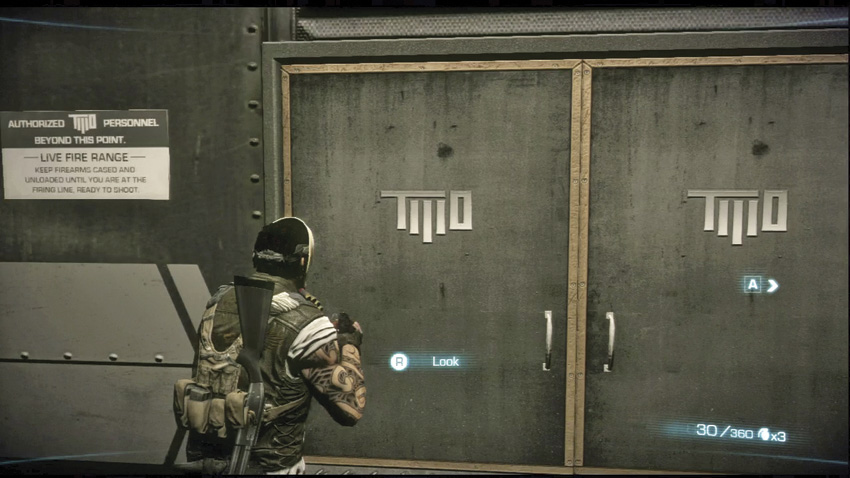
You can’t shoot something if you’re not looking at it. Continue scanning your environment when you’re not shooting at a specific target, and stay alert to catch any hostiles trying to get the drop on you.
Precision Aim/Zoom
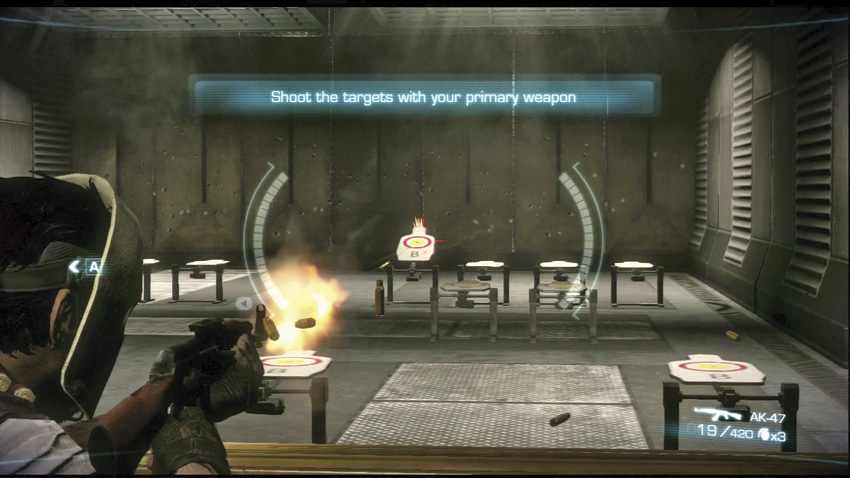
While you can fire at targets without using Precision Aim, doing so should be reserved for close-range targets. Any weapons with sniper scopes or ACOG scopes will provide additional zoom and accuracy at greater ranges. Even the use of weapons mounted with laser sights can benefit from taking the time to aim.
Precision Aim also acts like a loose lock-on system. If you have the reticle on your HUD within close proximity to the enemy, it will “snap” the target to the center of your aim. You can take advantage of this system to kill multiple hostiles in rapid succession.
Fire
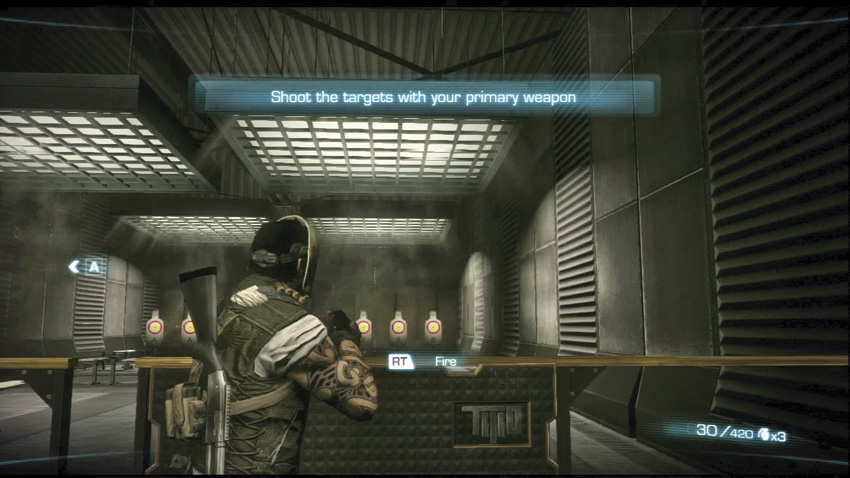
All weapons, whether they are carried by your operator or mounted on a vehicle, are fired in the same fashion. You can use some finesse here, though. Don’t just hold the trigger down and spray rounds all over the place! Fire your automatic weapons in controlled bursts. Even semi-automatic and burst fire weapons benefit from some trigger control.
You can fire your pistol while in the Wounded state, but keep in mind that doing so can have the unhealthy side effect of earning the enemy’s attention, and they will quickly attempt to finish you off.
Melee
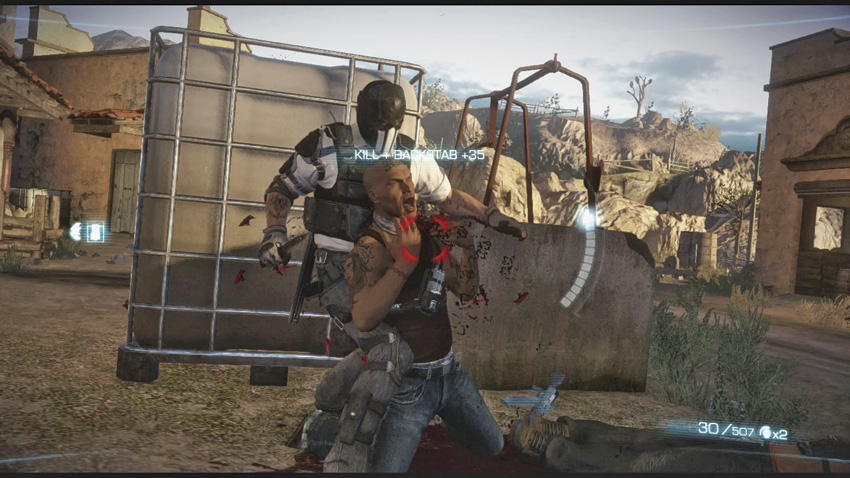
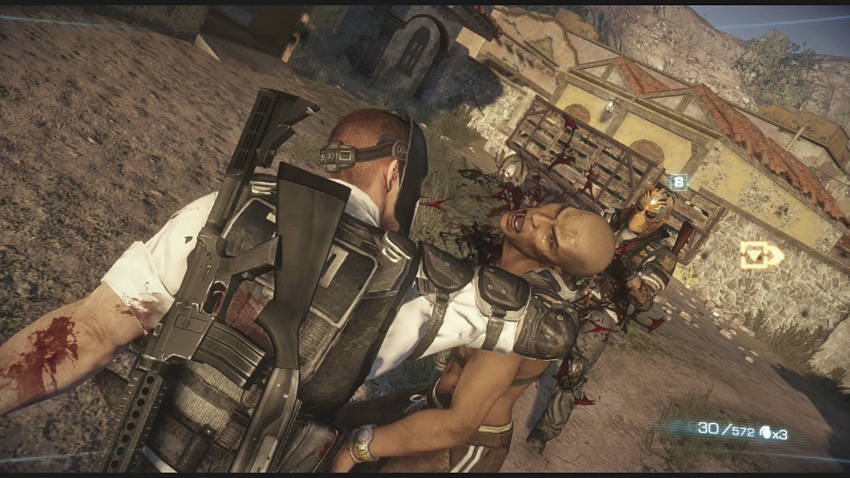
Every T.W.O. member is expected to be a skilled hand-to-hand combatant. A gun isn’t always the quickest solution when a crazed thug gets up in your face. A melee attack will kill almost any opponent immediately, and dealing with the few enemies able to put up a fight simply requires you to mash an indicated button repeatedly until you successfully overpower them. Melee attacks are generally a last resort, but if you manage to get the drop on the enemy, a melee attack from behind is safer and results in more points.
Throw Grenade
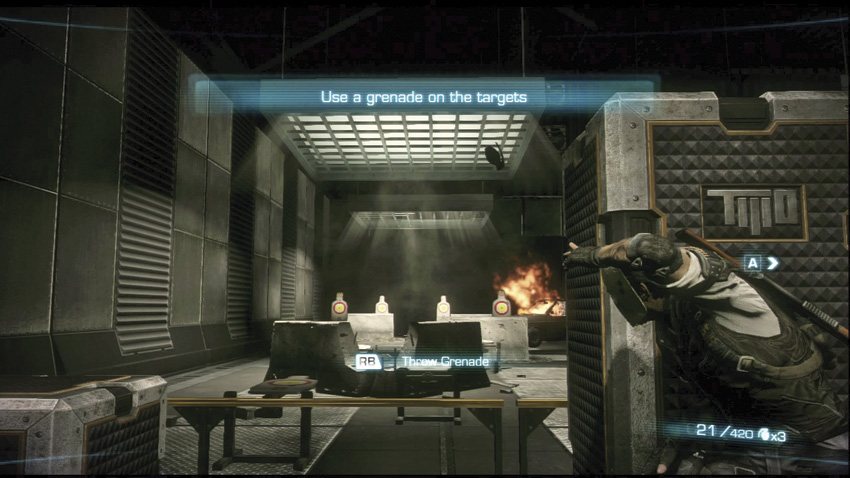
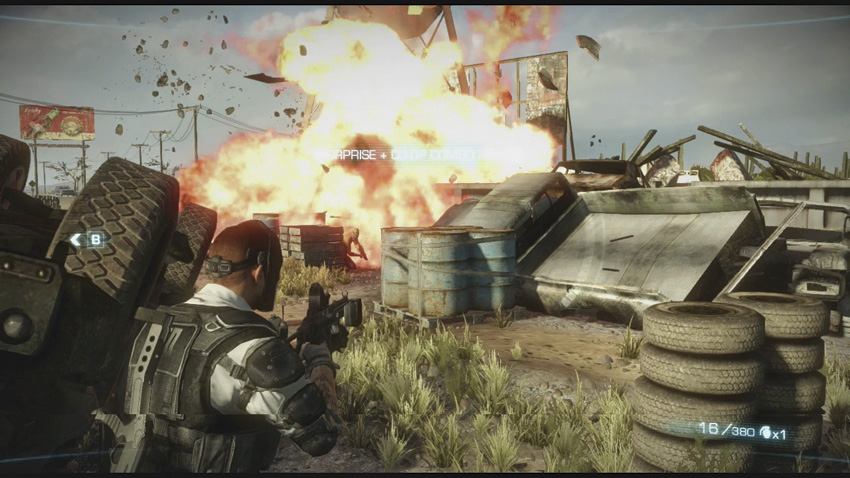
Think of grenades as multi-purpose tools. A well-placed grenade can kill most lightly protected enemies, but it can also drive others out into the open for you to shoot. Light pieces of cover tend to be destroyed by grenades, which can limit your enemy’s defensive options. If you hold down the grenade button you can increase the range of your toss, but keep in mind that this does expose you to enemy fire.
Overkill
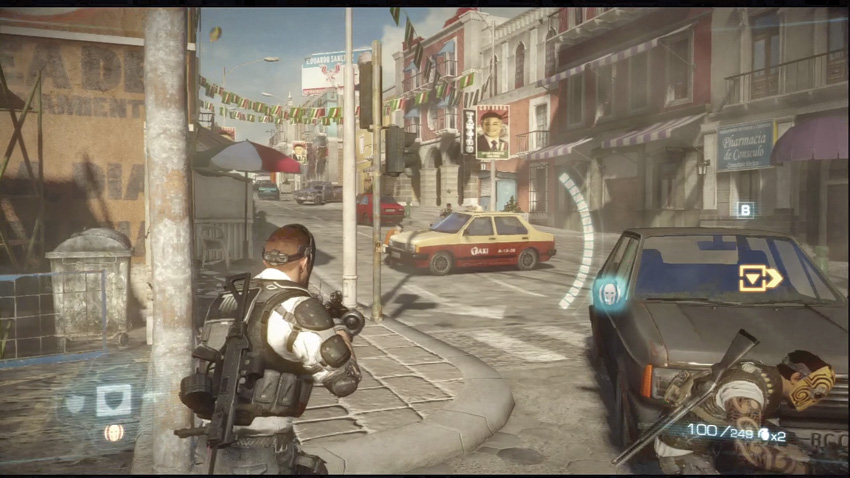
This is a city street before Overkill. Nice, neat, filled with thugs... but mostly in one piece.
This is the best button on your controller. This is your “Ruin Everyone’s Day Because You’re Being Paid Enough To Do It” button. As you kill enemies and gain points based on your team actions, a meter is filled on your HUD. Once it is filled you can activate Overkill, an ability that improves the damage capability of your weapons. Powered by the Frostbite 2 engine, The Devil’s Cartel allows players to literally rip apart the environment to get at your enemies. Overkill mode greatly enhances your destructive potential.
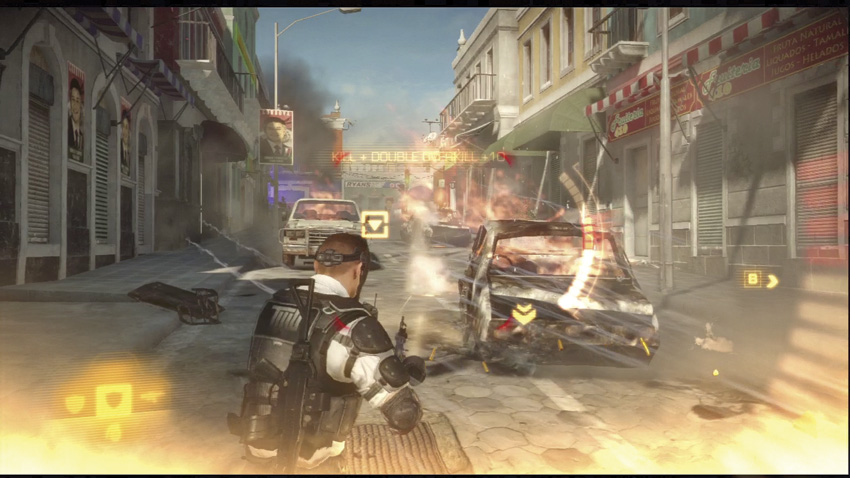
This is a city street during Overkill.
You get unlimited ammo and are completely invincible while Overkill is active. Even if you’re incapacitated by enemy fire, activating Overkill will stop the bleed-out timer. Whenever Overkill is activated by either Alpha or Bravo, both operators become invincible.
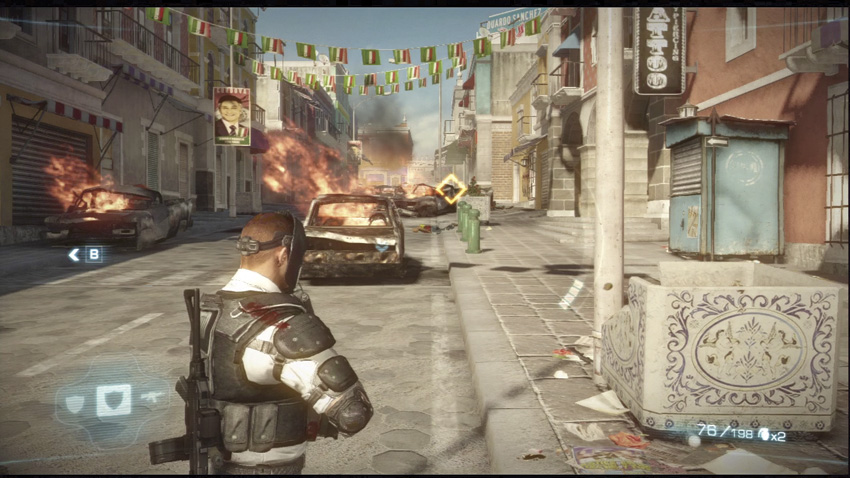
This is a city street after Overkill. Not nice, not neat, and filled with pieces of thugs.
Both operators have their own Overkill meter to fill, but points earned by either operator are shared by both. If both mercs activate Overkill at the same time, a time-dialation effect is added on top of the usual bonuses. With the world around you slowed to a crawl, infinite ammo, and ramped up destruction potential, only literal tanks stand a fair chance against you while Overkill is active. Just make sure you find some cover before it runs out.
Sadly, there is one serious drawback to using your Overkill ability: unloading on everything around you tends to kick up a lot of dust and smoke. This sometimes has the unfortunate side effect of hiding enemies from your wrath, particularly if you’re charging head first into the firestorm you’re creating. Always check your flanks to avoid unpleasant surprises.
In the event you trigger Overkill by accident, or want to conserve your Overkill meter after destroying a wave of enemies, you can cancel Overkill by pressing the button again.
Giving Orders
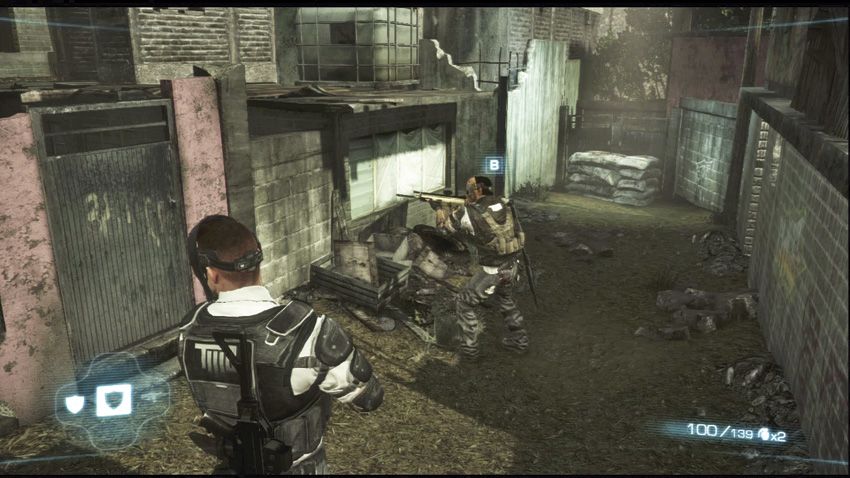
While Bravo tends to be pretty competent without much in the way of orders to follow, you have the ability to direct your partner based on the needs of the situation. You can order Bravo to flank enemies if the situation allows for it, or use a context-sensitive action (man a mounted machine gun, breach a door, boost you up a ledge). You can order him to take aggro off of you, which is immensely useful for setting up flanking maneuvers on defended positions. You can order him to stick close to you, and you can tell him when to use a grenade or when to activate his Overkill ability. Smart use of orders will make Bravo significantly more effective when playing alone. Of course, with an actual person playing Bravo, you can just use your voice to give orders or call out threats.
Most of the orders you can give to AI Bravo are contextual in nature, requiring you to point the reticle at specific parts of the environment for the order to become available. Pay attention to the orders cross on the lower left hand corner of the HUD. The icons on the cross change to indicate what orders are available.
The following is a complete list of all orders available to AI Bravo:
Orders During Combat (available at all times during combat)
- D-Pad Left: Follow and Regroup (Bravo will leave his current position to try and get close to you.)
- D-Pad Right: Hold Position and Supress (Bravo will use all means necessary to get the enemy’s attention.)
Contextual Orders (available if conditions are met)
- D-Pad Up: Flank
- D-Pad Up: Advance
- D-Pad Up: Get Behind My Shield (Only available if you are using a Riot Shield.)
- D-Pad Down: Use Overkill (Only available if Bravo has sufficient Overkill meter. Overrides the ‘Throw Grenade’ order.)
- D-Pad Down: Throw Grenade (Limited to however many grenades Bravo has on hand. This resets between chapters. Bravo will refuse to throw grenades if no targers are available/reachable.)
- D-Pad Up: Initiate a Step-Jump
- D-Pad Up: Breach a Door (This also sets up dual breach sequences.)
- D-Pad Up: Use an MMG
- D-Pad Up: Pick Up a Shield
- D-Pad Up: Initiate a Co-op Lift
- D-Pad Up: Initiate a Co-op Push
Switch Weapons
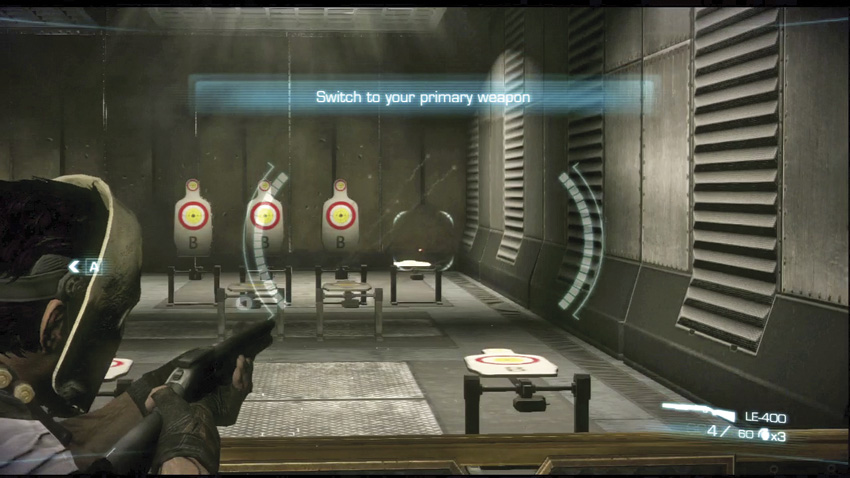
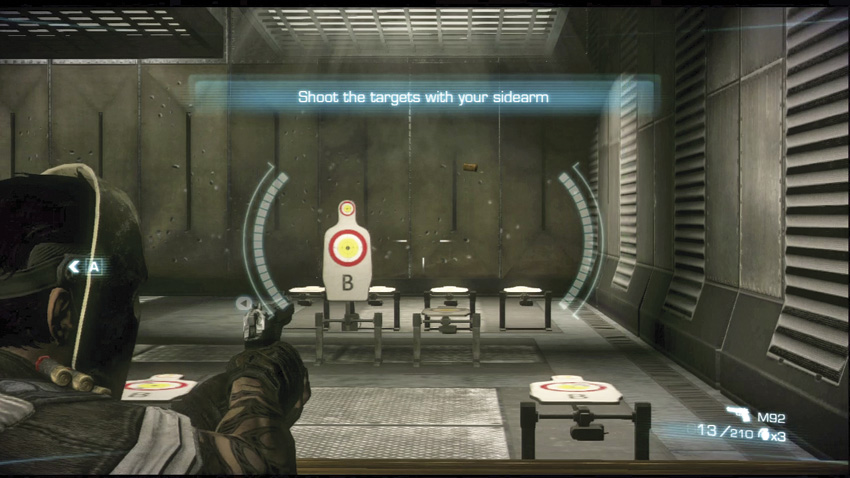
You are able to carry a primary and a secondary weapon, with a pistol for back up. Switching between your primary and secondary takes just a single tap of the weapon switch button. If you want to draw your pistol, rapidly double tap the weapon switch button. Depending on your situation, it may be faster to switch weapons as opposed to reloading. Different weapons have different speeds to switch to: pistols and SMGs have the fastest draws of all weapon types, which can be useful for aggressive players who are constantly advancing at the enemy. Just remember to reload your guns, lest you be caught in a situation where you’re left switching to an empty weapon.
Reload
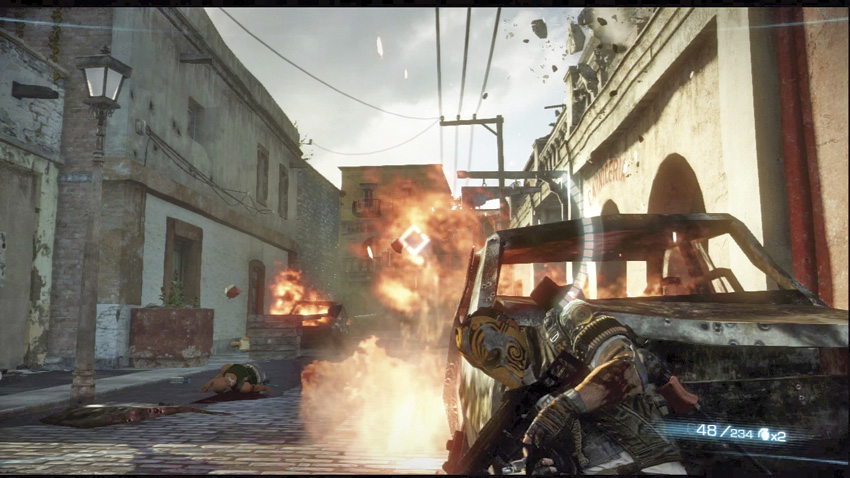
Good time to reload.
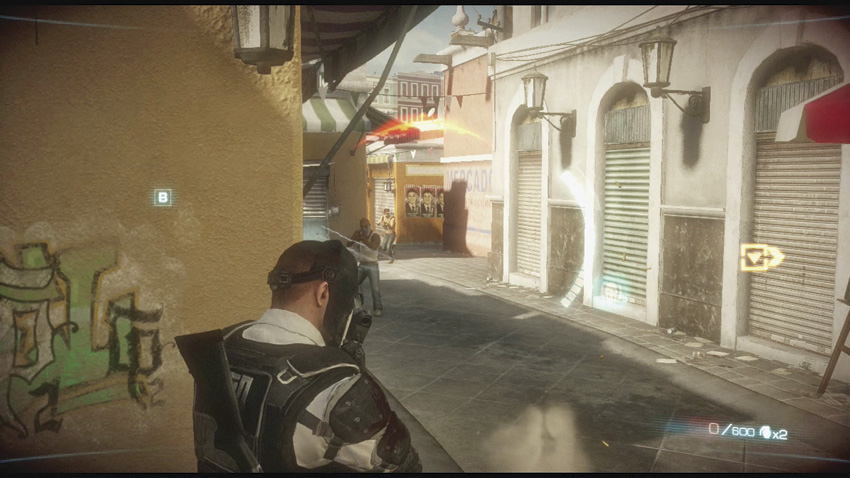
Bad time to reload.
Ammunition is lifeblood for a mercenary, and running out of it can be almost as fatal as running out of the red stuff in your veins. Every weapon takes time to reload, and some reload faster than others. All weapons can eventually be modified a variety of ways, and some of these can help speed up your reload times. Under no circumstances should you reload while an enemy is right next to you.
Context-Sensitive Actions
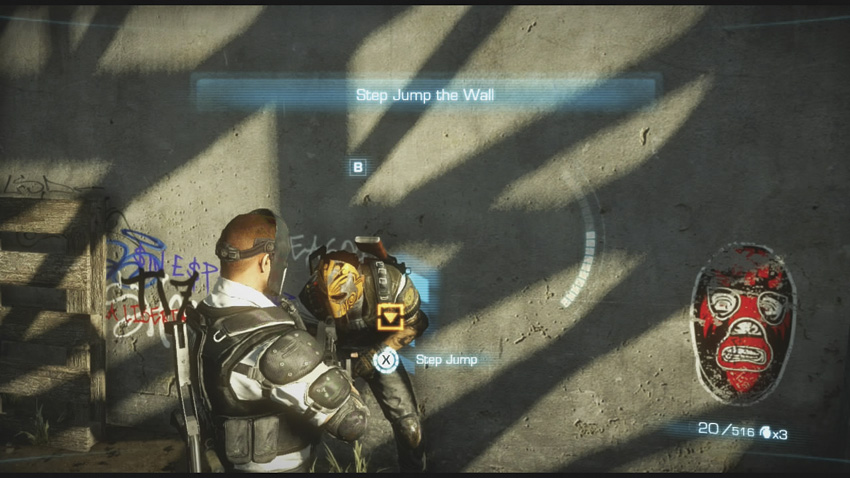
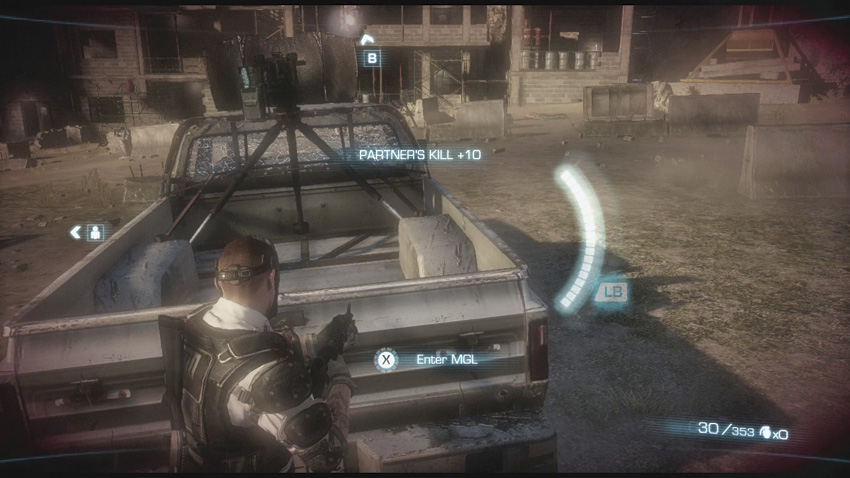
The reload button also acts as your context-sensitive action button. Its many uses include: to man emplaced machine guns, to pick up weapons, to boost your ally over a wall, or to breach a door. Arguably the most important context-sensitive action is to revive a downed ally, which tends to be a common occurrence when you’ve got a city full of cartel thugs hunting you down.
Many context-sensitive actions, such as reviving, make you temporarily invulnerable while they are being executed. This can be a huge help during rough situations.
Take Cover/Vault Cover
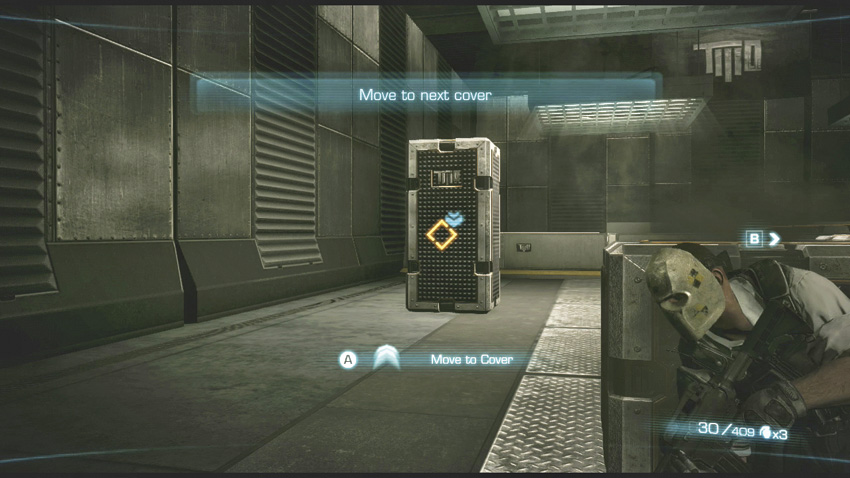
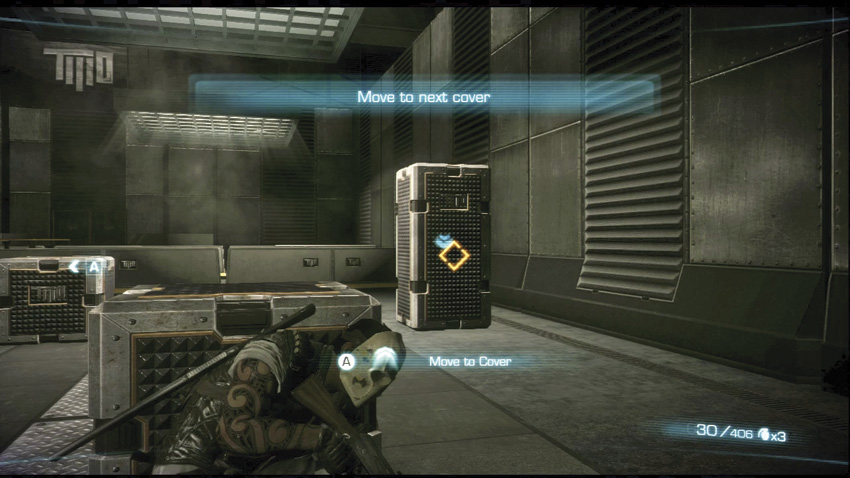
Cover provides protection and concealment against enemy fire. Simply look at the piece of cover you want to use, and if a small blue marker appears next to it, then your operator will sprint at the cover and slide into place once he is close enough to do so. From cover, you can blindfire to maintain some safety while suppressing the enemy, or you can expose yourself to take aimed shots.
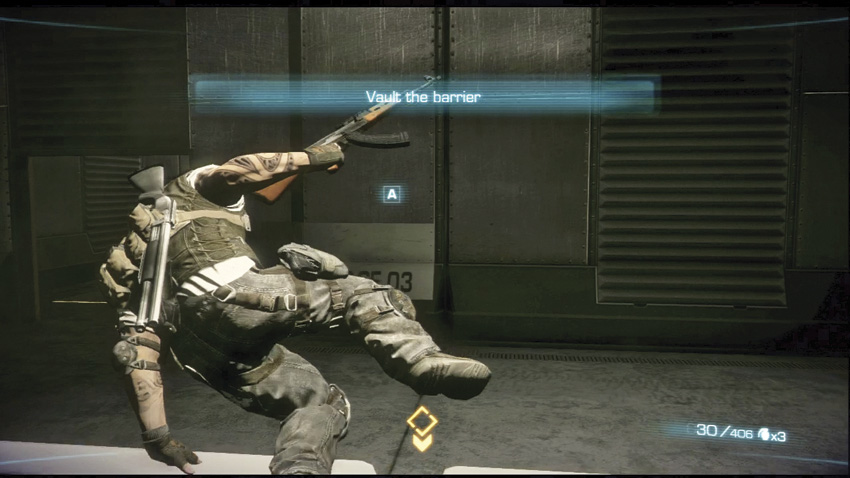
Cover can and will be destroyed by enemy and friendly fire alike, especially if you insist and staying behind one single piece of protection. You can transfer between pieces of cover by looking at the position you want to move to, and then pressing the cover button again to start the transfer. Additionally, you can vault directly over a piece of cover to move quickly forward.
In addition to protecting you from direct fire, cover provides a significant reduction to incoming damage. This means that even light cover which has been badly mangled by enemy fire can still be useful. Aiming and firing from cover also adds additional stability and accuracy, which can be particularly useful for sniper rifles and LMGs.
Crouch
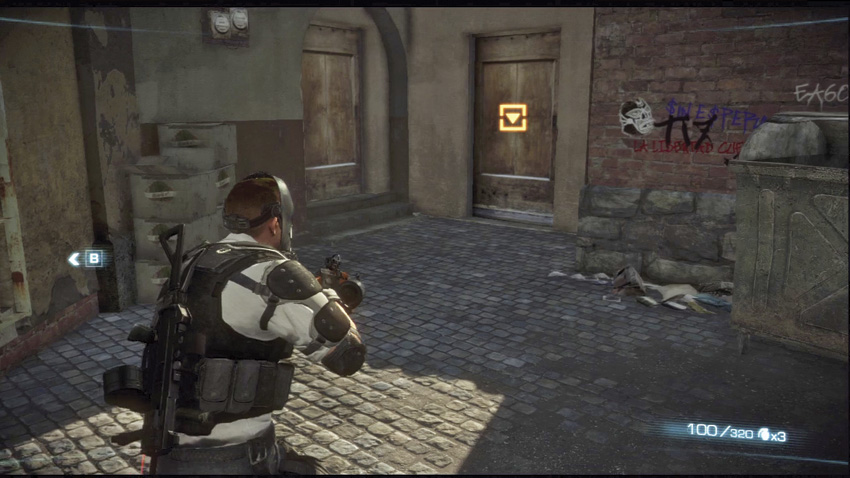
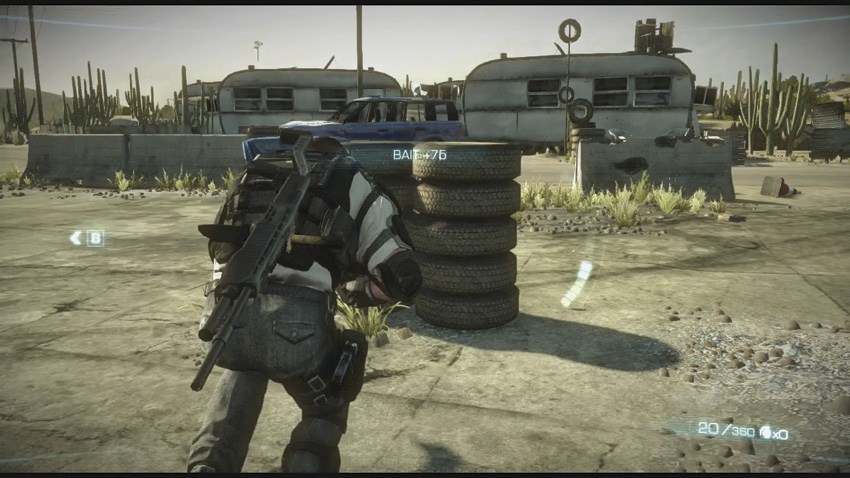
Sometimes taking cover behind something isn’t enough, and sometimes it isn’t even feasible. Crouching can help lower your profile and steady your aim. You can move while crouched, but this is slower than movement while standing.
Heads Up Display
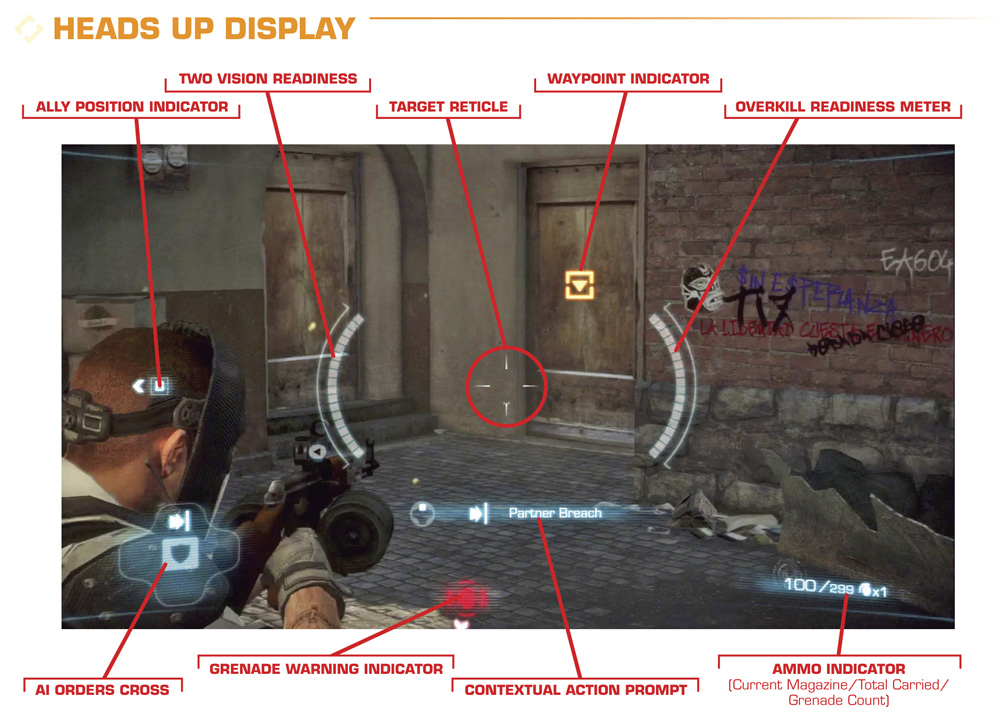
The Heads Up Display (HUD) will be in your face for the majority of the game. Everything you need to know about during regular gameplay—ammo count, grenade count, the state of your Overkill meter—will be on display to help you decide what your next course of action will be.
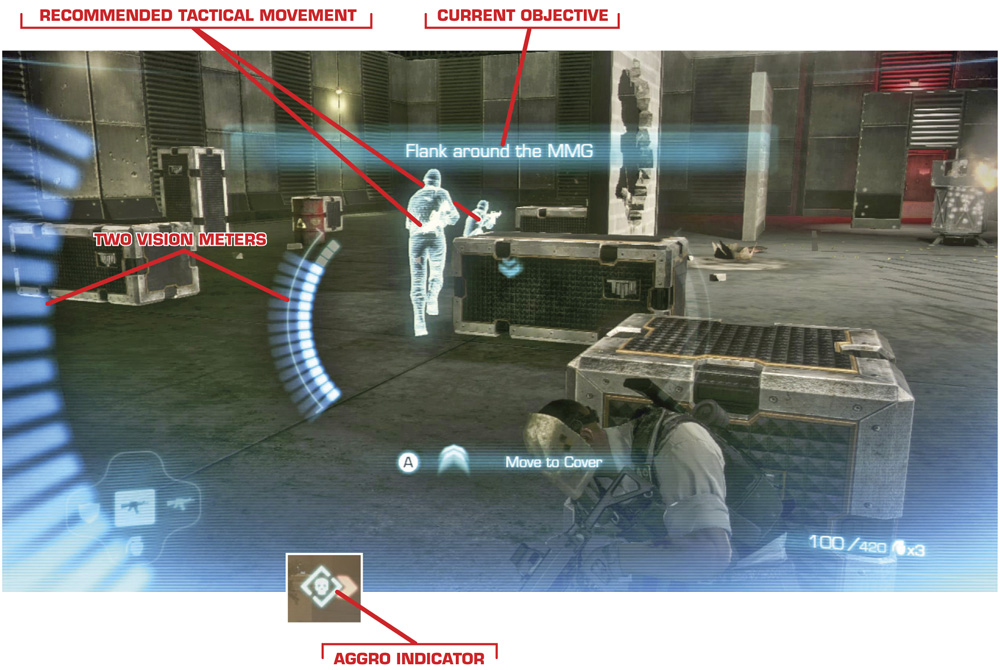
You have additional tactical aid available through the use of T.W.O. Vision. Activating T.W.O. Vision allows you to see which enemies are currently “aggro’d” toward you, and also displays possible flanking routes and defensive positions that are close to your current location. This special vision lasts for ten seconds before requiring a recharge.
Advanced Tactics
Just knowing about the basics is good enough to let you stumble your way from firefight to firefight, but there are some advanced tactics that can elevate you from being an average merc to a walking natural disaster.
Balance Your Loadout
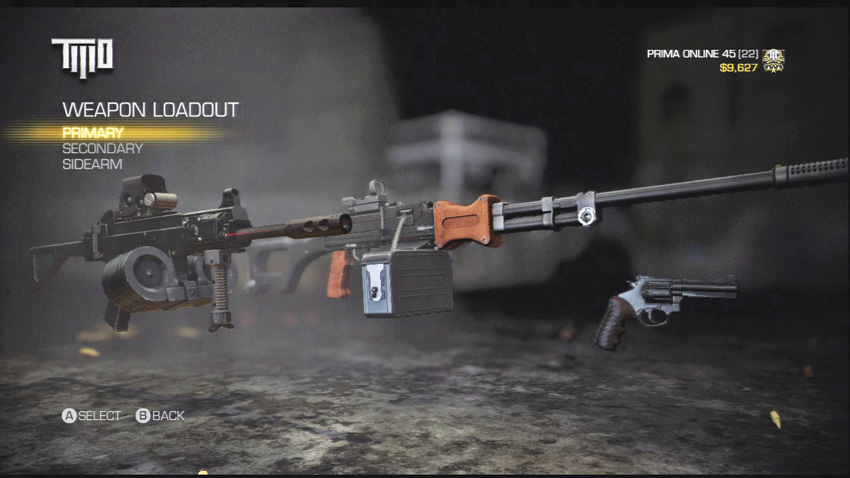
Just because you can take the $20000 sniper rifle with explosive rounds and an extended barrel, along with the ‘light’ machine gun with extended magazines and a laser sight, that doesn’t necessarily mean you should. Heavy weapons slow you down, which can make getting around the battlefield a real hassle while you’re getting shot at.
Additionally, it’s not a bad policy to carry one high aggro weapon and one low aggro weapon, specifically to help with setting up and executing flanking maneuvers. If you’re concerned about losing stopping power by taking a lower aggro weapon, just remember that everything tends to die quickly after being shot in the head.
Control Aggro
.jpg)
Army of Two has always implemented an aggro system which allows players to grab and keep the attention of enemies in order to set up flanking maneuvers or otherwise take pressure off of an ally. Ideally, you should carry one weapon that has a high aggro rating to set up flanking maneuvers, and one that doesn’t to keep your presence relatively unnoticed while your buddy raises hell. Using T.W.O. Vision, you can even determine exactly how much hate you’ve built up.
Smart Reloads
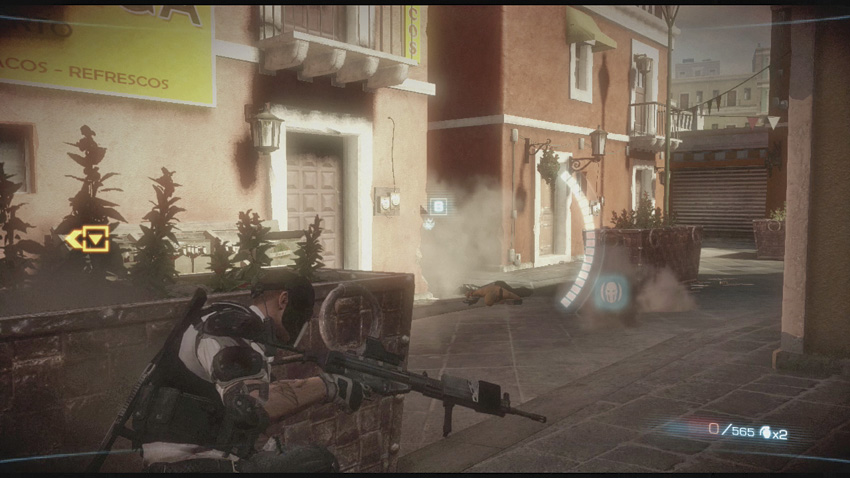
Keep your weapons ready for use and remember to reload them whenever you have a chance. Don’t reload if the enemy is standing right on top of you, and don’t leave your weapons unloaded by switching between them too often. You’ll find yourself without ammo (and shortly afterward, without life) if you walk into a situation unprepared.
Cover is Good, Mobility is Better
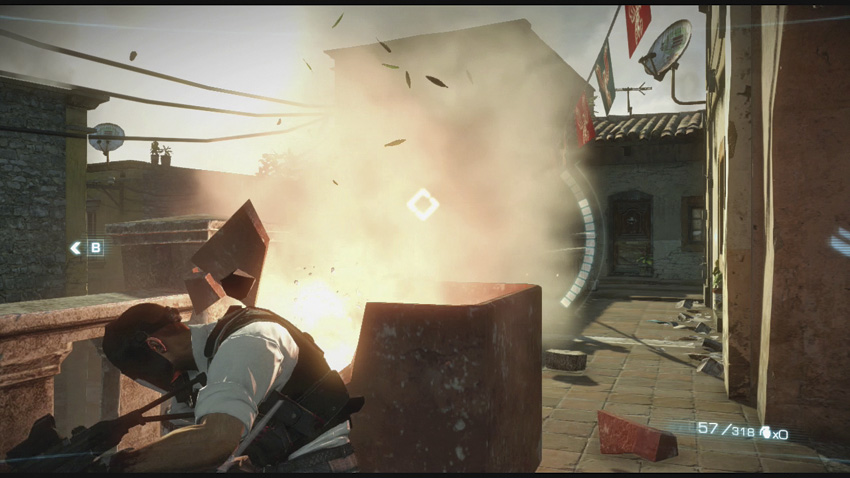
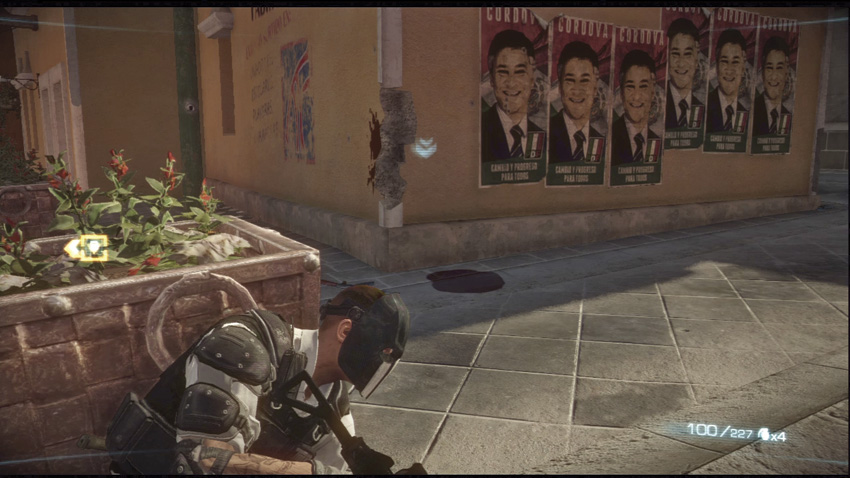
You’re safe behind cover, but only temporarily. Most of the cover you find throughout the game crumbles under fire sooner or later, and you will often need to move to another position in a hurry. Use the cover transition ability to quickly move from one spot to another.
This can be difficult if you’re equipped with a heavy weapon that has a low mobility rating. It’s not a bad idea to switch to a pistol before you transfer from cover to cover, since all of the pistols have high natural mobility ratings. You can turn a surprising number of weapons in all classes into higher-mobility killing machines through modifications.
Use and Abuse Overkill
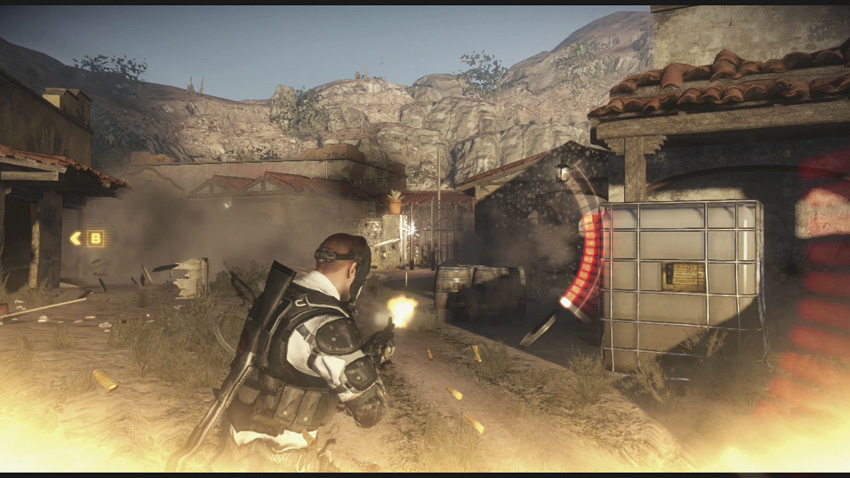
If you want to rank up faster and unlock more weapons, Overkill is the way to do it. Whenever you find yourself in a situation where you’re up against a large number of foes, triggering a Double Overkill will earn you points quickly and efficiently. You can also stagger single Overkills to devastate multiple waves of opponents, as opposed to committing everything to a Double Overkill. Use this tactic to extend your bleed out time in the event that your partner is too far away. You have infinite ammo while Overkill is active, without even having to reload. While this is active, your mantra should be “Attack! Attack! Attack!”
Just make sure that you can reach some cover before Overkill wears off.
Revival Invincibility
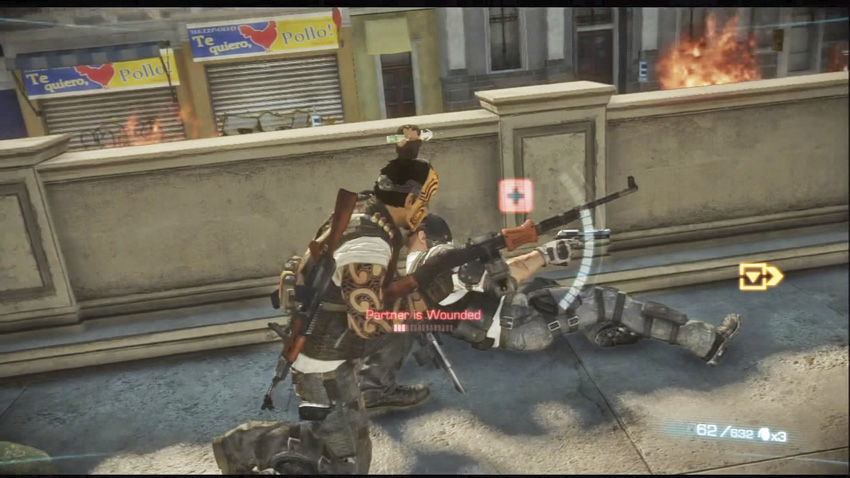
When you are in the middle of the animation to revive a wounded partner, you are invincible for a very brief moment. Don’t be afraid to run out into the open if necessary to pick your buddy up. Remember: if one of you goes down for good, it’s over for both of you.
Getting Wounded Responsibly
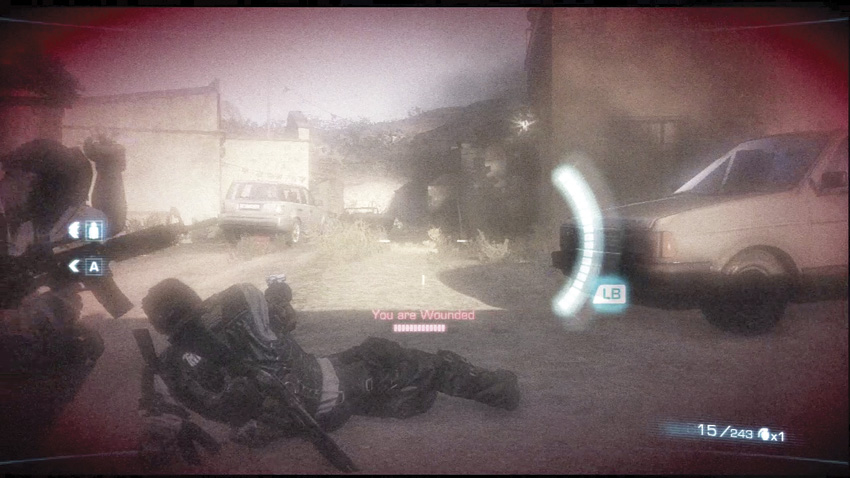
So you’ve gone and gotten yourself shot because you’re just too eager to eat bullets for one of your three meals today. Fortunately, it’s not quite over for you yet. Getting put in the Wounded state means that ALL of the aggro you’ve gained throughout the fight is removed. Use this temporary “invisibility” to drag yourself somewhere where your partner is less likely to join you on the dirt. Use Overkill if the situation calls for it. If an enemy does run past you, let them present the backs of their heads to you and use your pistol to pop some melons. Just remember that once you start shooting while Wounded, the enemy can speed up your bleed out by shooting back.
A.B.F. (Always Be Flanking)
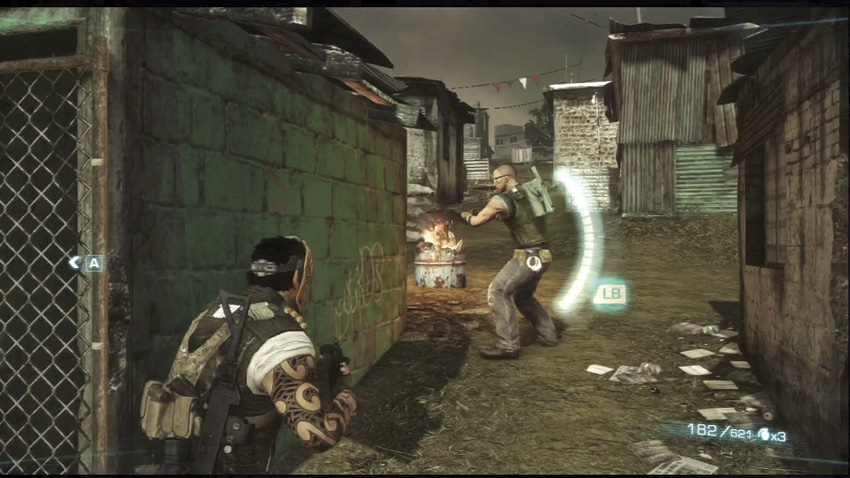
In addition to scoring a lot of extra points for every kill you make while flanking the enemy, there’s really no reason NOT to flank the cartel troops whenever the opportunity presents itself. The aggro system allows you to literally turn enemies’ backs to at least one member of your team, and many of the biggest firefights throughout La Puerta have convenient side routes for you to take advantage of.
Coordinate the Chaos
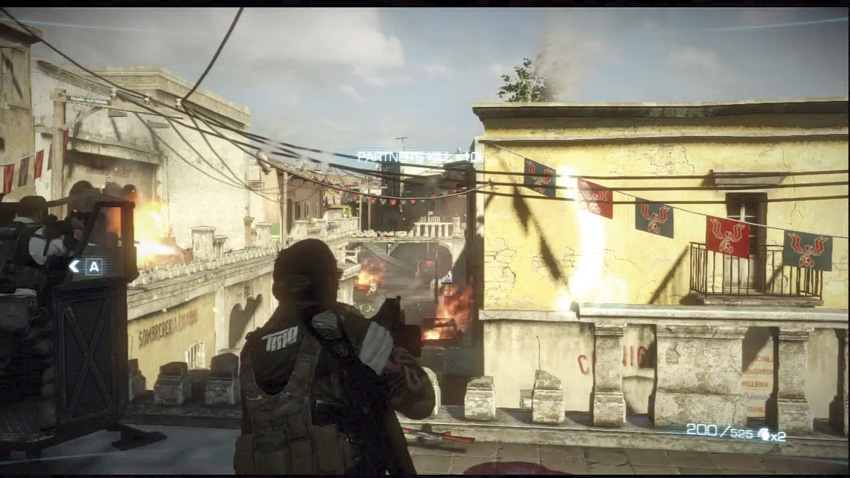
This is something more for two players. Alpha and Bravo tend to call out serious threats on their own, like additional reinforcements, snipers, or RPG users, but they don’t necessarily give out locations. If you’re playing The Devil’s Cartel without an active microphone to communicate with your buddy, you’re making things much harder on yourself. Call out exact locations of enemies, and warn your partner about incoming RPG rounds or grenades (especially since it can be hard to see rockets or grenade indicators in the middle of chaotic fights). Tell your buddy when you’re shifting locations, or if you’re taking control of a mounted machine gun. Army of Two wants you to communicate!
If you don’t have a human partner, you’re not out of luck. Telling Bravo to take aggro off of you means that he will do everything he can to accomplish that, and you can still set up basic flanking maneuvers using orders.
Red Barrels Always Explode (and So Do Cars)
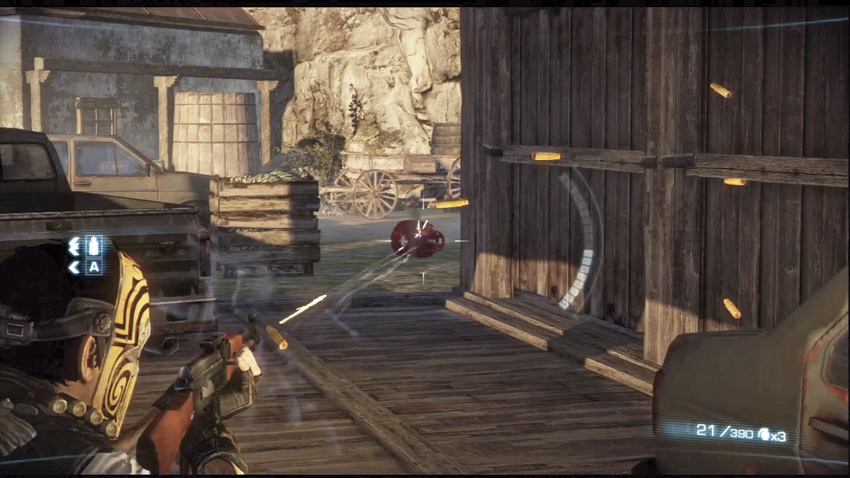
A symphony of destruction if there ever was one.
Be an environmentalist. There’s almost always a way for you to use the environment against your enemies in an explosive fashion. The average cartel shooters go down like a sack of bricks if they’re too close to an explosion, and you can use the various gas tanks and propane canisters that litter La Puerta to score multi-kills. Most vehicles you encounter on the streets also tend to explode after sustained gunfire. All explosions, regardless of what they come from, are enhanced by Overkill mode.
Of course, this also means that anything that explodes in the environment can and will be used against you, so pay close attention to your surroundings.
The Scoring System
The Devil’s Cartel features a robust scoring system that allows players to benefit from just about any action they take in battle. Every basic kill you score earns you $10 that goes into your cash pool, as well as your experience bar. Additionally, whenever you execute a specially designated Co-op Action, you score additional points. Better yet, you can combo Co-op Actions up to a maximum of ten times. If you’re working with a skilled partner, you can start racking up astronomical dollar amounts by the end of some of the tougher missions. See the chart below for details on the various Co-op Actions that are counted for points.
| ACTIONS/BONUSES | DESCRIPTION | CASH |
|---|---|---|
| Tag Team | You and your partner shoot and kill the same target | [50] |
| Surprise | Kill an enemy who is unaware of your presence | [25] |
| Flank | Kill an enemy who is focused on your partner from the side or from behind | [100] |
| Bait | Have the aggro of an enemy killed by your partner | [75] |
| Headshot | Kill an enemy with a Headshot | [50] |
| Melee | Score a kill using a melee attack | [25] |
| Backstab | Score a melee kill from behind | [50] |
| Shielded | Use a Riot Shield to block incoming fire for your partner | [50] |
| Multi Kill | Score 2 or more kills simultaneously using a grenade or an environmental hazard | [25] |
| Co-op Combo x2 | Perform 2 Co-op Actions in a row | [50] |
| Co-op Combo x3 | Perform 3 Co-op Actions in a row | [100] |
| Co-op Combo x4 | Perform 4 Co-op Actions in a row | [200] |
| Co-op Combo x5 | Perform 5 Co-op Actions in a row | [300] |
| Co-op Combo x6 | Perform 6 Co-op Actions in a row | [400] |
| Co-op Combo x7 | Perform 7 Co-op Actions in a row | [500] |
| Co-op Combo x8 | Perform 8 Co-op Actions in a row | [600] |
| Co-op Combo x9 | Perform 9 Co-op Actions in a row | [700] |
| Co-op Combo x10 | Perform 10 Co-op Actions in a row | [1000] |
| Flawless Breach | Kill all enemies during a Breach and Clear | [250] |
| Single Overkill | Kill someone in Overkill | [200] |
| Double Overkill | Kill someone in Double Overkill | [400] |
| Revive | Revive a Wounded partner | [25] |
| Saviour | Rescue a partner who is struggling in a Physical Confrontation | [25] |
| Time to complete the map | Bonus based on time spent to complete the map: declines by $5 for every second over par, increases by $5 for every second under par | Variable |
| Difficulty Modifier | Bonus based on difficulty: Easy = 1.05, Medium = 1.10, Hard = 1.15, Insane = 1.2 | Variable |
There are a number of ways you can rack up co-op combo bonuses, but by far the most effective way (aside from Overkill) is simply to stay close to your partner and shoot whatever they are shooting at. If you’re really looking to break the scoring system, have both you and your partner take weapons with middling damage ratings. This way, your initial shot won’t kill your enemy outright, allowing your buddy to also focus fire on the same target. To really milk the cash out of an individual kill, injure an enemy and have your partner finish them off with a headshot.
Of course, that’s all easier said than done, even under the best of circumstances.
Progression
There are 25 ranks to achieve as a T.W.O. mercenary. Gaining ranks is as simple as ventilating cartel members with copious amounts of firepower and taking advantage of the scoring system. As you gain ranks, you unlock new weapons, mods for said weapons, new outfits, new ballistics masks, and new tattoos. Use these to customize your character and loadout to your liking. See the chart below for the full list of unlocks earned through rank progression, as well as additional unlocks available through alternate means.
| RANK | WEAPONS | WEAPONS PARTS | TACTCAL GEAR | TATTOOS | WEAPON SKINS | SIGNATURE MASKS | CONTRACTS | OTHERS |
|---|---|---|---|---|---|---|---|---|
| 1 (Contractor Tier 1) | M4 (Assault), LE-400 (Shotgun), M92 (Handgun), AK-47 (Assault), SD3 (SMG), SAW (LMG), SWAT-LR .300 (Sniper) | Assault Stock, Extended Magazine, Under Mount Foregrip, Barrel Assault, Barrel Precision | Alpha, Bravo, Contractor, Commando, Skull Candy | Alpha, Bravo, Mayan, Native, Inked 1, Inked 2 | Default - Free, Wood Series, Anodized Series, Paint Series | Alpha, Bravo, Bird, Shark, Pink Camo, Veteran, Frostbite, Ninja, Training, Nightmare, Skull Candy | None | |
| 2 (Contractor Tier 2) | FX-05 (Assault), Model 971 (Handgun) | Double Magazine, Side Mount Rail Magazine | Fighter | Rattlesnake Snakeskin | Red Creature | |||
| 3 (Contractor Tier 3) | Ruslan MK3 (SMG), ASG Combat (Shotgun) | Side Mount Laser Sight, Under Mount Laser Sight | Chillin’ | Inked 3 | Desert Camo | Desert Camo | ||
| 4 (Contractor Tier 4) | RPD (LMG), BR-19 (Assault) | Holo Sight, ACOG Scope, Long Range Scope | Easter Fox Snakeskin | Purple Dot | ||||
| 5 (Field Agent Tier 1) | Muzzle Brake, Silencer | Roadie | Death | Forest Camo | Forest Camo, Isaac | |||
| 6 (Field Agent Tier 2) | M1911 (Handgun), Longshot SR (Sniper) | Precision Stock, Under Mount Blind Fire Camera | Eastern Indigo Snakeskin | Bullseye | ||||
| 7 (Field Agent Tier 3) | M-KAR (Assault), MP-U45 (SMG) | Armor Piercing Ammo, Drum Mag | Sport | Pirate | Urban Camo | Urban Camo | ||
| 8 (Field Agent Tier 4) | Falcon .50 (Handgun), MG-23 (LMG) | Under Mount Grenade Launcher, Dragon’s Breath Ammo | Pale Amazonian Snakeskin | Biker | ||||
| 9 (Veteran Field Agent) | Side Mount Ballistic Shield, Explosive ammo | Extractor | Chinese | Winter Camo | Winter Camo, Carver | |||
| 10 (Senior Field Agent) | SVD (Sniper), MTAB-19 (Assault) | Double Drum, Rapid Reload Stock | Black Pine Snakeskin | Flower | ||||
| 11 (Operative Tier 1) | S-12 (Shotgun), UCAP 9000 (SMG) | Heavy Gunner | Sailor | Desert Digital | Desert Digital, Evil Skull | |||
| 12 (Operative Tier 2) | P226 (Handgun), M1 (Assault) | Sand Snake Snakeskin | Zombie | |||||
| 13 (Operative Tier 3) | Operative | Pin-Up | Silver, Polished Silver | Goaler, Visceral | ||||
| 14 (Operative Tier 4) | DAO-X (Shotgun) | Forest Digital | Forest Digital | |||||
| 15 (Veteran Operative) | AMR-50 (Sniper) | Spec Ops | Inked 4 | Alameda Whip Snakeskin | Mime | |||
| 16 (Senior Operative) | FH-80 (Assault) | Urban Digital | Urban Digital | |||||
| 17 (Elite Operative) | Elite | Armageddon | Buttermilk Racer, Snakeskin | Outlaw, Isaac Miner | ||||
| 18 (Officer Tier 1) | MK-IX (SMG) | Winter Digital | Winter Digital | |||||
| 19 (Officer Tier 2) | MG-40 (LMG) | Biker | Zombies | Modern camo | ||||
| 20 (Officer Tier 3) | MAG-44 (Handgun) | Ivory Series | Axe, Viking | |||||
| 21 (Veteran Officer) | Salem | Japanese | Smooth Green Snakeskin | Panda | ||||
| 22 (Senior Officer) | Mayan Skulls | Black Garter Snakeskin | Luxury, Evil Clown | |||||
| 23 (Elite Officer) | Rios | Nautical | Snail Eater Snakeskin | |||||
| 24 (Field Team Leader) | Executive Rios | Fiona | Red Rat Snakeskin | Hockey | ||||
| 25 (Field Commander) | The “Alternative” Silencer, The “Substitute” Silencer | Meat Shield | Rios, Salem | Matte Gold, Polished Gold | Smile, Meat Mask |
| OTHERS | WEAPONS | OUTFITS | TATTOOS | WEAPON SKINS | SIGNATURE MASKS DECAL ONLY | CONTRACTS | OTHERS | |
|---|---|---|---|---|---|---|---|---|
| Complete the campaign (any difficulty) | Rios Bronze, Salem Classic, Salem Classic Dark, El Diablo, Rios Executive, Salem Pointy, Salem Pointy Dark, Rios Classic | Insane Difficulty Mode | ||||||
| Complete the campaign (on insane) | Inmate | Horse |
| PDLC/DEALS | WEAPONS | OUTFITS | TATTOOS | WEAPON SKINS | SIGNATURE MASKS DECAL ONLY | CONTRACTS | OTHERS | |
|---|---|---|---|---|---|---|---|---|
| Finish Demo | X9 Tactical (Assault) | White Alpha, Dark Bravo | ||||||
| Gamestop Exclusive | B.o.B. Mask (Patriot), Big Boi Mask (Medic) | 1 Hit-Makers Contract: Confontation Mission | ||||||
| Limited Edition Version | TAH-9 (Handgun), AK-47 “Day of the Dead”, Double-D (Shotgun) | Full Auto, Overkiller, Dia de los Muertos | Polymer, Overkiller, Dia de los Muertos 1, Dia de los Muertos 2 | 3 Overkillers Contracts: Rally Point, Mission-Outside Contract, Mission-assult Mission |