Prima Games eGuides
primagames.com Browse Redeem a code Help
Army of Two: The Devil's Cartel eGuide
Sign in My Guides

Sign in or create an account

We'll email you a link. No password needed, and if you don't have an account yet, the link makes one.

By creating an account or signing in, you agree to our Terms of Service and Privacy Policy.

Have a password?

Had an account on the old eGuides site, or a code from a printed guide? Help and troubleshooting

Sign in with a password

By signing in, you agree to our Terms of Service and Privacy Policy.

Check your email

A sign-in link is on its way. It works once and expires in 15 minutes. Open it and you're in, with an account if you didn't already have one.

Contents

  • Essentials
    • Welcome Back to Tactical Worldwide Operations
      • Welcome Back to Tactical Worldwide Operations
    • Operational History and Character Bios
      • Operational History and Character Bios
    • Tactical Operations Manual
      • Tactical Operations Manual
    • Two Gear
      • The Gear Makes The Man
      • Modifications
      • Weapon Skins
      • Tactical Gear
      • Tattoos
    • The Enemy
      • The Enemy
    • Contracts
      • Contracts
    • Achievements and Trophies
      • Achievements and Trophies
    • Concept Art
      • Concept Art
  • Walkthrough
    • Mission 1: New Blood
      • Special Callouts
      • Chapter 1: Protection
      • Chapter 2: Tutorial
    • Mission 2: Cause And Effect
      • Chapter 3: Permission to Engage
      • Chapter 4: Foxhunt
      • Chapter 5: Split Decision
      • Chapter 6: Baptism by Fire
    • Mission 3: Rally Point
      • Chapter 7: Politics in Action
      • Chapter 8: Picking Up the Pieces
      • Chapter 9: Into the Chaos

      • Chapter 10: Riot Act

      • Chapter 11: Urban Chaos

    • Mission 4: Outside Contact
      • Chapter 12: Fuel for the Fire

      • Chapter 13: Observe and Detect

      • Chapter 14: Local Heroes

      • Chapter 15: Stronghold Assault
      • Chapter 16: Suicide Run

    • Mission 5: Last Resort
      • Chapter 17: Holiday Retreat

      • Chapter 18: Room Service

    • Mission 6: Salvation
      • Chapter 19: Among the Dead

      • Chapter 20: Open Season

      • Chapter 21: Rest for the Wicked

      • Chapter 22: Shadows Walk

      • Chapter 23: Into the Light

      • Chapter 24: Loose Cannon

      • Chapter 25: Special Delivery

    • Mission 7: Enemy Territory
      • Chapter 26: Behind Enemy Lines

      • Chapter 27: Guardian Angel

      • Chapter 28: Manhunt

      • Chapter 29: Fight for the Future

      • Chapter 30: Desperate Measures

      • Chapter 31: Objective Lost

    • Mission 8: Narco Hell
      • Chapter 32: Scavengers

      • Chapter 33: Game Face

      • Chapter 34: A Ray of Sun

      • Chapter 35: Rooftop Rampage

      • Chapter 36: Adrenaline High

      • Chapter 37: Mad Science

      • Chapter 38: The Butcher

    • Mission 9: Assault
      • Chapter 39: The Assault

      • Chapter 40: Down But Not Out

      • Chapter 41: Get Her Back

      • Chapter 42: Race to the Quarry

      • Chapter 43: Fish in a Barrel

    • Mission 10: Confrontation
      • Chapter 44: Burning Bridges

      • Chapter 45: No Return

      • Chapter 46: A Hero's Rescue

      • Chapter 47: The Lion's Den

      • Chapter 48: Salem On Trial

      • Chapter 49: The Devil's Due

  • Overkill Vids
    • Mission Overkill Videos
      • Mission Overkill Videos

Army of Two: The Devil's Cartel Guide › Walkthrough › Mission 2: Cause And Effect

Chapter 3: Permission to Engage
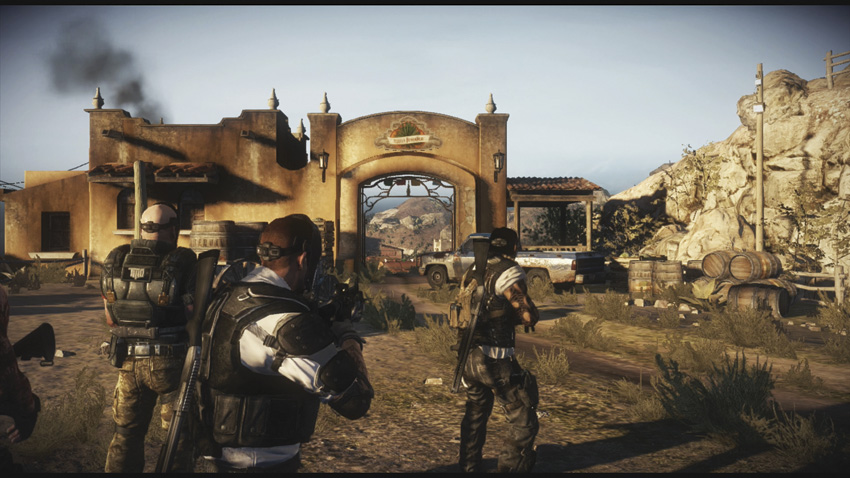
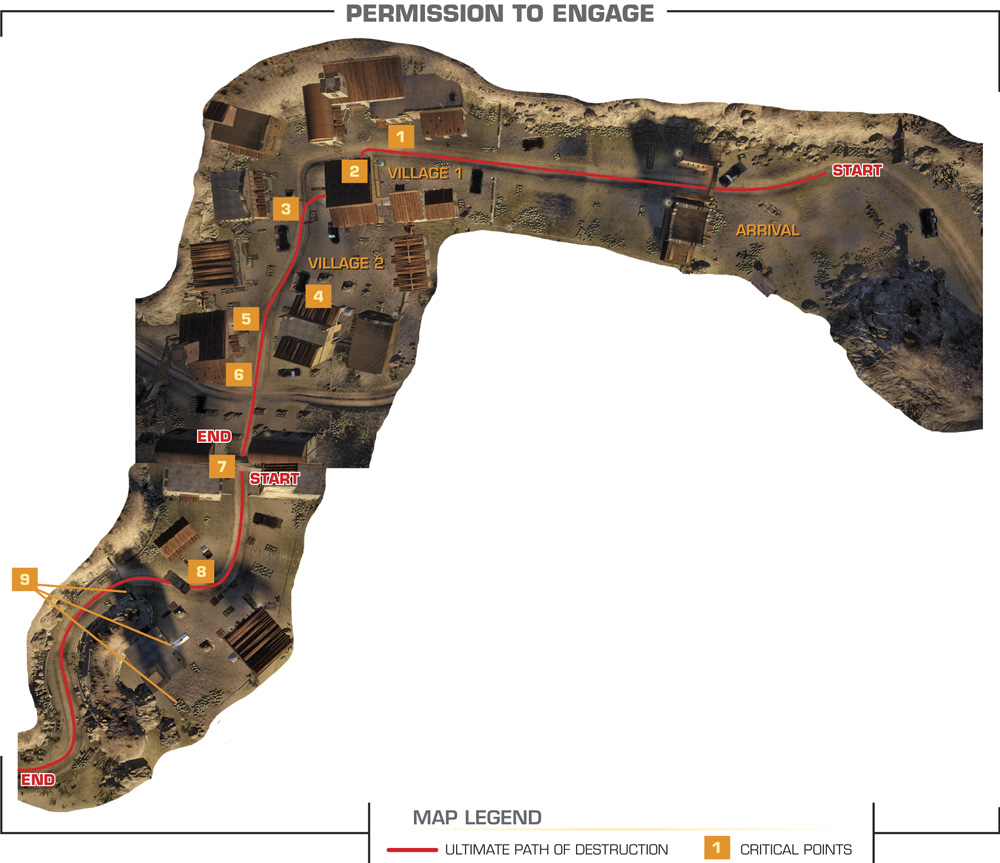
Newly certified as contractors for T.W.O., Alpha and Bravo travel to Mexico with Rios and Salem to participate in their first mission. The T.W.O. mercs have been hired to rescue the daughter of someone with deep pockets. Attacking a hideout belonging to the La Guadaña cartel, the pair soon finds that this cartel has plenty of people willing to die just to keep a hostage in captivity.

Chapter 3: Permission to Engage
Suggested Armament

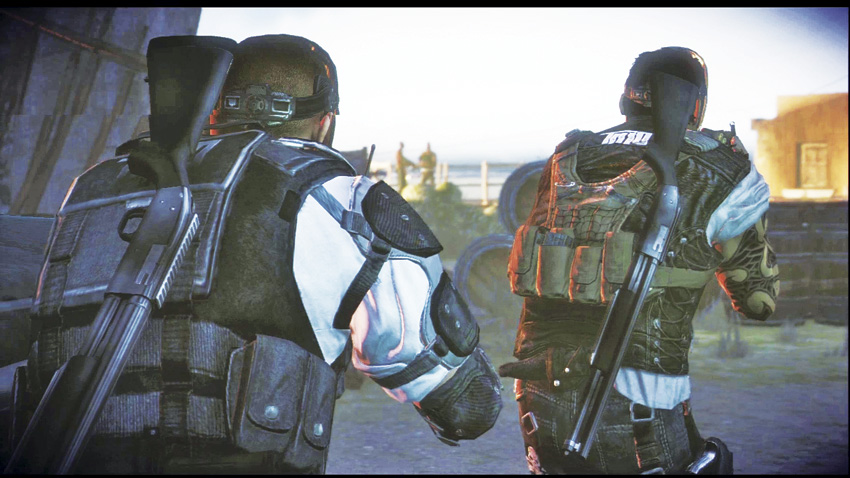
If you’re just starting out, you’ve got an M4 Assault Rifle and an LE-400 Shotgun as your main weapons, and a M92 Pistol for your sidearm. Choose whichever weapons you see fit to use, but it’s generally safer to stick to weapons that have better range than a shotgun.

Don’t forget that you have the ability to improvise while in the field, so even beginners aren’t stuck with the standard loadouts for very long. Any weapon that the enemy is holding can be picked to use against their brothers. Later in the game, weapons recovered from the cartel may be enhanced by modifications.

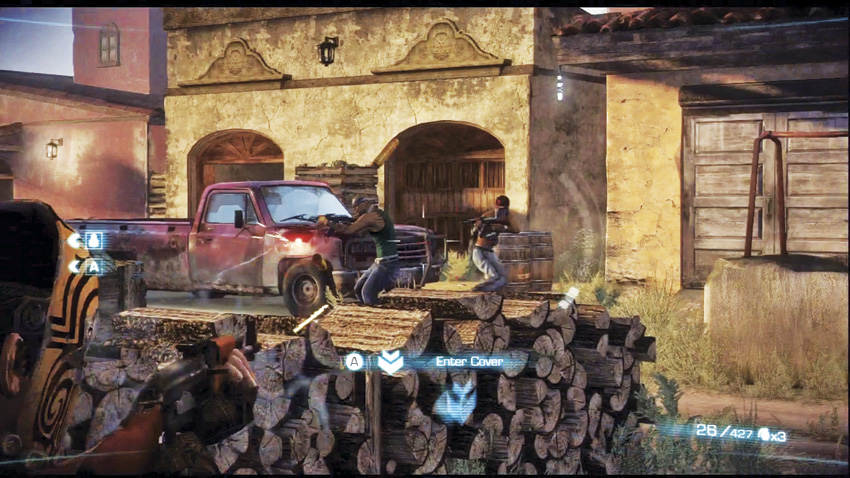
After a healthy debate about the need for permission to attack cartel members, you’re given control to begin storming the compound. As you cross through the entrance, you’ll see a pair of thugs standing guard with their backs facing you .
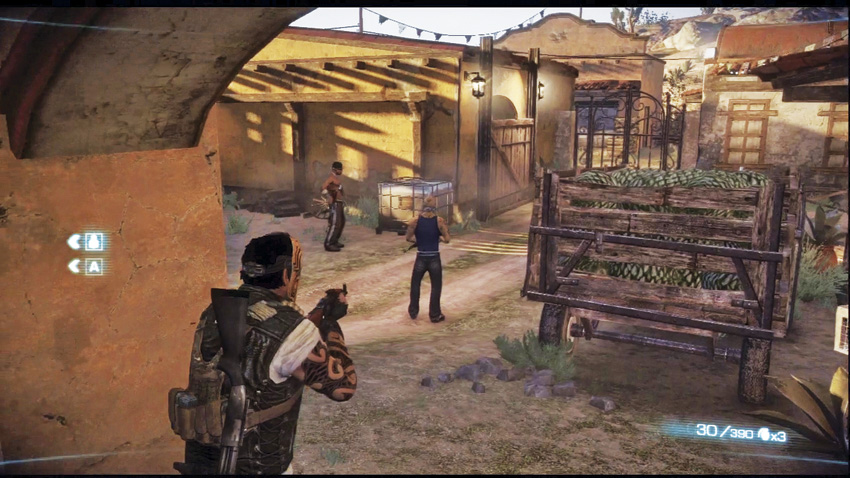
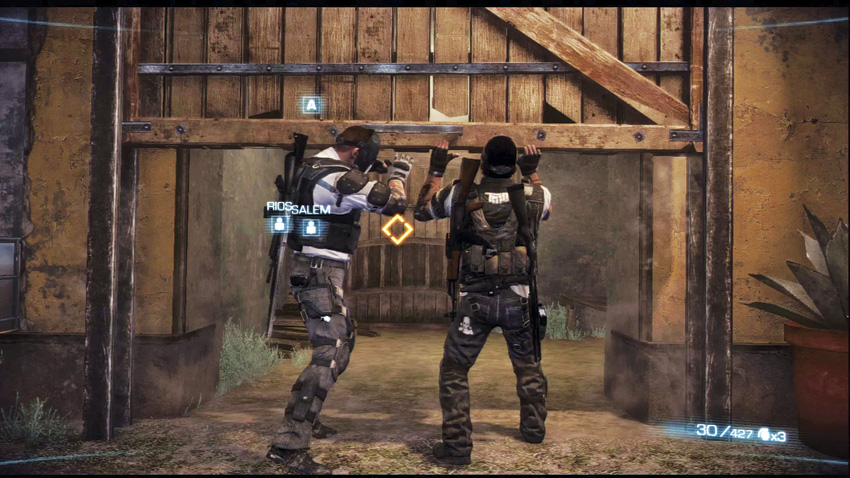
There’s no “right” way to take the guards out. If you’re playing with a friend, you can make clever use of cover to close in on them and score melee kills while their backs are turned. If you do it right, you can nail them both at the same time before they can even react to your presence. Unfortunately, if you’re playing alone, AI Bravo tends to open fire on his own as soon as he gets close enough. However you manage it, Salem and Rios split off from you once the guards are dead, ordering you to go through the nearby stables to proceed . Use a co-op action to lift the door.
Tip

If you’re playing with a friend, this first pair of guards is a good chance to practice shooting at live targets in unison. Remember: you score extra points on a kill if both Alpha and Bravo contribute bullets to the cause.

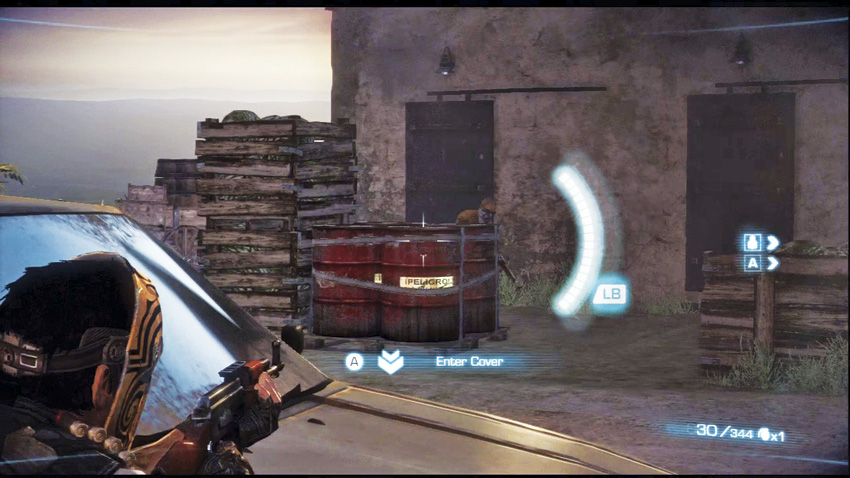
You reunite with Rios and Salem as they engage in a pitched firefight with more cartel thugs. These poor guys have their backs turned to you while they fight the other operators, giving you a chance for some flanking bonuses. Watch out for the guys using the pillars of nearby structures for cover .
Caution

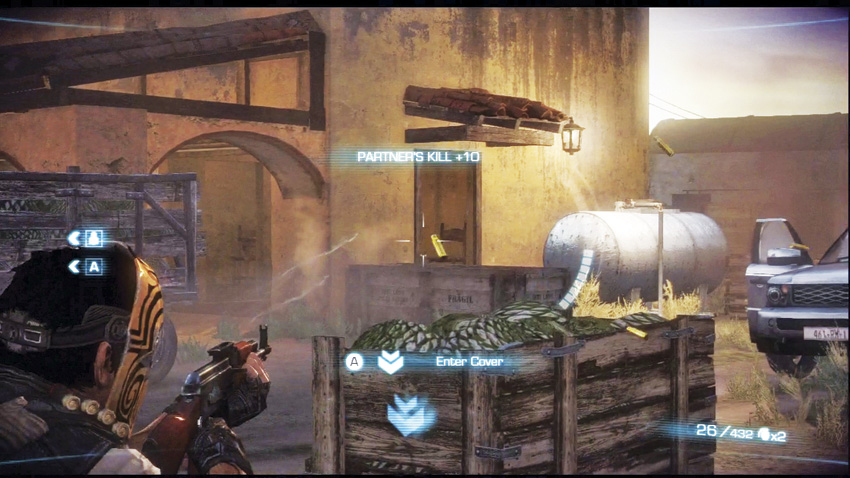
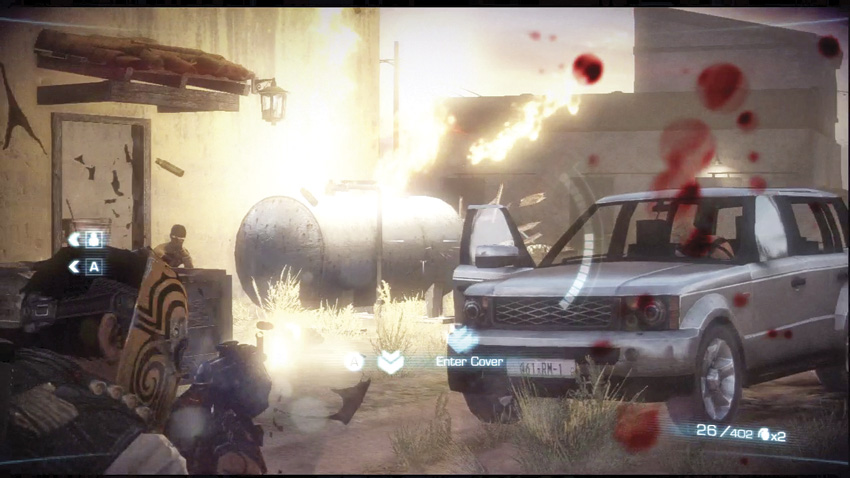
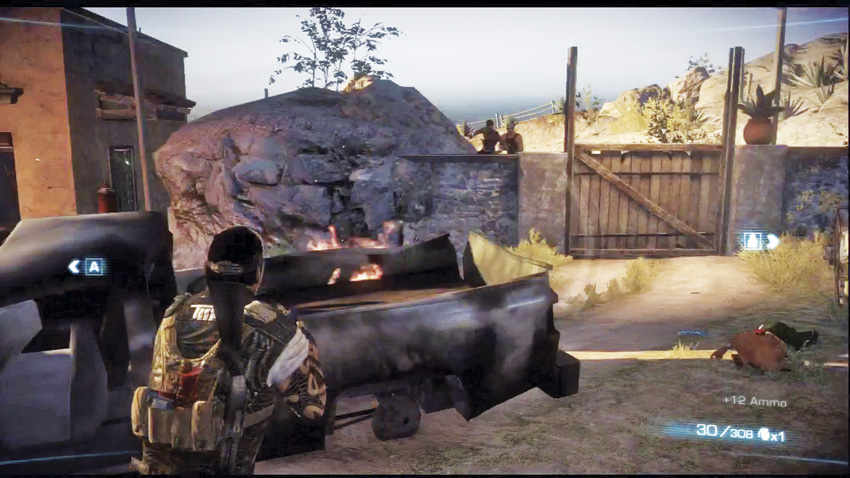
Watch out for explosive material (red barrels, gas tanks, and parked vehicles) from here onwards. The first thugs you flank here are using a truck for cover. You can use it for the same purpose, as long as it hasn’t caught on fire.

A little farther ahead from the first group you surprise, an SUV pulls up with more hostiles. More cartel members advance from another vehicle parked a short distance away. The first SUV parks near a large propane tank, so be sure to use that against the enemy, if possible.
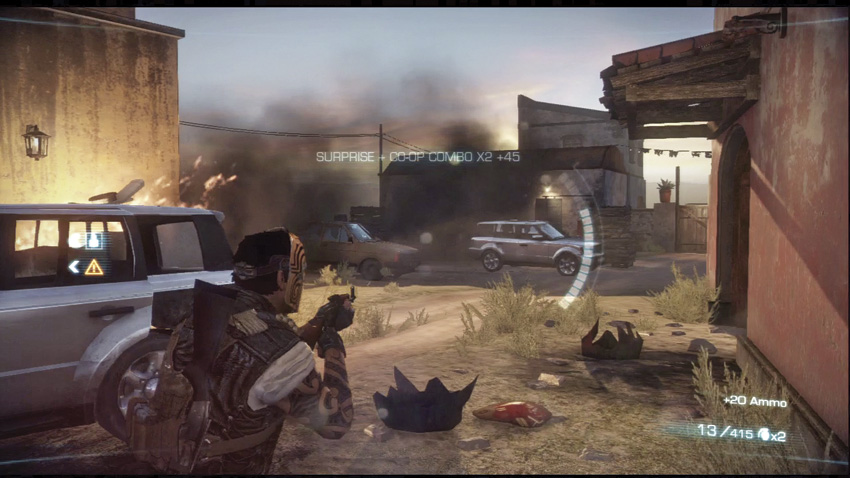
The area by the second SUV branches off to the left and right. From the left, another gaggle of thugs come running down the dirt road. The buildings in the area have many potential nooks and crannies for enemies to hide in, so be careful about standing out in the open.
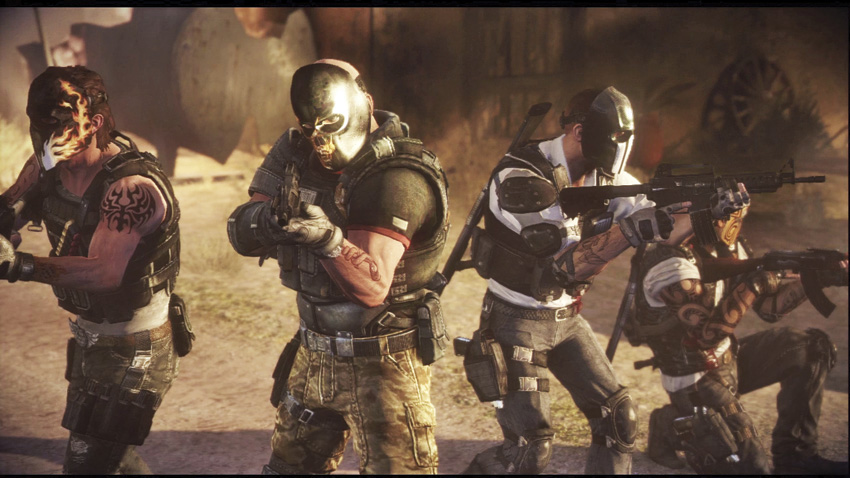
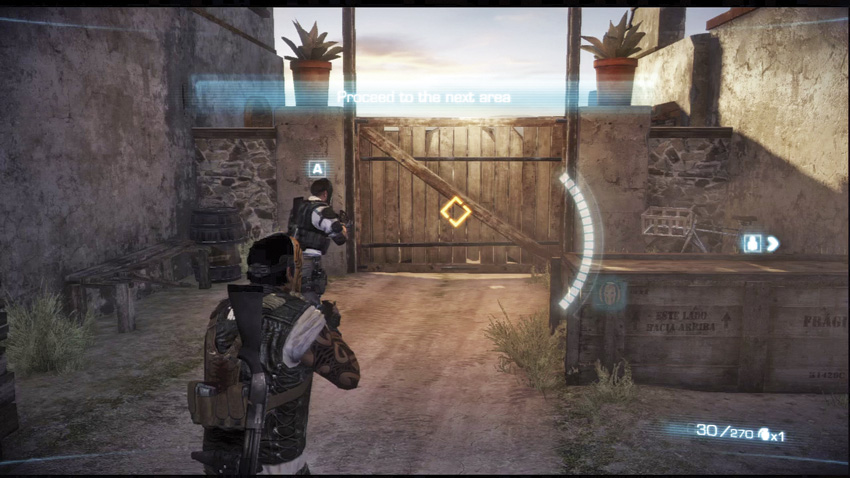
With the area clear, the group gathers up to discuss the next step of the job. Once again, Rios and Salem split off from Alpha and Bravo to search for their target in one part of the compound. Make your way through the HUD-indicated door to proceed with the mission.
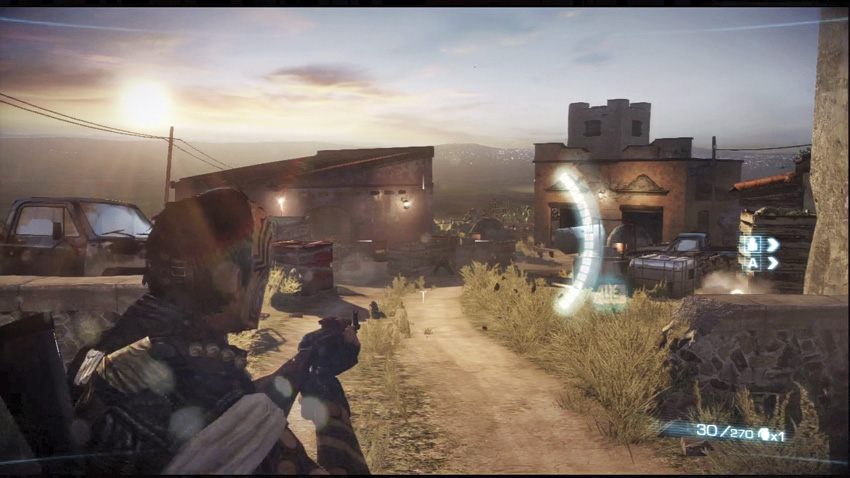
The area beyond the gate is another dirt road with lots of cover strewn about. Explosive barrels are mixed in among the ‘safe’ cover. Several buildings flank this area, providing your enemies with ample cover and possible flanking routes. After the first set of hostiles gets taken down, a second wave from the far building will try to avenge them . You’ll exit through the wooden gate once the area is clear.

OVERKILL

If you’ve been working well with your partner, you may actually have enough Overkill meter built up for this, and this area presents the perfect opportunity to let loose. Just about every piece of cover that isn’t actually a building can be annihilated here. Just wait for your enemies to reveal their general locations before activating Overkill.

Suggested Armament

Now that you have some cash under your belt, you might feel inclined to start upgrading your initial equipment. It might be best to start saving your money until you have unlocked more guns for purchase. In particular, the ASG Combat Shotgun is one of the best secondary weapons in the game: it’s accurate (for a shotgun), fires as fast as you can pull the trigger, and has a truckload of stopping power. Most close encounters will end decisively in your favor with this weapon, and it is beastly in Overkill mode.

Keep reading with a free account

The first 3 sections of Army of Two: The Devil's Cartel are open to everyone. An account opens the rest of it, and every other guide in the archive. It's free, and there's nothing to buy.

Bought guides on the old Prima Games site? Your account and every guide you own moved here, so there's nothing to buy again. Sign in.

Create a free account Or browse our free guides

PreviousChapter 2: Tutorial NextChapter 4: Foxhunt