
Army of Two: The Devil's Cartel Guide Walkthrough Mission 10: Confrontation
Chapter 46: A Hero's Rescue
Chapter 46: A Hero’s Rescue
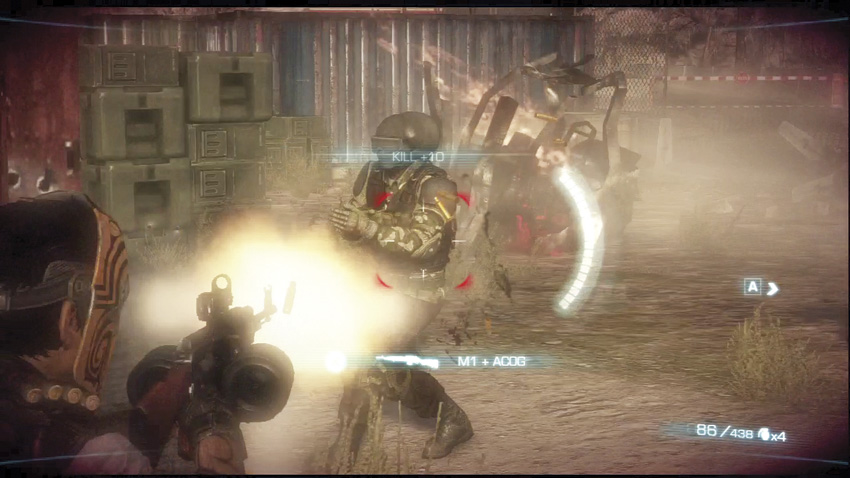
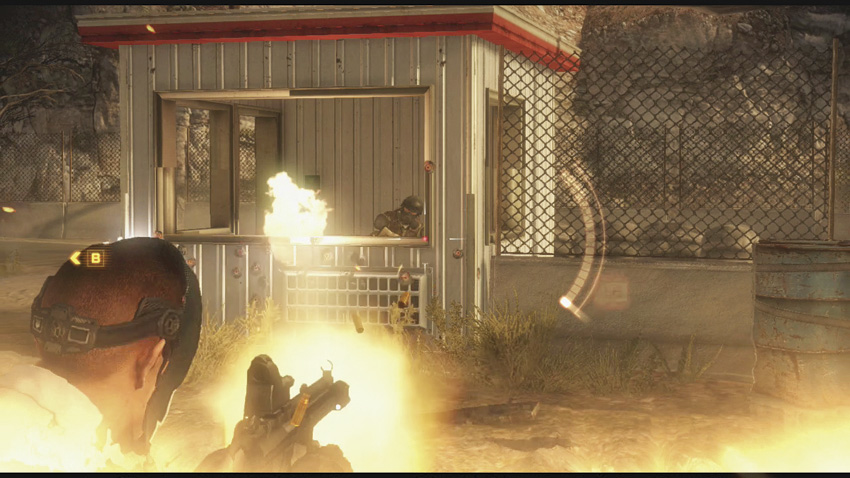


This chapter wastes no time getting the party started. A dual breach sequence puts you directly in front of a squad of cartel elites. Go out with high-capacity weapons at the ready, and take advantage of the explosive barrels near the squad’s starting position!


As soon as the dual breach sequence ends, you’ve got more trouble on the way. A cartel car with more troops pulls up to the right of the shipping container in front of the door you just exited, joined by a Brute
 . If you can, grenade the car as it pulls up and don’t give them a chance to fight. If you’re lucky, the explosion might kill the nearby Brute, or at least seriously wound him.


Complicating matters further are a set of snipers on the rooftop of a building on the other side of the shipping container
 . Take them out before crossing into the field. There are more shipping containers and abandoned vehicles throughout this field that can be used for cover by both sides, so move forward with caution. Hostiles start pouring into the area from the roadside checkpoint on the right
, and soon begin spreading out into the field.
. Take them out before crossing into the field. There are more shipping containers and abandoned vehicles throughout this field that can be used for cover by both sides, so move forward with caution. Hostiles start pouring into the area from the roadside checkpoint on the right
, and soon begin spreading out into the field.


Don’t advance too far forward right away! The building on the left hides another squad of elites that will break into the area through one of its side doors
 . Getting caught between them and their allies is very dangerous—especially since both groups include Brutes.

Surviving the initial assault, run up the road to reach the bridge where Rios crashed the chopper. He’s doing just fine for being pinned down, using the minigun to hold off the cartel elites all on his lonesome. He offers to cover Alpha and Bravo as they cross the bridge to reach the entrance to the cartel compound.


 Now things get difficult. The bridge had very little in the way of cover. You can use the railing on the sides of the bridge for cover every twenty feet or so, but you’re still very exposed to incoming fire from the technical at the far end of the bridge
 . Rather than struggle across the bridge from cover to cover, use the Riot Shield near the chopper and advance toward the technical, preferably on one side of the bridge to afford Rios a clear shot at the technical. If you’re playing by yourself, you can order Bravo to take the shield, but it is probably best to let him follow you while you take the shield. His accuracy with his chosen weapons is quite high, and he can cover your flanks effectively.
If you’re playing with a buddy, it’s all a matter of advancing forward, stopping to clear the immediate area of threats, and then continuing onward. Rinse and repeat. Keep the shield pointed at the technical and you should be okay. Once you get close enough to the technical, Rios will manage to finally destroy the thing.


Crossing the bridge and destroying the technical is only the beginning of your troubles. The hill leading up to the compound entrance is full of elites trying to rush the bridge itself to push you back
 , and there’s very little cover near the bridge itself that you can safely use. The area is wide enough that it’s easy to receive flanking fire by enemies on either side of the hill, and the lack of cover between you and the defensive sandbag positions close to the fountain
 makes a head-on rush suicidal without Overkill. Snipers are a serious threat to any advance, and there are a number of Brutes who arrive as reinforcements as you start whittling down the hostiles.
You can try to maintain the Riot Shield and push up the hill that way, but there’s just way too many hostiles to consider that a safe or valid tactic, particularly on higher difficulties. There’s a better chance that the shield will just get blasted out of your hands by grenades or snipers.
However you manage it, once the hill is clear, proceed down the path to the left to reach the exit.