Chapter 14: Local Heroes
Decision Point: Protect Contacts or Advance to Contacts
In this sequence, Alpha must decide who advances toward the contacts and who stays behind. Whoever stays behind must eliminate the nearby sniper and provide cover for both the contacts and the man advancing toward them.
Protect Contacts
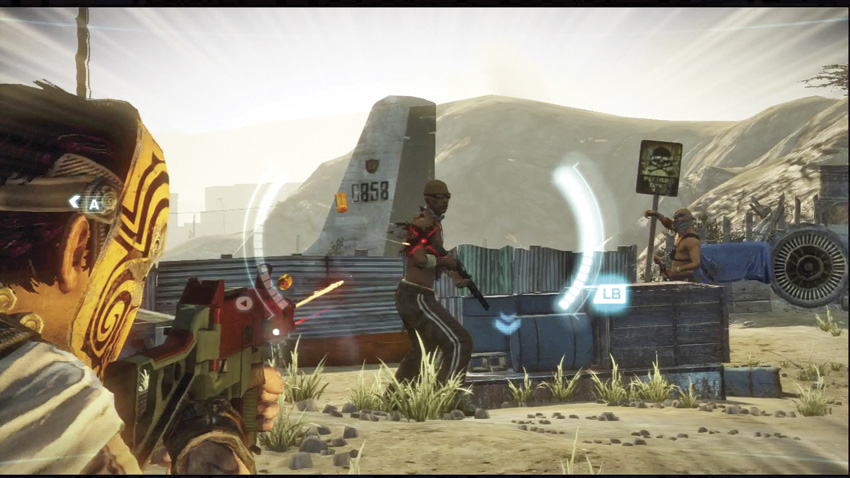
Directly in front of the contacts themselves is a large aircraft fuselage with the initial targets starting off close to it. Cartel reinforcements show up on the raised road behind the aircraft, charging down either the left or right paths towards the contacts. When the snipers come out to play, they tend to stay farther up the hill.
Despite your best efforts, you will see an RPG shot fly at the contacts’ vehicle from a position you have no shooting angles on, ending their resistance. As disappointed as your merc might sound, this is also your cue to get moving, because the RPG gunners will now be turning their attention to you. Those RPGs have good range and the shooters are quite accurate. They can and will put a rocket into your post if you wait around too long. If Alpha or Bravo go down at any point during this sequence, you’ll be restarting all the way back at the door breach scene.
On an interesting note, if you manage to avoid getting fragged by RPG fire at the sniper post, Stabbers will make their way into the tower itself to try and dislodge you from that position.
You’ll have to exit the tower and take a side path
Advance to Contacts
After boosting your partner over the wall to take out the sniper, you’ll have to wait for them to use a sniper rifle to destroy the hook holding up a piece of aircraft fuselage
Unfortunately, no matter how fast you and your partner work to protect the contacts, an RPG will end their lives shortly before you arrive at their side. Once the bad news is announced on the radio, prepare to eliminate hostiles in the clearing surrounding the burning vehicle while waiting for your partner to regroup with you.
After both waves are taken down, you need to regroup by the dead contacts. Alpha and Bravo discover a secured case full of C4 explosives, and take what they can with them. They’ve got the means for payback; now they just need to find a proper target.
Once in the sewer, head to the right until you get back outside. Use a Co-op Action to pull Alpha and Bravo out of the drain and finish the chapter.
Suggested Armament
An argument can be made for keeping a sniper rifle handy for the upcoming chapter, especially if you feel comfortable with “quick-scoping” kills in rapid succession at any range. Compliment this with an assault rifle that has high capacity magazines, or possibly an LMG. There is a large-scale battle near the end of the chapter that throws a lot of bad guys your way, so having to reload less often will prove useful.



 You exit the radar station through the back door, initiating a door breach sequence. There are four thugs to take out in order to earn a Flawless Breach bonus. You hear the crack of a sniper rifle in a nearby tower, and Fiona asks you to help her comrades who are located further inside the nearby junk yard.
 Once you regroup with your partner by the burning vehicle, you have to eliminate the incoming cartel troops. The first wave comes down the path to the left of the wrecked aircraft
 . Once they are dealt with, the second wave approaches from the path to the right of the aircraft
 .
.
.jpg)


 Your goal now is to cut your way through another cartel assault to reach a sewer drain that will hopefully take you out of the area. While you’re fighting your way forward, pay attention to the wing of the shattered aircraft fuselage passing over the dirt path. An RPG-wielding thug will try to run out onto the wing
 in an attempt to blindside you. As you close in on the drain, be careful about one last wave of cartel members dropping down from a ledge above the entrance. If you’ve moved very quickly through the rest of the hostiles, you might find them jumping down almost on top of you.
