Prima Games eGuides
primagames.com Browse Redeem a code Help
Army of Two: The Devil's Cartel eGuide
Sign in My Guides

Sign in or create an account

We'll email you a link. No password needed, and if you don't have an account yet, the link makes one.

By creating an account or signing in, you agree to our Terms of Service and Privacy Policy.

Have a password?

Had an account on the old eGuides site, or a code from a printed guide? Help and troubleshooting

Sign in with a password

By signing in, you agree to our Terms of Service and Privacy Policy.

Check your email

A sign-in link is on its way. It works once and expires in 15 minutes. Open it and you're in, with an account if you didn't already have one.

Contents

  • Essentials
    • Welcome Back to Tactical Worldwide Operations
      • Welcome Back to Tactical Worldwide Operations
    • Operational History and Character Bios
      • Operational History and Character Bios
    • Tactical Operations Manual
      • Tactical Operations Manual
    • Two Gear
      • The Gear Makes The Man
      • Modifications
      • Weapon Skins
      • Tactical Gear
      • Tattoos
    • The Enemy
      • The Enemy
    • Contracts
      • Contracts
    • Achievements and Trophies
      • Achievements and Trophies
    • Concept Art
      • Concept Art
  • Walkthrough
    • Mission 1: New Blood
      • Special Callouts
      • Chapter 1: Protection
      • Chapter 2: Tutorial
    • Mission 2: Cause And Effect
      • Chapter 3: Permission to Engage
      • Chapter 4: Foxhunt
      • Chapter 5: Split Decision
      • Chapter 6: Baptism by Fire
    • Mission 3: Rally Point
      • Chapter 7: Politics in Action
      • Chapter 8: Picking Up the Pieces
      • Chapter 9: Into the Chaos

      • Chapter 10: Riot Act

      • Chapter 11: Urban Chaos

    • Mission 4: Outside Contact
      • Chapter 12: Fuel for the Fire

      • Chapter 13: Observe and Detect

      • Chapter 14: Local Heroes

      • Chapter 15: Stronghold Assault
      • Chapter 16: Suicide Run

    • Mission 5: Last Resort
      • Chapter 17: Holiday Retreat

      • Chapter 18: Room Service

    • Mission 6: Salvation
      • Chapter 19: Among the Dead

      • Chapter 20: Open Season

      • Chapter 21: Rest for the Wicked

      • Chapter 22: Shadows Walk

      • Chapter 23: Into the Light

      • Chapter 24: Loose Cannon

      • Chapter 25: Special Delivery

    • Mission 7: Enemy Territory
      • Chapter 26: Behind Enemy Lines

      • Chapter 27: Guardian Angel

      • Chapter 28: Manhunt

      • Chapter 29: Fight for the Future

      • Chapter 30: Desperate Measures

      • Chapter 31: Objective Lost

    • Mission 8: Narco Hell
      • Chapter 32: Scavengers

      • Chapter 33: Game Face

      • Chapter 34: A Ray of Sun

      • Chapter 35: Rooftop Rampage

      • Chapter 36: Adrenaline High

      • Chapter 37: Mad Science

      • Chapter 38: The Butcher

    • Mission 9: Assault
      • Chapter 39: The Assault

      • Chapter 40: Down But Not Out

      • Chapter 41: Get Her Back

      • Chapter 42: Race to the Quarry

      • Chapter 43: Fish in a Barrel

    • Mission 10: Confrontation
      • Chapter 44: Burning Bridges

      • Chapter 45: No Return

      • Chapter 46: A Hero's Rescue

      • Chapter 47: The Lion's Den

      • Chapter 48: Salem On Trial

      • Chapter 49: The Devil's Due

  • Overkill Vids
    • Mission Overkill Videos
      • Mission Overkill Videos

Army of Two: The Devil's Cartel Guide › Walkthrough › Mission 6: Salvation

Chapter 24: Loose Cannon


Chapter 24: Loose Cannon
Suggested Armament

Beyond the usual recommendations for anything with a high magazine capacity, there is a specific section of this chapter that can be rewarding if you take the most powerful sniper rifle you can buy. There’s also a good reason to switch to a more powerful sidearm, such as the Falcon .50.

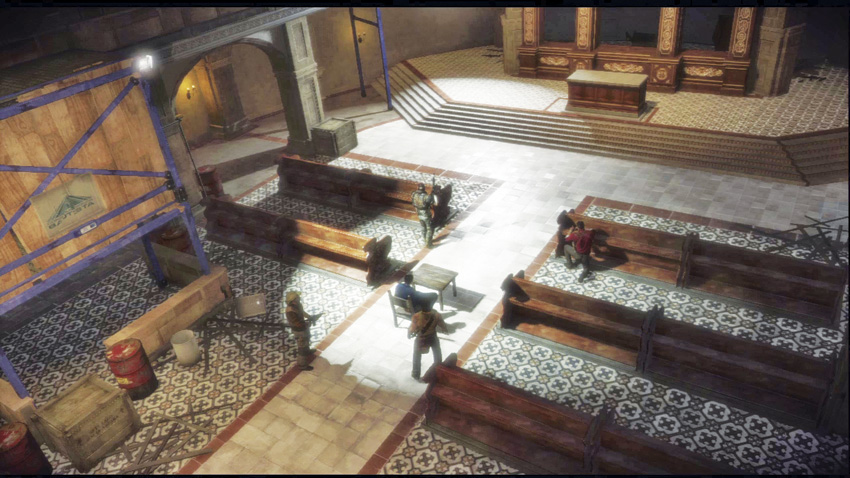
After cllimbing the stairs from the lower catacombs to reach and infiltrate the church itself, you witness Mayor Cordova being intimidated by Esteban Bautista and his two main enforcers, El Diablo and El Carcinero. Unfortunately, the enemy becomes aware of your presence and you have to fight your way out of the church.

From your starting position on the balcony, push forward toward the door in the distance. Mercenaries rush out of it as you approach, but they can be easily dispatched with a well placed grenade or two. Follow the balcony to your right.

You’ve got to hand it to La Guadaña: not only did the cartel anticipate the day armed attackers would assault the church, but they also installed an MMG inside the church specifically to supress said attackers should they ever manage to break inside through a back entrance. You need to take out that gun nest, but there’s no way to do it from the balcony. Take a riot shield and press forward through the troops on the balcony that stand between you and the MMG nest’s access door. The shield will protect you from the MMG as you advance, while your partner assists with clearing out the troops.

OVERKILL

A more entertaining solution would be to forget that the riot shield even exists, trigger Overkill mode, and do more collateral damage to the church than the MMG is capable of while shredding the hostile mercs to pieces with gunfire.

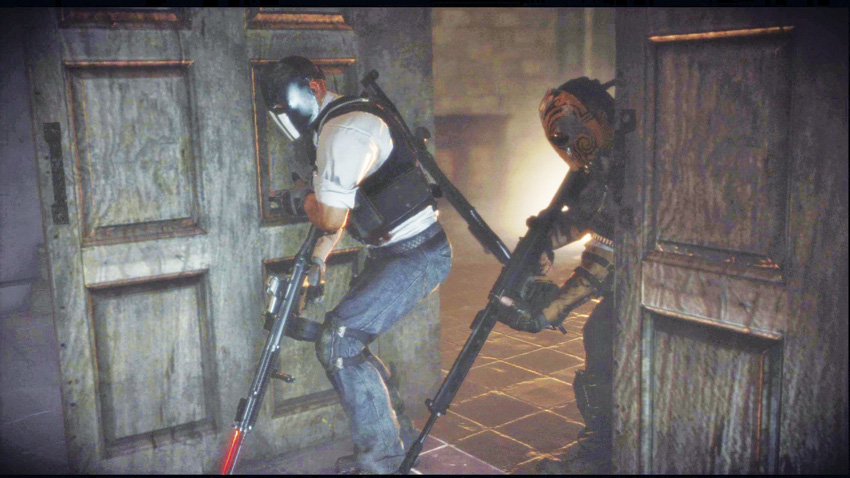
Once you get to the door of the MMG nest, switch to a weapon with high capacity or damage, and then perform the dual breach sequence. Inside the nest is a Brute and a standard mercenary soldier.

Alpha or Bravo can man the MMG to fend off the enemy counter attack. Whoever isn’t manning the gun can still provide support with whatever weapons they have. This is why we suggested taking a sniper rifle earlier. The enemy is far enough away from the gun nest that the extra accuracy and power can be of real assistance. Keep taking out the cartel mercenaries as best you can. The enemy will start getting desperate and begin using grenade launchers to try and dislodge you from the MMG nest.

OVERKILL

It’s actually a good idea to use Overkill to completely level as much of the church as possible with the MMG. In particular, take out all of the benches on the ground floor to give enemies there less cover to work with.

Unfortunately, the enemy grenade spam does get lucky eventually and blasts the floor out from under Alpha and Bravo. You now have to deal with the remaining mercenaries on the ground floor. Expect multiple Brutes and Shield Soldiers to contend with. If a T.W.O operative can hold on to enemy aggro from the position they’ve fallen to, the other partner can easily flank the vast majority of the enemy on the ground floor using the pillars on either side of the church. This is why we suggested you blast the benches apart while you still had the MMG! Finish these bastards off, and then make your way out of the church through the front entrance.

OVERKILL

If you did your job earlier, the enemy has fewer places to hide, which makes wiping out this last contingent of mercenaries with Overkill much easier.

As you exit the church, Bautista starts to make his getaway with Cordova. Fiona has managed to acquire alternate means of transportation, giving the team one more shot at rescuing the mayor.

Keep reading with a free account

The first 3 sections of Army of Two: The Devil's Cartel are open to everyone. An account opens the rest of it, and every other guide in the archive. It's free, and there's nothing to buy.

Bought guides on the old Prima Games site? Your account and every guide you own moved here, so there's nothing to buy again. Sign in.

Create a free account Or browse our free guides

PreviousChapter 23: Into the Light
 NextChapter 25: Special Delivery