Prima Games eGuides
primagames.com Browse Redeem a code Help
Army of Two: The Devil's Cartel eGuide
Sign in My Guides

Sign in or create an account

We'll email you a link. No password needed, and if you don't have an account yet, the link makes one.

By creating an account or signing in, you agree to our Terms of Service and Privacy Policy.

Have a password?

Had an account on the old eGuides site, or a code from a printed guide? Help and troubleshooting

Sign in with a password

By signing in, you agree to our Terms of Service and Privacy Policy.

Check your email

A sign-in link is on its way. It works once and expires in 15 minutes. Open it and you're in, with an account if you didn't already have one.

Contents

  • Essentials
    • Welcome Back to Tactical Worldwide Operations
      • Welcome Back to Tactical Worldwide Operations
    • Operational History and Character Bios
      • Operational History and Character Bios
    • Tactical Operations Manual
      • Tactical Operations Manual
    • Two Gear
      • The Gear Makes The Man
      • Modifications
      • Weapon Skins
      • Tactical Gear
      • Tattoos
    • The Enemy
      • The Enemy
    • Contracts
      • Contracts
    • Achievements and Trophies
      • Achievements and Trophies
    • Concept Art
      • Concept Art
  • Walkthrough
    • Mission 1: New Blood
      • Special Callouts
      • Chapter 1: Protection
      • Chapter 2: Tutorial
    • Mission 2: Cause And Effect
      • Chapter 3: Permission to Engage
      • Chapter 4: Foxhunt
      • Chapter 5: Split Decision
      • Chapter 6: Baptism by Fire
    • Mission 3: Rally Point
      • Chapter 7: Politics in Action
      • Chapter 8: Picking Up the Pieces
      • Chapter 9: Into the Chaos

      • Chapter 10: Riot Act

      • Chapter 11: Urban Chaos

    • Mission 4: Outside Contact
      • Chapter 12: Fuel for the Fire

      • Chapter 13: Observe and Detect

      • Chapter 14: Local Heroes

      • Chapter 15: Stronghold Assault
      • Chapter 16: Suicide Run

    • Mission 5: Last Resort
      • Chapter 17: Holiday Retreat

      • Chapter 18: Room Service

    • Mission 6: Salvation
      • Chapter 19: Among the Dead

      • Chapter 20: Open Season

      • Chapter 21: Rest for the Wicked

      • Chapter 22: Shadows Walk

      • Chapter 23: Into the Light

      • Chapter 24: Loose Cannon

      • Chapter 25: Special Delivery

    • Mission 7: Enemy Territory
      • Chapter 26: Behind Enemy Lines

      • Chapter 27: Guardian Angel

      • Chapter 28: Manhunt

      • Chapter 29: Fight for the Future

      • Chapter 30: Desperate Measures

      • Chapter 31: Objective Lost

    • Mission 8: Narco Hell
      • Chapter 32: Scavengers

      • Chapter 33: Game Face

      • Chapter 34: A Ray of Sun

      • Chapter 35: Rooftop Rampage

      • Chapter 36: Adrenaline High

      • Chapter 37: Mad Science

      • Chapter 38: The Butcher

    • Mission 9: Assault
      • Chapter 39: The Assault

      • Chapter 40: Down But Not Out

      • Chapter 41: Get Her Back

      • Chapter 42: Race to the Quarry

      • Chapter 43: Fish in a Barrel

    • Mission 10: Confrontation
      • Chapter 44: Burning Bridges

      • Chapter 45: No Return

      • Chapter 46: A Hero's Rescue

      • Chapter 47: The Lion's Den

      • Chapter 48: Salem On Trial

      • Chapter 49: The Devil's Due

  • Overkill Vids
    • Mission Overkill Videos
      • Mission Overkill Videos

Army of Two: The Devil's Cartel Guide › Walkthrough › Mission 10: Confrontation

Chapter 44: Burning Bridges

The assault on the La Guadaña hacienda was a failure. T.W.O. has suffered more casualties, the Mexican police unit sent to assist was nearly wiped out, Fiona was captured, and Bautista and Salem are still alive and at large.

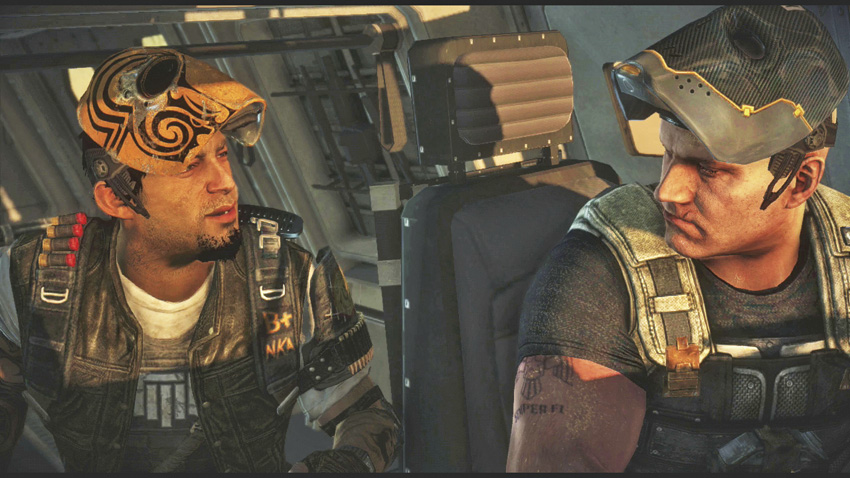
It’s come down to this one last Hail Mary. Delivered by Rios in one of the few T.W.O. choppers left in the company arsenal, Alpha and Bravo hope to cut off Bautista’s convoy before it reaches his compound, kill both Bautista and Salem, get Fiona, and find a vacation spot with one-hundred percent less shooting.

Chapter 44: Burning Bridges
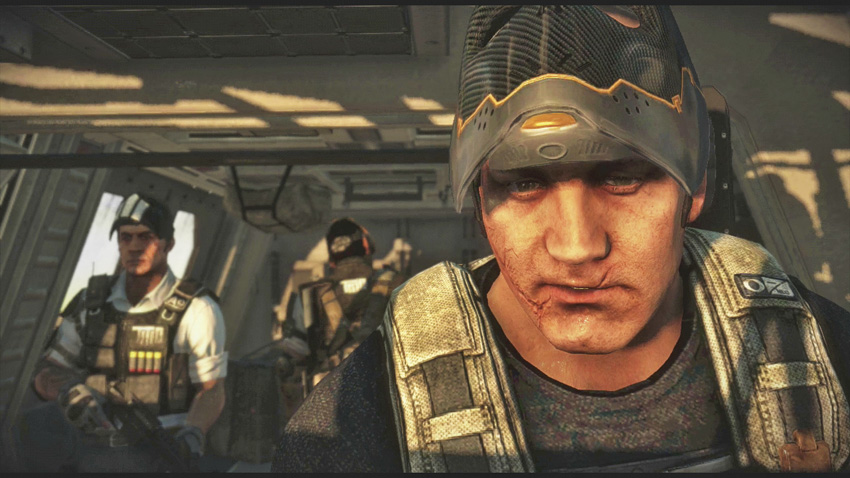
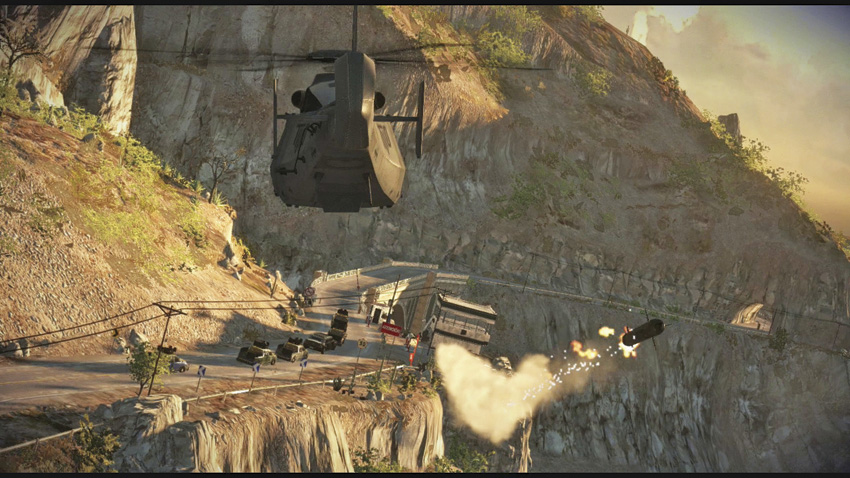
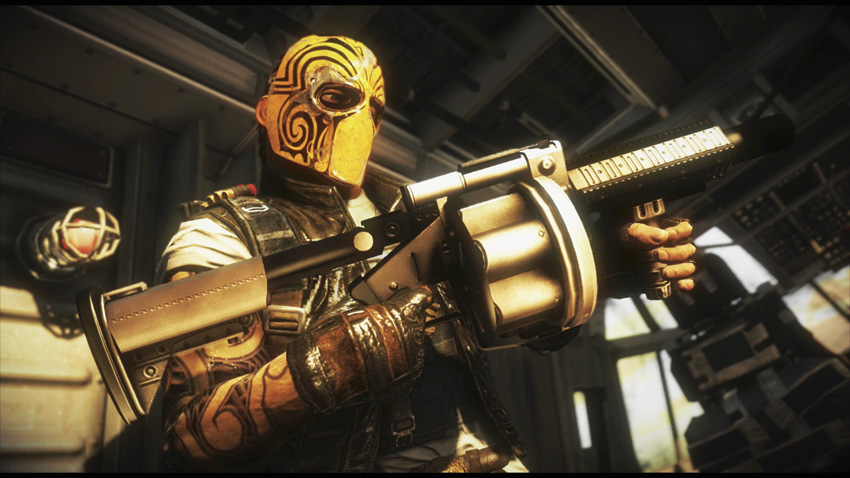
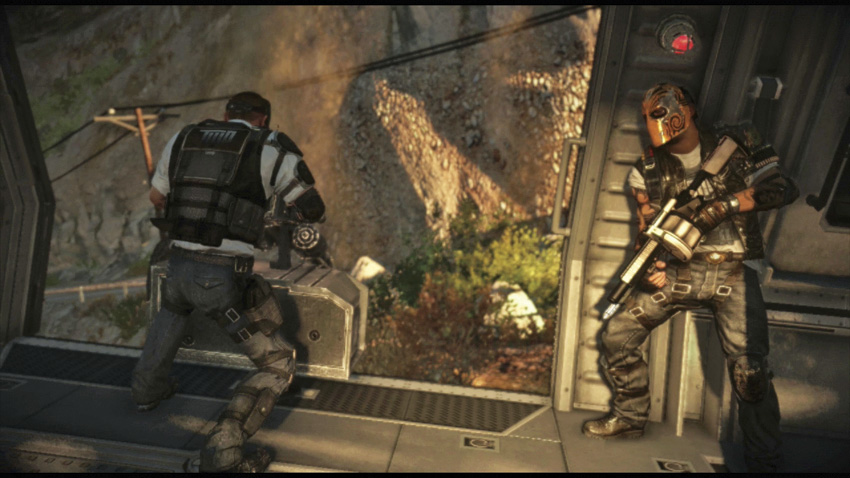
Surviving Rios’ evasive flying, Alpha and Bravo prepare to strike back at the convoy using a gatling gun and a grenade launcher, respectively. There are a few rules to follow here:
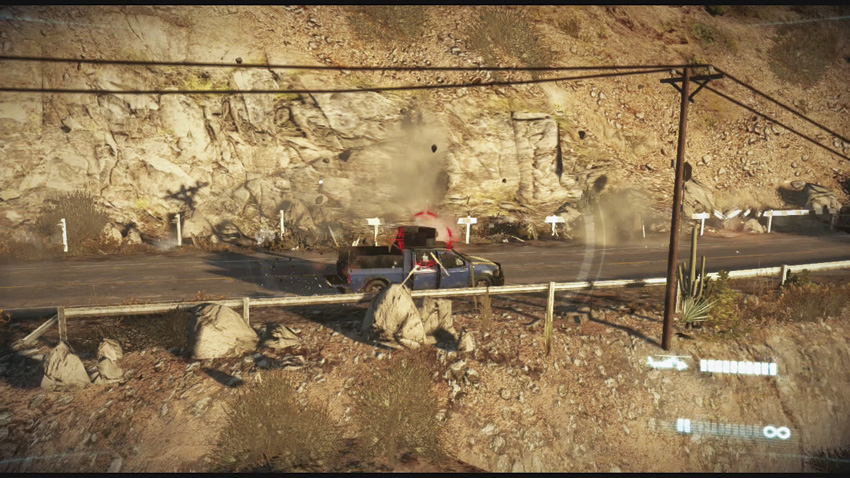
Destroy all cartel vehicles on the road. Vehicles mounted with MMGs are your top priority.
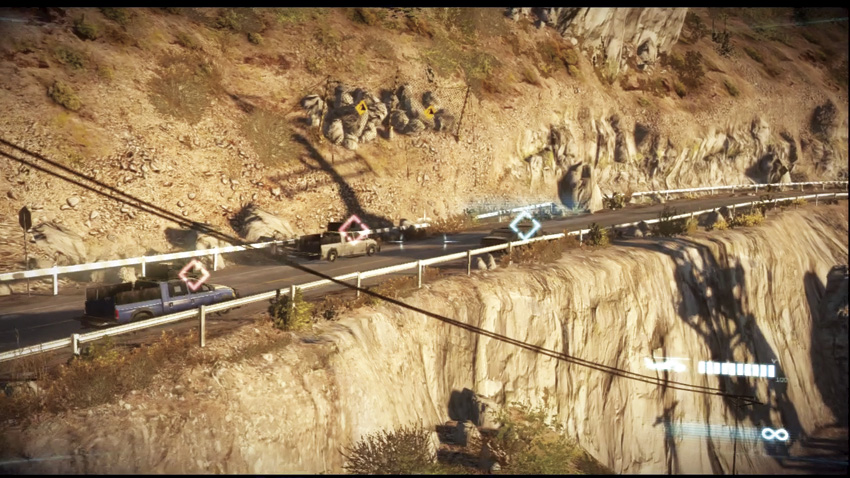
Do not, under any circumstances, shoot at the limo Fiona is being held in (marked by a blue indicator on your HUD).
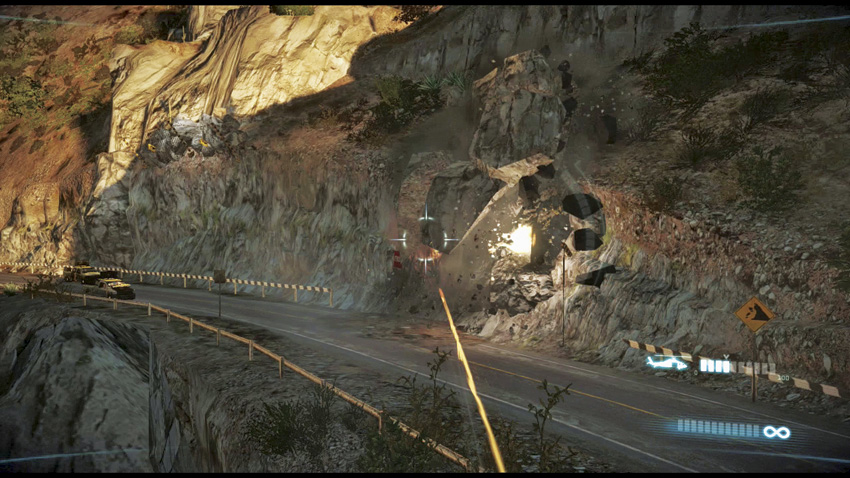
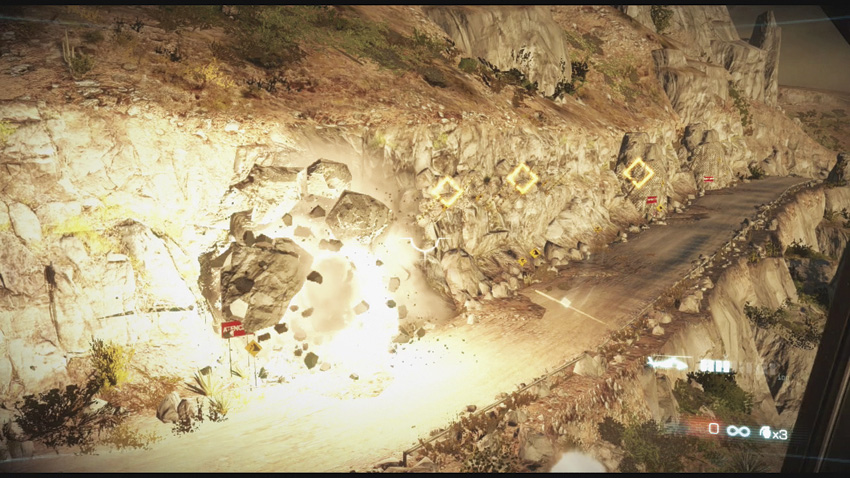
Shoot pieces of terrain when they are marked on your HUD to collapse parts of cliffs down onto the road. Some of these destructible areas don’t get HUD markers, but you can tell which parts of the cliffs are vulnerable by looking for yellow warning signs posted on the weakened portions of the cliffs.
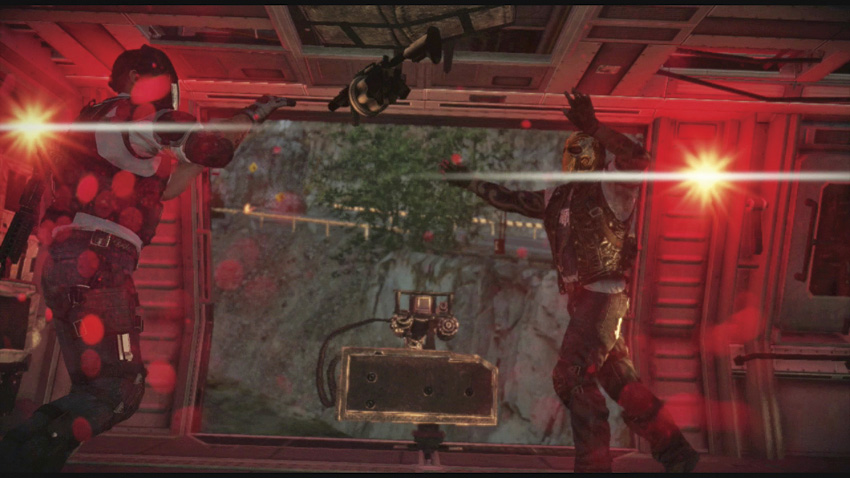
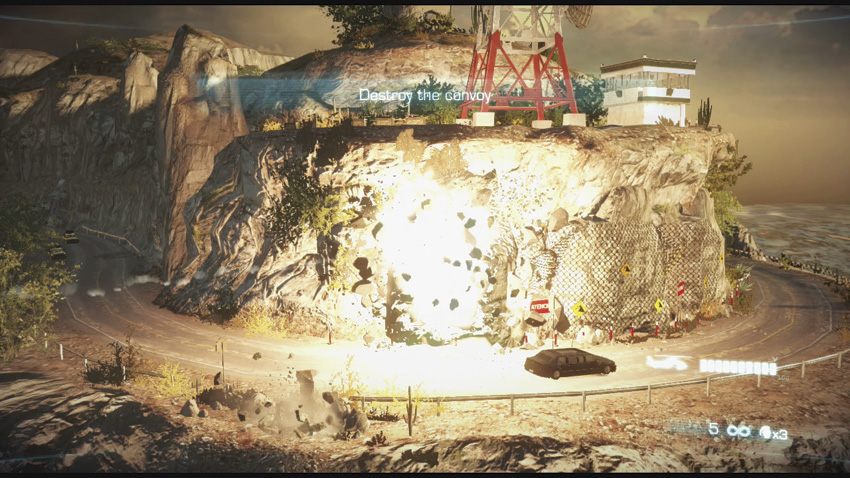
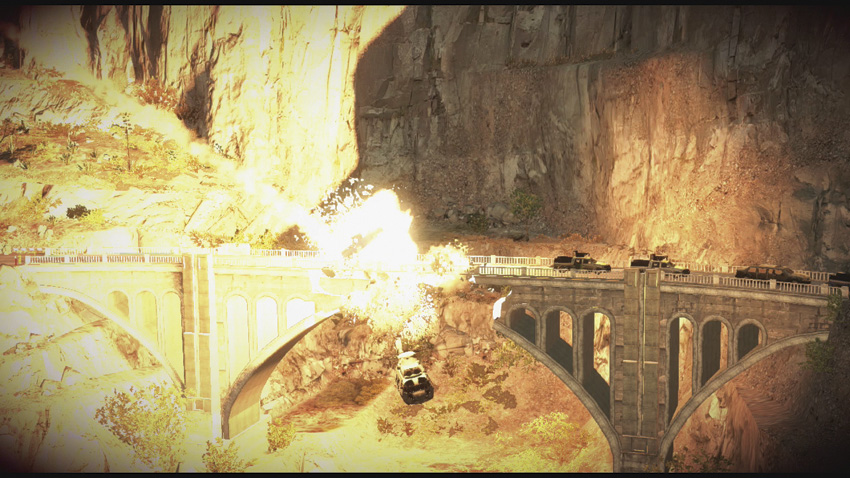
A short time into the flight, Alpha and Bravo switch weapons. As the limo makes a sharp left turn to stay on the road, you’re told to shoot the weakened cliff wall with your weapons. This has a catastrophic effect on the limo’s trailing escorts.
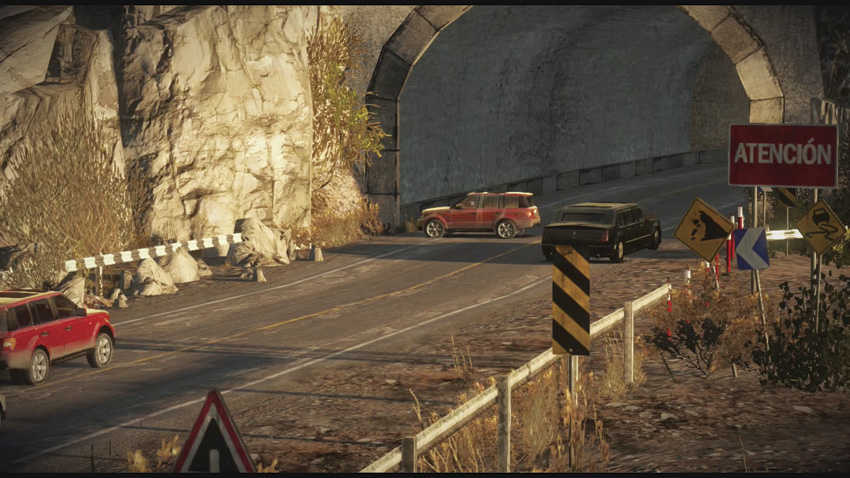
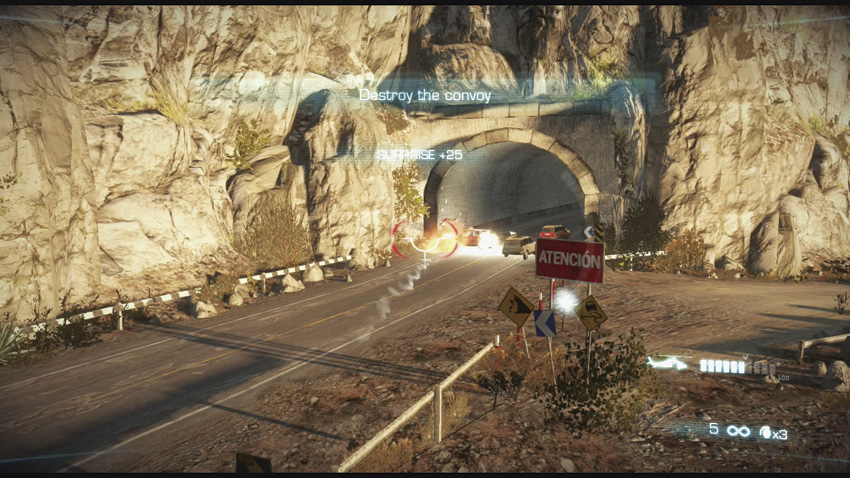
Shortly after blasting the cliff, the limo races into a tunnel guarded by RPG shooters. You need to seal the tunnel by killing the guards, triggering a massive explosion that collapses the tunnel and forces the trailing escort to stay on the main road and remain vulnerable to your weapons. You can also continue collapsing portions of the cliffs onto the road to further deter the escorts.
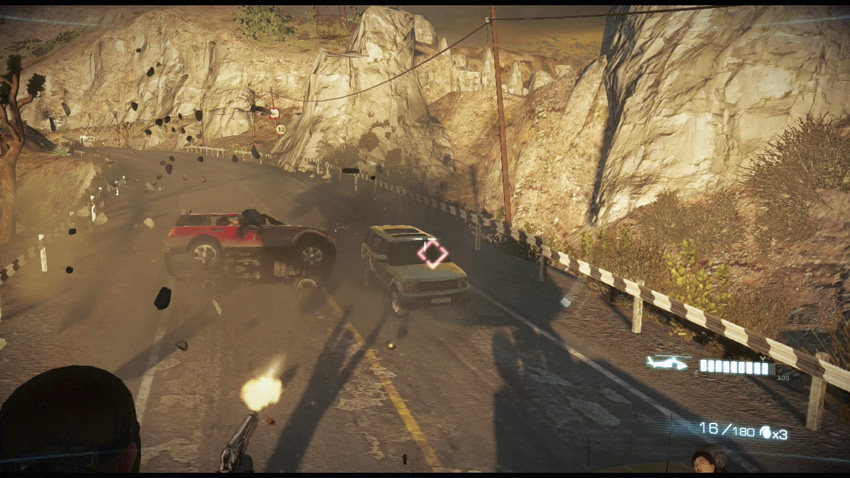
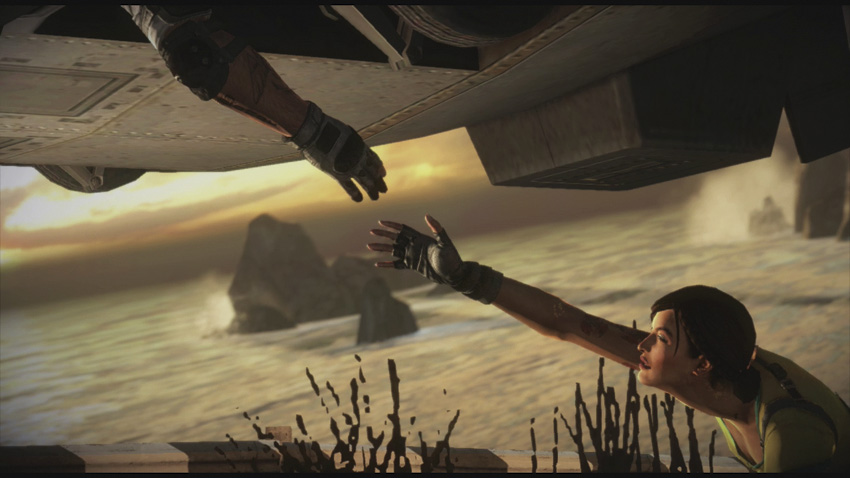
The dramatic chase continues with Rios trying to bring the chopper in close enough for Alpha to pull Fiona out of the limo. This starts a sequence where Alpha and Bravo have to shoot the drivers of the escort cars, as well as the guard Fiona is struggling with. However, despite your best efforts, Fiona is dragged back inside the limo. Rios is forced to pull away as anti-aircraft weapons open fire on the chopper.
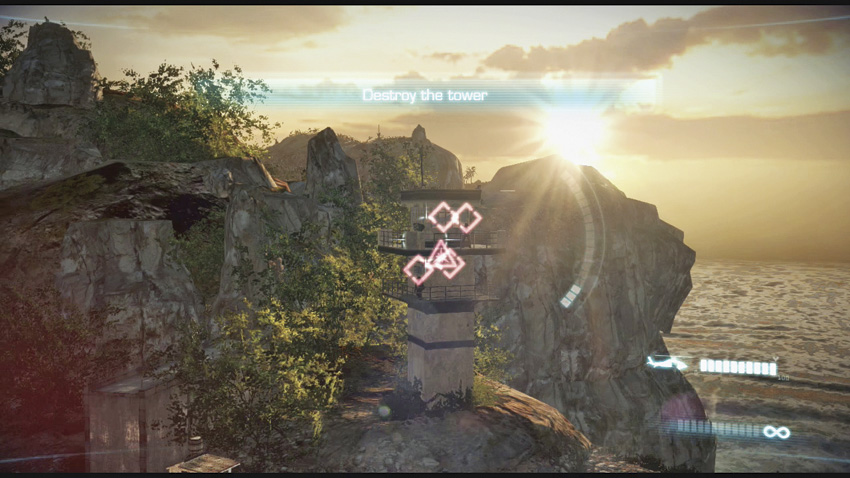
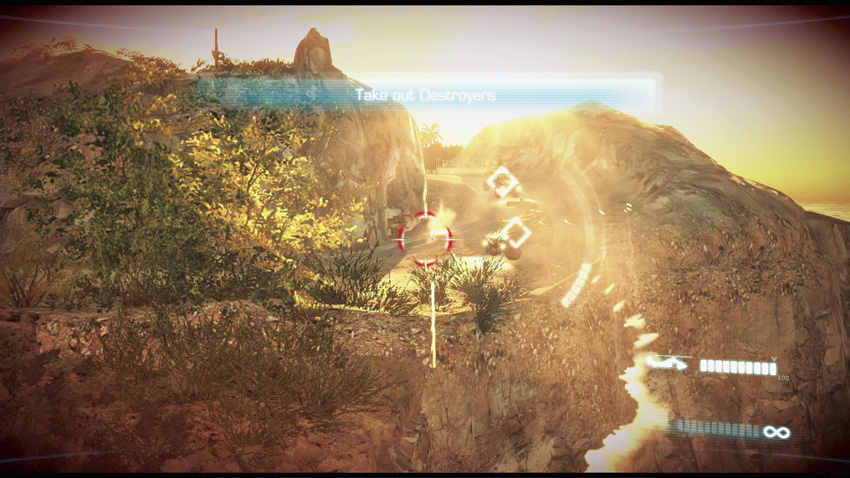
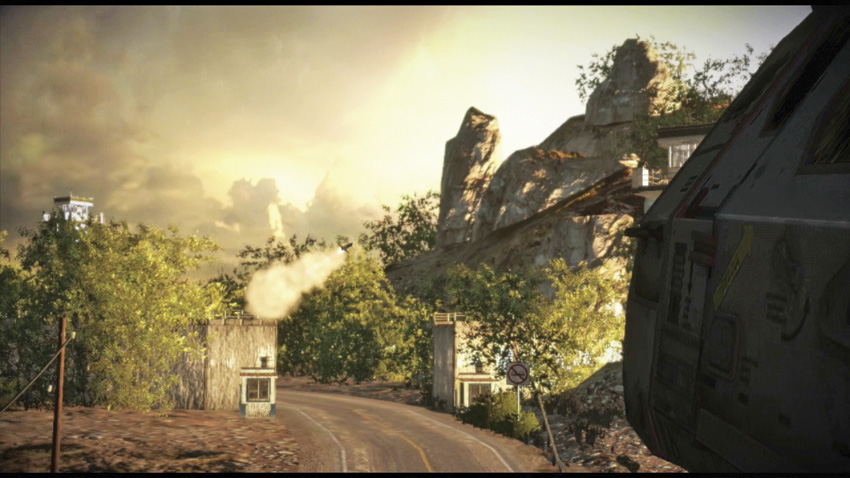
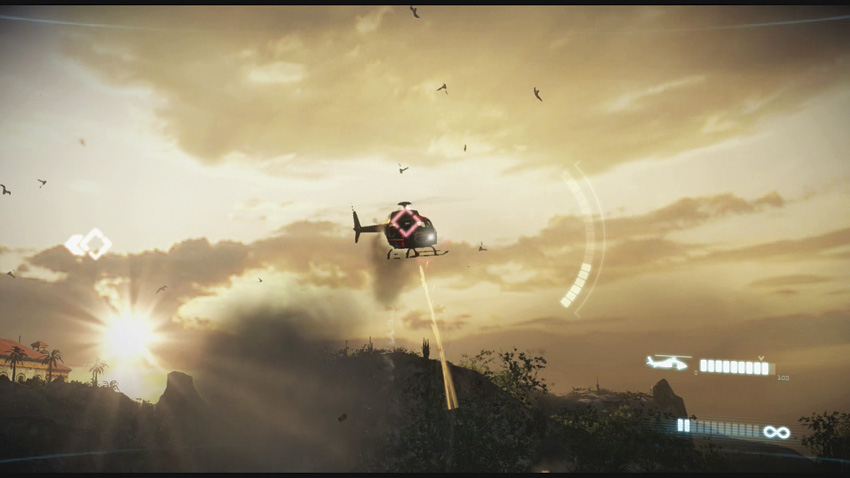
Alpha takes the mini-gun once more, while Bravo retrieves the grenade launcher. Rios flies around a set of three guard towers, and you need to annihilate them. Next, a pair of cartel destroyers start firing missiles at the chopper from a road near the towers. Destroying the destroyers summons a trio of cartel attack choppers in a final attempt to knock you out of the sky.
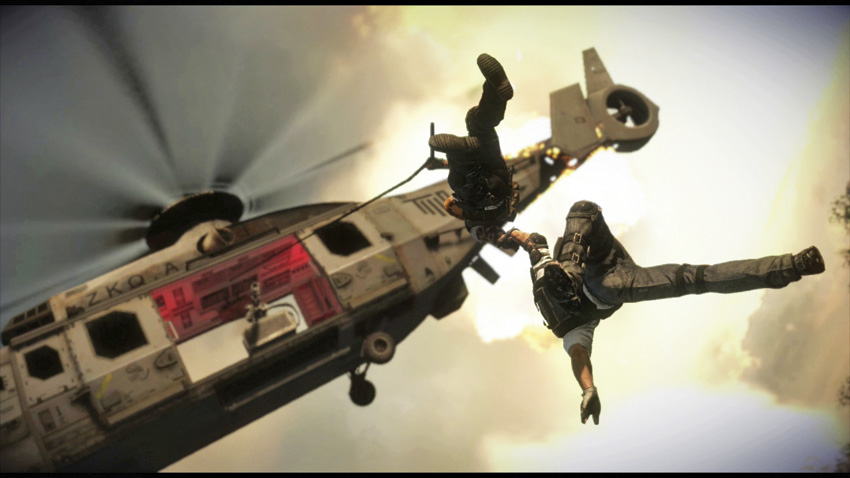
Unfortunately, you can clear the skies and ground of all hostiles, but a cartel merc manages to score a lucky RPG shot and knocks the T.W.O. chopper out of the sky. Alpha and Bravo manage to escape at the last moment, but as of now it looks like this will be a one-way trip.

Keep reading with a free account

The first 3 sections of Army of Two: The Devil's Cartel are open to everyone. An account opens the rest of it, and every other guide in the archive. It's free, and there's nothing to buy.

Bought guides on the old Prima Games site? Your account and every guide you own moved here, so there's nothing to buy again. Sign in.

Create a free account Or browse our free guides

PreviousChapter 43: Fish in a Barrel
 NextChapter 45: No Return