Prima Games eGuides
primagames.com Browse Redeem a code Help
Army of Two: The Devil's Cartel eGuide
Sign in My Guides

Sign in or create an account

We'll email you a link. No password needed, and if you don't have an account yet, the link makes one.

By creating an account or signing in, you agree to our Terms of Service and Privacy Policy.

Have a password?

Had an account on the old eGuides site, or a code from a printed guide? Help and troubleshooting

Sign in with a password

By signing in, you agree to our Terms of Service and Privacy Policy.

Check your email

A sign-in link is on its way. It works once and expires in 15 minutes. Open it and you're in, with an account if you didn't already have one.

Contents

  • Essentials
    • Welcome Back to Tactical Worldwide Operations
      • Welcome Back to Tactical Worldwide Operations
    • Operational History and Character Bios
      • Operational History and Character Bios
    • Tactical Operations Manual
      • Tactical Operations Manual
    • Two Gear
      • The Gear Makes The Man
      • Modifications
      • Weapon Skins
      • Tactical Gear
      • Tattoos
    • The Enemy
      • The Enemy
    • Contracts
      • Contracts
    • Achievements and Trophies
      • Achievements and Trophies
    • Concept Art
      • Concept Art
  • Walkthrough
    • Mission 1: New Blood
      • Special Callouts
      • Chapter 1: Protection
      • Chapter 2: Tutorial
    • Mission 2: Cause And Effect
      • Chapter 3: Permission to Engage
      • Chapter 4: Foxhunt
      • Chapter 5: Split Decision
      • Chapter 6: Baptism by Fire
    • Mission 3: Rally Point
      • Chapter 7: Politics in Action
      • Chapter 8: Picking Up the Pieces
      • Chapter 9: Into the Chaos

      • Chapter 10: Riot Act

      • Chapter 11: Urban Chaos

    • Mission 4: Outside Contact
      • Chapter 12: Fuel for the Fire

      • Chapter 13: Observe and Detect

      • Chapter 14: Local Heroes

      • Chapter 15: Stronghold Assault
      • Chapter 16: Suicide Run

    • Mission 5: Last Resort
      • Chapter 17: Holiday Retreat

      • Chapter 18: Room Service

    • Mission 6: Salvation
      • Chapter 19: Among the Dead

      • Chapter 20: Open Season

      • Chapter 21: Rest for the Wicked

      • Chapter 22: Shadows Walk

      • Chapter 23: Into the Light

      • Chapter 24: Loose Cannon

      • Chapter 25: Special Delivery

    • Mission 7: Enemy Territory
      • Chapter 26: Behind Enemy Lines

      • Chapter 27: Guardian Angel

      • Chapter 28: Manhunt

      • Chapter 29: Fight for the Future

      • Chapter 30: Desperate Measures

      • Chapter 31: Objective Lost

    • Mission 8: Narco Hell
      • Chapter 32: Scavengers

      • Chapter 33: Game Face

      • Chapter 34: A Ray of Sun

      • Chapter 35: Rooftop Rampage

      • Chapter 36: Adrenaline High

      • Chapter 37: Mad Science

      • Chapter 38: The Butcher

    • Mission 9: Assault
      • Chapter 39: The Assault

      • Chapter 40: Down But Not Out

      • Chapter 41: Get Her Back

      • Chapter 42: Race to the Quarry

      • Chapter 43: Fish in a Barrel

    • Mission 10: Confrontation
      • Chapter 44: Burning Bridges

      • Chapter 45: No Return

      • Chapter 46: A Hero's Rescue

      • Chapter 47: The Lion's Den

      • Chapter 48: Salem On Trial

      • Chapter 49: The Devil's Due

  • Overkill Vids
    • Mission Overkill Videos
      • Mission Overkill Videos

Army of Two: The Devil's Cartel Guide › Walkthrough › Mission 8: Narco Hell

Chapter 32: Scavengers
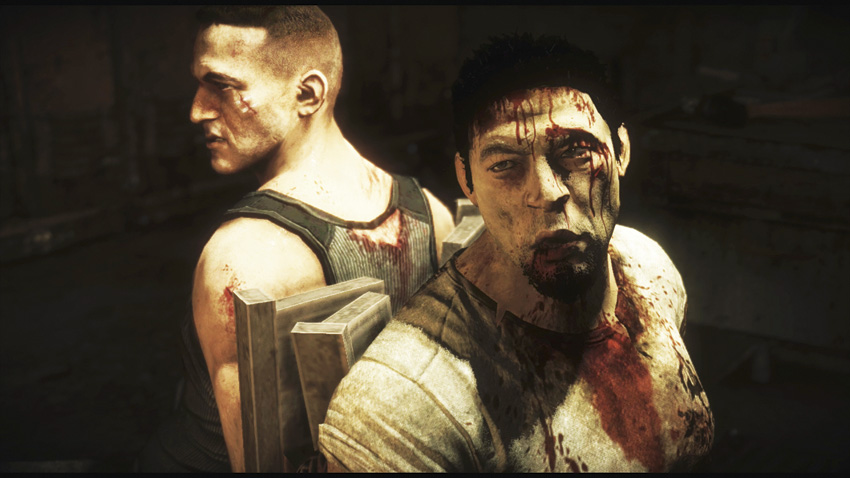

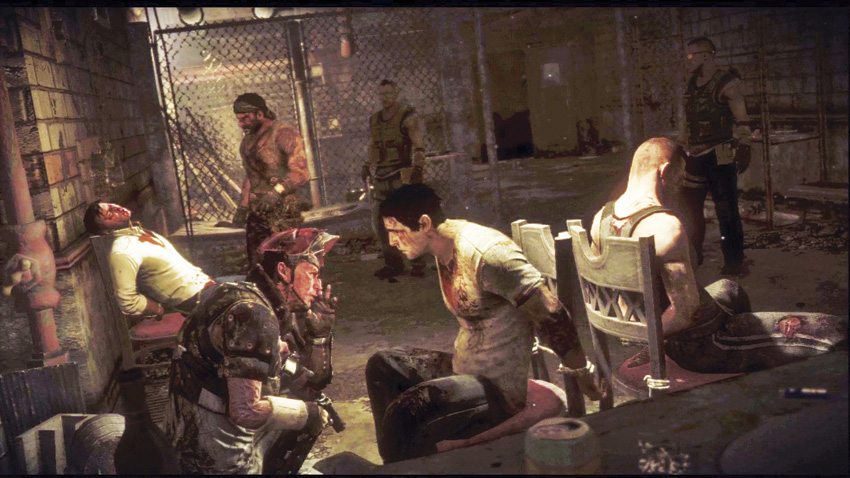
Captured. Stripped of their weapons and equipment. Tortured for hours on end. Alpha, Bravo, and Mayor Cordova have landed in a hell only La Guadaña’s “finest” could craft. They have been spared death to drag out the suffering, but it seems that time has ended.

El Diablo has come for them, and he has an intensely personal reason for being here.

Chapter 32: Scavengers
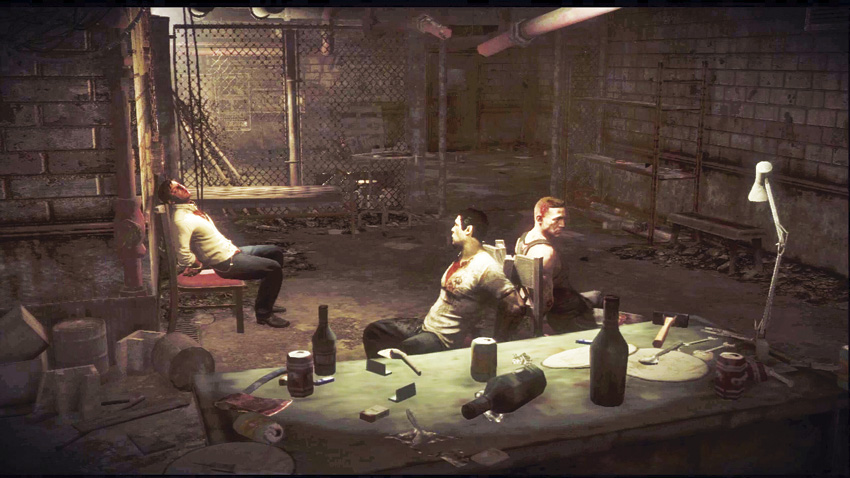
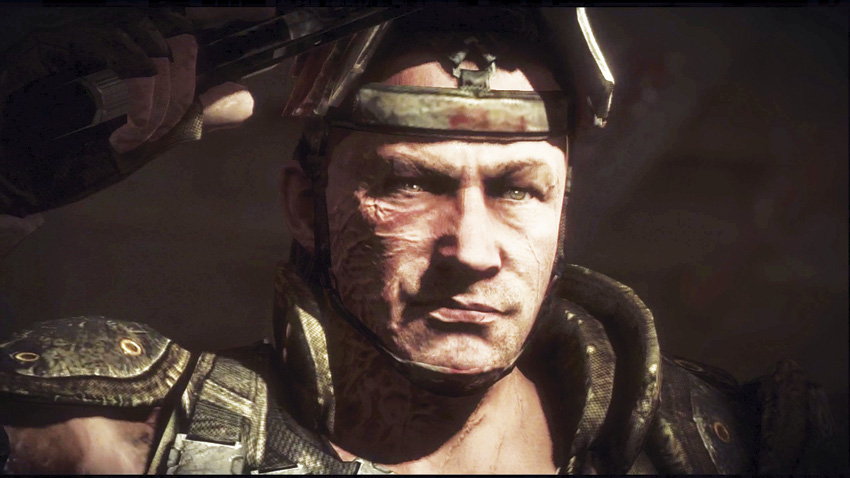
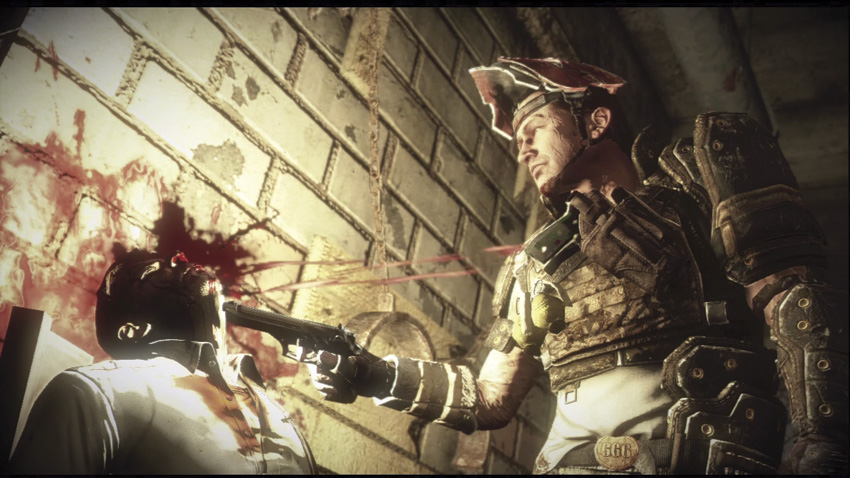
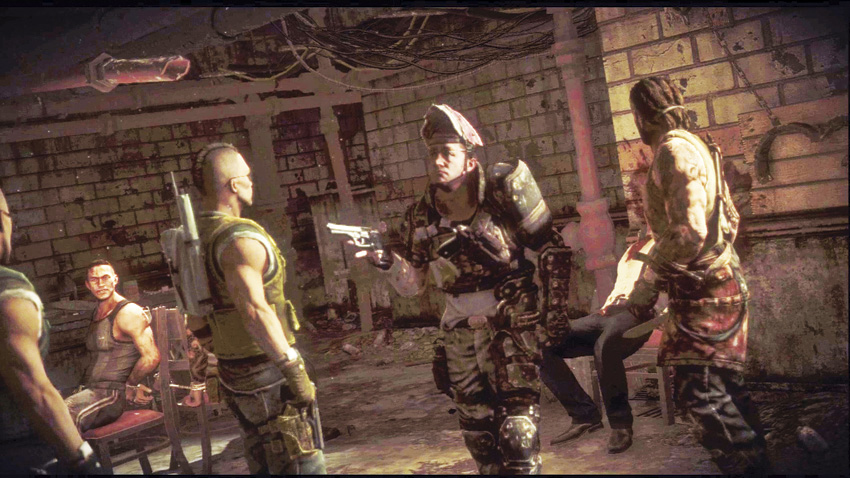
El Diablo reveals his true identity to Alpha and Bravo: Eliot Salem. Surviving the mission five years before, Salem was ironically hired by Esteban Bautista, whom he describes as being more generous to him than his own former comrades. Salem plans to completely destroy all of T.W.O. for their betrayal, and considering recent events, he’s on a roll so far. Alpha promises that Salem is a dead man for what he’s done.
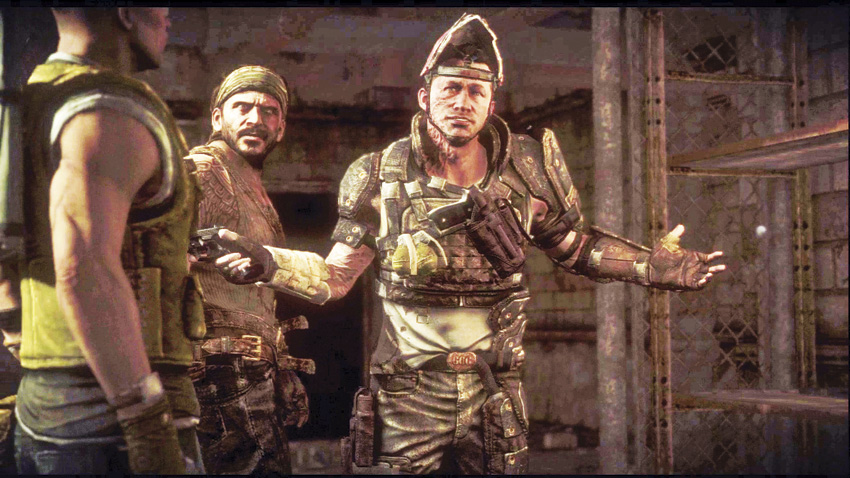
“Of course I am.”
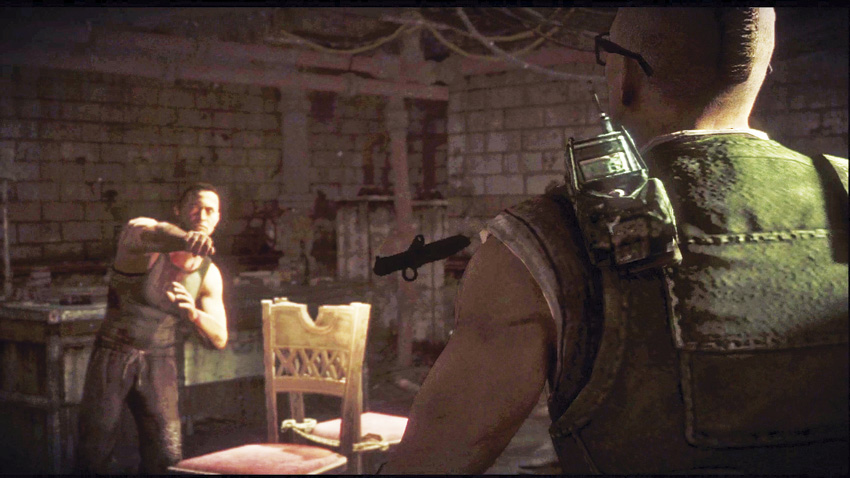
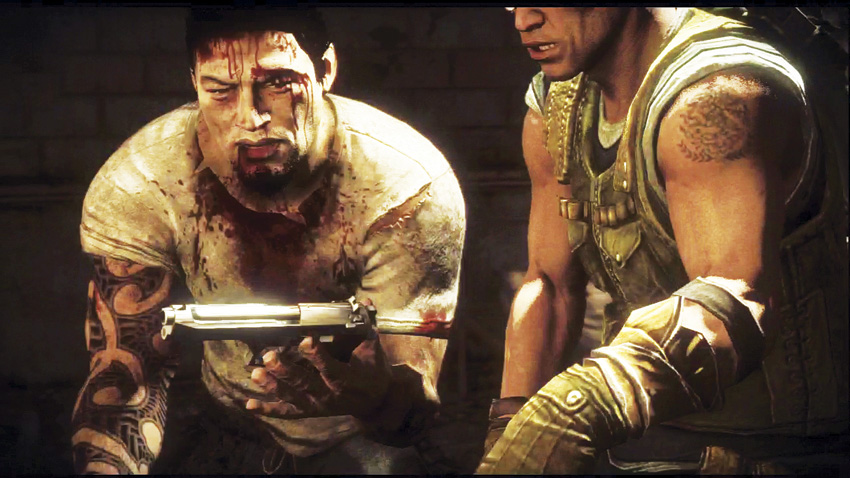
El Diablo is called away by reports of a sudden attack on the cartel hideout, leaving Alpha and Bravo alone with two mooks. Predictably, these guys are too incompetent to live, and Alpha and Bravo manage to break free and kill them both. It’s time to get the hell out of here.
Caution

For the next chapters, you will not have access to your Armory loadouts. You will have to make do with a pistol. Also, without your masks, the majority of your HUD is disabled. You’ll have no idea when your Overkill meters are full.

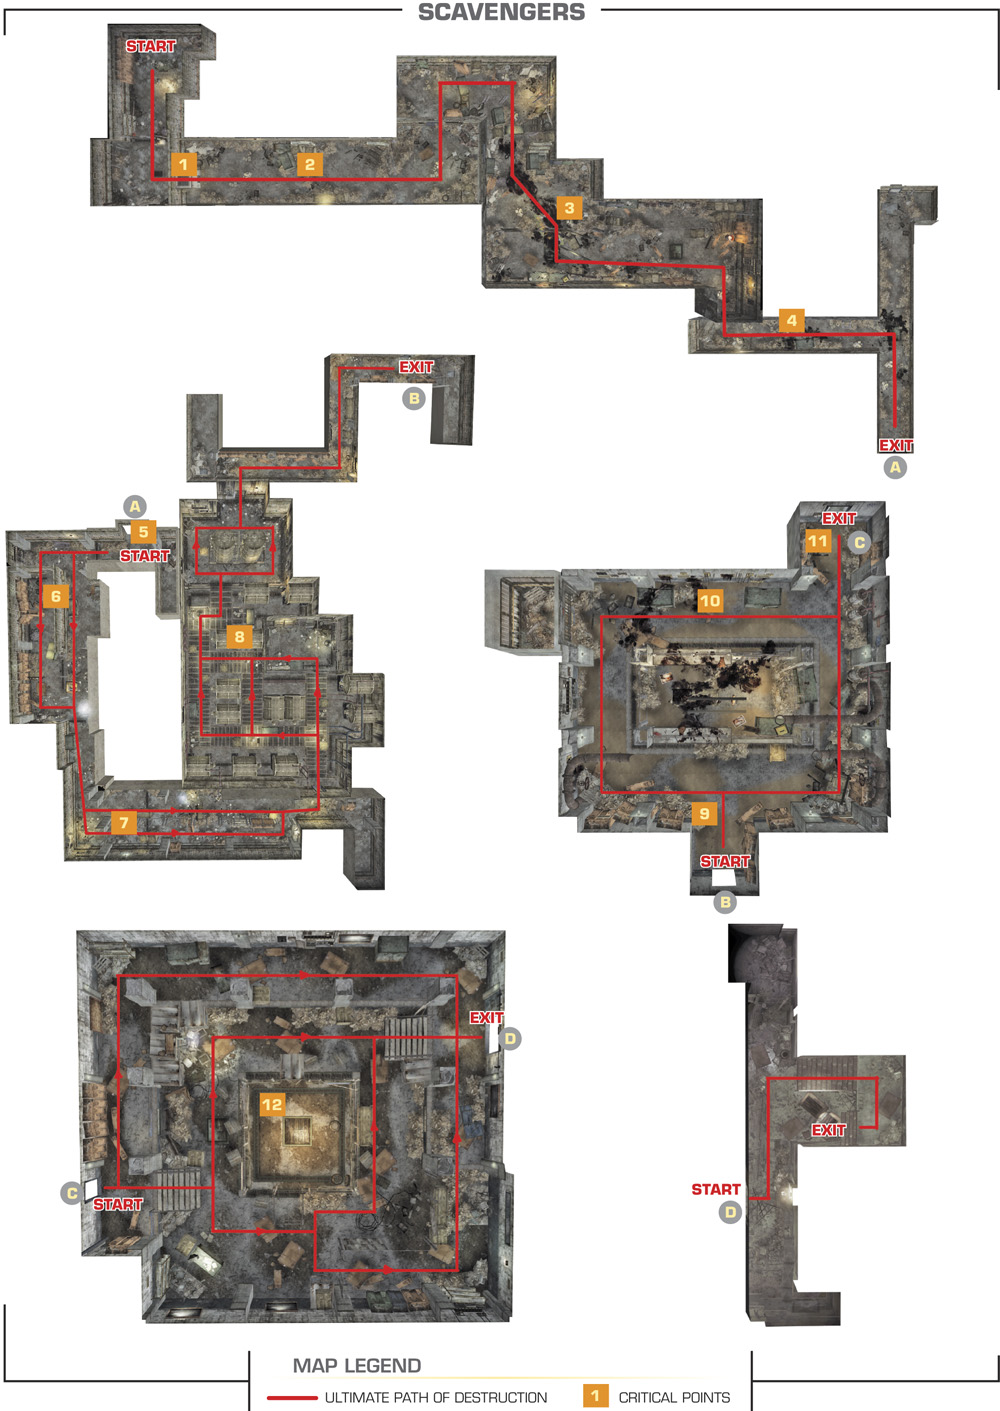
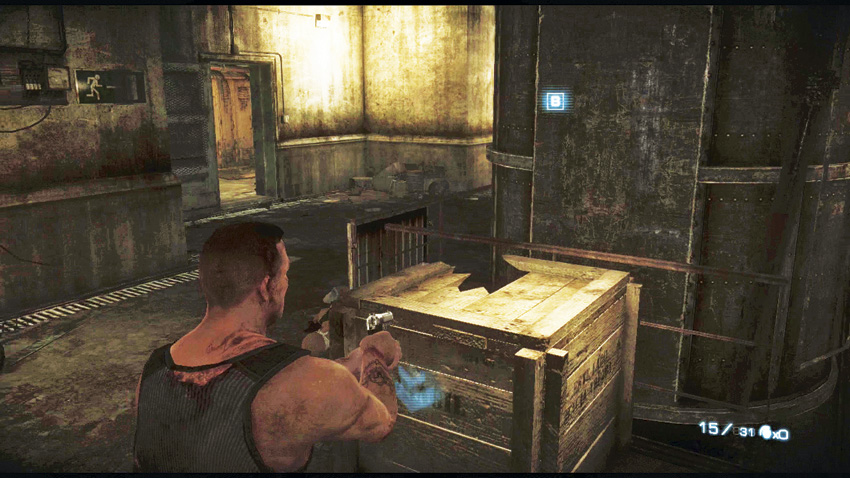
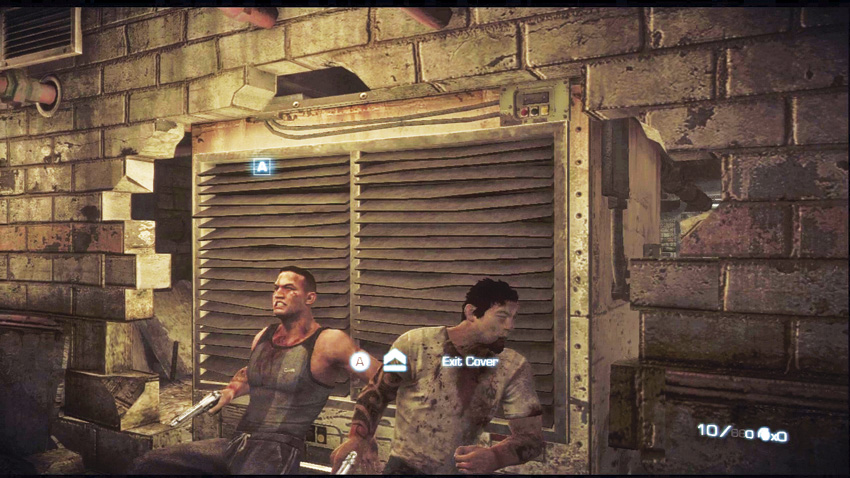
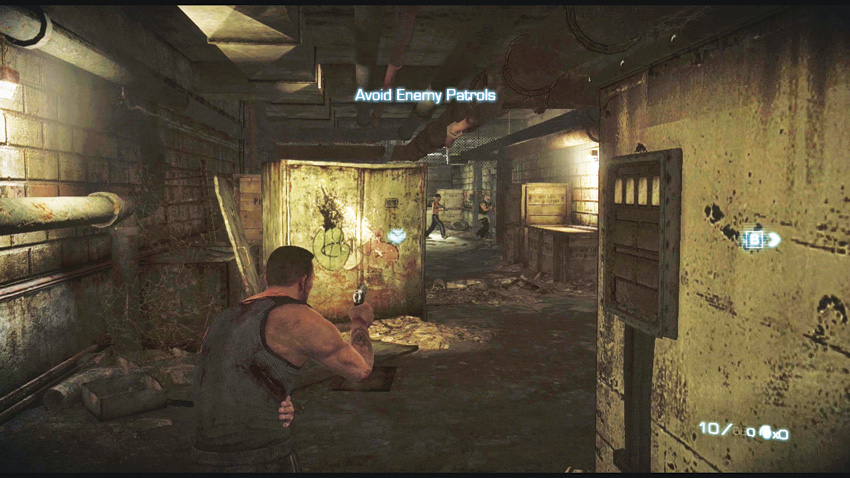
Your first order of business is to escape the interrogation room. Push aside the AC unit, and then make sure that the outside patrol doesn’t see you before continuing onward. Do NOT engage this patrol! You only have a pistol, and the moment you make any noise you automatically fail the mission. Don’t worry, you’ll have your chance to liven things up again very soon.
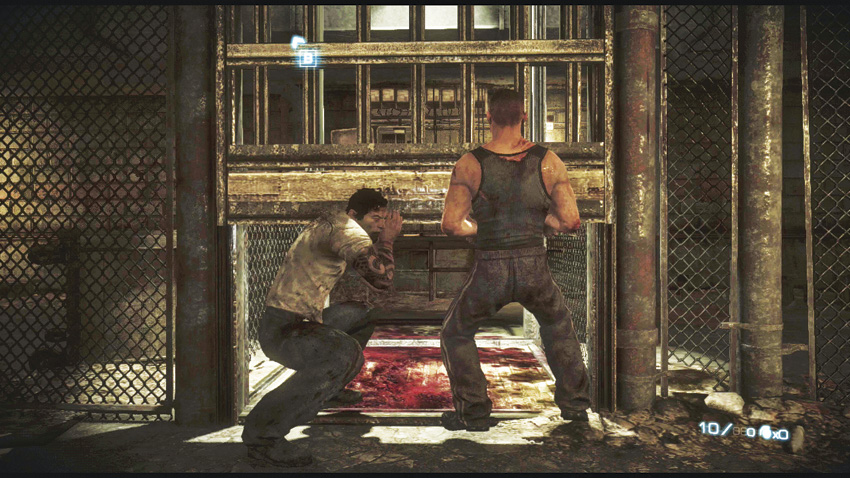
After evading the first patrol, work your way through some empty corridors until you reach a gate. Alpha and Bravo must lift it together in order to proceed.
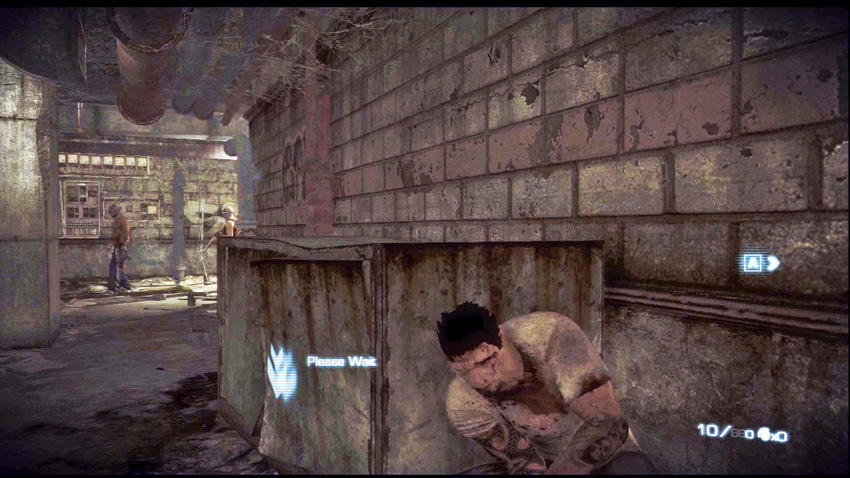
You encounter a much larger cartel patrol not too far from the gate. Stay hidden and quiet, and wait for the all clear before proceeding in the direction that they came from.
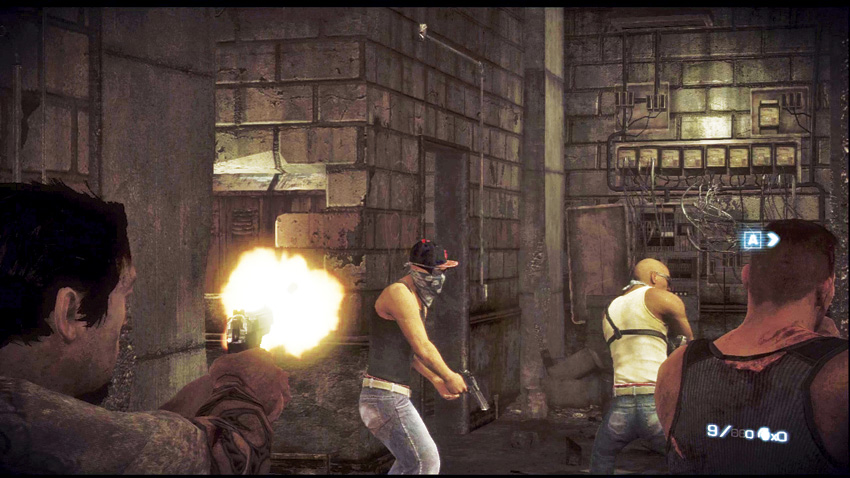
Unfortunately you run into a pair of guards who will not leave their positions. They fail to notice your presence, so drill a couple of bullets into their heads. The fight is on.
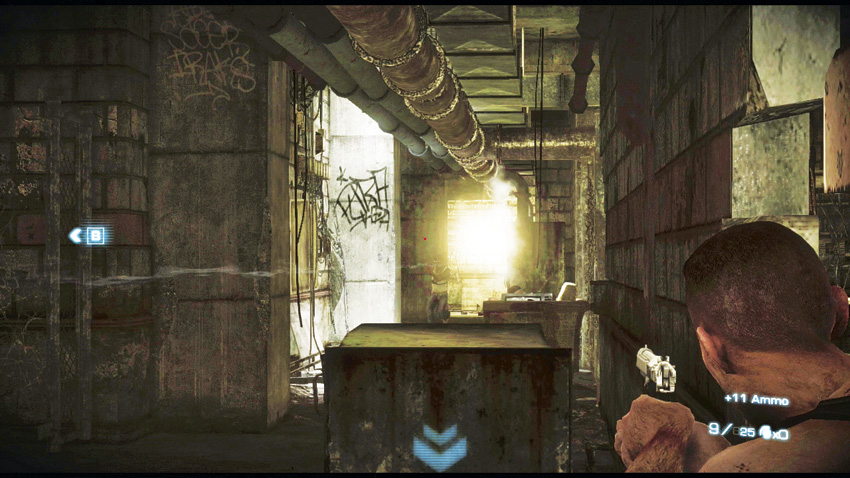
Suggested Armament

You’ll have to work with whatever guns and ammo you can find, and for now the enemy is exclusively using pistols. If you can get your hands on a Falcon .50 from a dead thug, you’ll have one of the most powerful pistols in the game.

The corridor to the left of the first two guards gets swarmed by a squad of cartel thugs. You start with very limited ammo, so make your shots count. Aim for the head. The corridor is divided into two thin halves for much of its length, which allows Alpha and Bravo to split up and concentrate on specific threats.
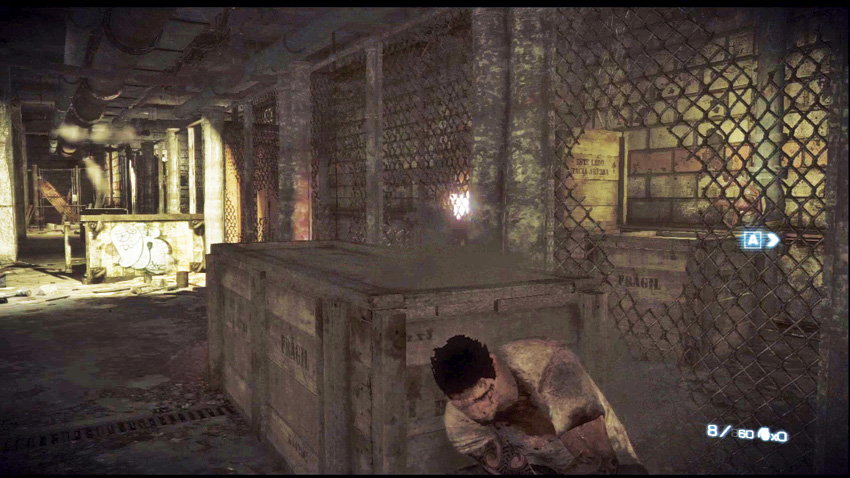
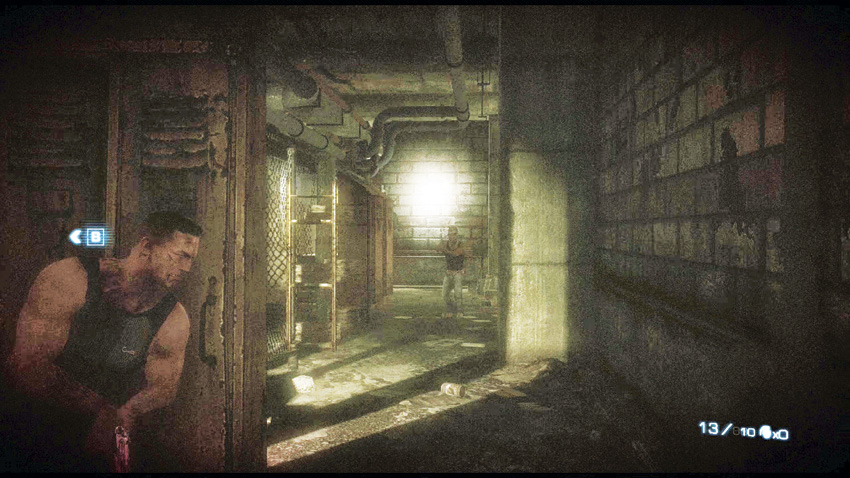
Make another left. You’ll encounter another corridor containing more hostiles. As with the previous corridor, this one is also split into two halves, but the space here is far more cramped. Kill the cartel members, and then make your way to the open door on the left side of the corridor.
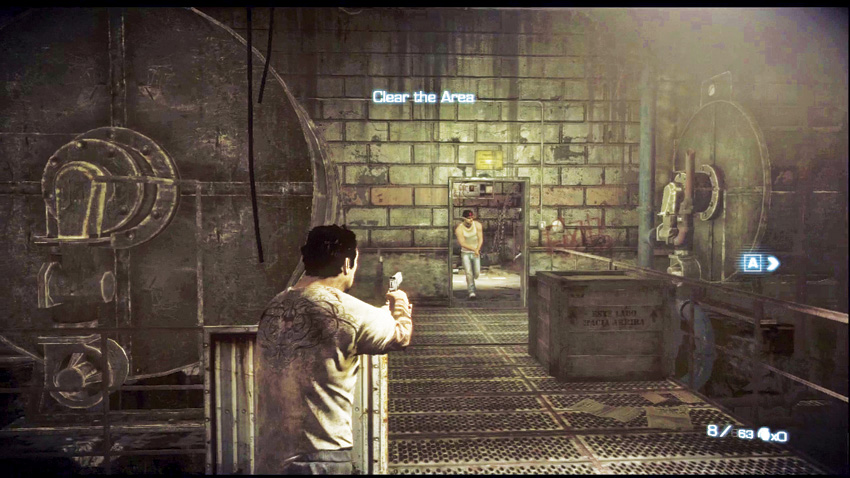
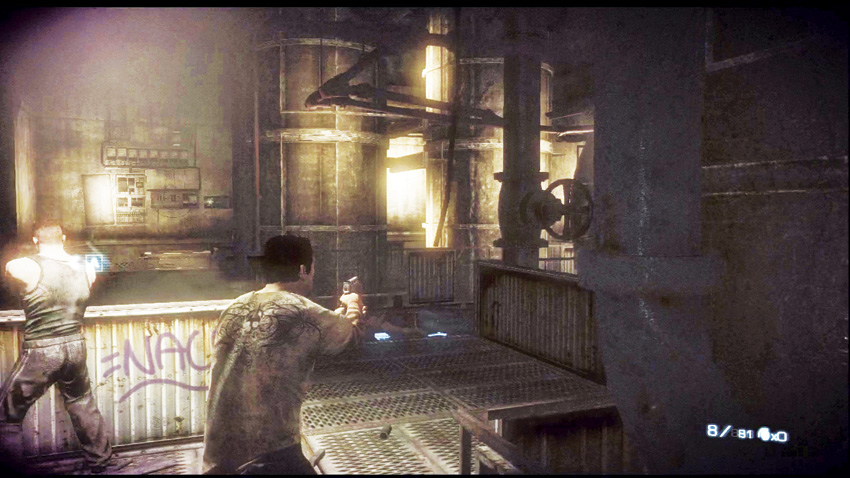
The generator room provides you with the first real challenge of the chapter: blind corners, cramped walkways, and lots of opportunities for the enemy to outflank you. Always check your corners as you proceed.
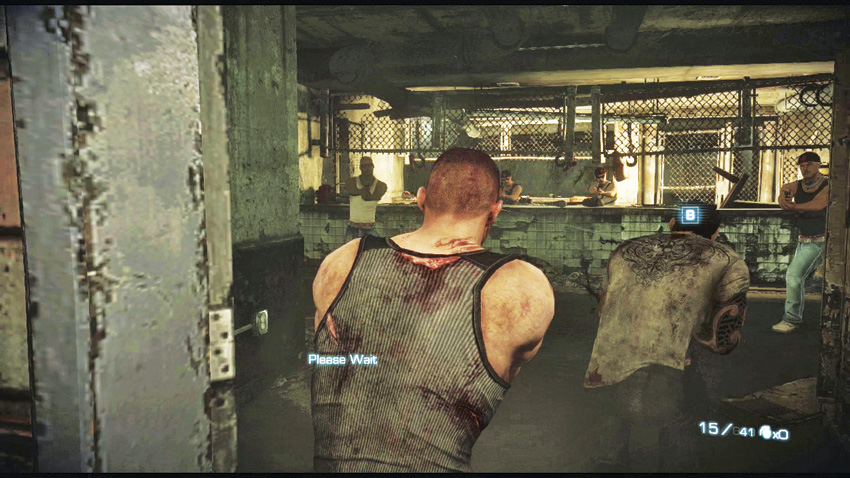
Survive the generator room and walk down another empty corridor unti you reach a locked door. Alpha and Bravo must perform a dual breach of the room beyond. There are five hostiles on the other side of the door, and they are ready for you.
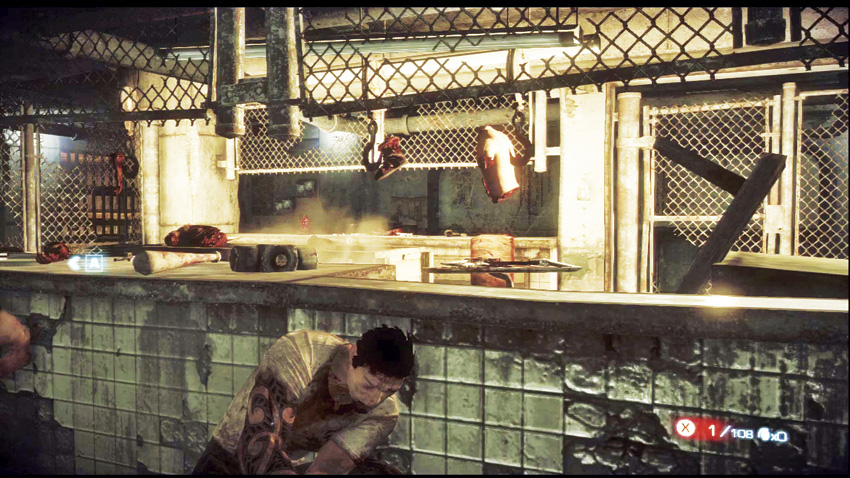
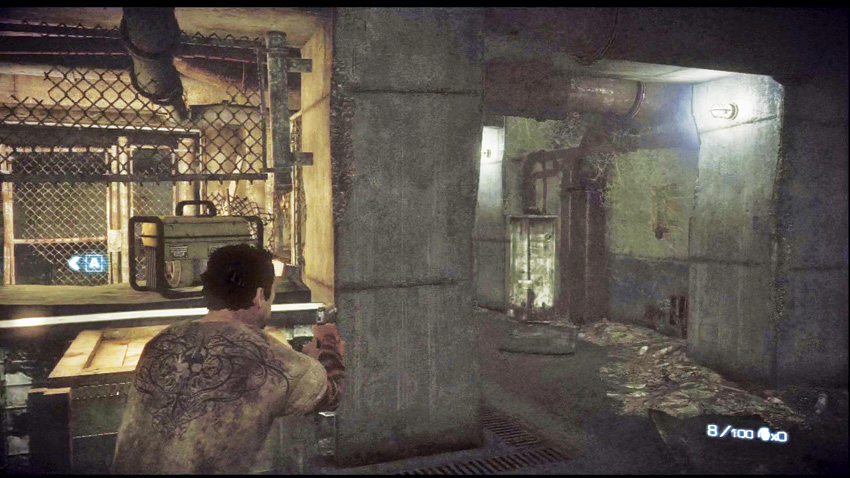
The room is a slaughterhouse in more ways than one. It’s shaped like a rectangle. You don’t have direct access to the center of the area, but you can walk around it using the surrounding passage. There are still plenty of cartel members guarding the area.
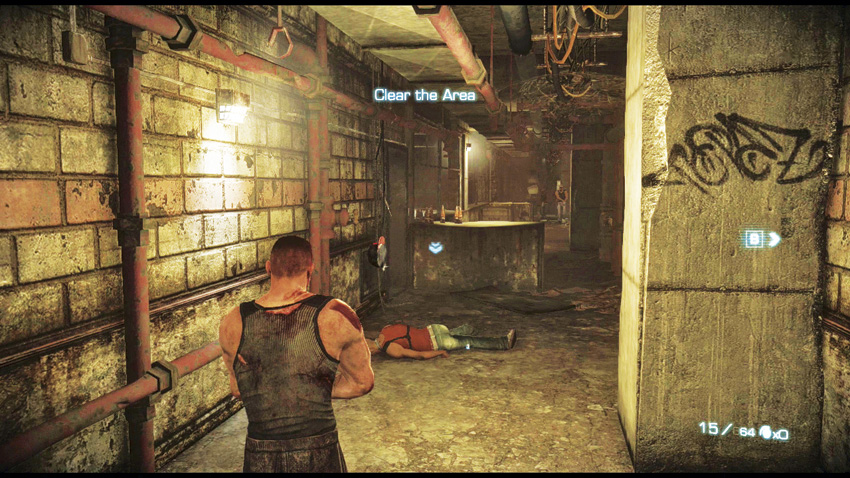
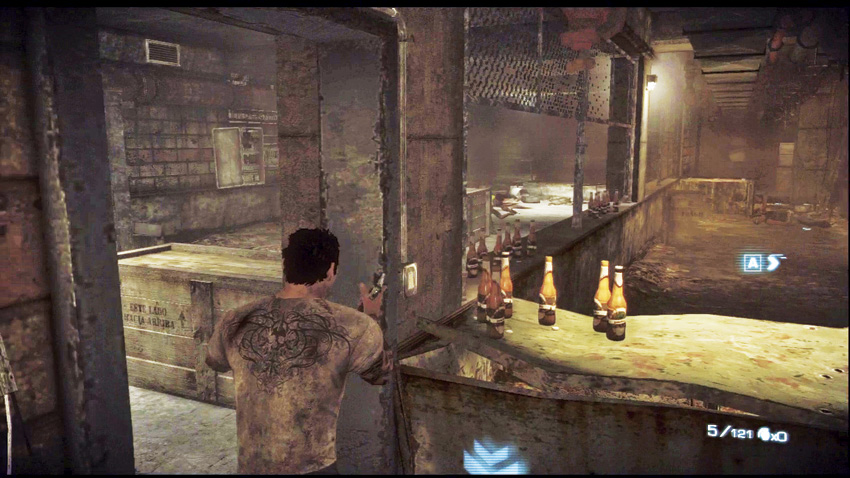
Another divided corridor filled with cartel thugs awaits as you continue beyond the slaughterhouse.
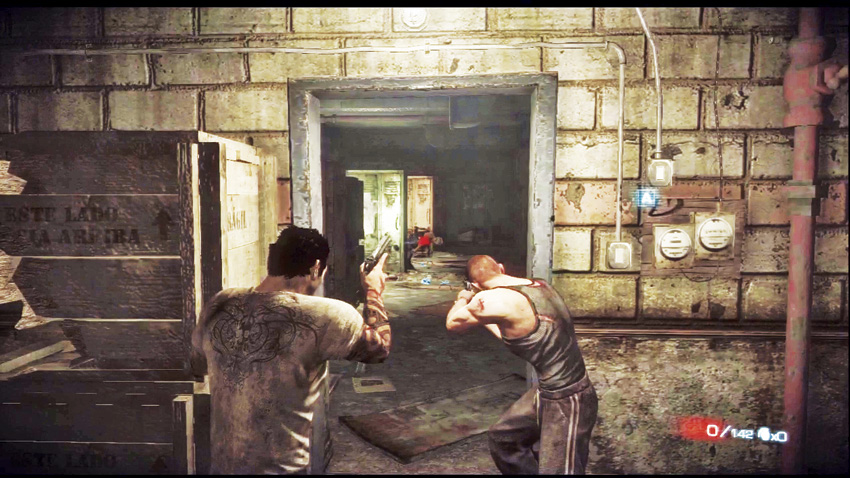
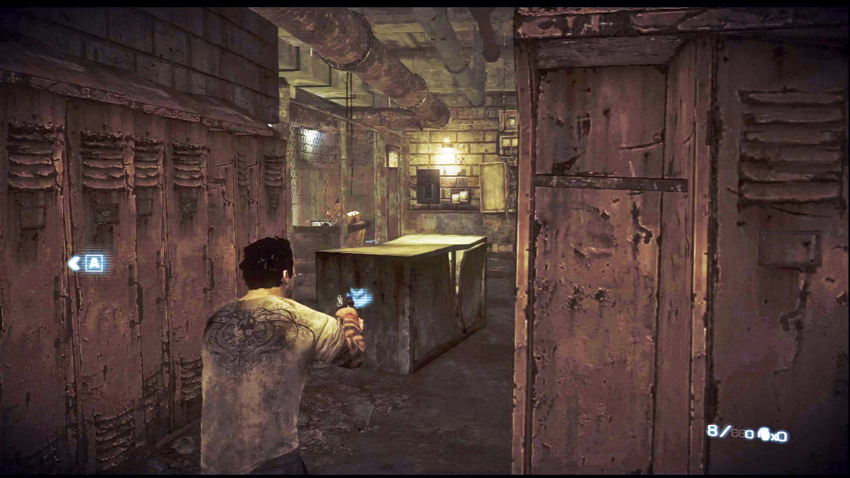
You eventually pass through a locker room that is in serious disrepair. It is guarded by another squad of thugs.
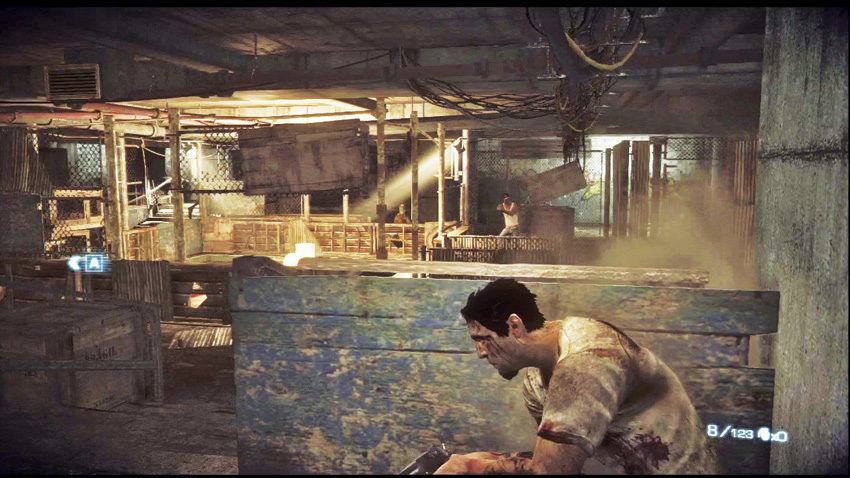
The last fight starts after you kick down the door to an illegal dog fighting ring. By now, the cartel definitely knows that you’ve escaped, so they react immediately when the door is breached. Be especially mindful of your flanks as you work your way through this last room. Once you eliminate all of the hostiles, proceed out the open door and climb the stairs to reach the end of the chapter.

OVERKILL

The dog fighting ring is the best spot to use Overkill, but try to limit it to only Alpha or Bravo using it. Having Overkill ready at the start of the next mission will come in handy.

Keep reading with a free account

The first 3 sections of Army of Two: The Devil's Cartel are open to everyone. An account opens the rest of it, and every other guide in the archive. It's free, and there's nothing to buy.

Bought guides on the old Prima Games site? Your account and every guide you own moved here, so there's nothing to buy again. Sign in.

Create a free account Or browse our free guides

PreviousChapter 31: Objective Lost
 NextChapter 33: Game Face