Prima Games eGuides
primagames.com Browse Redeem a code Help
Army of Two: The Devil's Cartel eGuide
Sign in My Guides

Sign in or create an account

We'll email you a link. No password needed, and if you don't have an account yet, the link makes one.

By creating an account or signing in, you agree to our Terms of Service and Privacy Policy.

Have a password?

Had an account on the old eGuides site, or a code from a printed guide? Help and troubleshooting

Sign in with a password

By signing in, you agree to our Terms of Service and Privacy Policy.

Check your email

A sign-in link is on its way. It works once and expires in 15 minutes. Open it and you're in, with an account if you didn't already have one.

Contents

  • Essentials
    • Welcome Back to Tactical Worldwide Operations
      • Welcome Back to Tactical Worldwide Operations
    • Operational History and Character Bios
      • Operational History and Character Bios
    • Tactical Operations Manual
      • Tactical Operations Manual
    • Two Gear
      • The Gear Makes The Man
      • Modifications
      • Weapon Skins
      • Tactical Gear
      • Tattoos
    • The Enemy
      • The Enemy
    • Contracts
      • Contracts
    • Achievements and Trophies
      • Achievements and Trophies
    • Concept Art
      • Concept Art
  • Walkthrough
    • Mission 1: New Blood
      • Special Callouts
      • Chapter 1: Protection
      • Chapter 2: Tutorial
    • Mission 2: Cause And Effect
      • Chapter 3: Permission to Engage
      • Chapter 4: Foxhunt
      • Chapter 5: Split Decision
      • Chapter 6: Baptism by Fire
    • Mission 3: Rally Point
      • Chapter 7: Politics in Action
      • Chapter 8: Picking Up the Pieces
      • Chapter 9: Into the Chaos

      • Chapter 10: Riot Act

      • Chapter 11: Urban Chaos

    • Mission 4: Outside Contact
      • Chapter 12: Fuel for the Fire

      • Chapter 13: Observe and Detect

      • Chapter 14: Local Heroes

      • Chapter 15: Stronghold Assault
      • Chapter 16: Suicide Run

    • Mission 5: Last Resort
      • Chapter 17: Holiday Retreat

      • Chapter 18: Room Service

    • Mission 6: Salvation
      • Chapter 19: Among the Dead

      • Chapter 20: Open Season

      • Chapter 21: Rest for the Wicked

      • Chapter 22: Shadows Walk

      • Chapter 23: Into the Light

      • Chapter 24: Loose Cannon

      • Chapter 25: Special Delivery

    • Mission 7: Enemy Territory
      • Chapter 26: Behind Enemy Lines

      • Chapter 27: Guardian Angel

      • Chapter 28: Manhunt

      • Chapter 29: Fight for the Future

      • Chapter 30: Desperate Measures

      • Chapter 31: Objective Lost

    • Mission 8: Narco Hell
      • Chapter 32: Scavengers

      • Chapter 33: Game Face

      • Chapter 34: A Ray of Sun

      • Chapter 35: Rooftop Rampage

      • Chapter 36: Adrenaline High

      • Chapter 37: Mad Science

      • Chapter 38: The Butcher

    • Mission 9: Assault
      • Chapter 39: The Assault

      • Chapter 40: Down But Not Out

      • Chapter 41: Get Her Back

      • Chapter 42: Race to the Quarry

      • Chapter 43: Fish in a Barrel

    • Mission 10: Confrontation
      • Chapter 44: Burning Bridges

      • Chapter 45: No Return

      • Chapter 46: A Hero's Rescue

      • Chapter 47: The Lion's Den

      • Chapter 48: Salem On Trial

      • Chapter 49: The Devil's Due

  • Overkill Vids
    • Mission Overkill Videos
      • Mission Overkill Videos

Army of Two: The Devil's Cartel Guide › Walkthrough › Mission 8: Narco Hell

Chapter 34: A Ray of Sun


Chapter 34: A Ray of Sun
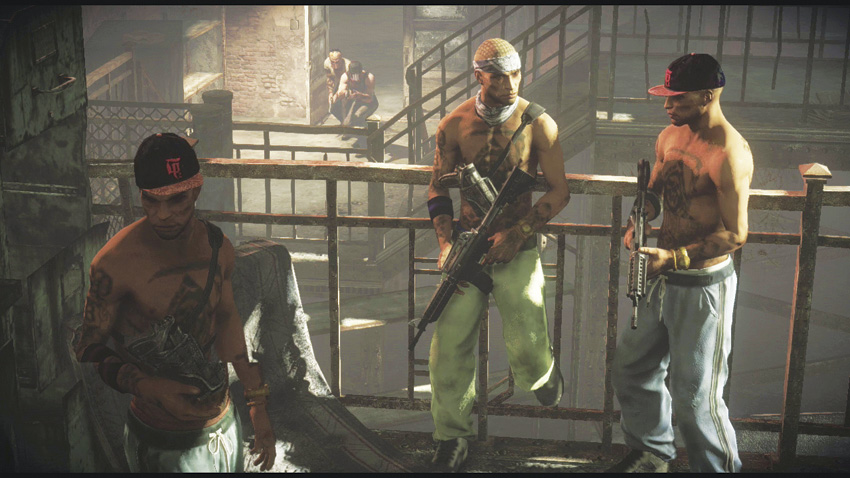
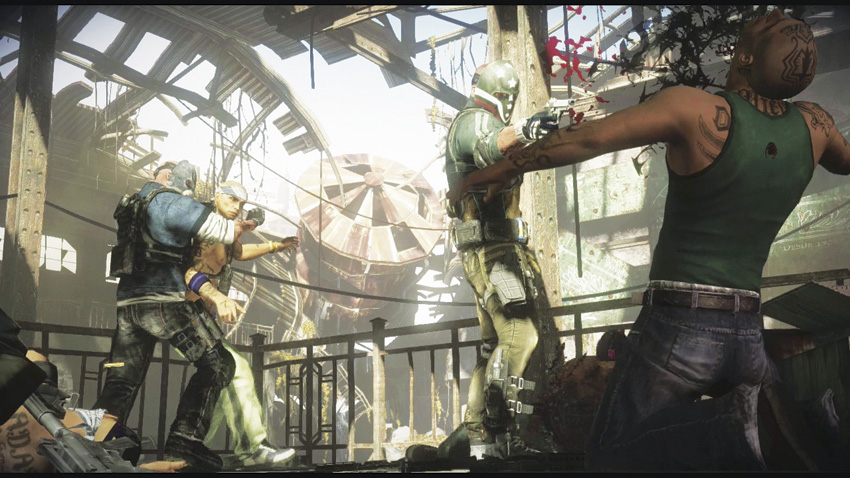
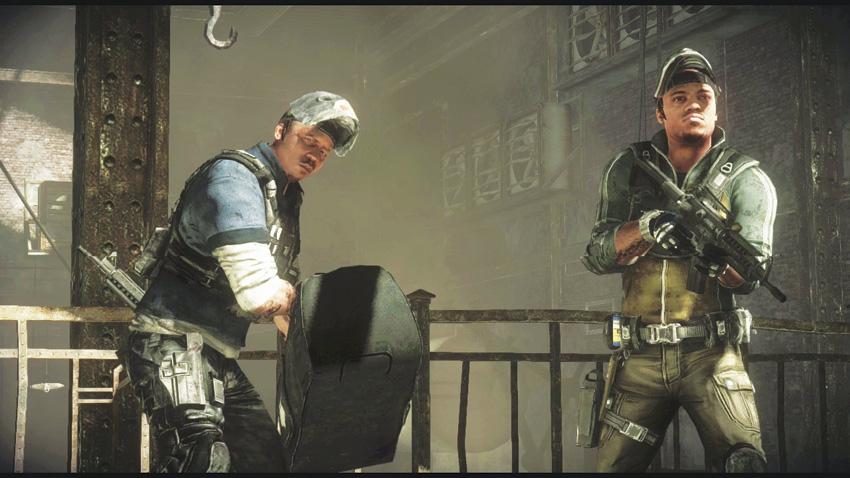
Shortly after the start of the chapter, Chuy and Baker surprise a group of hapless cartel thugs and dismantle them in a most brutal fashion. They then toss Alpha and Bravo a duffel bag filled with a new set of tactical gear and weapons from their Armory loadouts. Now it is officially Go Time. Chuy and Baker move on to help the Mexican police forces that are assaulting the cartel facility. They tell you to take a different route to the rooftop, where extraction awaits.
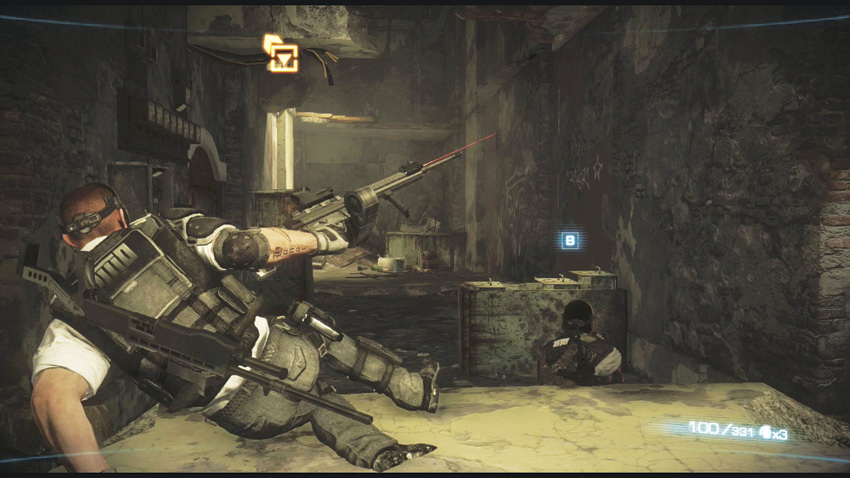
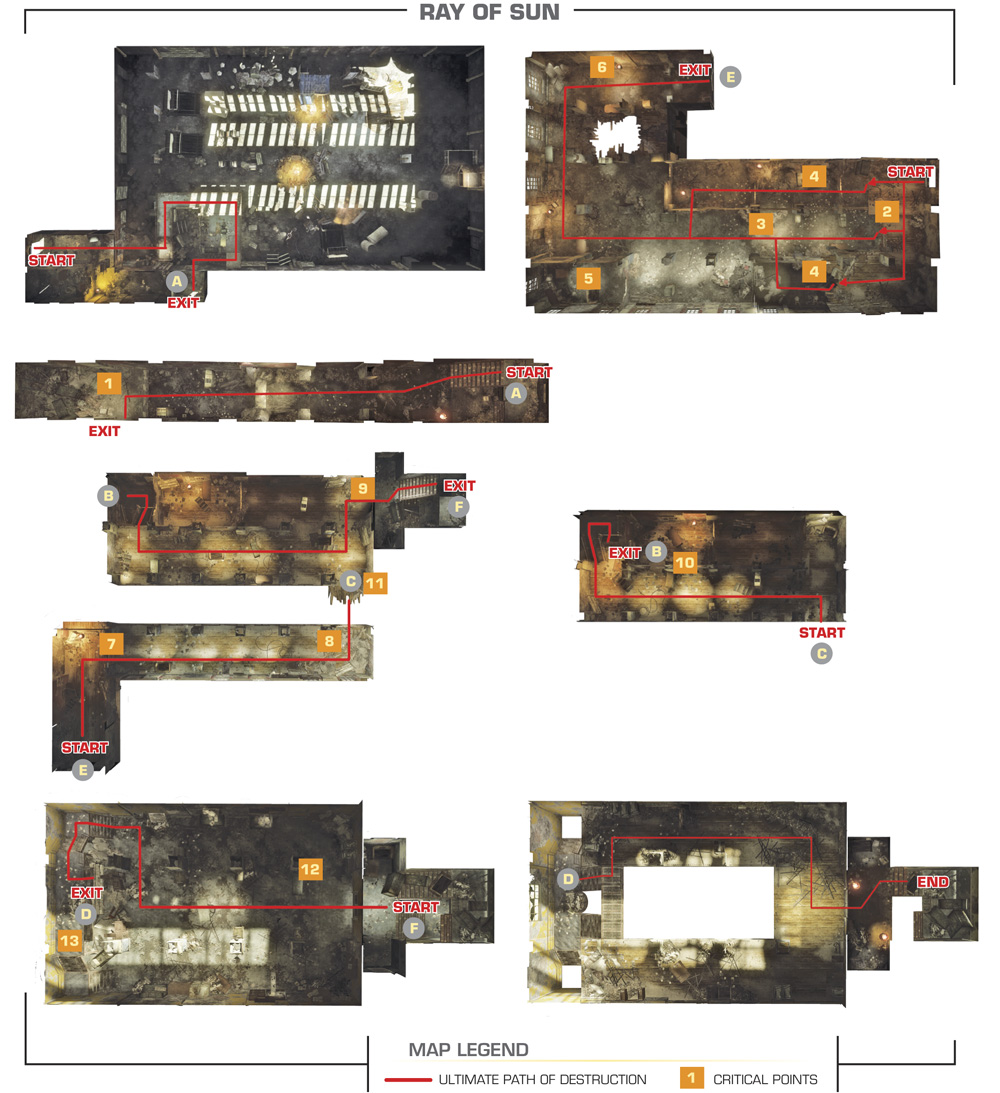
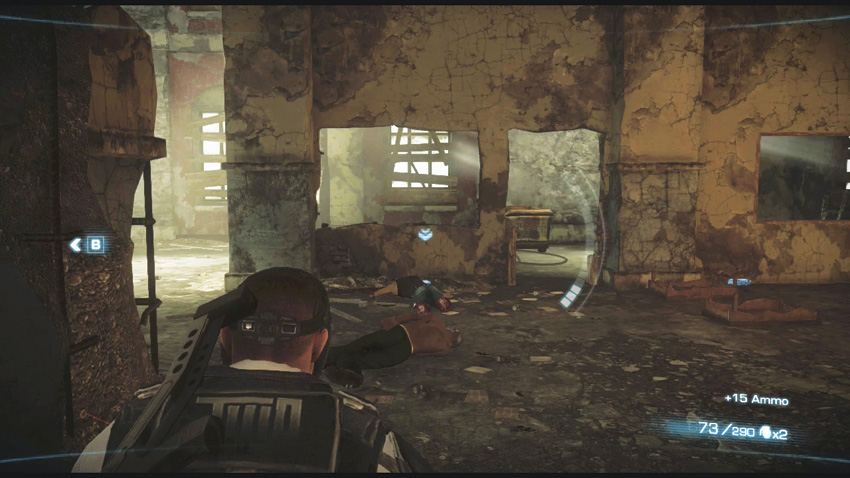
Once you’ve split off from your rescue team, follow the path back downstairs until you reach a room where Alpha and Bravo must boost each other up a wall.
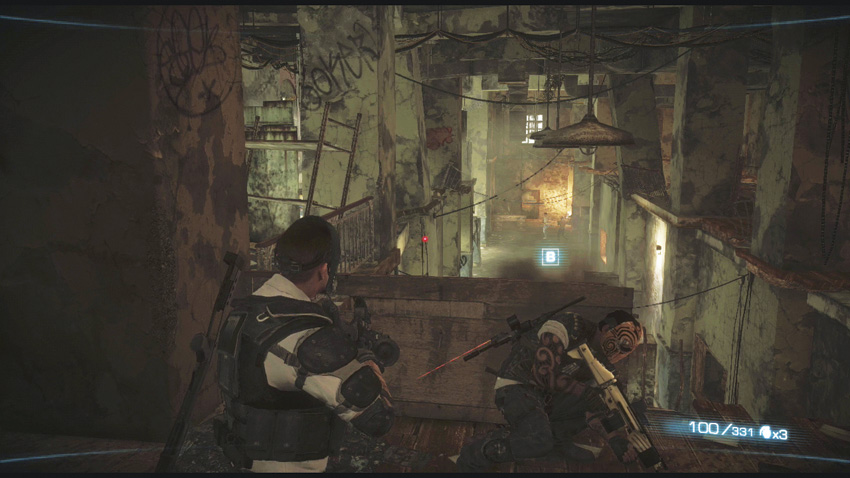
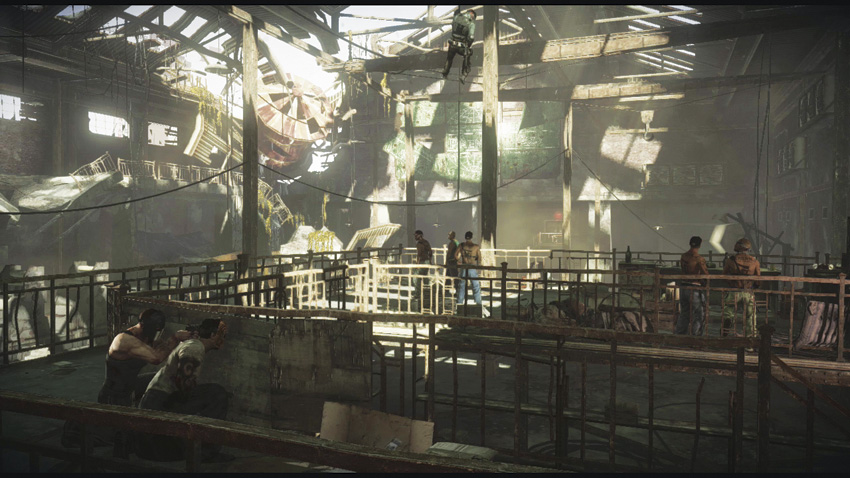
This takes you to a balcony overlooking a large room that is filled with cartel thugs who are unaware of your presence.
Flanking Route

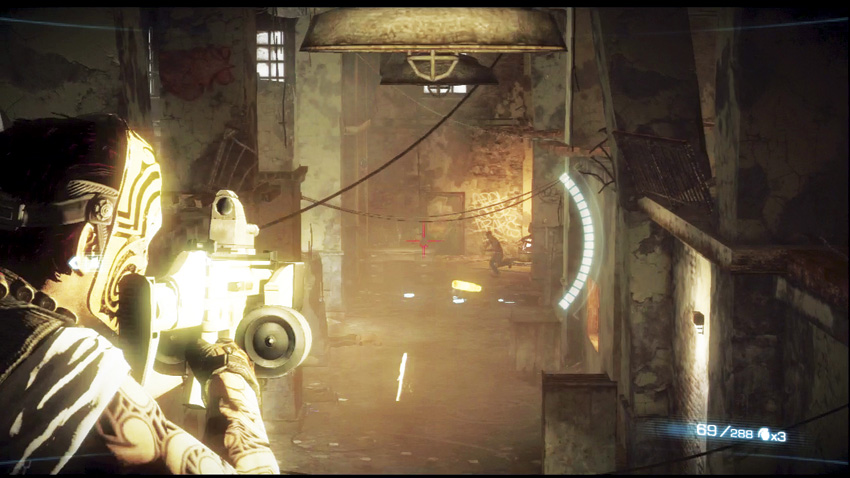
Alpha and Bravo can drop down to a side room to flank the hostiles in the central hall . This can be quite dangerous early on if you have not taken the time to thin out enemy numbers.

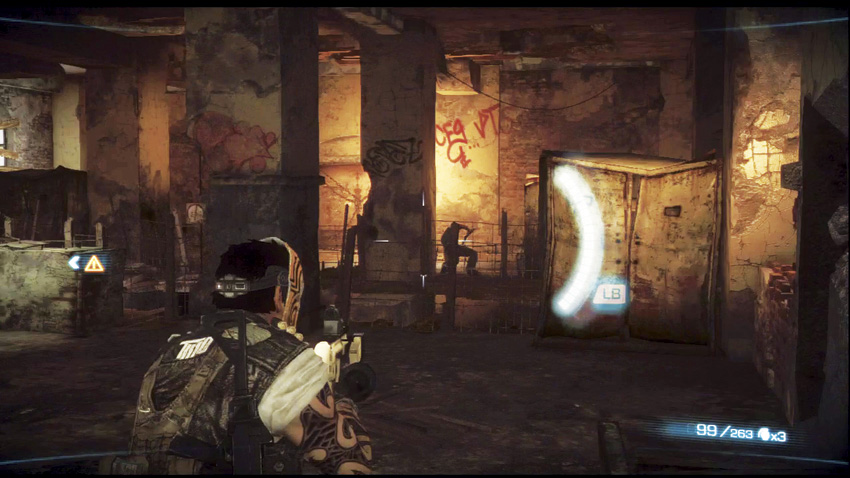
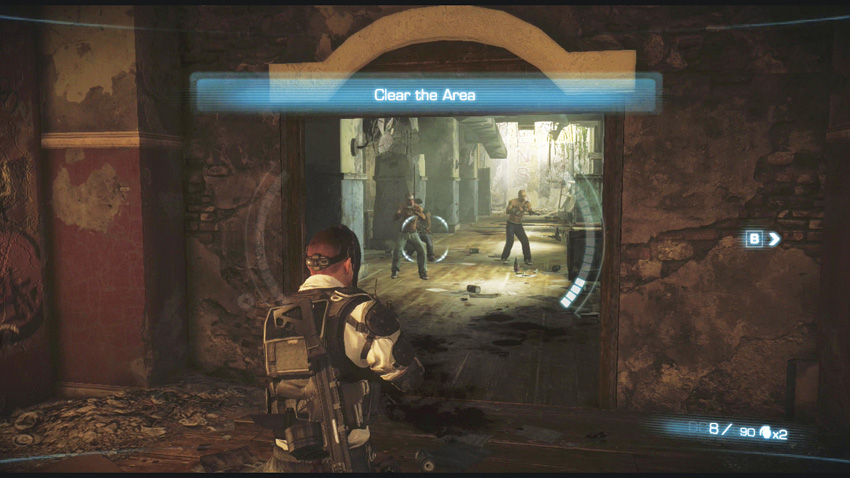
A safer solution is to stick to the upper balcony and take out as many cartel members as you can until they stop running face first into your bullets. You can then drop down and push up through the center. As you do, check the room to your left for hostiles , and watch out for more on the right side of the room . We recommend clearing the smaller room and using it for cover while you take out the enemies across from it .
OVERKILL

If you manage to save up a Double Overkill before you get to this part of the chapter, this is a great place to use it in conjunction with the alternate flanking routes. The time-dialation effect can guarantee that you and your partner can sweep through most of the room while killing absolutely everything in your way.

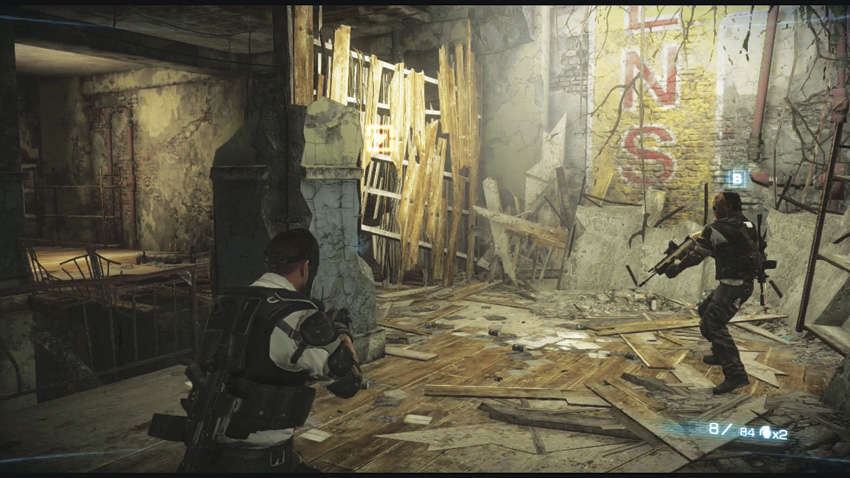
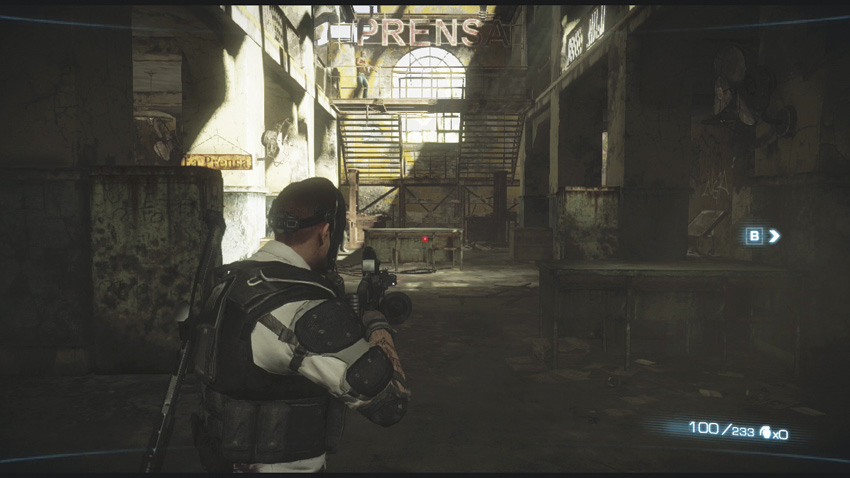
Another quiet set of stairs leads you to a pair of ignorant thugs, easily put to rest. Beyond them, you reach what appears to be a dead end. Either Alpha or Bravo must be boosted over the rickety-looking wooden barrier to find a way to reach the roof .
Decision Point: Be the Booster, or Be the Boosted

This isn’t a regular Decision Point where you are given two obvious courses of action to choose from. It starts off as a traditional Co-op Action, where one guy gets boosted over the wall first...

...only to find that their footing on the other side is far from stable, and they fall through the floor down to the lower level. A large squad of cartel thugs begin rushing the operative on the lower level.

Be the Booster

If you’re the one who boosted your partner over the wall, you have to provide overhead cover while they fight their way through the lower floor to get to your level. At the same time, you also have to deal with hostiles on the balcony across from you. As your partner reaches the upper level, more hostiles will come through a door that you eventually need to get through . Once your enemies are wiped out, your buddy will have to shoot out a valve to make a bridge so you can reunite.

Be the Boosted

First, berate your partner for potentially sending you to your death. Next, carefully work your way through the hostiles on the lower level. As you advance, check the room to your right in order to avoid any unpleasant surprises. If things are getting too rough, have your partner on the upper floor try to take aggro off of you for a second or two while you work your way into a better position. Climb the stairs to the upper level when you are certain the lower floor is clear .

The cartel on the upper level now have to deal with your advance while your partner goes to town from the other side of the room. When all targets have been eliminated, shoot at the valve indicated on your HUD to make a bridge. Breach through the door that the cartel tried to protect, and continue onward to get closer to the roof.

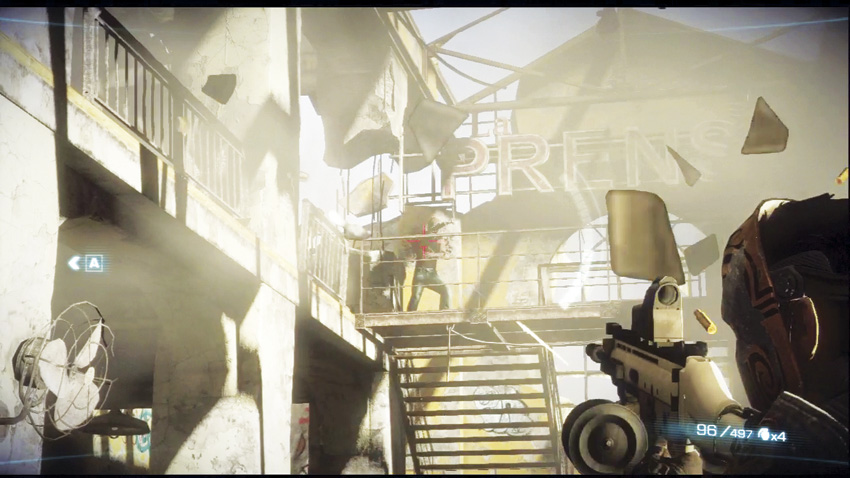
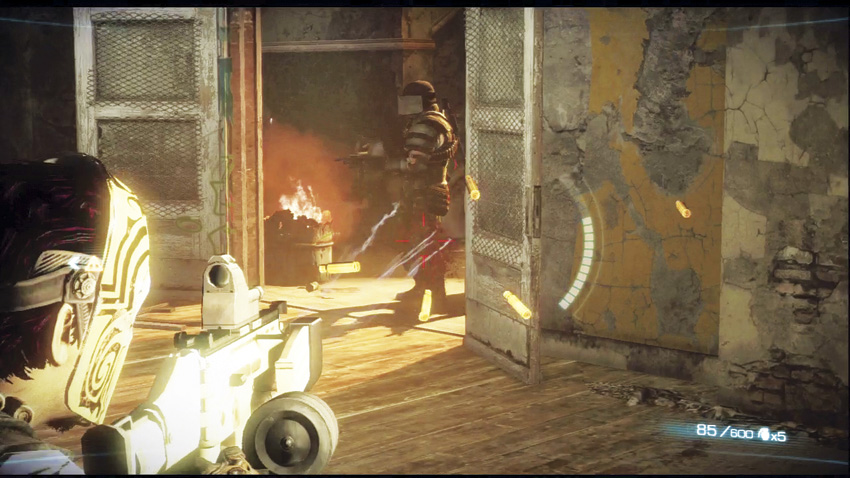
You’re almost there! After climbing another set of stairs, you reach a sunny room. Cartel members are on your level and on the catwalks above you. The extraction chopper makes a pass of the area, spraying mini-gun fire at all of the hostiles it can see. Move toward the stairs , but make sure you watch your flanks to avoid being surprised by any survivors.
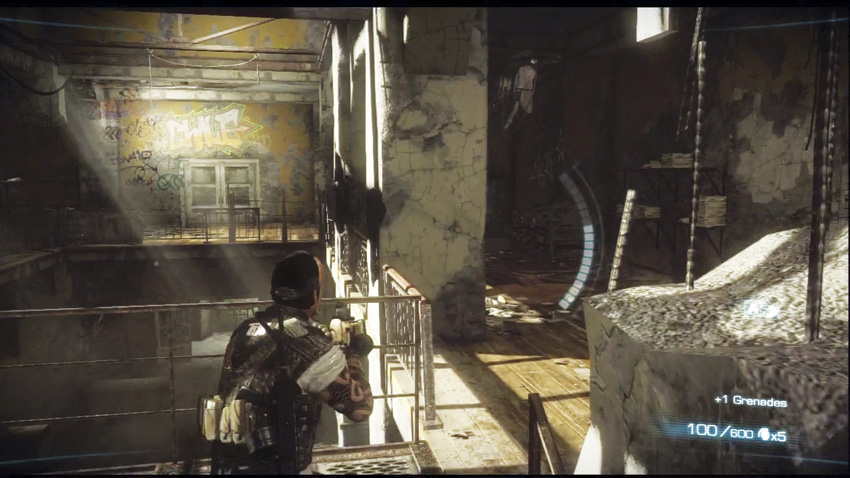
As you get to the upper level, a trio of heavily armed soldiers burst through the final door between you and freedom. They are led by a Brute. Unlike your previous enemies, these men are wearing camoflage uniforms, balaclavas, and protective helmets. They have better gear than even the mercenaries you’ve been squaring off against.

OVERKILL

Just because these guys are packing better toys than the rest doesn’t mean they actually stand a chance. Fire up a quick Overkill to splatter them effortlessly, and then cancel to conserve your meter for the next chapter.

Push past what’s left of these soldiers and get to the rooftop!

Keep reading with a free account

The first 3 sections of Army of Two: The Devil's Cartel are open to everyone. An account opens the rest of it, and every other guide in the archive. It's free, and there's nothing to buy.

Bought guides on the old Prima Games site? Your account and every guide you own moved here, so there's nothing to buy again. Sign in.

Create a free account Or browse our free guides

PreviousChapter 33: Game Face
 NextChapter 35: Rooftop Rampage