Prima Games eGuides
primagames.com Browse Redeem a code Help
Army of Two: The Devil's Cartel eGuide
Sign in My Guides

Sign in or create an account

We'll email you a link. No password needed, and if you don't have an account yet, the link makes one.

By creating an account or signing in, you agree to our Terms of Service and Privacy Policy.

Have a password?

Had an account on the old eGuides site, or a code from a printed guide? Help and troubleshooting

Sign in with a password

By signing in, you agree to our Terms of Service and Privacy Policy.

Check your email

A sign-in link is on its way. It works once and expires in 15 minutes. Open it and you're in, with an account if you didn't already have one.

Contents

  • Essentials
    • Welcome Back to Tactical Worldwide Operations
      • Welcome Back to Tactical Worldwide Operations
    • Operational History and Character Bios
      • Operational History and Character Bios
    • Tactical Operations Manual
      • Tactical Operations Manual
    • Two Gear
      • The Gear Makes The Man
      • Modifications
      • Weapon Skins
      • Tactical Gear
      • Tattoos
    • The Enemy
      • The Enemy
    • Contracts
      • Contracts
    • Achievements and Trophies
      • Achievements and Trophies
    • Concept Art
      • Concept Art
  • Walkthrough
    • Mission 1: New Blood
      • Special Callouts
      • Chapter 1: Protection
      • Chapter 2: Tutorial
    • Mission 2: Cause And Effect
      • Chapter 3: Permission to Engage
      • Chapter 4: Foxhunt
      • Chapter 5: Split Decision
      • Chapter 6: Baptism by Fire
    • Mission 3: Rally Point
      • Chapter 7: Politics in Action
      • Chapter 8: Picking Up the Pieces
      • Chapter 9: Into the Chaos

      • Chapter 10: Riot Act

      • Chapter 11: Urban Chaos

    • Mission 4: Outside Contact
      • Chapter 12: Fuel for the Fire

      • Chapter 13: Observe and Detect

      • Chapter 14: Local Heroes

      • Chapter 15: Stronghold Assault
      • Chapter 16: Suicide Run

    • Mission 5: Last Resort
      • Chapter 17: Holiday Retreat

      • Chapter 18: Room Service

    • Mission 6: Salvation
      • Chapter 19: Among the Dead

      • Chapter 20: Open Season

      • Chapter 21: Rest for the Wicked

      • Chapter 22: Shadows Walk

      • Chapter 23: Into the Light

      • Chapter 24: Loose Cannon

      • Chapter 25: Special Delivery

    • Mission 7: Enemy Territory
      • Chapter 26: Behind Enemy Lines

      • Chapter 27: Guardian Angel

      • Chapter 28: Manhunt

      • Chapter 29: Fight for the Future

      • Chapter 30: Desperate Measures

      • Chapter 31: Objective Lost

    • Mission 8: Narco Hell
      • Chapter 32: Scavengers

      • Chapter 33: Game Face

      • Chapter 34: A Ray of Sun

      • Chapter 35: Rooftop Rampage

      • Chapter 36: Adrenaline High

      • Chapter 37: Mad Science

      • Chapter 38: The Butcher

    • Mission 9: Assault
      • Chapter 39: The Assault

      • Chapter 40: Down But Not Out

      • Chapter 41: Get Her Back

      • Chapter 42: Race to the Quarry

      • Chapter 43: Fish in a Barrel

    • Mission 10: Confrontation
      • Chapter 44: Burning Bridges

      • Chapter 45: No Return

      • Chapter 46: A Hero's Rescue

      • Chapter 47: The Lion's Den

      • Chapter 48: Salem On Trial

      • Chapter 49: The Devil's Due

  • Overkill Vids
    • Mission Overkill Videos
      • Mission Overkill Videos

Army of Two: The Devil's Cartel Guide › Walkthrough › Mission 4: Outside Contact

Chapter 12: Fuel for the Fire
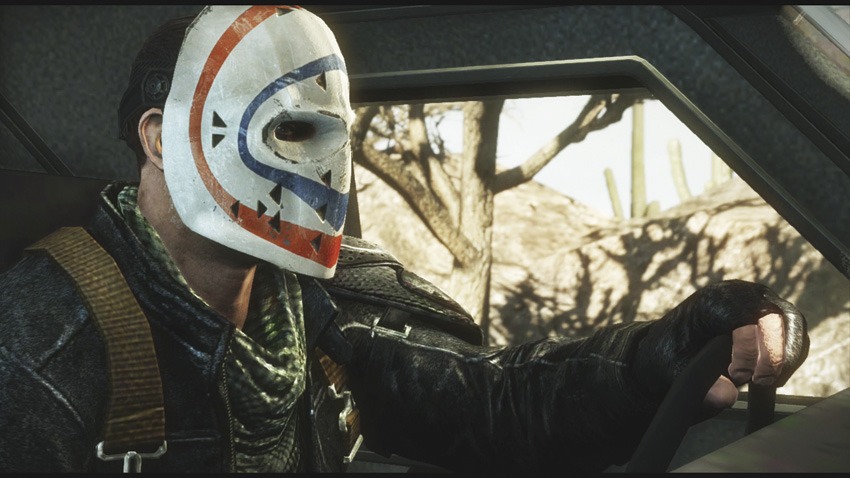

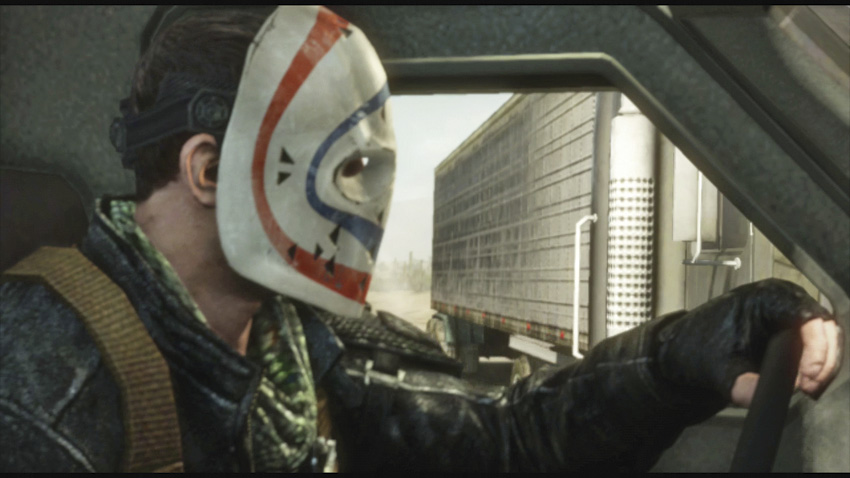
Thanks to Mason’s efforts, Alpha and Bravo have managed to survive the ambush at La Puerta City Hall, and are now en route to a location designated by an outside contact. It’s suspicious as hell, but the T.W.O. mercenaries have no other options. If they want to survive La Guadaña’s wrath, they need to find a way to launch a counter-attack.

Also, it couldn’t hurt to save Mayor Cordova. It probably wouldn’t look too good on the company resume if: not only did the person who hired you get killed by the people he wanted protection from, but the ensuing firefight also shredded half of his city.

Chapter 12: Fuel for the Fire
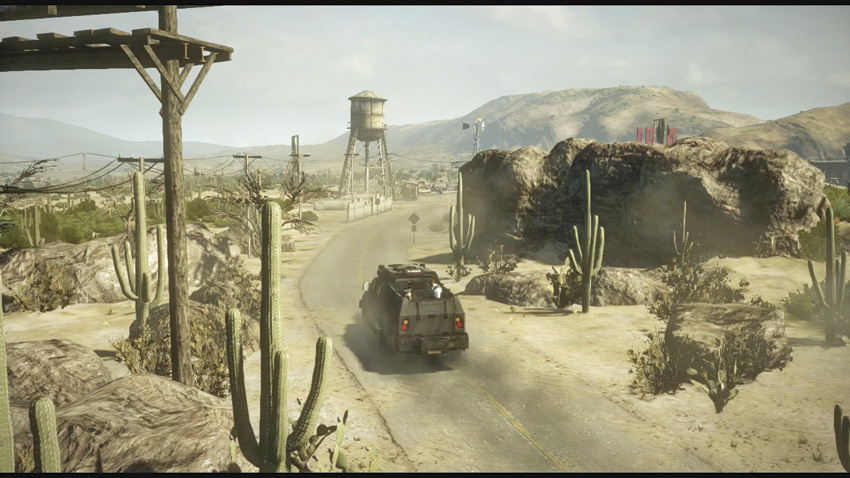
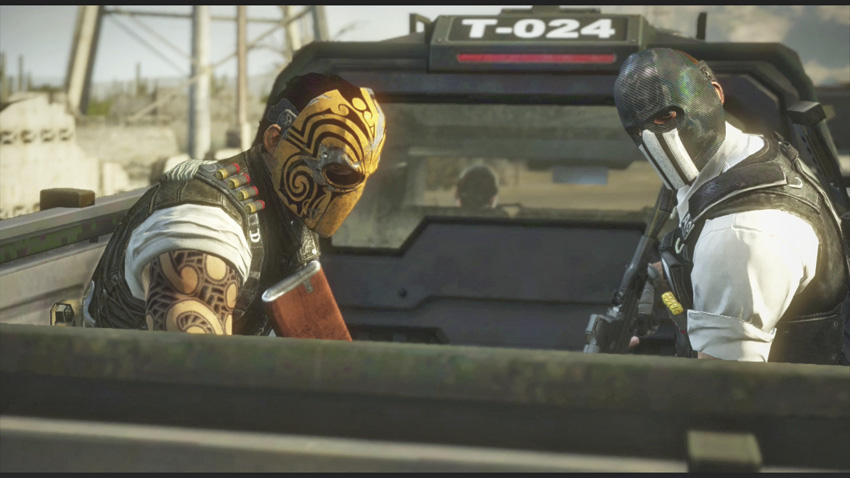
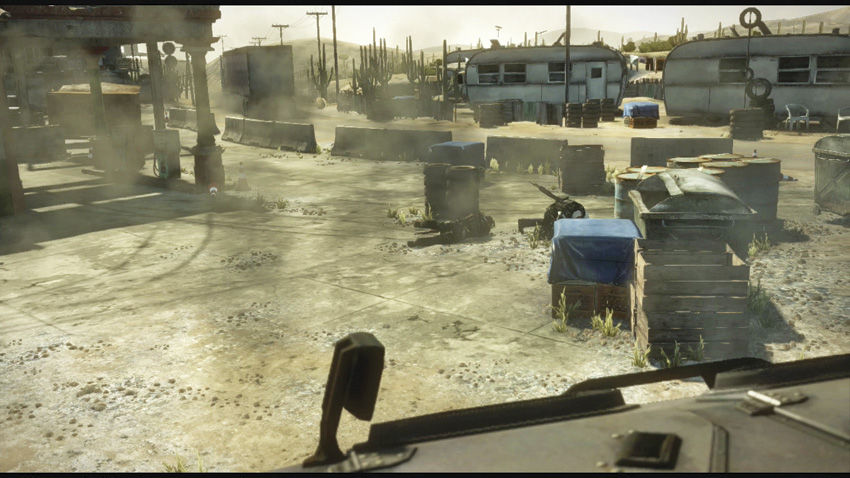
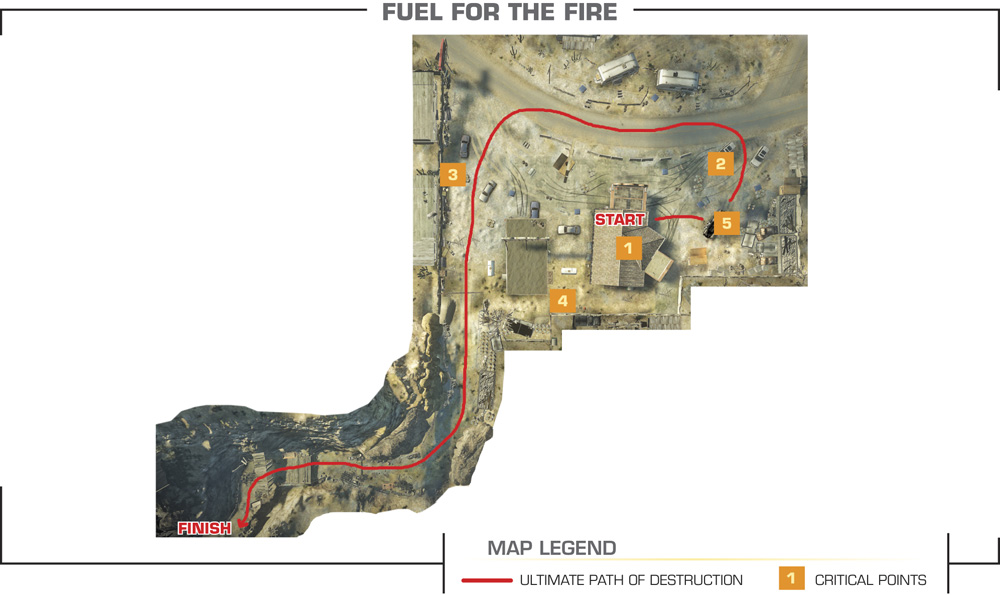
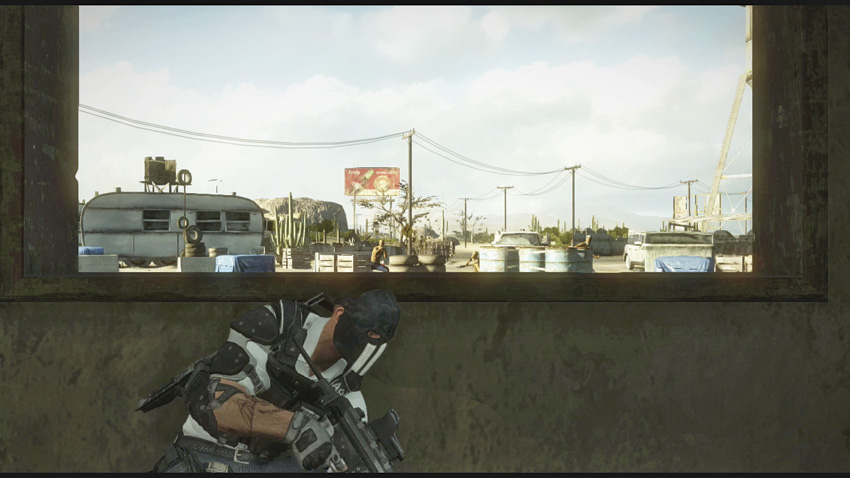
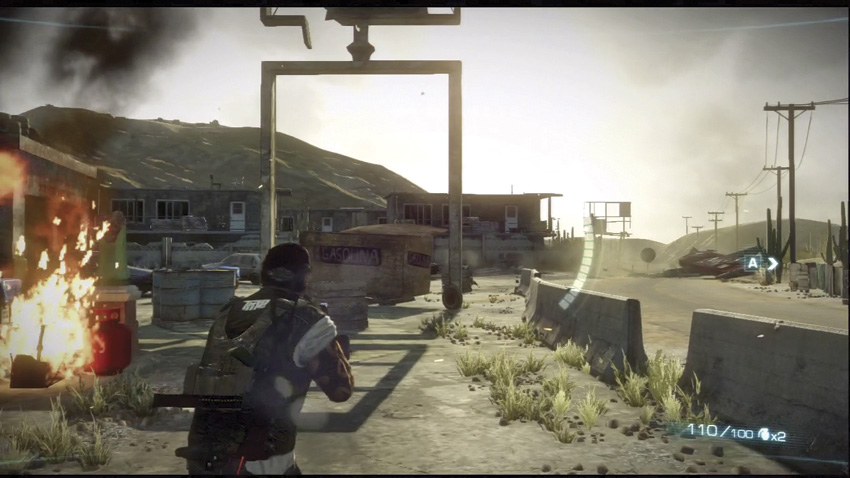
Your brief roadtrip comes to a violent halt as a massive cargo truck T-bones your vehicle. Alpha and Bravo manage to survive, both thrown free from the wreck, but a number of thug-filled cartel SUVs pull up. The two mercenaries take cover inside a seemingly abandoned gas station when the action begins.

You start off in a relatively good position, which can help you take on the first groups of hostiles from the SUVs. After the first group is eliminated, more vehicles pull up directly in front of the station with hostile reinforcements. Don’t get too attached to the station building itself, and be ready for cartel members to lob grenades inside in an attempt to flush you out.
Caution

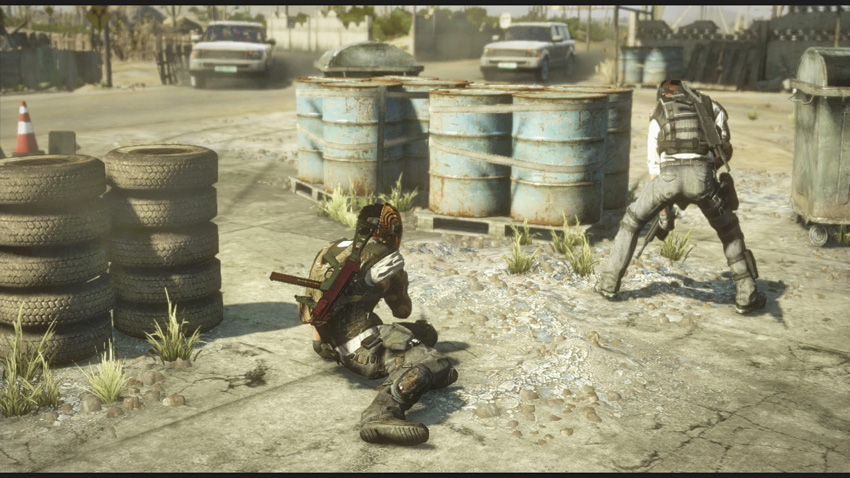
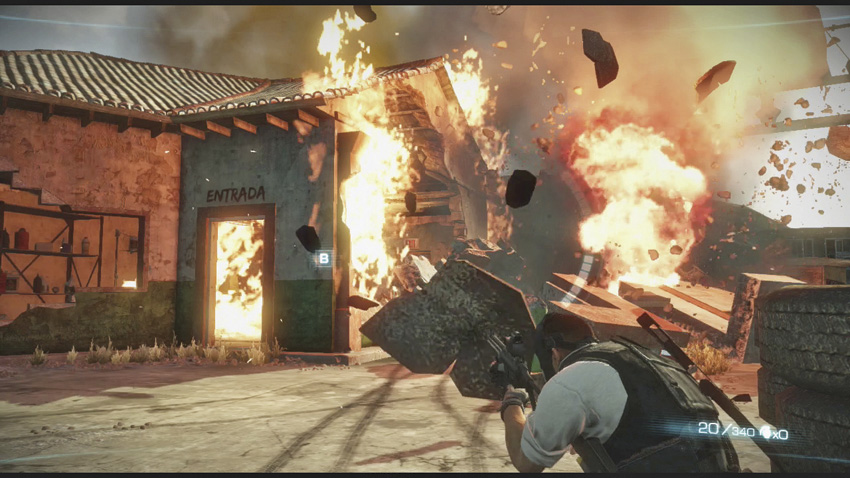
Scattered through the area are a great many things that can cause powerful explosions. You start off next to one of the more spectacular potential blasts: the gas pumps. You do not want to be in the front of the gas station if the pumps take damage; the aftermath is definitely a show stopper.

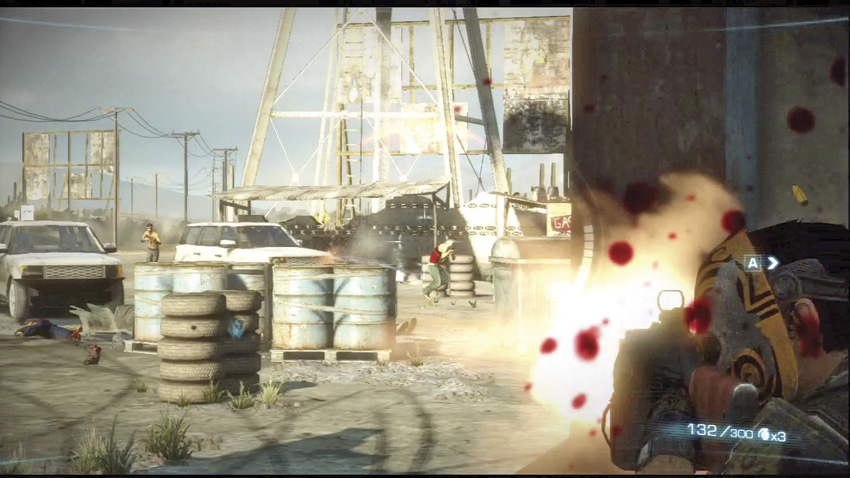
After the initial thugs from the SUVs get laid out, more hostiles attack from the motel further down the road. The enemies use abandoned cars for cover as they advance towards the station itself.
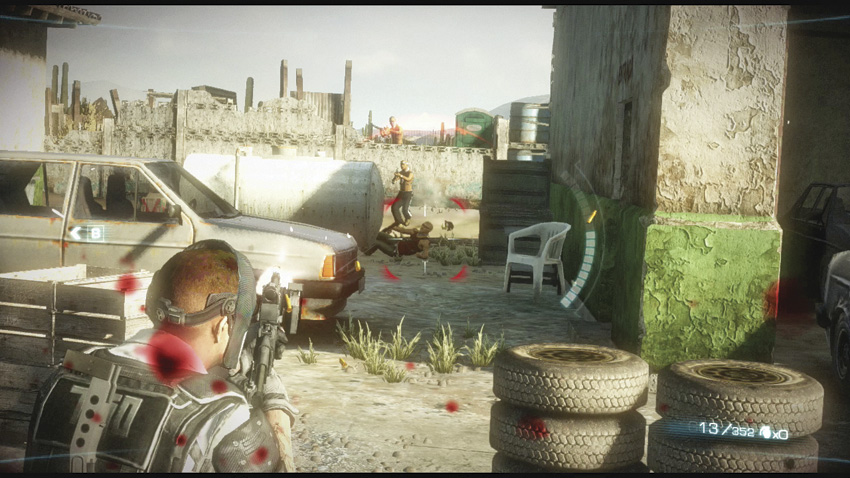
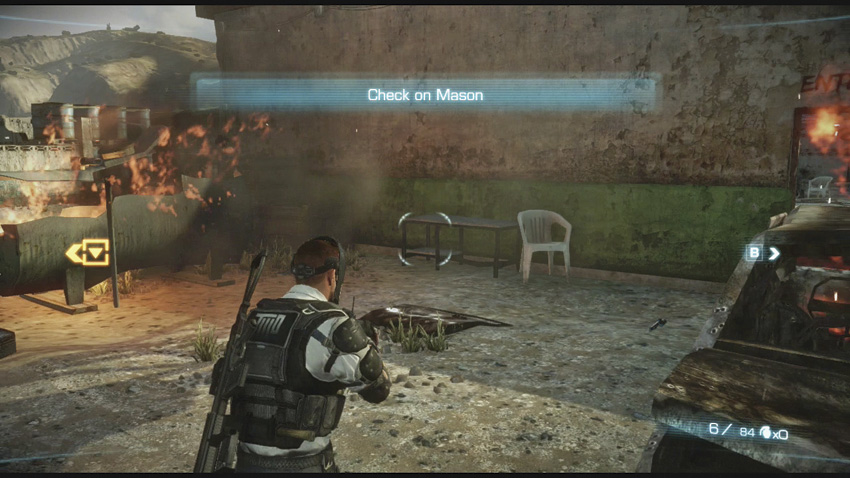
A final wave of cartel thugs hop over the brick wall behind the gas station itself. Their primary point of entry happens to put them near a large propane tank. You know what to do by now. After defeating all three waves of thugs, run back over to your overturned transport to check on Mason.
OVERKILL

If you manage to set up a Double Overkill, you can put a swift end to this chapter in literally a couple of minutes—especially once you know where the enemy is attacking from. We recommend using the initial firefight to build up your Overkill meter, and then letting loose when Alpha and Bravo call out the hostiles coming from the motel. Considering the sheer number of explosive barrels, propane tanks, and abandoned vehicles, you can leave the entire station a burning wreck.

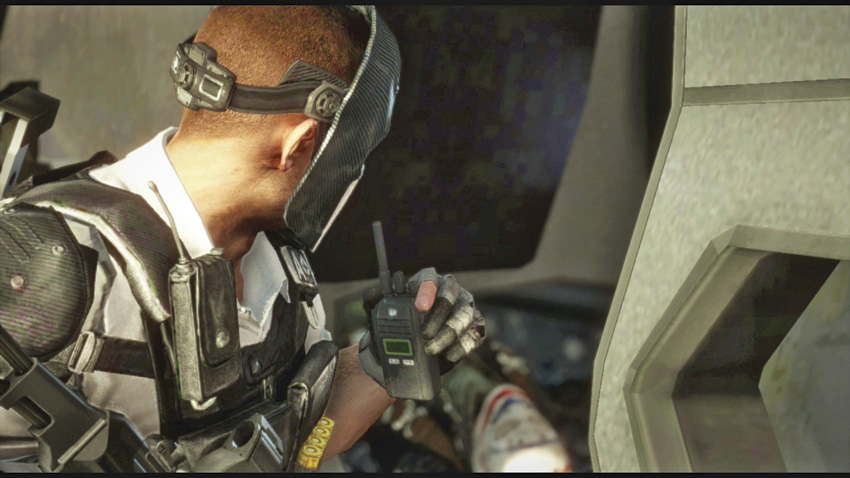
You reach the T.W.O. vehicle to find that Mason has died from his injuries in the wreck, a tragic and compelling case advocating the need for seatbelts, airbags, and not picking fights with drug cartels. The radio in the vehicle is receiving a desperate plea from a woman named Fiona. She has a plan which will hopefully get you out of the area alive.

Suggested Armament

You may want to hit the armory right after this chapter. The big set piece battle in the next chapter is a convincing argument for bringing a sniper rifle with you if at all possible. Failing that, slapping an ACOG scope on the assault rifle of your choice can be a solid alternative. If you’re playing alone, Bravo can manage to draw aggro when ordered to. With two players, at least one of you will want to take a weapon with high aggro levels.

Keep reading with a free account

The first 3 sections of Army of Two: The Devil's Cartel are open to everyone. An account opens the rest of it, and every other guide in the archive. It's free, and there's nothing to buy.

Bought guides on the old Prima Games site? Your account and every guide you own moved here, so there's nothing to buy again. Sign in.

Create a free account Or browse our free guides

PreviousChapter 11: Urban Chaos
 NextChapter 13: Observe and Detect