
Army of Two: The Devil's Cartel Guide Walkthrough Mission 2: Cause And Effect
Chapter 3: Permission to Engage
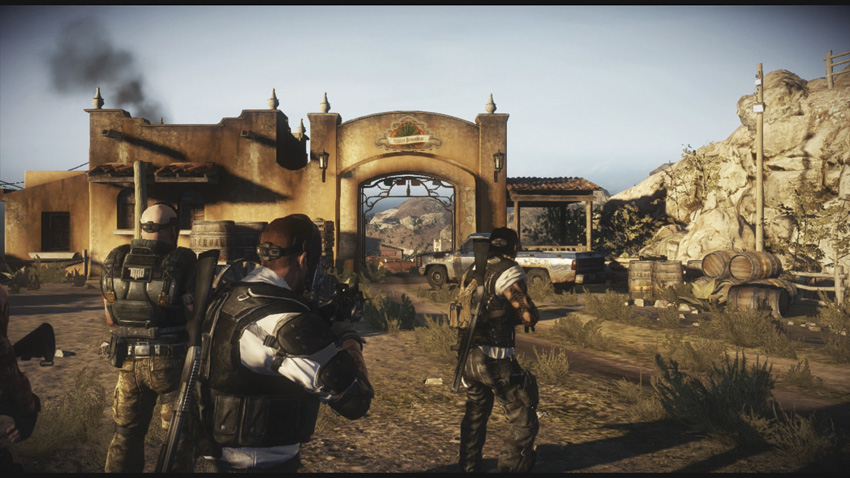
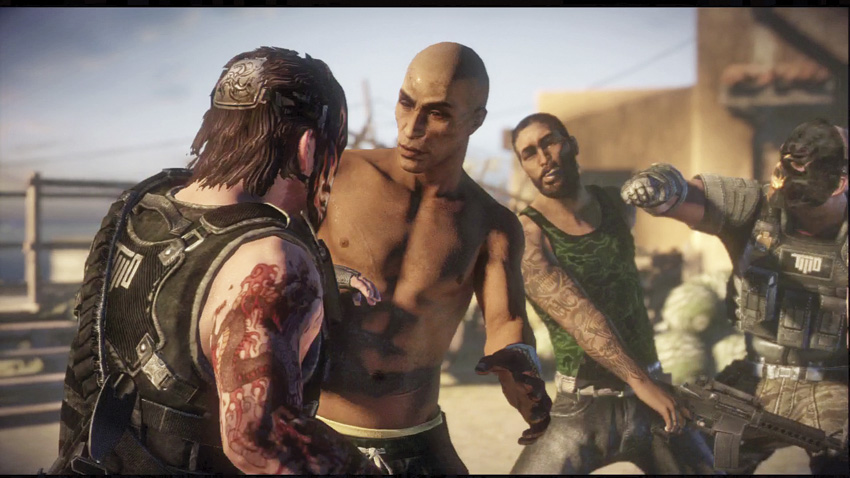
Newly certified as contractors for T.W.O., Alpha and Bravo travel to Mexico with Rios and Salem to participate in their first mission. The T.W.O. mercs have been hired to rescue the daughter of someone with deep pockets. Attacking a hideout belonging to the La Guadaña cartel, the pair soon finds that this cartel has plenty of people willing to die just to keep a hostage in captivity.
Chapter 3: Permission to Engage
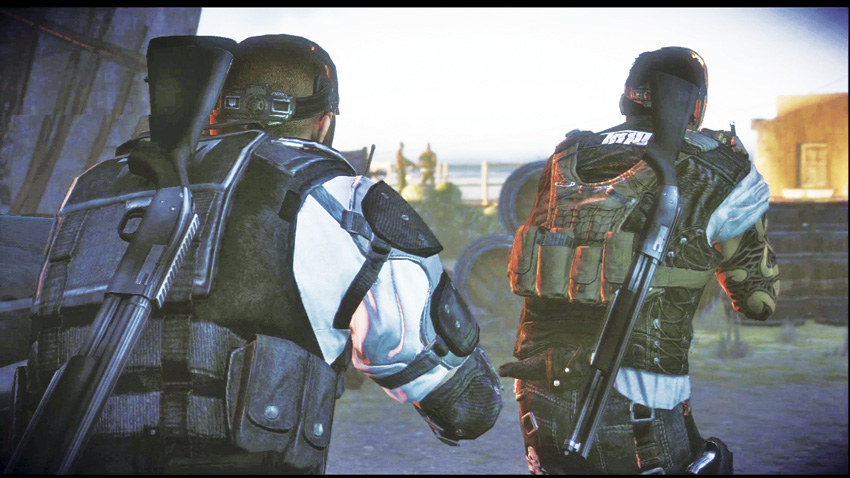
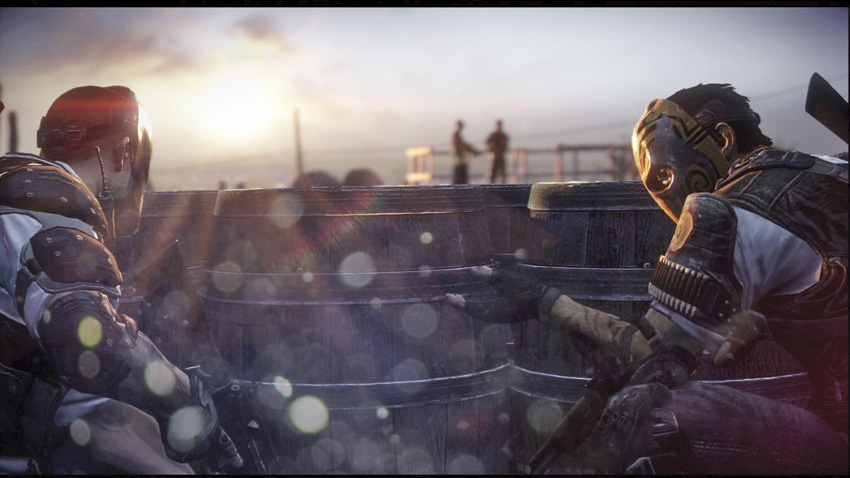
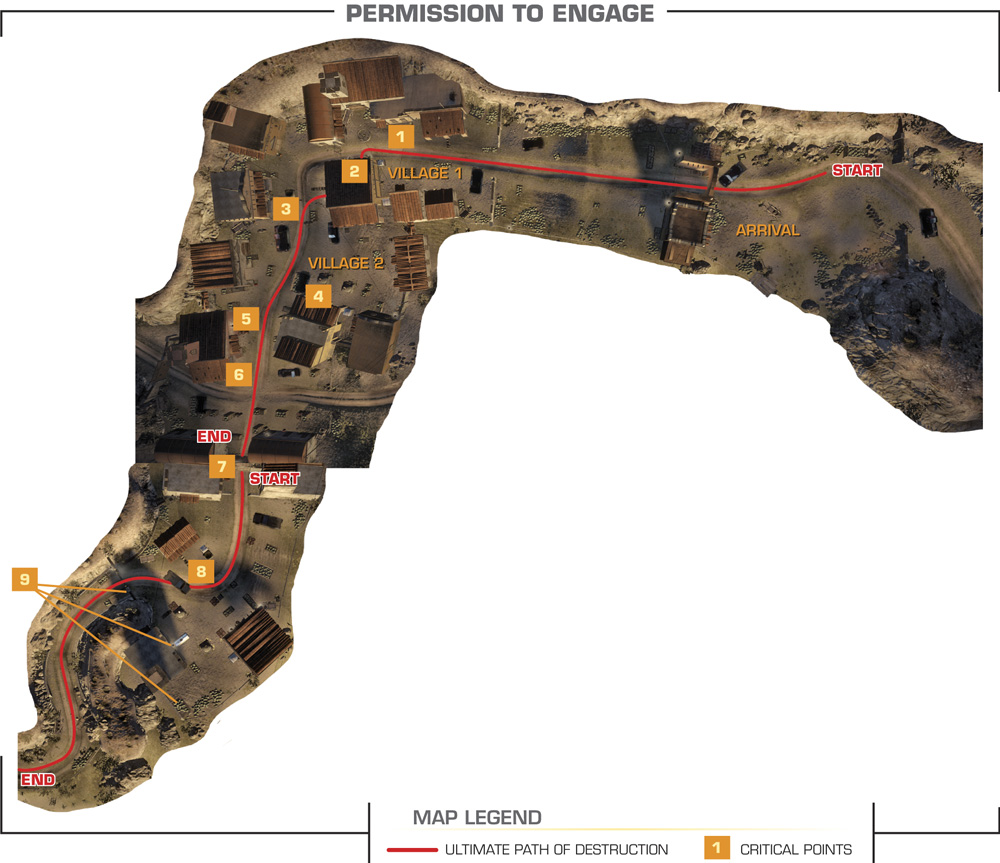
After a healthy debate about the need for permission to attack cartel members, you’re given control to begin storming the compound. As you cross through the entrance, you’ll see a pair of thugs standing guard with their backs facing you
 .
.
.jpg)
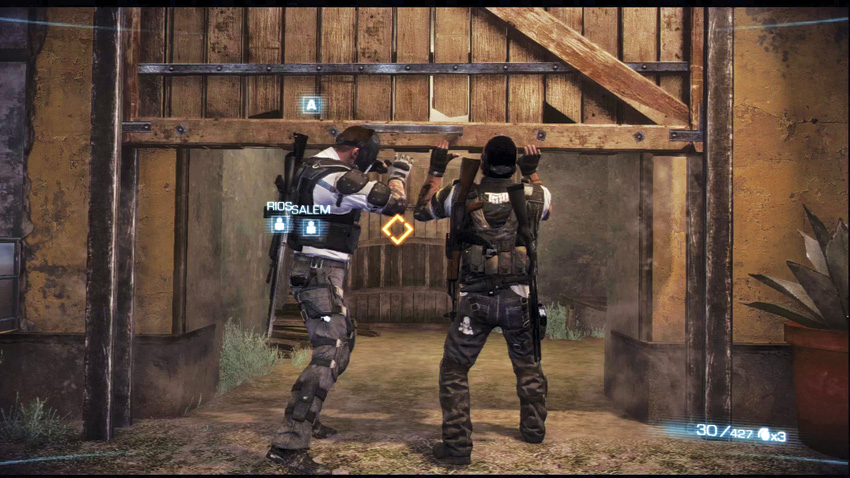
There’s no “right” way to take the guards out. If you’re playing with a friend, you can make clever use of cover to close in on them and score melee kills while their backs are turned. If you do it right, you can nail them both at the same time before they can even react to your presence. Unfortunately, if you’re playing alone, AI Bravo tends to open fire on his own as soon as he gets close enough. However you manage it, Salem and Rios split off from you once the guards are dead, ordering you to go through the nearby stables to proceed
 . Use a co-op action to lift the door.
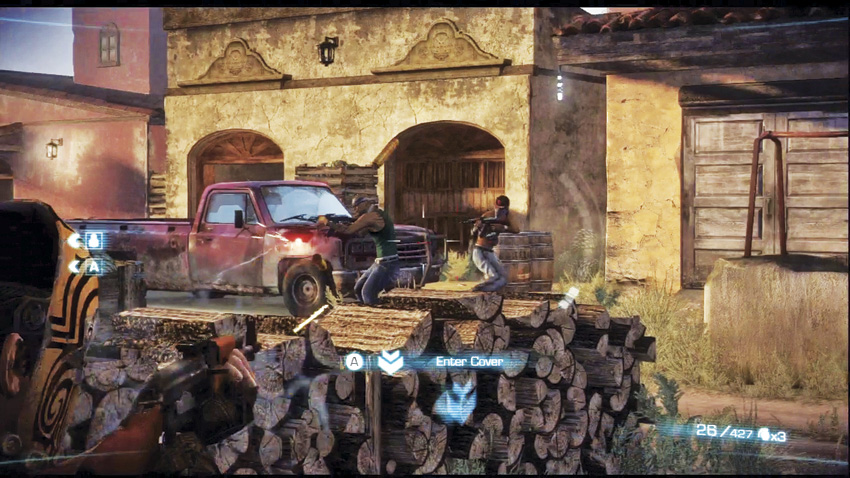
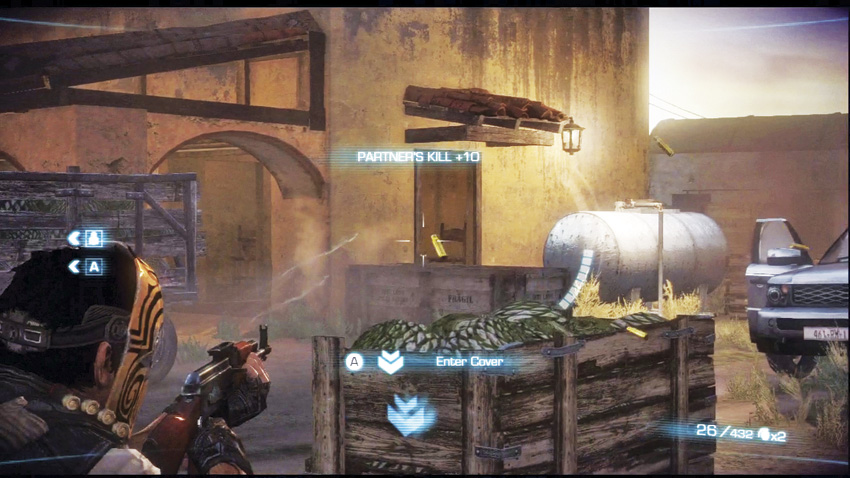
 You reunite with Rios and Salem as they engage in a pitched firefight with more cartel thugs. These poor guys have their backs turned to you while they fight the other operators, giving you a chance for some flanking bonuses. Watch out for the guys using the pillars of nearby structures for cover
 .
.
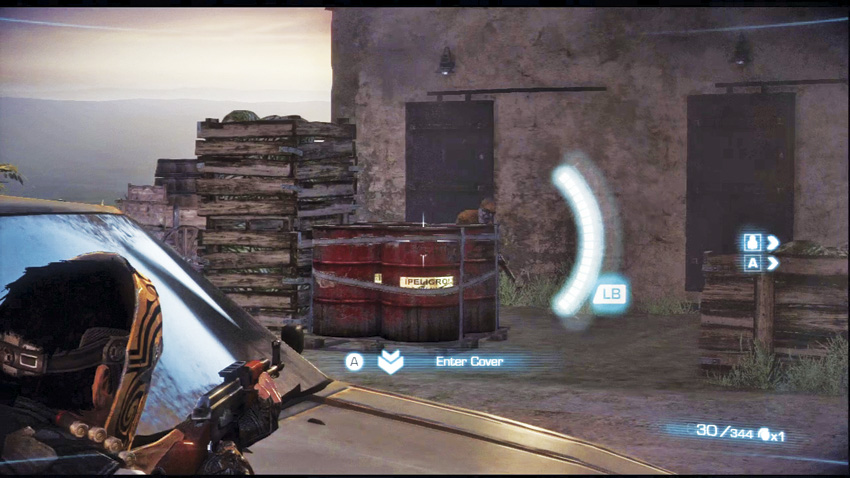
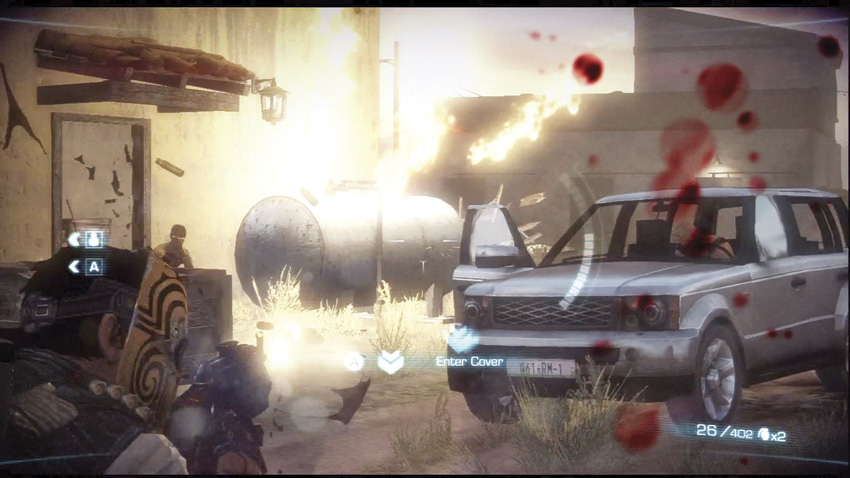
 A little farther ahead from the first group you surprise, an SUV pulls up with more hostiles. More cartel members advance from another vehicle parked a short distance away. The first SUV parks near a large propane tank, so be sure to use that against the enemy, if possible.
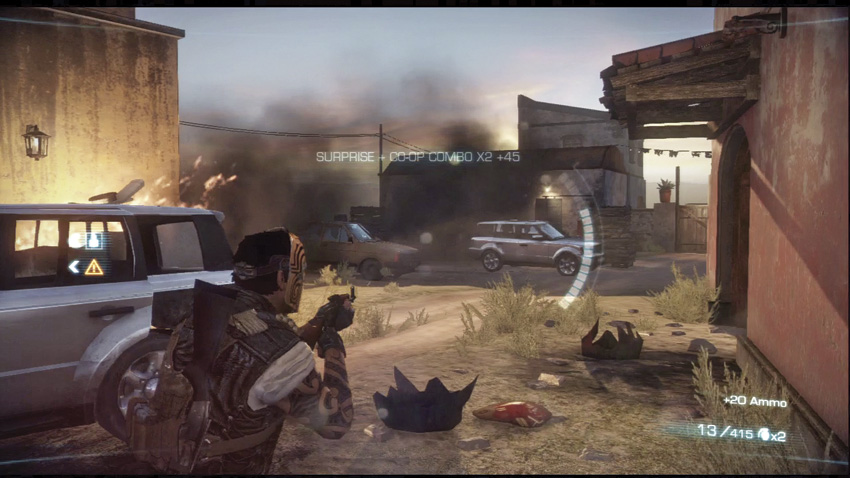
 The area by the second SUV branches off to the left and right. From the left, another gaggle of thugs come running down the dirt road. The buildings in the area have many potential nooks and crannies for enemies to hide in, so be careful about standing out in the open.
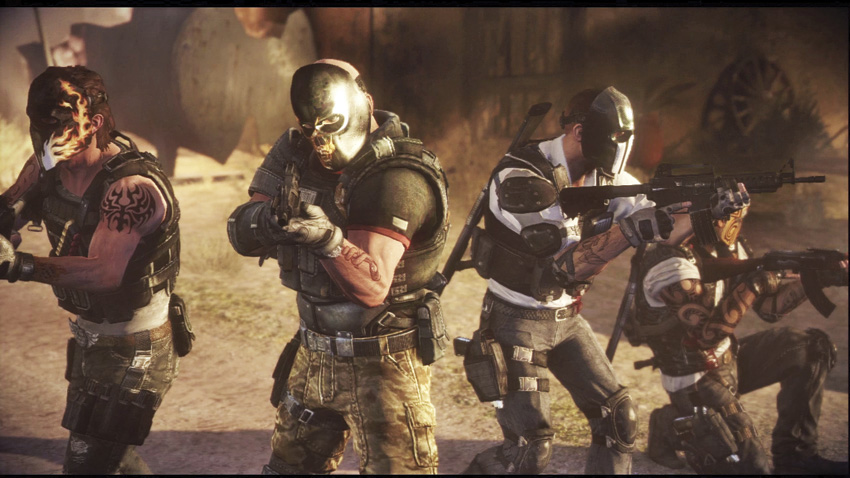
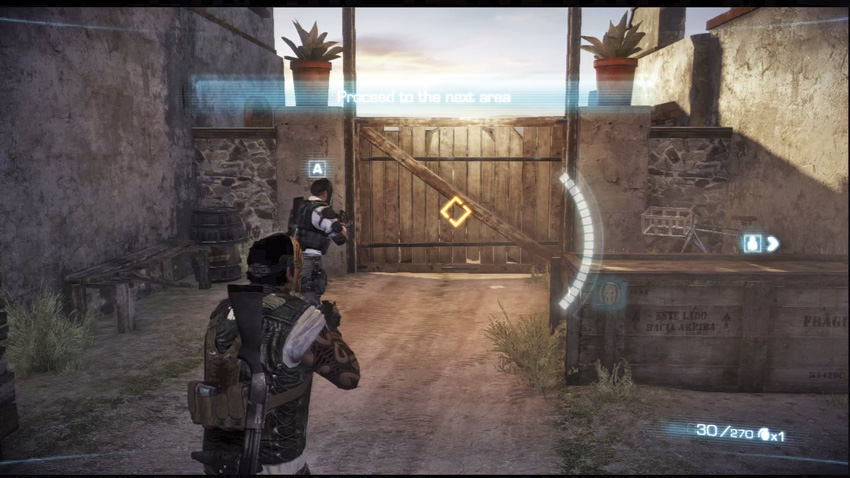
With the area clear, the group gathers up to discuss the next step of the job. Once again, Rios and Salem split off from Alpha and Bravo to search for their target in one part of the compound. Make your way through the HUD-indicated door
 to proceed with the mission.
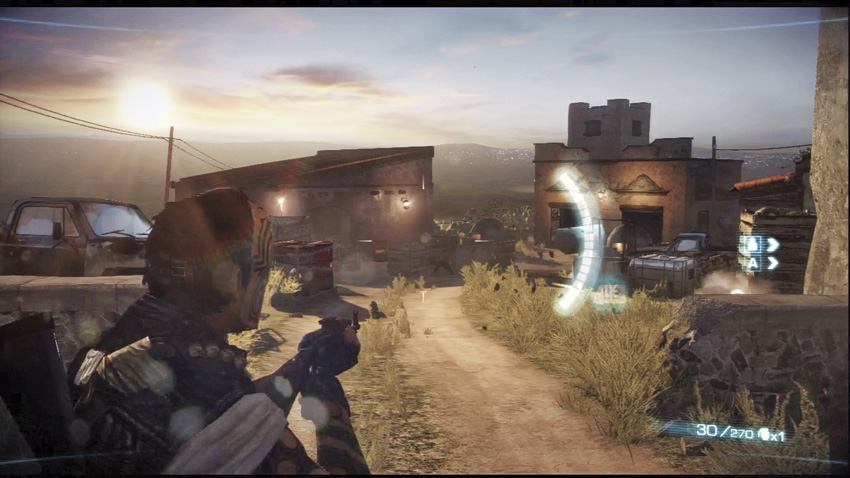
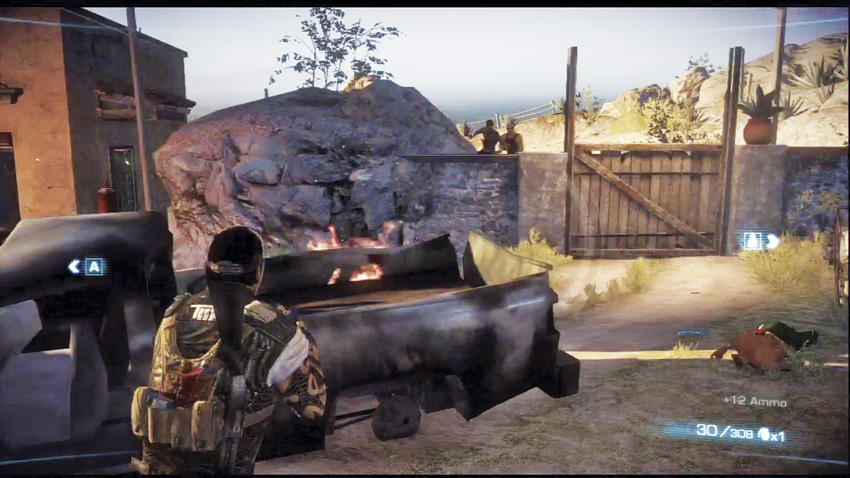
 The area beyond the gate is another dirt road with lots of cover strewn about. Explosive barrels are mixed in among the ‘safe’ cover. Several buildings flank this area, providing your enemies with ample cover and possible flanking routes. After the first set of hostiles gets taken down, a second wave from the far building will try to avenge them
 . You’ll exit through the wooden gate once the area is clear.