
Army of Two: The Devil's Cartel Guide Essentials Contracts
Contracts
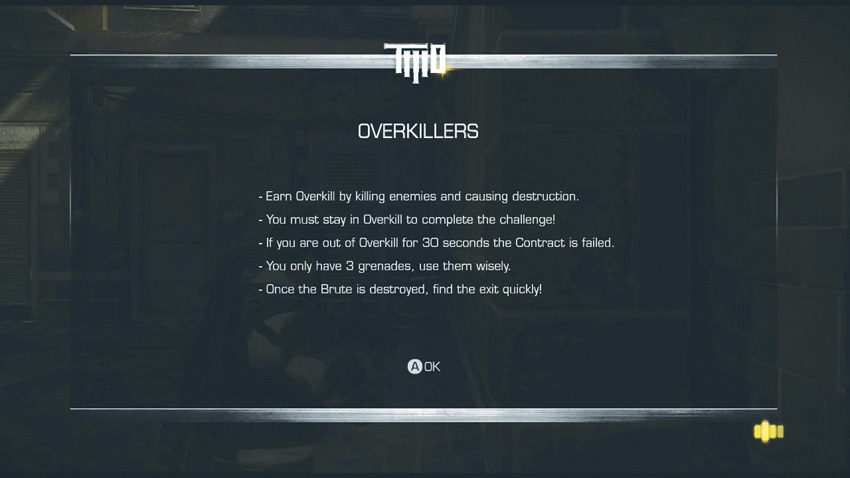
Contracts are bonus missions which are available to players who purchased the Limited Edition of Army of Two: The Devil’s Cartel. There are four missions, one of which is only available to players who pre-ordered from a participating retailer.
The basics of a Contract are quite simple: You start a mission with a full Overkill meter, three frag grenades, and the weapons of your choice. As you approach the mission start zone, a three second countdown begins. Once it has elapsed, Overkill automatically triggers. You need to continuously kill hostiles or cause significant environmental damage to keep the Overkill meter filled. You will not be having trouble finding targets, they are plentiful and all are marked on your HUD.
If the meter drains completely (and during some of the Contracts this can easily happen), you have 30 seconds to refill the meter before you fail the Contract. You’re vulnerable to incoming fire during those 30 seconds, and you also must reload your weapons during that time. If a player is killed, the Contract is considered failed.
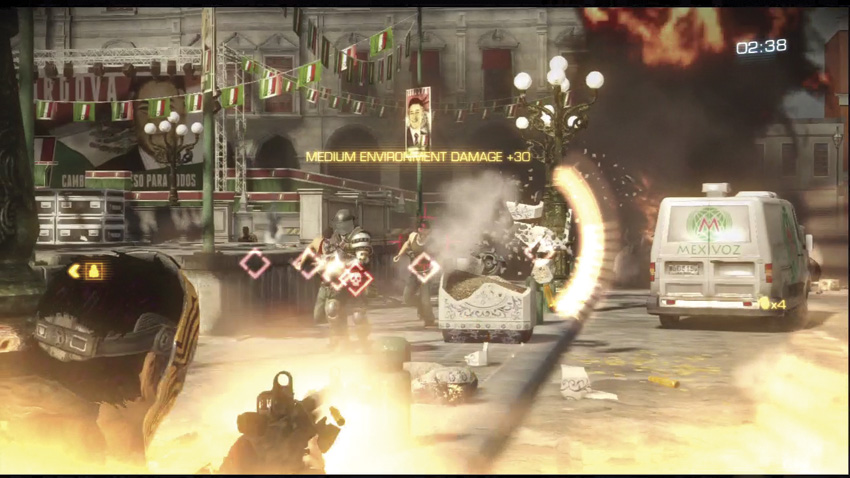
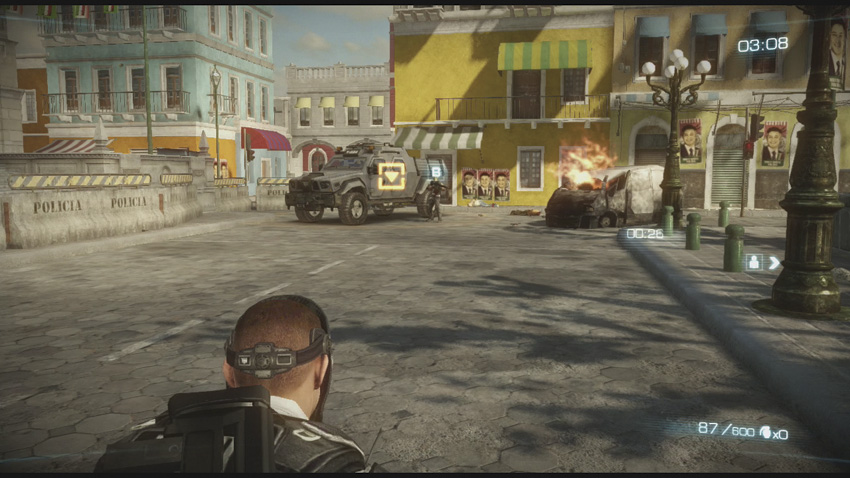
Each Contract takes place across multiple sections that are found in the main Campaign, and is typically divided into sections by checkpoints. These checkpoints pause Overkill. If you get to a checkpoint completely drained of Overkill, then your meter is refilled before you are let loose on the next section. Your ultimate goal is to reach a T.W.O. armored vehicle after fighting through the mission zones. As you approach the T.W.O. vehicle, a Brute will appear near it. You must kill the Brute before you can enter the extraction point.
Contracts are extremely lucrative money-makers considering how long it takes you to actually finish one. If you want to quickly rise through the T.W.O. ranks, then make use of these Contracts as they become available.
Contract 1: Rally Point
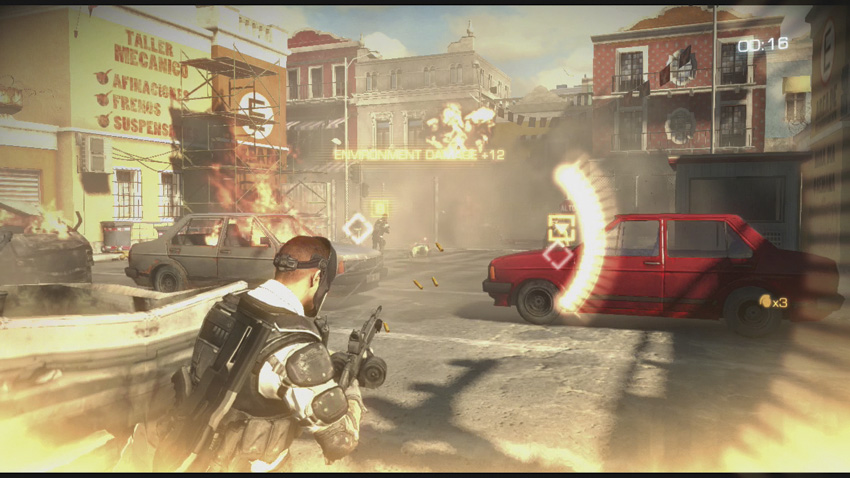
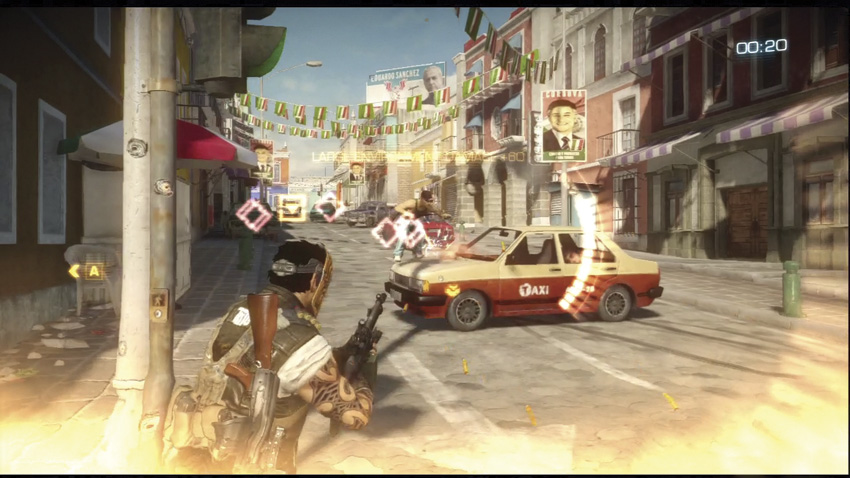
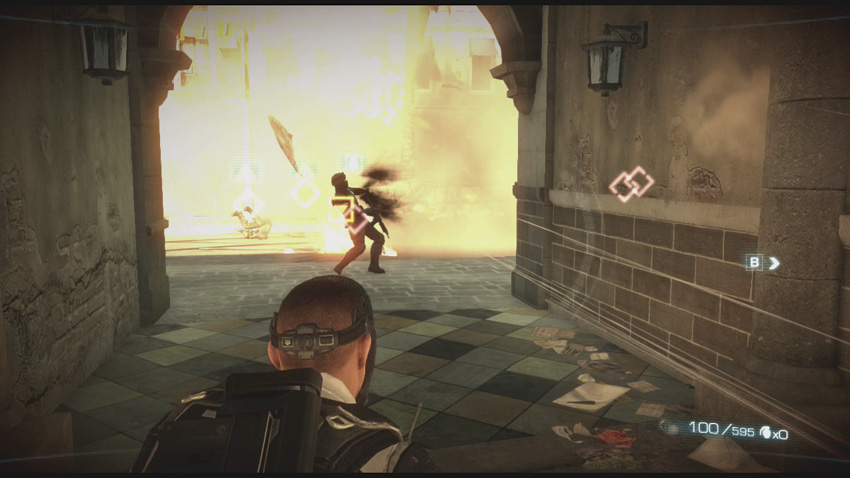
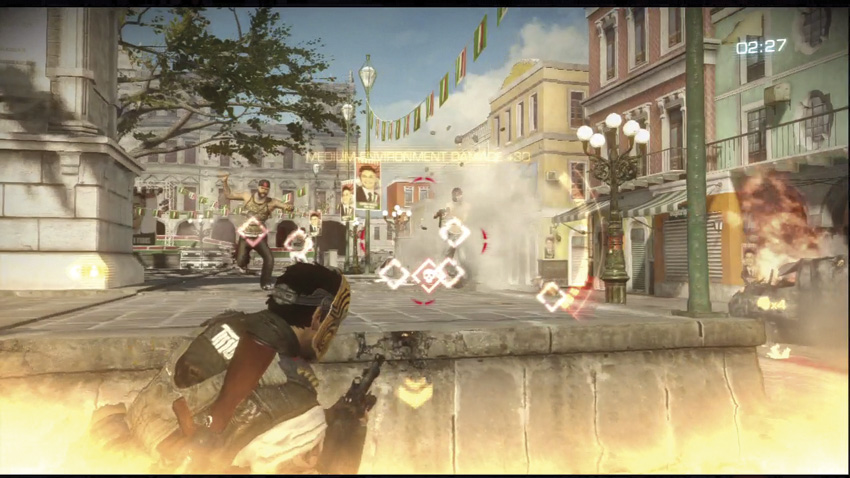
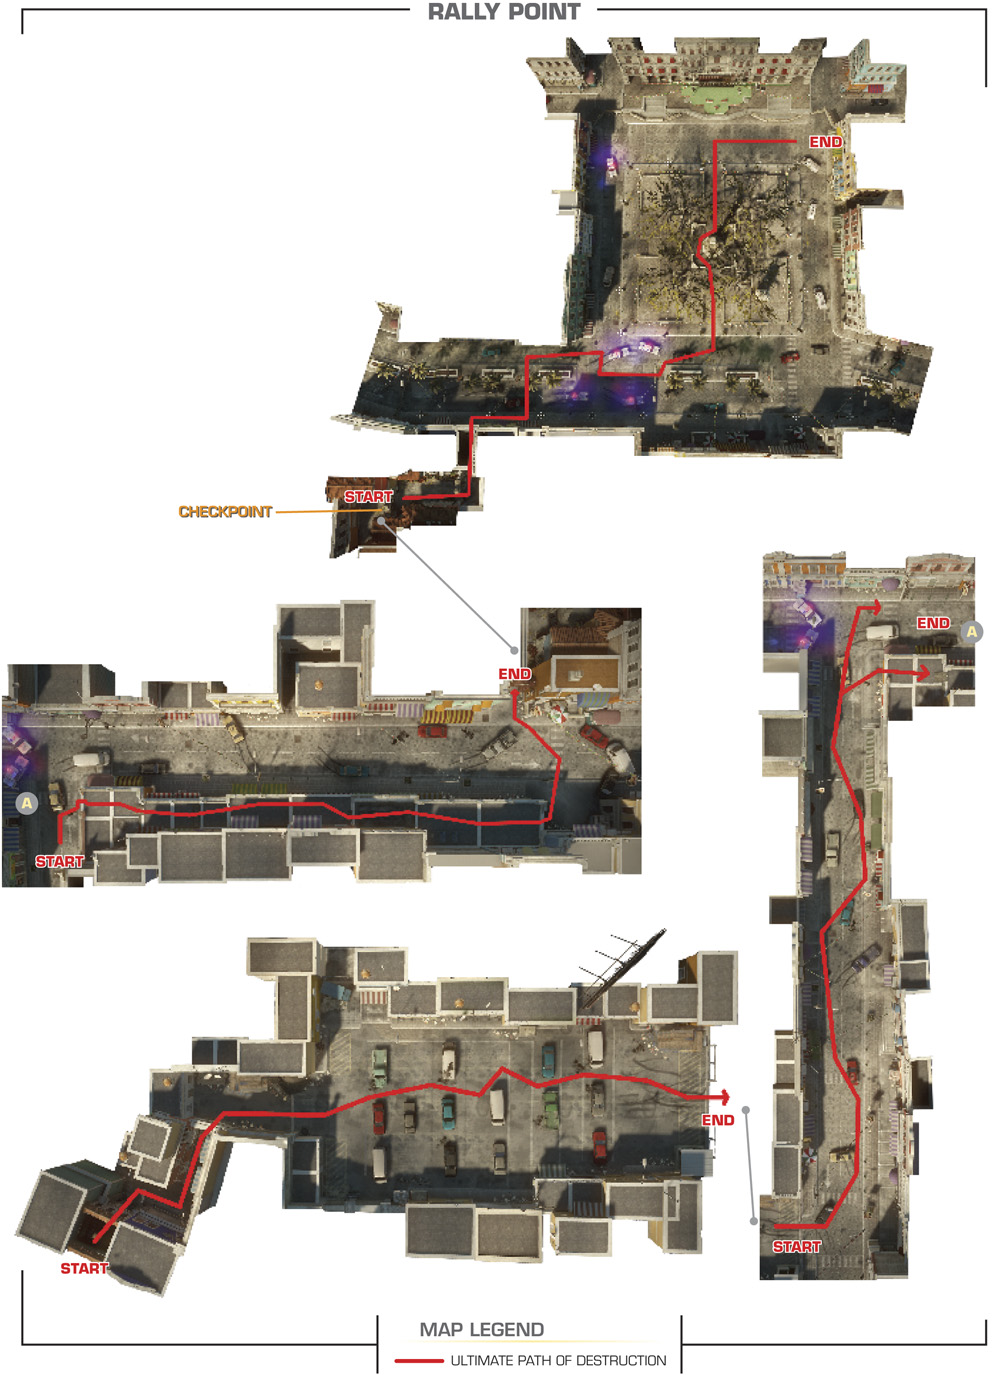
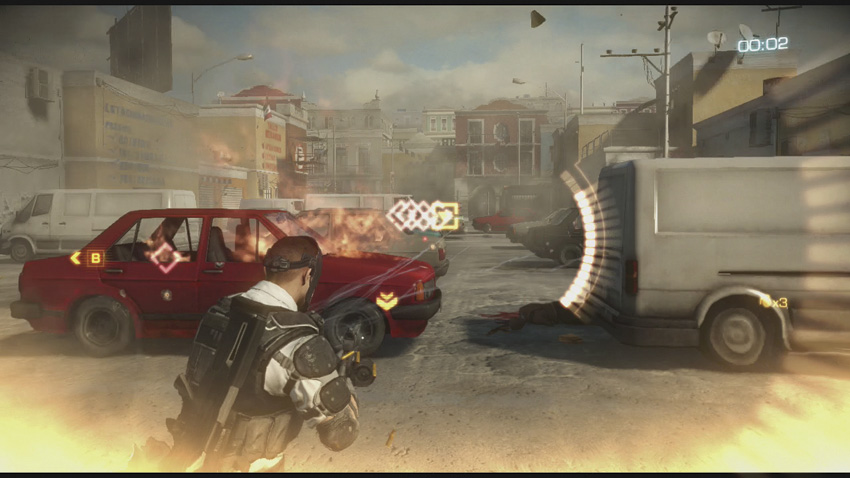
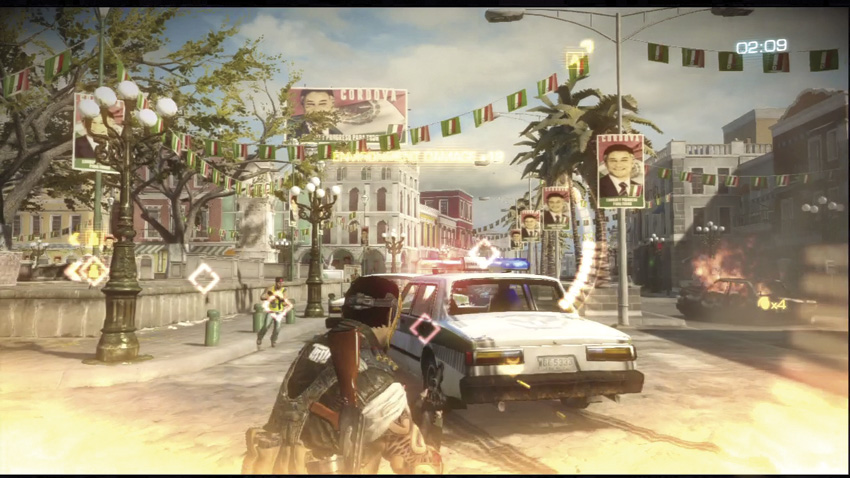
For the amount of time you spend in the mission, this first Contract is the easiest to accomplish while scoring huge amounts of cash. In the first half of the Contract, you find yourself in front of a familiar car lot. Your ultimate destination is the plaza in front of La Puerta’s City Hall. There are a lot of destructible cars and other obstacles throughout the entire area, making it easy to maintain Overkill while blasting through the map.
Contract 2: Outside Contact
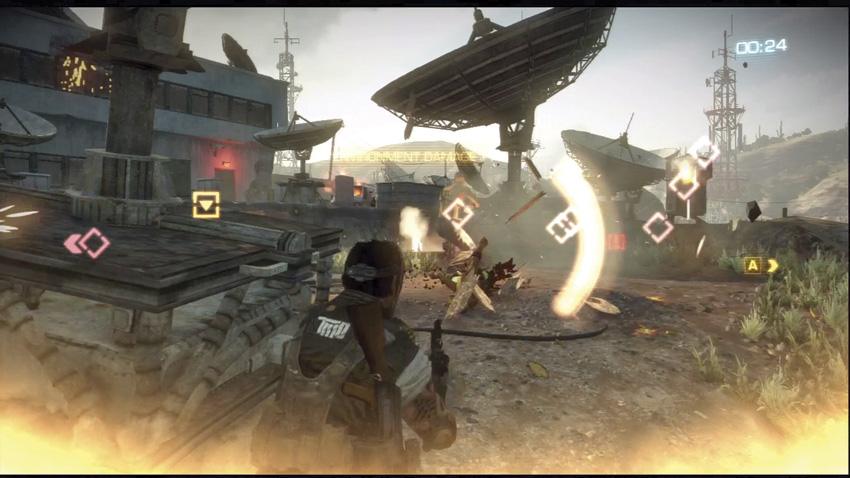
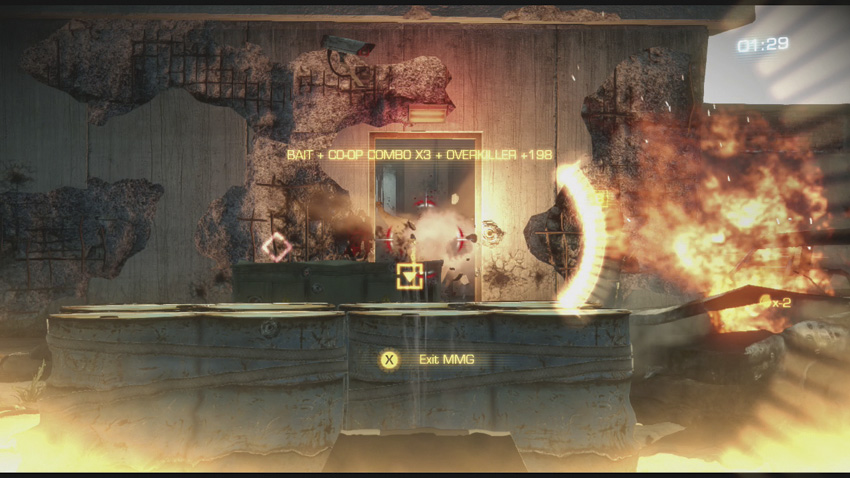
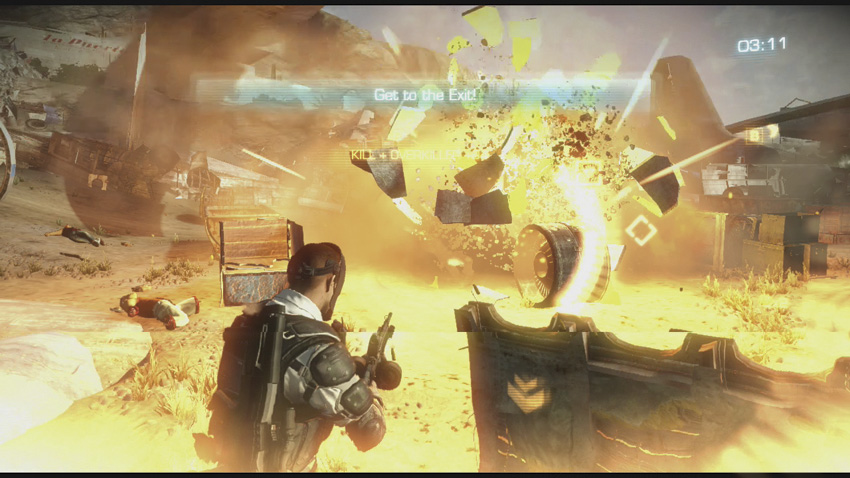
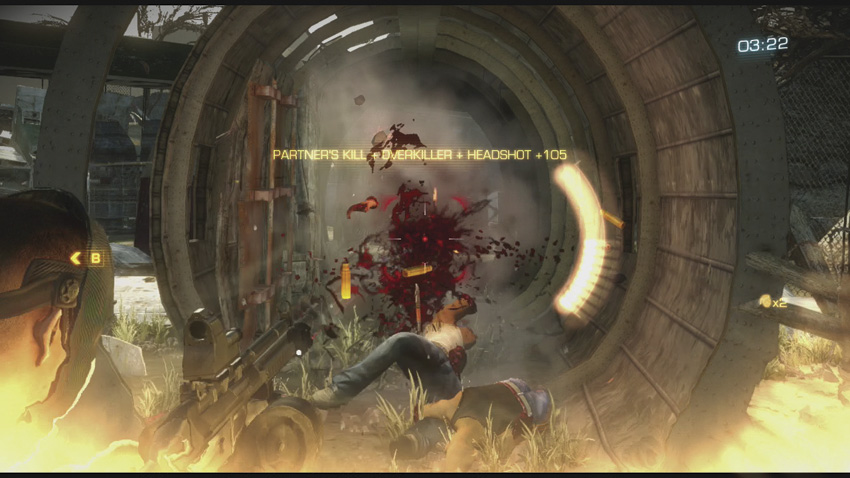
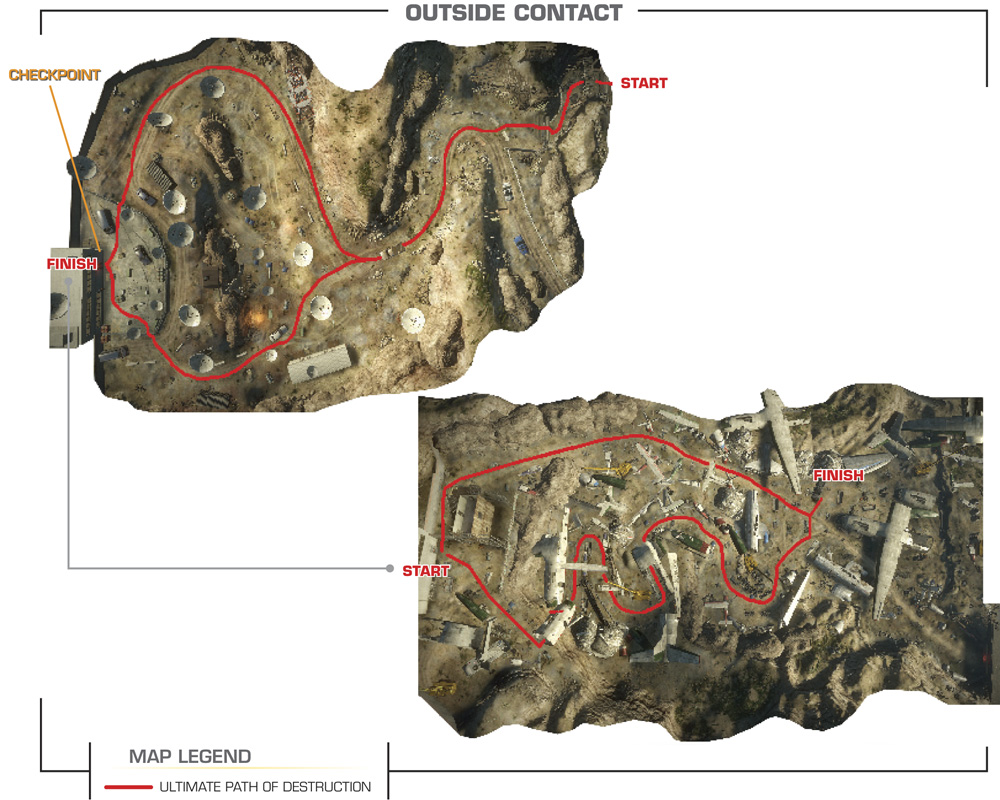
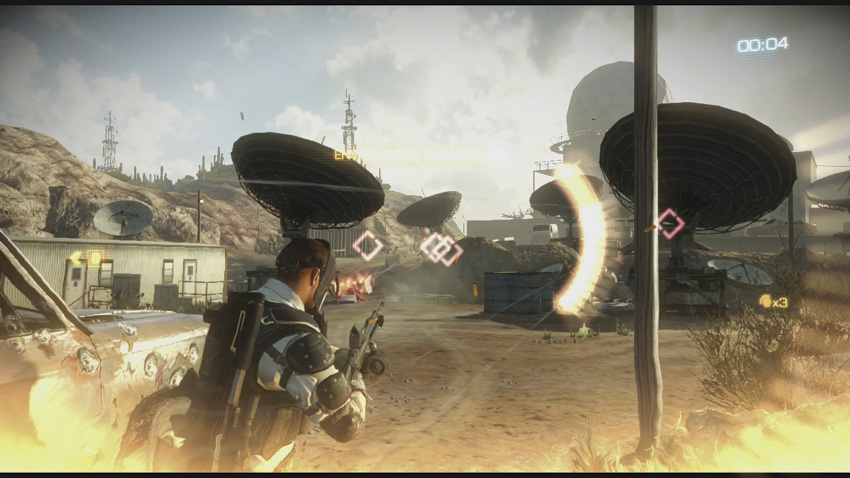
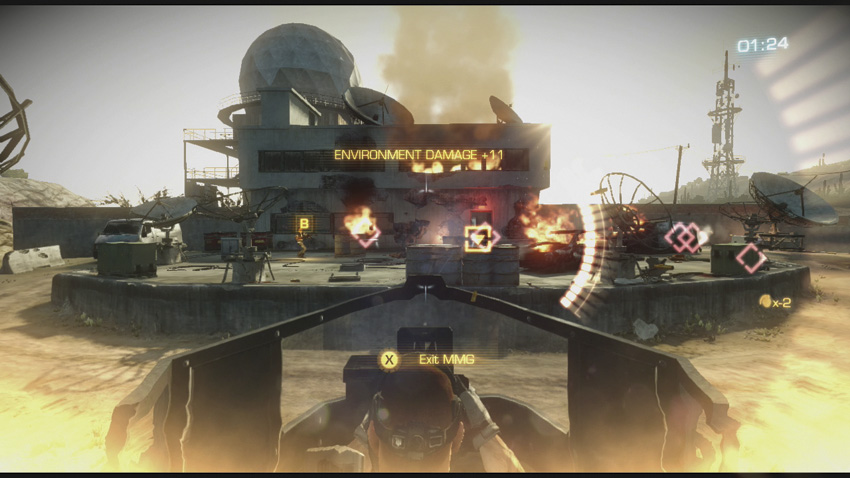
You start this Contract in front of the radar station just before the large aircraft junkyard. Things are a bit more difficult this time around since you start off farther away from the enemy, giving your Overkill more time to drain away. Pack a fairly accurate weapon with a longer range so that you can pick off strays as you sprint towards the MMG guarding the station. Get rid of the gunner, and then turn the weapon on the thugs coming from the station.
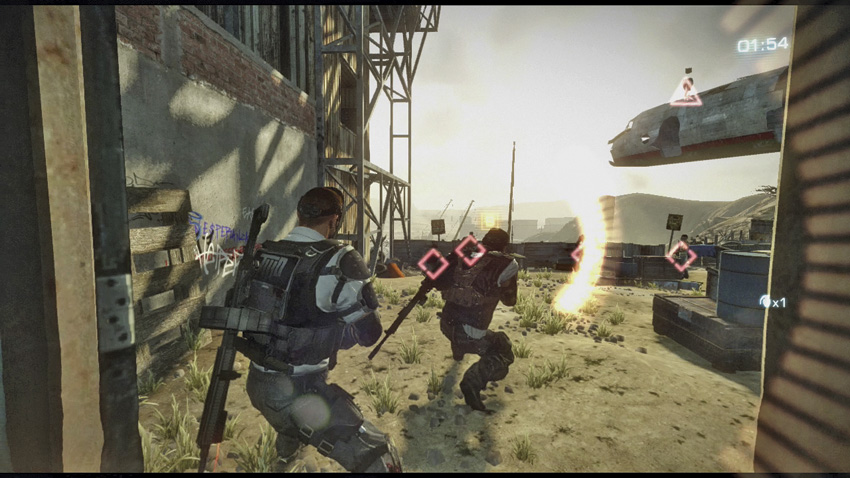
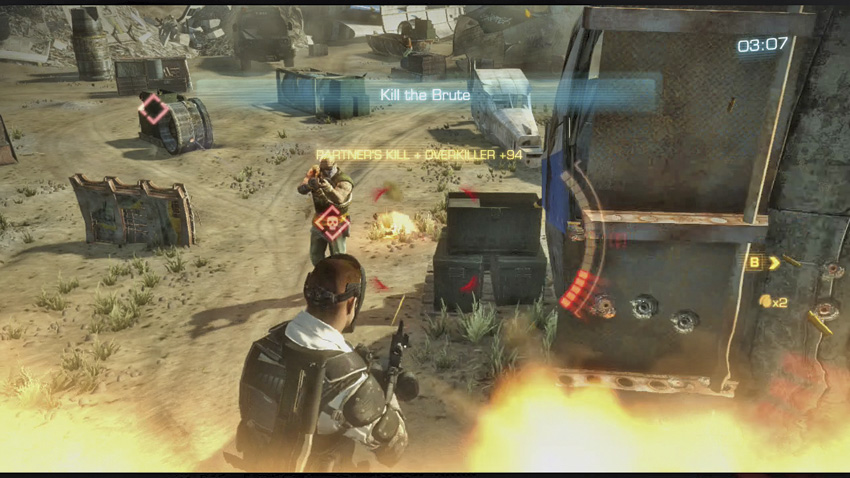
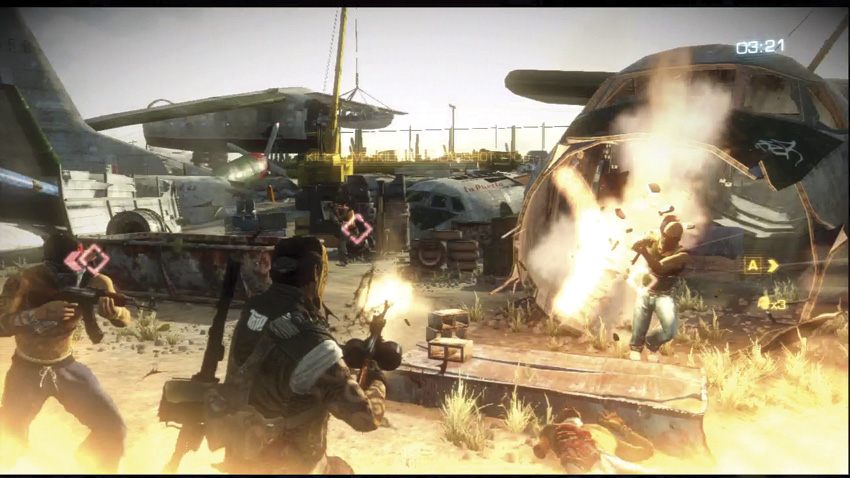
The second half starts as you perform a dual breach to escape the station. As with the campaign mission that the junkyard appears in, you can boost an operative over the wall close to the breaching point. Both Alpha and Bravo can then proceed down toward the objective on separate routes, dealing with their own sets of enemies as they go. This Contract is arguably the most lucrative. It’s not at all uncommon to reach almost $30,000 in a single run.
Contract 3: Assault
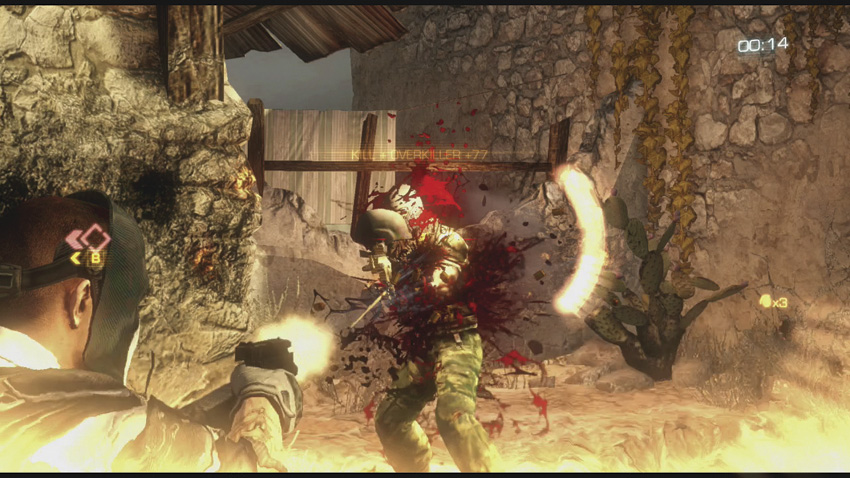
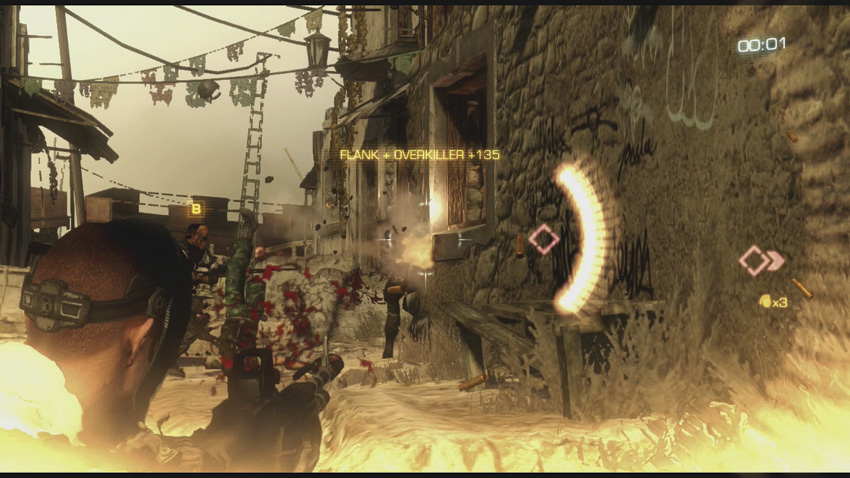
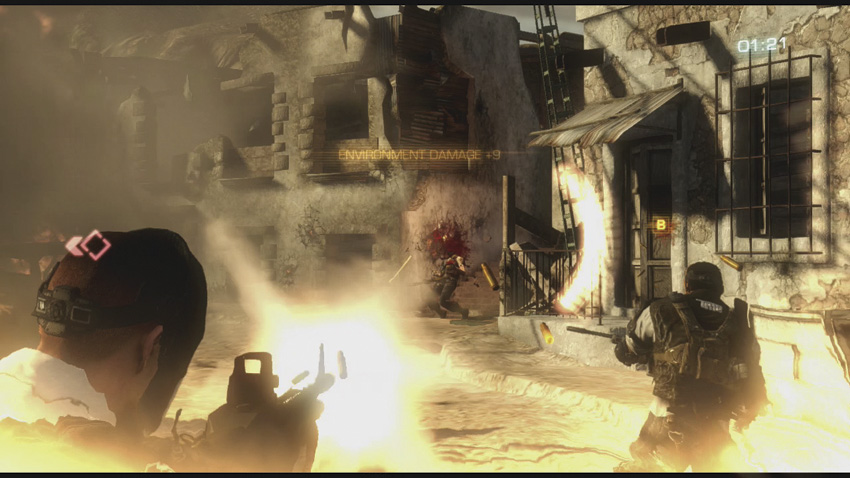
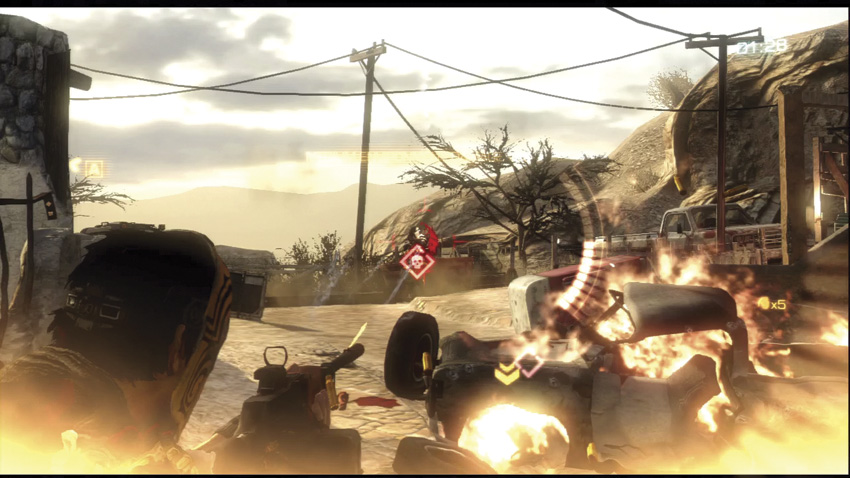
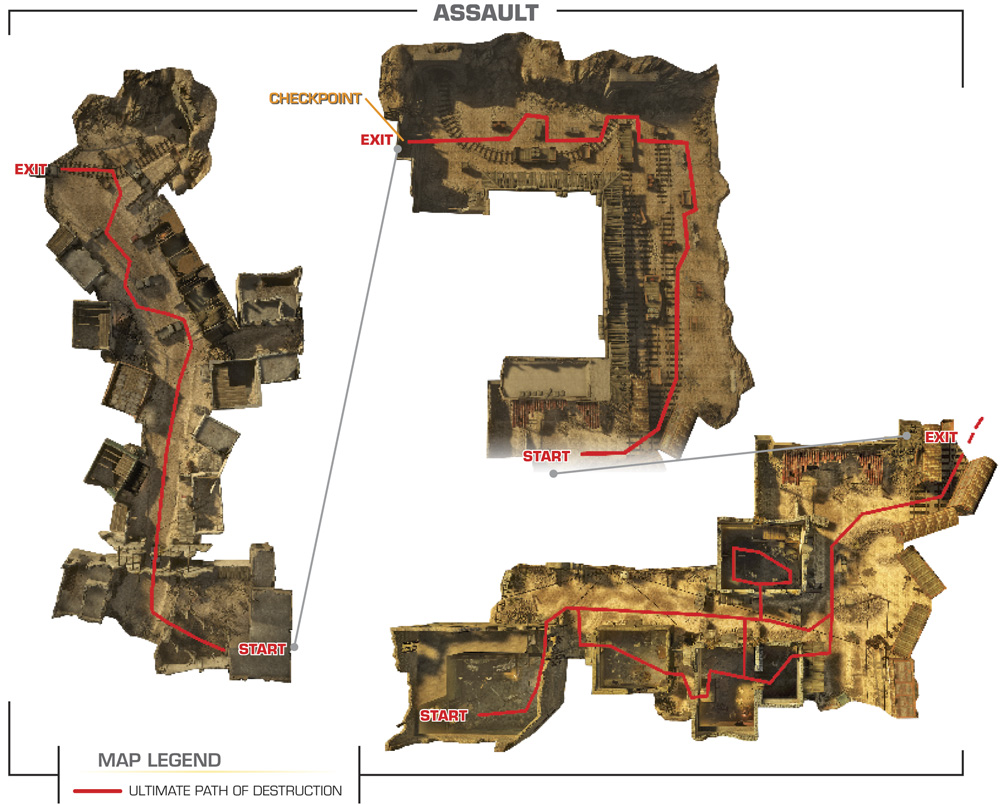
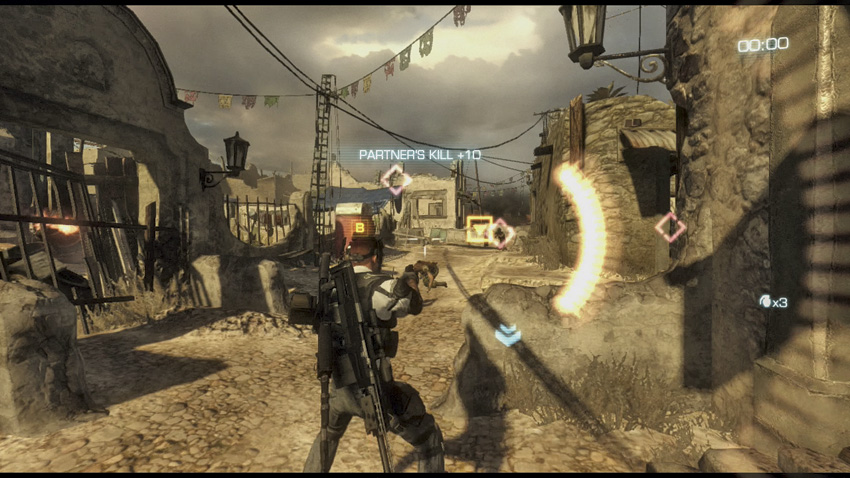
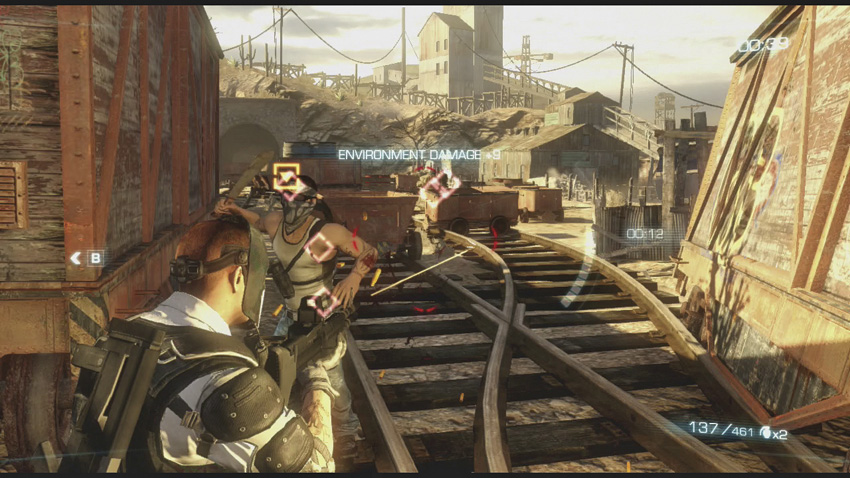
Of the four Contracts, this is the one that is hardest to do well in. The first half of the contract doesn’t give you many targets with which to maintain your Overkill until you cross into the actual rail yard proper. For this reason, we recommend using SMGs so that you can stay a little faster on your feet while firing. Even a pistol can be a good choice since the pistol ranges are fairly short, and you can rapidly spray some of the pistols at targets without losing your forward momentum. You can’t afford to dawdle much, so rush to the checkpoint and try not to spend too much time hunting stragglers.
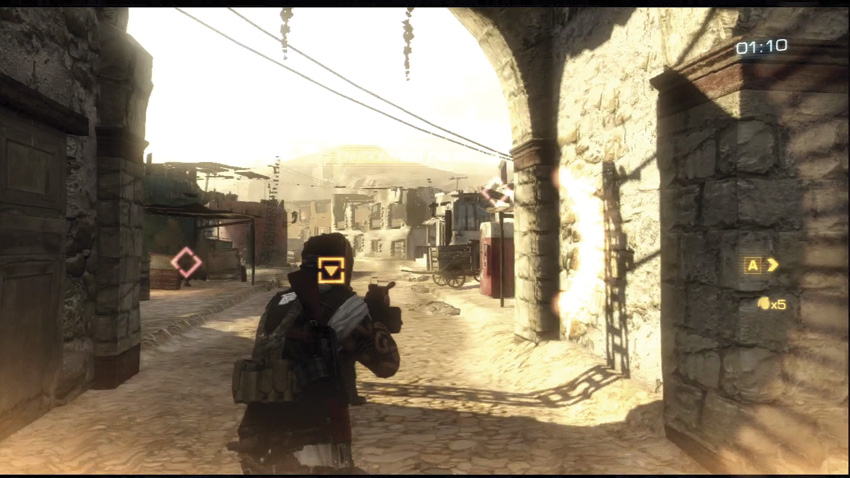
The street beyond the checkpoint hasn’t changed much since you saw it in the campaign. Move quickly toward the extraction point, as you’re still plagued by a lack of targets to refill the Overkill meter with. The extraction point is protected by a Brute with a grenade launcher, so be careful and avoid getting killed if you have fallen out of Overkill by this point.
Contract 4: Confrontation
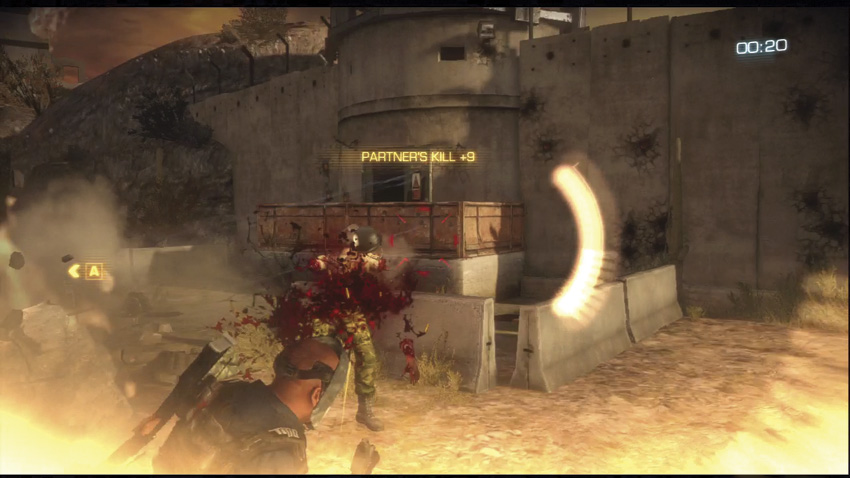
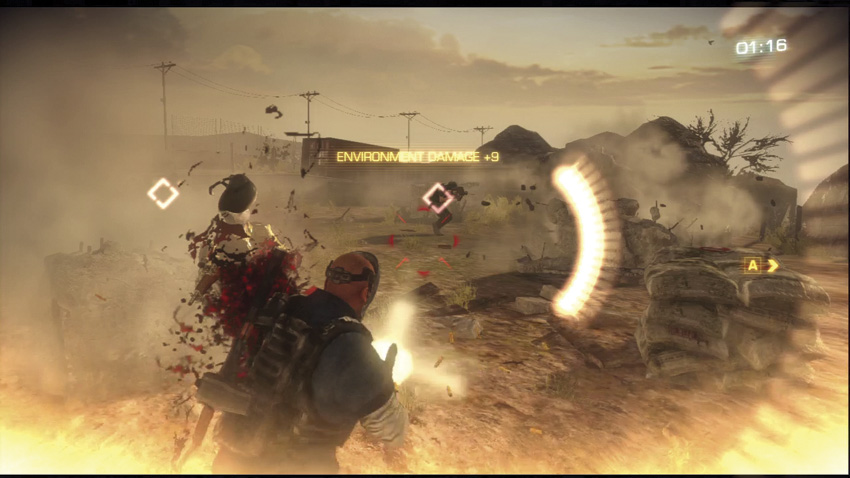
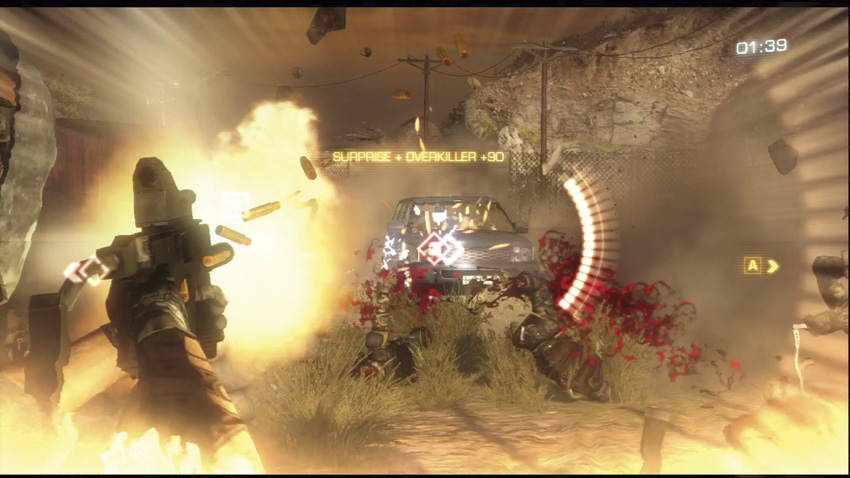
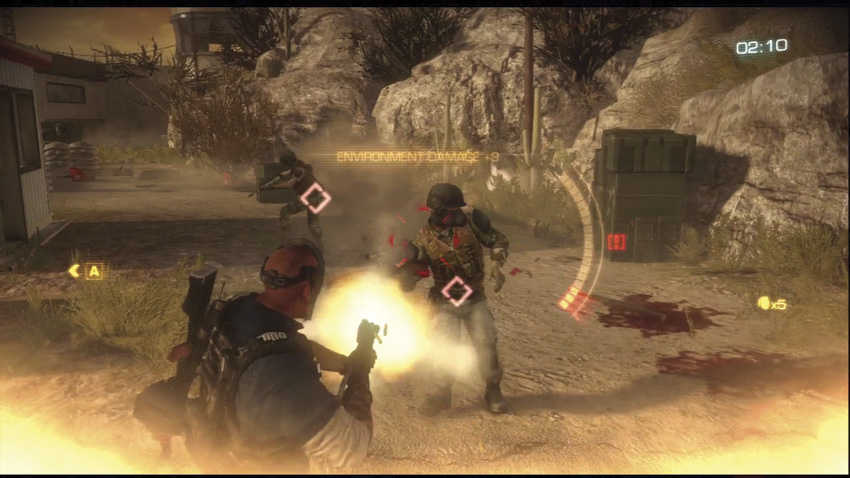
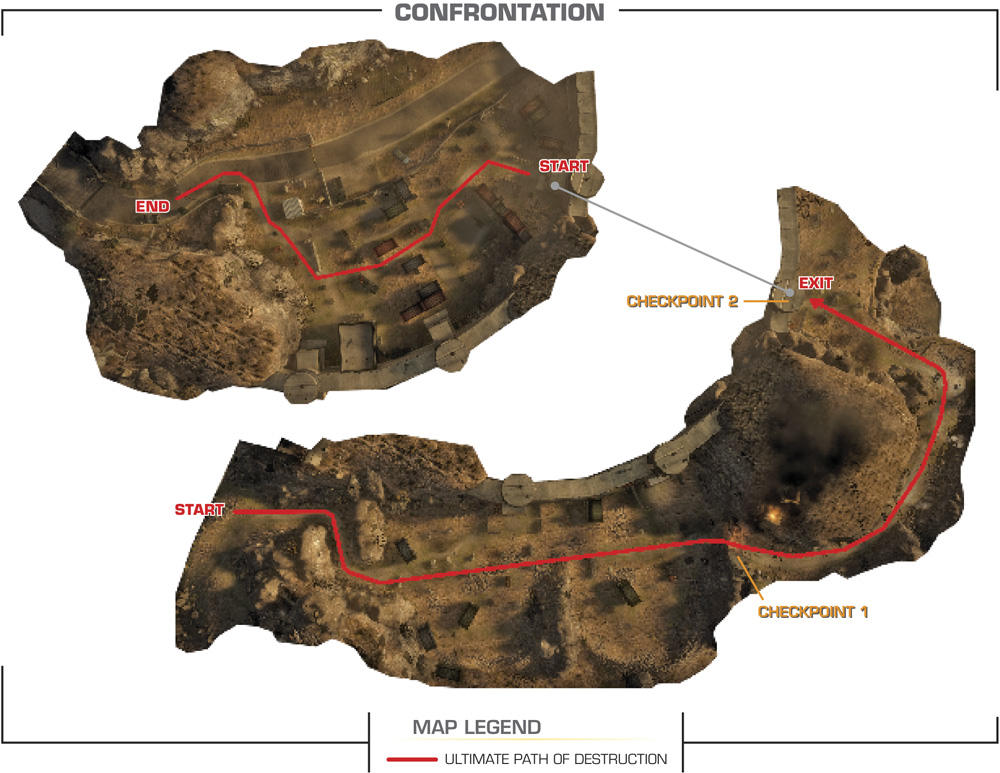
This last Contract is available through participating retailers’ pre-order programs. Putting you in the shoes of Baker and Chuy, this Contract is their chance to extract bloody vengeance against the cartel in an explosive send-off for two heroes.
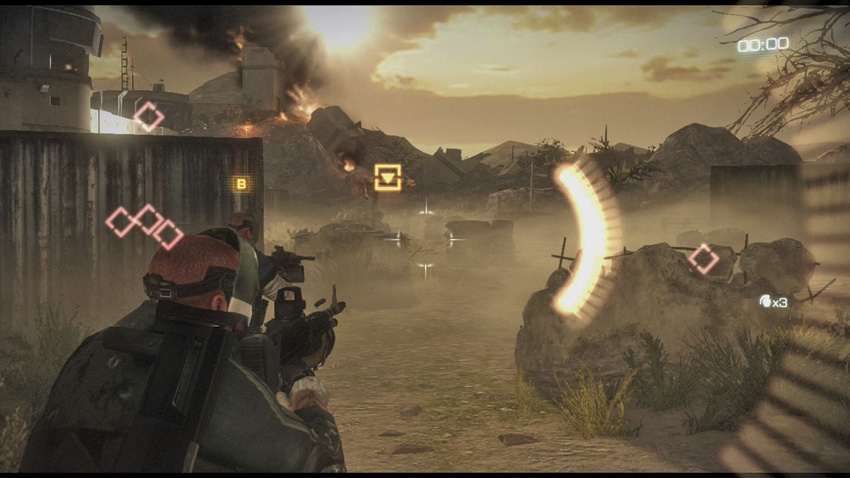
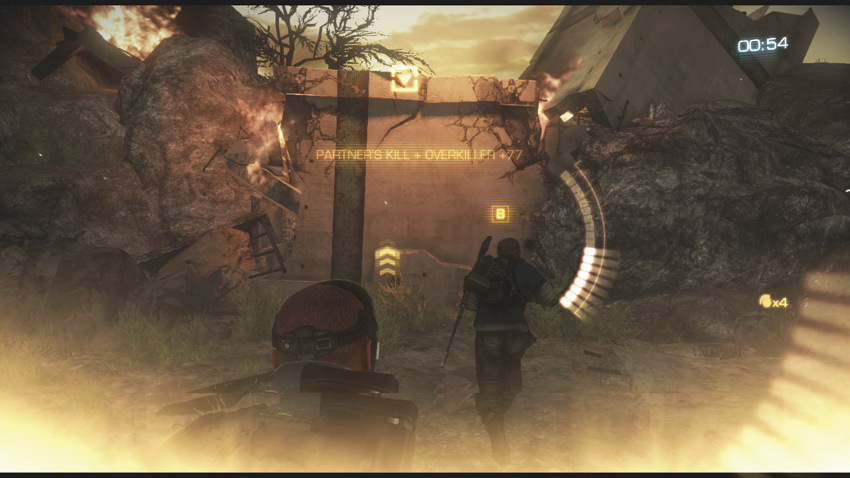
The starting area before the first checkpoint has you up against cartel elites on the compound walls to the left of your advance and many more targets headed right toward you The goal here is to get to the far tower entrance and hose down any elites trying to push out from the tower, building up a hefty combo multiplier. When the area is clear, use a Co-op Action to boost Chuy and Baker up to the checkpoint.
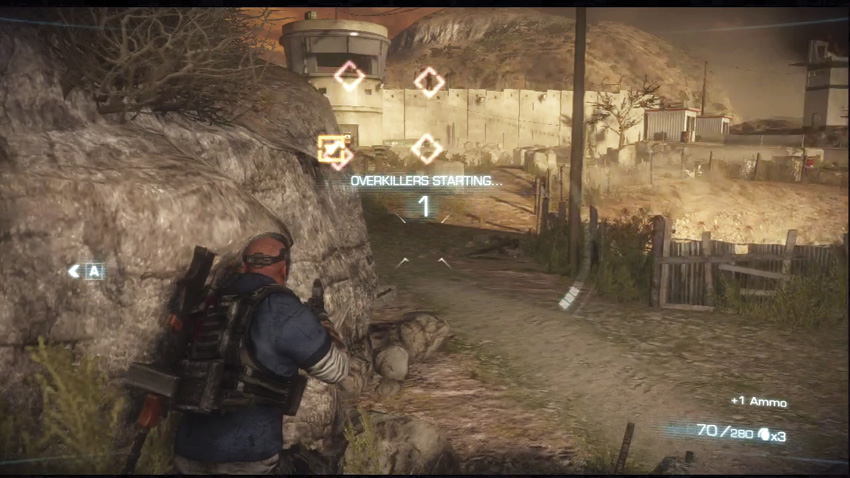
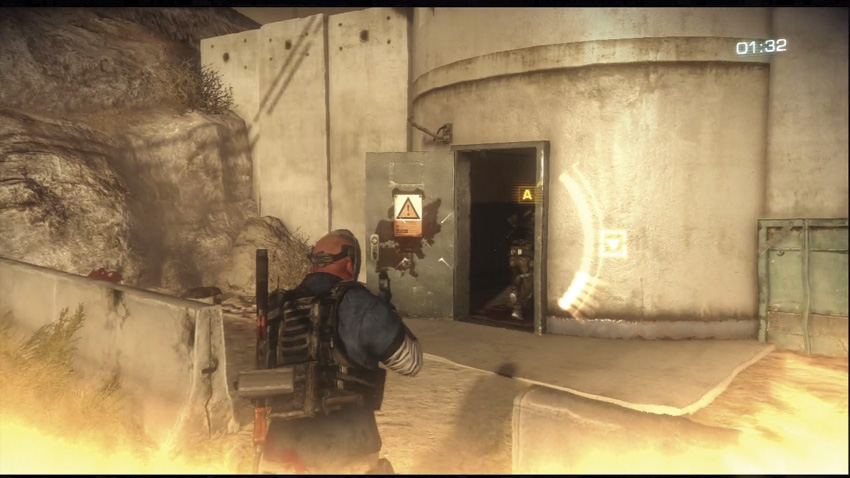
The battle in front of the second checkpoint is short and sweet. Eliminate the hostiles on the walls, and then go to town on the reinforcements coming in from the road. You should be able to clear them out and get to the second heckpoint with time to spare.
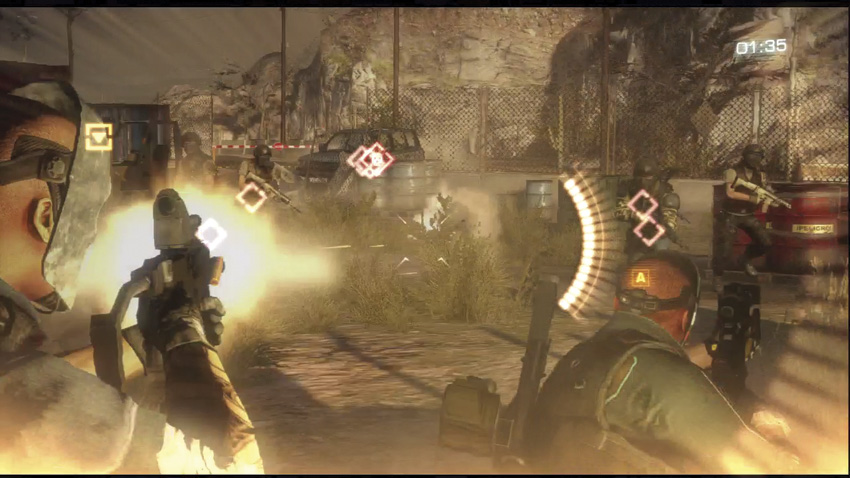
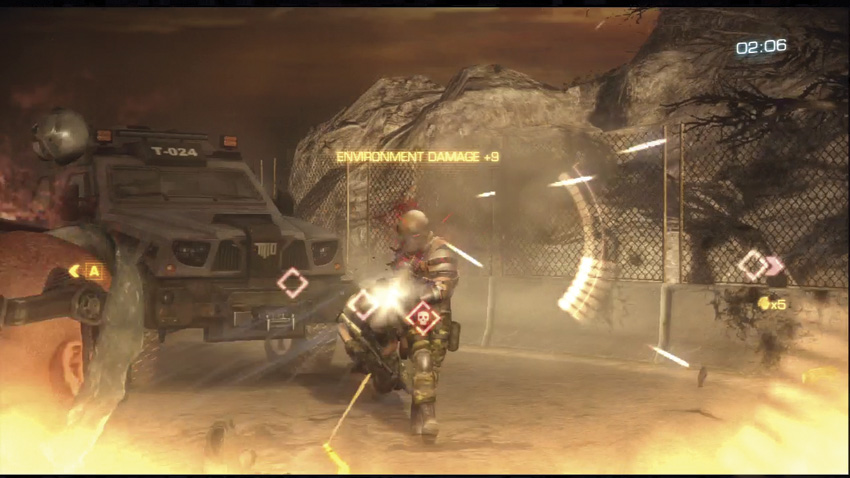
You leave the second checkpoint with a dual breach sequence. Lots of cartel elites are already in the area, and more are being delivered by sports utility vehicle. As you advance toward the extraction zone, don’t forget about the hostiles coming from the buildings to the left of the cargo containers. Expect multiple Brutes, which can be problematic if you manage to lose Overkill during the final stretch.