
Titanfall 2 Guide Single-Player Campaign Trial by Fire
IMC Airbase
Cooper’s LogbookInserttexthere BT and I have rejoined with the survivors of the 9th Militia Fleet. Commander Sarah Briggs is leading our mission to intercept the Fold Weapon’s power source—the Ark. I guess the scan data I got from it paid off. We were able to track and pinpoint the Ark’s location on Typhon to an IMC air base. |
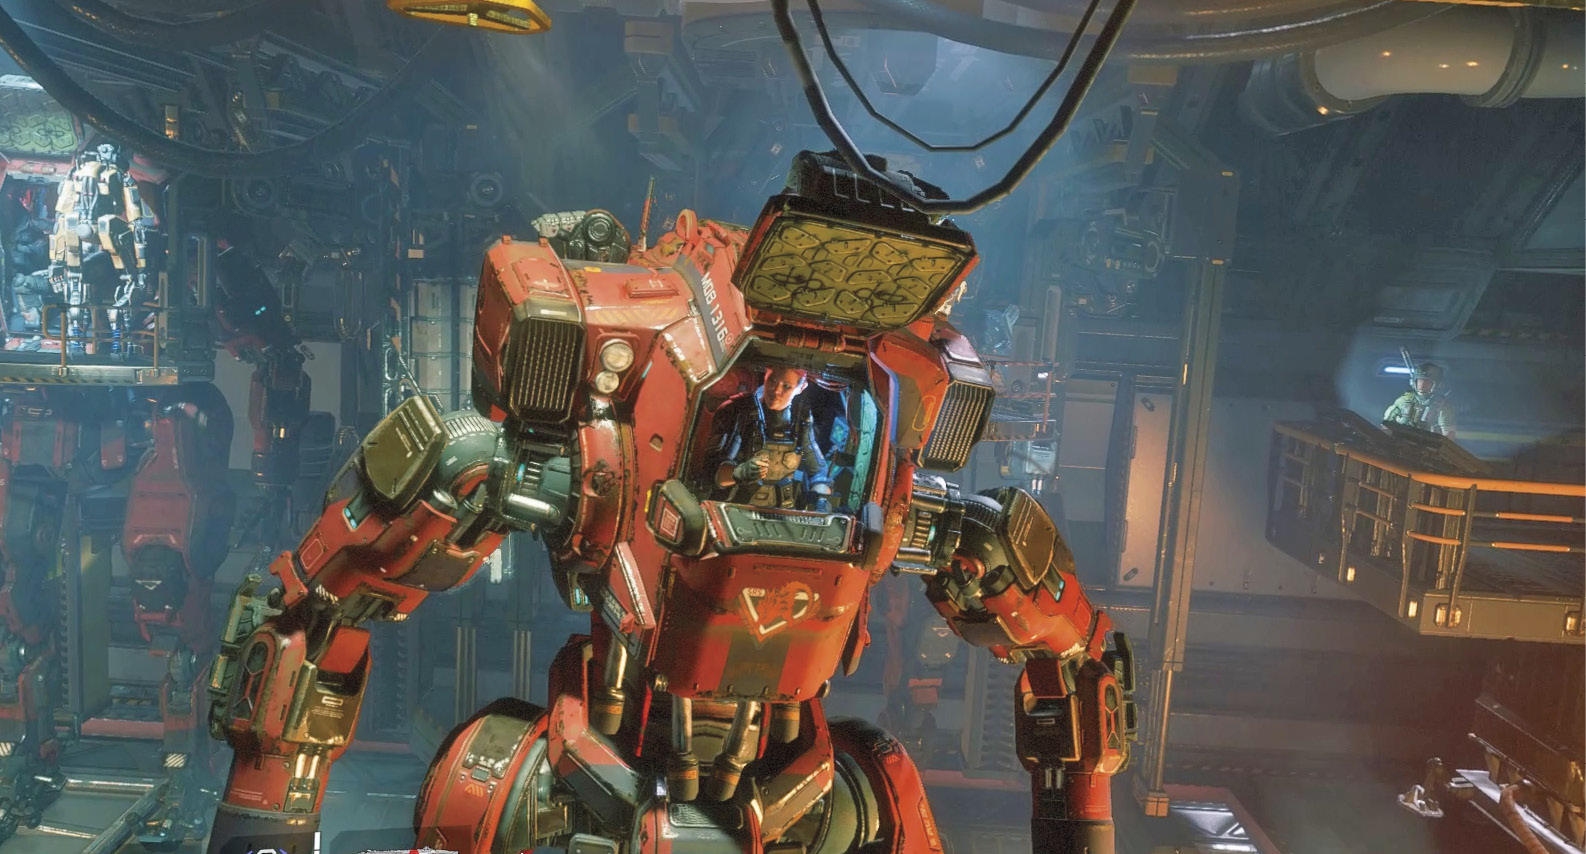
Commander Sarah Briggs is leading the mission to retrieve the Ark, traced to an IMC air base on Typhon. Listen to her briefing. Your objective is to acquire the Ark before it leaves the air base and is installed in the IMC’s Fold Weapon. Prepare for Titanfall as BT and several other Militia Titans rocket down to the surface.
Perimeter Wall
The Militia Titans land outside the air base’s perimeter wall. In addition to blocking access to the air base, the wall is also topped with several turrets. To avoid getting hit by one of these weapons, take cover behind one of the concrete barricades and wait for Sarah to give the attack command. In unison, the other Titans launch missiles, creating a couple of breaches in the wall and neutralizing a few turrets. Follow the other Titans as they begin the assault.
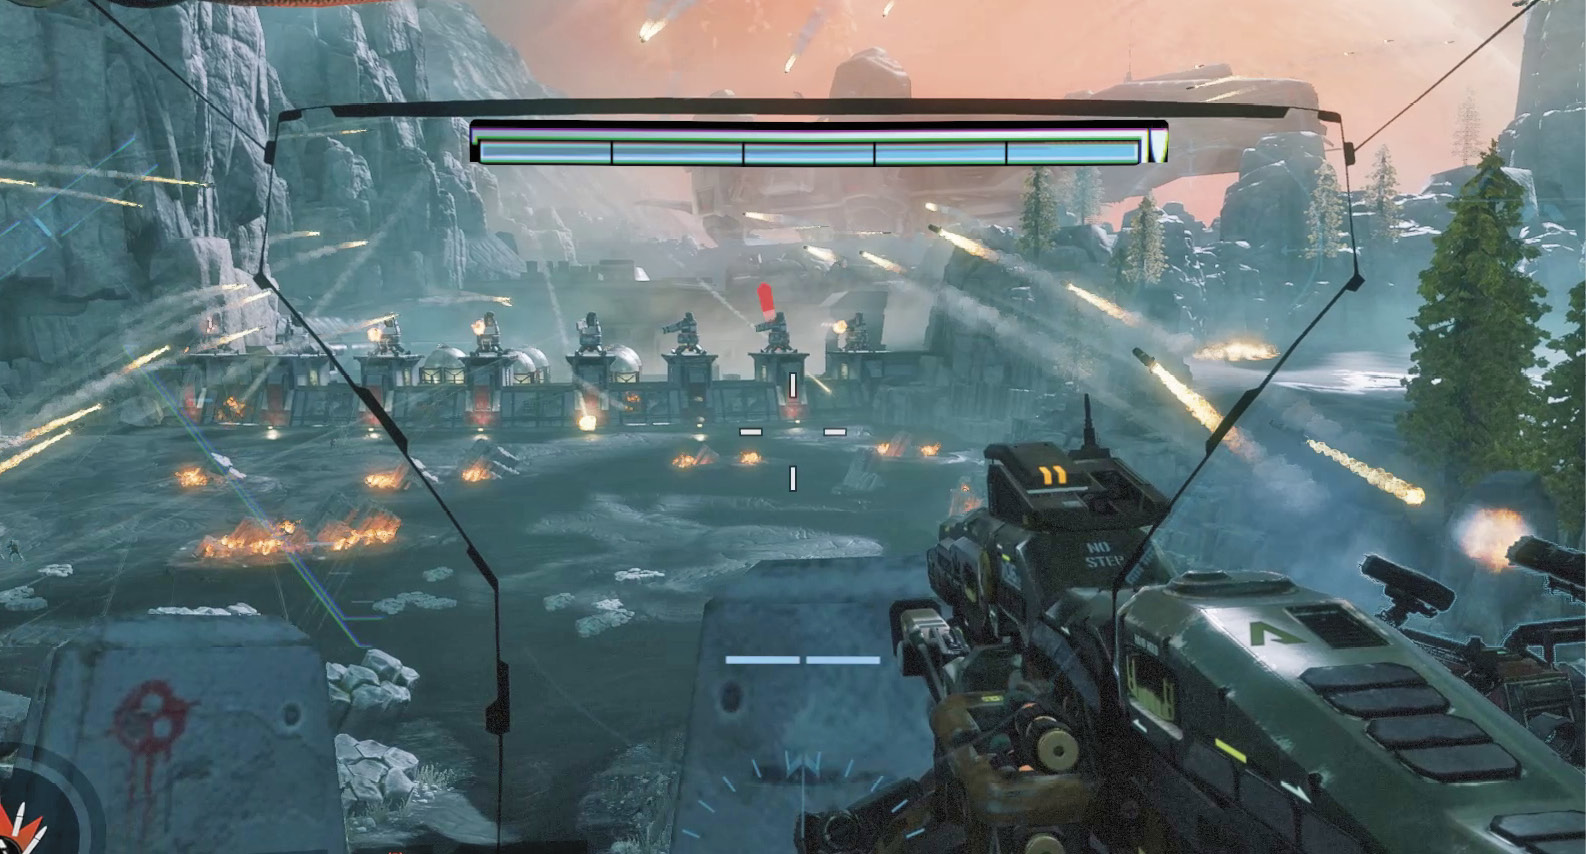
During the early stages of this battle, most combat occurs at long range. So consider equipping the Expedition, Tone, or Ion Loadouts. These loadouts feature weapons capable of accurately targeting the Reapers and enemy Titans that emerge from the IMC air base. If using the Tone Loadout, deploy a Particle Wall and pick apart the Reapers and enemy Titans from long range using the 40mm Tracker Cannon and Tracking Rockets. The Expedition and Ion Loadouts allow for a bit more versatility, using their Vortex Shields to block and redirect incoming fire while advancing.
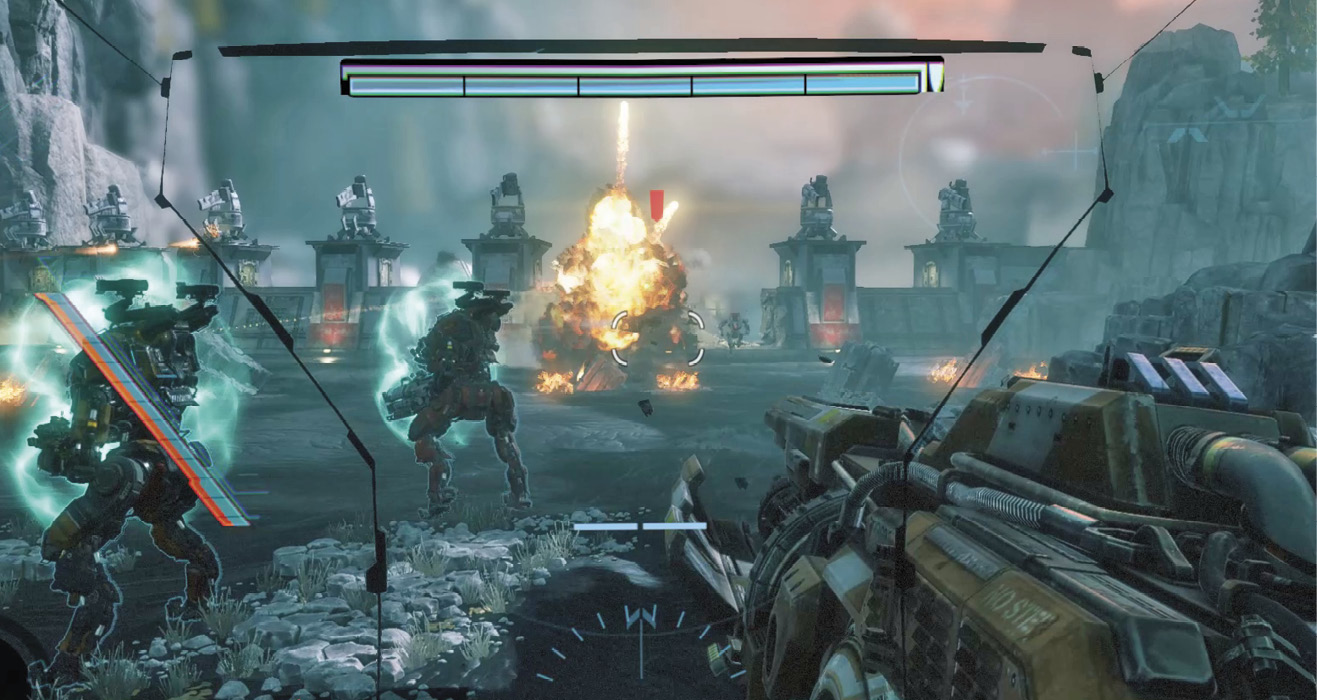
The IMC air base is defended by a mix of enemy Titans, including Brute, Tone, Ronin, Ion, and Northstar variants. Try to identify and engage the Northstar Titans first. They usually rocket into the air and hover, peeking over the top of the wall. If left untouched, the Northstar Titans will continually dish out damage with their Plasma Railguns.
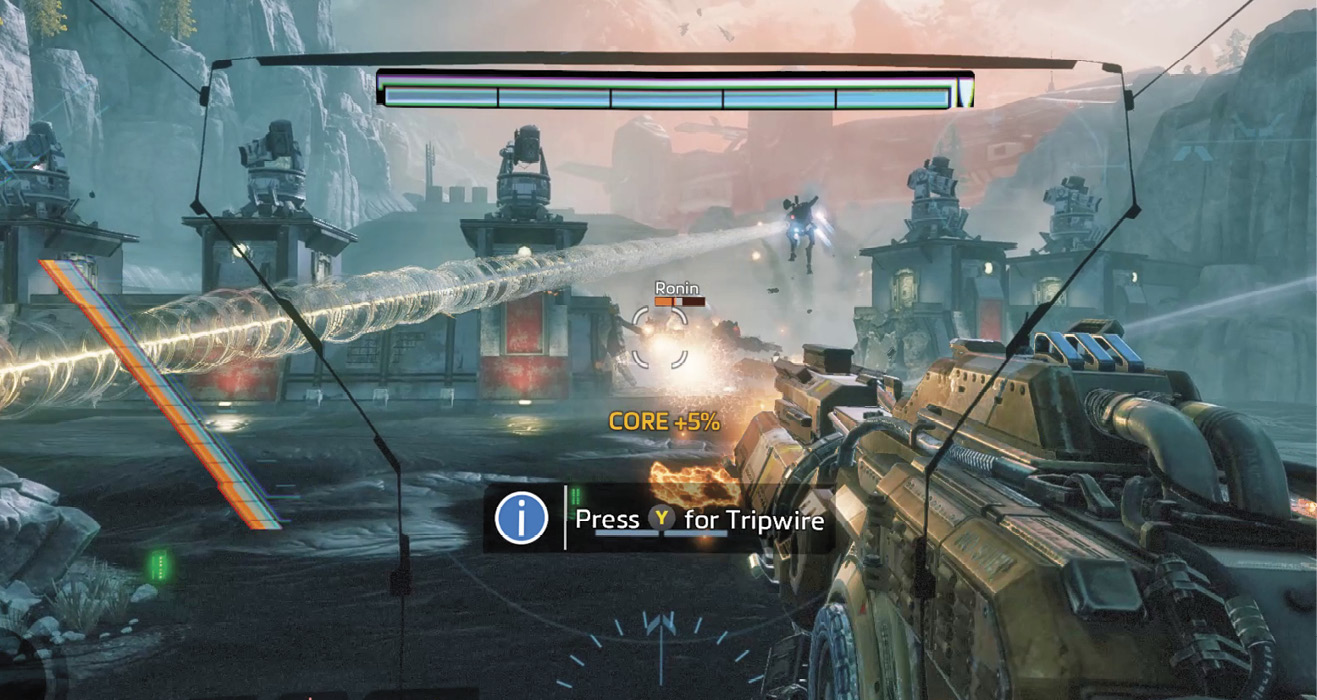
As you near the breaches in the wall, the IMC responds with more Titans. By now you should have built up BT’s core ability. Consider using the Ion Loadout’s Laser Core to blast your way into the air base. By concentrating this intense laser beam you can damage (or destroy) any Titans in your path. Pan the laser left and right, focusing the beam on one Titan after another. Remember, each Titan you destroy drops a battery. So even if you take damage, there should be enough batteries lying around to restore BT’s armor.
Fuel Depot
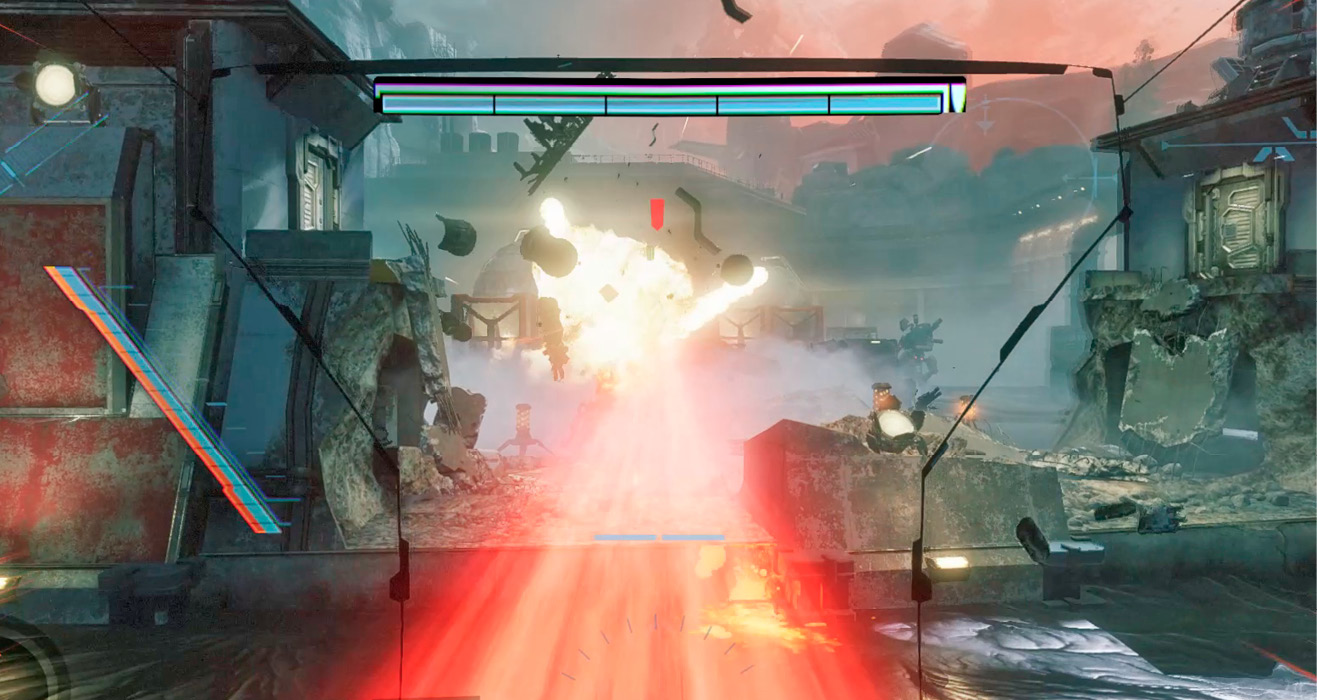
When resistance at the wall subsides, advance through one of the two breaches located on the left or right flanks to enter the fuel depot. But don’t let your guard down. The IMC continually reinforces this area with new Titans. This area is a bit more cramped than the open terrain outside the wall, so adjust your loadout accordingly. Consider switching to the Ronin Loadout and taking the fight to close range. Use Phase Dash to rush enemy Titans, then tear them apart with the Leadwall Shotgun and melee attacks. While advancing, don’t forget to use Sword Block to absorb incoming damage. The spherical fuel cells also provide excellent cover. Don’t worry, they won’t explode.
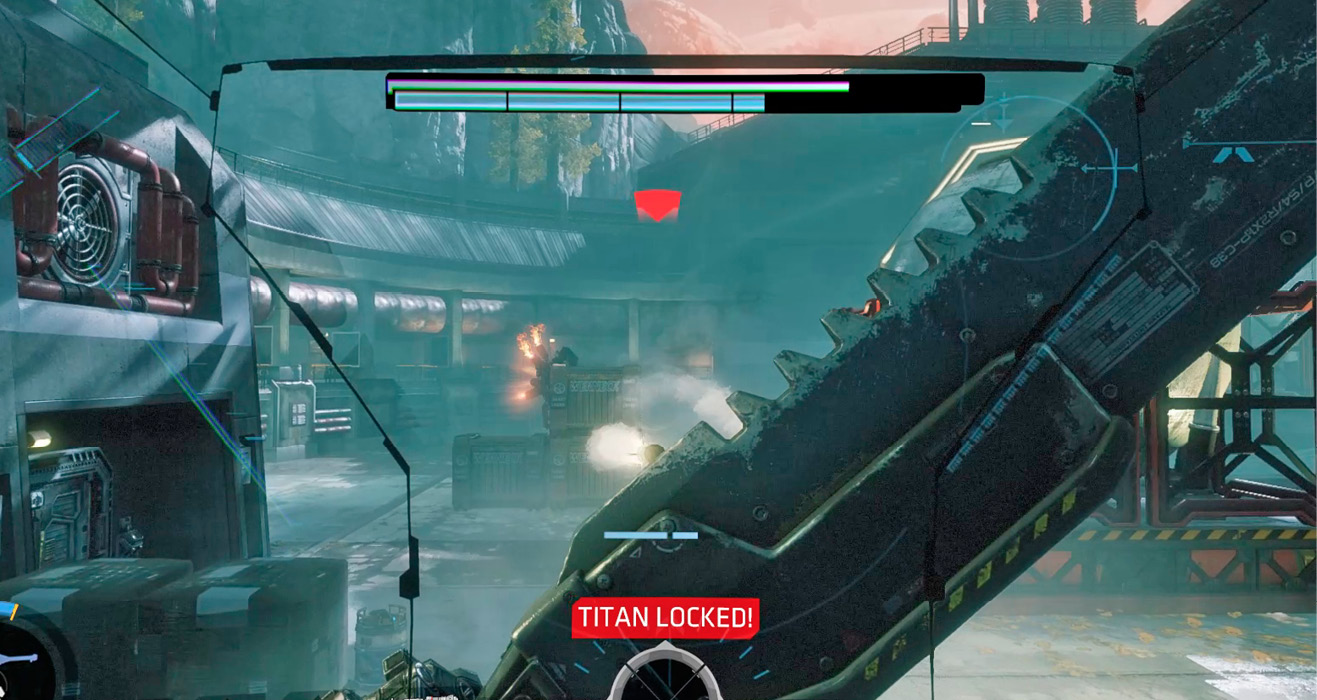
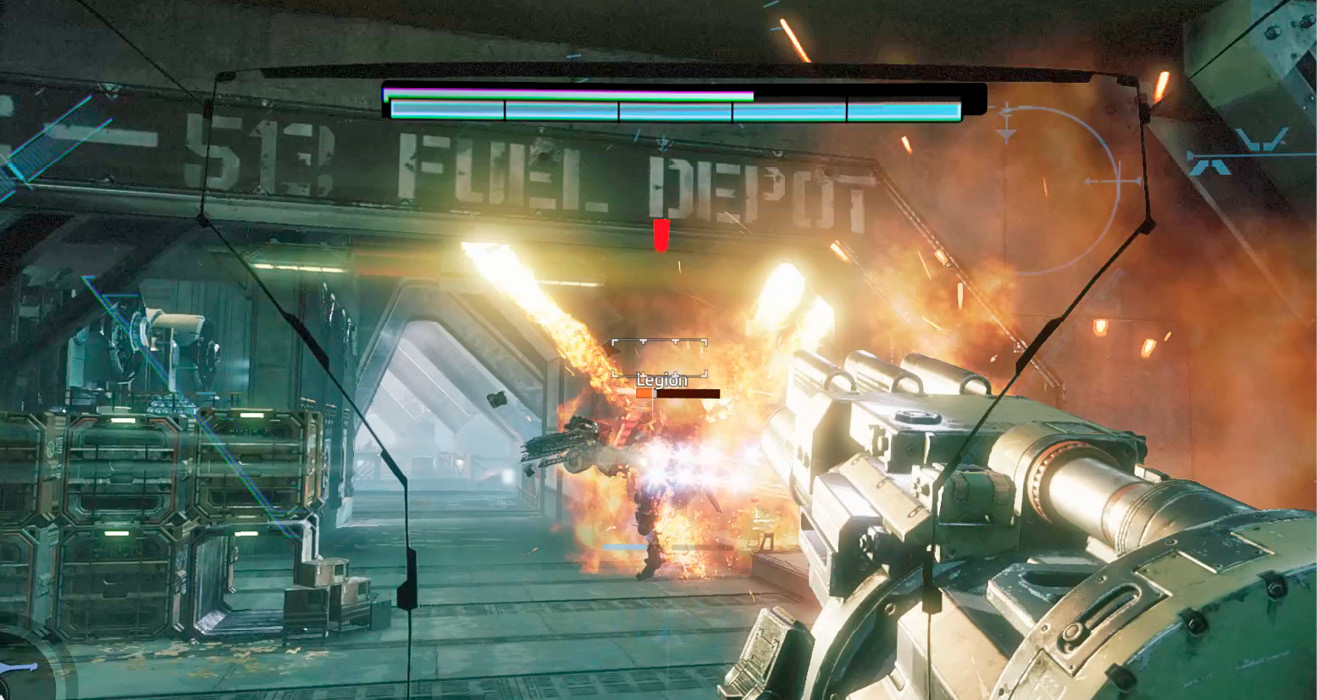
Join Commander Briggs and fight your way toward the door at the back of the fuel depot. This door is defended by a Legion Titan. While Briggs and other Militia Titans hold the Legion’s attention, Phase Dash inside the facility and attack the Legion Titan at close range with the Ronin Loadout’s broadsword. Activate Sword Core, if available. Alternately, hold at the door and use Arc Wave attacks and the Leadwall Shotgun to slowly chip away at the Legion’s armor. Once the Legion Titan is destroyed, step inside the facility. There are a couple of batteries on the right side.
|
 Pilot Helmet 1/3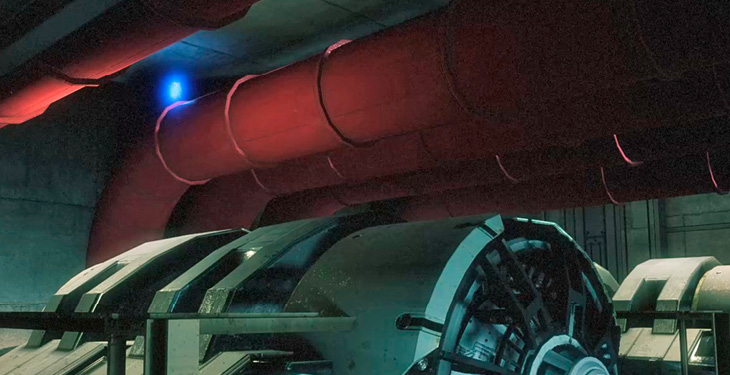
Anti-Aircraft Battery
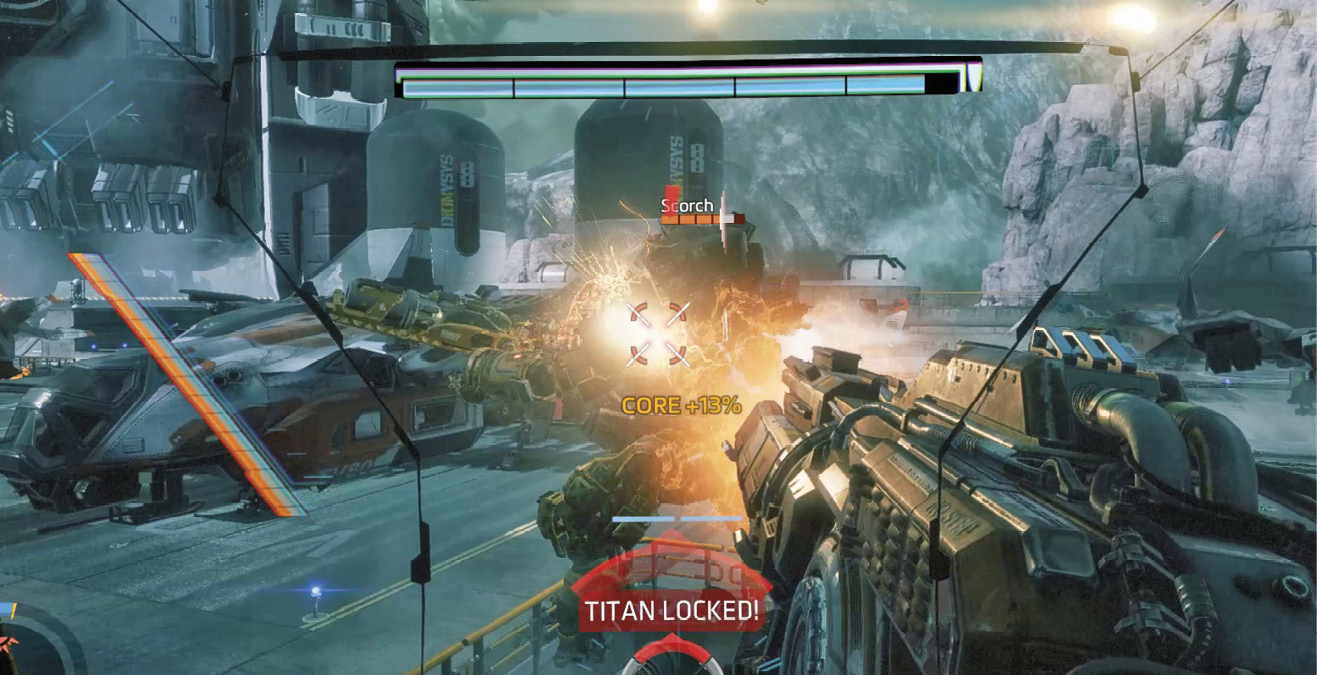
Despite your best efforts, the Militia Titans have suffered heavy casualties during the initial attack, leaving just you and Commander Briggs to hunt down the Ark. Follow Briggs into the passage ahead. Several anti-aircraft turrets line the right side, firing at Militia ships above. The turrets don’t pose a threat to your advance, but the Scorch Titan and Reaper do. Switch to the Ion Loadout and deploy a Trip Wire to deter the distant Scorch Titan from getting any closer. Open fire with the Splitter Rifle and Laser Shot, scoring critical hits on the Titan’s vulnerable spots. Do your best to avoid close contact with the Scorch Titan, particularly when it deploys the Thermal Shield. Also, watch your step, careful to avoid any simmering pools of thermite. Once the Scorch Titan is down, the Reaper is easy to finish off.
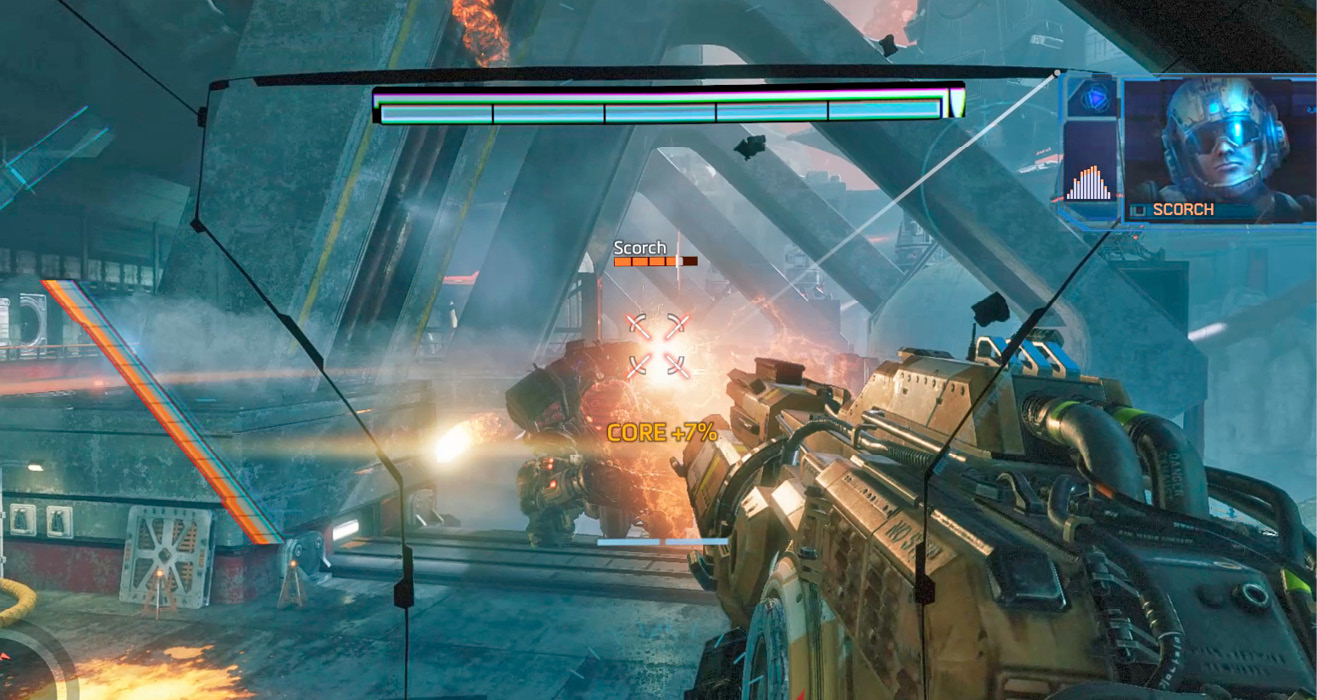
Continue advancing along this passage. A number of grunts line the catwalks, but they don’t pose much of a threat. Instead, focus on the two Scorch Titans and Northstar Titan ahead. Use the vertical supports for cover, protecting you from the Northstar Titan’s long-range attacks. Meanwhile, focus on taking out the two charging Scorch Titans. Deploy a Trip Wire in their path and then follow up with Splitter Rifle and Laser Shot attacks. Keep scoring hits until BT’s core is charged, then initiate a Laser Core attack. This should be enough to destroy at least one Scorch Titan outright and heavily damage the other one.
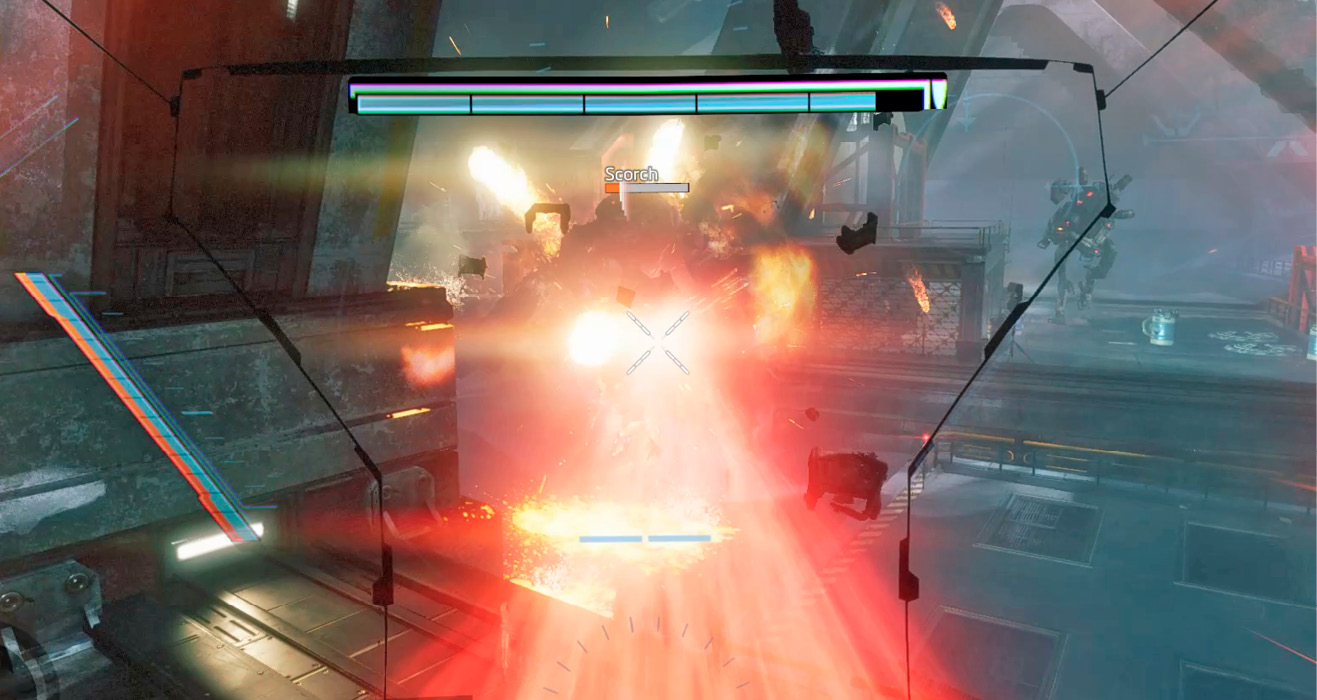
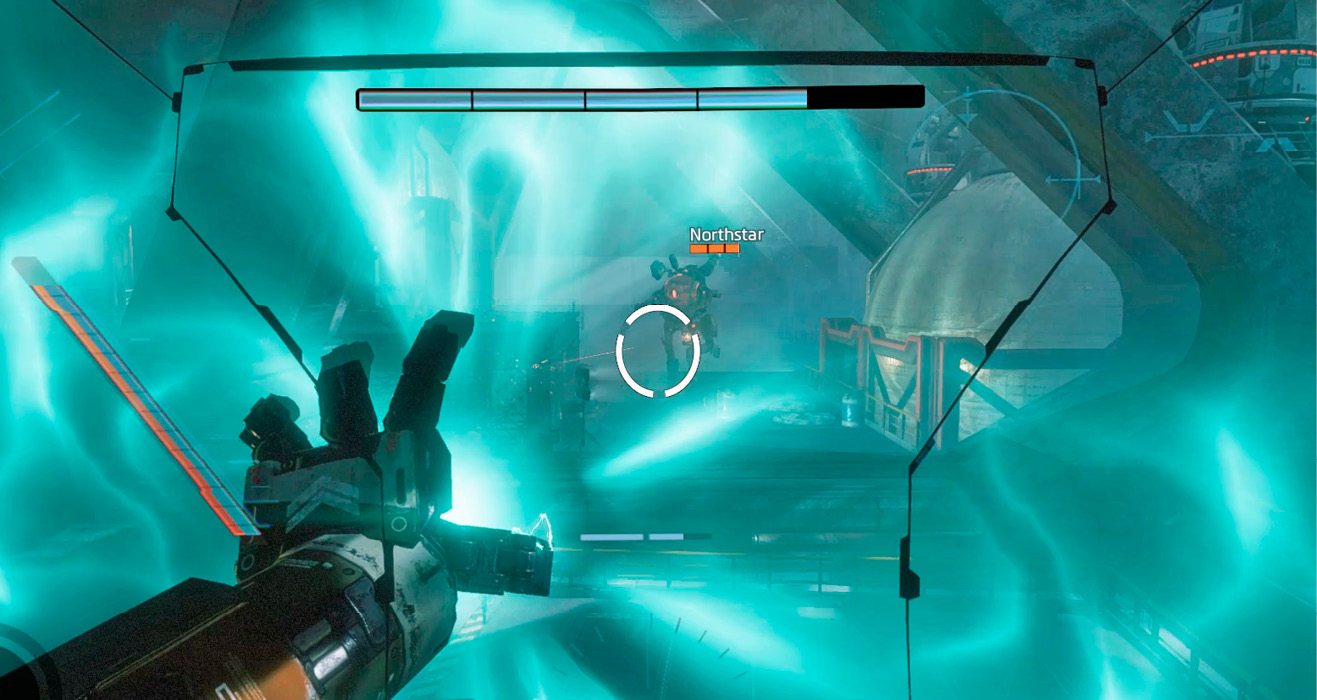
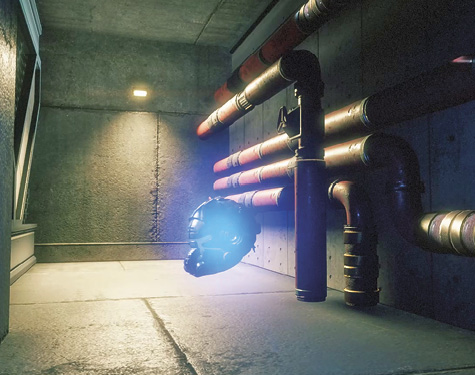
After you defeat the two Scorch Titans, focus on the Northstar. Advance while keeping Vortex Shield deployed to redirect the Plasma Railgun shots back at the Northstar. The closer you get, the more evasive the Northstar becomes. When you’re a few meters away, switch to the Ronin Loadout and rush the Northstar with Phase Dash. The Northstar is poorly equipped to deal with close-quarters combat, so use this to your advantage as you attack with the broadsword and Leadwall Shotgun. After defeating the Northstar Titan, Commander Briggs charges ahead, moving onto a lift. Before boarding the lift, take a moment to search for another Pilot helmet.
|
 Pilot Helmet 2/3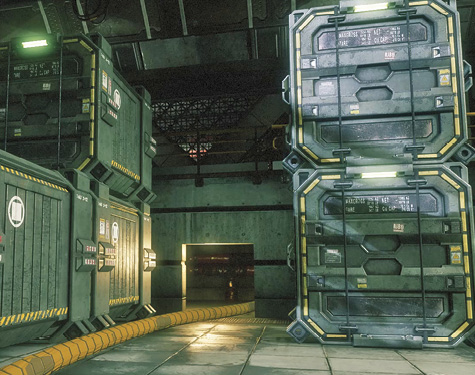
Lift
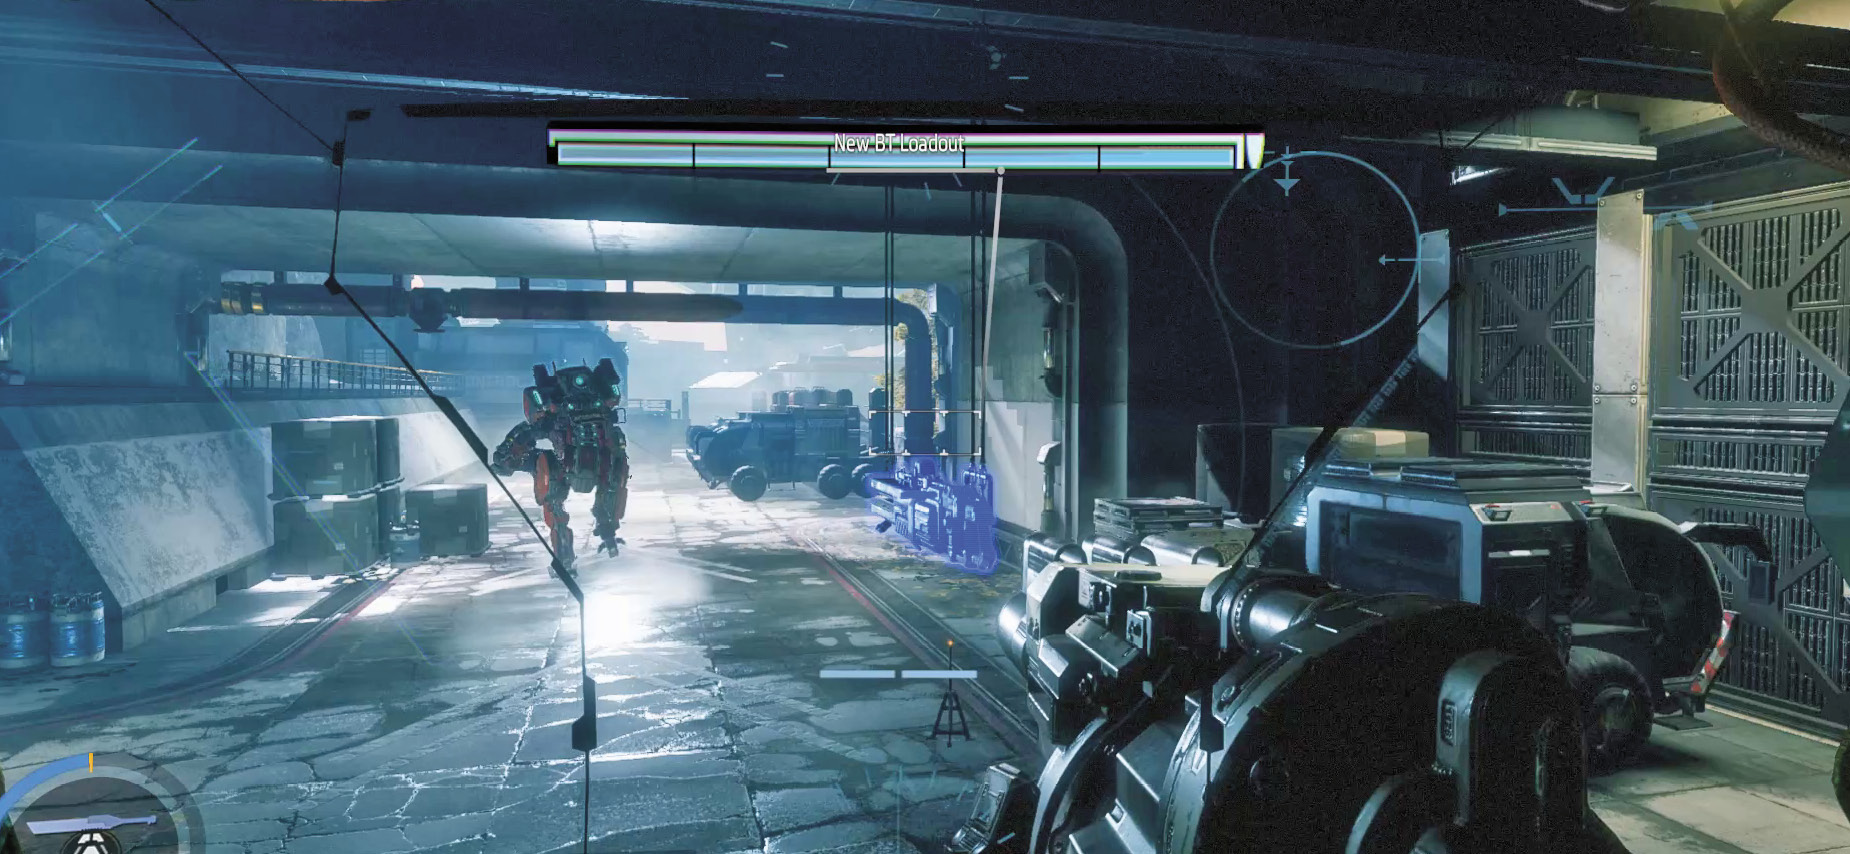
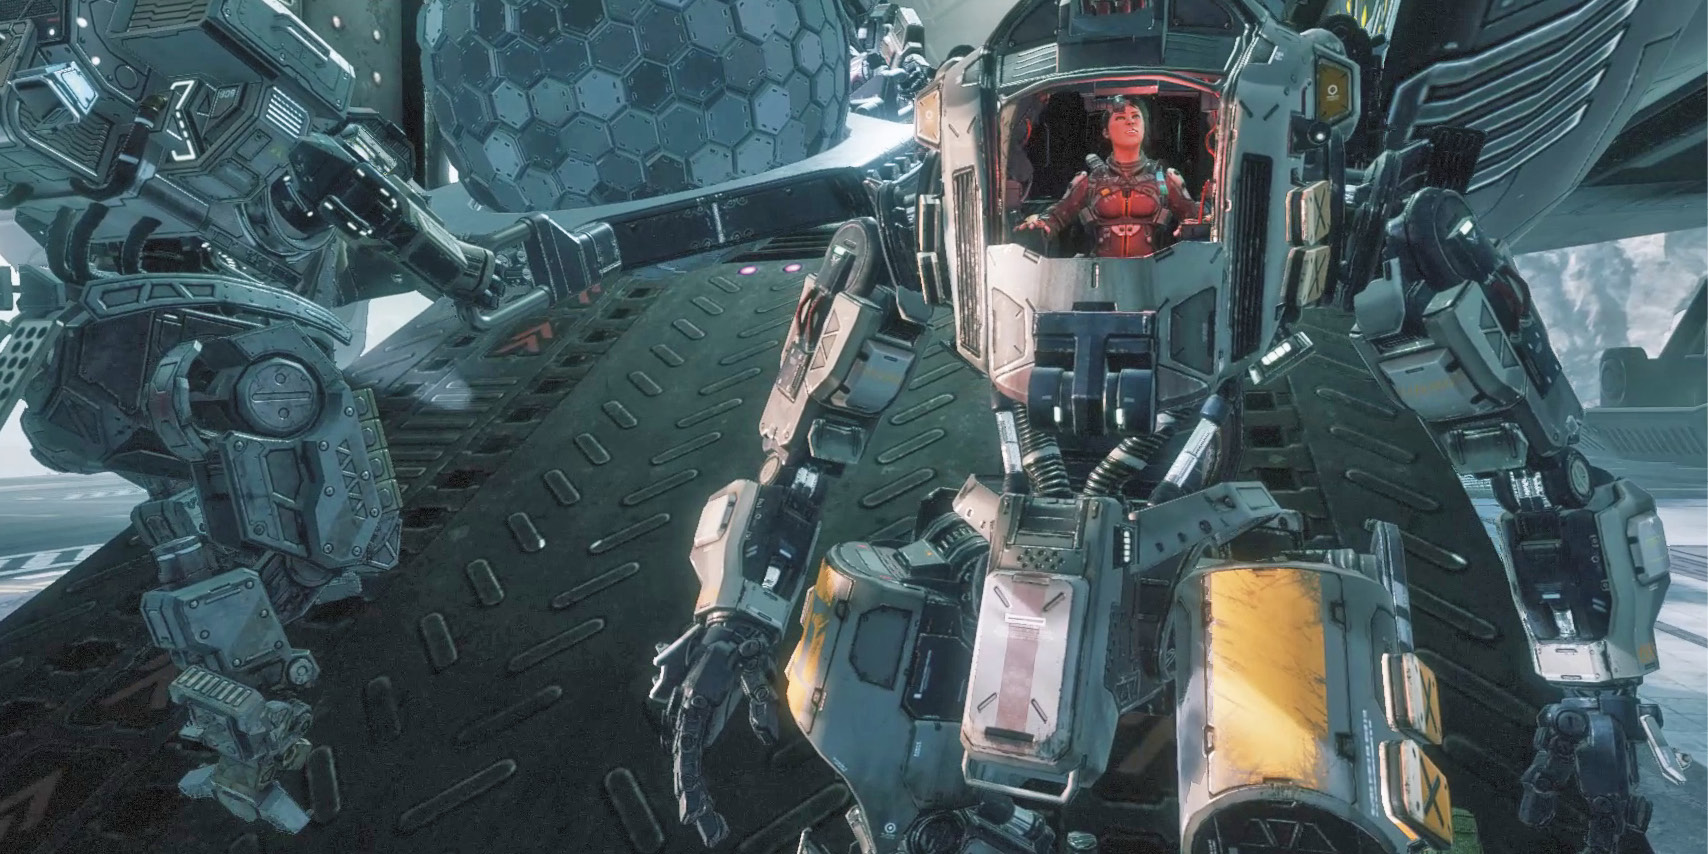
Rendezvous with Briggs at the lift and ride it up to the next level. Along the way Briggs remarks on your surprising Pilot abilities. When the lift stops, follow Briggs forward. The Northstar Loadout is located along the right side of the path. Grab it to acquire some impressive long-range capability.
BT-7274 (Loadout: Northstar)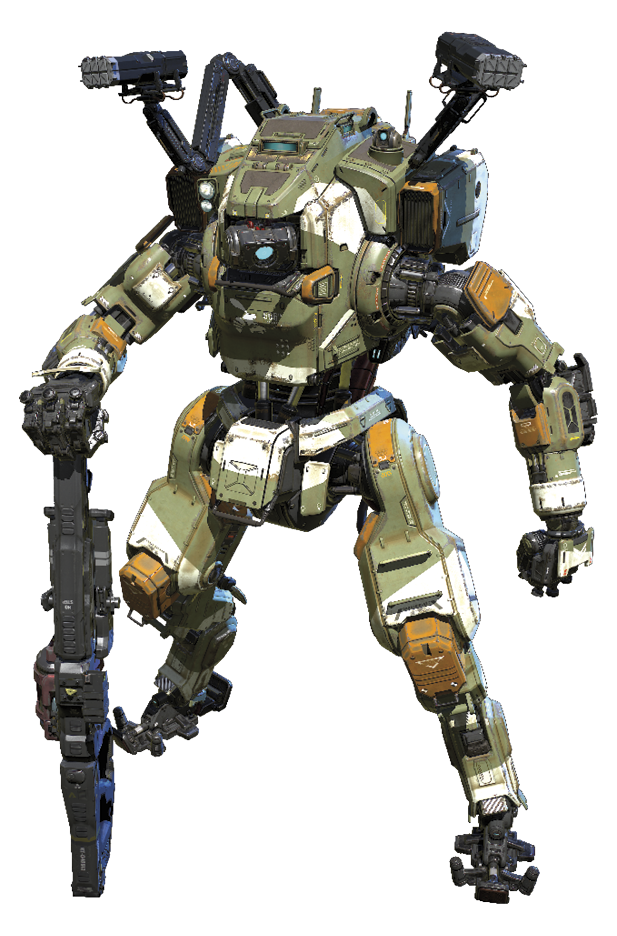
The Northstar Loadout has a lot in common with the Brute, benefiting from VTOL Hover and the devastating Flight Core abilities. But unlike the Brute, the Northstar Loadout is equipped with a Plasma Railgun, ideal for precise targeting. While you aim the Plasma Railgun, the weapon charges. The longer the charge, the greater the velocity of the fired projectile. For best results, charge the Plasma Railgun completely and target an enemy Titan’s red-glowing vulnerable spots to inflict massive damage. Tether Trap deploys a couple of mines capable of snagging enemy Titans, temporarily trapping them with attached cables. Always try to tether an enemy Titan before firing Cluster Missiles at it. The Tether Trap prevents the enemy Titan from escaping, while the Cluster Missiles inflict continuous damage from secondary explosions. Tethering enemy Titans is also a good way to keep your distance. Make a habit of tethering charging Ronin and Scorch Titans, allowing you to back away and engage from a safer distance.
|




|
 Pilot Helmet 3/3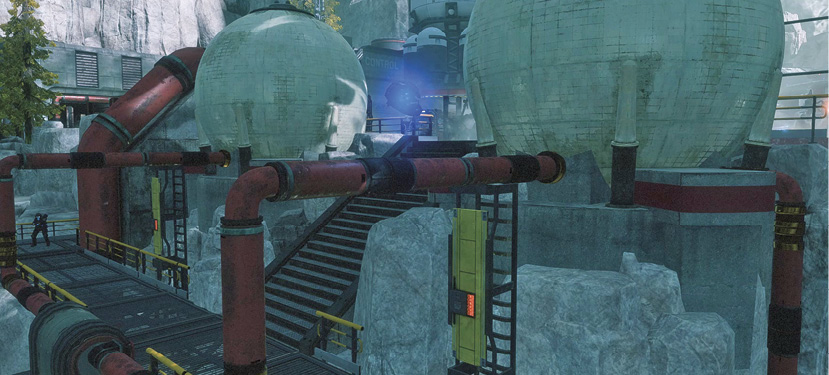
Dropship Facility
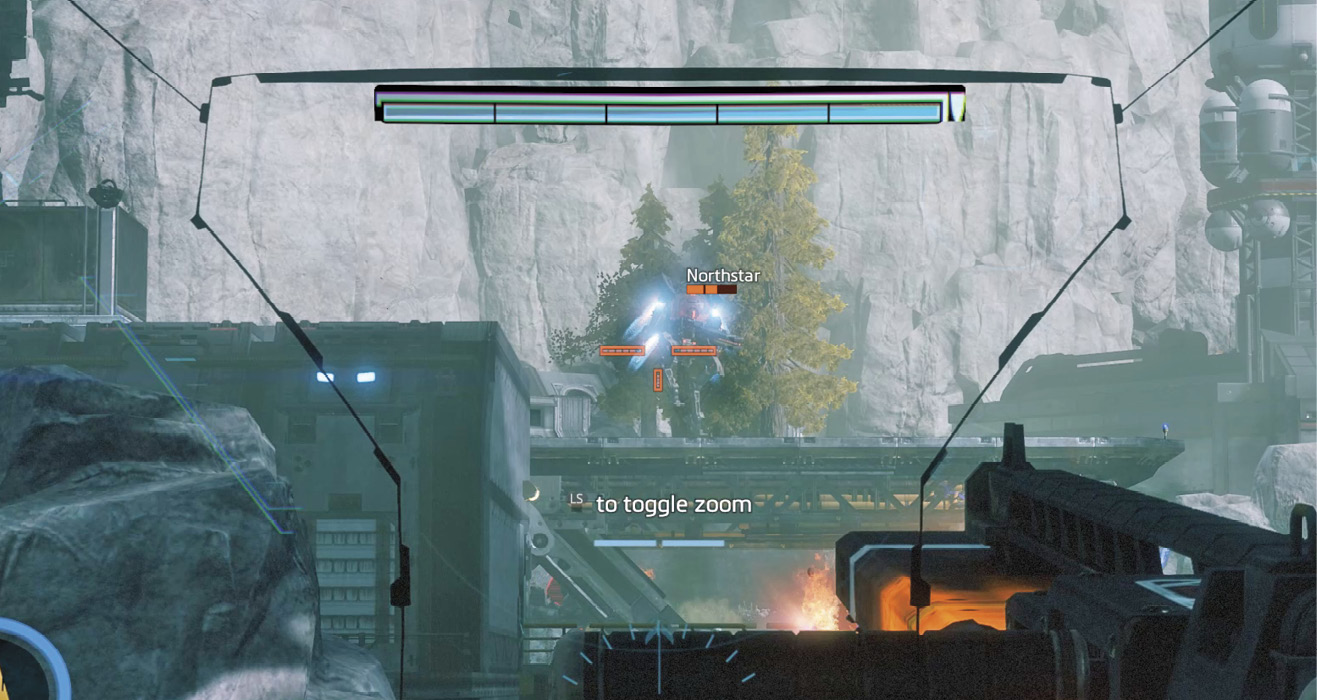
While you were acquiring the Pilot helmet, Commander Briggs has pressed forward, joining a few more Militia Titans in an area filled with dropship landing pads. A mix of Brute, Ronin, Northstar, and Tone Titans block the path ahead. Equip the newly acquired Northstar Loadout and engage the enemy Titans from long range using the Plasma Railgun. Take aim to charge the Plasma Railgun. As you hold down the aim button/key, the weapon slowly builds up a charge. When the weapon is fully charged, fire it at one of the distant Titans. Try to score a critical hit for optimal damage. For more precise targeting, use the zoom function, allowing for easier target acquisition. Focus your fire on the enemy Northstar Titan (seen hovering in the distance) and then deal with the others.
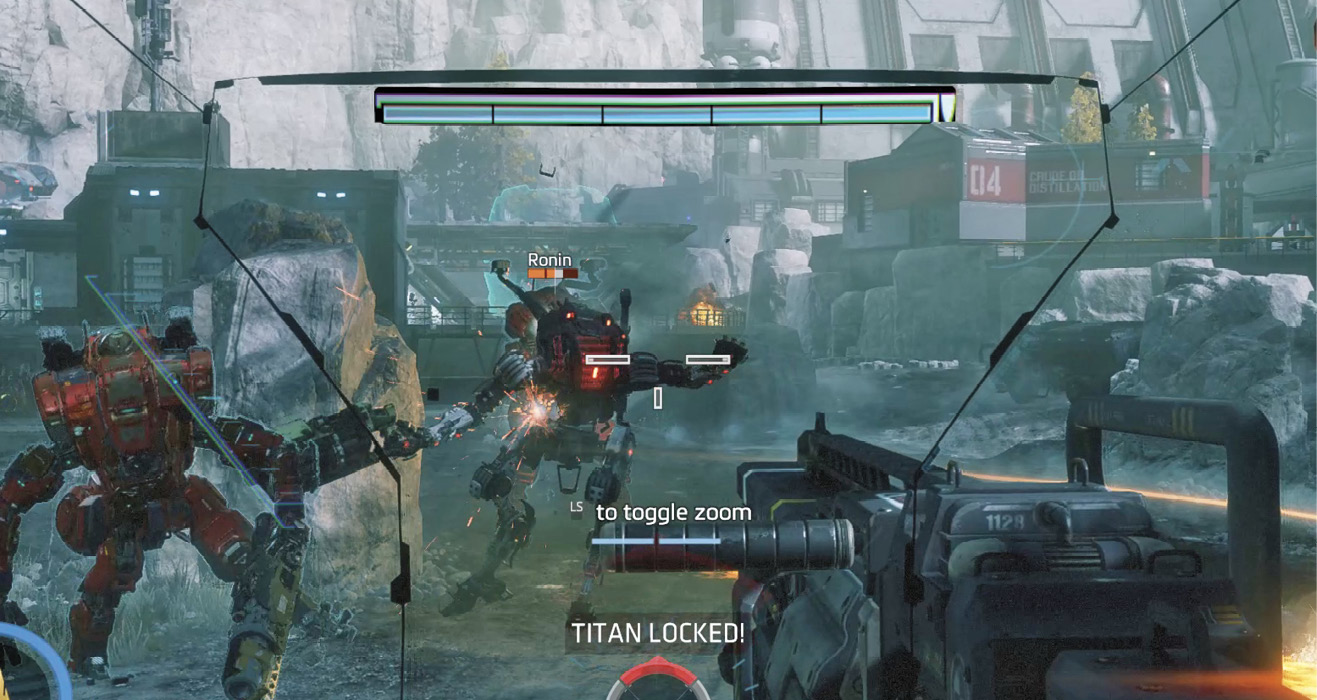
While using the Northstar Loadout, keep your distance from the charging Ronin Titan. Hold back and provide support fire while Briggs and the other friendly Titans engage it at close range. To help your comrades, deploy a Tether Trap. When the Ronin is tethered, fire a Cluster Missile. As the Cluster Missile detonates, it triggers a barrage of secondary explosions, continually damaging the enemy Titan. While it’s still tethered, take a few shots with the Plasma Railgun to finish it off.
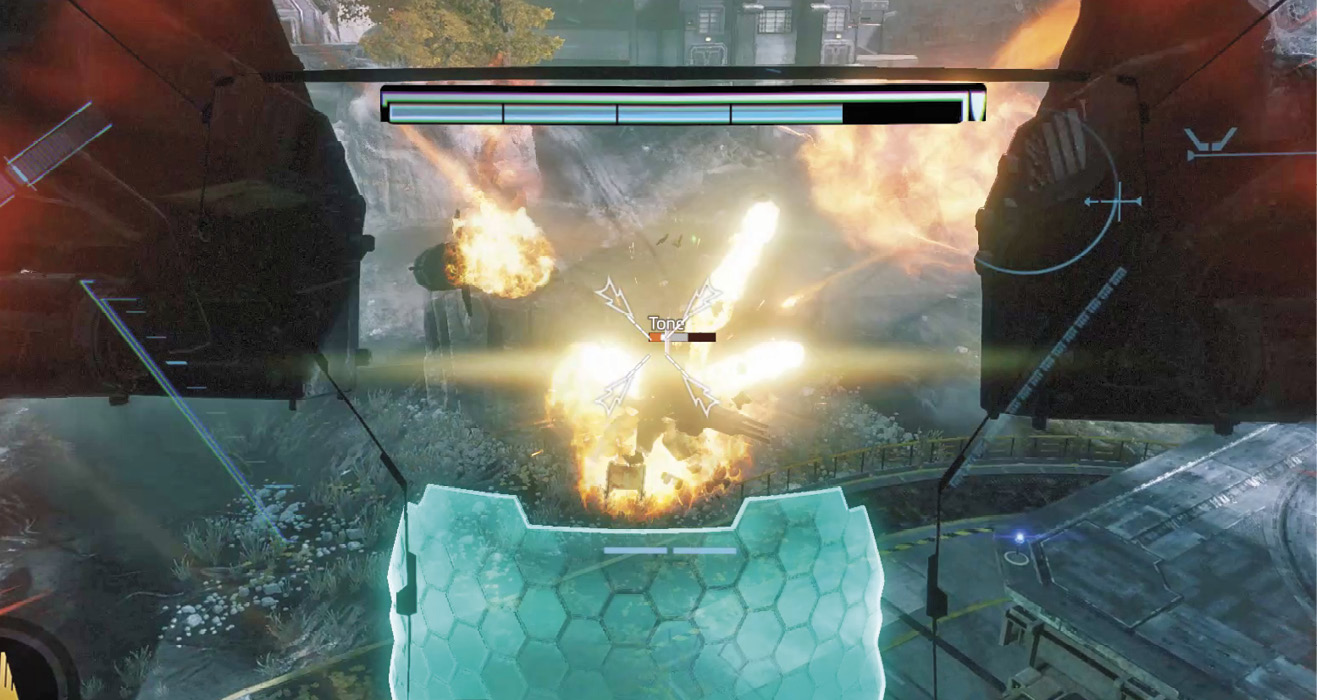
Stay several meters behind Briggs and the other friendly Titans as the IMC reinforces the area. Continue hammering away at the IMC Titans with the Plasma Railgun. When BT’s core is charged, activate Flight Core and focus the rocket salvo on tightly clustered groups of enemy Titans. While hovering, you can shoot over the Particle Walls deployed by enemy Tone Titans. Given the chaotic nature of this battle, you should have no problem activating Flight Core multiple times.
As you advance past the dropship landing pads, consider switching to a more versatile loadout, such as the Ion. The Ion Loadout is better suited when confronting enemy Titans and Reapers in the narrow passages ahead. Also, Laser Core is ideal for wiping out multiple targets clustered in this narrow valley.
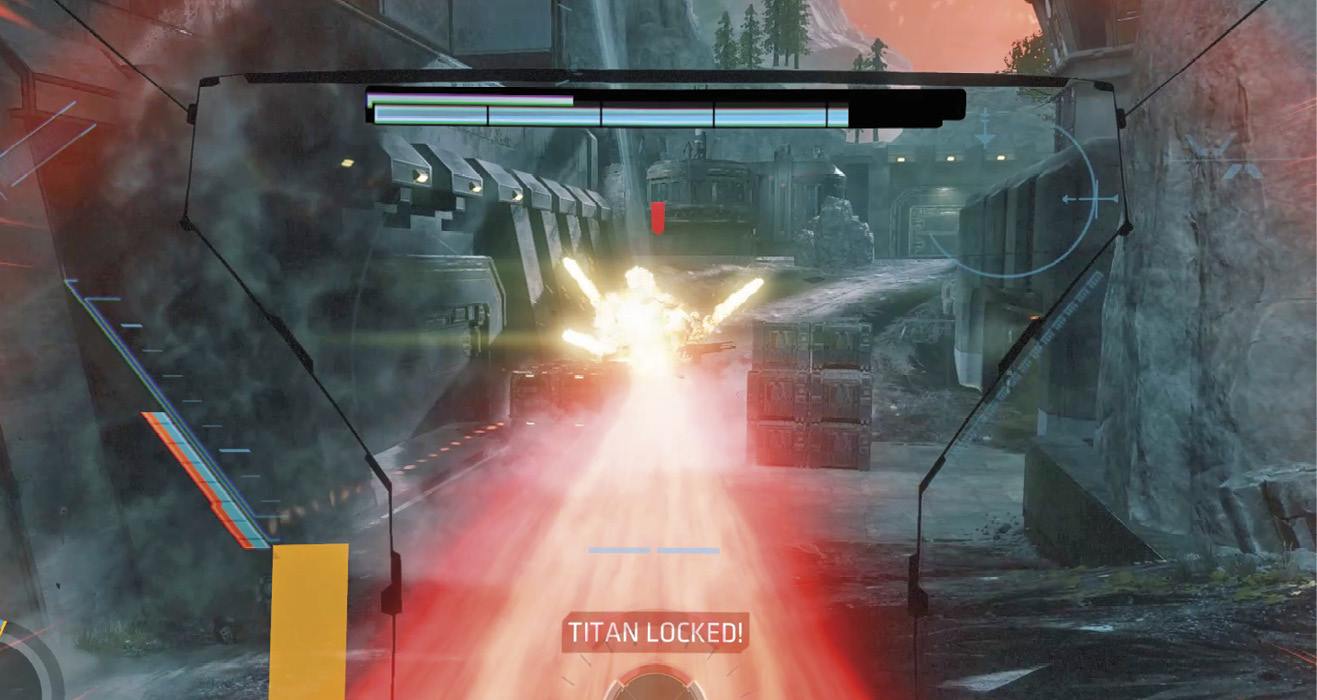
You come under attack by multiple reapers in the clearing ahead. Deploy the Ion Loadout’s Vortex Shield to block incoming plasma bolts while dashing behind rocks or crates for more permanent cover. Individually, Reapers aren’t terribly dangerous to Titans. But mass deployments of Reapers deserve your attention. Dash in and out of cover while engaging Reapers with the Ion Loadout’s Splitter Rifle. If you prefer a more aggressive approach, switch to the Ronin Loadout and dash into the fray while swinging your broadsword. Each destroyed Reaper drops a battery, giving you the opportunity to completely restore BT’s armor before proceeding.
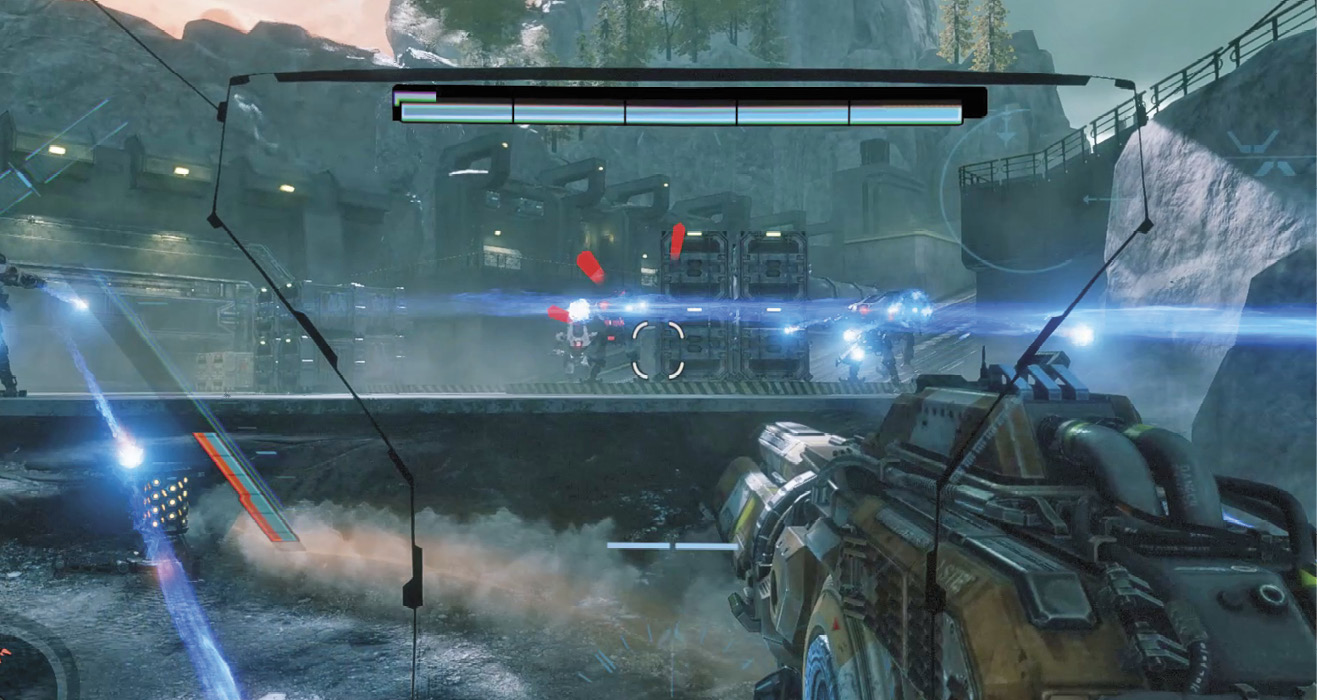
Control Tower
Once the Reapers have been destroyed, ascend the long ramp nearby and enter a large doorway at the end. This tunnel passes beneath the control tower. There are four battery crates inside this passage, but the area is also defended by a Northstar Titan. Use the Ion Loadout’s Splitter Rifle to rapidly deplete the Northstar Titan’s armor. But be ready to block and redirect incoming fire using the Vortex Shield. Remember, the Northstar Titan excels in long-range combat, so don’t get into a duel. Get in close and attack aggressively to finish it off.
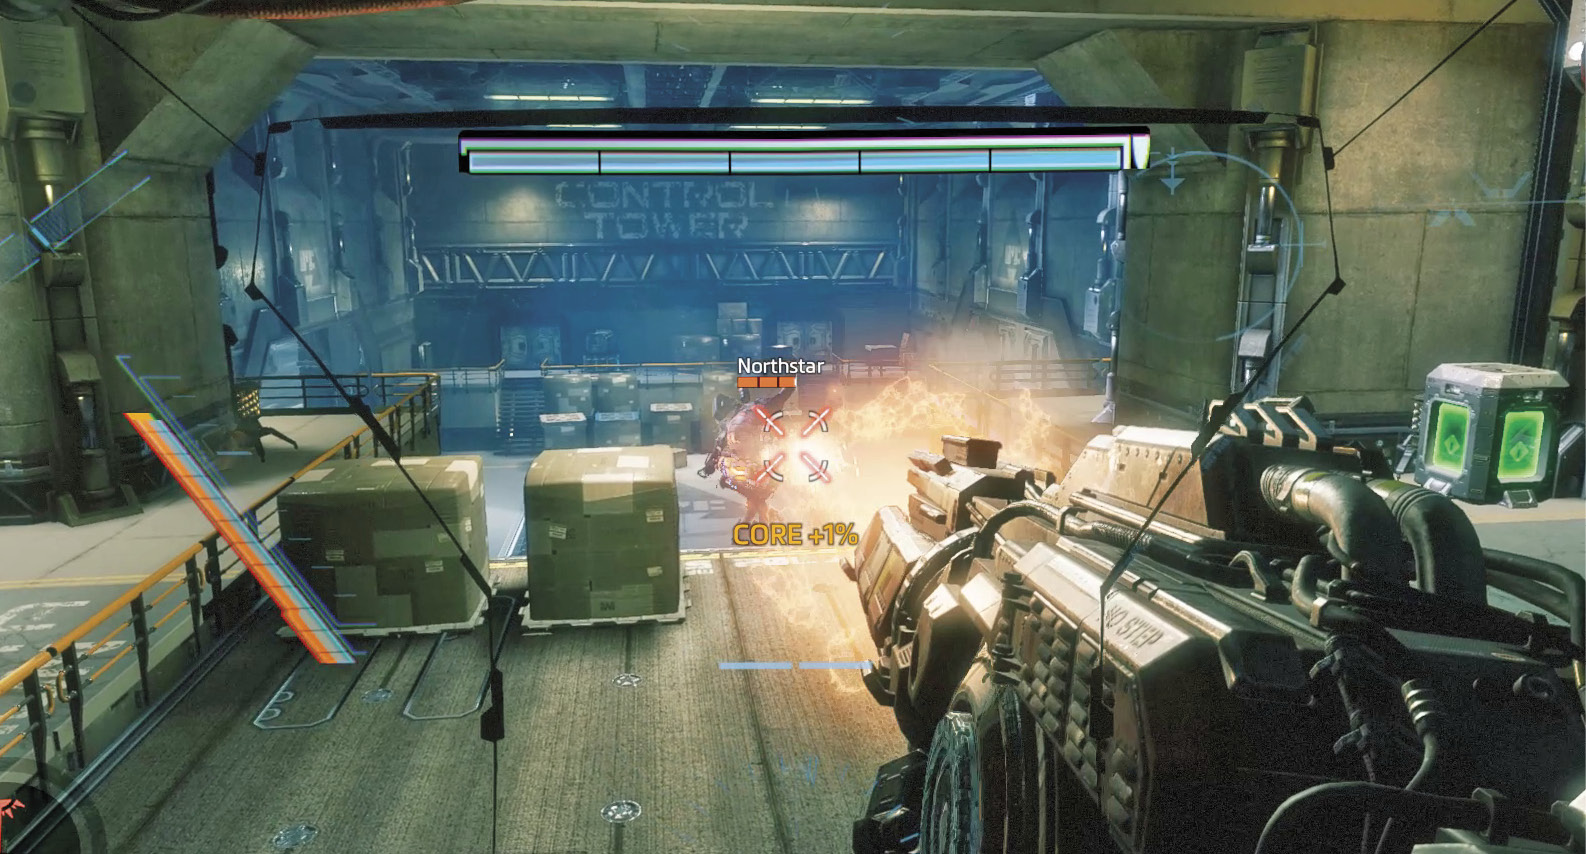
VTOL Landing
The Draconis, the IMC ship carrying the Ark, is almost fueled. Commander Briggs urges Militia forces to stop the Draconis before it can get away. The IMC responds to your advance by deploying more Titans. Switch to the Northstar Loadout and score long-range hits to build up BT’s core. When the core is charged, activate the Northstar’s Flight Core and engage multiple enemy Titans with the devastating rocket salvo.
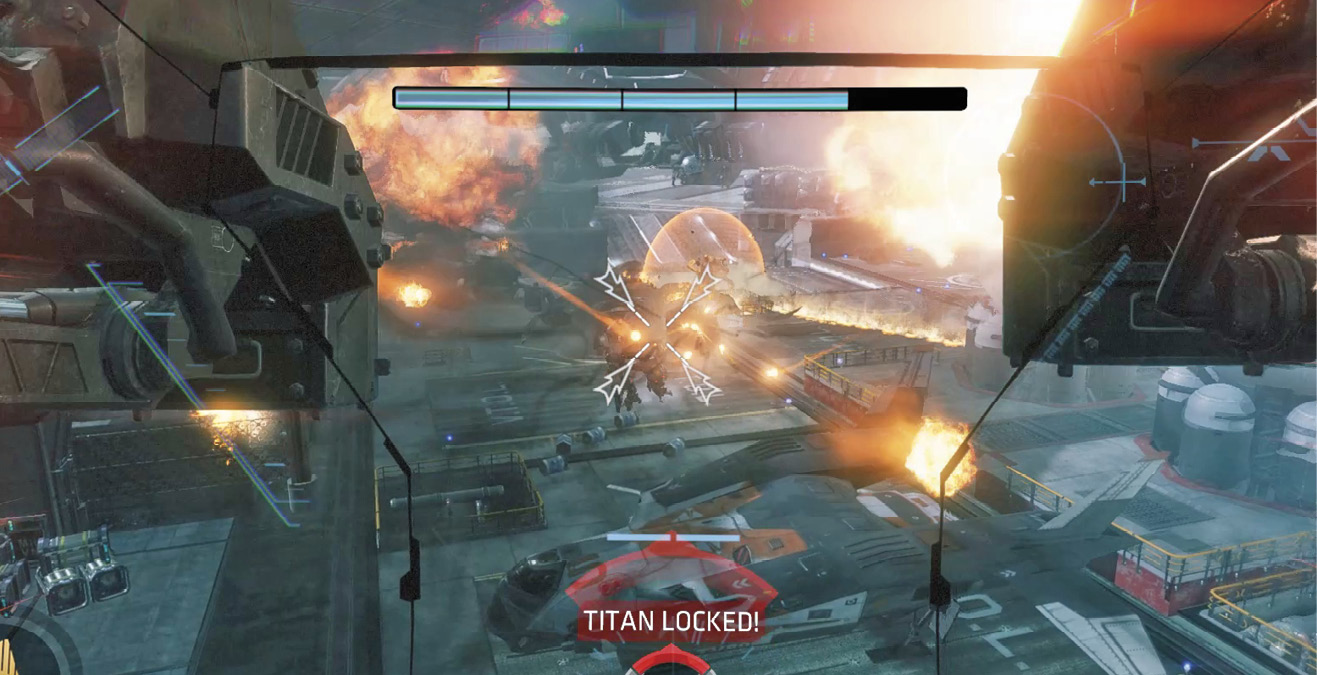
The two IMC Scorch Titans pose a serious threat during this battle. When they’re deployed, switch to the Ion Loadout and back away. The Scorch Titans charge directly at you while firing their thermite-based weapons. Continue backing away while firing the Ion Loadout’s Splitter Rifle and Laser Shot. Also, deploy Trip Wires in front of the Scorch Titans in an effort to delay their advance. If available, use Laser Core to quickly eliminate at least one of the Scorch Titans.
Regardless of how quickly you dispatch the enemy Titans, you can’t reach the Draconis in time. As you near the massive ship, the Ark is being loaded while Slone oversees the operation. But Commander Briggs hasn’t given up, and she orders you to get to a ship. You’re going after the Ark.
Achievement and Trophy Checklist
| Image | Name | Description |
|---|---|---|

|
You Can Be My Wingman Anytime | Destroy an enemy Titan as a Pilot in the Campaign |

|
Cowboy Up | Rodeo an enemy Titan in the Campaign |

|
Precious Cargo | Locate the Ark (Secret) |