
Titanfall 2 Guide Multiplayer Maps Forward Base Kodai
Game Mode Strategy
Amped Hardpoint
The three hardpoints on Forward Base Kodai line up down the middle axis of the map. This makes sense because the base is rather symmetrical, which means you should pay attention to what happens within the base itself as you might be able to call what’s happening on the other side.
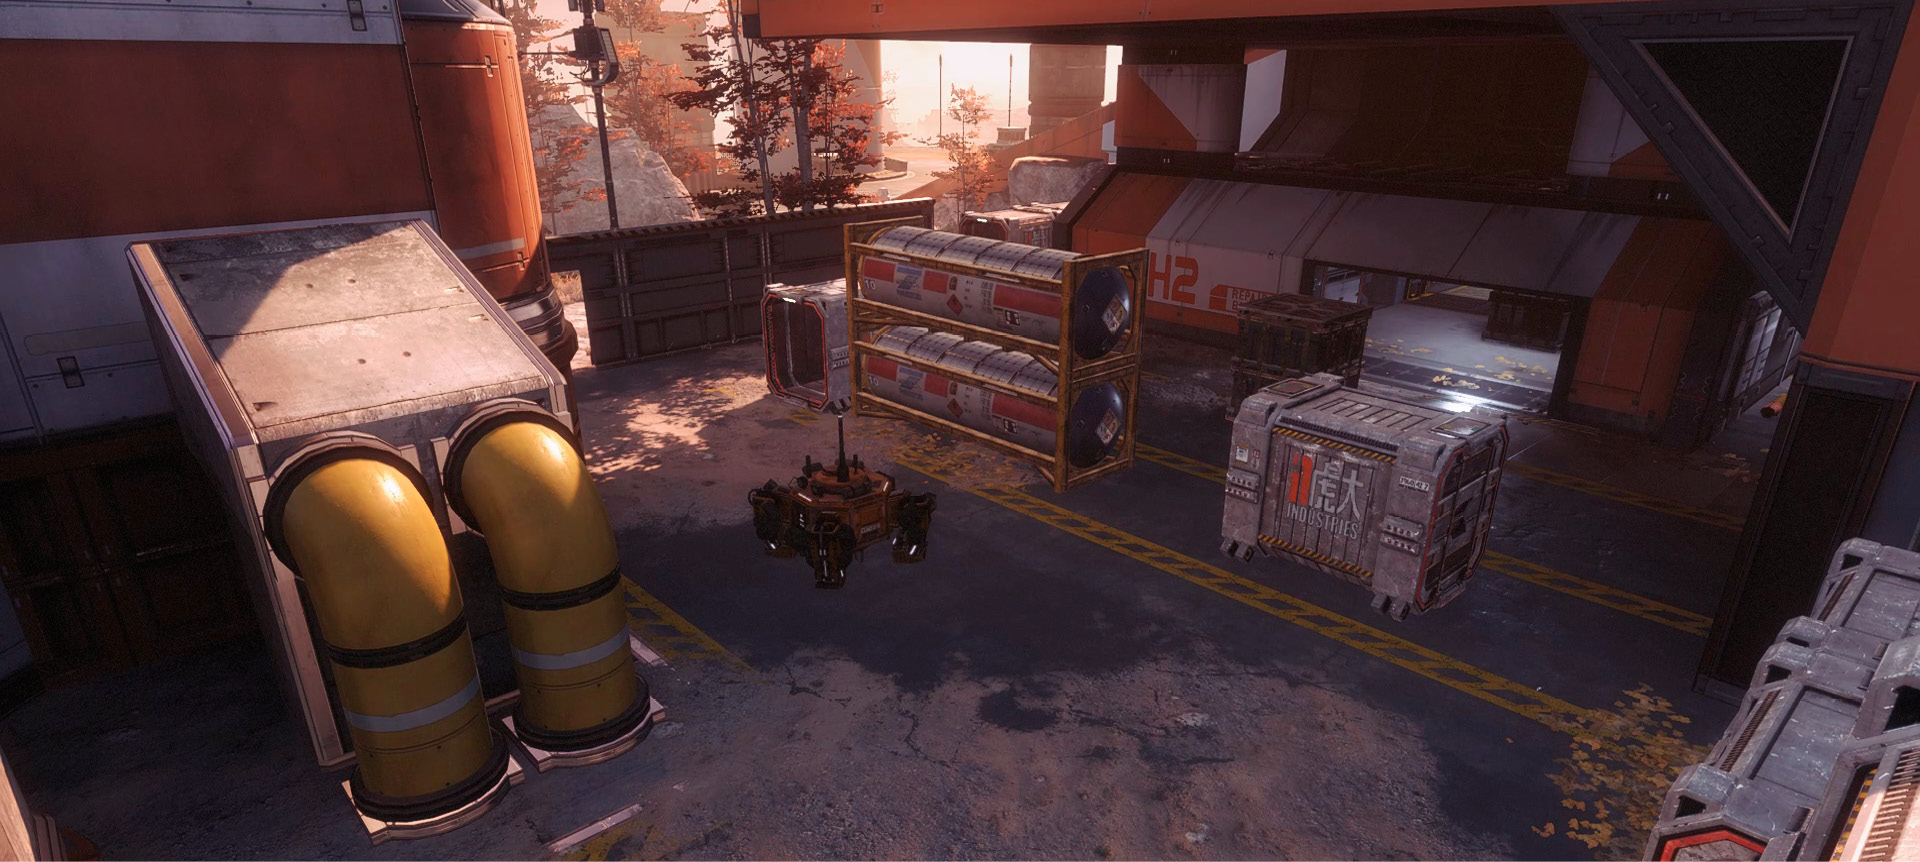
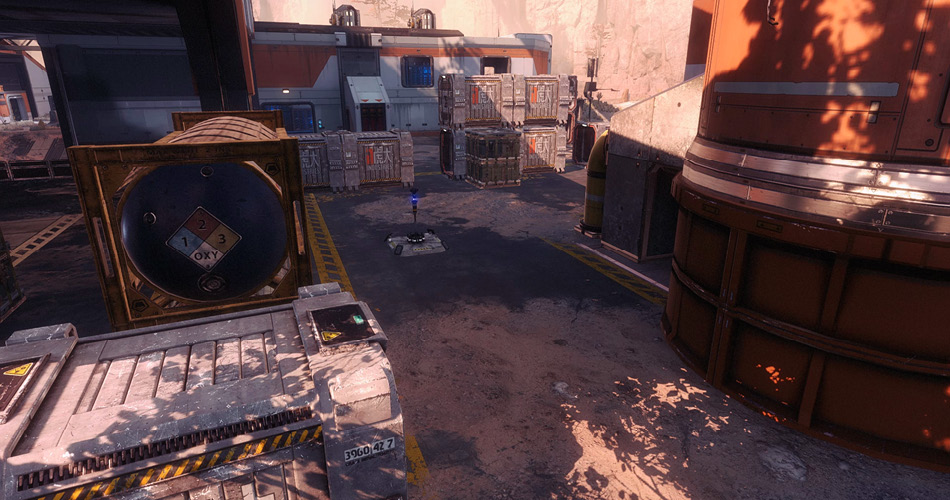
The first hardpoint is located beside the large crane and inside the cargo area. Use the containers to gauge the capture zone, as they line the barrier. It is important to use everything around you as cover from all directions because every direction is quite vulnerable to attack. It is easiest for the enemy to get to the building across the middle, which means it is a good idea to defend from this location. Of course, you may want to amp the point due to the fact that the B hardpoint is incredibly difficult to attack if your team does not control it.
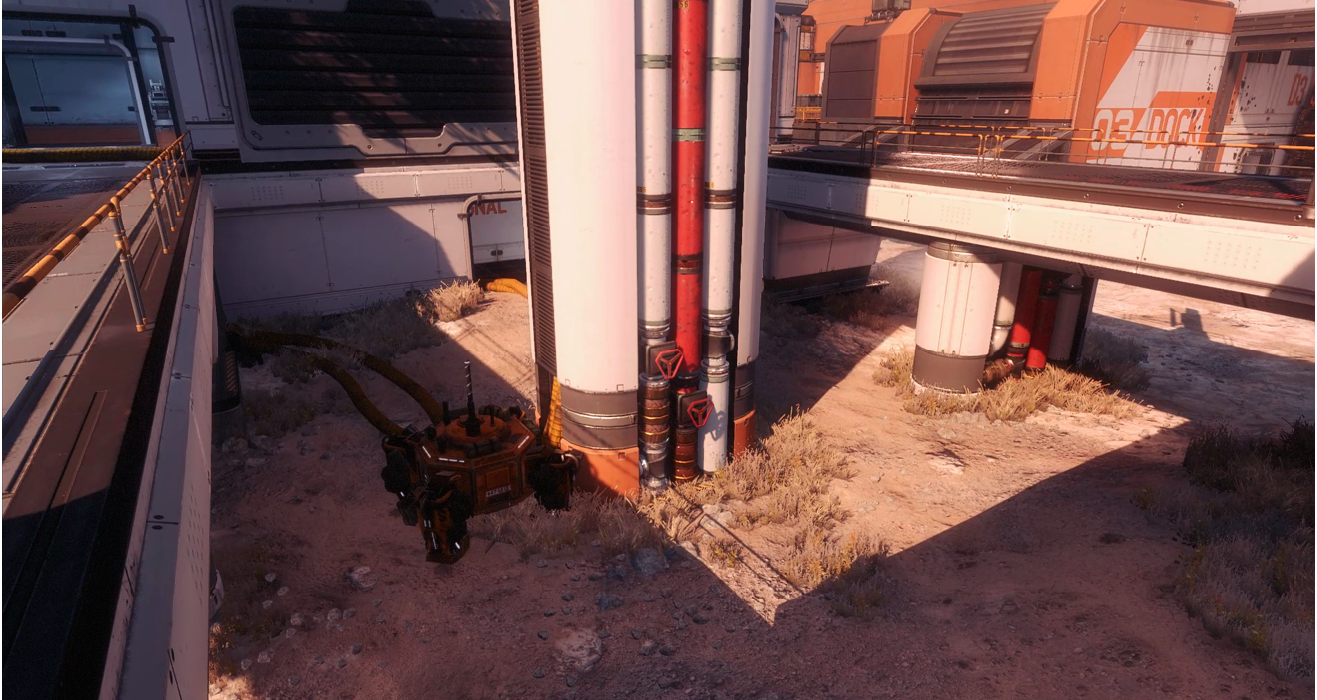
In the middle of the base is the B hardpoint, which is located right in the middle of the bridge. The bridge is incredibly difficult to attack simply because it is one small bottleneck that funnels all incoming attackers into one point that does not take much to defend. Attack the bridge as a team and with communication and coordination. The Anti-Titan weapon, the Thunderbolt, is actually a very useful weapon to use on the bridge. Firing the Thunderbolt down the hallway and straight to the other side can do some major damage to those in the viscinity of the electricity shot. This will weaken the defenders enough for you to attack with advantage.
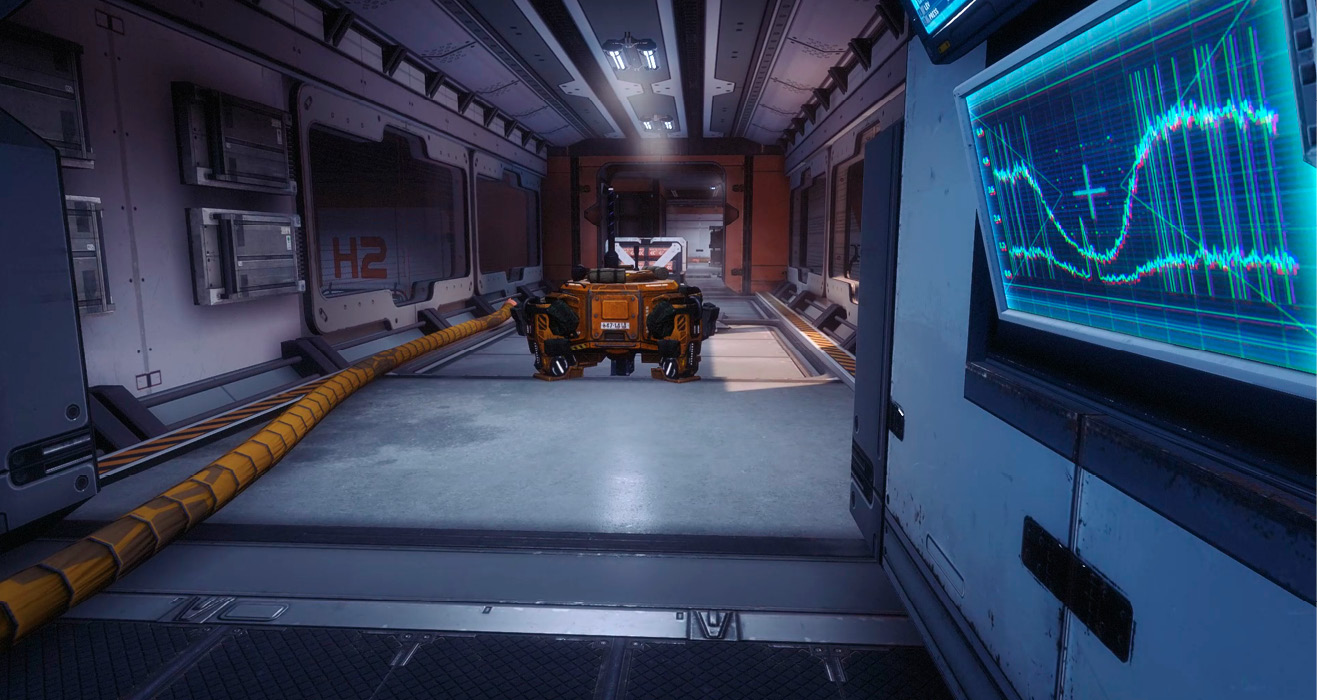
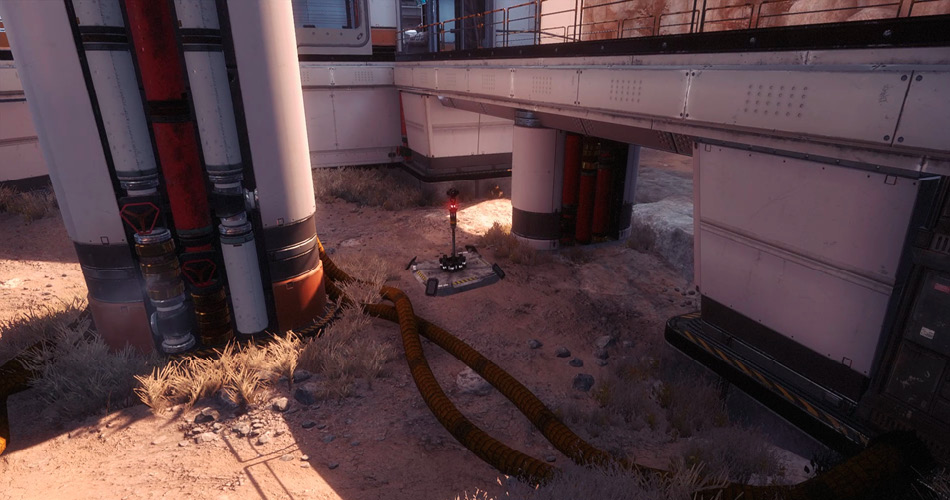
The final hardpoint is in the barracks, and this is a location that calls for major crossfire. Do not let the enemy gain control of either side of the barracks while defending it because that could even the playing field in a location where you need major control. Use the roof for long-range defense of this position, but be prepared to jump inside at the first sign of danger. Beware of Sonar Blades incoming on your position. Staying on the move is key so that they don’t pinpoint exactly where you are and take you out.
Bounty Hunt
Bounty Hunt on Forward Base Kodai has some unique nooks and crannies that provide for an interesting match every time you play. Watch out for the shadowed areas, as sometimes it’s difficult to tell whether you just appeared in front of a grunt or an enemy player. One of the Drop Zones lands right in the middle of the map and comes in through the skylight in the roof of the base. Focusing your fire down the midsection is the best way to take down these minions, but keep watching for enemy Pilots in the background. If you plan on watching this area from outside the base, be sure to keep one eye on the roof of the base because there will be enemies trying to take you down from there. It’s not a bad idea to try this yourself, especially if you have a very fast loadout and can sneak by anyone that might be waiting for you.
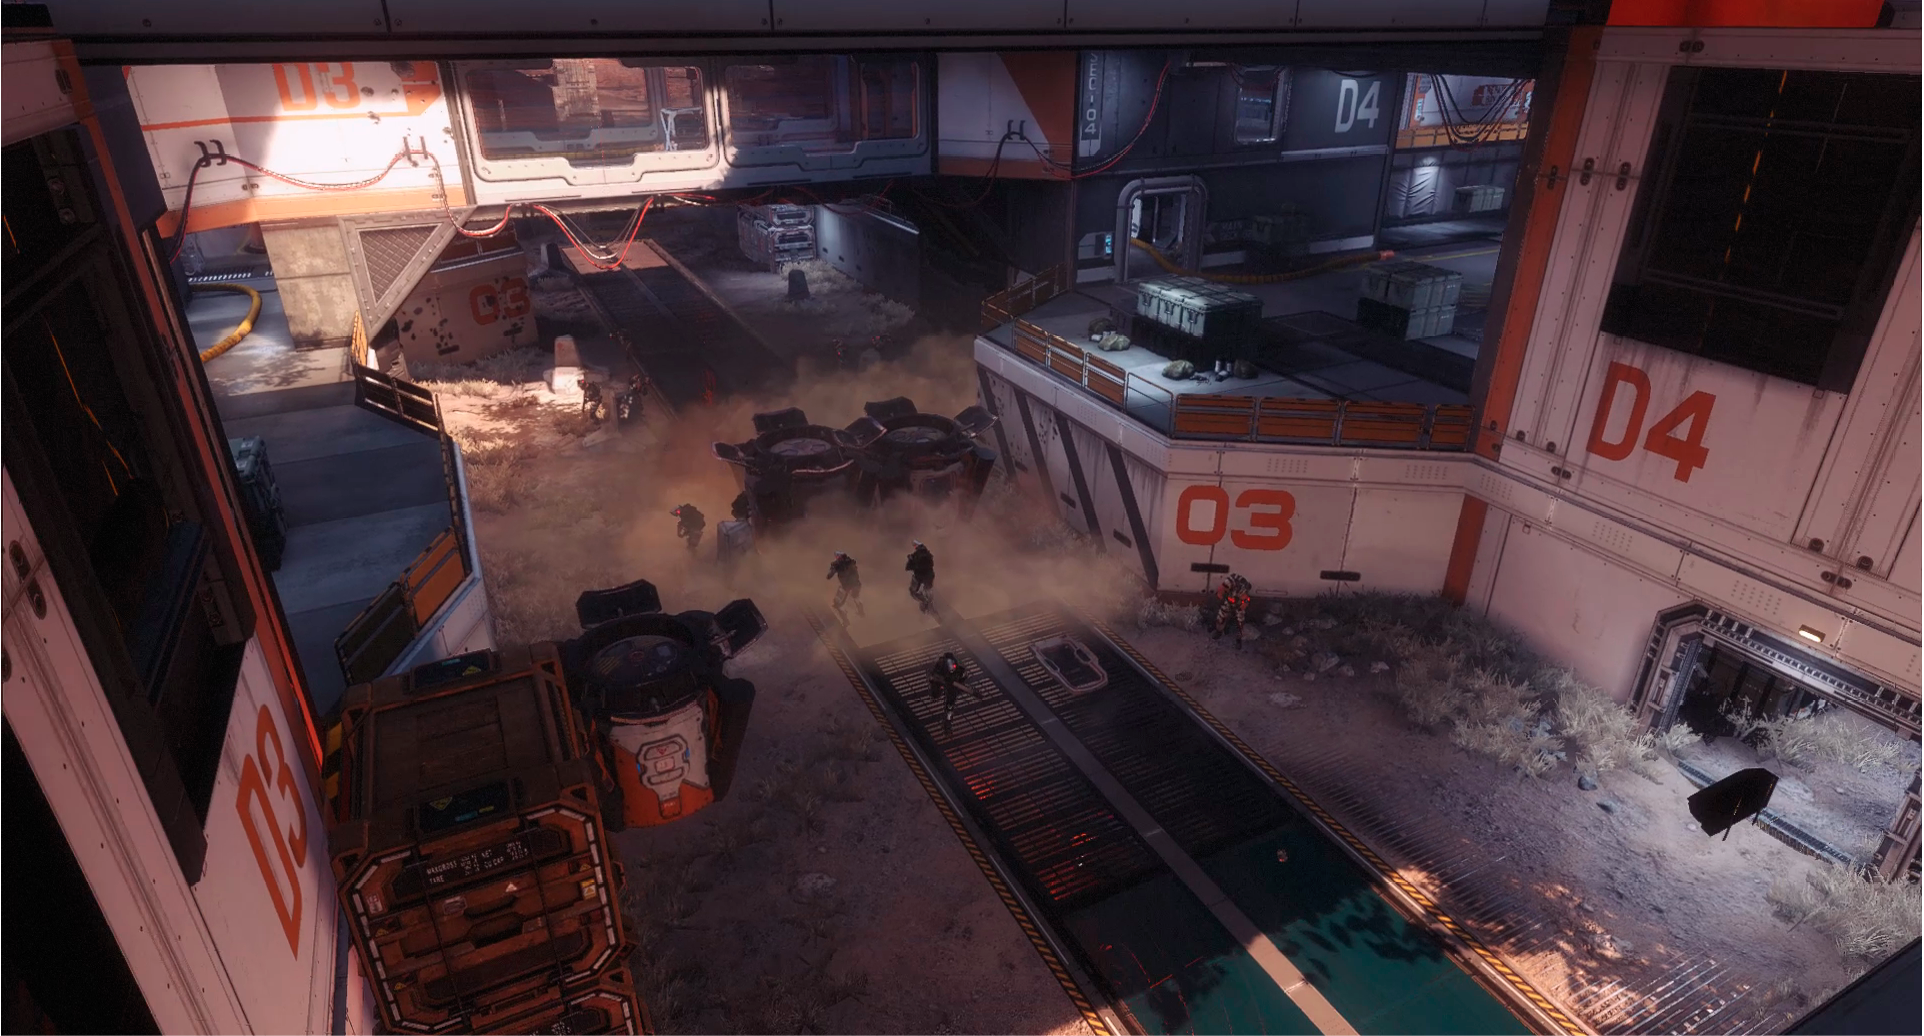
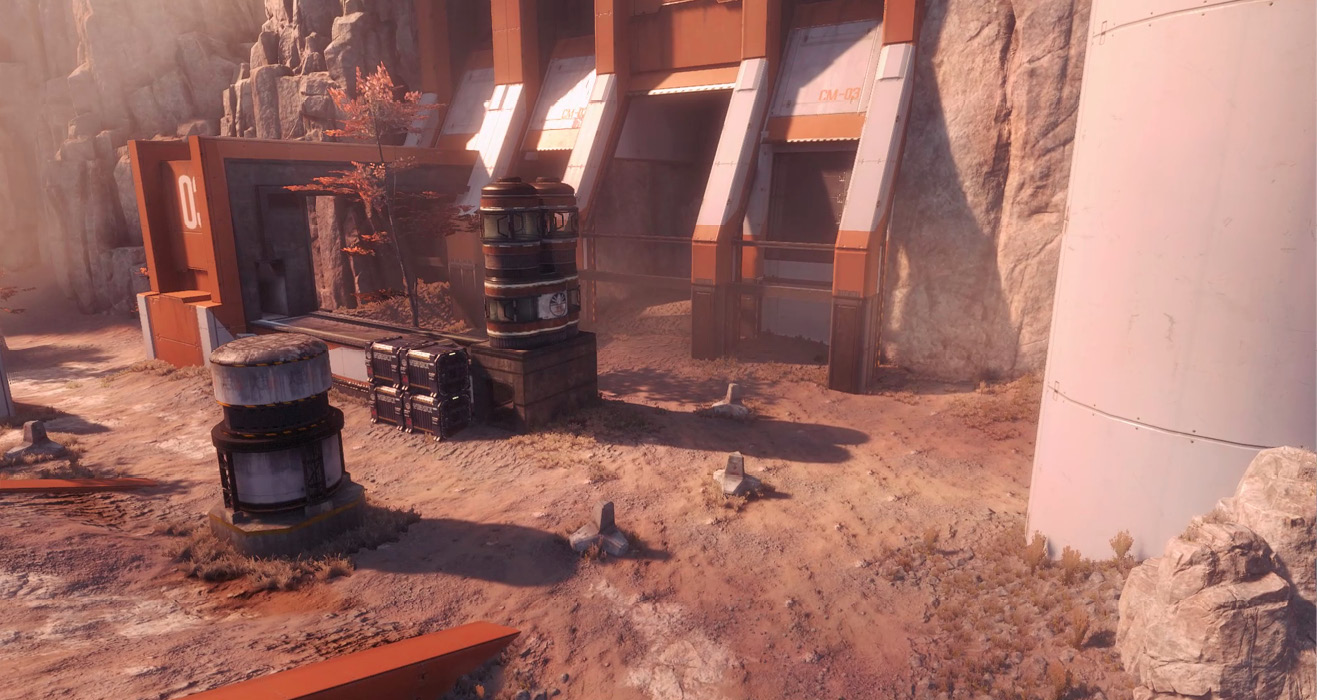
The next location is at the Tripod where the Drop Pods land out in the open and are prime pickings for snipers. At the point where this location becomes relevant, watch out for enemy Titans attempting to flatten minions for easy cash. Equipping the right Anti-Titan weapons and being able to dip into cover quickly is key for staying alive while attacking this position. If you have to be up close, remember to use the center piece to wallrun and take cover. Electric Smoke Grenades work well for this area.
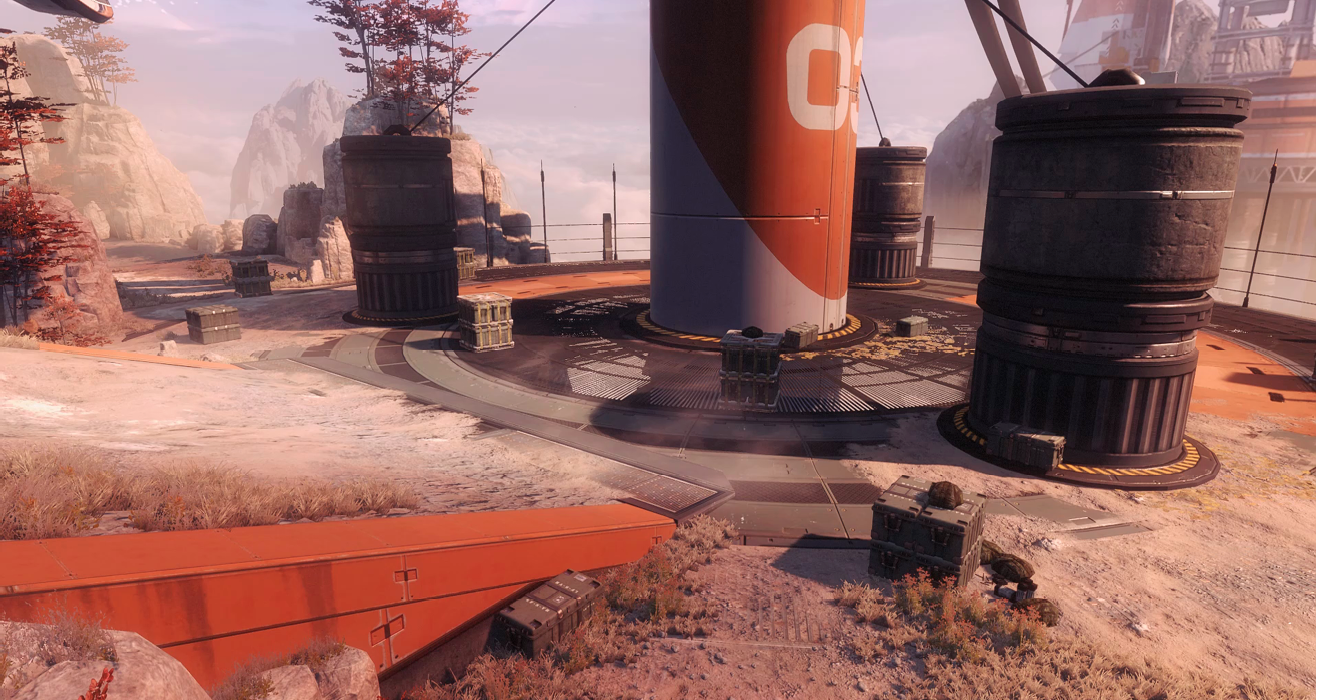
Finally, the last Drop Zone is on the other side in the Control. The Control is a lot less open than the Tripod, which means you have to find the right angle and fight for it if you want to get your bounties. There is a lot more cover here, however, which makes Titans slightly less of a threat. Scorch is still a very dangerous Titan to encounder in Control, but you can avoid encounters by slipping away from the major action.
Capture the Flag
Forward Base Kodai is a map that is all about large-scale timing when it comes to Capture the Flag. Because of the layers that are involved in this map, timing the location of where the enemy is and when the majority of the team is dead and awaiting respawn is key. If the team is on the other side of the map, they might not physically be very far from you, but they have to maneuver around quite a few obstacles if they want to get to you. There are hardly any straight shots to large areas if you run your route right.
Taking the sides of the base in the hill is best, as long as you keep the base or the roof of the base in between you and the enemy. Running over the top of the base is risky, but it can do well if you notice that the enemy team is mostly worried about getting into their Titans or beginning to close on your location from inside the base. Beware of Pilots coming up through the vents when running on top, but simple moves like busting out your Stim when you’re halfway across the roof and launching off into your base is a great way to cut down the time it takes for the other team to notice where you are and how to get to you. Running through the base is the safest route, but it might take you the longest, depending on how much cover you think you might need. You can always run through the middle, but unless you have a grappling hook, wallrunning might be a bit of a challenge. Making your way through the buildings and hallways can provide you with the most cover you can get in this entire map. However, because of the turns and low ceilings, making good time is the biggest challenge.
Pilots vs. Pilots
Forward Base Kodai is not a large map, but its terrain can make it seem rather large. With the lack of tall buildings and things to jump from to another, speed is quite the commodity here. Long-range shots might seem like the way to go, but with the many ways that there are to get to each location, becoming flanked is a rather common occurrence if you stay in one spot for more than a minute or two.
Stay on the move and use a mid-ranged weapon to handle your business. Use the cut-throughs and chutes to be anywhere your team needs you most. Sometimes you just need to shoot yourway through the pathways, but remember that there’s always an alternate route.
Last Titan Standing
Forward Base Kodai might as well be a large gladiator-style arena when it comes to Last Titan Standing. There’s really no telling what the outcome might be within the first couple minutes. There are extremely large, open areas that serve mid- to long-ranged Titans rather well, like Tone and Northstar, but underneath the hill inside the base, you might see Scorch or Ronin dominating the battle. Almost nowhere on this map should you see a single Titan fighting another single Tita. There will almost always be at least a two versus two battle happening.
Because of the fact that this map provides an all-out war ground for Titans, the best course of action is to split up into two man teams and fight as a group. Northstar, paired up with Tone, and Legion with Ronin are two examples of teams that would work well together. Make sure you set up in order to take on any single Titan and you have a chance to take two out while also being able to go help your teammates as they deal with their sectors.
attrition
Forward Base Kodai is another hybrid map; however, it is mostly indoors. The use of assault rifles and sub-machine guns is key for Attrition on this map. The roof of the main building is a prime spot for taking out AI; use this to get your Titan as quick as possible. This is also a great location for long-ranged and fast Titans. Use it to your advantage, but do not get caught alone here. The bridge in the center of the map is great for scouting the interior; use this as much as possible to know your enemy, but getting caught here could be dangerous. Work together and push all three lanes in order to become successful in each match.