Titanfall 2 Guide Multiplayer Maps Complex
Overview
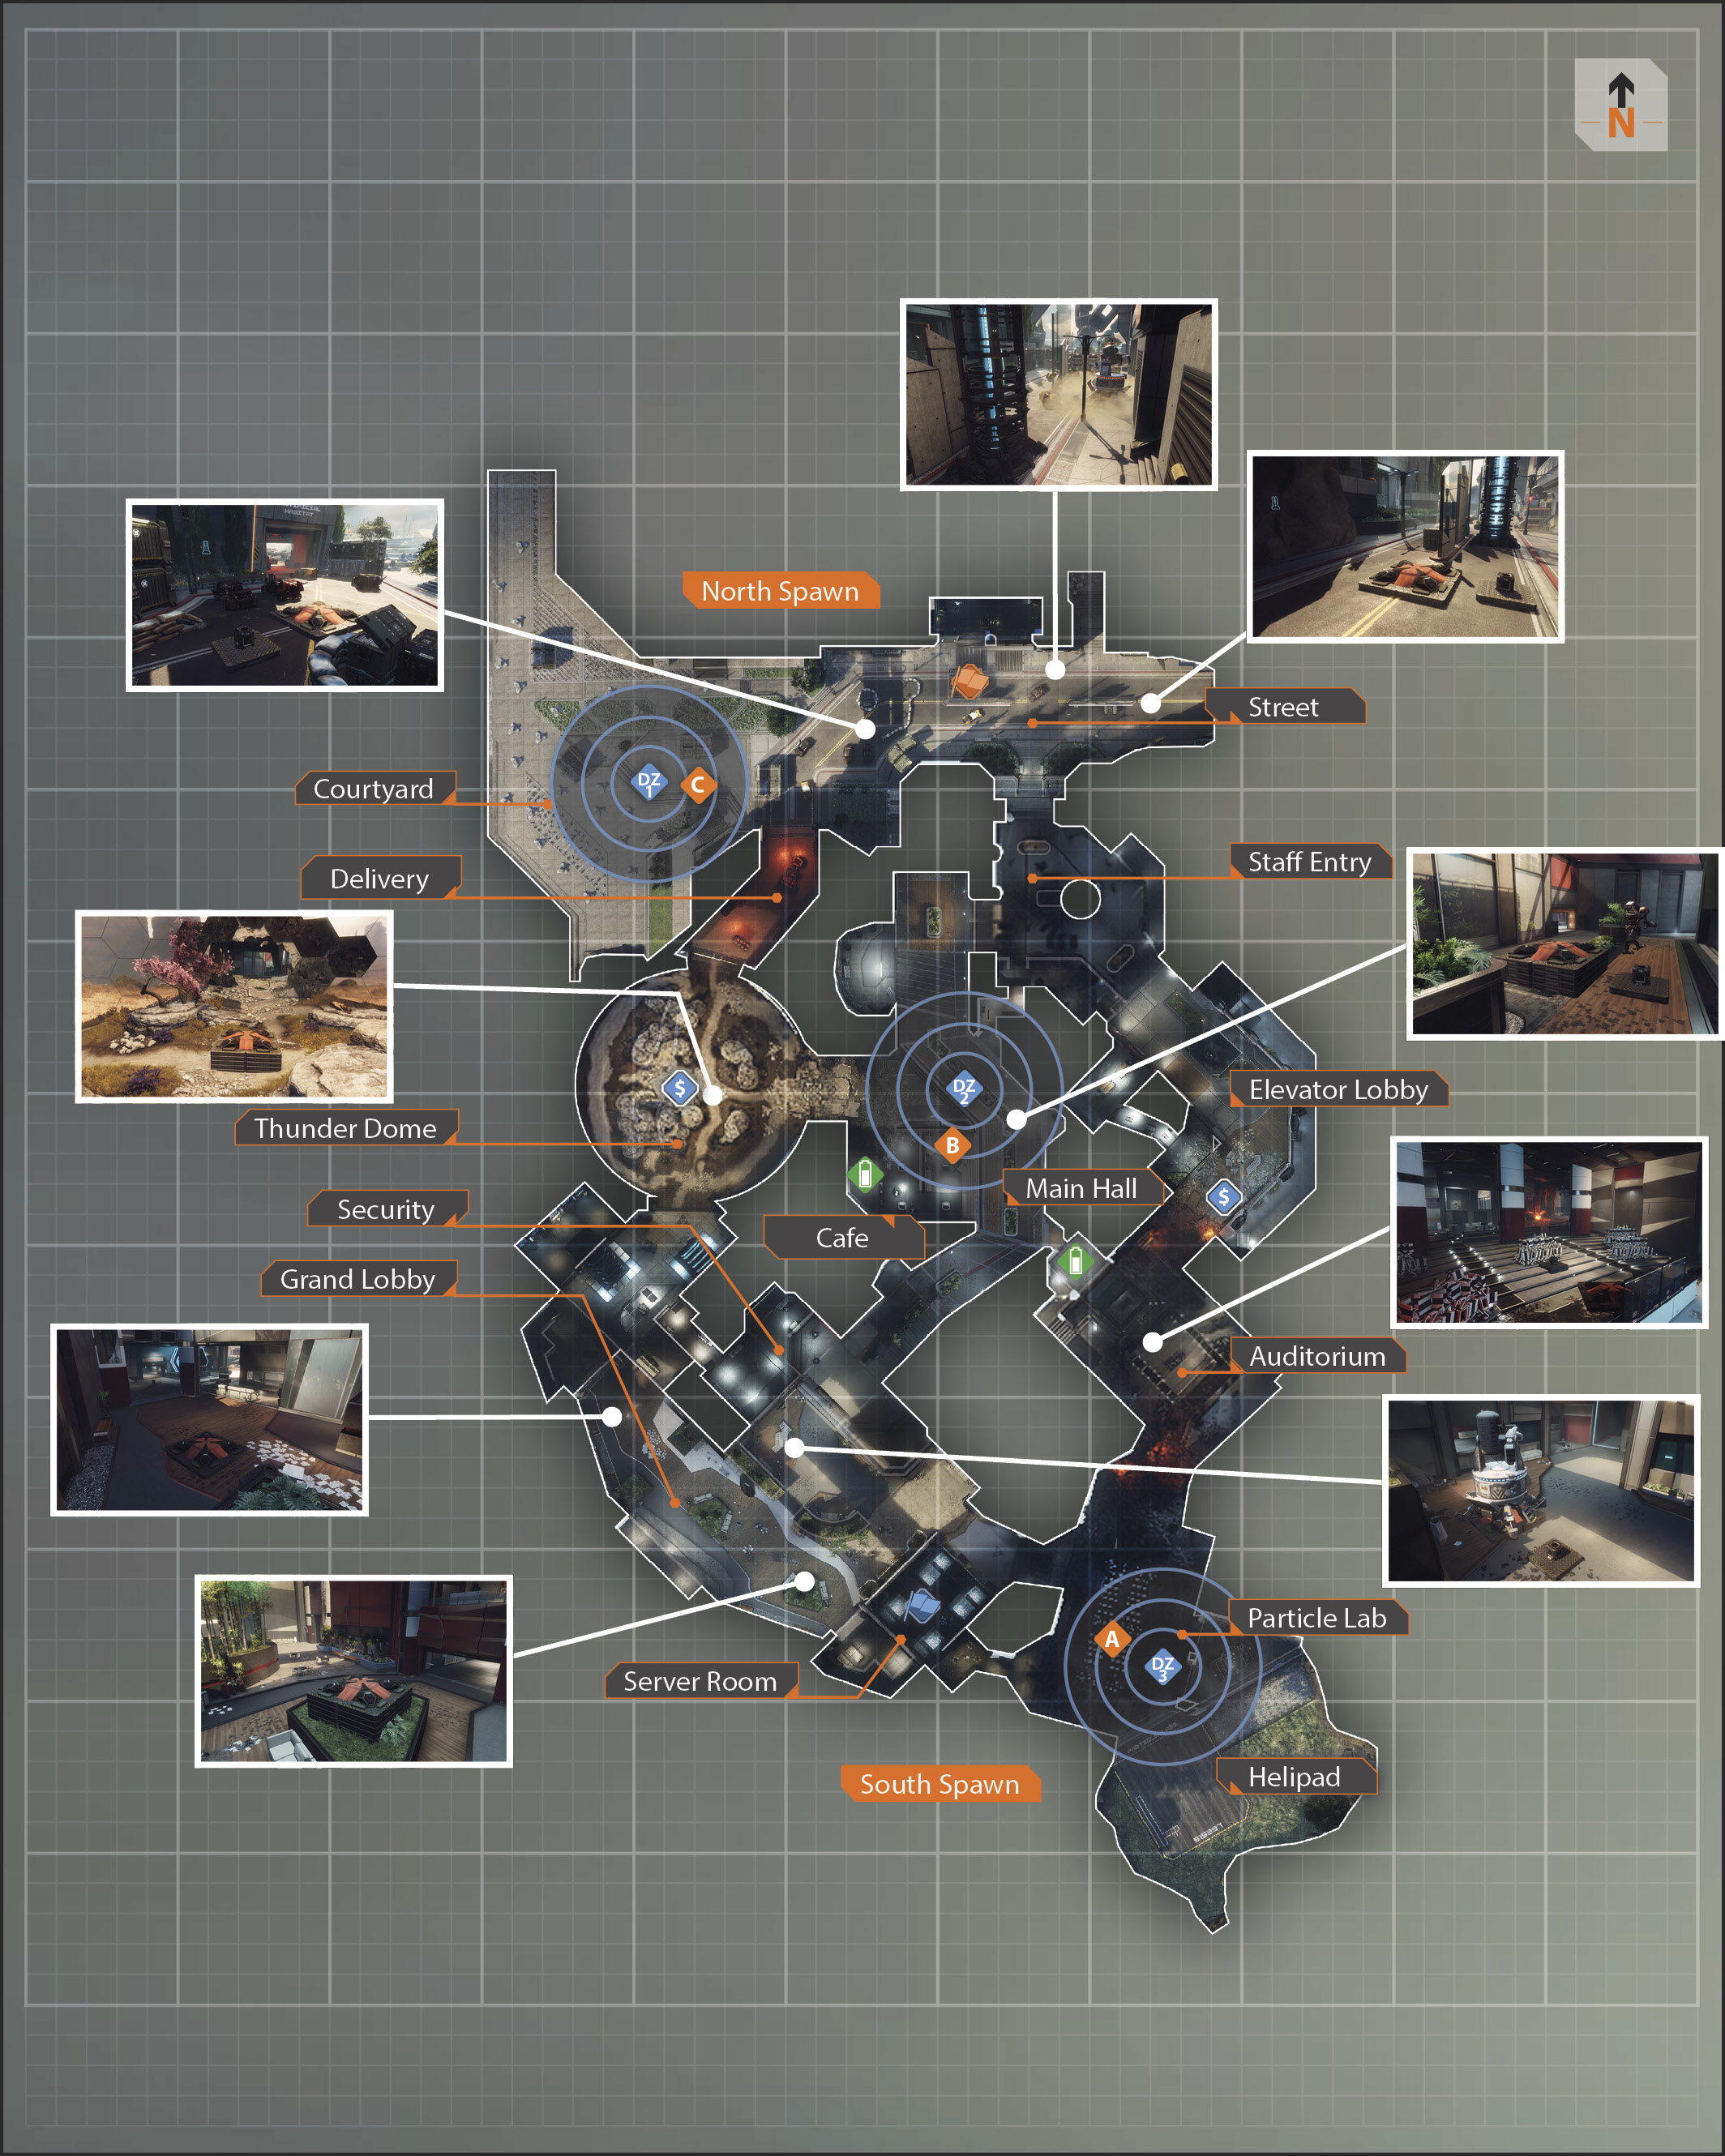
| Legend | |
|---|---|
 |
Last Titan Standing |
 |
Hard Point |
| Bounty Hunt | |
 |
Drop Zone |
 |
Bank |
| capture the flag | |
 |
Blue Team Flag |
 |
Orange Team Flag |
This IMC Advanced Research Center was home to multiple experimental facilities that focused on archeological analysis, wildlife research, and human research—one of many built to study and interpret new leading discoveries in the Frontier. This location was originally managed by V-Industries, an IMC-affiliated research firm. Following the company’s acquisition by Hammond Robotics, the facility was decommissioned and left vacant, in favor of a new facility at an undisclosed location.
This facility is comprised of a network of hallways, connected by spacious junctions. Pilots can predict Titan movement and cut through the complex to set up ambushes, while Titans will find easy victories by catching Pilots out in the open. Equipped with a thorough knowledge of the layout, an agile Pilot can learn to flank around to hit the enemy from the rear for best results.
Particle Lab
The Particle Lab is where the IMC has the major part of their research done, using their large pieces of equipment and scientific tools. Here is where you can find the A hardpoint in the Amped Hardpoint game mode. The Particle Lab has a few unique advantages when you’re attempting to defend the location. There is a clear entrance and office area right next to the server room, which is the most central entrance and is the easiest to defend. There is also a back entrance, which you’ll want to keep your eye on. It’s not a popular entrance because it’s a bit difficult to get to, due to spawn loacations and the fact that you have to pass through the server room, but nonetheless, it’s not a good idea to ignore it.
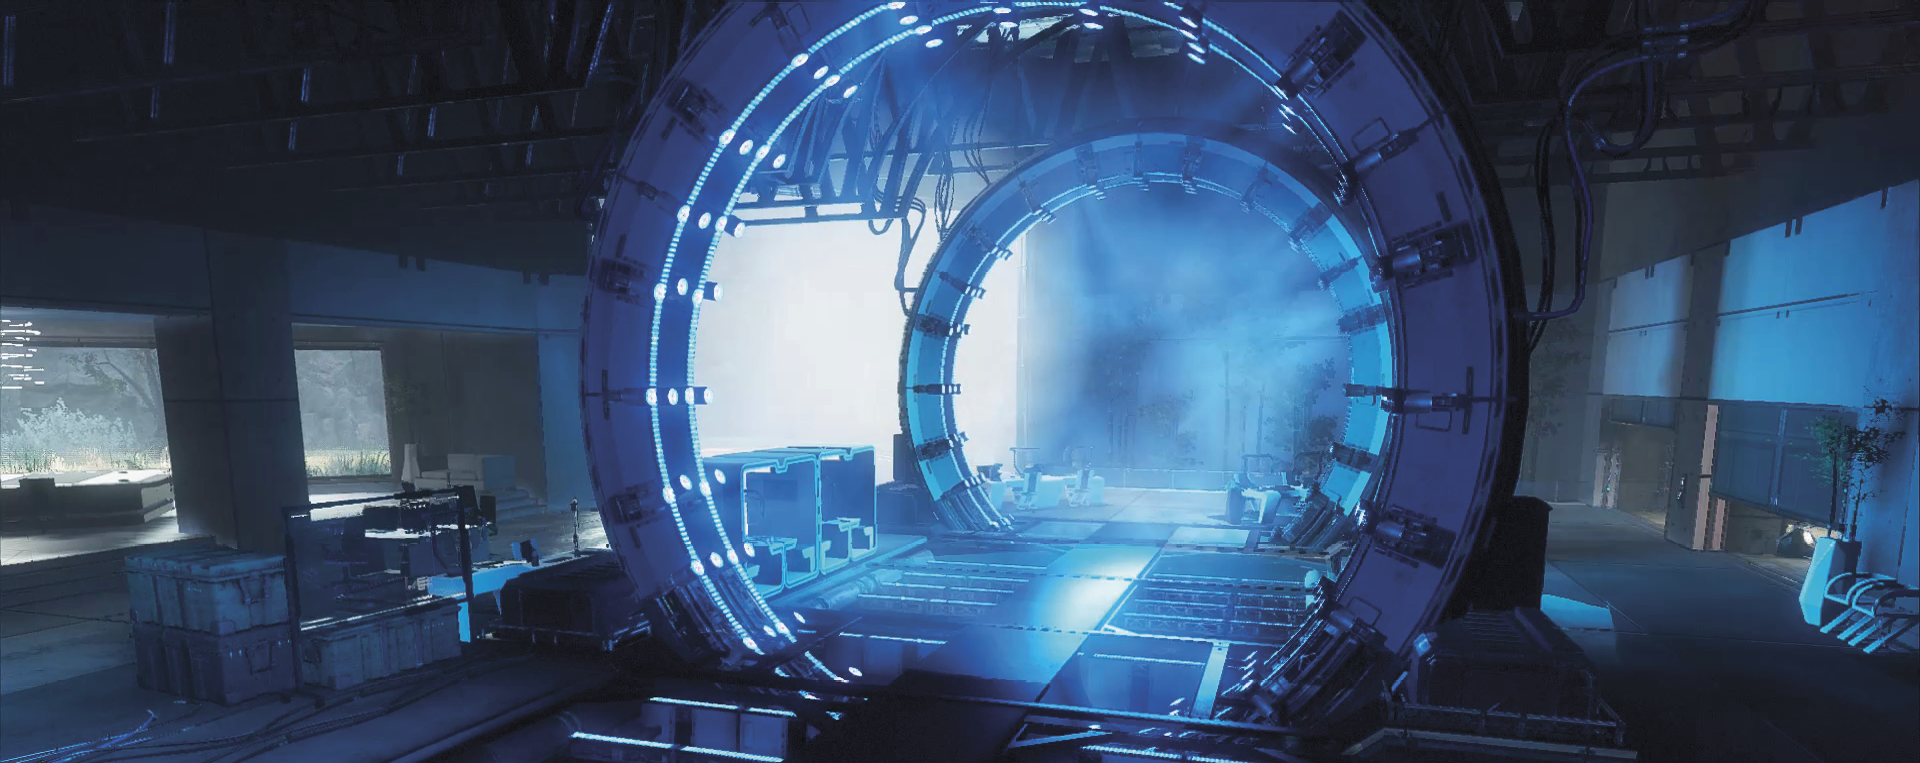
The two central locations are very important, but something you might have noticed is the giant hole in the wall directly in front of the particle machines. This is a major location because even though it is not a direct path to the center of the map, this is the main entrance to the Particle Lab, which can fit a Titan easily. Protect this entrance with another Titan, or at least find a way to flank it, fast.
Main Hall
The Main Hall is exactly that: it is the very center of the complex, and in many ways, it is the prime hotspot for killing minions and fighting both Pilots and Titans. If you’re not equipped for compact heavy duty battle, you might want to stray away from the Main Hall. When in your Titan, make sure to keep your head on a swivel and peek your head up from time to time. Pilots are known to run the walls at a high elevation to be able to completely elude any Titan focusing on ground units or even to get into a position to rodeo enemy Titans. Use the room where the B hardpoint is located to avoid Titan fire and escape to the Thunderdome, if you must.
Courtyard
The courtyard is where the C hardpoint is located, and it is not at all like most locations on Complex, simply due to the fact that it is fully outdoors. The courtyard is prime location for Titans that have a wide area of affect abilities. Use the cover of the shipping containers and boxes to stay hidden from any enemy Titans, because if they see you, you are going to have to do some slick maneuvering in order to stay alive. The backdrop of the courtyard is a large cliff that you can technically travel to, but you are not going to last long, so if by some reason you find yourself launched over the edge, get back as quickly as possible.
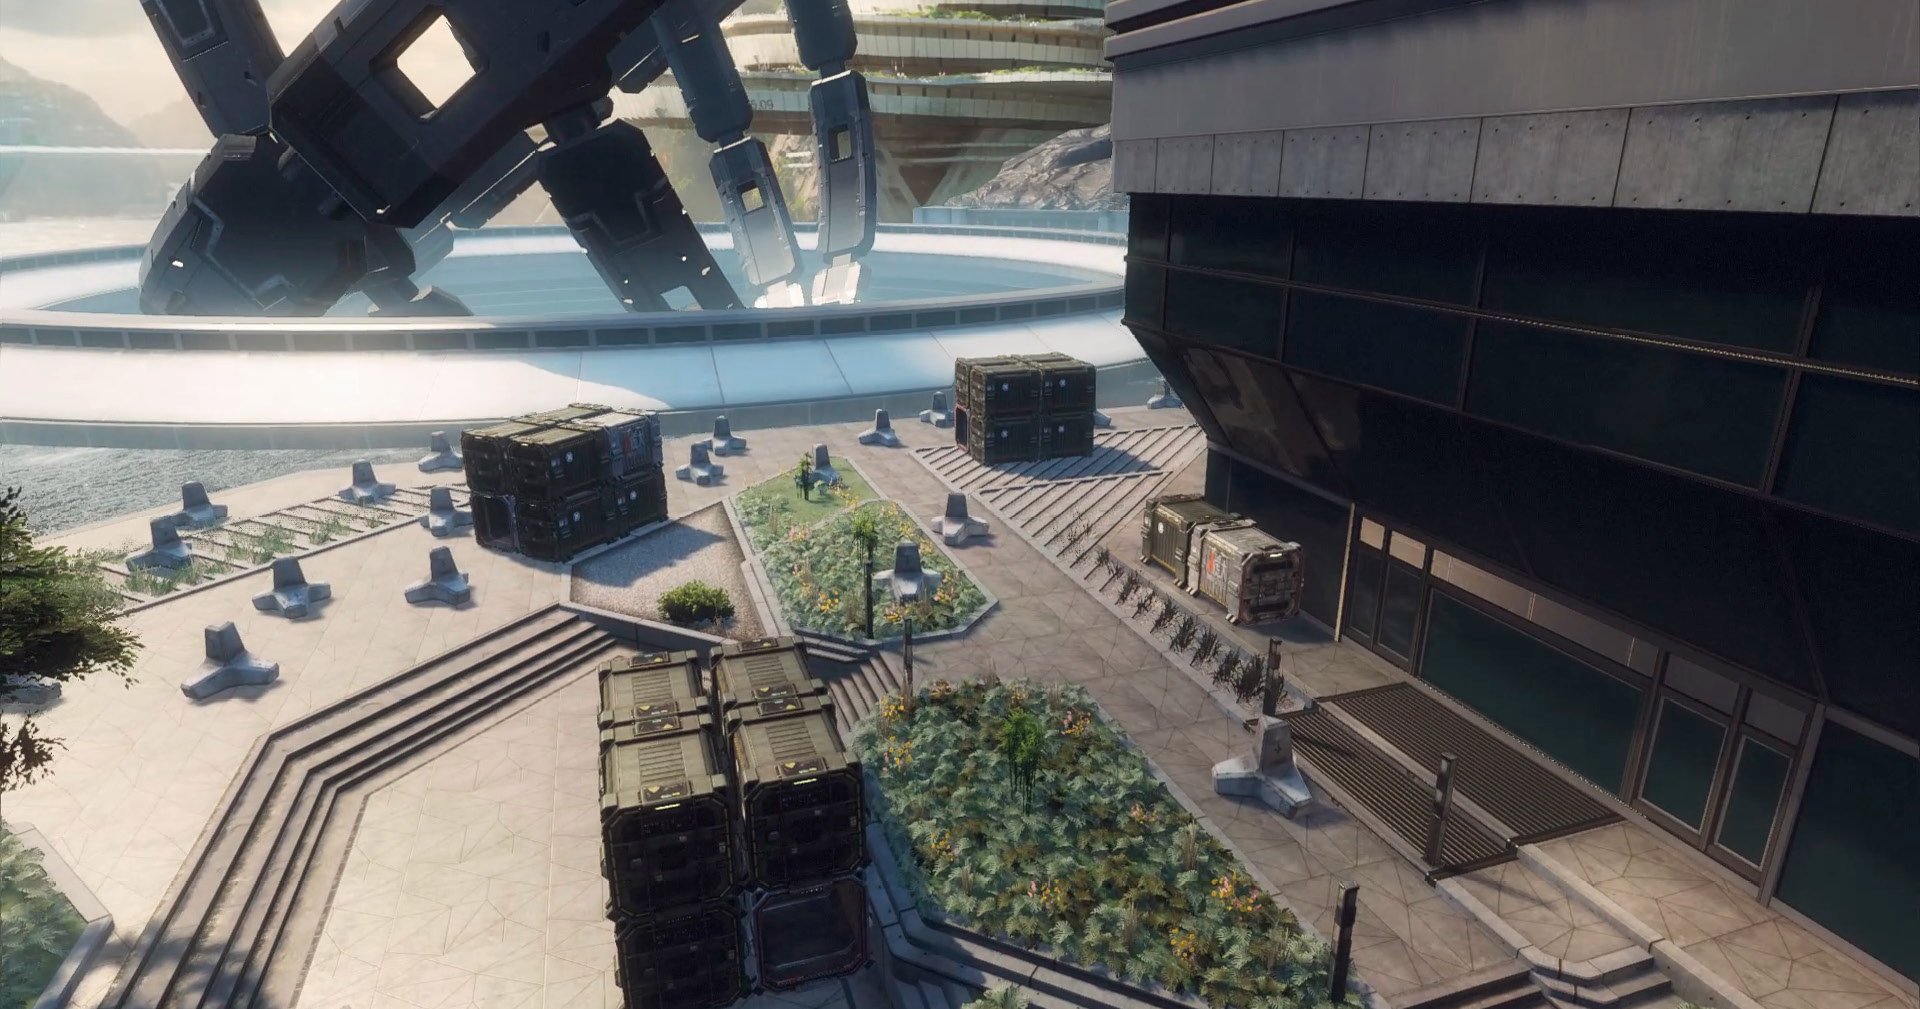
There are two real entrances to the courtyard. However, they are both rather large, making them relatively difficult to defend head-on. You are going to need a few teammates to lend you a hand. Be sure to have Cloak equipped as your Tactical Ability, just in case you find yourself in a tight spot. It might be the only way for you to survive and either find your way to the delivery area or down the street and out of immediate danger.
Grand Lobby
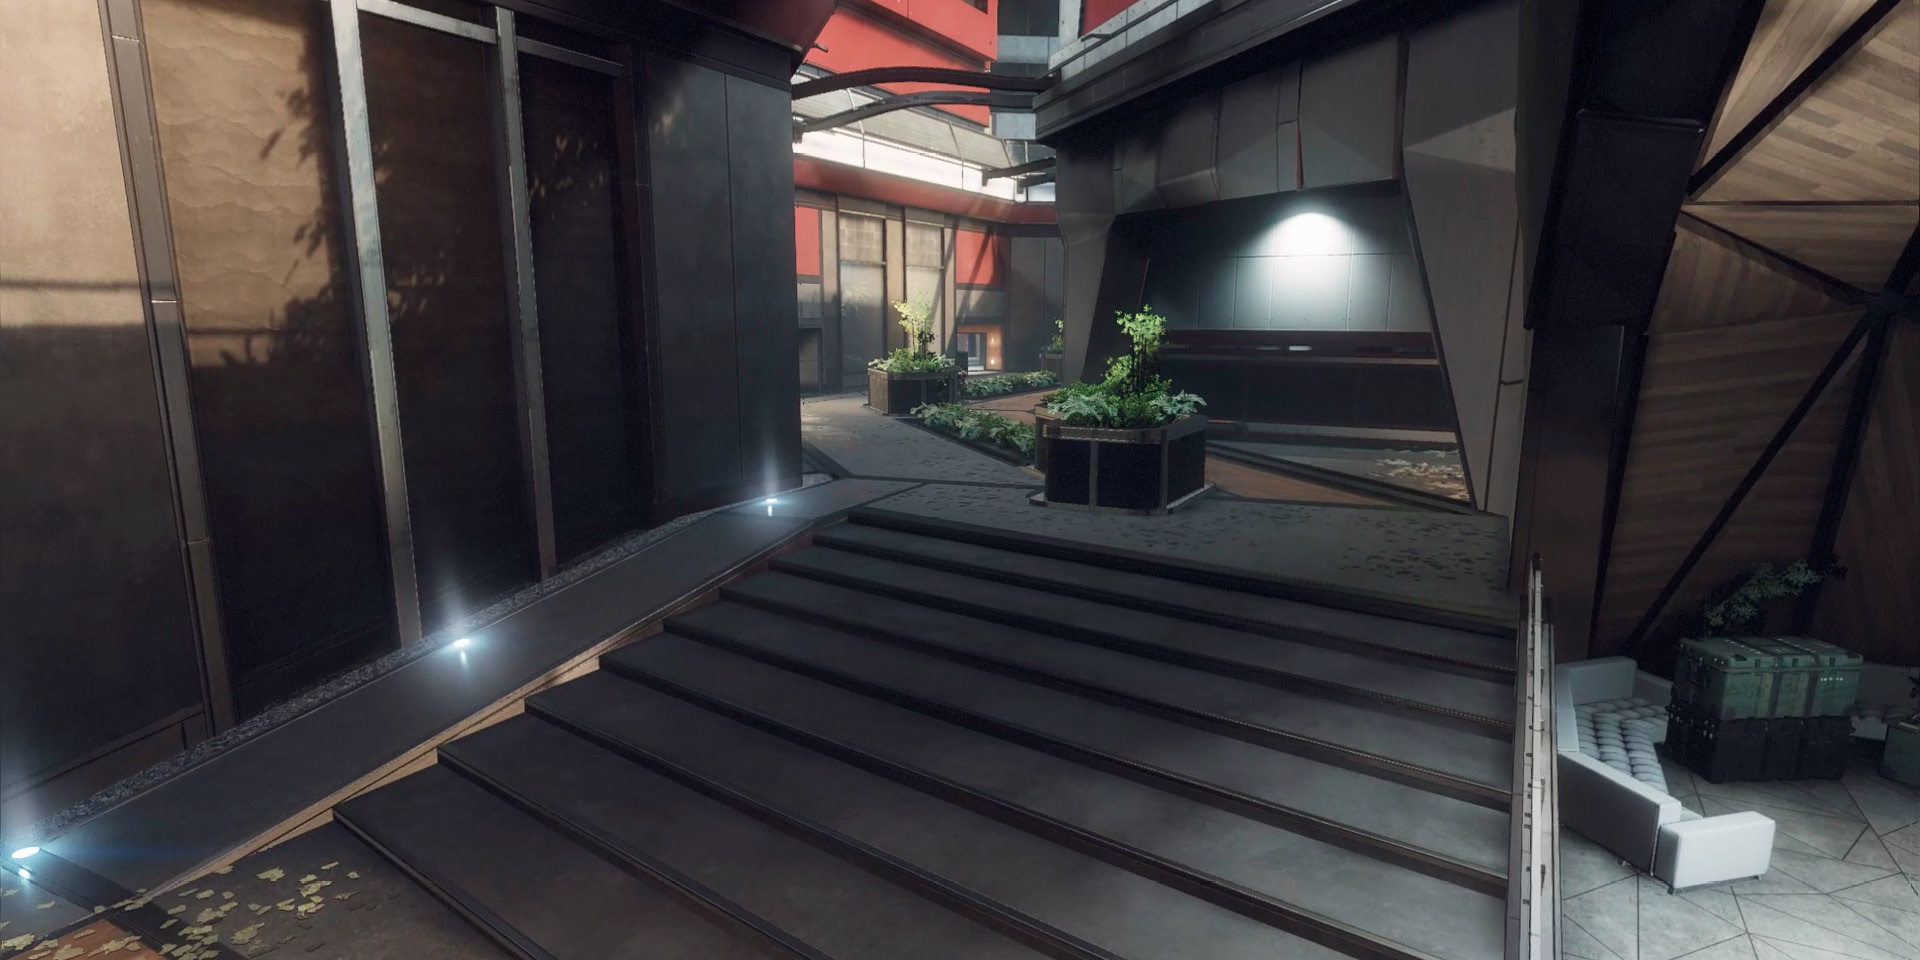
There are two large areas on this map that serve as central battle zones away from the rather narrow Main Hall. The Grand Lobby has a couple of sections; the largest section is the main portion, where you can see a few pillars in the center of the lobby that are great as launching points for Pilots to gain some speed for quick maneuvers. Also in the main portion there is a lot of open space, which means it is a good idea to stay out of the center as much as possible. Next is the waiting area that leads to the Main Hall; here is a great staging area for both entering and exiting the Grand Lobby, as there is just enough cover to recon the area before moving forward.
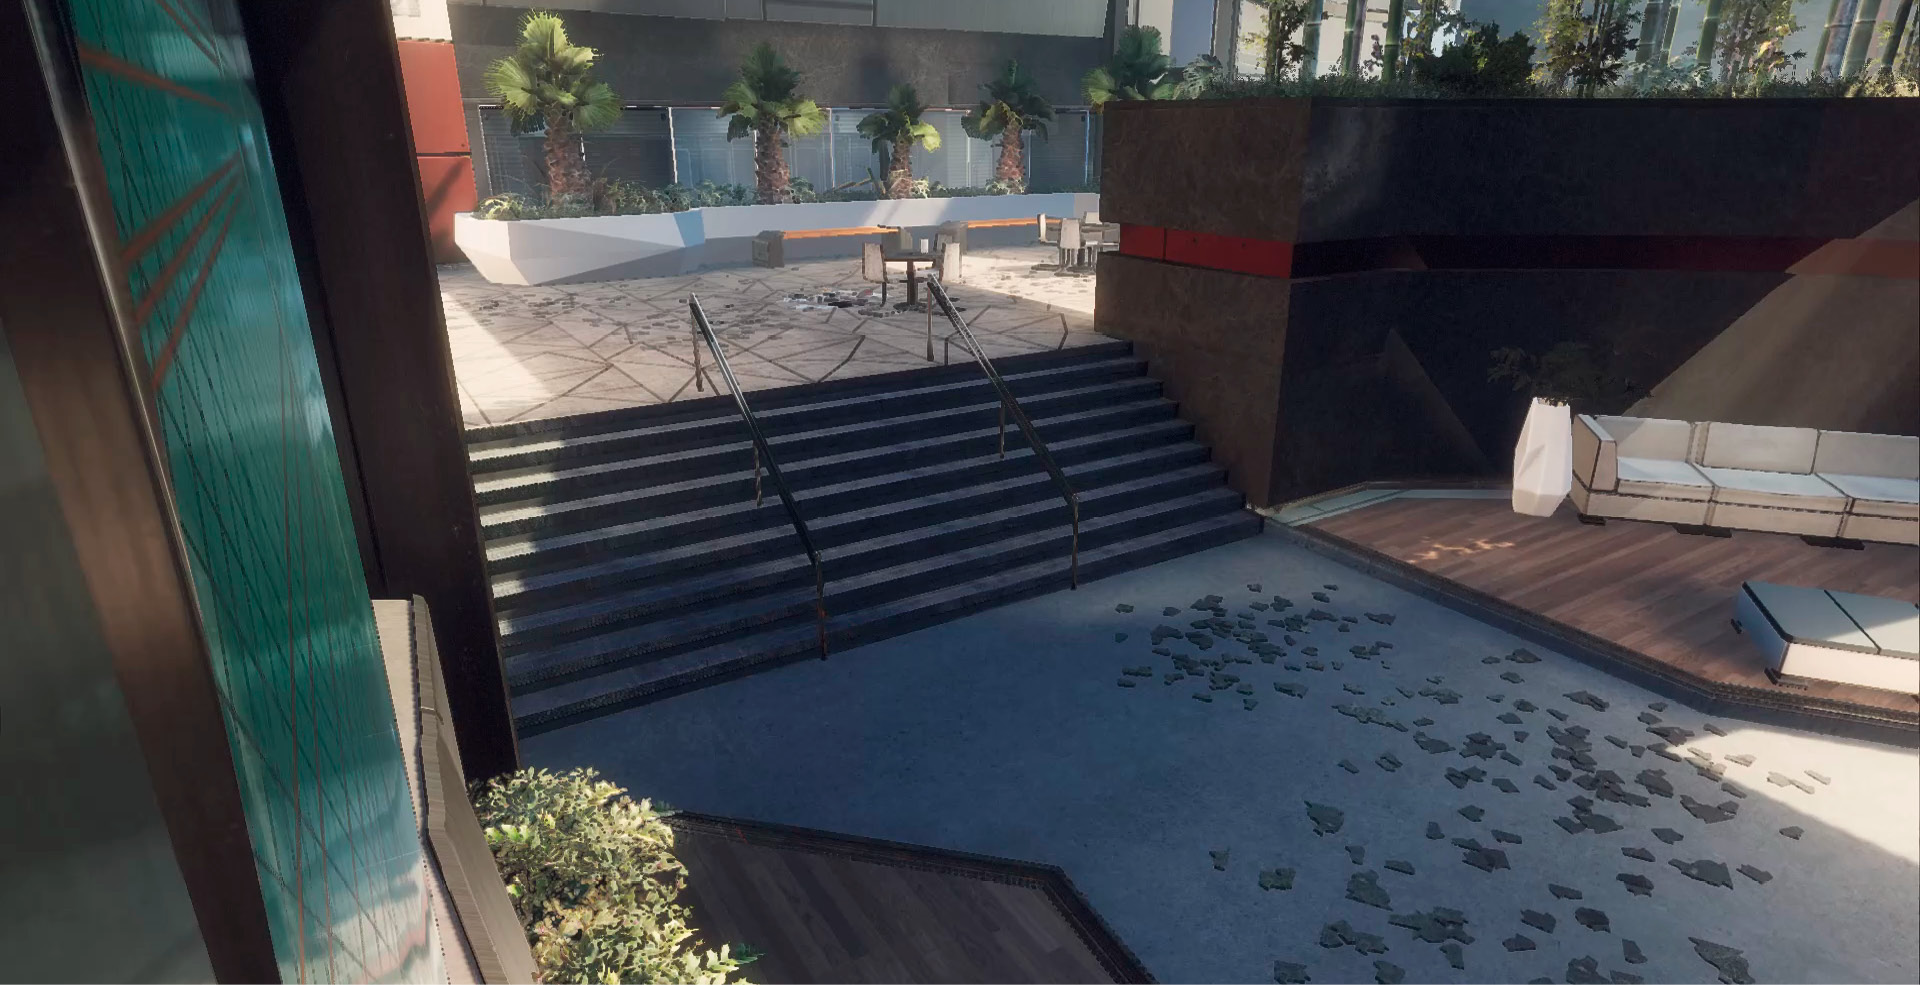
The biggest difficulty about learning how the Great Hall works is how many ways there are into it. Connected by the security office, control room, and server room, these are all possible ways to attack this location. The Grand Hall is not necessarily the best place to defend. However, your team may be more successful if they patrol it and constantly push the other team out via defending the entrances from within them.
Elevator Lobby
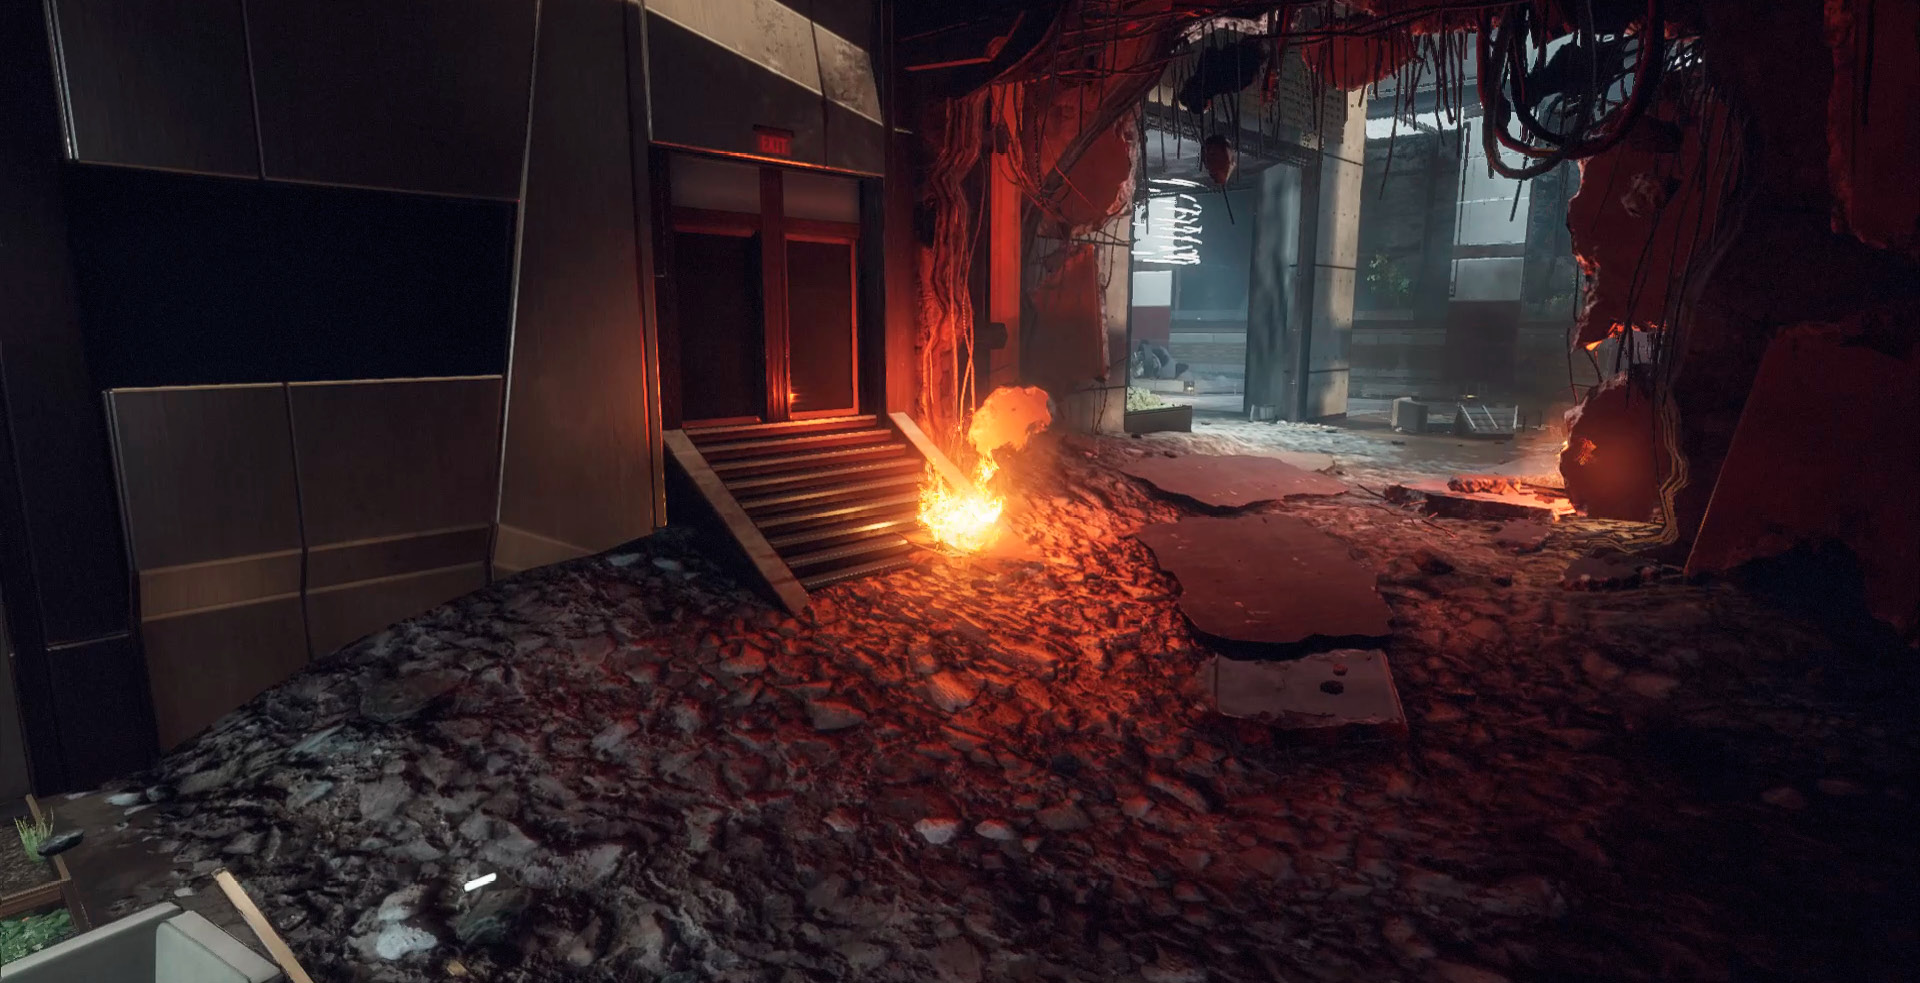
Not unlike the Grand Lobby, the elevator lobby is very much a pass-through location, due to the lack of major cover. However, this is another central location where battle is guaranteed to ensue. The elevator lobby is an L-shaped room, so instead of having inherant cover, it is possible to use its shape and natural corners to ambush your opponents. The real trick is to be able to set traps and barriers with your Titans. Titans like Scorch and Ion both work well here, especially in modes like Capture the Flag, creating a blockade for any enemy Pilots or Titans attempting to pursue.
Recommended Pilot Loadouts
Grapple GliderThis loadout is best used when you’re staying mobile at all times in an urban environment. You are able to use your Grapple twice at a full charge and when up against a Titan, helmet to nose. Being able to find the nearest high place and pulling yourself out of harm’s way fast can save your Pilot’s life and keep you close to the objective. Firestar is great for covering your tracks when you’re attempting to get away; with the use of Ordnance Expert, it is easier to throw the Firestar right at the enemy Titan’s nose, blinding the Pilot inside. The Grapple Glider is designed for swift, close-quarters offensive strikes. Using the wide-spread shot of the Mastiff, gather as much momentum as possible by swinging around corners and sliding to keep up your speed. Make sure you have enough speed because attacking your enemy straight on is extremely dangerous, but going fast enough makes you a difficult target to even see.
|


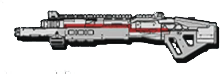
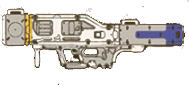

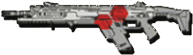
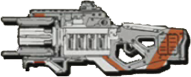
GhostThe Ghost Loadout is ideal for a full-on offensive mission, with the ability to back off if things get desperate. Use Cloak as a way to get closer to your enemy, and always take the positioning of you and your opponent as priority. The purpose of the R-201 is so that you are able to keep your distance from enemy Pilots, due to the fact that you are much more visable, even while cloaked, up close. The same goes for why you have the Charge Rifle at the ready, just in case you must take down a Titan. You may be faced with no other option than to flee, because it’s much better to flee and fight another day rather than give the other team a Pilot kill and make it easier for them to call their Titans in. Always know where your exits are, and as soon as you think things are looking grim, activate your Cloak. Run toward the exit, and don’t be afraid to jump and get acrobatic on your way out. That’s what Low Profile is for.
|



Recommended Titans
Scorch Scorch is a great option for this map because the Incendiary Trap has a radius perfect for the numerous hallways on Complex. Not only can the Incendiary Traps catch your enemy in a position that they will have one heck of a time escaping from, it can also simply block an entire route, keeping a Titan from attacking you head-on. The counter to this is Ronin’s Phase Dash; however, if you catch Ronin moving past your trap, you can set another trap by backing the enemy Titan into it again with your Thermal Shield.
|


Ion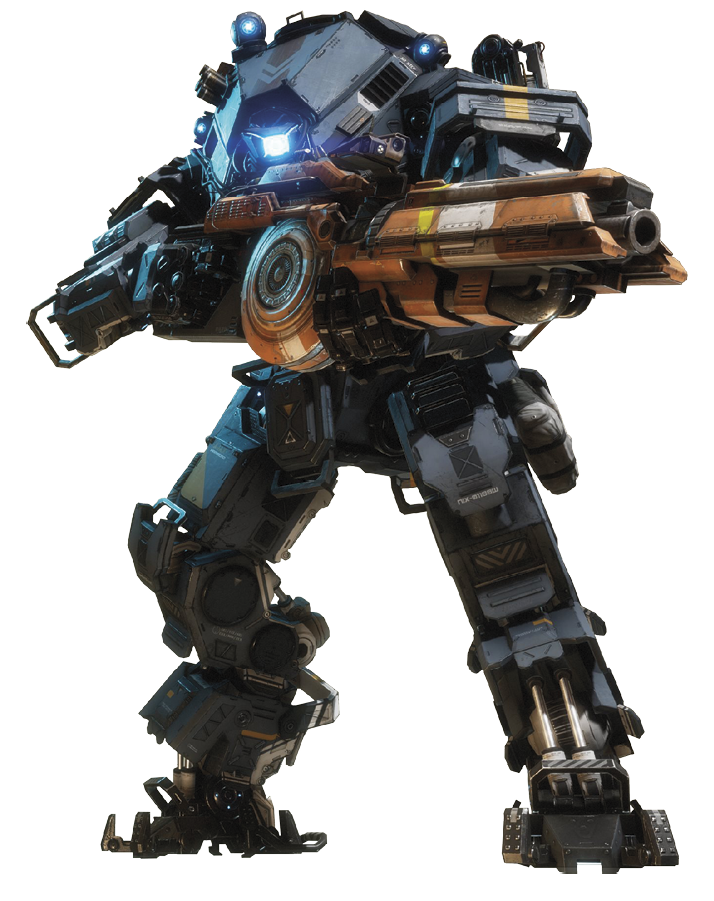 Ion is your most basic and well-rounded Titan which is what makes this Titan loadout great for this map. Because of the mixture of extremely tight areas as well as wider rooms, the heavy combination of the two demand a Titan that can do it all. This map also calls for a smart Pilot that can flank enemies quickly, without them noticing; the extra dash that you get from Turbo Engine can make that a greatly more achievable. Considering the close-quarters combat, especially for Titans, Ion needs to have as much energy as possible because you should be using it frequently. Focus on making shots that cause critical damage because Entangled Energy allows you to keep your defense up, as well as being able to cause a large amount of damage to your enemies with the use of Laser Shot.
|