
Titanfall 2 Guide Single-Player Campaign The Pilot’s Gauntlet
Prologue
As the Militia’s MCS James MacAllan approaches the IMC-controlled planet Typhon, rifleman Jack Cooper prepares for his latest round of Pilot training. It’s unusual for a common rifleman to rise to the challenge of becoming a Pilot, but Captain Lastimosa sees great potential in Cooper and has taken it upon himself to show the promising rifleman the fundamentals of joining the ranks of the Frontier’s most elite combatants. Already seated in a Simpod, you take the role of Jack Cooper. Prepare for Pilot training…
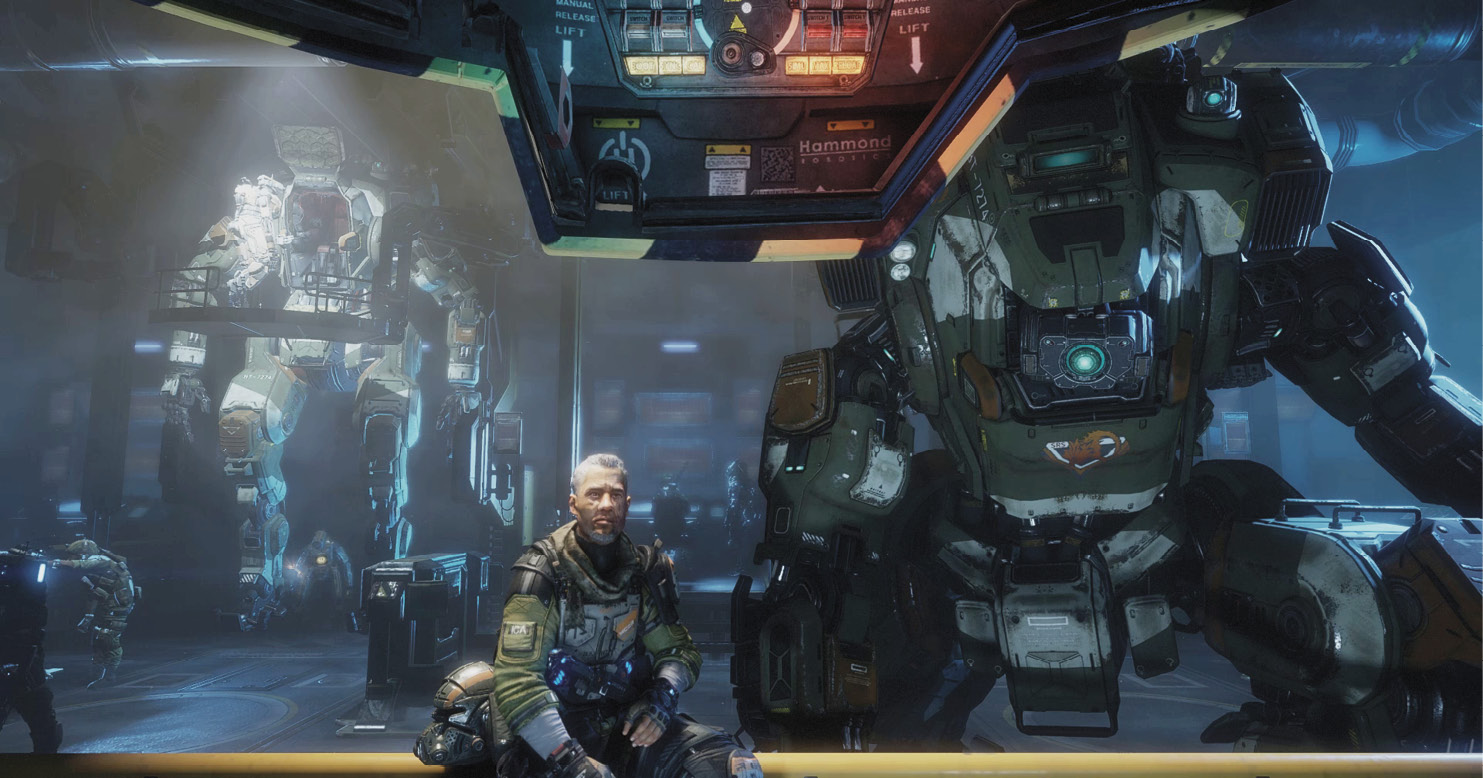
Jack Cooper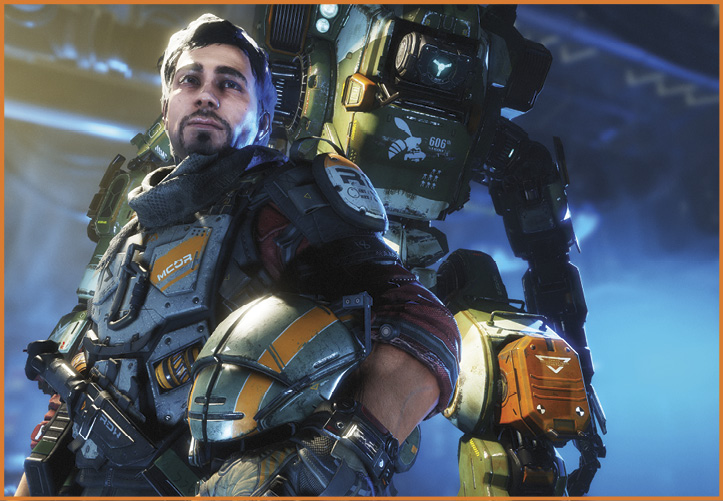
Faction: 41st Militia Rifle Battalion Rank: Rifleman Class 3 Age: 25 Skills: Basic infantry, with a regimen of rudimentary simulated Pilot training by Captain Tai Lastimosa over several months. History: Jack Cooper’s family relocated to the Frontier from Earth in search of a better life when he was an infant, due to the extreme cost of living and radically skewed population and wealth distribution on Earth. Like many others, the rural community they lived in was subjected to harassment and exploitation by IMC garrisons for many years. After word of the Dunnam Vale massacre spread throughout the system, Cooper took up arms and volunteered as a Militia rifleman, to free the Frontier from the oppression of the IMC. |
Tai “O.G.” Lastimosa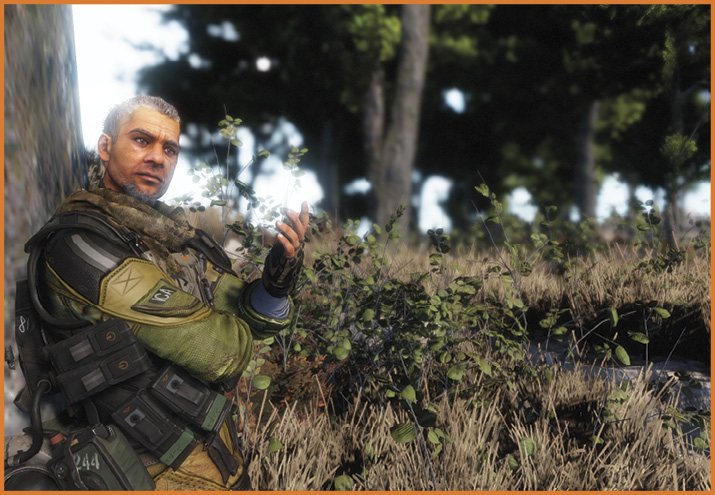
Faction: Marauder Corps—a section within the Militia’s SRS (Special Recon Squadron) Rank: Captain Age: 47 Skills: Tai Lastimosa is a Master level combat Pilot. He has a good eye for talent when it comes to Pilot potential. History: Tai Lastimosa grew up on the Frontier planet Harmony, long before it became the current headquarters for the Militia (back when Harmony was better known for its agrarian qualities as “the breadbasket of the Frontier.”) He was one of the first Pilots to serve in the new elite Militia unit, the SRS, after the Battle of Demeter. Lastimosa test piloted the prototypes of the Vanguard-class Titan during its development on Harmony, and was neural linked to a late-model unit, BT-7274, prior to Operation Broadsword. |
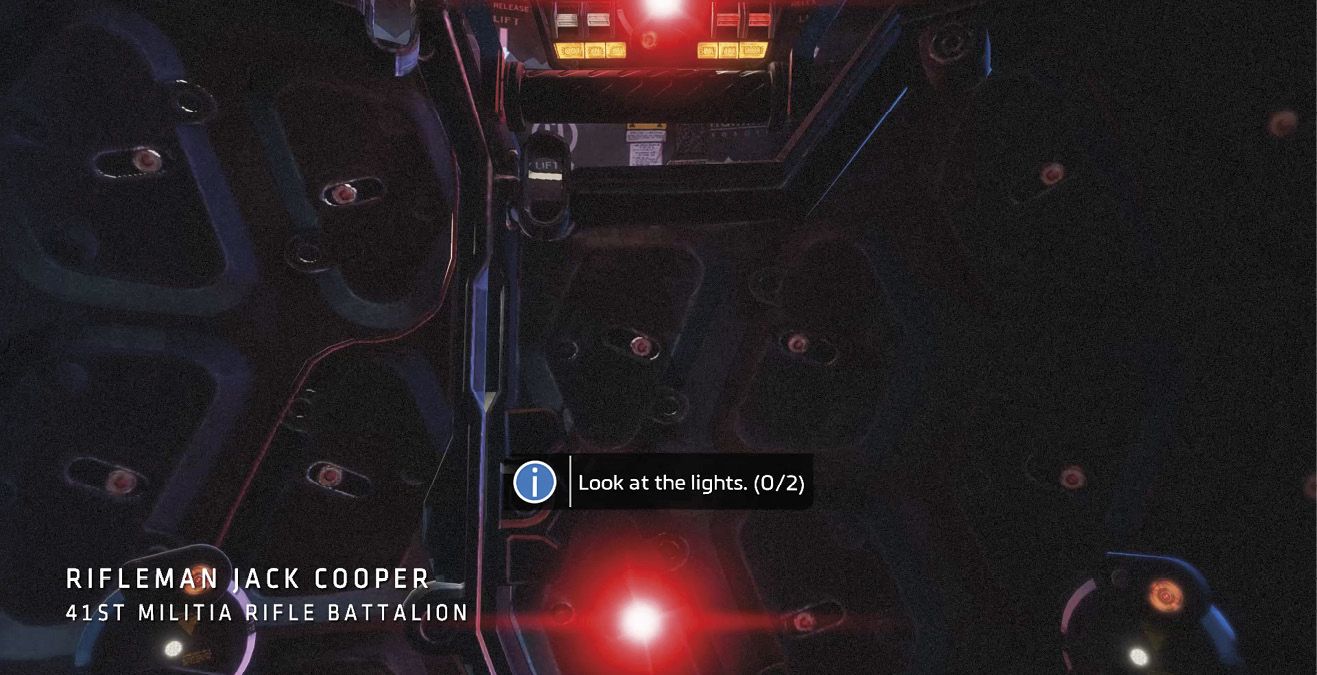
Before training can get underway the Simpod must be calibrated. After the Simpod’s doors close, look for two red lights. Glance down at the lower light until it begins flashing blue. Continue looking at the light until it stops flashing and emits a solid blue hue. Repeat the same step for the upper red light. Do the look controls feel OK? If not, you can invert the controls at the following prompt. Controls can be further customized from the settings menu, accessed by pausing the game. Once you’ve calibrated the Simpod, Captain Lastimosa initiates the neural link, beginning today’s simulation.
Enhanced Mobility
Jump and Sprint
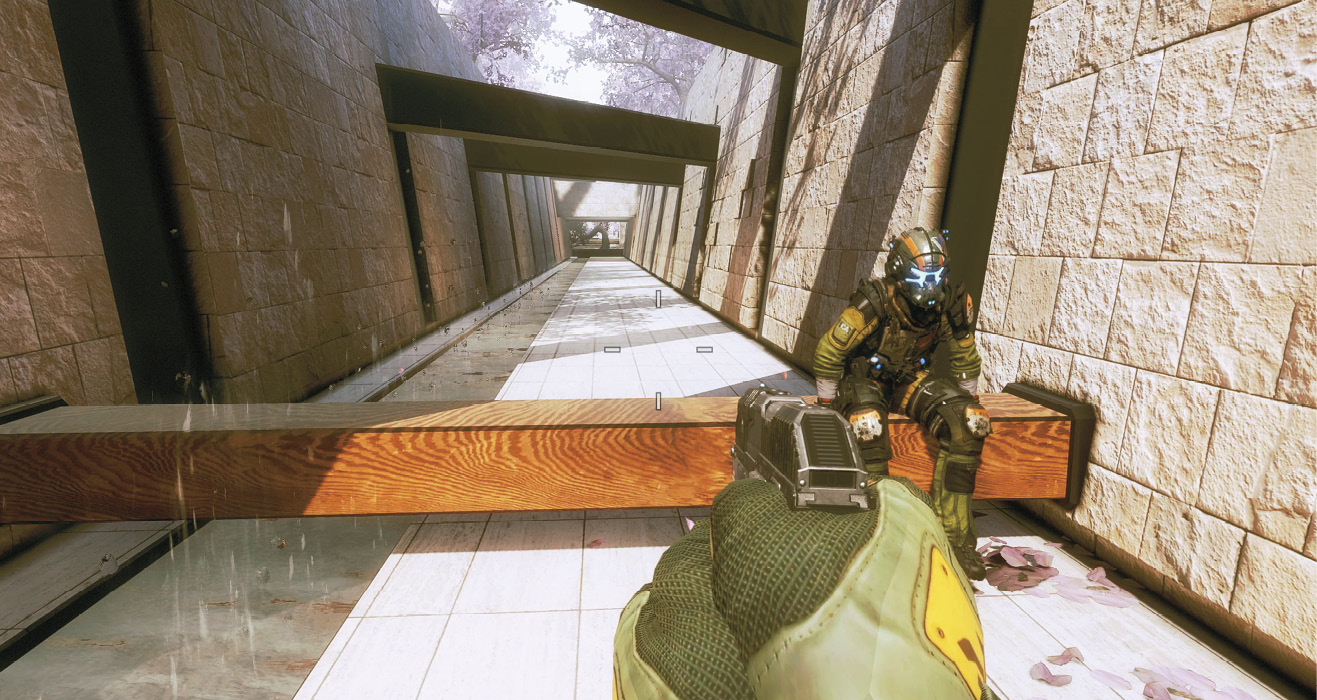
Captain Lastimosa meets you inside the simulation. Clearing today’s first obstacle is simple—move forward and jump over the low wooden beam. Basic jumps like this are sufficient for clearing small obstacles. Your jump is assisted by the Jump Kit, a small jetpack-like device worn around each Pilot’s waist. The Jump Kit provides a quick vertical boost, allowing Pilots to reach elevated positions otherwise inaccessible to standard infantry—taking the high ground should always be a priority. After clearing the wooden beam, sprint through the adjoining corridor. Sprinting isn’t only a quick way to get around, but it also makes you a tougher target to hit during combat. However, while sprinting, your weapon is lowered, making it impossible to quickly retaliate against attacks. Instead of stopping to shoot, sometimes it’s better to simply charge your attacker with a well-timed melee strike, eliminating the threat while preserving momentum.
Wallrun
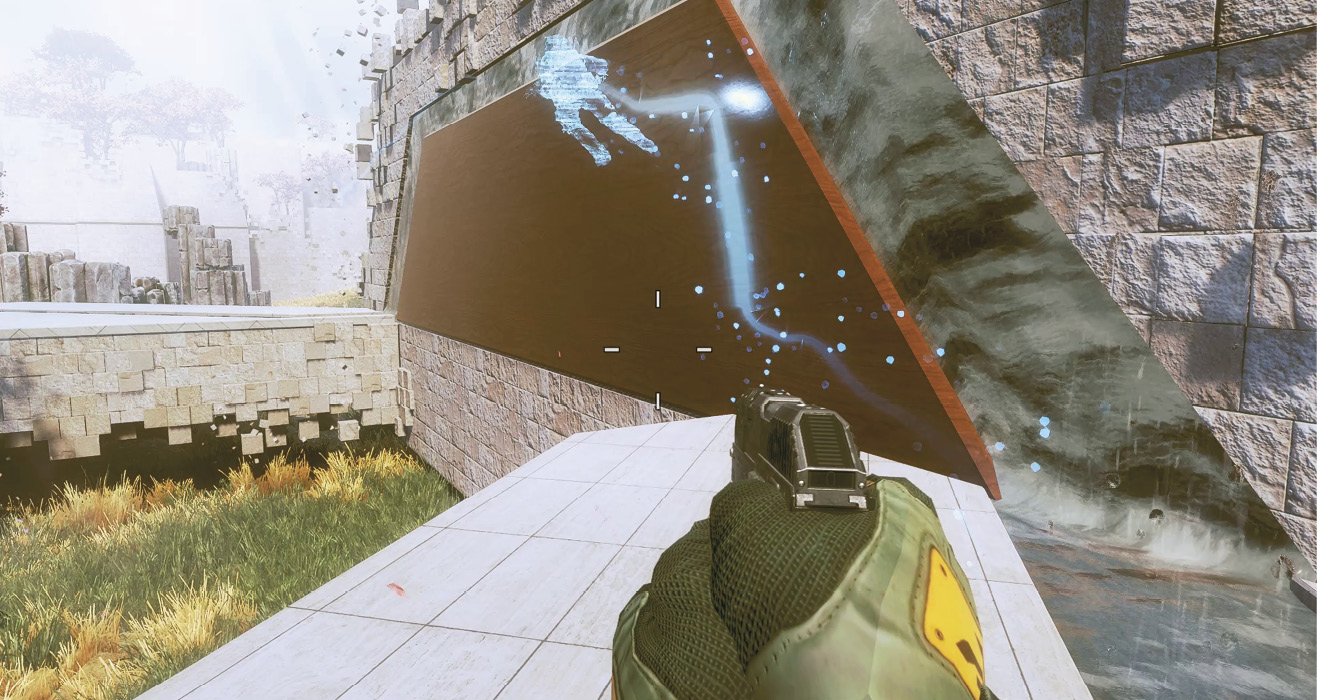
The serene clearing ahead is modeled after Harmony, Captain Lastimosa’s homeworld. This is what the Militia is fighting for—the freedom to live in peace and prosperity. To clear the next obstacle you must perform a wallrun—a holographic ghost image appears, showing you exactly how to clear this obstacle. Start by sprinting then jumping toward the wall at an oblique angle. As you make contact with the wall, you automatically start to run along the vertical surface. Keep running along the wall until you clear the gap in the path. Assisted by their Jump Kit, Pilots gain a significant boost in speed while running along walls. Stringing together multiple wallruns is a hallmark of Pilot mobility—always scan ahead to see what vertical surfaces you can run across.
Slide
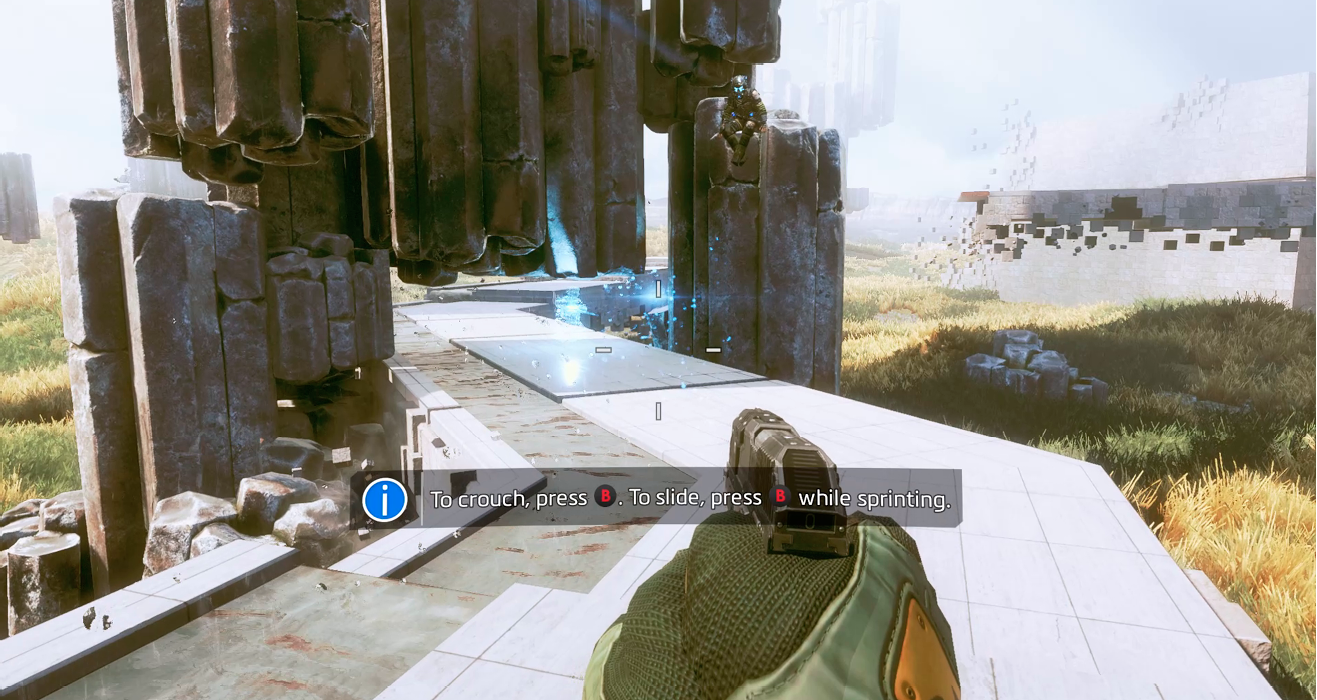
The path ahead is blocked by several large rocks. But there’s a small gap at the bottom—Captain Lastimosa prompts you to slide through this opening. Start by sprinting toward the rocks, then crouch to initiate a slide—watch the holographic ghost to see how it’s done. Sliding is new to Titanfall 2, and an efficient way to maintain speed after landing from a jump or wallrun. Crouch before landing to automatically initiate a slide. While sliding you can fire your weapon or deploy Ordnance—this is a flashy way to eliminate enemies while traversing the battlefield. But as your slide begins losing speed, be ready to sprint, jump, or wallrun to maintain your momentum.
Double Jump
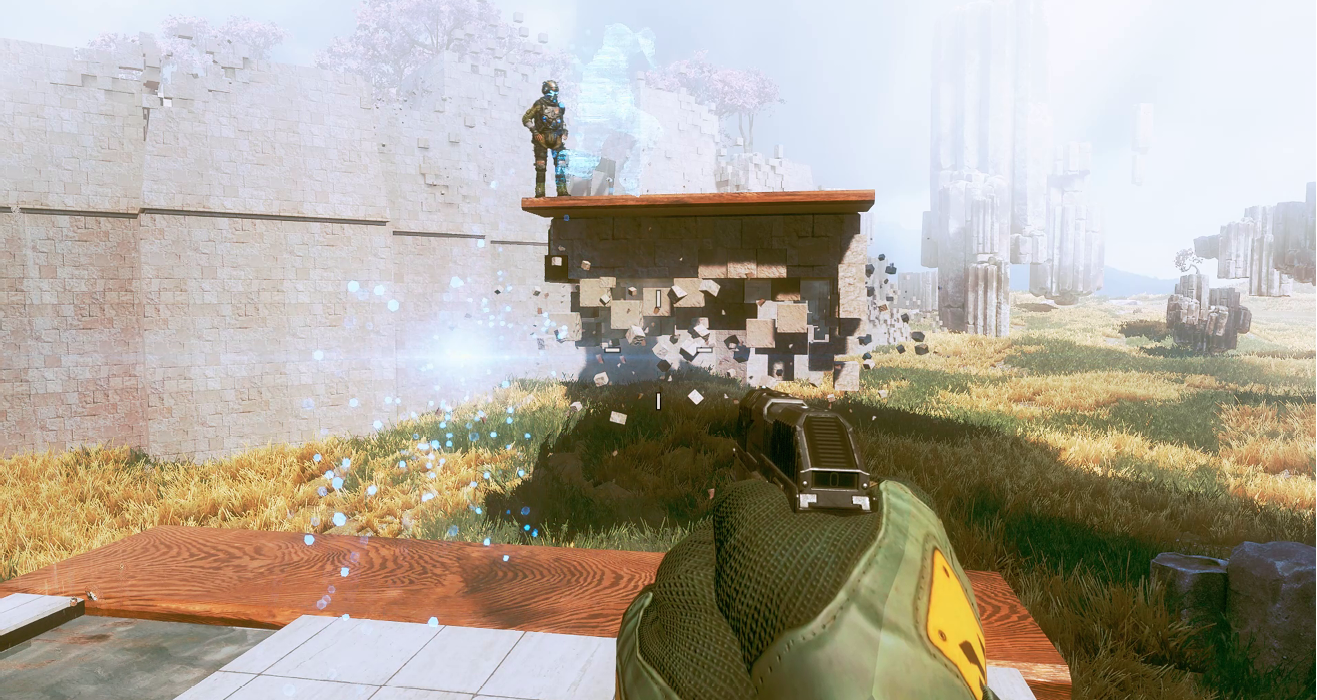
Continue along the path until you come to a large gap. This gap is far too wide to negotiate with a simple jump. Fortunately, the Jump Kit’s double jump capability makes clearing this obstacle a cinch. Watch the ghost make the jump first—make note of when the ghost initiates the double jump. Now it’s your turn. Start by sprinting toward the gap, then jump. As you begin to descend, jump again to perform the double jump. This double jump allows Pilots to reach great heights, making them capable of leaping through second story windows. Double jumps are ideal for clearing distances, too. Always wait until you begin descending before initiating the double jump—your nerve and patience will be rewarded.
Weapons Training
Rendezvous with Captain Lastimosa in the circular chamber ahead and browse through the various weapons. Among the collection are the R-201 Carbine Assault Rifle, the C.A.R. Submachine Gun, the Spitfire Light Machine Gun, and the Kraber-AP Sniper Rifle. Interact with any of the weapons to retrieve one, and then proceed to the adjoining range for a live fire exercise.
Before you can engage any of the targets at the range, you must first load a magazine into your weapon. Next, take aim at one of the five distant targets, peering through your weapon’s default sight. While it’s possible to hit any of these targets without aiming down the weapon’s sights, aiming allows for greater precision, ideal for landing lethal headshots.
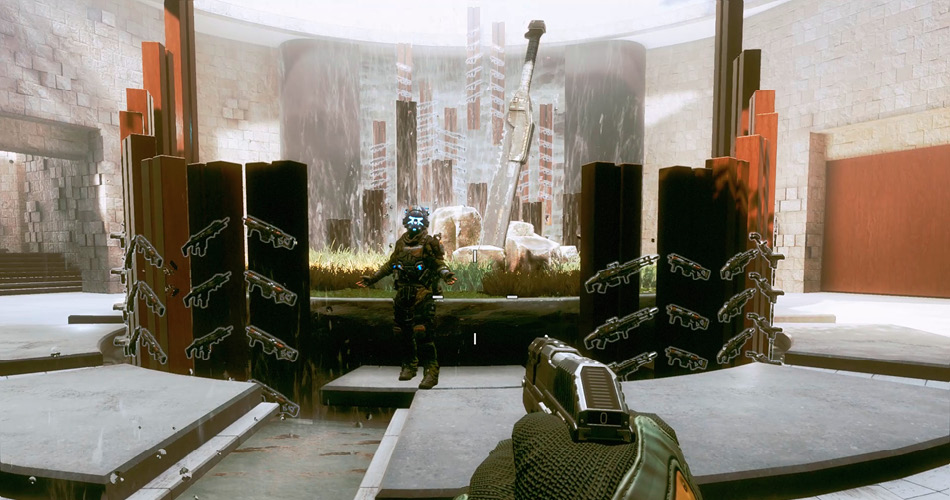
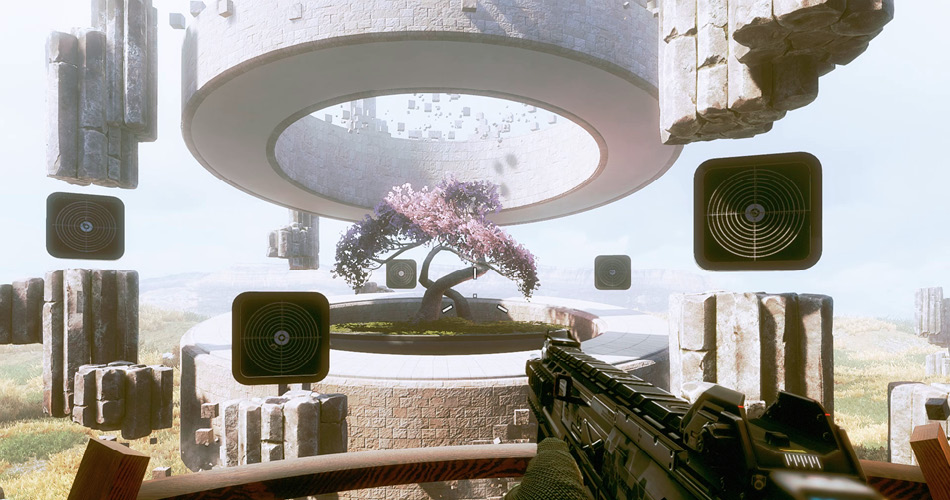
Use your weapon of choice to hit all five targets—the target rotates once it’s sustained a hit. But before moving on, cycle through the different weapons hanging on the nearby walls, practicing with the R-201, C.A.R., Spitfire, and Kraber. Notice how each weapon performs differently. Experiment with automatic bursts, sight picture, and reloading. Which one feels most comfortable in your hands? You can take as much time as you’d like here, so don’t feel rushed.
The Gauntlet
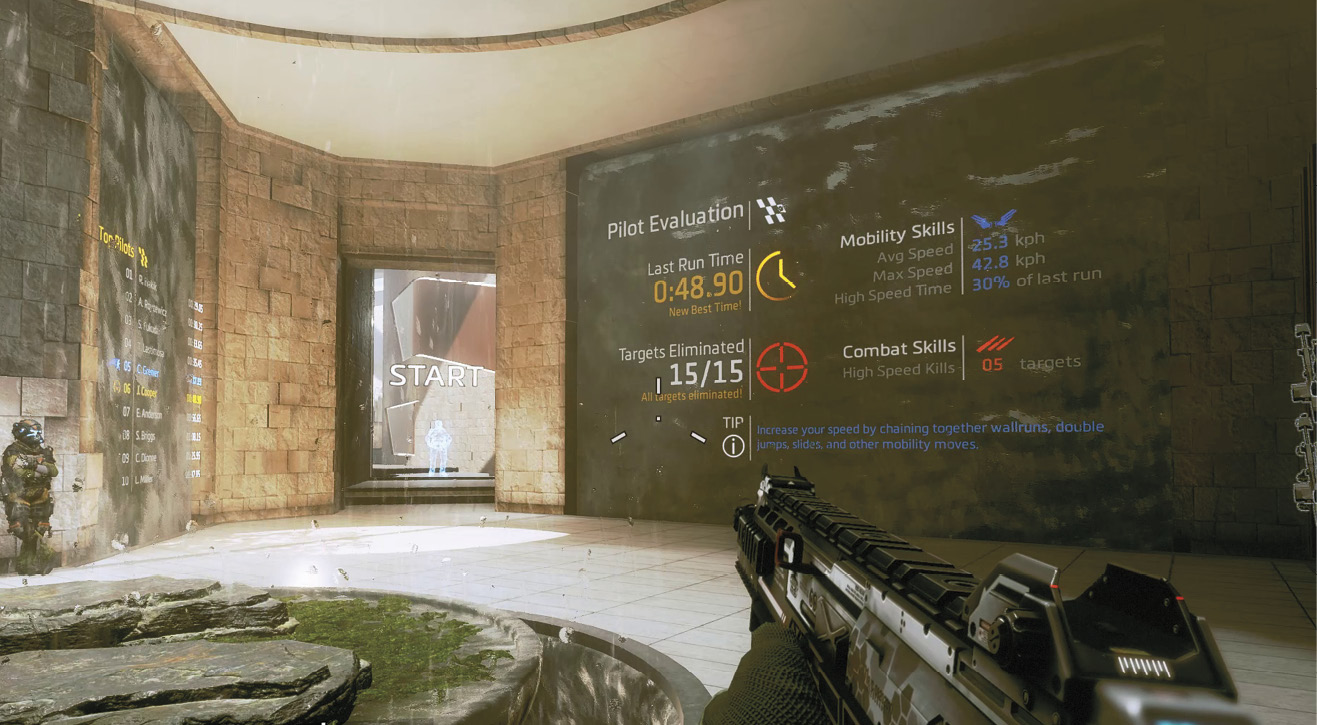
Now it’s time to put it all together by running the Gauntlet, a timed obstacle course requiring speed, agility, and precision. Upon entering this room, move toward the wall on the right and pick up some Arc Grenades—these will come in handy later. Now’s also a good time to pick out a weapon you’re comfortable shooting while moving at high speeds—the Eva-8 shotgun is one of the most user-friendly and forgiving weapons for running the Gauntlet. Since you haven’t run the Gauntlet yet, there is no data on the Pilot Evaluation screen on the far side of the room. Upon completion of the course this screen will show your best times and speeds. When you’re ready to run the Gauntlet, approach Captain Lastimosa near the starting gate.
When you’re ready, sprint out of the starting gate and immediately double jump toward the wall on the right to initiate a wallrun. While running along the wall, spot the cylindrical feature hanging from the ceiling to the left—jump to it and initiate another wallrun.
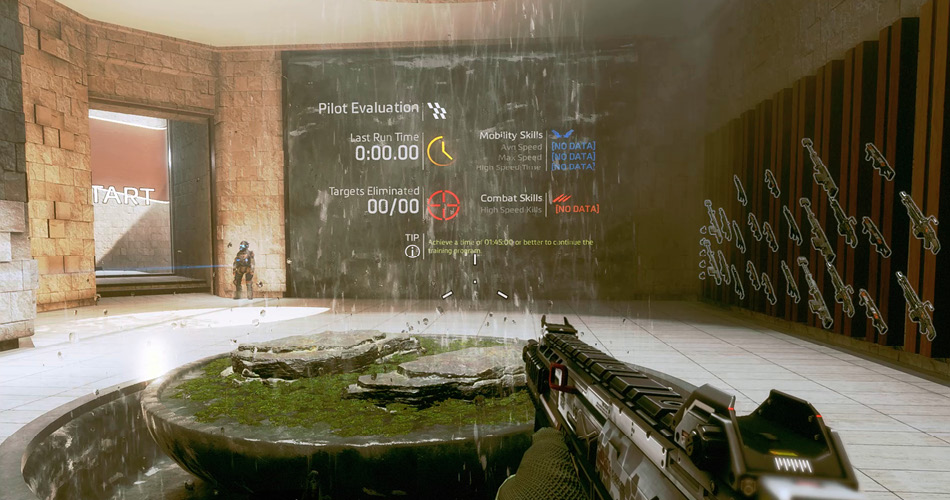
But don’t stay on the cylindrical feature too long—jump back to the wall on the right and look down at the three grunts below. A well-placed Arc Grenade can take them all out.
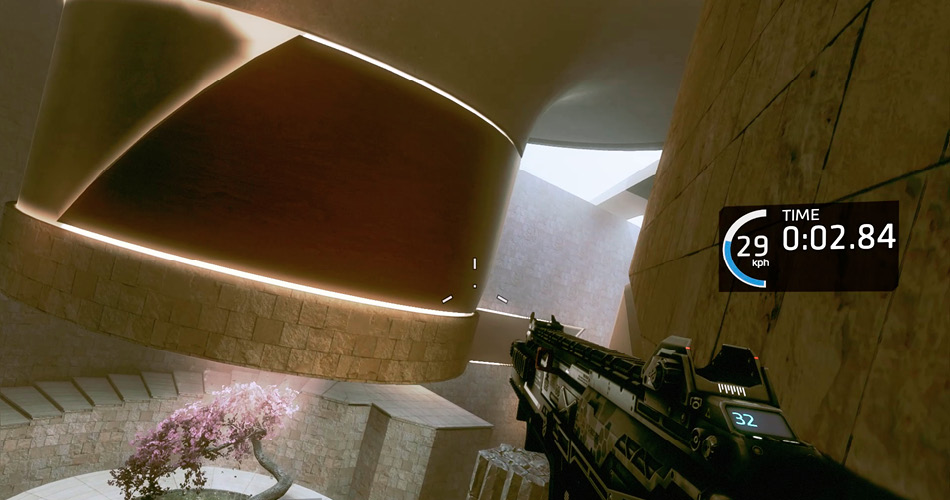
Drop off the wall and initiate a slide to pass through a small gap in the wall ahead. As you slide under the wall, shoot the two grunts on the other side—one to your left and one straight ahead. Before your slide comes to an end, jump toward the wall on the right and shoot two more grunts hiding below, separated by a rocky feature.
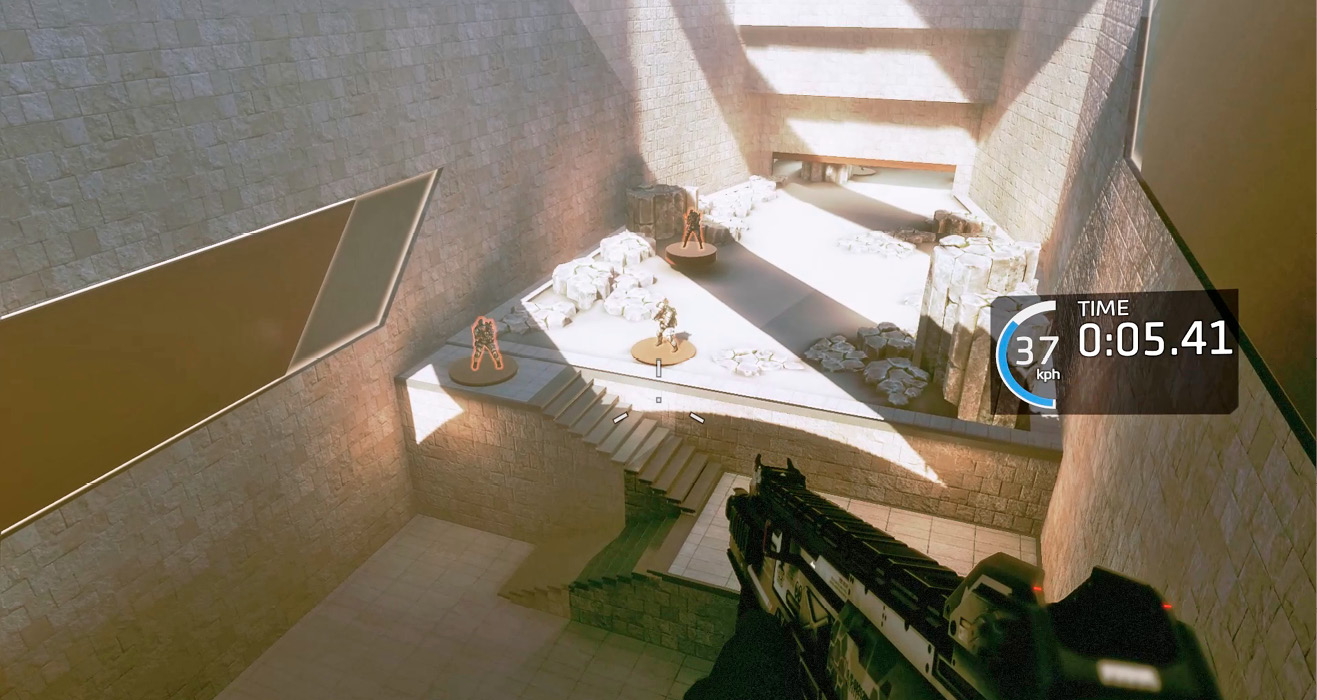
While still running along the wall on the right, toss an Arc Grenade toward the cluster of three grunts ahead. If tossed with accuracy, one Arc Grenade can take out all three targets. However, be careful not to land within the grenade’s blast radius. The Arc Grenade can interfere with your Jump Kit, killing all speed and momentum.
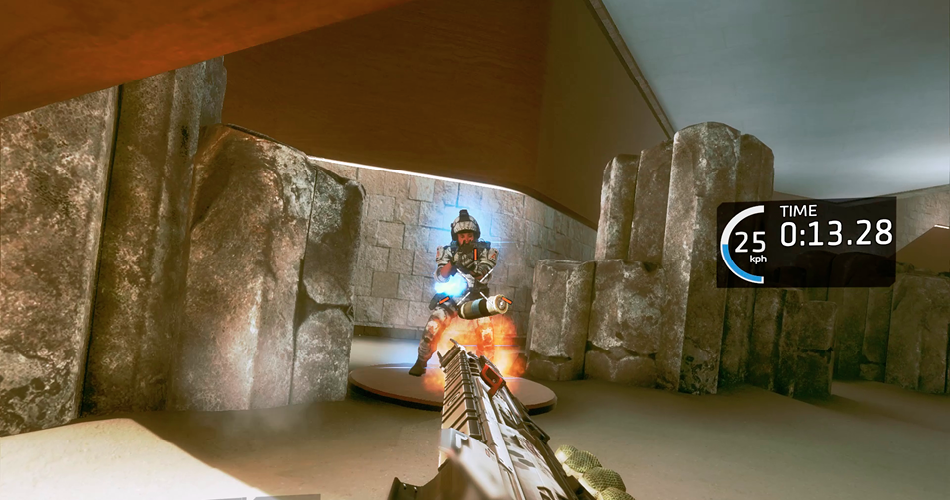
Next, double jump toward the wall on the left and target the two grunts ahead. Shooting while moving can be difficult, but from this angle both targets are along the same vertical plane, making it easy to transition. Next, dou ble jump toward the wall on the right and eliminate a third grunt on the ledge below.
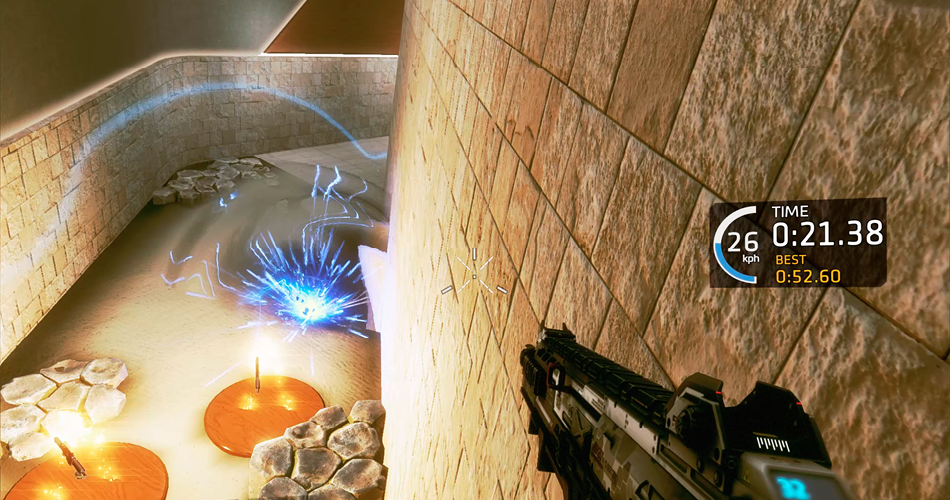
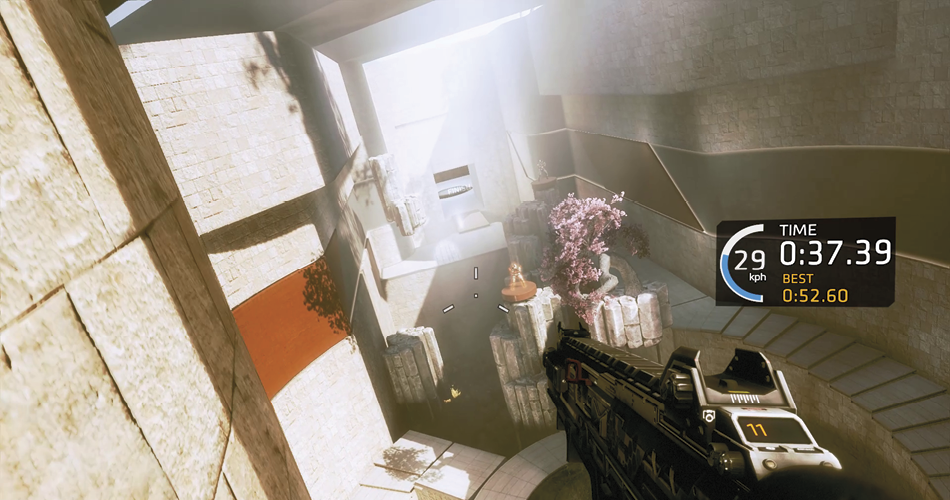
Continue running along the wall on the right toward the clearing ahead. As the tree with pink leaves comes into view, double jump toward the wall on the left and initiate a new wallrun. This wall curves inward, but as long as you stay put, you’ll continue wallrunning.
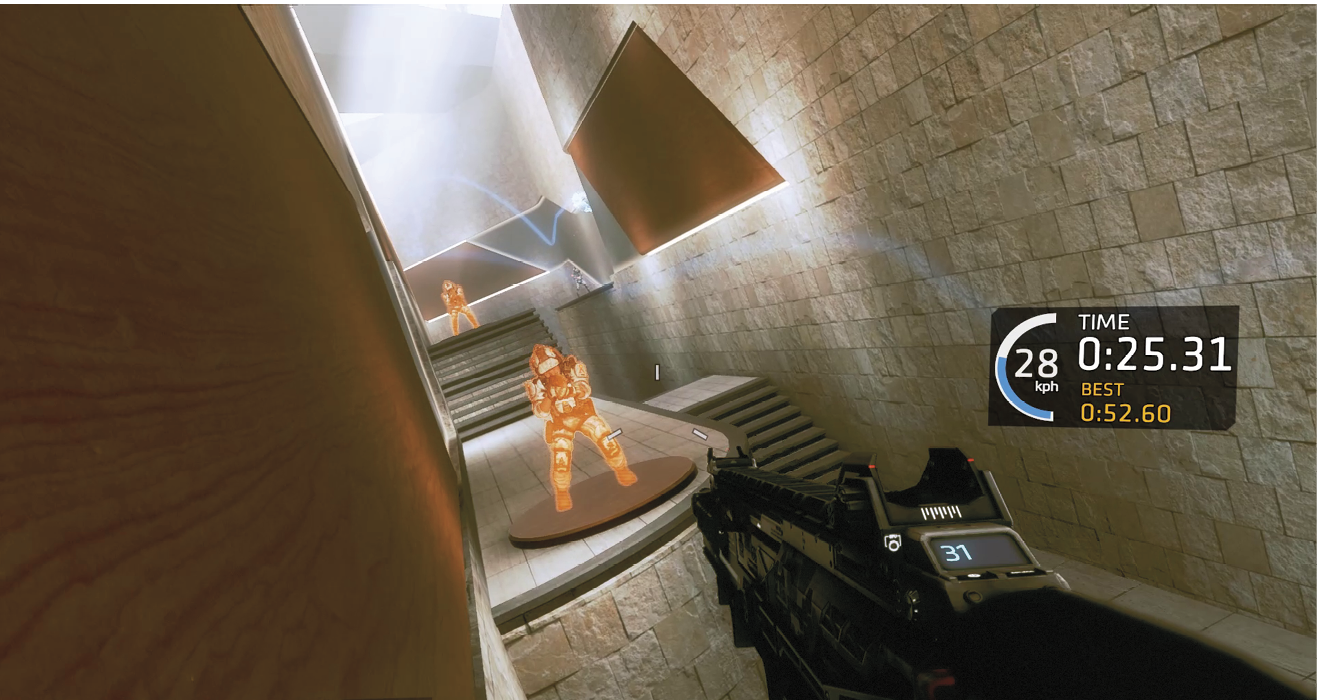
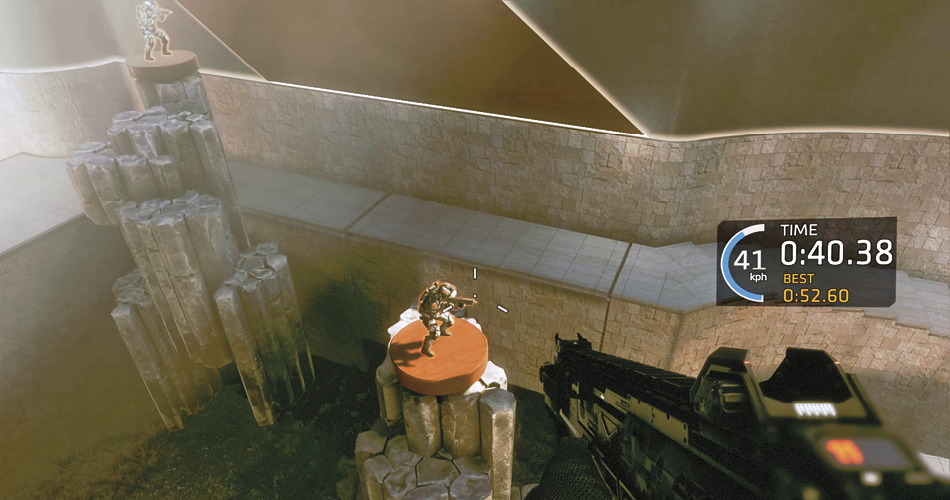
Look for the next grunt, standing atop a rock formation in the center of the room. Jump toward the grunt and shoot him while in midair. If you miss, finish him off with a melee strike. Landing where the grunt once stood, immediately double jump toward the wall on the right, shooting the final grunt who you will see standing atop a rocky pillar. Next, leap toward the finish line, sliding across the wooden platform to maintain speed.
|
 Pilot Helmet 1/1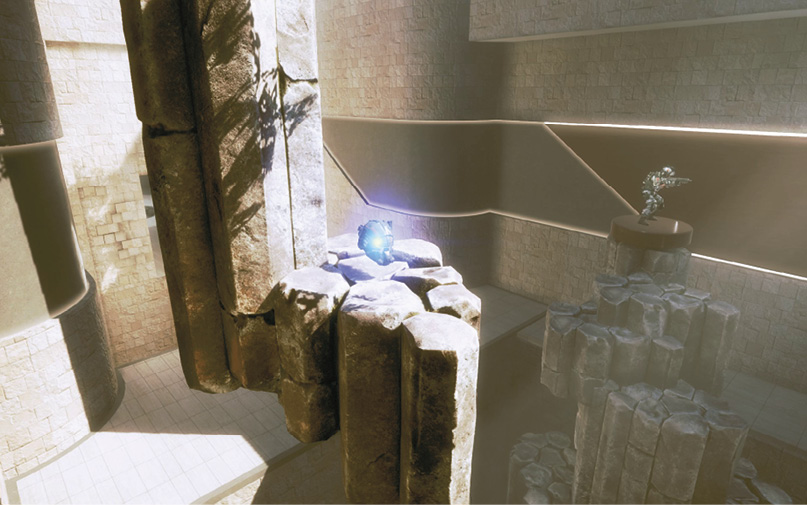
Upon your return to the Gauntlet’s lobby, you can see your data displayed on the Pilot Evaluation screen. What was your time? What was your top speed? Did you hit all fifteen targets? There’s a two-second penalty for each target you miss. Think you can do better? You can run the Gauntlet as many times as you like. Glance at the leaderboard next to the starting gate. Here you can see all the best times. During your next run, a holographic ghost will appear on the course, showing you the run of the player ahead of your position on the leaderboard. Study the moves of the ghost to see if you can do better. To advance your training, you must beat a time of 01:45.
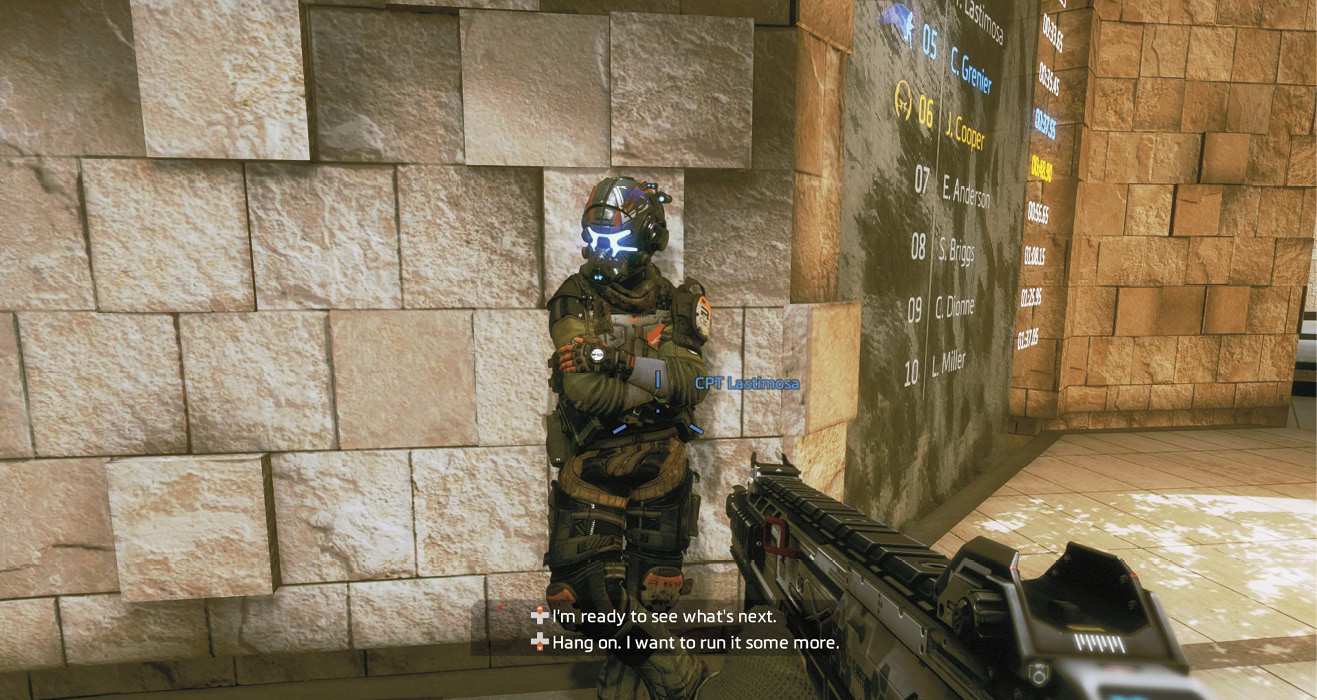
When you’re satisfied with your posted time on the Gauntlet, approach Captain Lastimosa and tell him you’re “ready to see what’s next.” Throughout the campaign you’ll have similar dialogue options. In this case, the options are present to help you advance through training. But in other situations dialogue branching is used to reveal story elements.
Titan Training
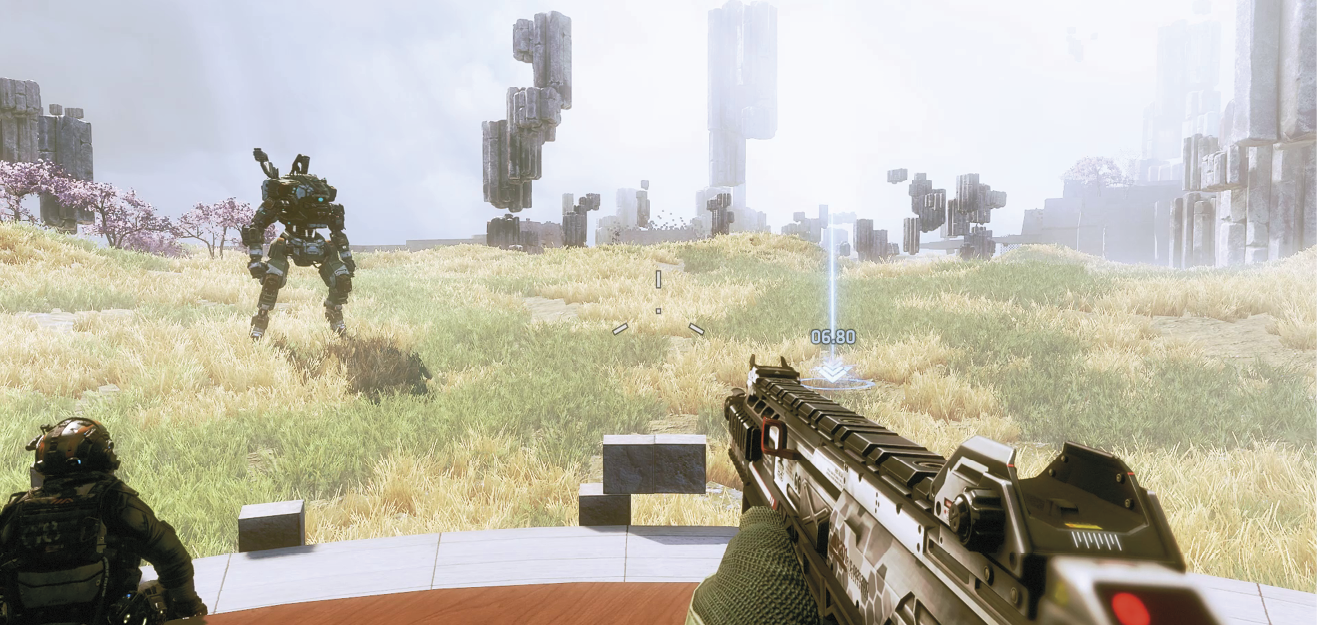
Once Cooper has completed the Gauntlet, Captain Lastimosa will feel he is finally ready to get some hands-on simulation training with a Titan. As the new training module loads, Lastimosa points out his own Titan in the distance. BT-7274 is a Vanguard class Titan, the first chassis the Militia designed by themselves. Now it’s your turn to call in your first Titan. Aim just to the right of BT-7274 and initiate Titanfall. But something’s wrong. Just as your Titan rockets toward the surface, the simulation shuts down. It appears your training is over…for now.
A Call to Arms
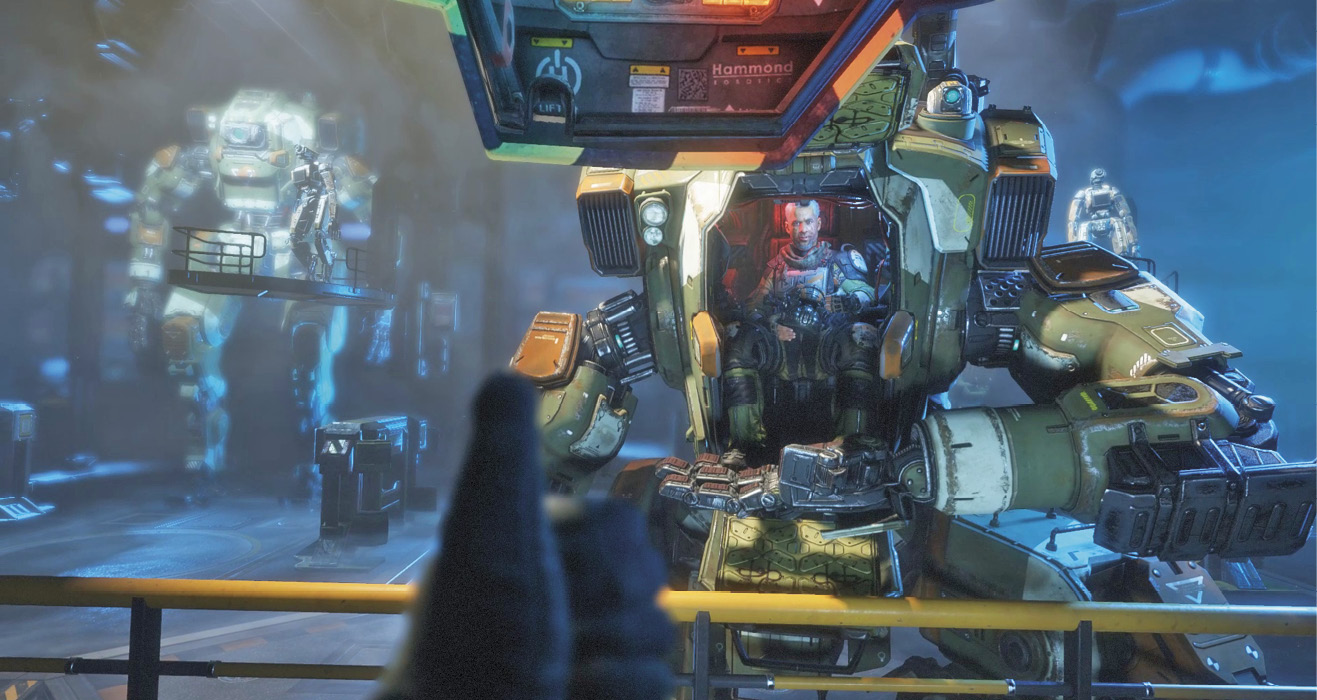
As the doors of the Simpod open, the crew of the MCS James MacAllan are at full alert. The fighting on Typhon has commenced, and Militia forces are struggling against the IMC. Captain Lastimosa promises to resume your training later. But, for now, you’re both needed on Typhon.
Achievement and Trophy Checklist
| Image | Name | Description |
|---|---|---|

|
The Student... | Beat Pilot Anderson’s Gauntlet ghost recorder time |

|
...Becomes the Master | Place in the top 3 on the Gauntlet scoreboard |

|
The Graduate | Complete training (Secret) |