
Titanfall 2 Guide Single-Player Campaign Effect and Cause
IMC Advanced Research Facility
Cooper’s LogbookOur journey through the IMC Dynamic Testing Facility was supposed to be a shortcut through some difficult terrain, but it wasn’t a very good one—almost lost BT. We’re almost at the rendezvous coordinates for Major Anderson. All we have to do is find him and get some answers. What happens afterward is anyone’s guess. |
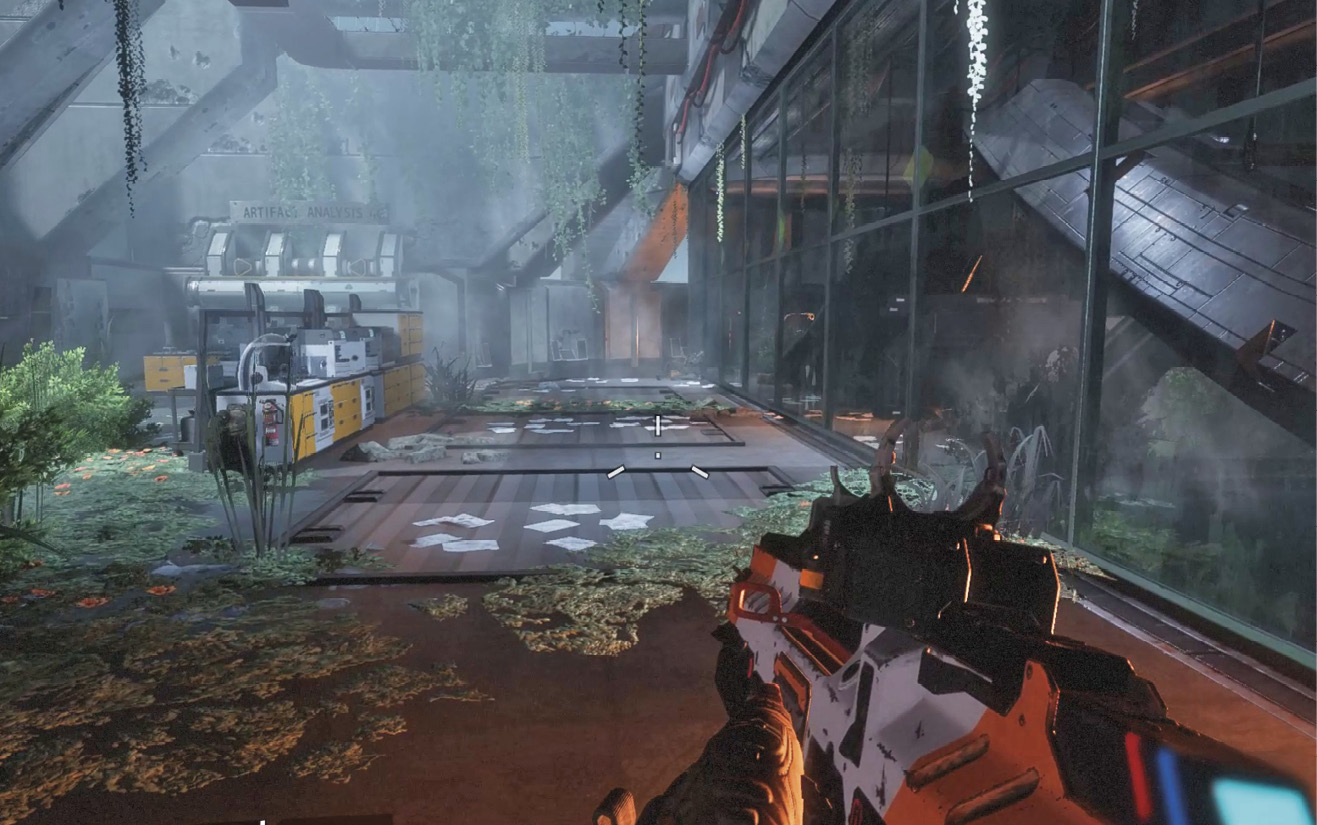
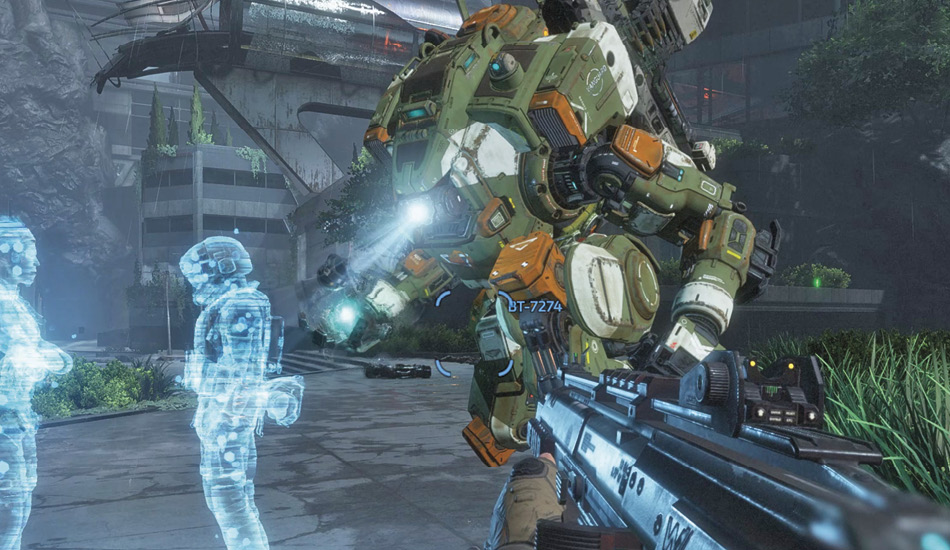
BT reports that Major Anderson is somewhere in this facility. BT will meet you on the other side of this building while you investigate the interior on foot. From the looks of it, this abandoned facility has been derelict for a while. Wild vegetation has sprouted from the floors and walls. But as you proceed into the Artifact Analysis Lab, something strange happens. There’s a flash of light, and suddenly the once dank and dirty lab is pristine, occupied by Marvins going about their work. This vision doesn’t last long, but the shifting perspectives persist as you advance through the lab. BT reports that there are distortions in the facility and apparently these distortions have caused a rift in time. These visions you’re seeing are the past.
Lecture Hall
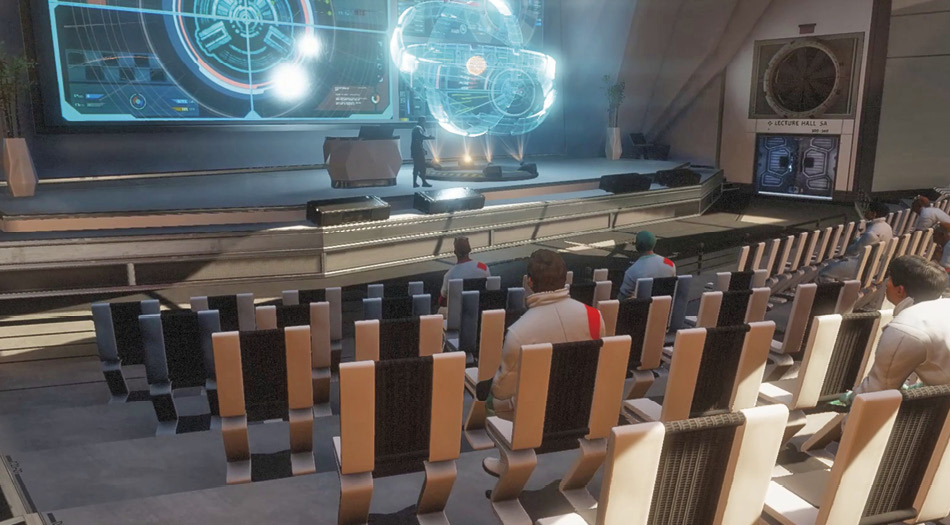
Beyond the lab, the adjoining corridor leads to a large lecture hall. As you enter, time shifts to the past, revealing a meeting of scientists. A holographic projection of a large sphere dominates the stage. If you continue forward, toward the stage, the lecturer appears to take notice of your presence. Not only are you seeing the past, but you’re actively participating in it with these shifts.
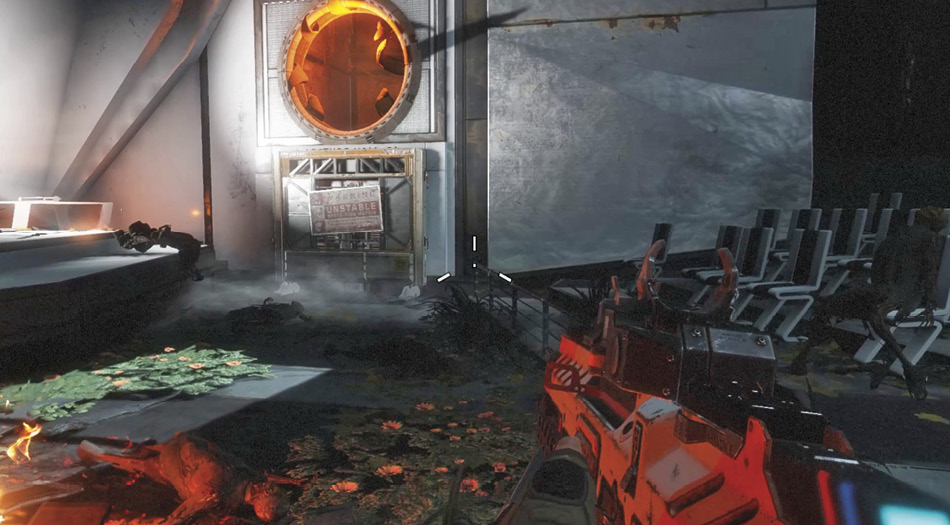
As time shifts back to the present, turn to the right side of the lecture hall to locate an open circular vent above the blocked doorway. Jump into the vent then advance through the ductwork to reach the next hallway.
Overgrown Campus
Exit the duct and turn right, advancing along this long, abandoned corridor. Time shifts to the past and you see an IMC soldier lecturing a Marvin about identification credentials. As time shifts to the present, a prowler appears at the end of the passage. But don’t worry. The prowler is soon attacked and carried away by a massive flying creature—the locals call them Flyers. Flyers don’t pose a threat, so don’t waste your ammo.
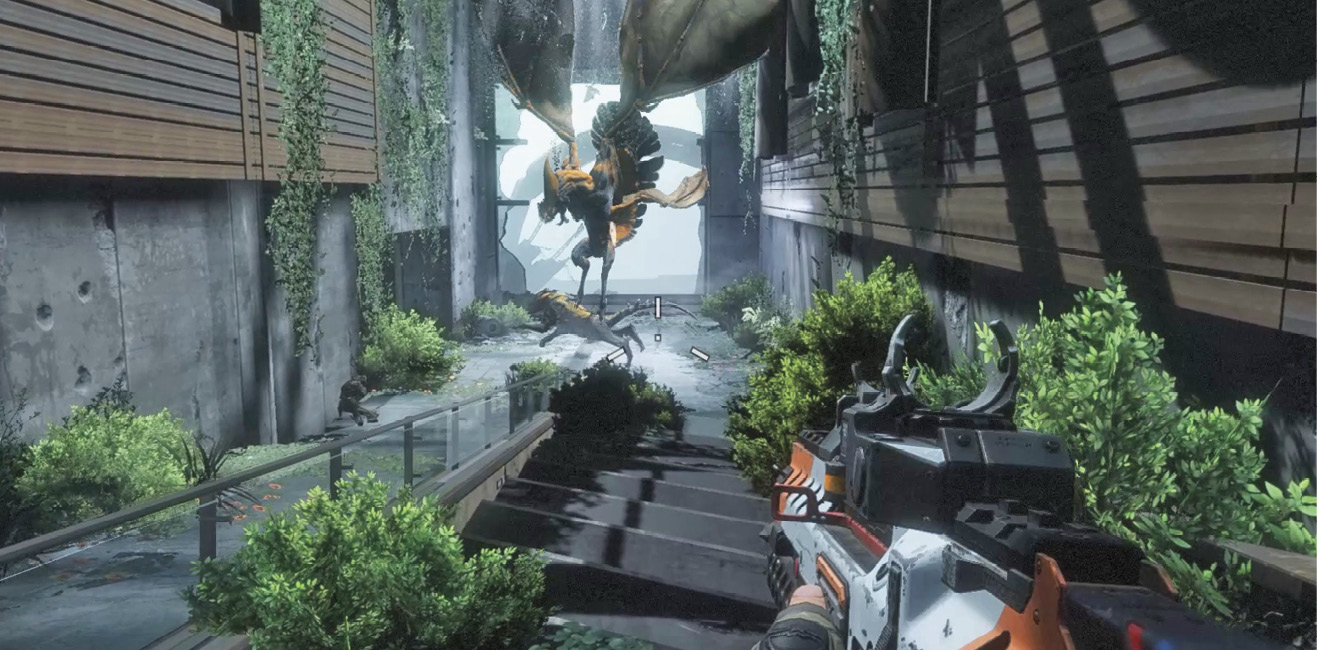
At the end of the corridor, look down onto the sprawling facility. A shift in time shows what the now abandoned and overgrown campus looked like in the past. The spherical object in the distance looks a lot like the holographic projection you saw in the lecture hall. BT reports that IMC research facilities like this are uncommon. But this particular site is unknown to the Militia. Drop down to the lower level. There’s a Flatline Assault Rifle, an EVA-8 Auto Shotgun, and some Satchel Charges on the walkway below. Swap out your grenades for the Satchel Charges—they’ll come in handy later.
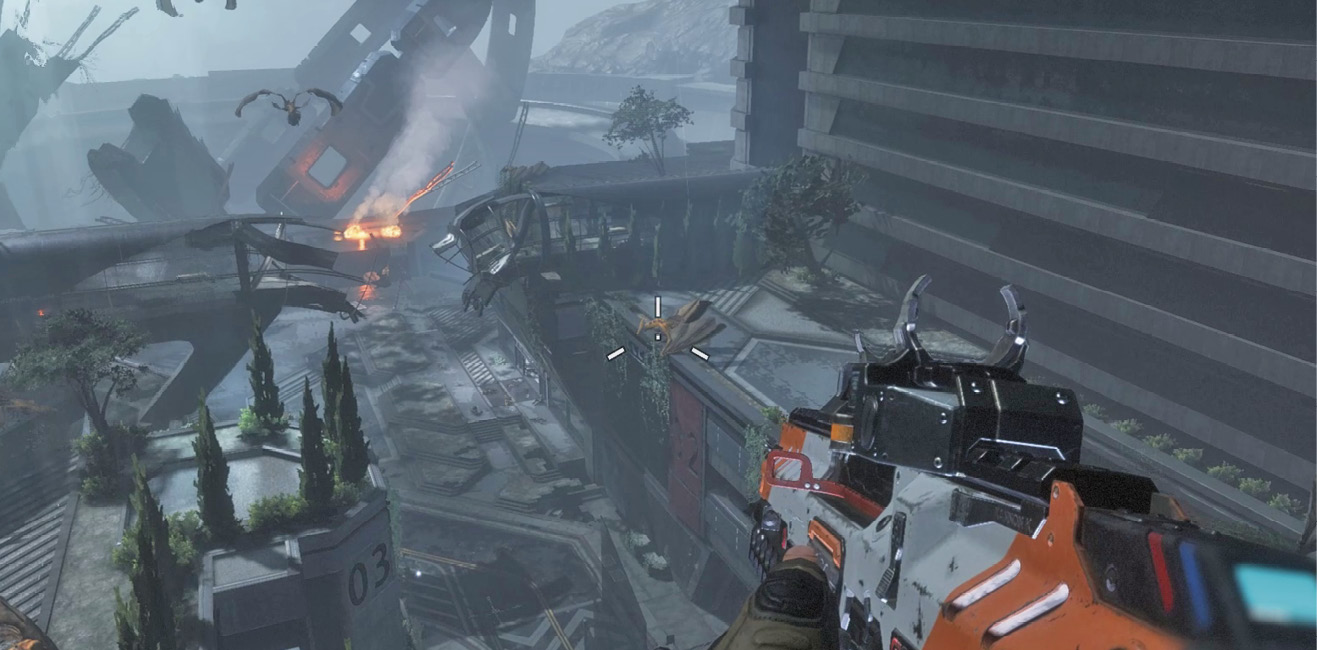
|
 Pilot Helmet 1/8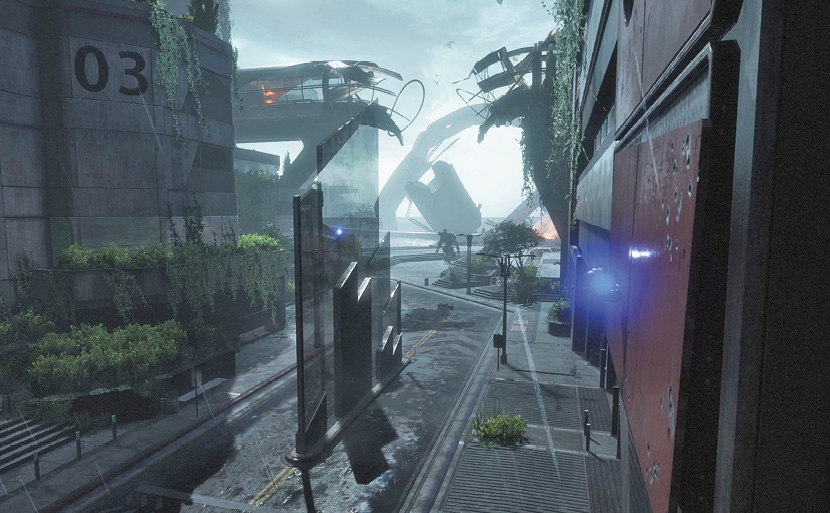
Just ahead, several decomposed bodies lie scattered across the street. BT is busy scanning the remains, attempting to identify Major Anderson among the dead. But no luck. BT theorizes that Major Anderson may still be alive. He suggests searching the nearby reception lobby.
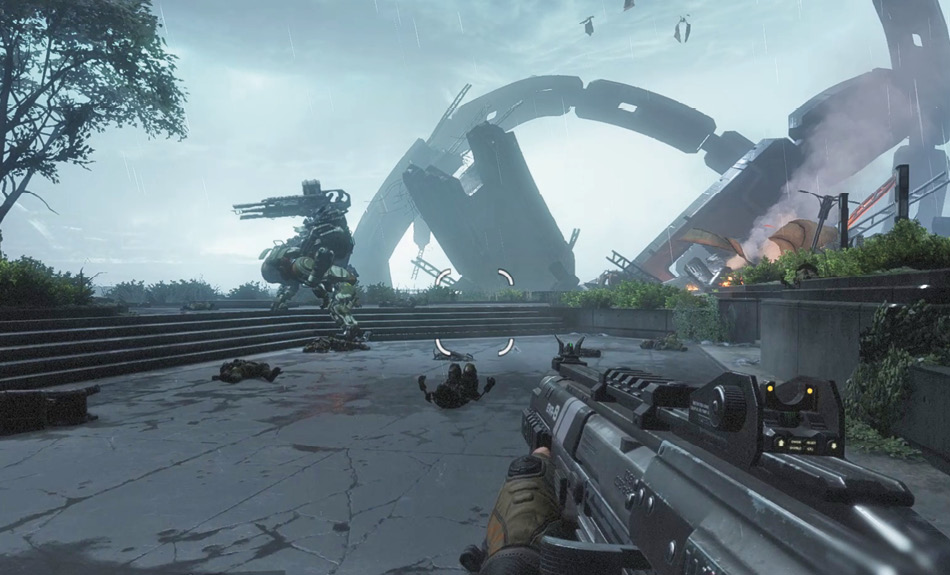
Enter the reception lobby, but watch out for prowlers. There’s one lurking on the second floor. Use the waypoint provided by BT to locate Major Anderson. The top half of his body is sticking out of the ceiling. Interact with Anderson’s body to remove his helmet.
|
 Pilot Helmet 2/8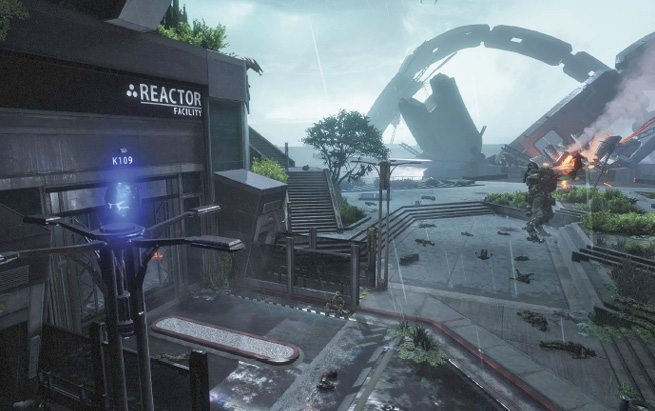
Return to BT and hand over Major Anderson’s helmet. With the death of Major Anderson, command of Operation 217 transfers to you. To fill you in on the details of the mission, BT plays a holographic recording of Anderson’s briefing from Commander Sarah Briggs of the Militia SRS. The briefing reveals that Anderson was sent to investigate a massive blast of energy that resulted in time distortions. Before the mission, Anderson was given a wrist-mounted device. But it’s unclear what this device was. BT suggests retrieving the device from Anderson’s body—but his arms are inaccessible from the reception lobby. You’ll need to find another way to access Anderson’s body.
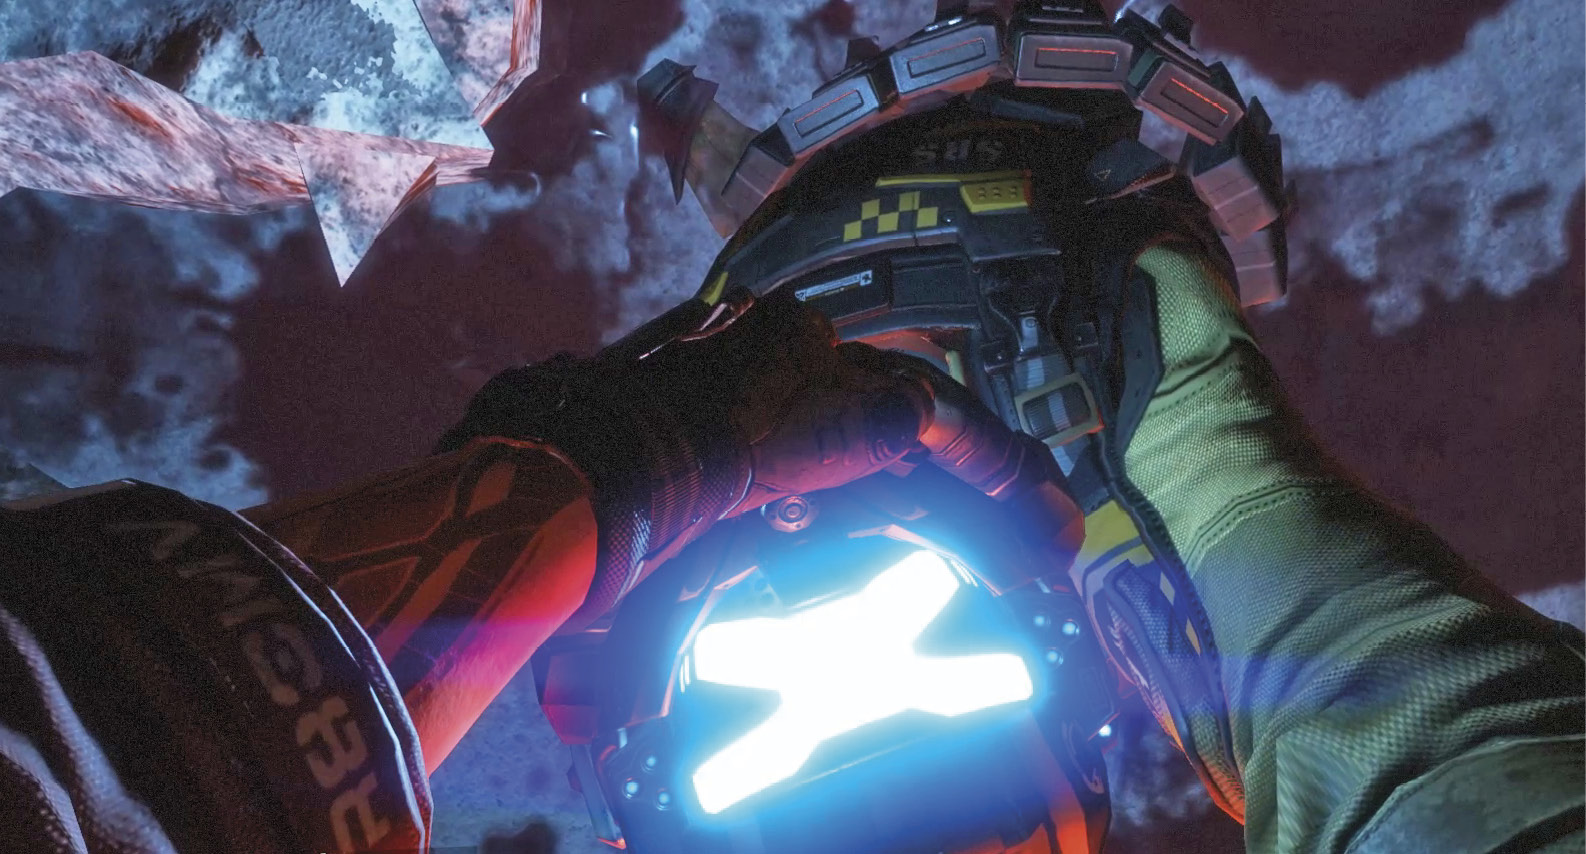
BT has detected a breach in the Security Services building. This could serve as a potential route to Anderson’s wrist device. To give you access, BT plucks a lamp pole from the ground and hurls it like a javelin into a distant building. A cable trails behind the lamp pole, allowing you to use it as a zipline. Interact with the cable and ride it upward into the Security Services building.
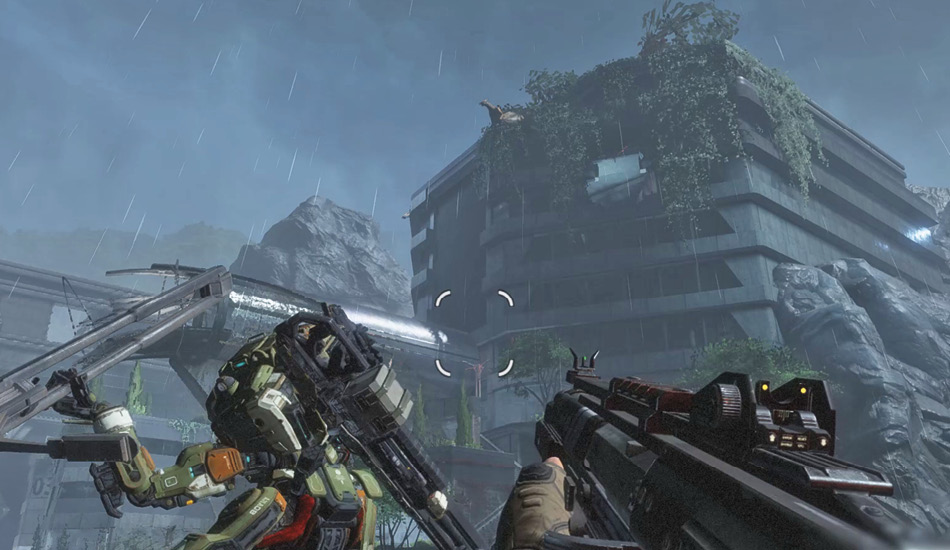
Security Services
After ascending the zipline, you drop into the lobby of the Security Services building. A brief time shift shows the lobby in better condition. But you’re soon swarmed by Stalkers. Keep your distance. As the time shifts back to the present, the lobby is calm for a few seconds. Suddenly, the hibernating Stalkers lying on the ground come to life and move toward you. This is a good opportunity to try out those Satchel Charges. Toss a Satchel Charge toward a group of Stalkers, then move away before detonating it. These Stalkers are slow, but there are lots of them. So keep moving around the lobby to avoid getting cornered.
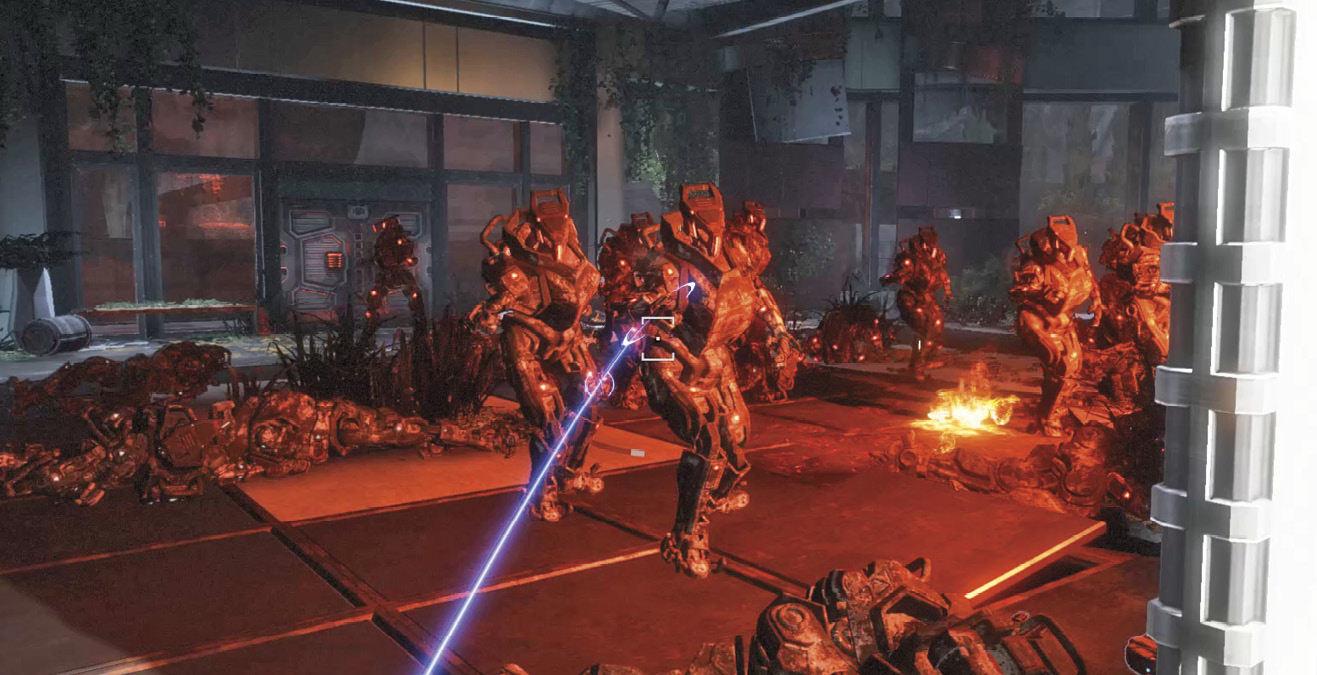
Clear out the lobby, then head through the open doorway leading to a staircase. More Stalkers await you here, so take a moment to finish them off. As you climb the stairs, a time shift to the past reveals your breach of Security Services has been detected, as announced over the PA system. In addition to dealing with threats in the present, you’ll also have to contend with hostile units in the past.
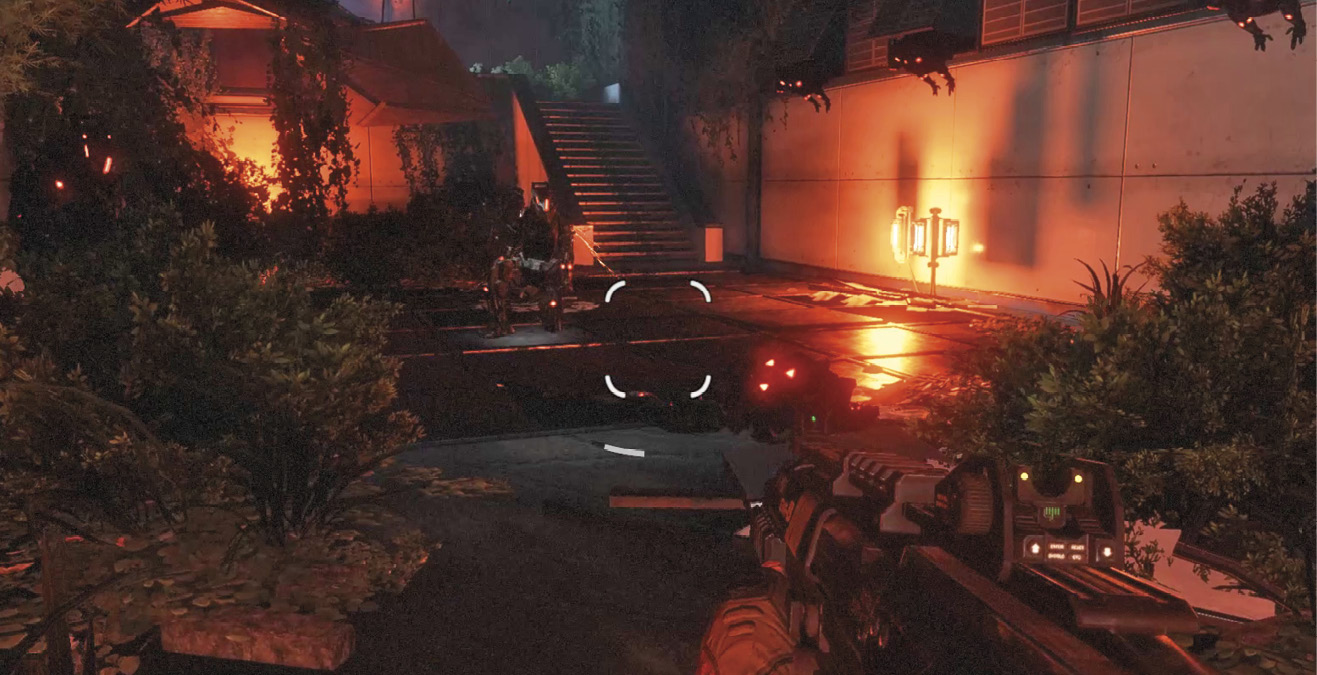
Sky Bridge
The second floor of the Security Services building provides access to a sky bridge. As you near the sky bridge, a time distortion momentarily sends you to the past where you’re confronted by two IMC grunts. Don’t bother opening fire—the time distortion only lasts a few seconds, returning you to the present. A Flatline Assault Rifle and Mastiff Shotgun lie on the floor of the sky bridge in the present. Consider updating your loadout before continuing.
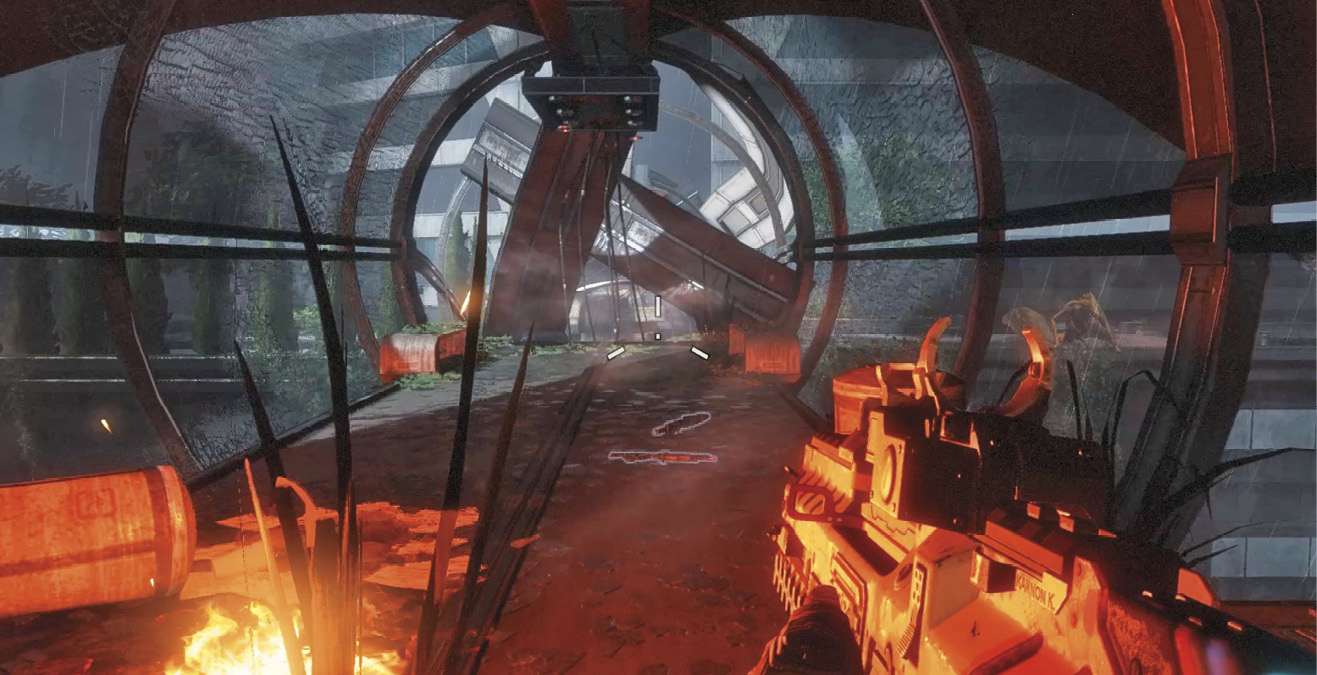
In the present, the sky bridge is damaged, with debris blocking your path. Keep moving toward the debris until another time distortion sends you to the past, making the sky bridge fully traversable. However, an announcement on the PA system reveals security lockdown measures have taken effect, due to your inexplicable intrusion.
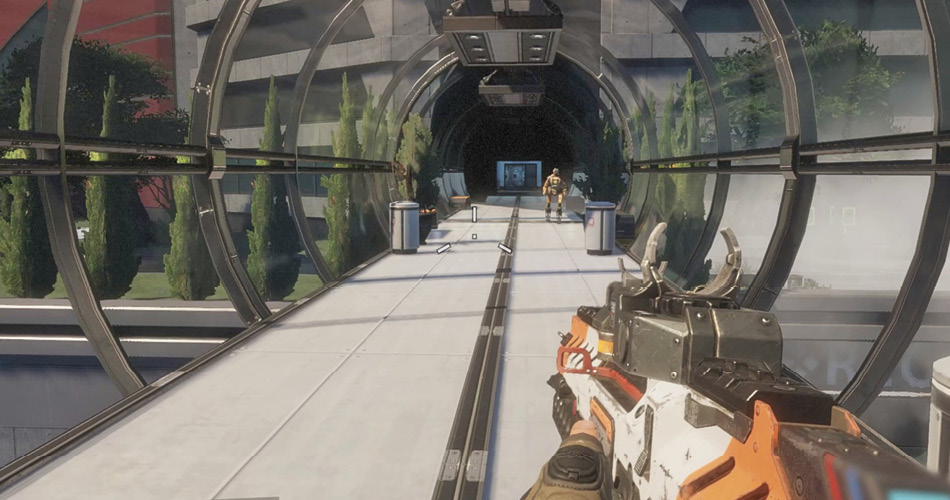
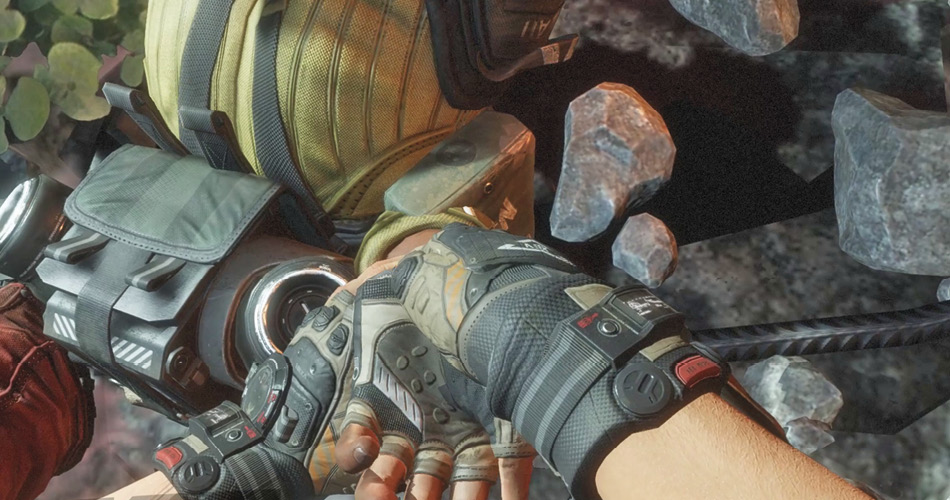
Cross the sky bridge as time shifts back to the present. The lower half of Major Anderson’s body can be seen protruding out of the floor at the end of the corridor. You’re directly above the reception lobby. Interact with Anderson’s body to retrieve the wrist-mounted device.
Bio Research
As Cooper slips the device onto his wrist, the flaming hallway ahead becomes pristine. This device somehow controls the time distortions, allowing you to travel between the present and the past on command. Travel to the past and walk down the hall, passing a couple of Marvins along the way. Pass through the open doorway to enter the Bio Research Lab at the end of the corridor. BT reports that he’s transferred some of his AI functions into your helmet so you can maintain communication across time shifts.
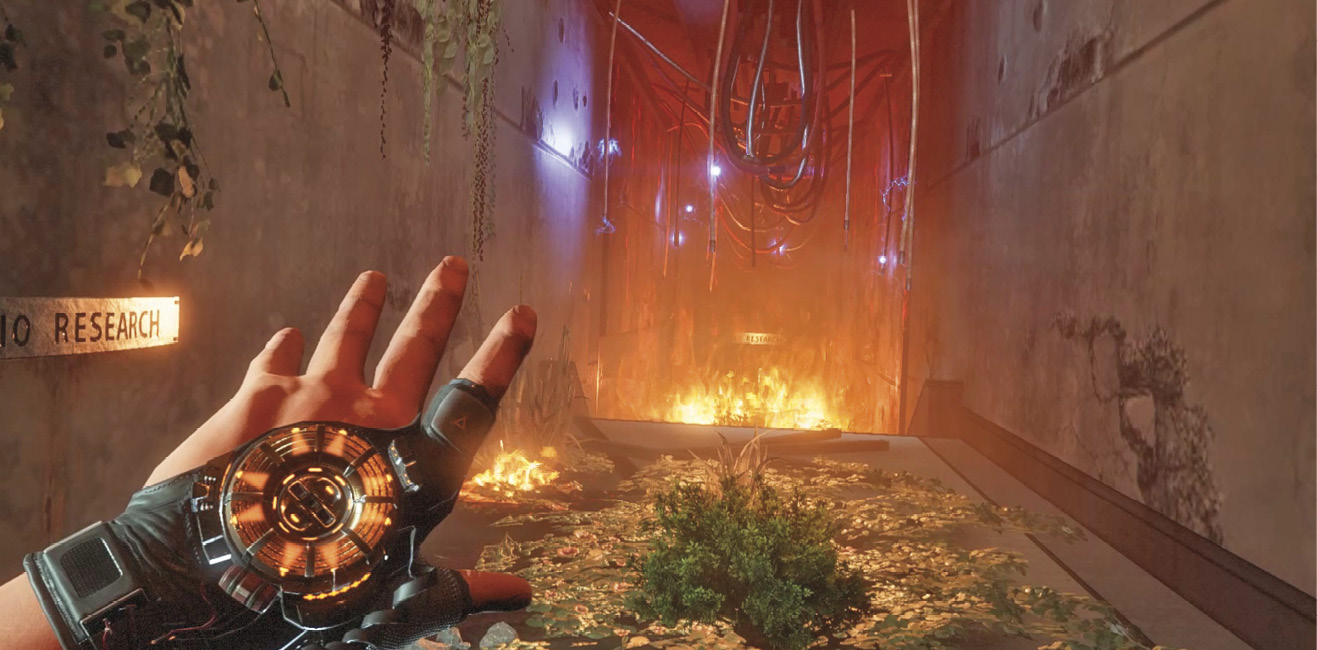
In the past, the lab features containment structures housing different creatures, including prowlers. But due to the security lockdown, the exit to the lab is blocked by a red energy barrier. Time travel to the present, and you’ll find the lab is in much worse shape, but the energy barrier is gone, allowing you to advance into the adjoining corridor.
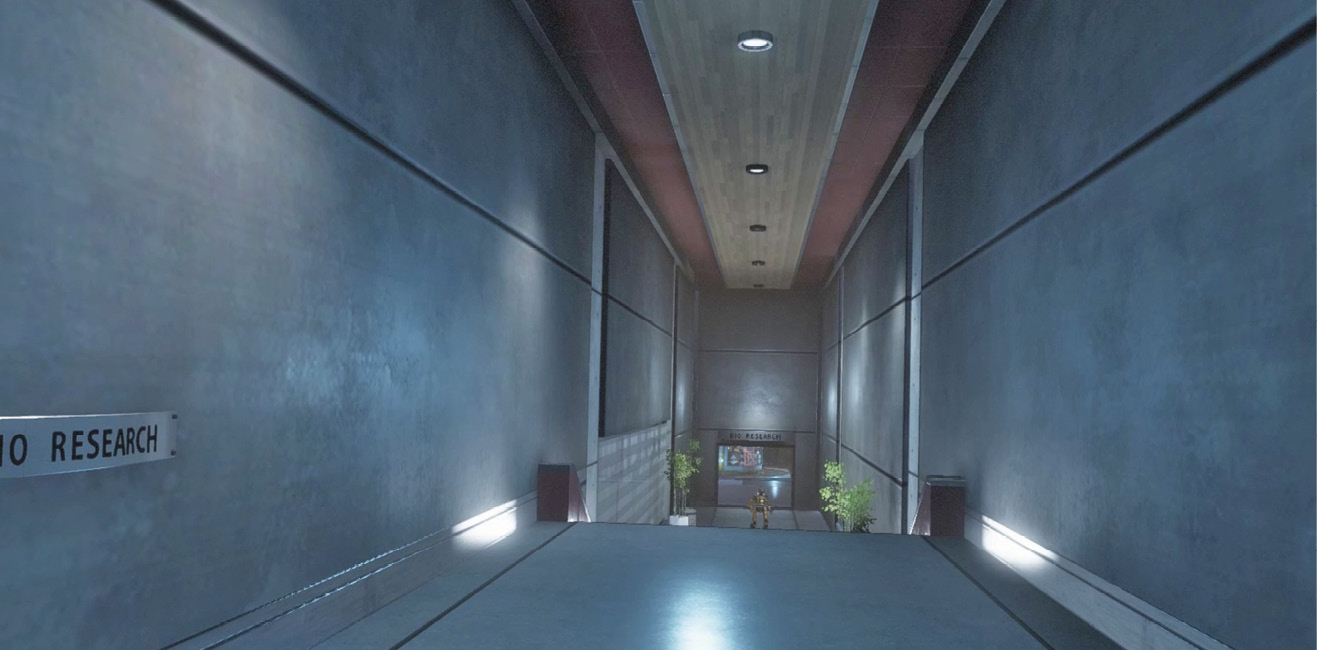
The malfunctioning door at the end of the hall blocks access to the next lab. Time shift to the past and interact with the green panel to open the door. Several IMC grunts are waiting on the other side. Step into the lab and immediately time shift back to the present before you take any damage.
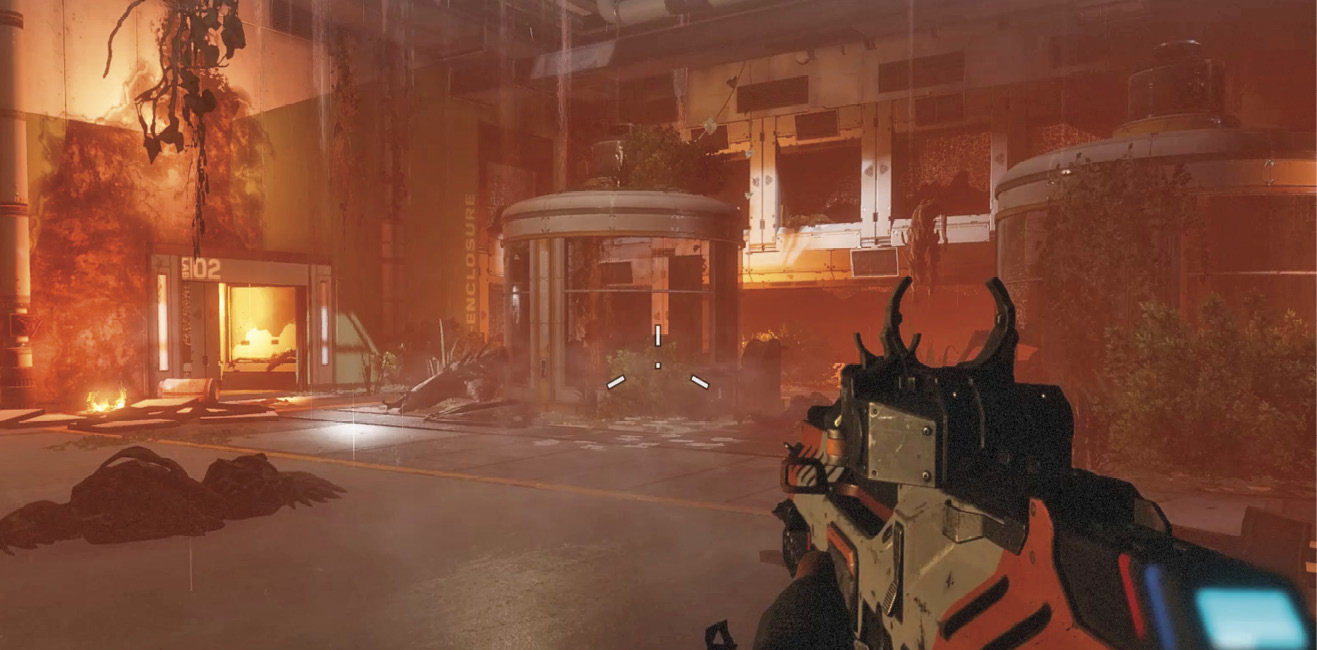
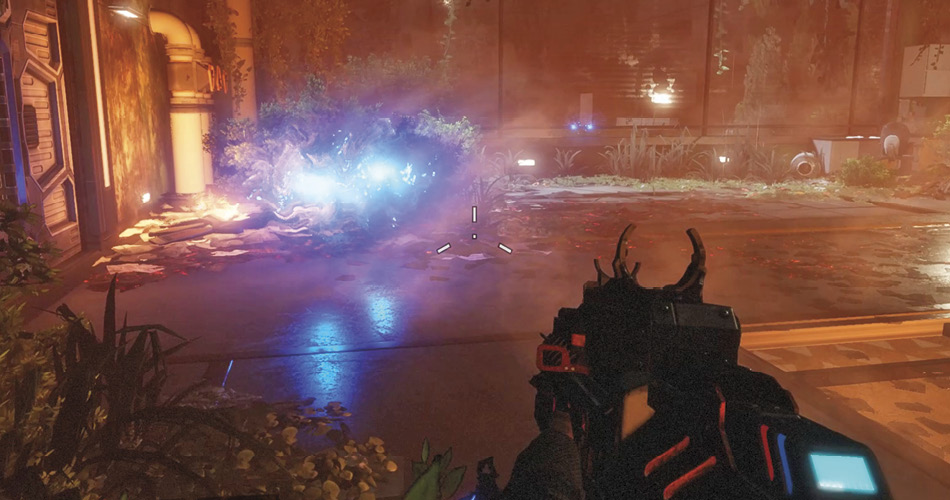
Back in the present, take note of the glowing blue cloud-like illuminations. This indicates where enemies were in the past. These lights eventually fade, but provide enough of a cue to give you a tactical advantage. Maneuver toward the back of the lab and prepare to shift time to the past.
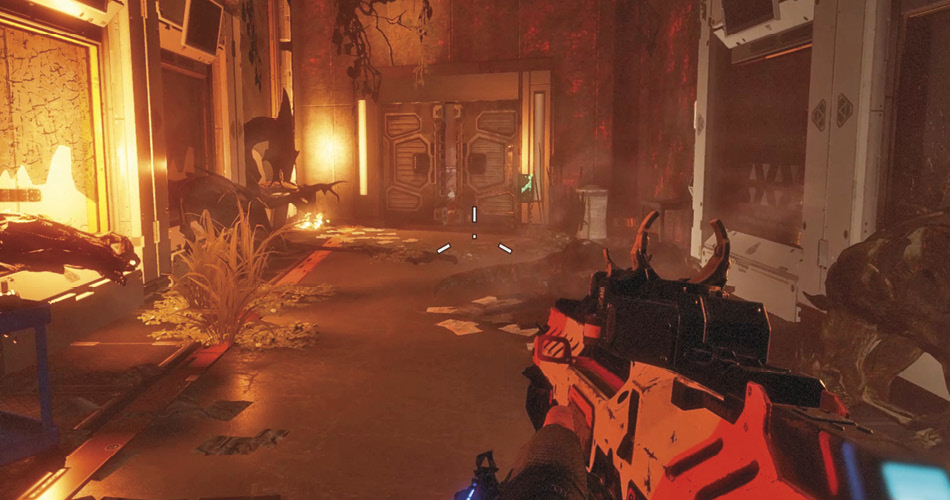
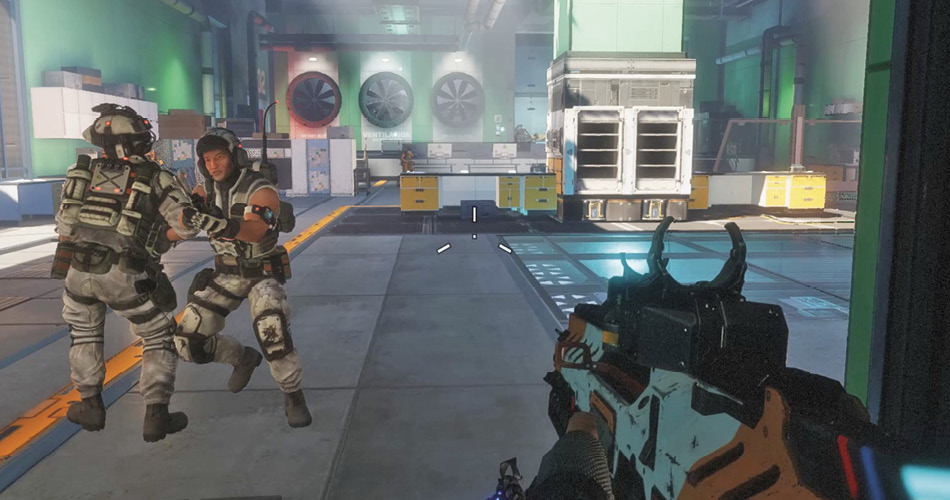
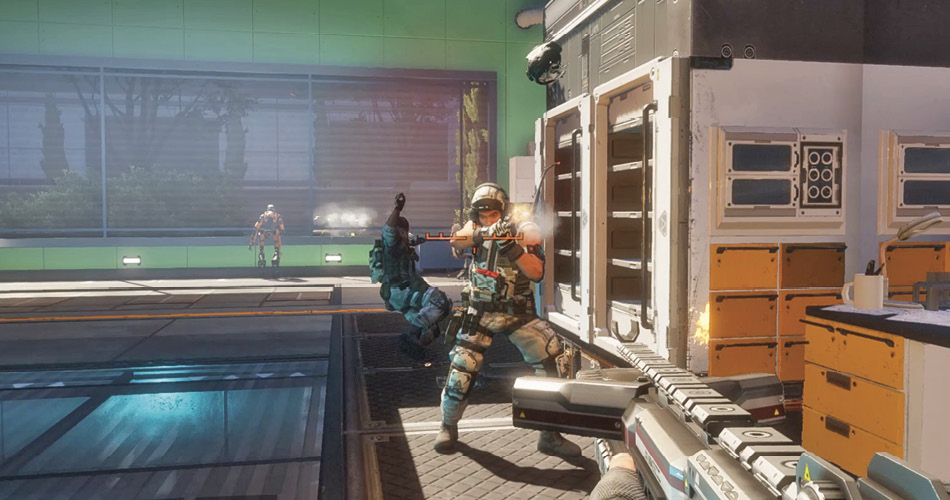
Shifting back and forth between the past and the present gives you a tremendous advantage during firefights. Enter the past and eliminate an IMC grunt, then immediately shift to the present, using the blue, glowing clouds to locate your next target. For best results, try to reappear behind enemies, denying them the chance to retaliate. This is an excellent way to score unexpected melee strikes. When you’ve eliminated all the grunts, return to the present and enter one of the three round ventilation ducts at the rear of the lab.
Security Corridor
One you’re inside the duct, the path ahead is blocked by flaming debris. Time shift to the past and continue along the duct. Just ahead, three spinning fans on the left prevent you from accessing the adjacent room. The three fans are completely gone when you time shift to the present, allowing you to drop down into the room below.
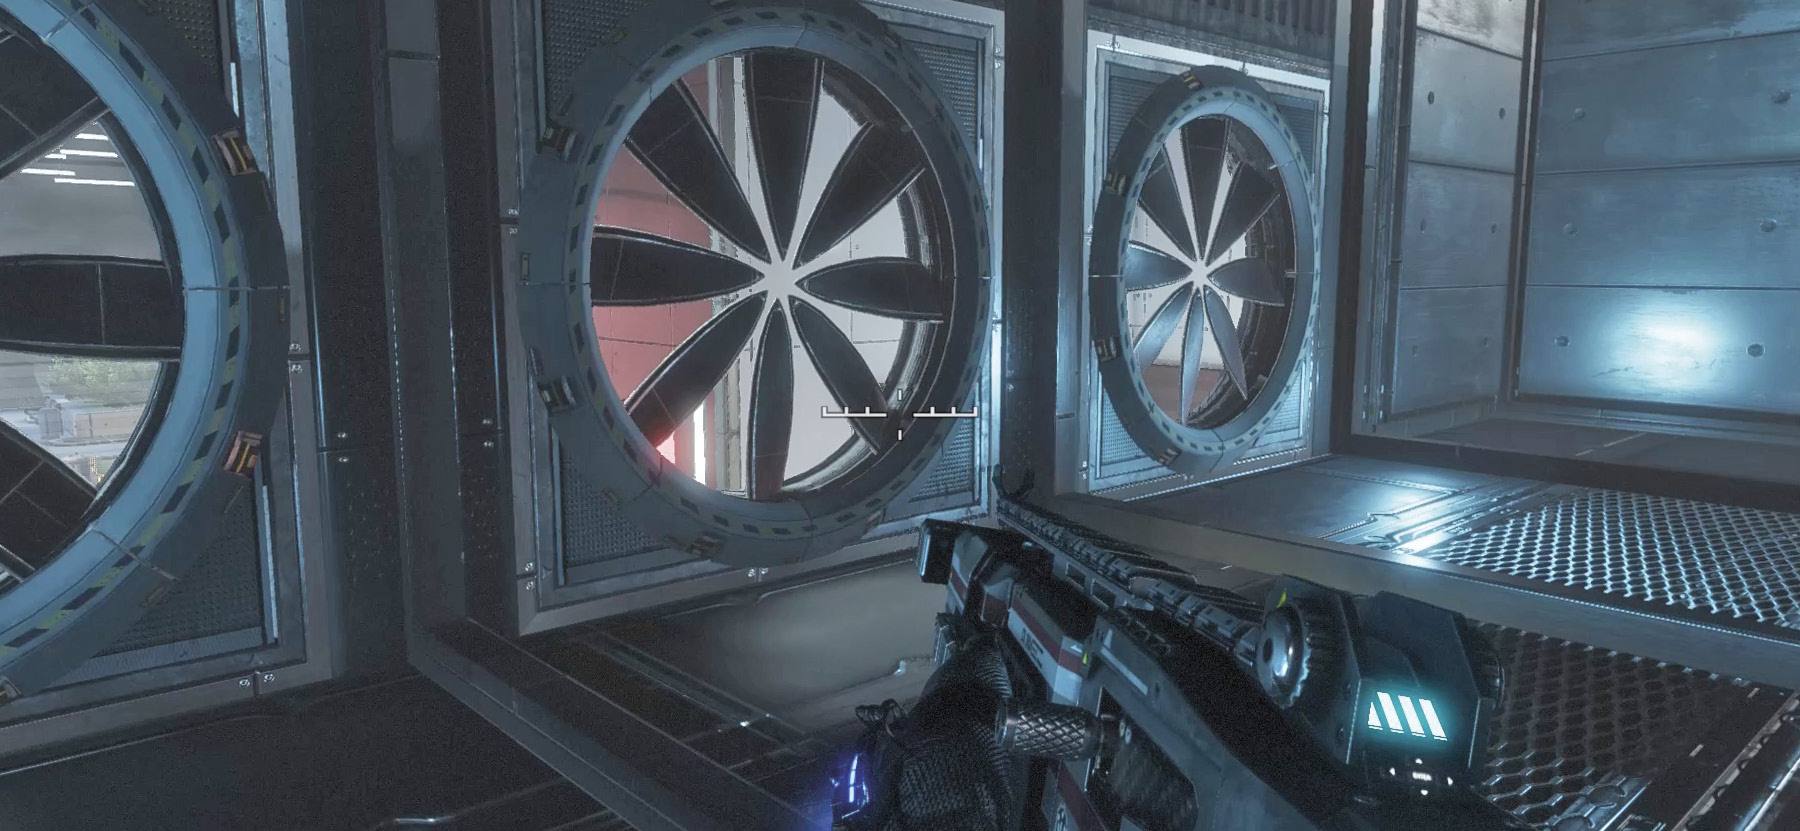
In the past, there are several grunts guarding this area, including two behind a red security barrier. Time shift between the past and present to get the jump on these confused grunts; take a shot, then time shift. Reposition in the present, then return to the past to set up your next attack.
In the past, the small booth occupied by two grunts is off-limits due to a red security barrier. So time shift to the present, step inside the booth, and then return to the past. If you haven’t already, deal with the two grunts inside at close range. Next, turn to the green-lit panel on the right. This provides access to the hallway ahead. But there’s a problem: four automated turrets are in the hall.
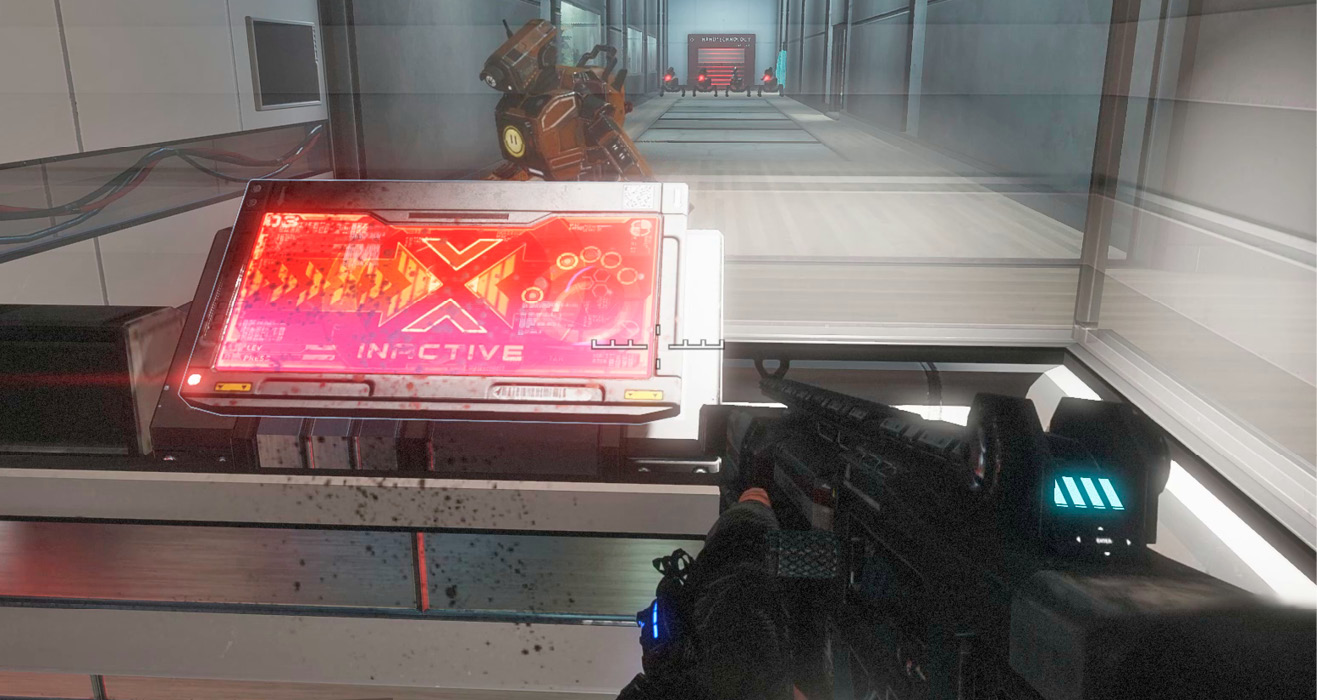
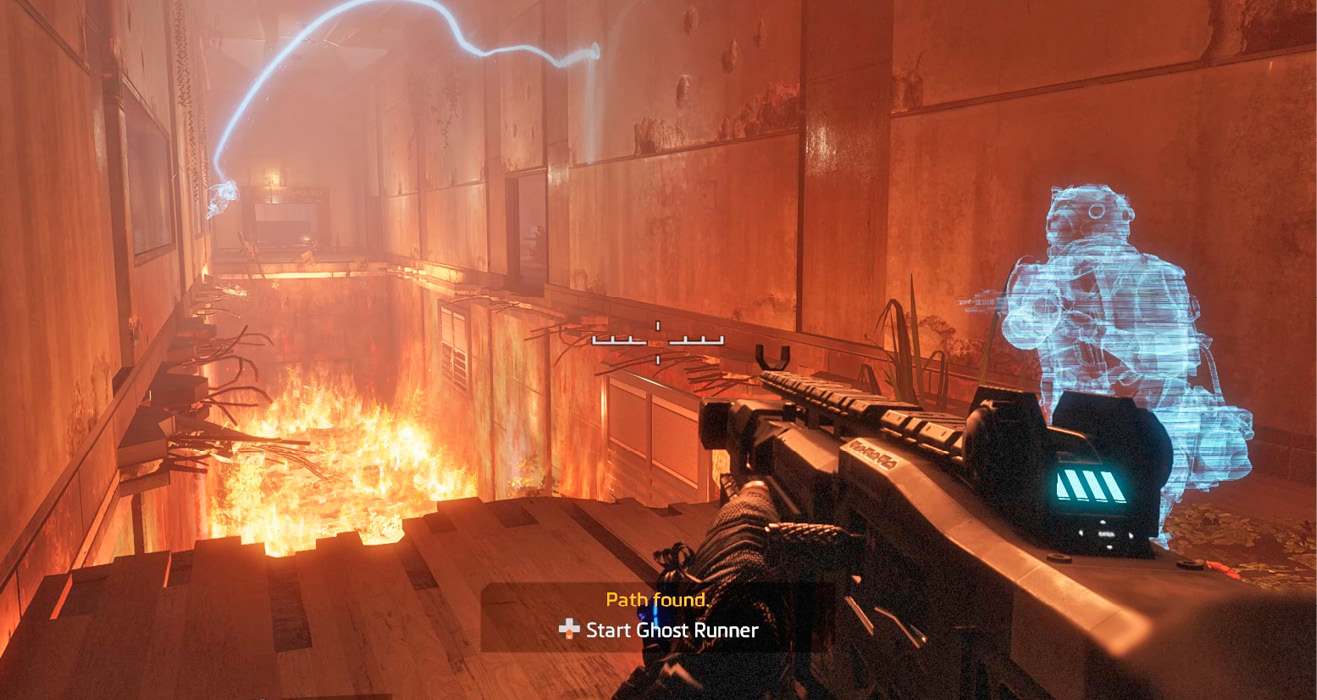
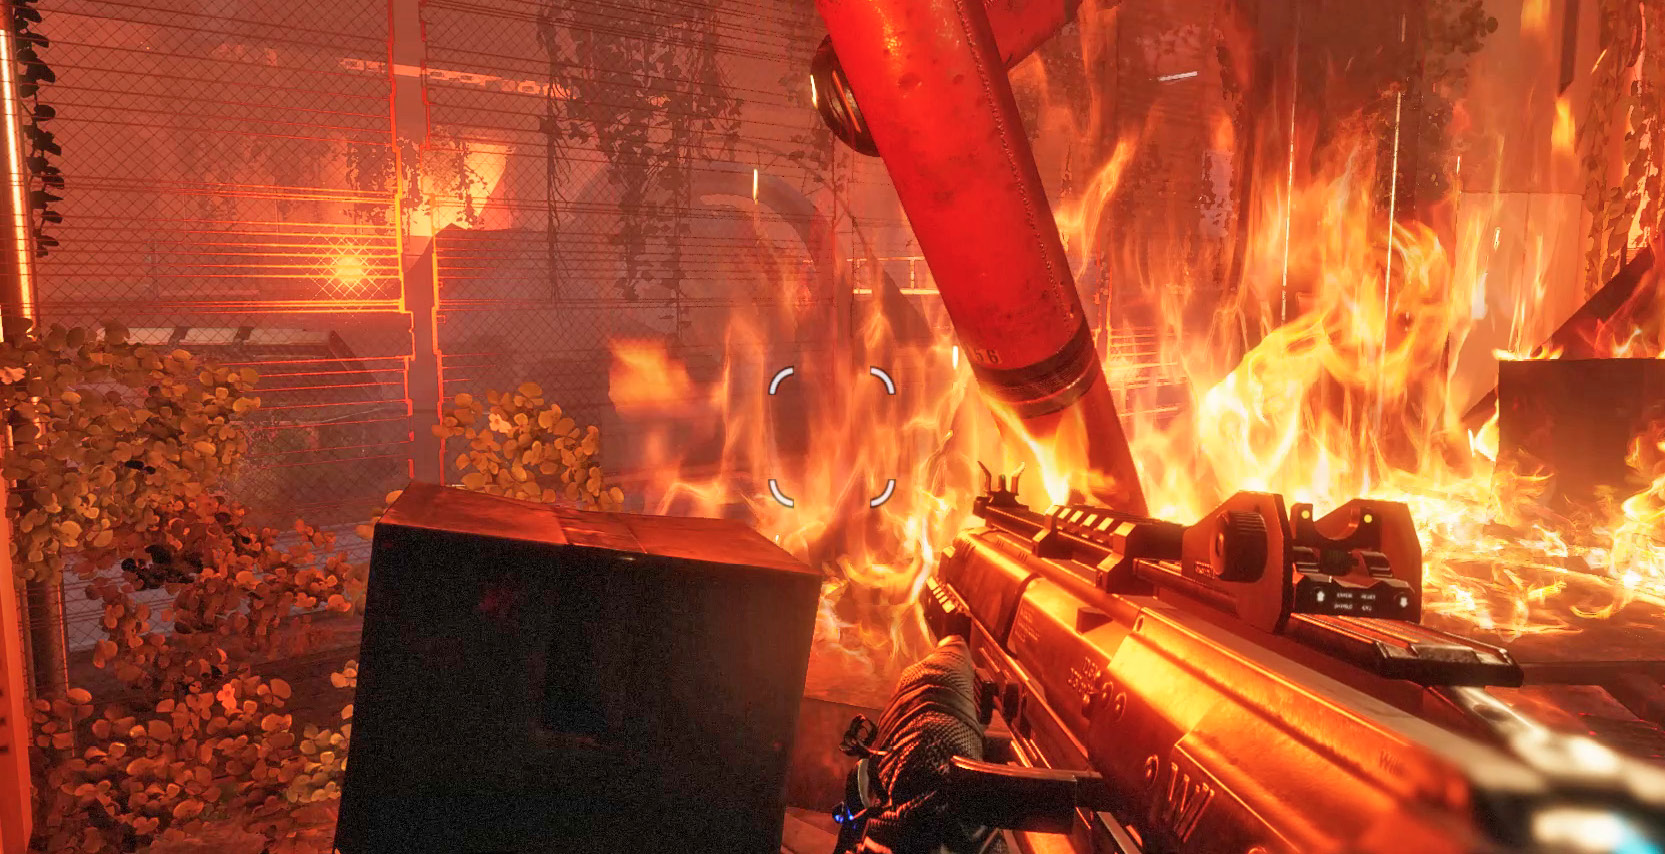
Time shift to the present and exit the booth, approaching the hallway where the turrets were positioned. In the present, the same hallway is partially sunken and raging with fire. While still in the present, jump toward the wall on the right and initiate a wallrun. As you near the end of the wallrun, jump toward the wall on the left and continue wallruning until you safely reach the end of this hazard. If necessary, rely on the ghost runner animation to show you where to make the jumps. Watch for a prowler lurking in the nearby conference room once you’ve reached the other side.
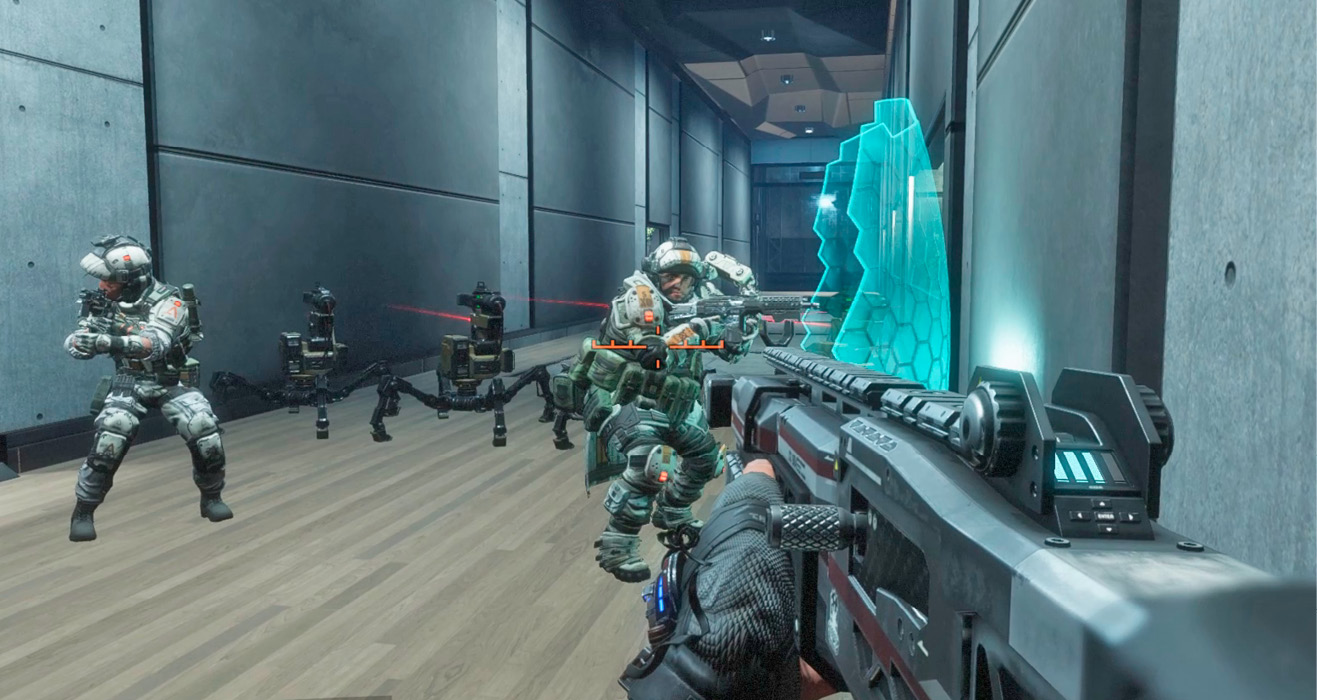
Following the wallrun, time shift to the past and flank the grunts and automated turrets in the hall. Set your sights on the shield captain first, taking him down before he can reposition his shield. The turrets are facing the opposite direction and pose no direct threat. Still, if you want to take them out, a couple of well-placed Satchel Charges should do the trick. You can find more Satchel Charges in the weapon box in the nearby conference room.
Elevator Bank
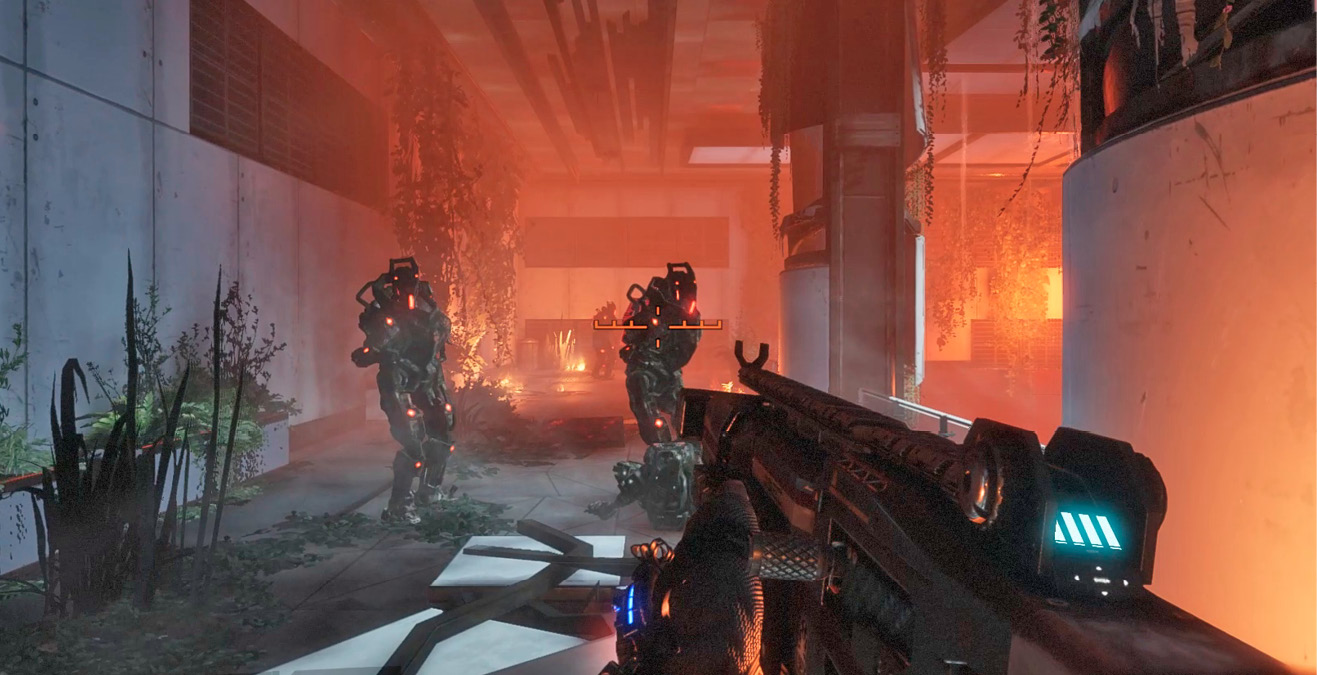
Travel back to the present and step onto this walkway occupied by three Stalkers. Use time shifts to get behind them and then target their red “backpacks.” This is a great opportunity to practice quick flanking maneuvers using the Time Shift Device. These Stalkers aren’t armed. They only trudge and crawl toward you at a slow speed. So unless you get too close, they pose no threat. Quickly time shift between the past and the present to get behind them.
Head downstairs and approach an elevator bank. In the present, all the doors are closed. Time shift to the past. Two elevator doors slide open and multiple IMC troops pour out, including two shield captains. Immediately return to the stairs, toss a Satchel Charge among the enemies, and detonate it before they can run away. Return to the upper floor, where you confronted the Stalkers, and fire down on the IMC grunts below, tossing more Satchel Charges.
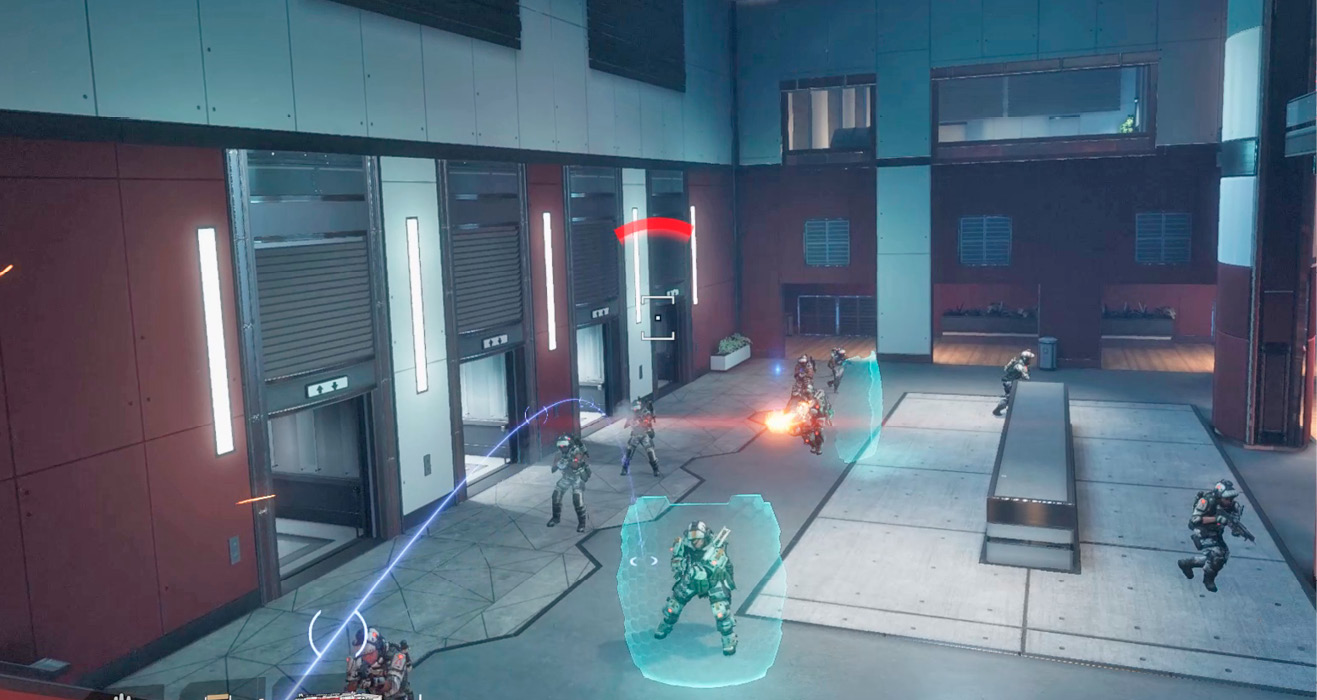
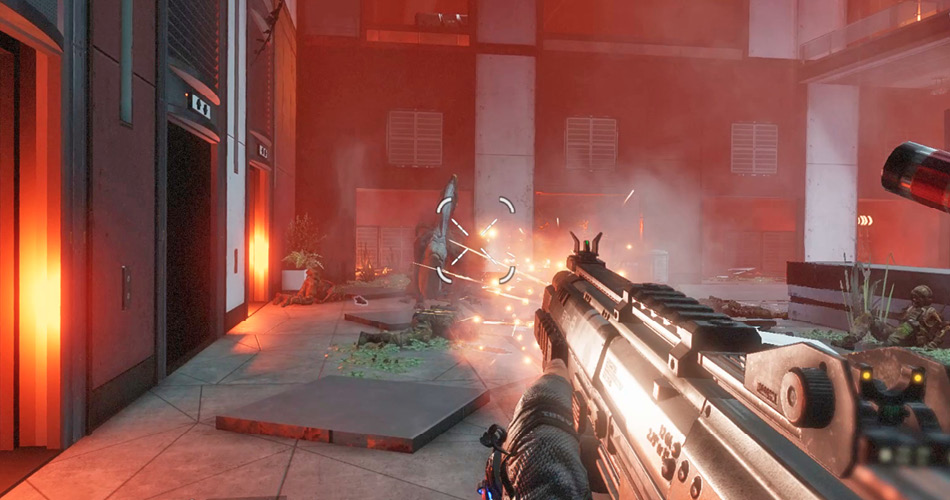
If you come under heavy fire, immediately time shift to the present. But the present isn’t safe either. Several hungry prowlers have entered the area, eager to claim you for their next meal. Keep your distance from the prowlers using double jumps and wallruns to escape their attacks. If you’re about to be hit by a prowler, time shift to the past to avoid taking damage. But remember, every time you shift time, you run the risk of appearing in front of a new threat. For best results, clear out all the prowlers in the present. This gives you a safe time to which to retreat when you’re dealing with the IMC grunts in the past.
|
 Pilot Helmet 3/8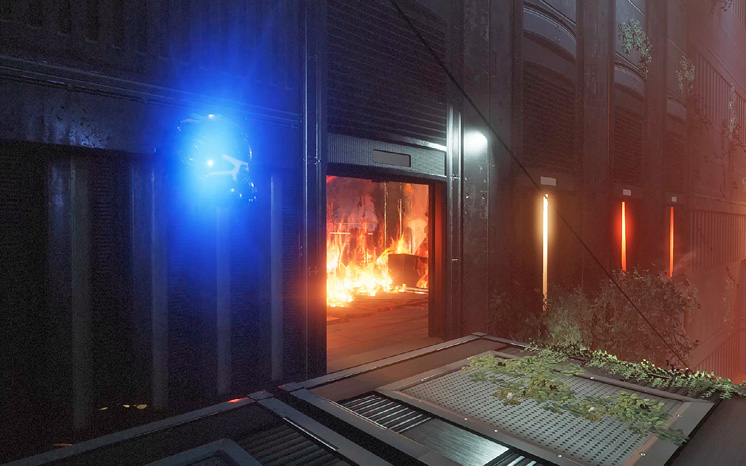
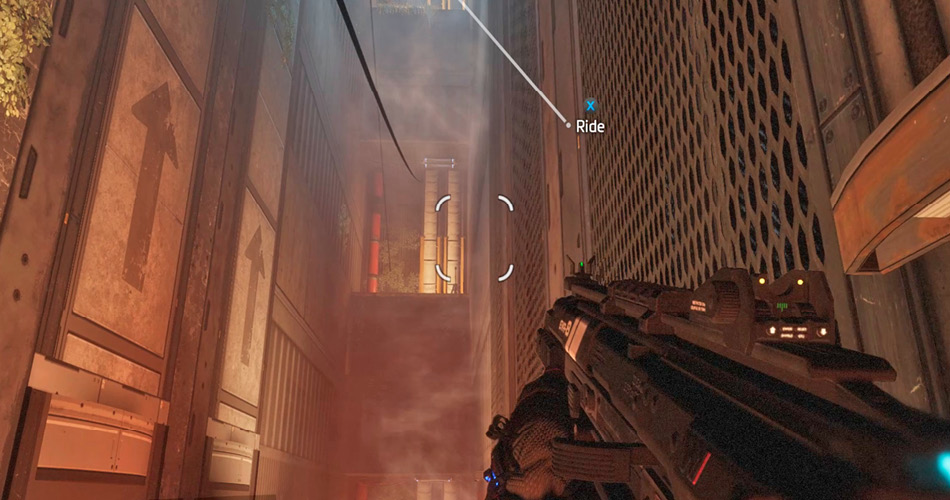
In the present, enter on the now open elevator doors. Jump through the open hatch in the elevator’s ceiling. There’s a cable running above the elevator shaft. Move to a point where you can interact with the cable to initiate a zipline ride up to a ledge. From the ledge, take a second zipline to the next floor.
The exit to the elevator is blocked by flaming debris. Time shift to the past and advance along the corridor to bypass this obstacle. In the adjacent room, to the left, a grunt begins shooting at you. Don’t worry, the glass is bulletproof. Continue down the hall, turn left, and interact with the green panel to open the door.
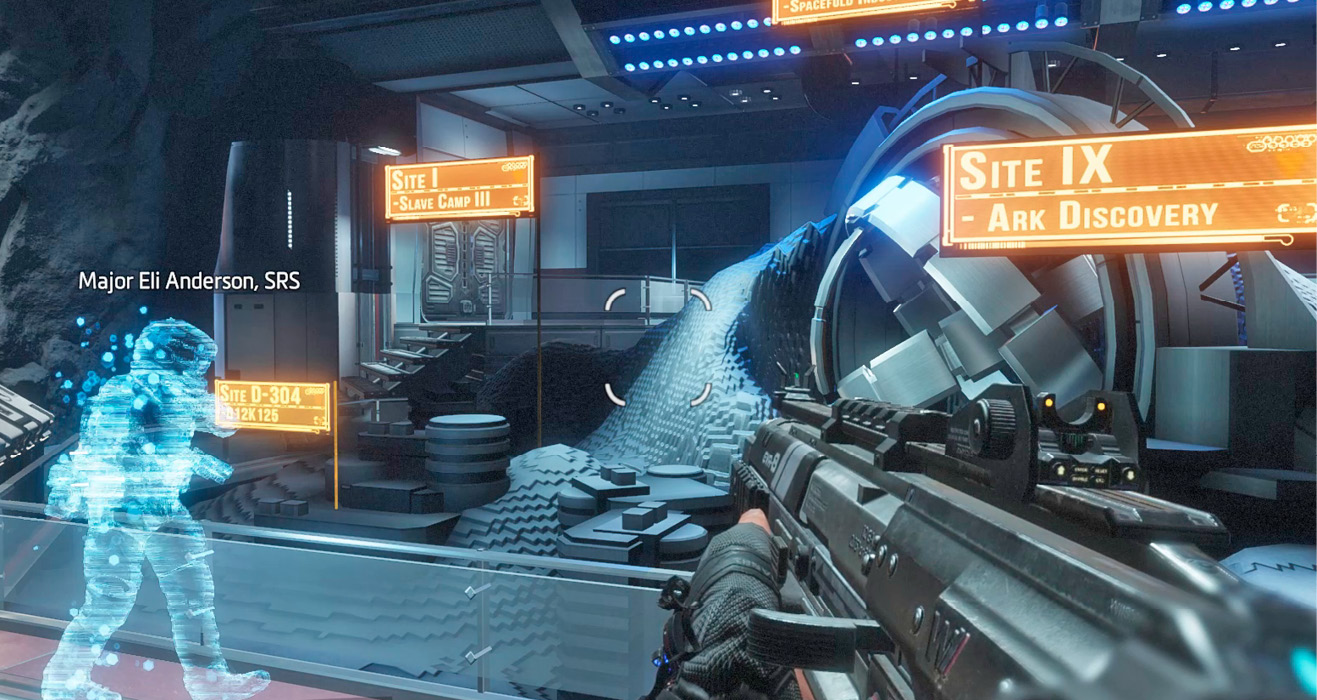
Diorama: Typhon Dig Site 42N
This room is dominated by a large diorama occupying the central table. The grunt who was shooting at you earlier has evacuated. As you enter, BT activates one of Major Anderson’s holographic logs. Anderson reveals that the IMC has discovered at a dig site an object capable of folding space and time. The IMC are calling the object the Ark. Blisk mentioned something about this earlier. In addition to the diorama, this room also contains some weapons. There are Satchel Charges in the weapon boxx and R-201 Assault Rifles and MGL Launchers in the nearby rack.
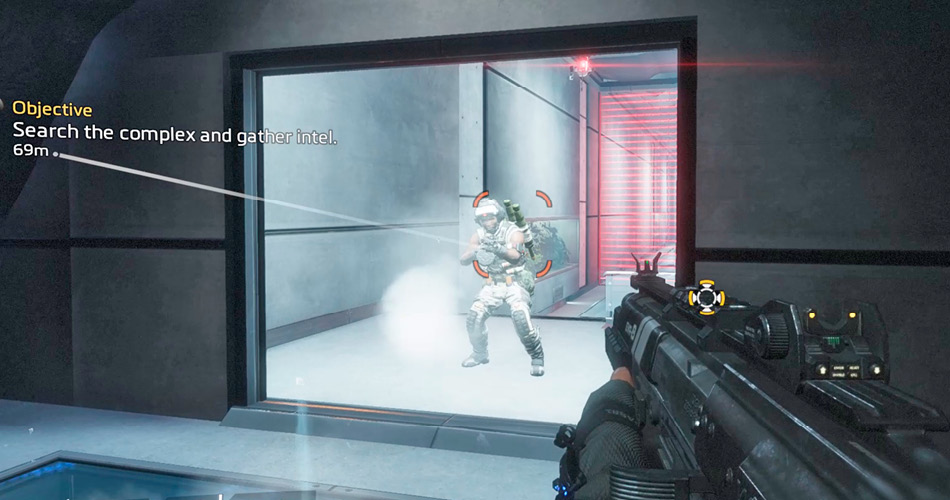
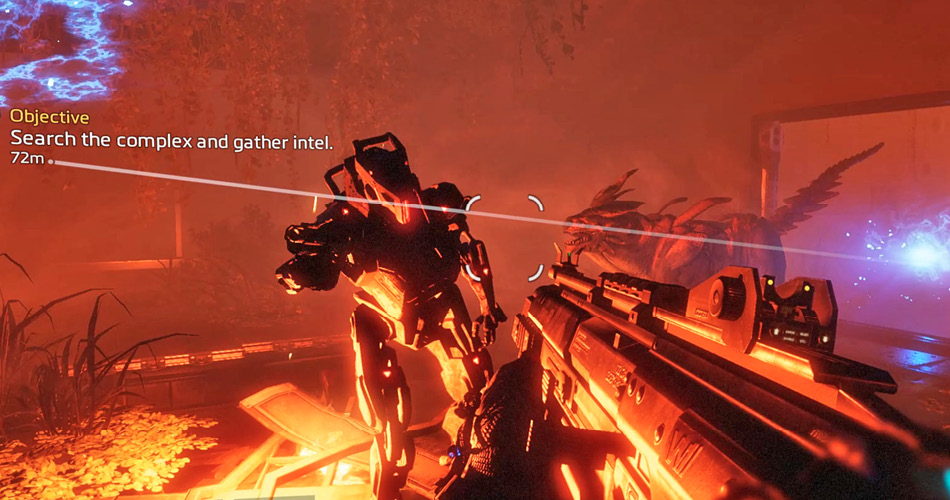
Prepare for a fight as you exit the diorama room. (You must exit while in the past, as the door is still malfunctioning in the present.) As you step outside, you come under attack by a couple of grunts and two drones. Try to finish off these threats without time shifting. If you return to the present, you’ll be confronted by a Stalker and prowler at close range. Once the grunts and drones are eliminated, shift to the present and eliminate the Stalker and prowler. Consider backtracking down the adjacent hall before taking on these threats.
Amplification Casing Research
In the past, this corridor is blocked by a security barrier. In the present, the floor has collapsed, leaving behind a pit of fire. Stay in the present and wallrun past this obstacle, leaping from wall to wall to avoid the flames below. Continue jumping and wallrunning until you can safely drop to the floor at the end of the corridor.
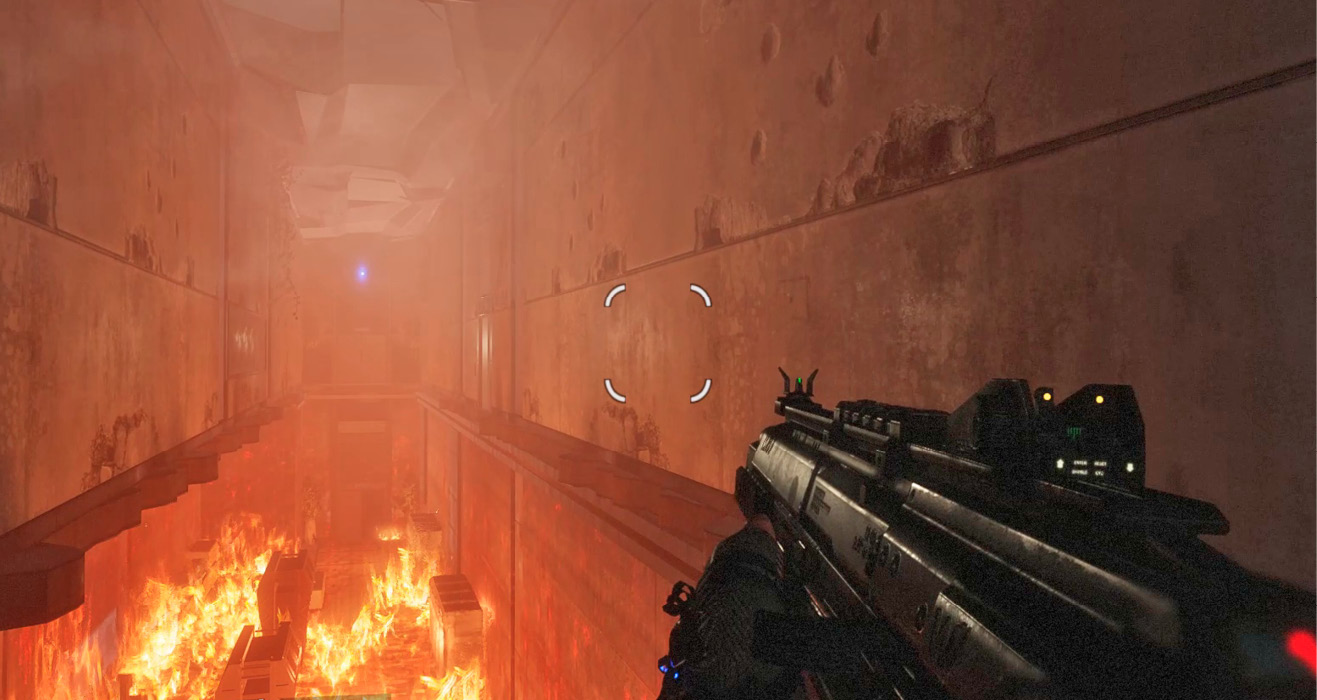
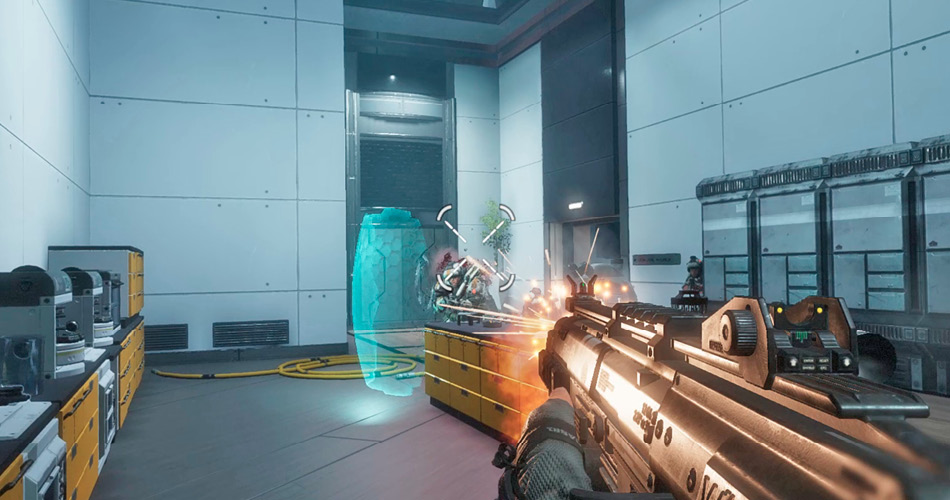
At the end of the flaming corridor, look down and time shift to the past. The floor is covered in glass, allowing you to spot a couple of grunts and a shield captain below. You need to drop down into this corridor. Stand above a position where you can get behind the shield captain when you drop through, then time shift to the present. Before you land in the flaming corridor, time shift to the past and engage the IMC units. If you grabbed the Ticks earlier, toss one toward the grunts and shield captain. The shield captain will rotate his shield to block the blast of the Tick, leaving his back exposed.
|
 Pilot Helmet 4/8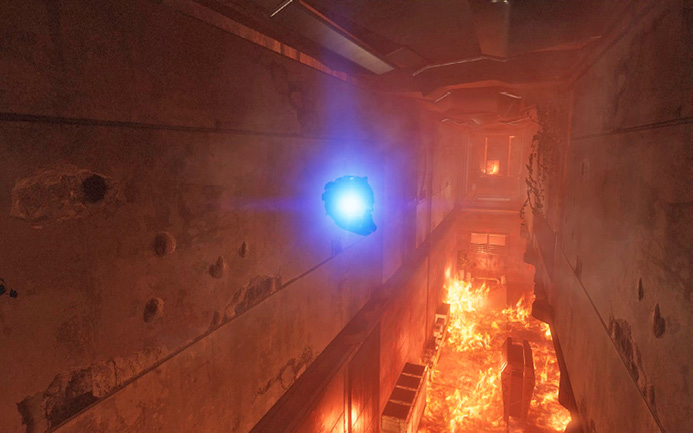
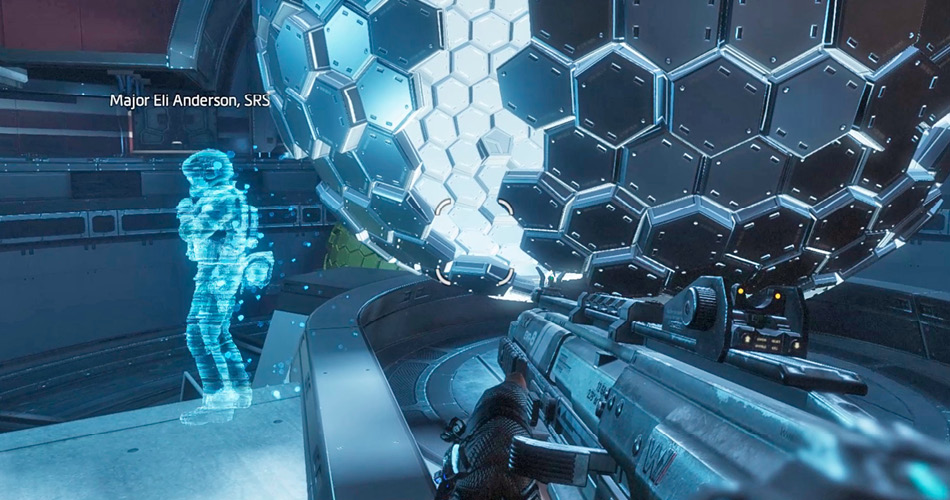
The adjoining lab is dominated by a large metallic sphere. Three partially constructed spheres are also present. Approach the central sphere to trigger one of Major Anderson’s holographic logs. Anderson refers to the IMC’s discovery as a “Fold Weapon,” but it appears they haven’t perfected the casing. This casing is empty—the Ark must be somewhere else. After viewing Anderson’s log, consider updating your arsenal—there’s a Mastiff and MGL on the nearby rack and Satchel Charges in the weapon box.
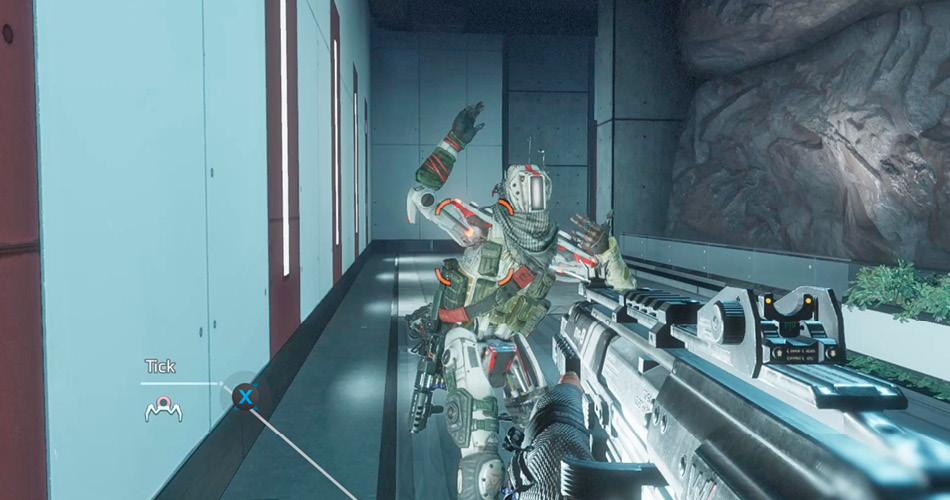
Still in the past, enter the nearby hall, but watch out for approaching Ticks. The Ticks are deployed by a couple of Specialists. Track the Specialists down in this hall before they can deploy multiple Ticks and drones in the lab. After eliminating the Specialists, destroy any Ticks or drones they have deployed.
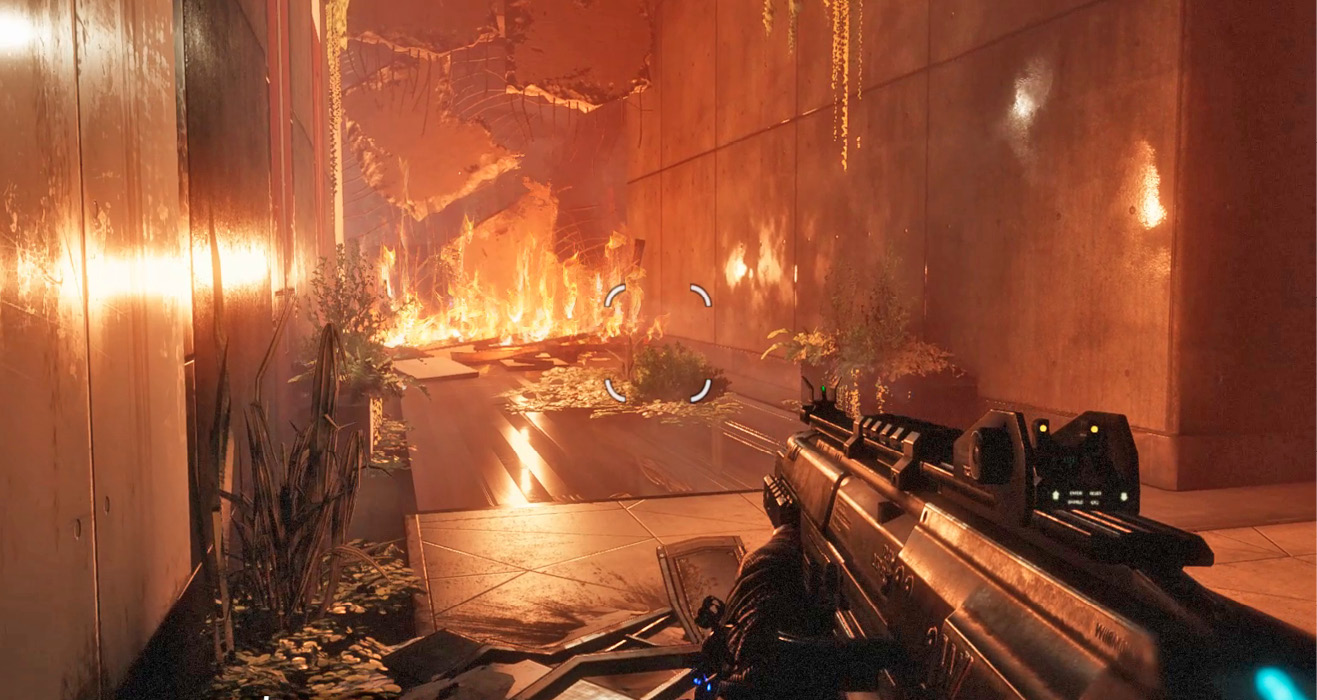
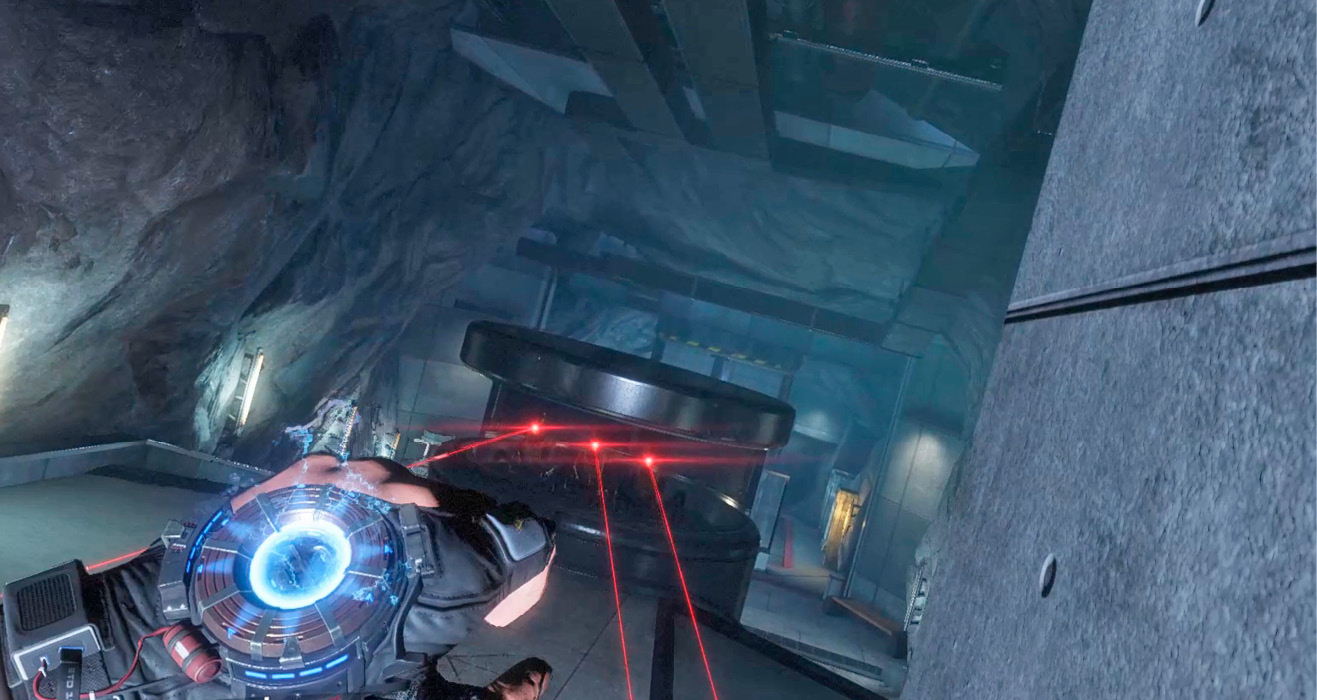
Shift to the present as you approach the bend in the hall; if you stay in the past you’ll be ambushed by several automated turrets. In the present, the hall is blocked by flaming debris. Initiate a wallrun along the right wall. As you near the flaming debris, time shift to the past and leap over the turret emplacement. Once you’re beyond the turrets, they don’t pose a threat. But if you want to take them out, consider tossing a Satchel Charge into the bunker-like emplacement. You can find Satchel Charges in the weapon box behind the turrets.
|
 Pilot Helmet 5/8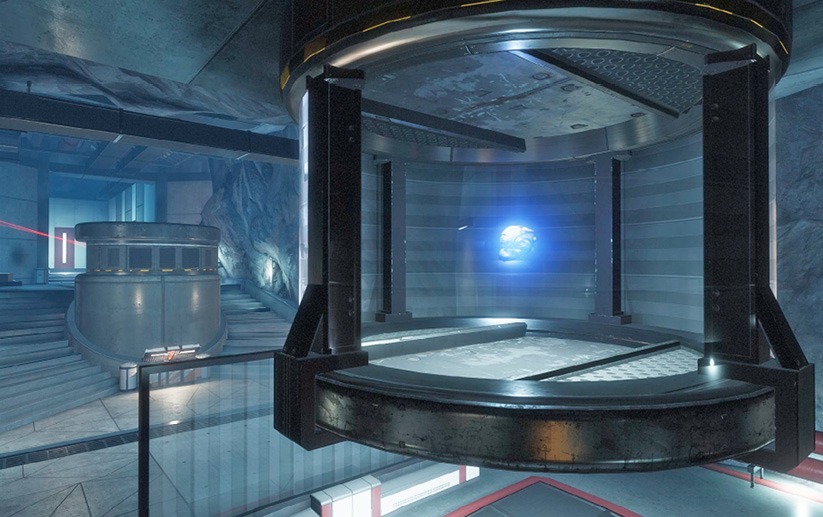
Cryo Storage
In the past, a security barrier blocks access to the cryo storage area. The barrier is no longer functional in the present, allowing you to enter. After gaining access, return to the past just in time to hear a PA announcement; something about a test sequence involving the Ark. Ascend either set of stairs flanking the room and approach another security barrier at the back. Time shift to the present to enter the massive chamber beyond.
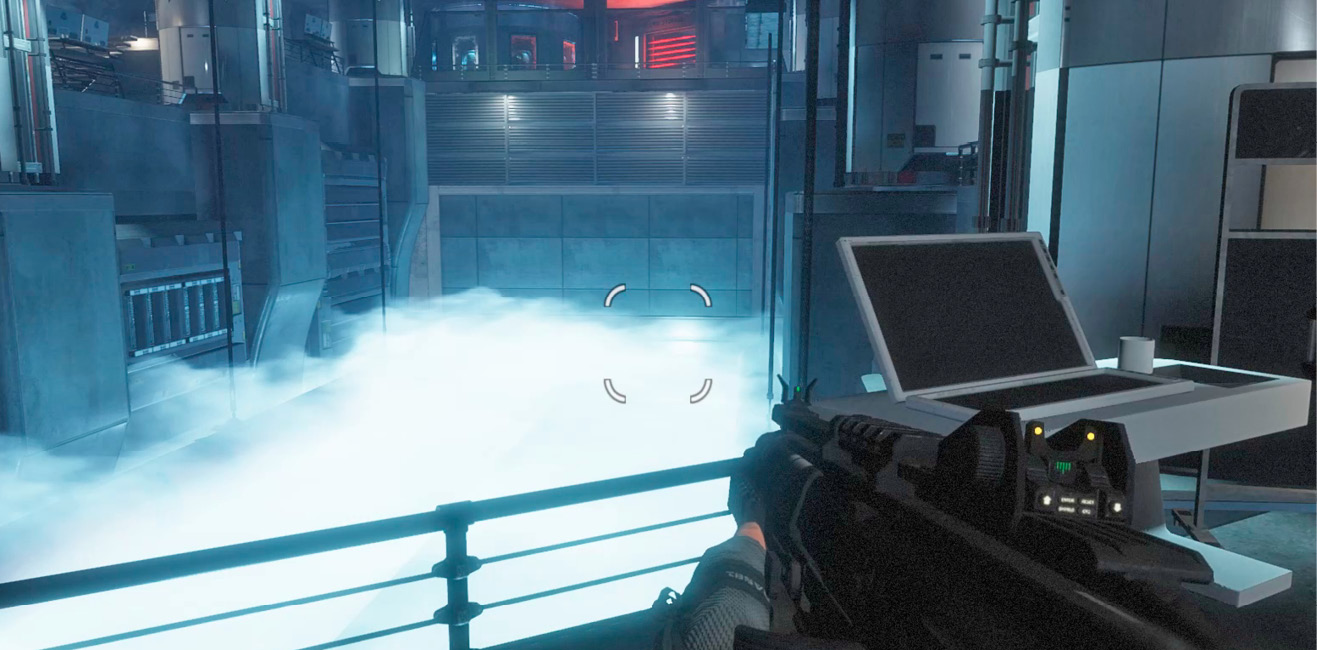
IMC scientists used this facility to cryogenically freeze human test subjects. In the present, this storage chamber has fallen into disrepair and is occupied by flyers and prowlers.
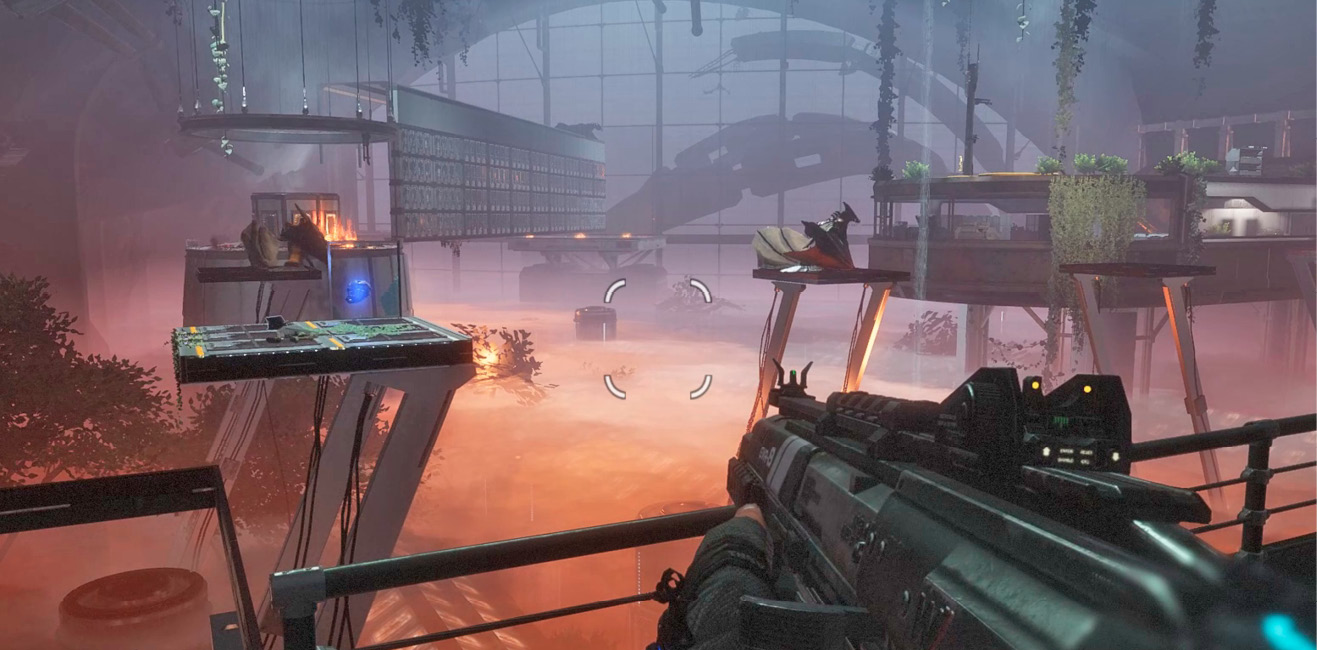
Traversing this chamber requires frequent time shifts. Start in the present and move along the entry walkway to this set of platforms. Hop onto the nearby square platform. The next platform is only accessible in the past, but the frame for the platform is still visible. So while still in the present, double jump toward the next platform, then time shift to the past in midair and land on the platform below. Continue using this tactic to hop across the various platforms.
|
 Pilot Helmet 6/8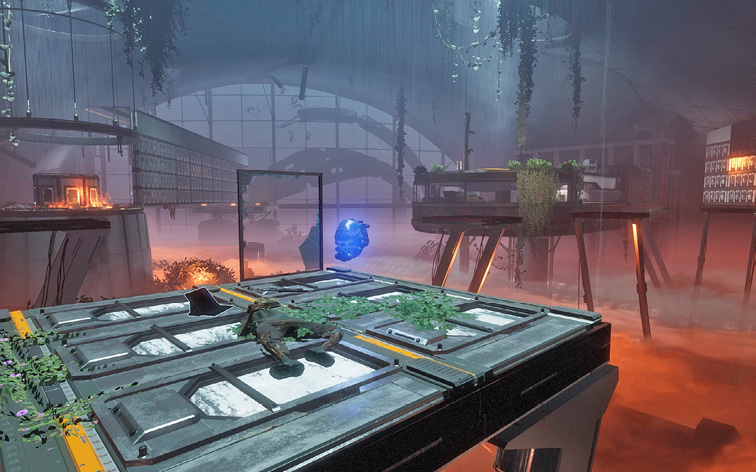
In the past, your presence has garnered the attention of several IMC units positioned in a central control room. As you leapfrog across the platforms (and time), make a move for the control room’s rooftop. But be aware of prowlers in the area in the present.
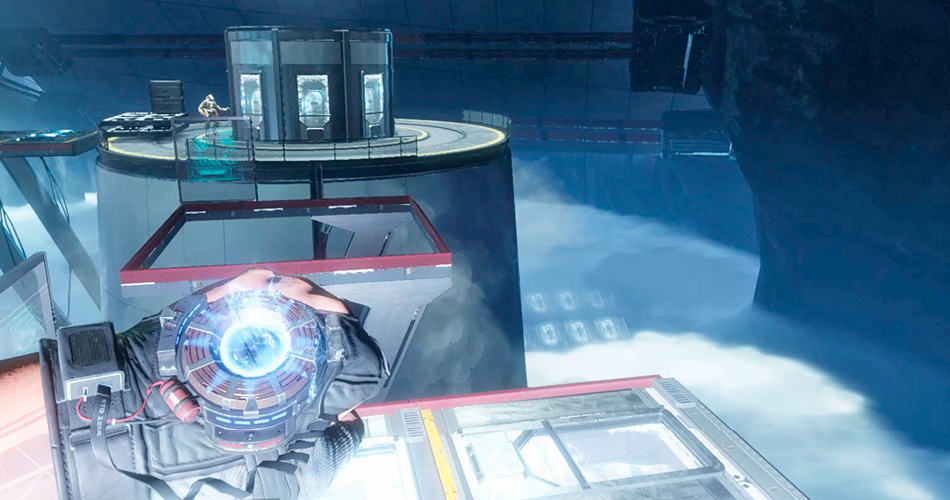
Stay on the control room’s roof and immediately open fire on any hostiles you encounter. In the past, the control room is occupied by several grunts, a shield captain, and a Specialist. Hunt down the Specialist as quickly as possible, preventing him from deploying drones and Ticks. Once defeated, the Specialist drops Ticks you can use against the remaining grunts and shield captain. Try to draw all the enemies out onto the roof. If they don’t take the bait, you can access the control room’s interior via a staircase or by dropping through the vents in the roof. Spinning fan blades block the vents in the past, but these fans aren’t functioning in the present. The control room contains several weapons, too. Choose from R-97 Submachine Guns, R-201 and Flatline Assault Rifles, RE-45 Auto Pistols, and Satchel Charges.
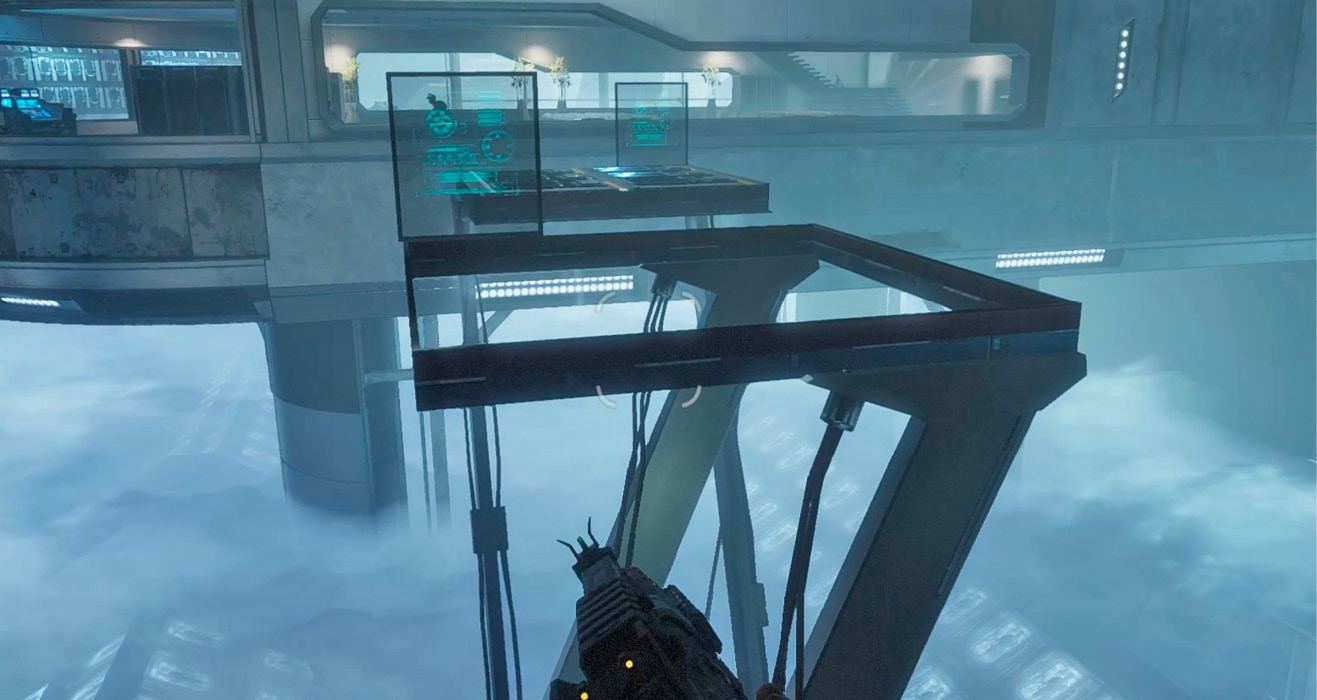
The control room isn’t safe in the present either. When time shifting to the present, be ready to run from multiple prowlers. Use frequent time shifts to confuse the prowlers and circle behind them while deploying Ticks or Satchel Charges. Ticks are a good way to distract the prowlers; they’ll chase the Tick instead of chasing you, only to be injured (or killed) by the ensuing explosion.
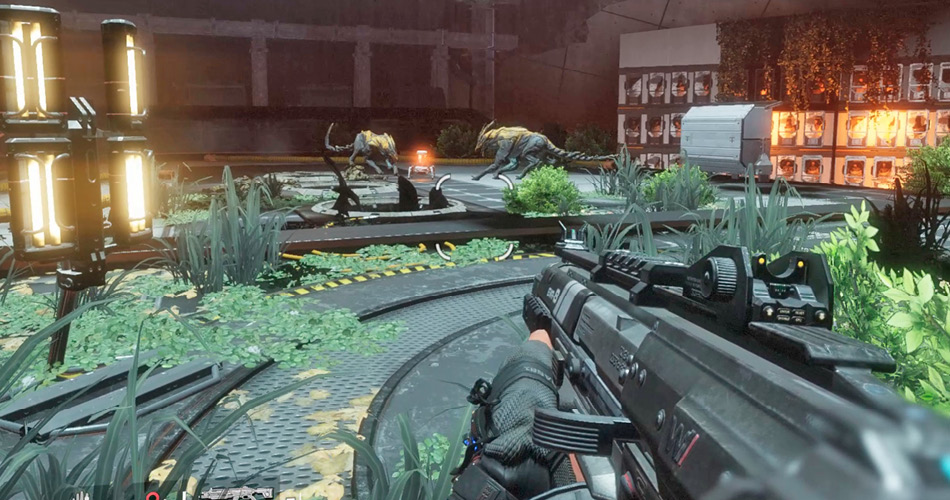
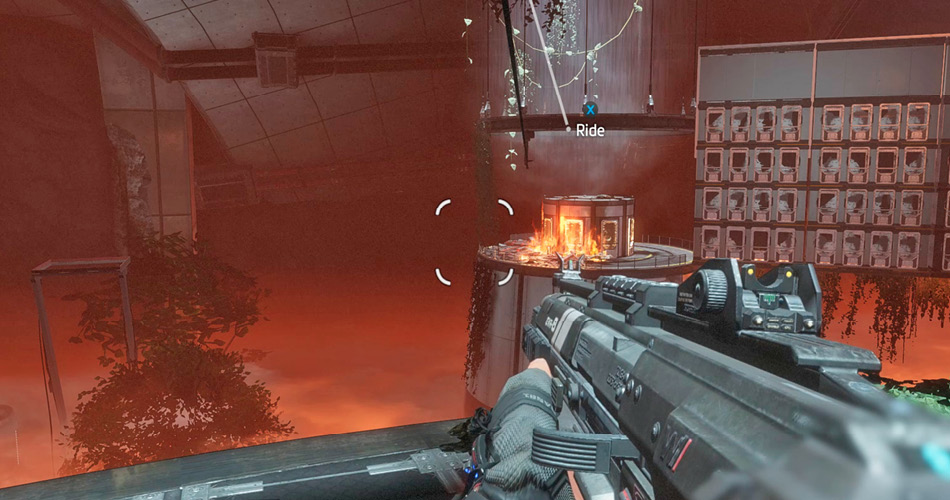
In the present, locate this zipline on the edge of the control room’s roof. This wire is electrified in the past. Ride the zipline down to the next platform—it’s engulfed in flames. Before reaching the end of the zipline, jump off and time shift to the past to avoid getting burned by the flames. Don’t time shift while on the zipline or you’ll get electrified.
Stay in the past and turn toward a wall containing cryogenically frozen test subjects. Double jump toward the wall and initiate a wallrun. As you near the end of the wallrun, jump to the right and time shift to the present in midair just in time to make contact with another wall. Wallrun along the wall in the present, then double jump toward the left. Once again, time shift to the past in midair to make contact with a third wall. Continue along this final wall until you can reach the platform below.
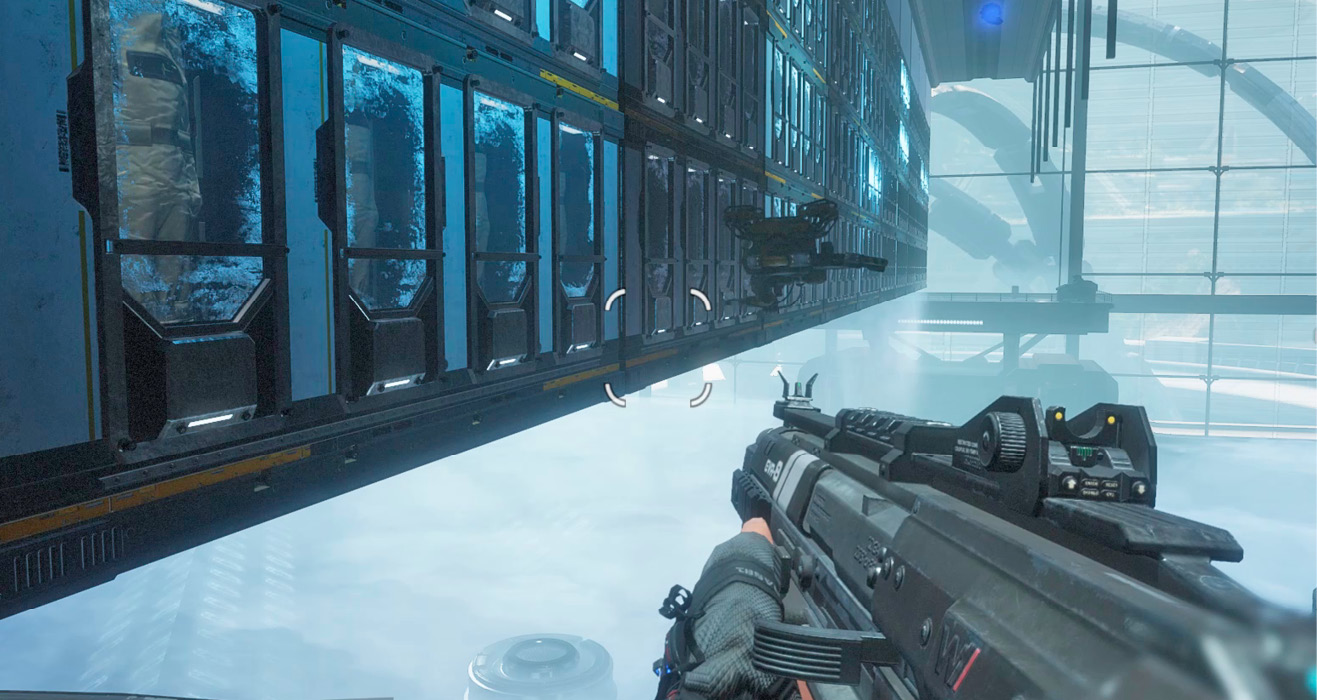
As you land on the platform, BT reports that the rings at his location, visible through the window, contain a large amount of residual energy. BT deduces that the rings were the Ark’s last destination. If you can retrieve the Ark’s energy signature in the past, the Militia fleet can track its location in the present. Interact with the green-lit console nearby to extend a bridge, but watch for a couple of drones emerging from the adjoining corridor.
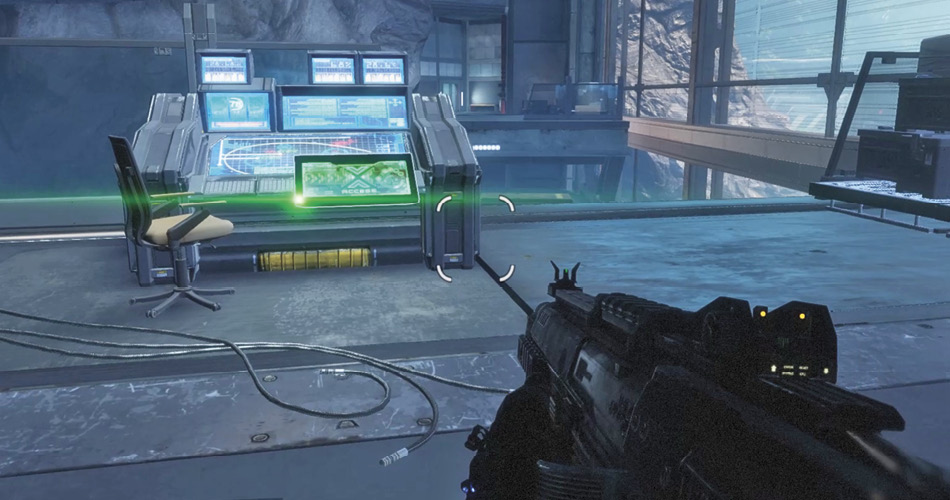
|
 Pilot Helmet 7/8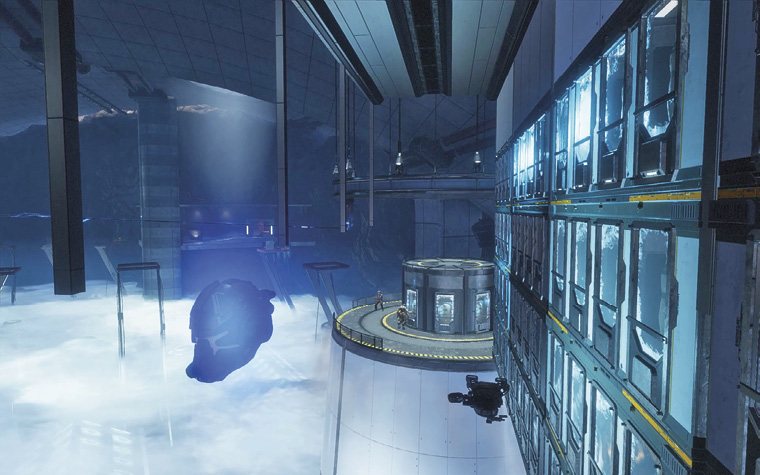
|
 Pilot Helmet 8/8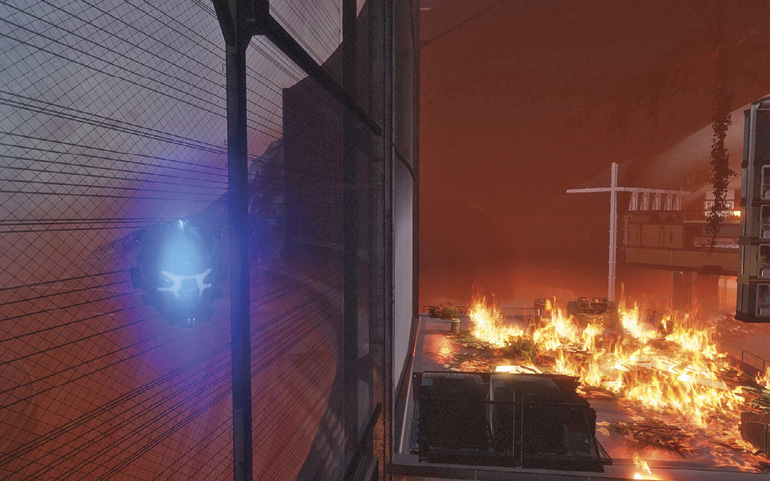
The floor in the next passage is electrified in both the past and the present. Hop onto the nearby platform and time shift to the present. Flaming debris blocks the path ahead. But in the past, a security barrier impedes your advance. Stay in the present and initiate a wallrun along the wall to the left. Jump to the wall on the right and time shift to the past just before reaching the flaming debris. Keep wallruning in the past, but make note of the red security barrier ahead. As you near the barrier, time shift to the present.
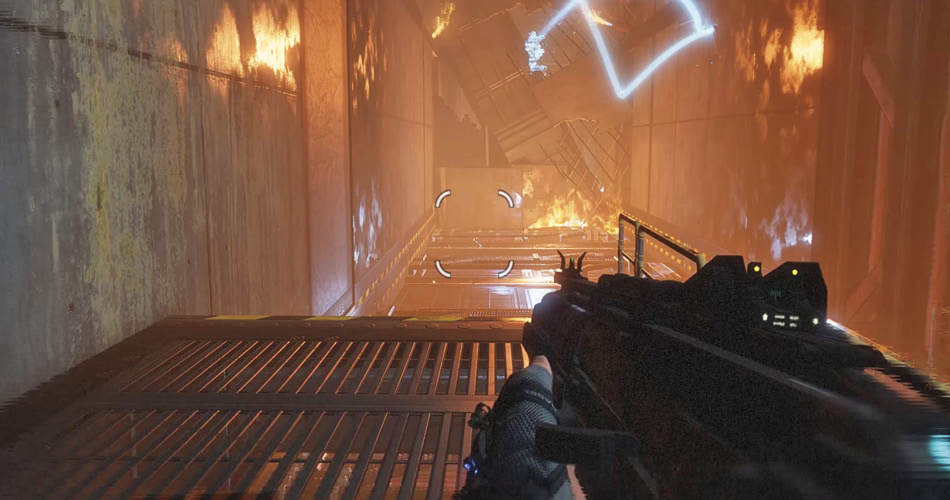
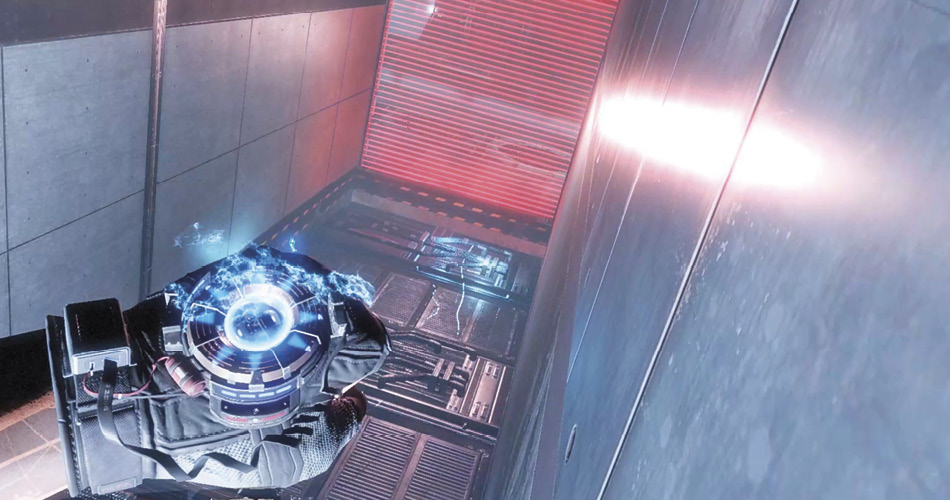
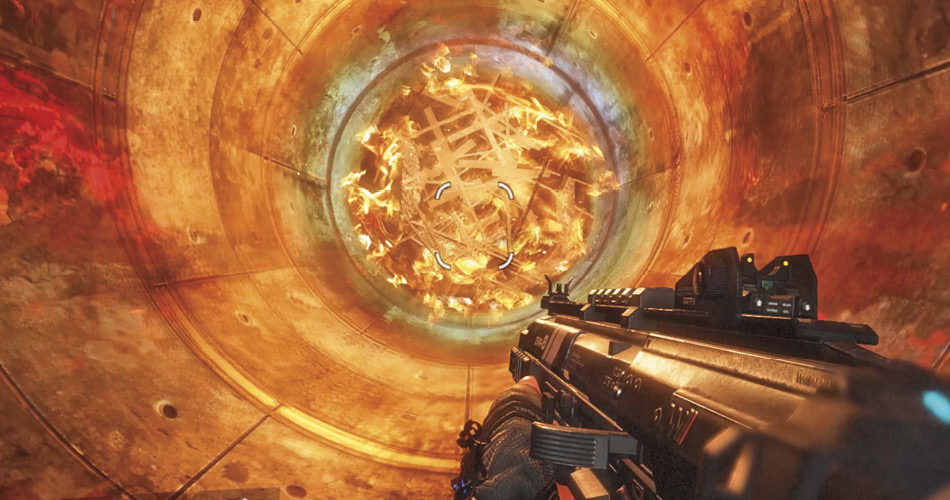
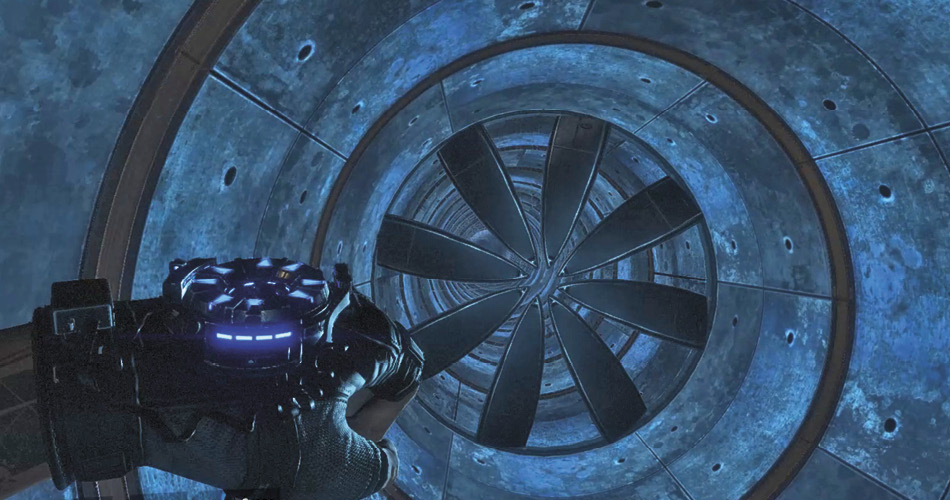
Stay in the present and look for an open vent in the next room. The duct is blocked by flaming debris. Take a leap of faith and hop inside, triggering a time shift before making contact with the flames. As you’re still falling through the duct, turn you attention to an approaching fan blade. Time shift to the present, and continue time shifting during your descent to avoid hitting the flaming debris in the present and the spinning fan blades in the past.
Fold Weapon Targeting Research
The duct drops you in this room. A huge holographic image depicting how the IMC’s Fold Weapon operates extends the length of the room. Major Anderson’s final holographic log is triggered. Anderson discovered the IMC used their Fold Weapon, powered by the Ark, to destroy one of Typhon’s moons. But this was only a test. The IMC intends to use the Fold Weapon to destroy Harmony, the home of the Militia. Anderson was determined to get this information to Commander Sarah Briggs, but something happened. It’s now your job to deliver this vital intel to the Militia. Fortunately, BT has a plan; he wants you to meet him outside.
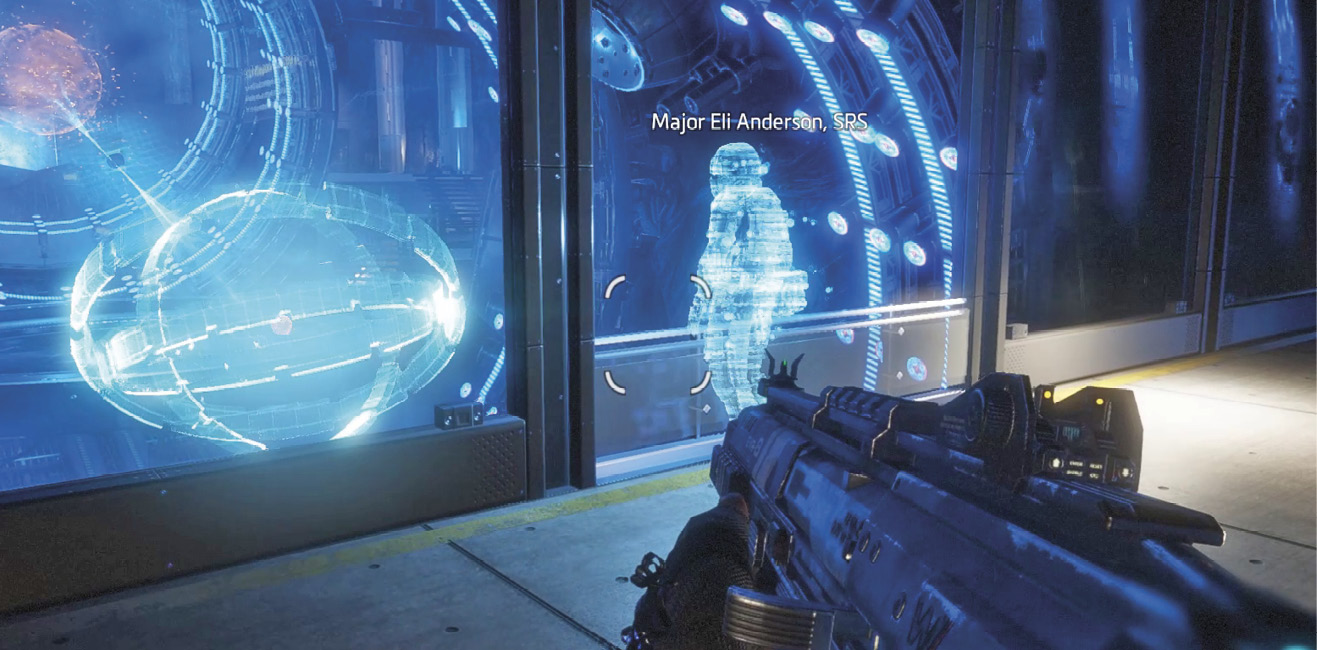
If you haven’t already, time shit to the past and interact with the green panel next to the room’s exit. Whether you stay in the past or shift to the present, prepare to deal with a few Stalkers near the doorway and the adjoining lobby. Some of the Stalkers are armed with MGL Grenade Launchers, so utilize jumps and time shifts to avoid getting hit by these explosive munitions. Exit the lobby to return to reception.
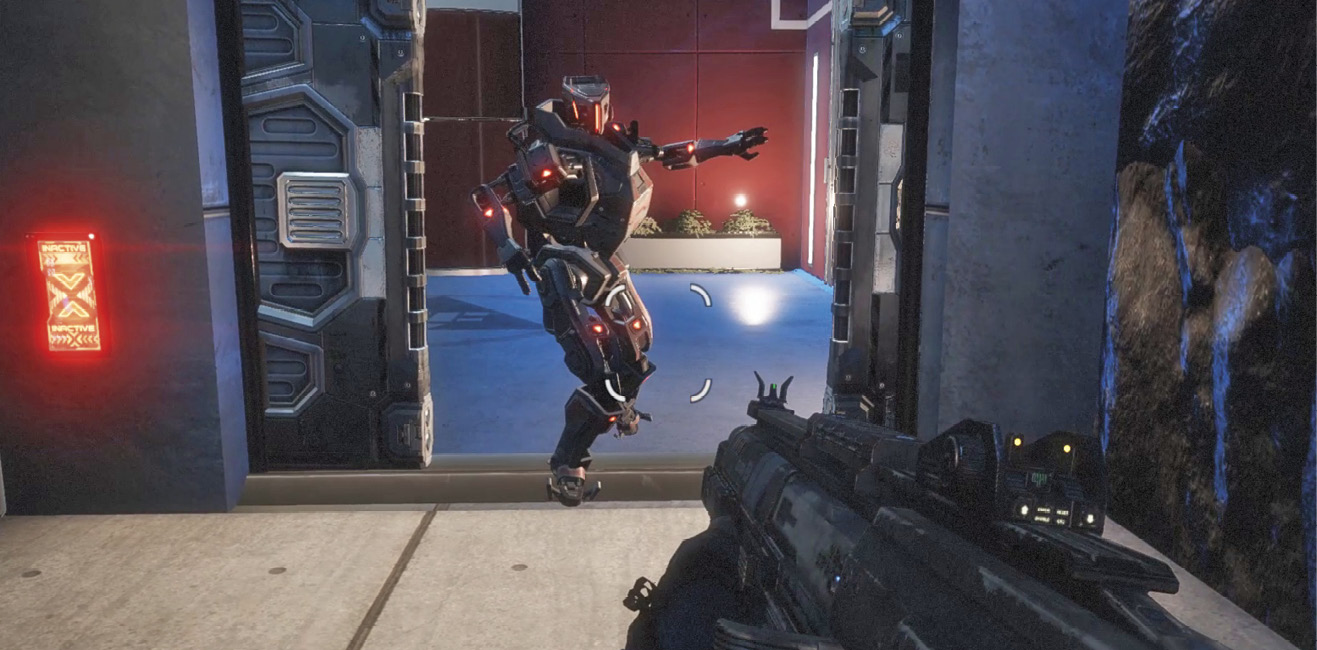
Reactor Facility
In the past, reception is occupied by several grunts and shield captains. In the present, reception is crawling with prowlers. Instead of staying and fighting, traverse the reception area as quickly as possible using frequent jumps and time shifts to throw off your attackers. Return to BT’s location (in the present) and immediately embark. He’s under attack by multiple prowlers and Stalkers. BT has located the controls to extend a bridge to the rings. The controls are located within the nearby Reactor Facility.
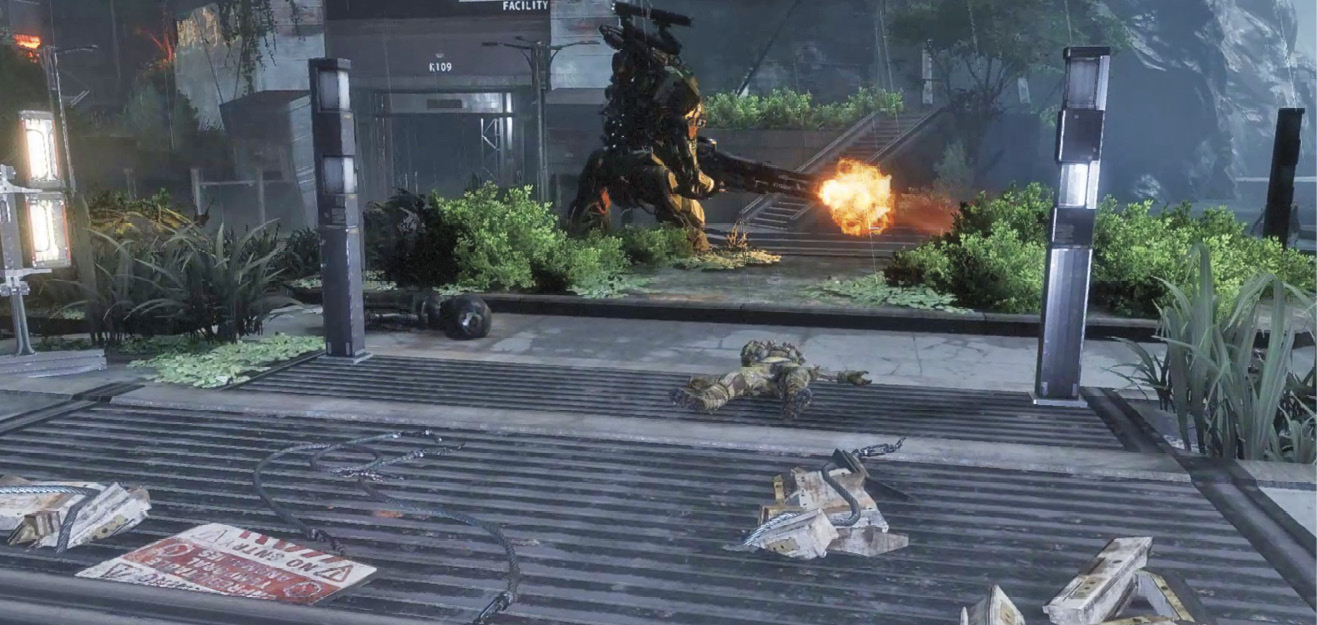
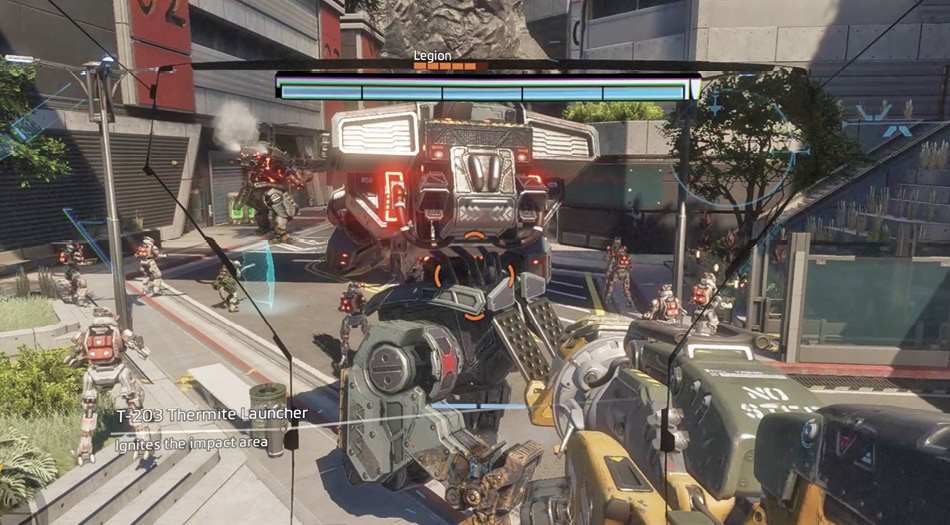
Before you make a move for the bridge controls, time shift to the past while within BT. Your wrist-mounted device transports both you and your Titan to the past. Pay close attention to the Reactor Facility building as a couple of enemy Legion Titans come marching out. Instead of worrying about blocking or dodging incoming attacks, simply time shift to flank these Titans. Monitor your shields and time shift each time you start taking damage. Stay in the present until your shields recharge, then return to the past to resume the Titan battle, hitting your opponents from a different angle. This is a great way to get behind the Legion Titans. Try hitting them with the Scorch Loadout’s devastating fiery attacks. Once you’ve destroyed the Titans, mop up any surviving Stalkers and grunts in the street outside the Reactor Facility.
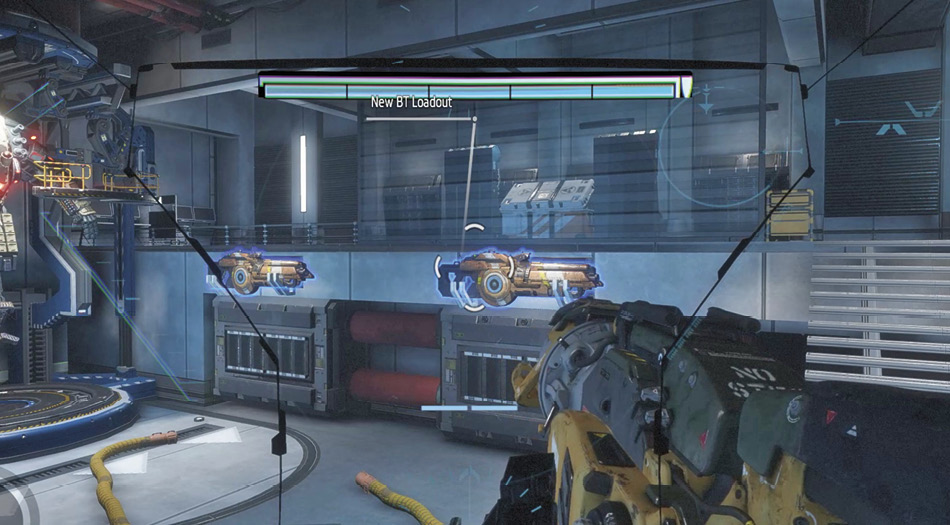
Stay in the past and enter the Reactor Facility building. This garage-like structure houses inactive Titans, as well as the Ion Titan Loadout. Feel free to test out the new weapons on Stalkers or grunts in the street. In addition to the Ion Loadout, this building also houses multiple Pilot weapons stored in weapon racks and boxes.
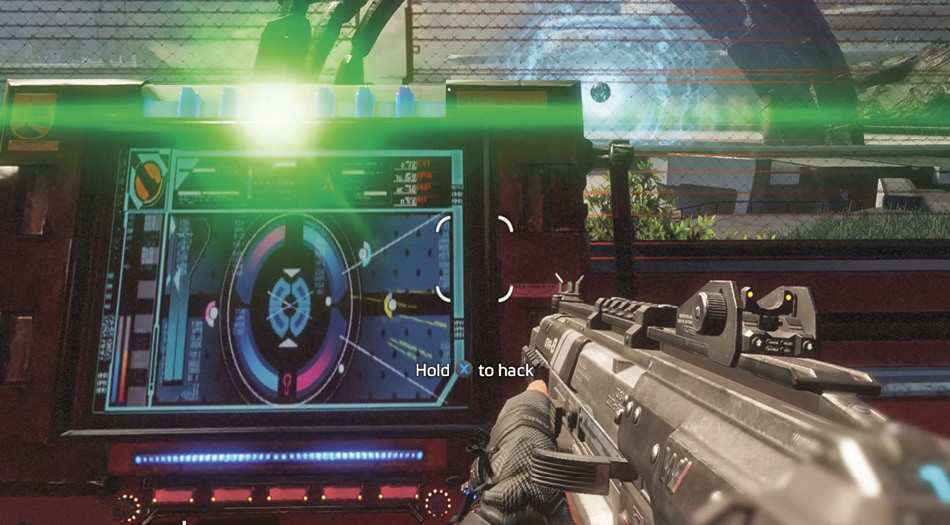
Disembark from BT and climb the stairs in the Reactor Facility building, following the waypoint to the bridge controls. The bridge controls are blocked by a security barrier. Time shift to the present to bypass the barrier, then time shift to the past to hack the bridge controls with your Data Knife. This extends a bridge toward the rings, allowing you to access the Fold Weapon.
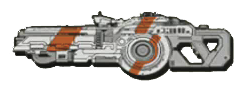
BT-7274 (Loadout: Ion)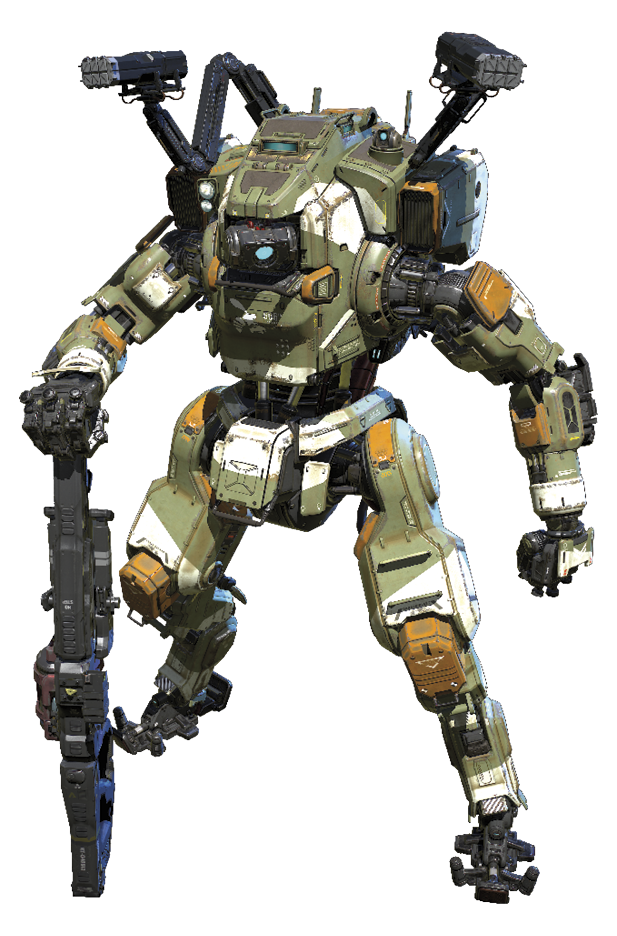 The Ion Loadout utilizes laser and energy-based weapons capable of holding their own at any range. The Splitter Rifle is one of the most versatile Titan weapons available, benefitting from a high rate of fire and excellent damage output. It can be fired automatically with reasonable precision or with split-shot, providing a shotgun-like spread, ideal for close-quarters encounters. The split-shot function causes extra damage but uses more energy, potentially limiting deployment of the loadout’s other energy-based abilities. Use Laser Core at close range during Titan battles to rapidly tear through enemy shields and armor. The Laser Shot shoulder-mounted weapon system is ideal for scoring critical hits at long range. If you come under heavy attack, deploy the Vortex Shield to block and redirect incoming fire. Trip Wire deploys three mines linked by a laser trip wire. If the trip wire is crossed, all three mines detonate, dealing massive damage. Use Trip Wire when being pursued by enemy Titans; this deterrent can give you time to retreat and recharge.
|




The Fold Weapon
Return to BT and advance toward the Fold Weapon. The IMC have reinforced the area with dozens of grunts, two Legion Titans, and a Reaper. The Reaper and enemy Titans hold their ground in front of the Ark. Using the new Ion Loadout, open fire with the Splitter Rifle and Laser Shot. Don’t worry about deploying the Vortex Shield. When BT’s shields are depleted, simply time shift to the present to recharge before returning to the battle. Meanwhile, enemy radio chatter reveals the Ark is losing stability.
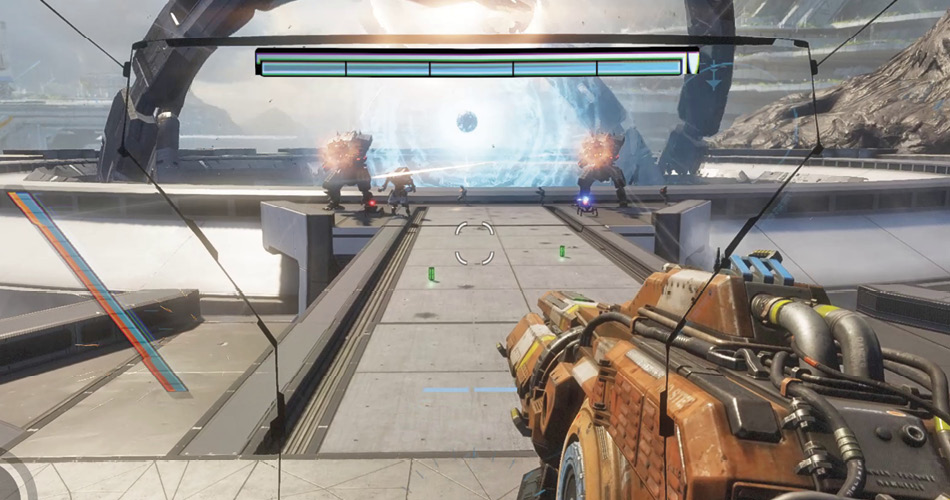
As the Ark goes critical, you’re blinded by a flash of light. When your vision is restored, time appears to have stopped. The Time Shift Device on your wrist ceases to function. Advance through the carnage, riding a zipline into a dropship. Jump out of the back of the dropship and leap toward a nearby panel, wallrunning across it before jumping onto a large piece of debris.
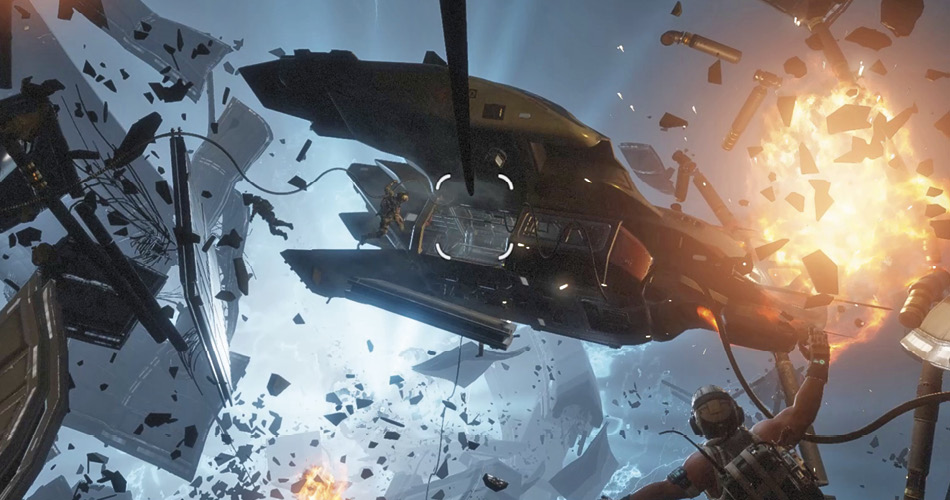
While you’re on the large piece of debris, glance to the left to locate a series of metal panels leading toward the Ark. Jump and wallrun across these panels until you land on a larger piece of debris. From here you can jump onto a piece of the Ark’s casing, allowing you to conduct a scan.
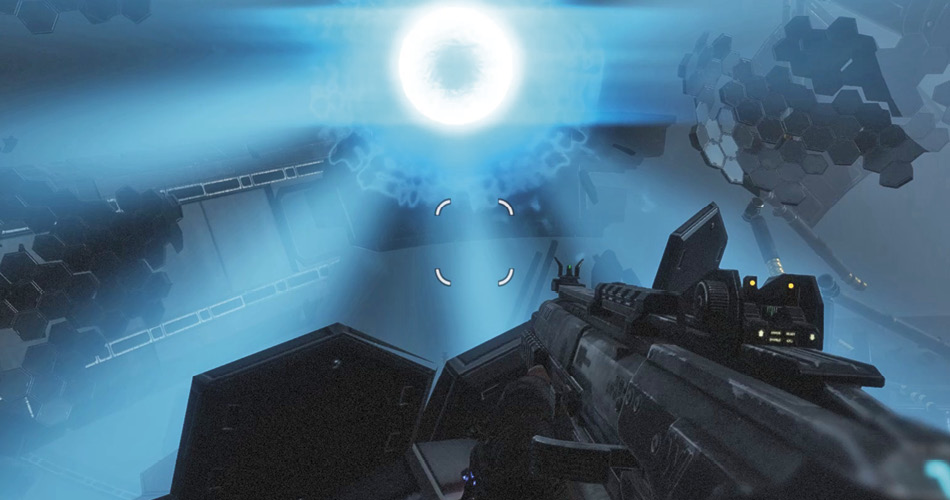
When the scan is complete you awake on your back in the present. The Time Shift Device has shorted out. BT is nearby to congratulate you on a job well done. But your mission is far from complete. The IMC plans to use a larger scale Fold Weapon to destroy Harmony. You must find a way to get this information to the Militia fleet.
Achievement and Trophy Checklist
| Image | Name | Description |
|---|---|---|
 |
It Was Coming Right For Us | Kill a Caged Prowler in the Wildlife Research Labs |
 |
Collector | Find 25 Collectibles |
 |
Following the Footsteps | View Anderson’s first Holographic Log (Secret) |
 |
Secret Plans | Complete Special Operation 217 (Secret) |
 |
Face Melter | Destroy a Titan with your Laser Core in the Campaign |