
Titanfall 2 Guide Multiplayer Maps Drydock
Game Mode Strategy
Amped Hardpoint
Drydock is a pretty standard map for Amped Hardpoint, not because the map is simple, but because it does not take a team with incredible skill to hold down their half of the map. Because of this fact, it is important to pay attention to how your team is covering the several lanes that line the map. As a layout, there are three Titan lanes and two Pilot-only lanes that run completely vertical. Covering each of these lanes, or at least traveling down them to call out enemy locations, would serve your team well.
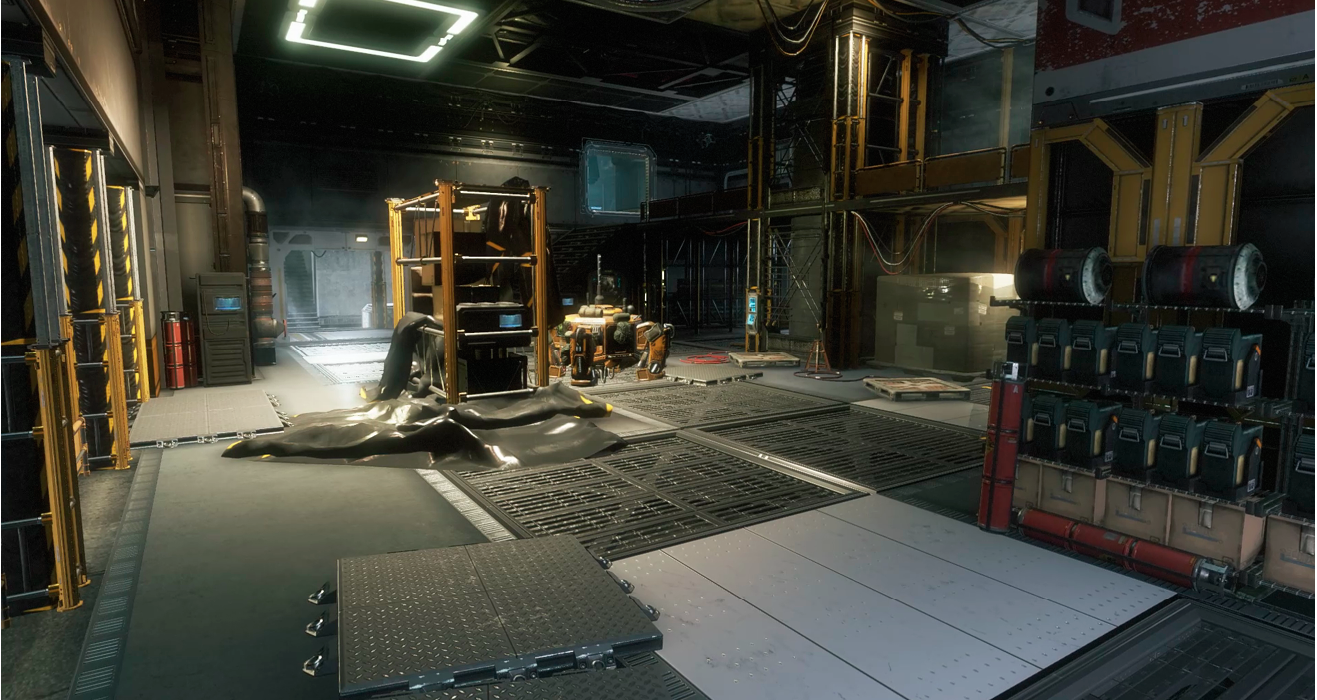
Drydock is a map where amping is extremely important because the battle over the B hardpoint is and will always be quite hectic. If your team does not control the B hardpoint, it is required for you to have at least one teammate at your home hardpoint, defending and keeping it amped to hopefully even the playing field. Rememeber, it is better to keep the enemy guessing by skipping over the center hardpoint and going for the hardpoint on the other side of the map.
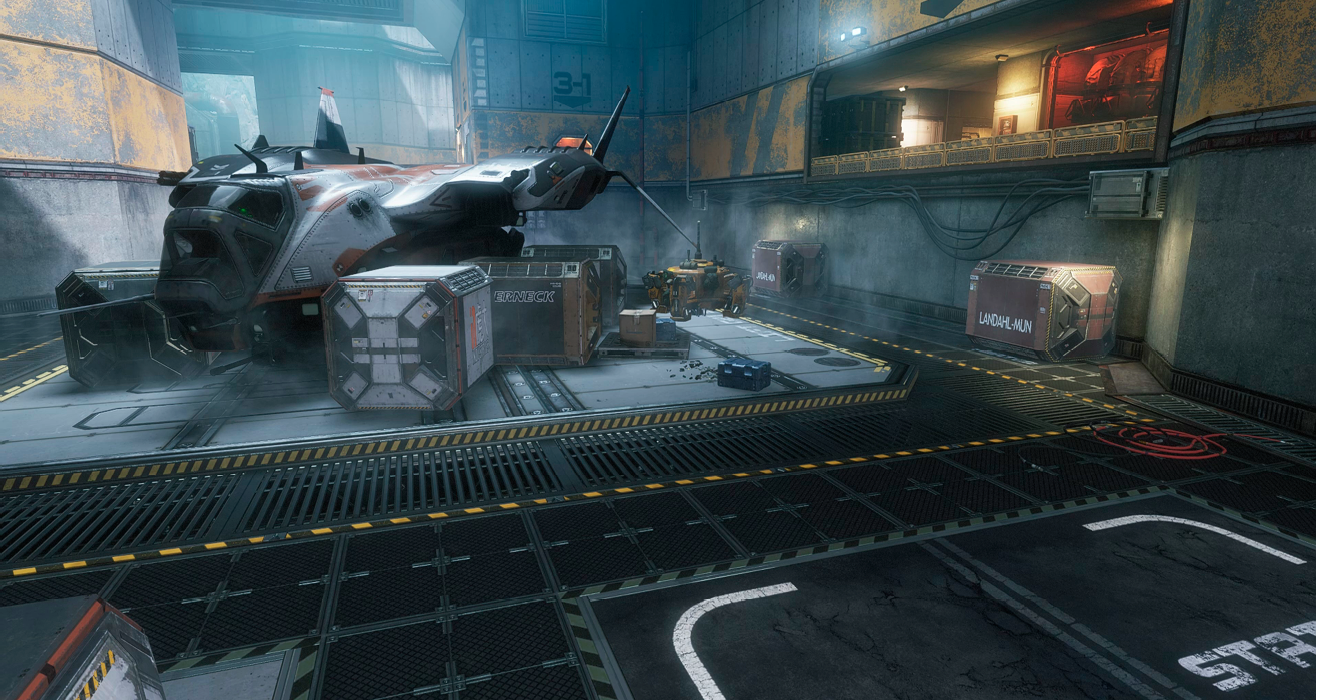
On Drydock, use one of the four lanes that is not the center lane to flank your enemy. Either flank unnoticed to make your way to the opposite side of the map for the opposing team’s hardpoint, or get behind the enemy and backtrack toward your spawn to creep up on their six o’clock. There are several ways to come up behind your enemy, as the refinery has several different entrances, and traveling through security or the cargo holding will give you some cover on your approach.
Bounty Hunt
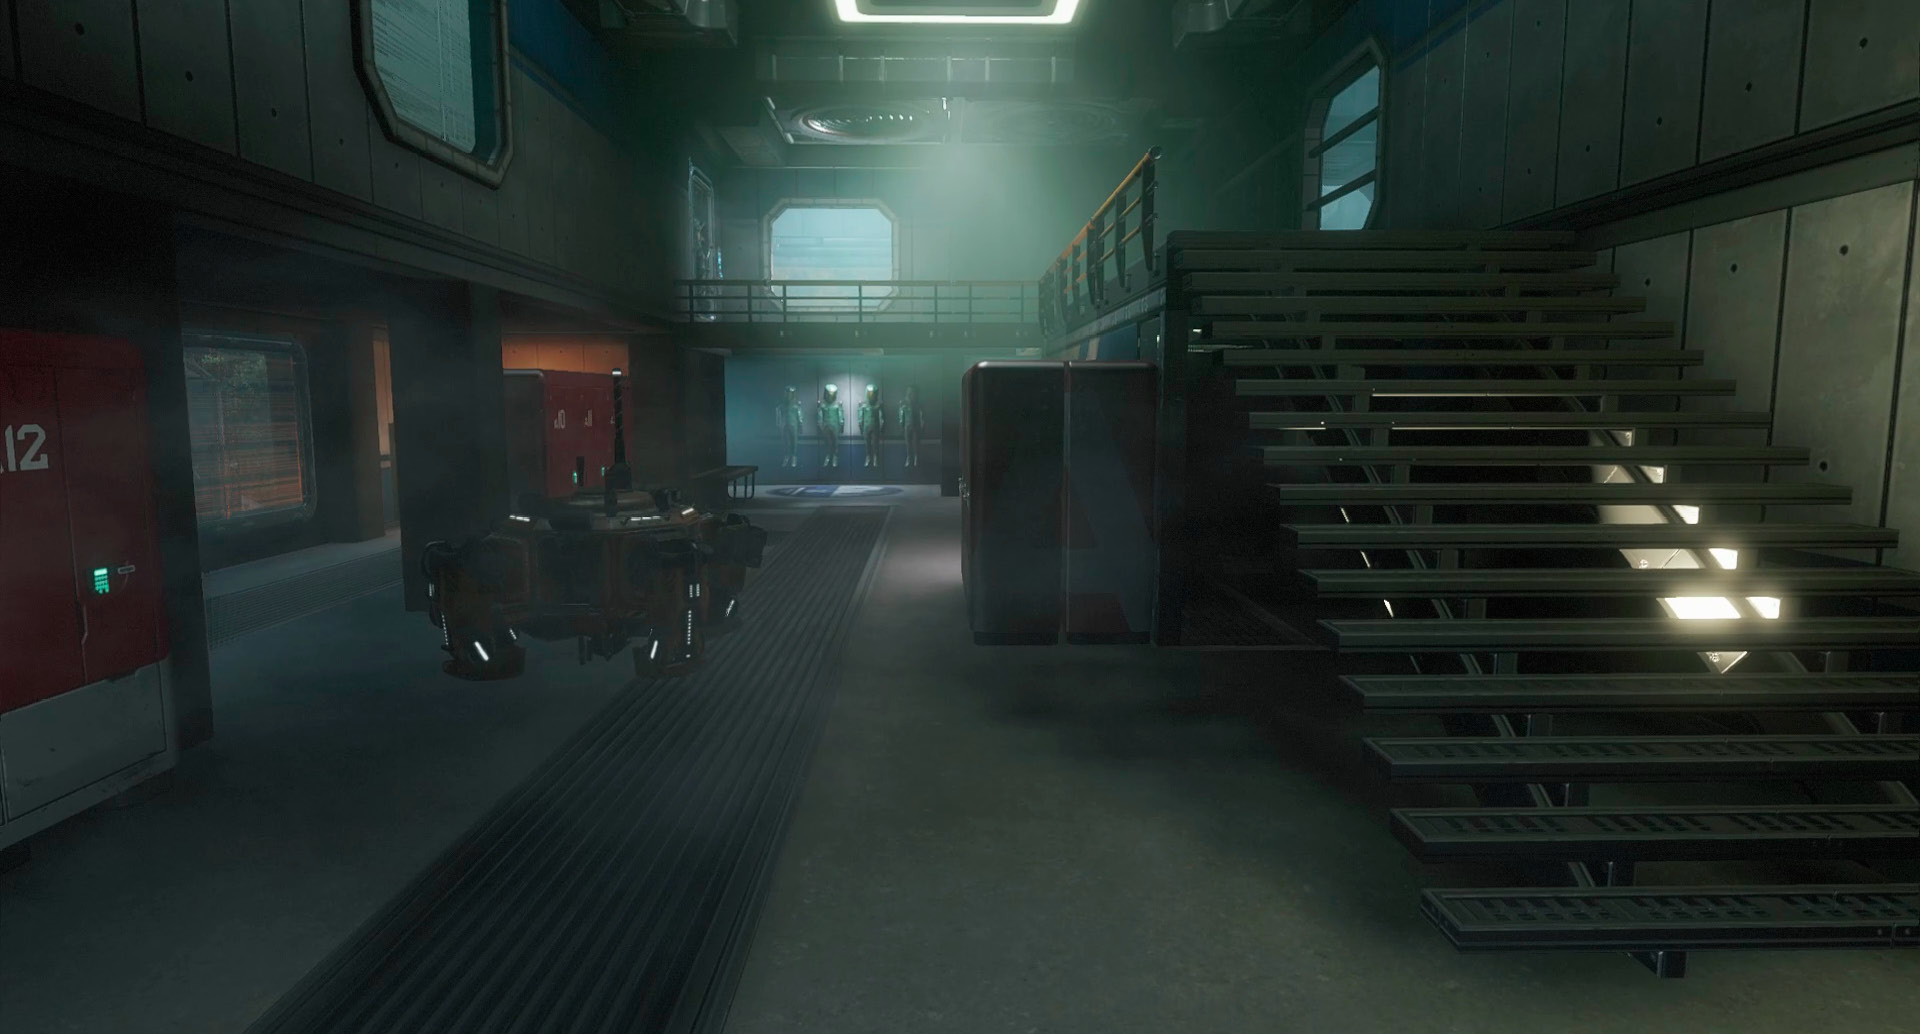
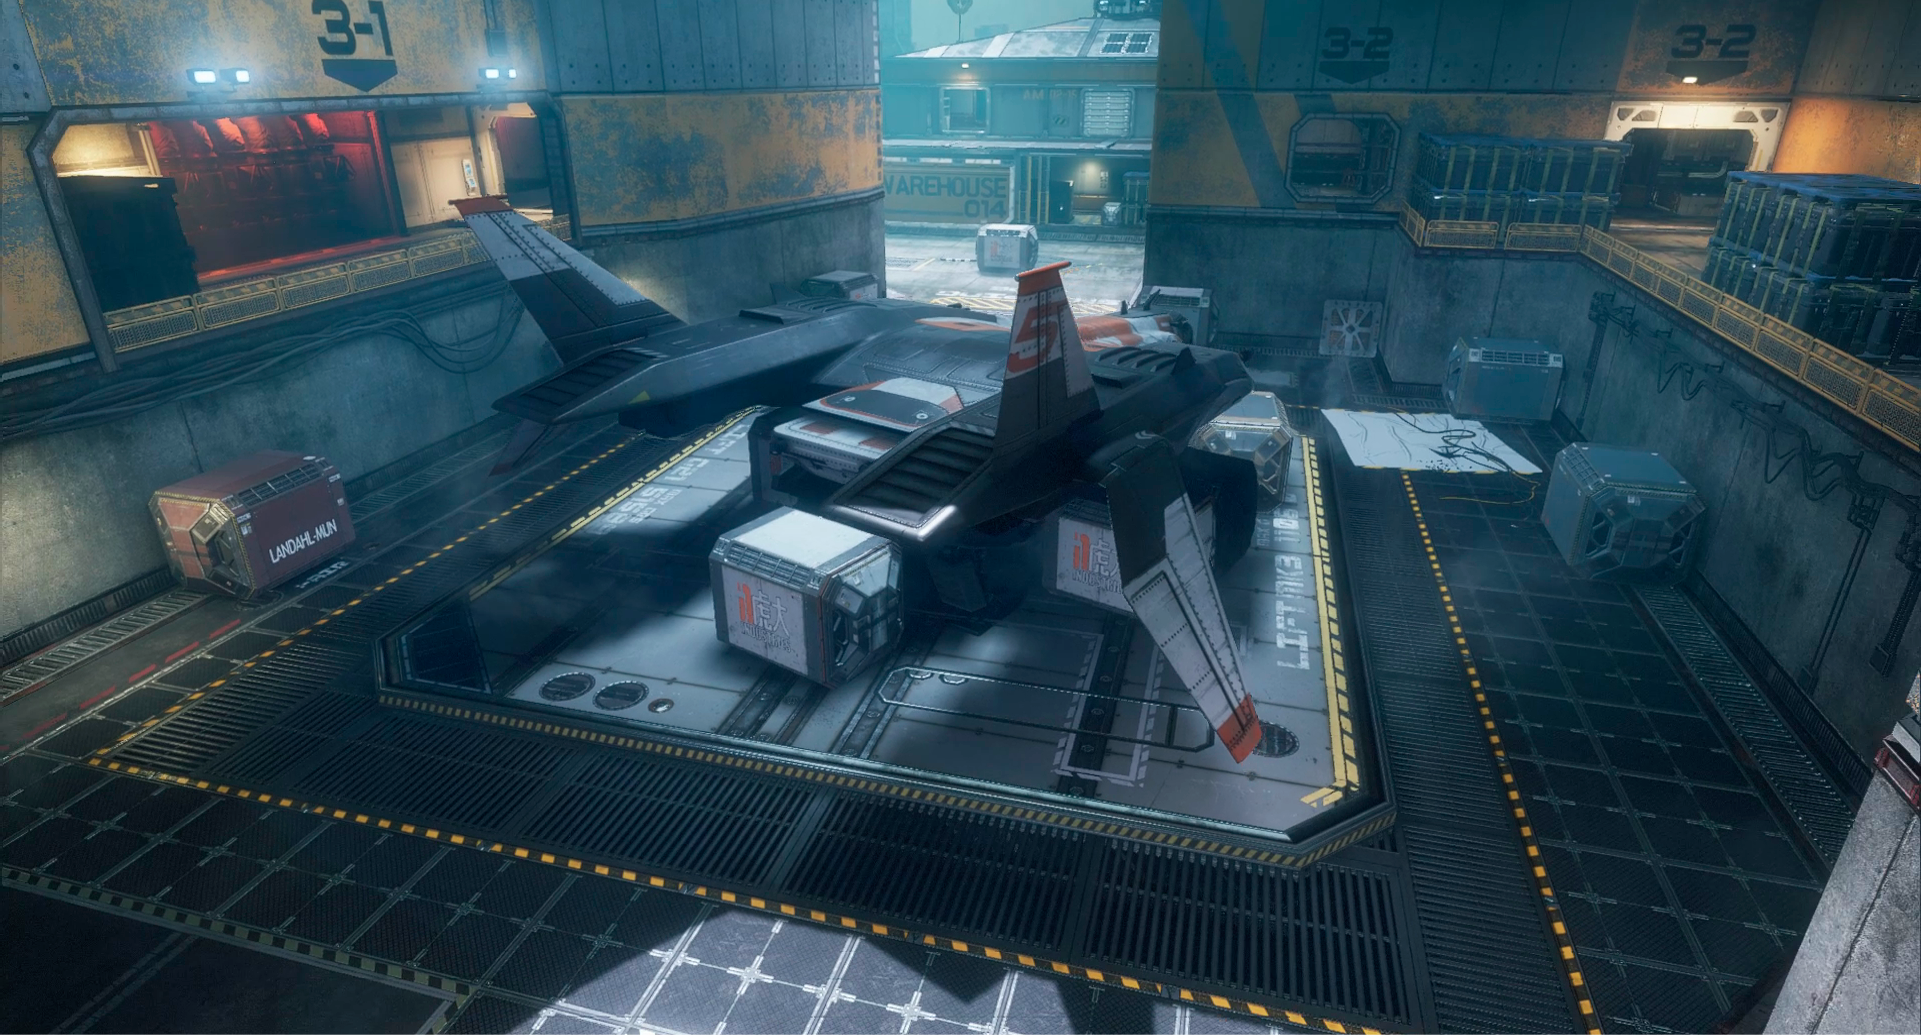
Drydock has three different Drop Zones for the Bounty Hunt game mode: one in the center right around the ship in the loading bay, one in the Toxic Sludge Canal, and one right around the bridge that is connected to the refinery.
The first wave hits right next to the bridge by the refinery, and that means you and your team will hit head-on with the enemy. Considering the fact that this first wave does not have very high-value bounties, it is okay to take your time and not head down the most obvious path to get the flank on enemy Pilots. If you give the other team time to take some bounties while your teammates are also fighting for bounties, you may be able to surprise and kill a few of them, gaining you half of their take. If you take half of their cash, plus whatever your team gained, you’ll be in business, and your bonus might take your team over the top by quite a few dollars.
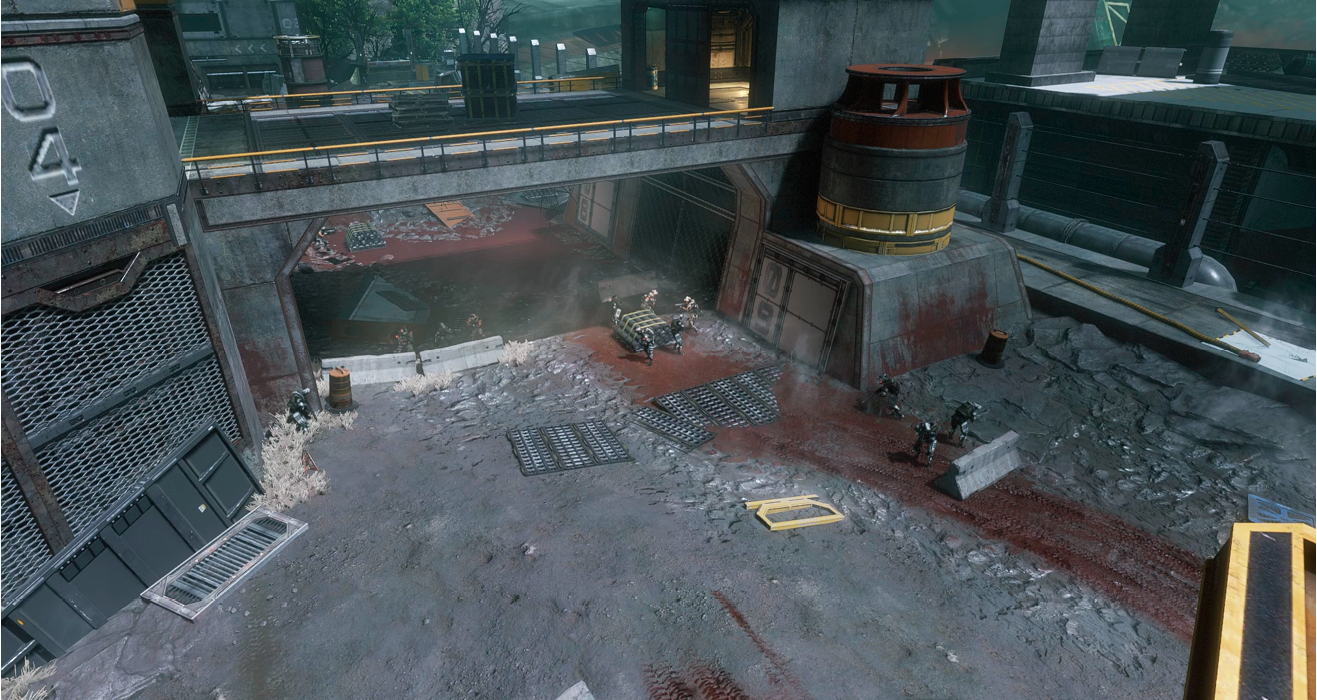
One of the next Drop Zone locations is in the middle of the map. The bounty minions drop and attempt to jump into the observation areas that overlook the loading bay, as well as hide beneath the ship. At this point, there will be Pilots and Titans coming from every direction possible. Keep your eyes peeled and do not stop moving, as you don’t want to be taken out from the direction in your blind spot.
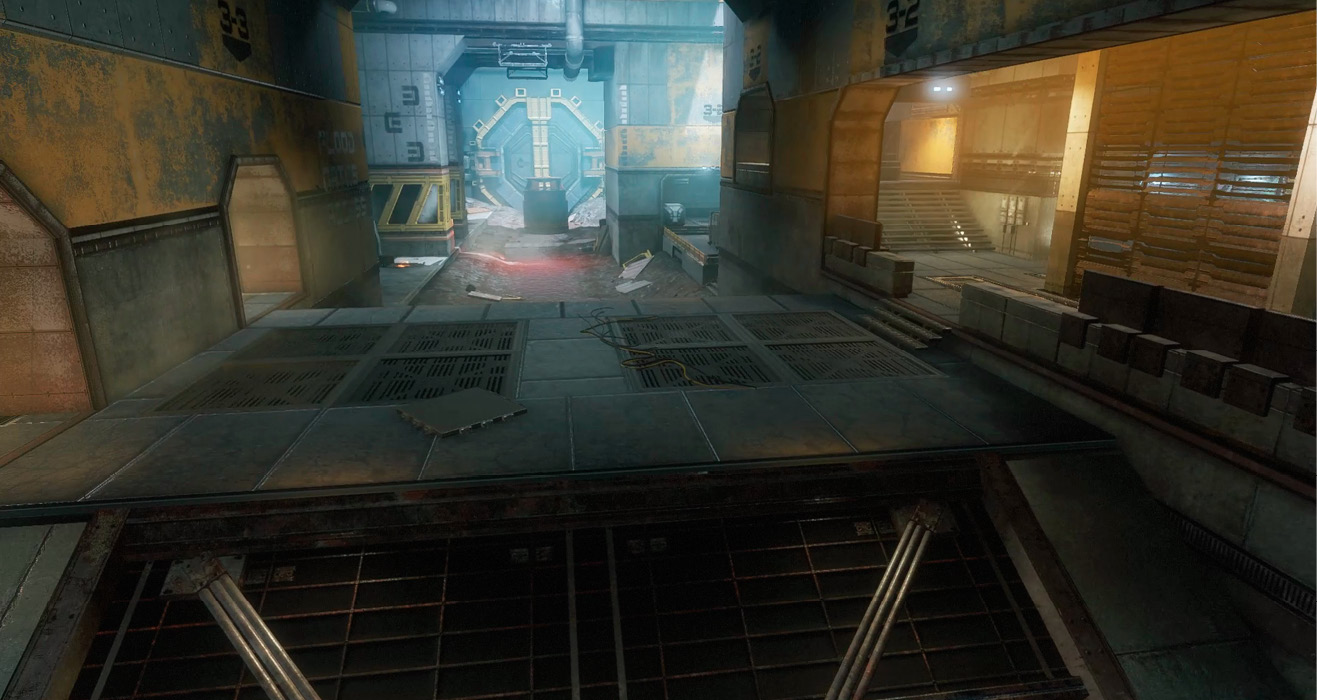
The final Drop Zone is in the Toxic Sludge Canal and land right in the middle between the two spawn points. Because the minions will want to take cover in the Traffic Control building to get out of the canal, it should be up to the Pilots to take these out if they travel too deep. The reason for this is that, as a Titan, you do not want to get too close to the middle of the Toxic Sludge Canal and have your attention focused away from where other enemy Titans might be coming from.
Capture the Flag
The strategy for capturing the enemy’s flag in Capture the Flag on Drydock has a lot to do with battlefield awareness. Take the time to communicate with your team before grabbing the enemy flag to discover where the enemy defenses might be headed. For both flags you definitely have the option of the most dangerous, yet quickest, route of going down the middle through the loading bay. The loading bay has walls that line the entire area and are close enough together to connect almost any jump and enable you make it all the way through without having to hit the ground. If need be, use the ship in the center of the loading bay to slide and keep your momentum up.
The first flag is located in the security building. From here, if you head toward the Toxic Sludge Canal, use the walls of the canal to gain some speed before you dive into the Traffic Control building for some cover as you get closer to your capture point. Depending on defense, you have a few options you might want to take. Whichever one is open is the right option because this stretch is all ground running. When you launch out into the open again, make sure you’re moving fast because you will be a huge target.
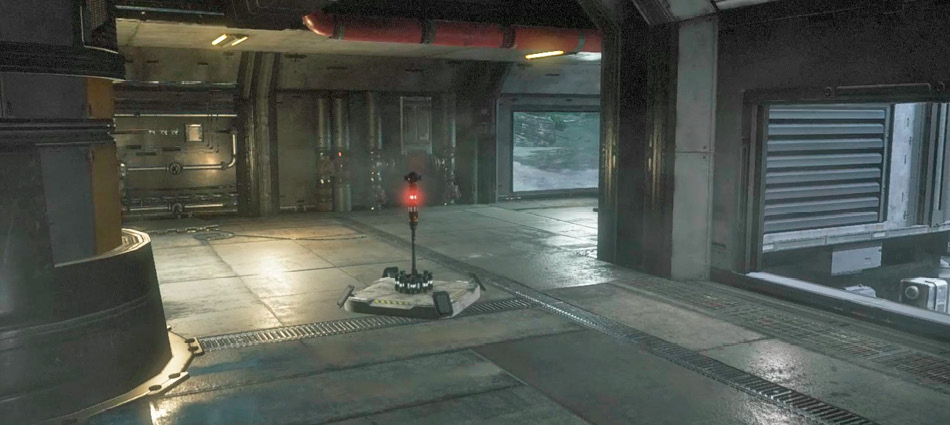
The other flag sits in the cargo holding, and the best route to take is through the refinery. Use your teammates to take over the bridge before taking the flag because that is a wide-open area that does not take much effort to get to. Also, depending on defense, pick the most open route from here, but you might want to stay out of moving toward the locker room because there is a large opening that can get you caught. Use the tall builings keep your momentum up, and try to land right in the security room for the fastest capture.
Pilots Vs. Pilots
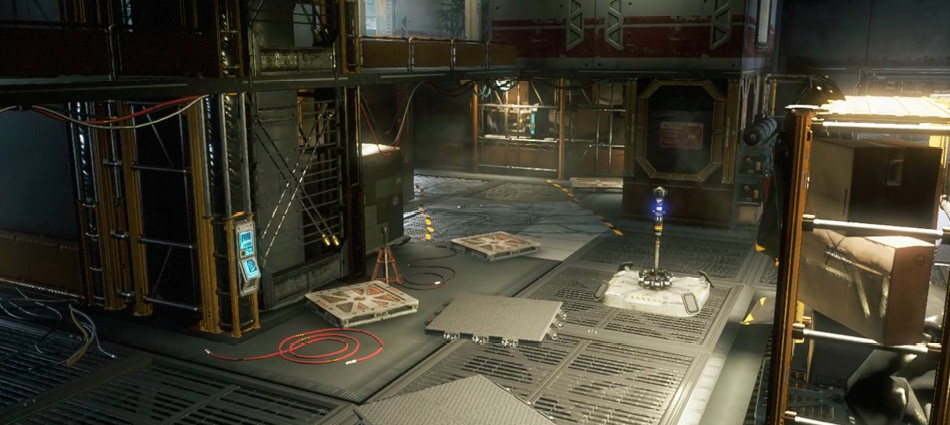
Pilots vs. Pilots is always a mode where your strategy can change every few seconds, so on Drydock try to focus on the battlefield and where the major concentration of enemies are before making any major moves. Equipping yourself with virtually any weapon that makes you comfortable will work on Drydock because there are areas for basically every situation you can run into in Titanfall 2. Staying mobile is key and is always important with this high octane game mode, but be careful rounding the sharp corners, as there is always a chance that someone will just be waiting for you. The Shock Seeker Loadout is designed for this exact situation because it allows you to stay extremely mobile, while never allowing the enemy to surprise you on the other side of a wall in which they think they are safely hidden.
Last Titan Standing
Tight corridors and trapping strategies are what Last Titan Standing on Drydock is all about. As always, communication is key in this game mode/map combination because flanking your enemy and not getting flanked are of the utmost importance here. Use Tone’s Sonar Lock to reveal enemy locations around corners, so as to not to reveal you position too early.
Tone makes a great Titan to use on Drydock, even if just for the Sonar Lock. Obviously, there are many more reasons to use Tone because he is a powerful, well-rounded, Atlas-chassis Titan, but the Sonar Lock has great advantages on this map. Because of what was just stated, being able to see your target around the corner gives you a good idea of when you should pounce and when to communicate to your team to block them in. Placing two Tone Loadouts on either side of an enemy Titan as you block it into one small location is everything but sealing the trapped Titan’s fate. Using the Particle Wall, the blocked Titan has a small chance to break through the Particle Wall and damage the other Titans. However, this is what makes Ronin another great Titan for this map.
Ronin is fast, agile, and has an incredible strong in-your-face presence. These features make this Titan a major threat on Drydock and a great counter to Tone. Being able to Phase Dash through Tone’s Particle Wall makes trapping Ronin extremely difficult. Like a Pilot, dash around the map and keep the enemy guessing. Just be aware of any Northstar Titans on the battlefield because, if Northstar catches you in its sights, it is not easy to get to him before he takes you out. The best action against Northstar is to retreat.
attrition
Drydock is a hybrid of an open and closed map, which means you can use a loadout you are comfortable with. Pick something that will help you move in wipe-open spaces. If you’re someone that likes to keep your fights close range, that is perfectly fine, but be prepared to get away fast if things get too hot. The use of grenades is a great skill to have when going after AI here, as they are almost always clumped in tight corridors. It might also be a good idea to break out your sniper rifle and snipe AI that might be outdoors. Once you get your Titan, stay out of the center of the map if you can. Titans like Scorch can survive and own the center; however, the close quarters of the indoor location can leave any Titan extremely vulnerable.