
Titanfall 2 Guide Multiplayer Maps Homestead
Game Mode Strategy
Amped Hardpoint
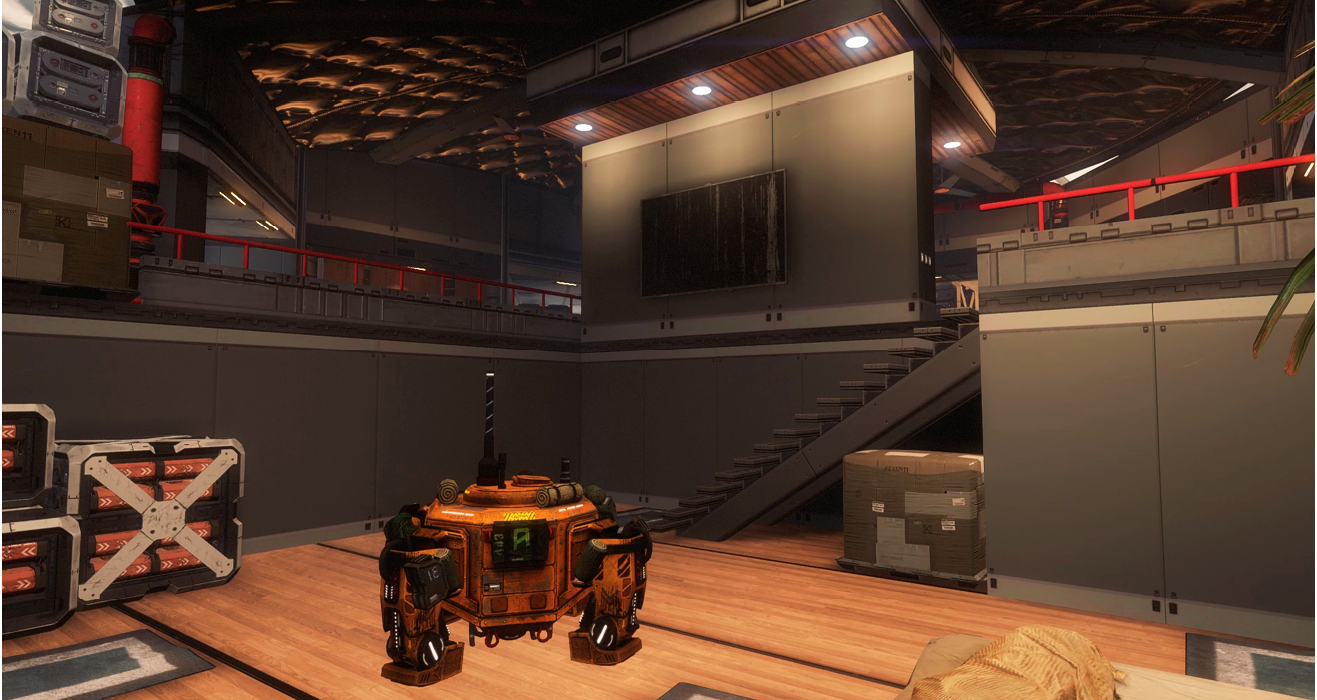
The hardpoints on Homestead are not even close to standard when compared to any map in Titanfall 2. Be prepared for anything and make sure you are equipped with the right gear for your role on the battlefield. The first hardpoint is located inside the mill and might take some outsmarting of the other team to gain access. The mill is relatively simple to defend, but it might not be very easy with only one Pilot. This hardpoint is ideal for being amped because of its defense capabilities. To attack the mill, you might have to draw the defenders out; try using Electric Smoke grenades.
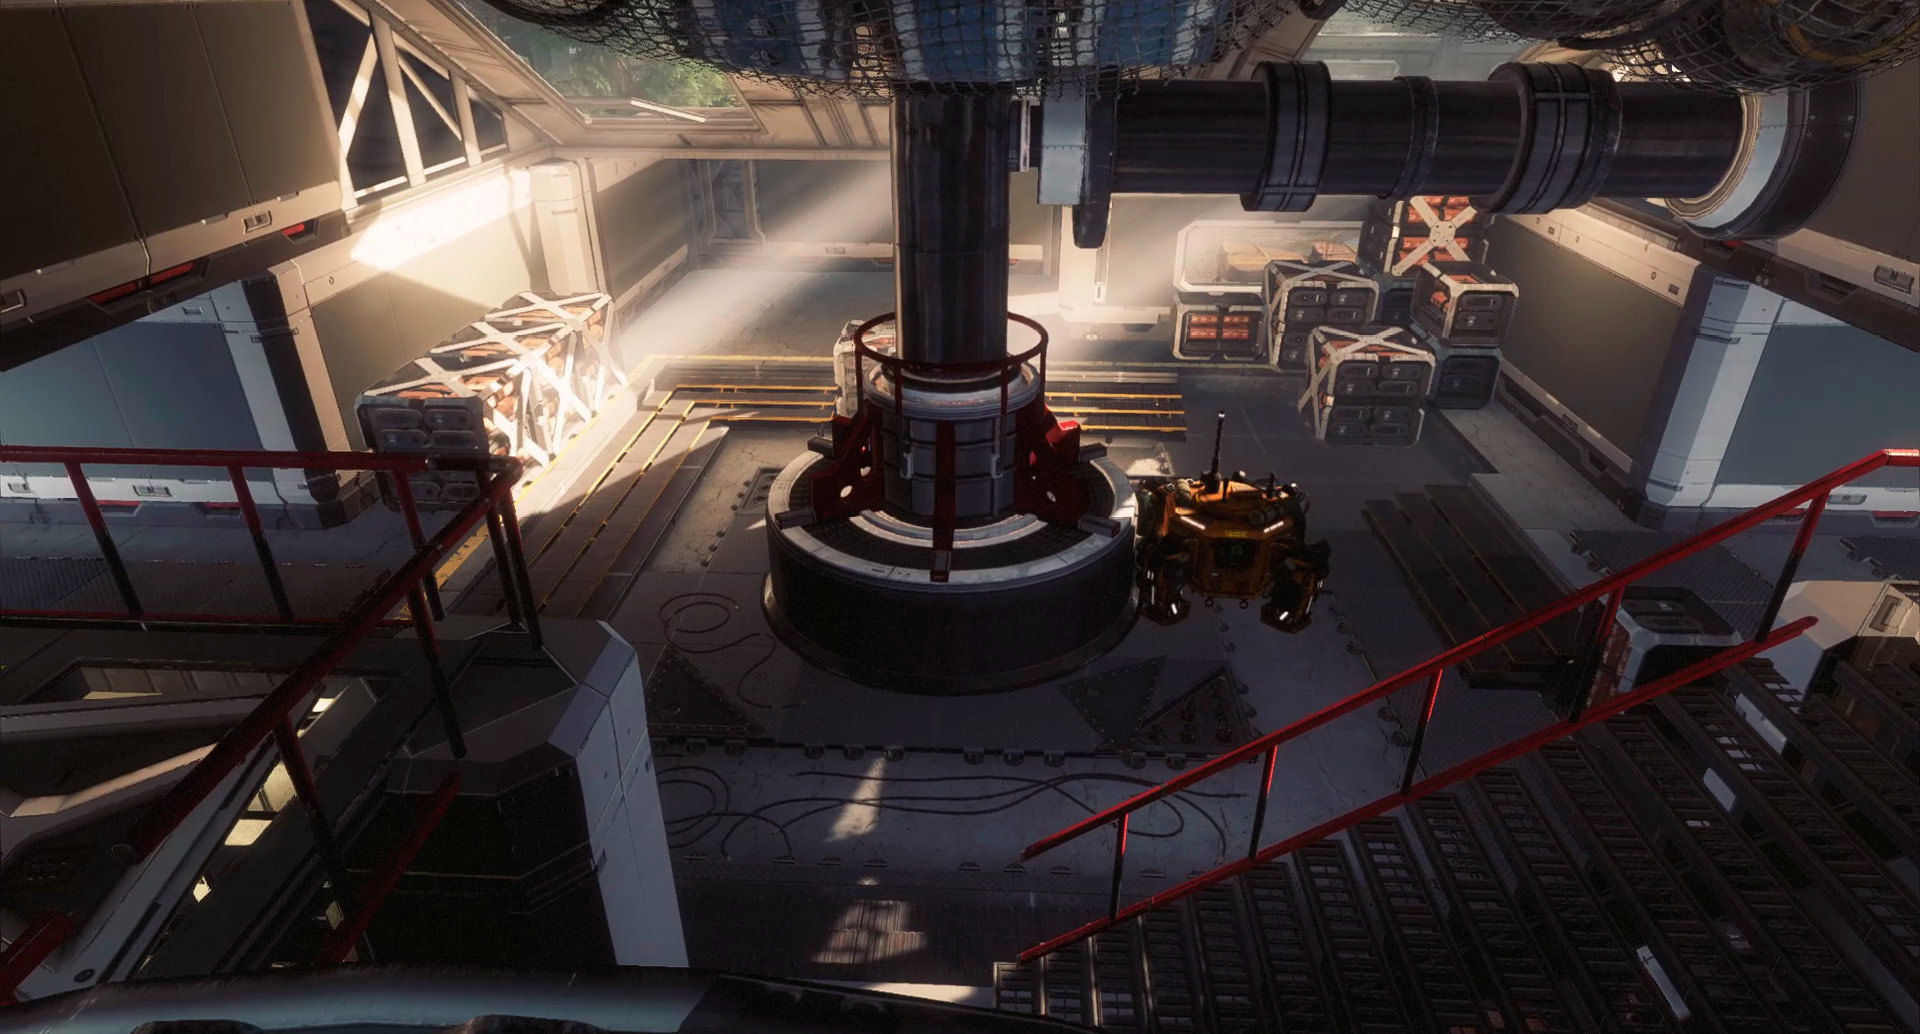
The B hardpoint is located in the center at the silo, which makes for a tricky situation. In order to control this location, you must stay on the move and learn the capture area of the hardpoint. In order to stay alive you must stay on the move. However, you have to stay in the zone if you want to capture it. Capture the hardpoint and get out of there. You should defend the location from some distance and attempt to find cover.
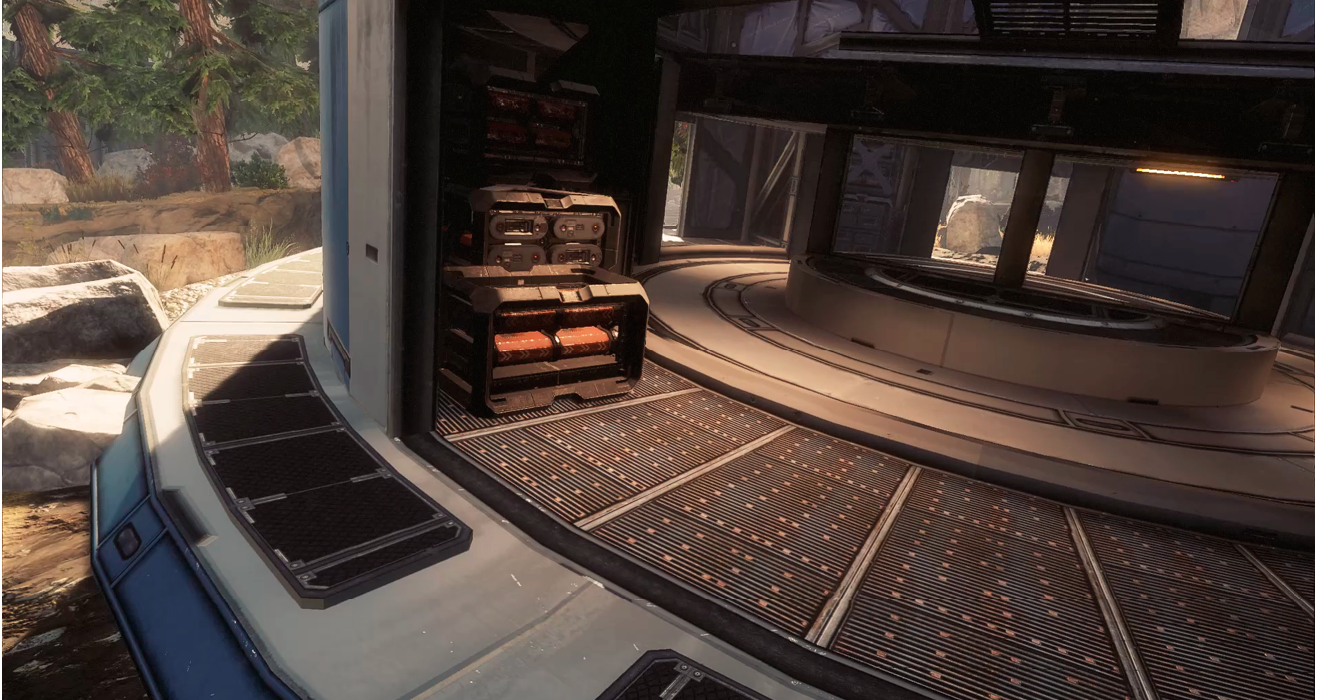
The final hardpoint is located deep within the apartment. The apartment is underground, and the hardpoint itself is even deeper in a lowered part of the floor. Capturing the C hardpoint is difficult because it has a very small capture radius and because of the sunken floor, which makes the line of sight out of the hole a bit blocked.
Bounty Hunt
Bounty Hunt on Homestead is one giant crapshoot when it comes to getting the jump on the minions. Your job is to make the random outcome become less random. Do this by blocking the other team’s advance into the Drop Zones while your other teammates go after bounties. The Tank Loadout is a loadout that is perfect for this case. Use it to blockade the path to the bounties or just to unload on a choke point, weakening the forces that are attempting to attack the team’s position.
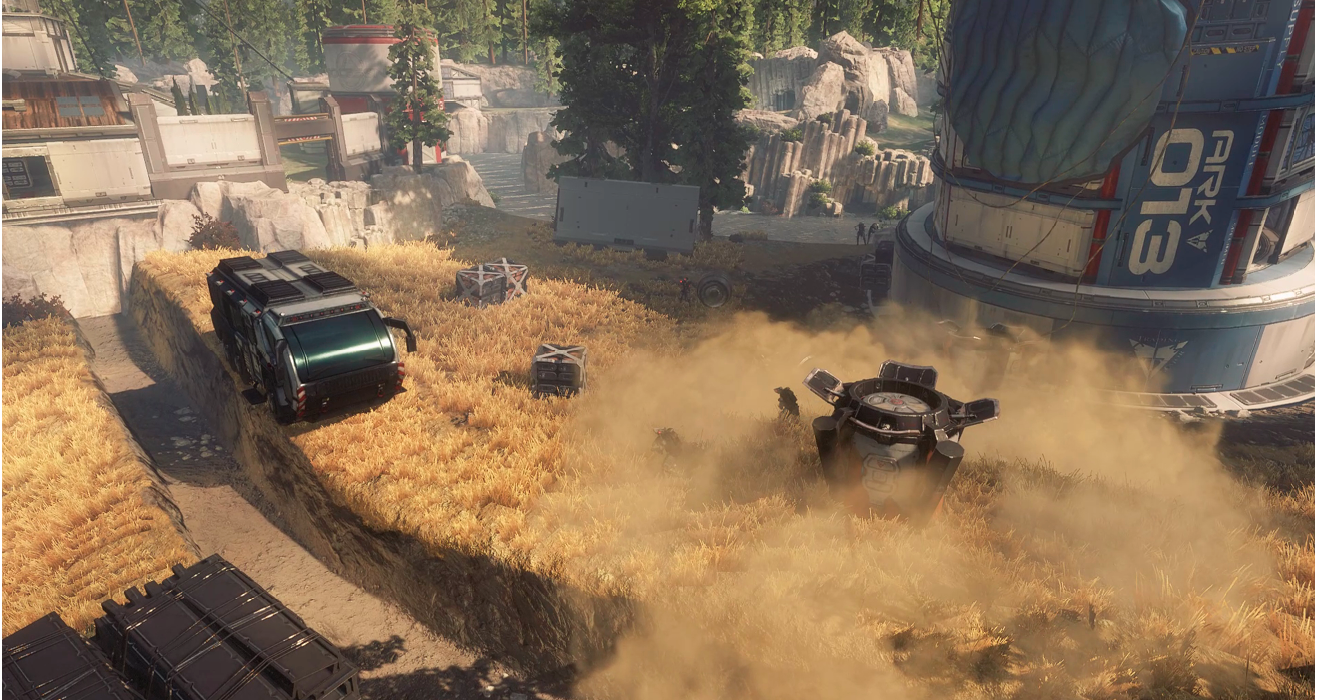
The middle Drop Zone happens at the silo, and there are several ways to get some easy minion kills. Use the silo as cover while you drop right in the middle of the action. Teams will battle over control of the center of the map, which means there will be a good number of snipers on the walls attempting to gain half bounties from Pilots. Moving on your team’s side of the silo can keep you safer than “out of the action.” Beware of enemies trying to cross over, and use your reflexes and some Electric Smoke to gain some bounties before heading back to your bank.
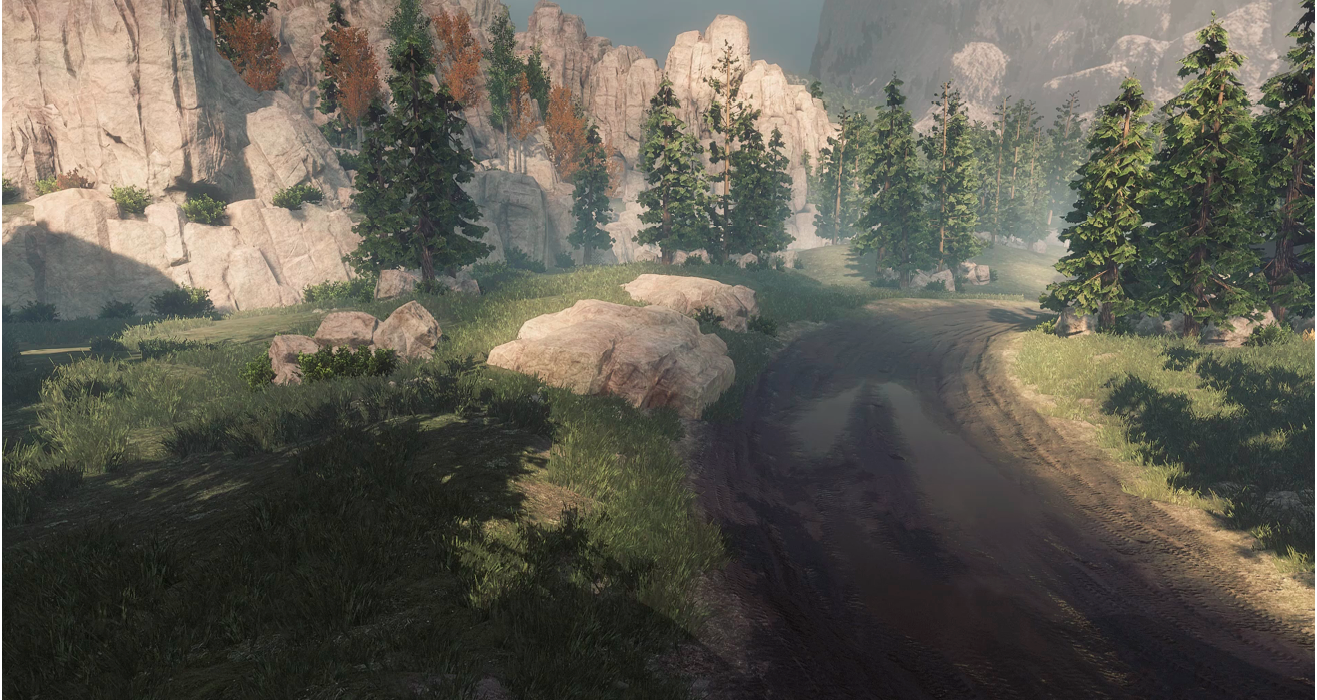
The two Drop Zones on the outside edges of the map are in extremely open areas and located in the straight and the cliffside. Titans excel in collecting bounties here. However, equipped with a sniper rifle, you can actually do some major damage. One major use for a Pilot during this phase of Bounty Hunt is to either team up on a Titan or make sure Pilots do not enter this zone at all. Separating yourself from the two different tiers of action is a good idea, but you may need to pay attention to just how much money the other team is gaining.
Capture the Flag
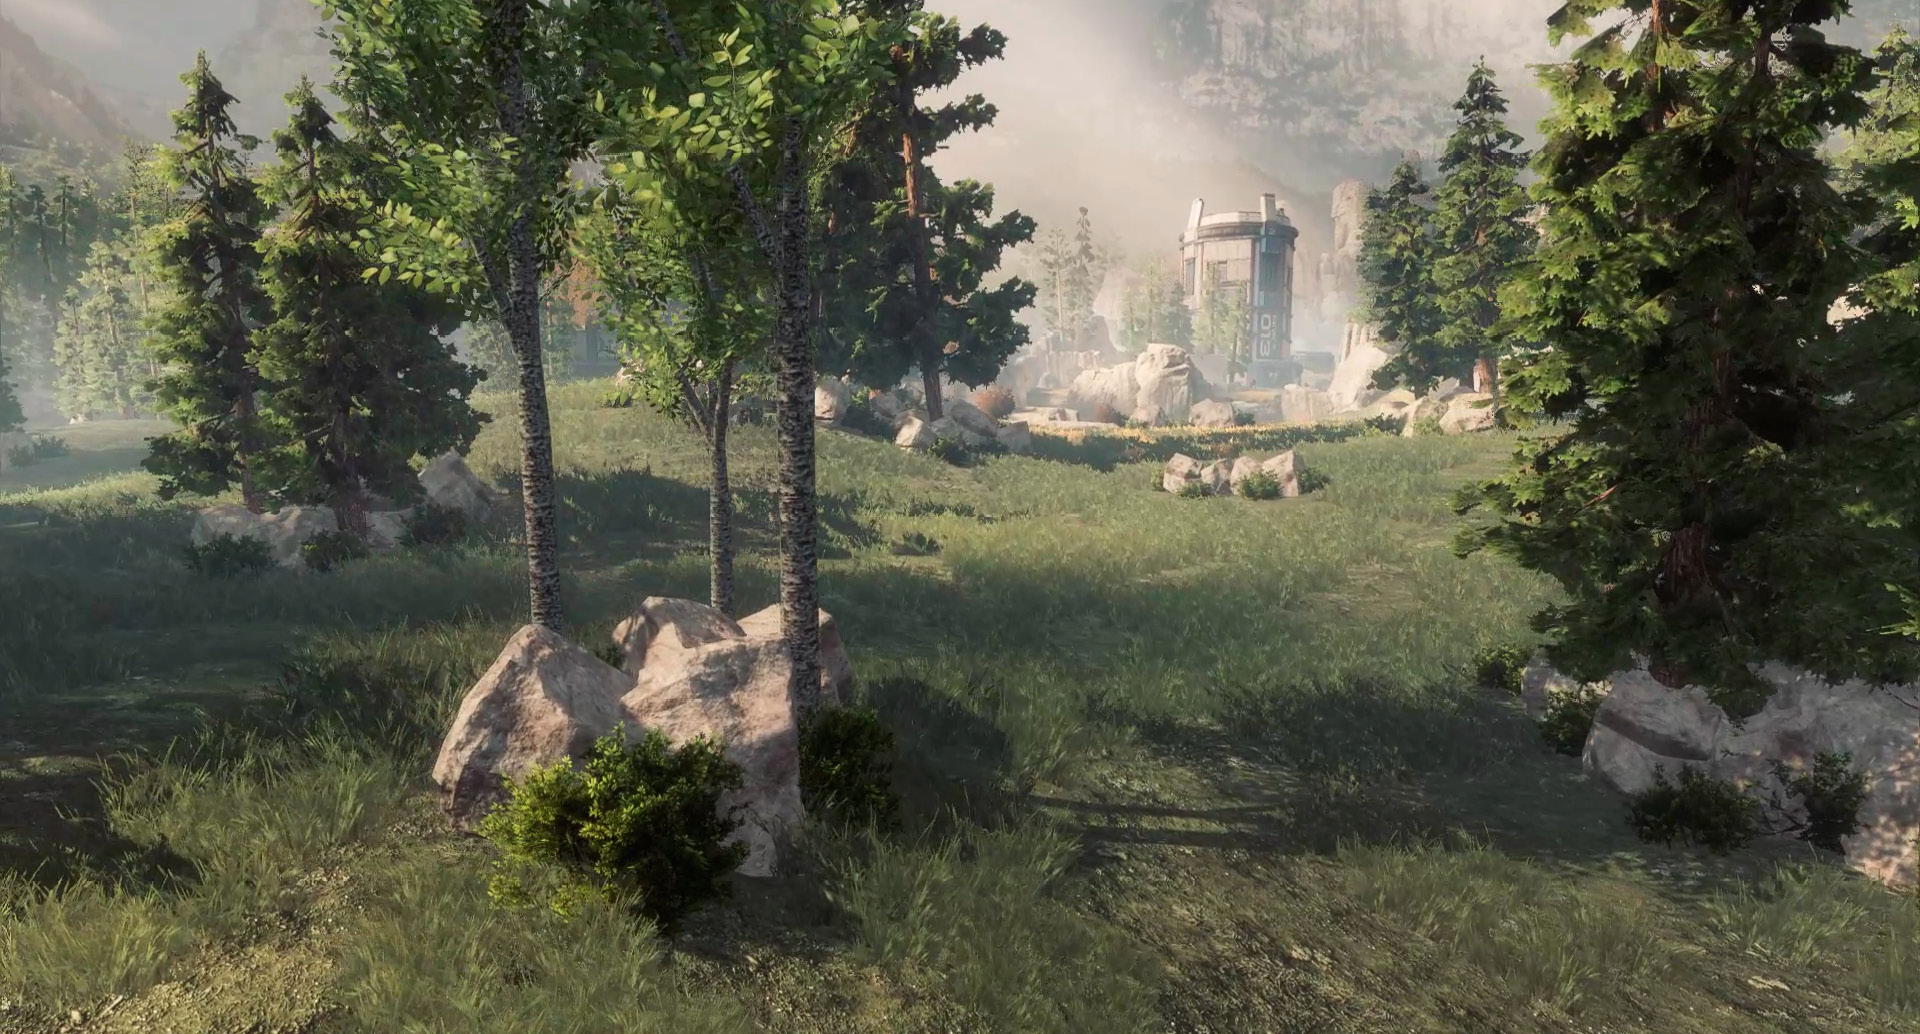
Capture the Flag on Homestead requires a high amount of speed, like always, but the difference here is that you need to use some brute strength in order to block for your team, as if you were an American football or rugby player. Teamwork is essential in getting the enemy flag to your base, simply because of how open and flat the map is.
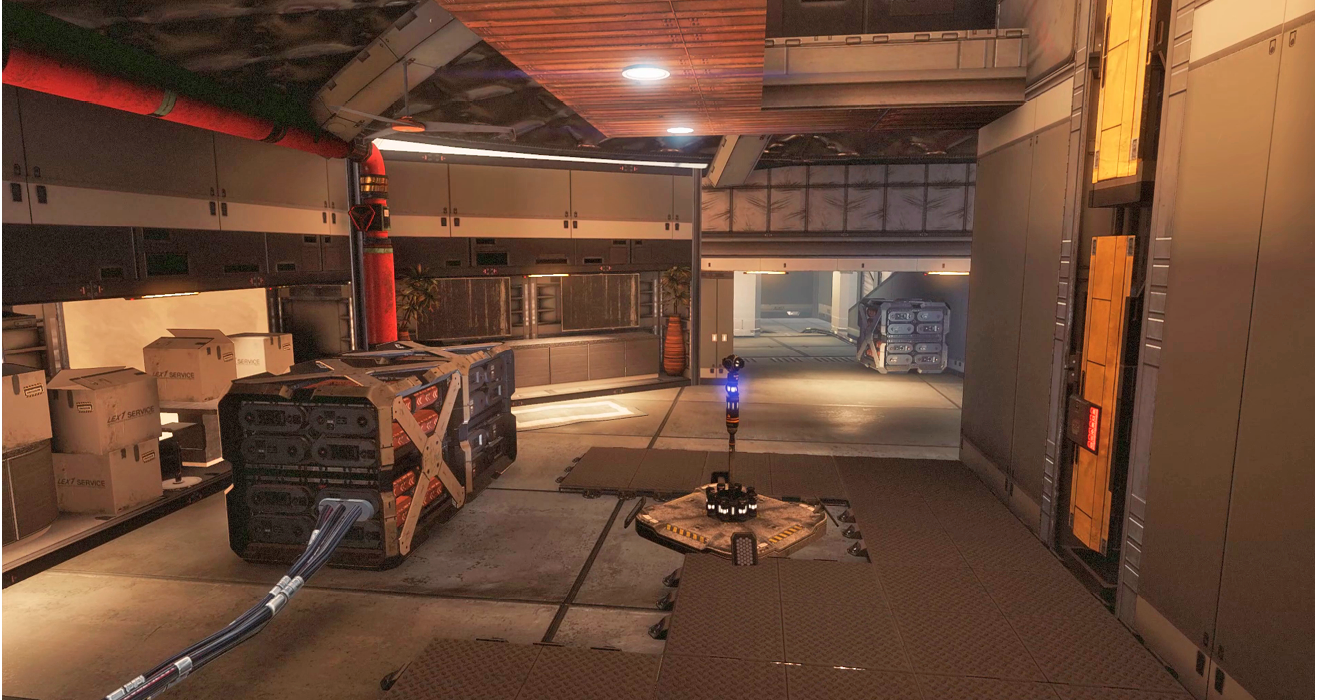
Take the flag right up the middle, if given the chance. Unlike most maps, the middle of the map is the most protected, which makes it the safest. The main thing to note, however, is the fact that the middle lane is also the quickest and the most obvious to most players, which means they will most likely be looking out for this run. With the right protection and speed, you can really make this middle lane work for you and see a successful end.
Pilots vs. Pilots
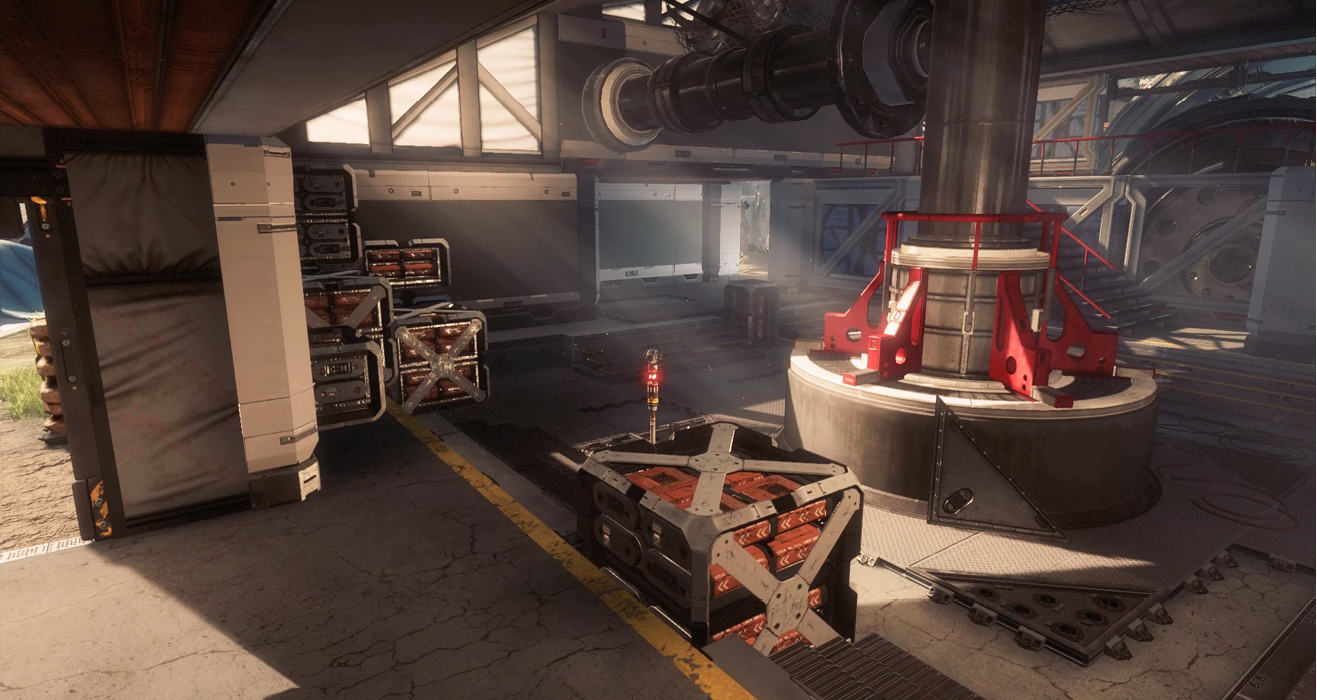
Strap in tight and prepare for a tactical and calculated match of Pilots vs. Pilots on Homestead. Crossing the center no man’s zone is dangerous, but sometimes encroaching on enemy territory is exactly what your team needs in order to apply pressure. The Tank Loadout can be used to defend a location, but it isn’t the best for attacking. Try equipping something with a little more mobility to attack the enemy spawn because there is a good chance that if you have pushed them back, they will go into hiding, meaning you’ll have to get close anyway. Using the Pulse Blade, you shouldn’t have a problem finding the enemy’s location, but be careful because it does not take much to push your team right back out.
Last Titan Standing
Homestead is the map that is made to show off your best skills while Piloting a Titan. There is room for every Titan on Homestead, but there are a few than can excel if operated properly. Because of the size of Homestead, positioning does not have an incredible amount of power against the enemy, but in some cases it could. On either end of the map near the team’s spawns, there are some narrow pathways that do not bode well for Titans designed for distance.
The Titans that will really do well here are Northstar and Tone. Each of these loadouts have incredible range, but the mobility of Northstar is far superior to almost every other Titan. Tone’s firepower can demolish the average player from some distance, which can counteract mobility in most cases. Tone is an Atlas class, which still makes it rather mobile.
attrition
Homestead is a large wide-open map which becomes a glory stadium for snipers and Northstar. Use distance and speed to evade the enemy as well as take out your targets. Earning your Titan early is not necessarily a priority here because your target is other Pilots, especially if you are a good sniper. If you are not great at long distance, do what you can to flank the enemy and fight at a pace they are not comfortable with. The hot-spots are definitely in the center as well as each team’s spawn location. Try not to get caught from behind and the front will stay a target-rich environment. Good luck, Pilot.