
Titanfall 2 Guide Multiplayer Maps Black Water Canal
Overview
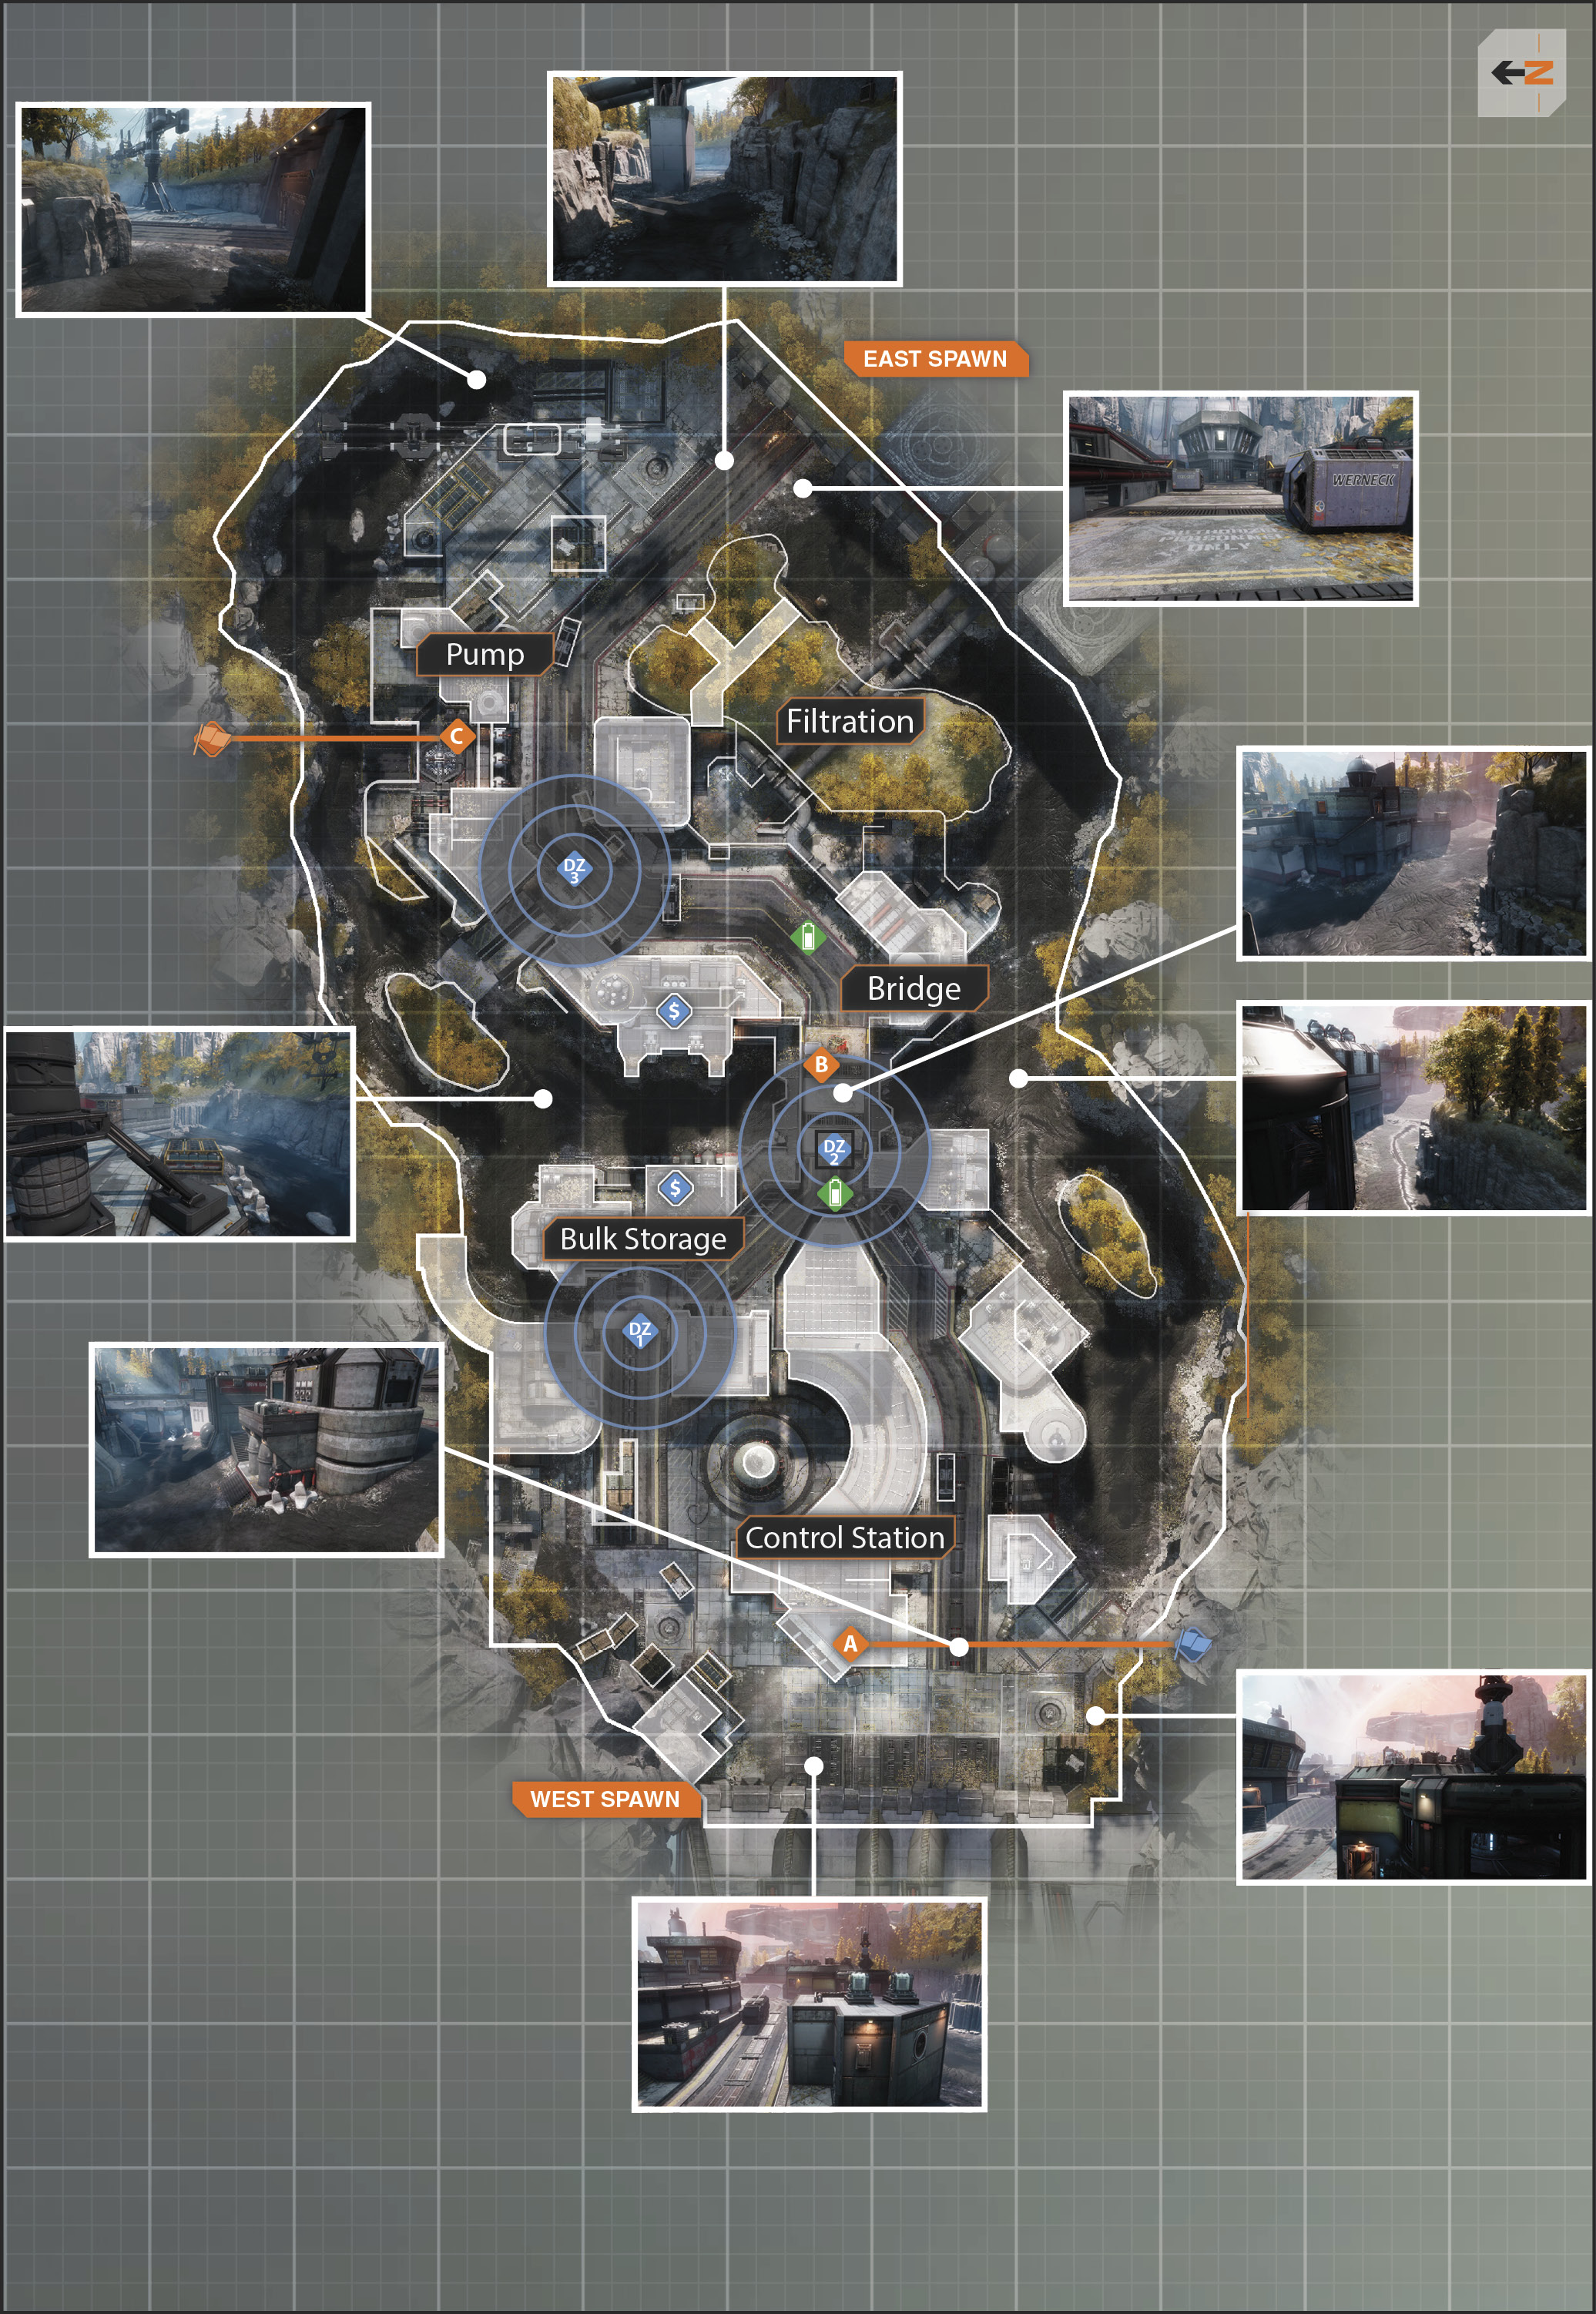
| Legend | |
|---|---|
 |
Last Titan Standing |
 |
Hard Point |
| Bounty Hunt | |
 |
Drop Zone |
 |
Bank |
| capture the flag | |
 |
Blue Team Flag |
 |
Orange Team Flag |
Black Water Canal is an IMC fueling station nestled deep in the rocky canals of the planet Cibus. Built as an early fuel storage facility in the Frontier by the original colonists, it rapidly became a key location for IMC ships to refuel, due to its prime location between Demaeter and Gridiron. Although it is still operated and managed by its founders, the Dionysys Corporation, the facility is owned by its parent corporation, the IMC.
Black Water Canal is built around three core lanes, with a major, central choke point. The densely arranged buildings, which border the primary lanes, allow Pilots to make isolated wallruns for quick maneuvers, as well as providing high ground advantages against Titans. Surrounding the station are wide, drained canals, which limit enemy visibility, and can be tightly controlled to prevent flanking. Pilots must be careful of falling into the canals, as that terrain is mostly easily dominated by Titans.
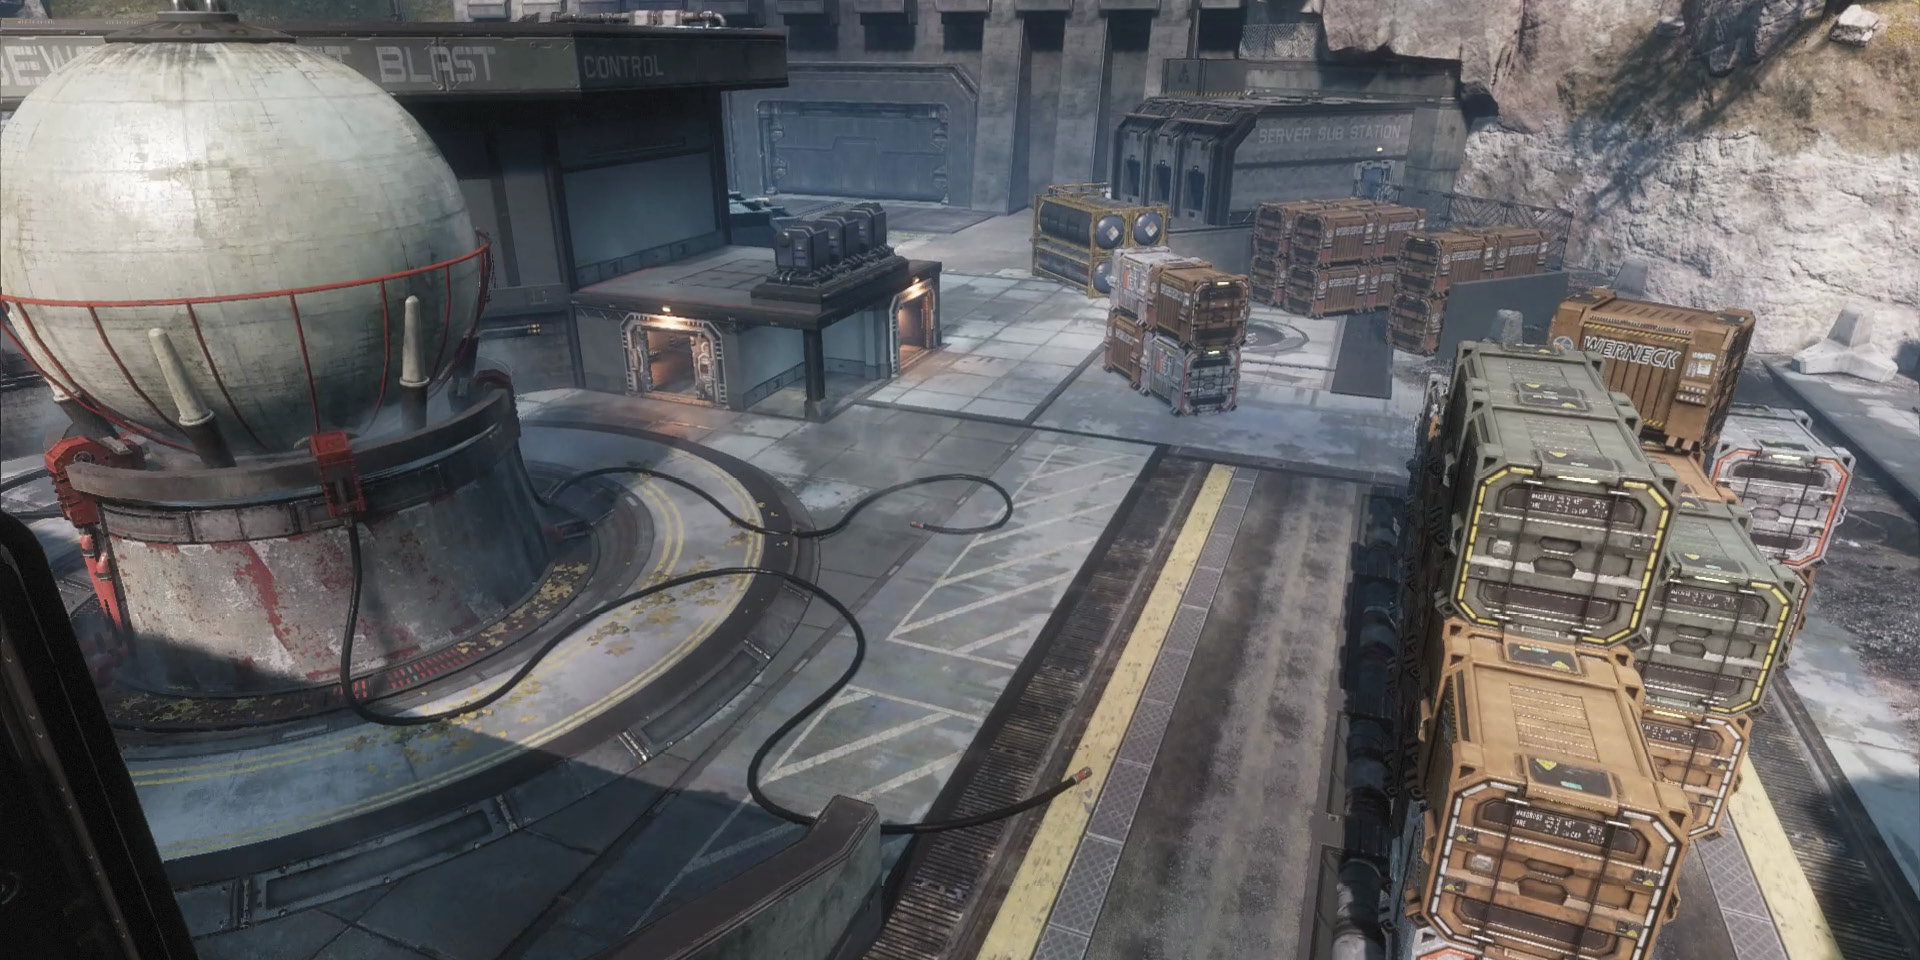
Control Station
The Control Station is the home of the first hardpoint, A. This is one of the more unique locations on Black Water Canal, simply due to the fact that the control station is actually located indoors. Even though there are quite a few locations that are indoors, this is the only indoor location that contains a hardpoint. Because of this, defending the hardpoint during Amped Hardpoint is much less challenging than attacking it. Use the dual-floor layout within the Control Station to cover all of the entrances. However, if you plan on leaving, make sure you check your minimap because right outside is a prime battleground for Titans.
Bridge
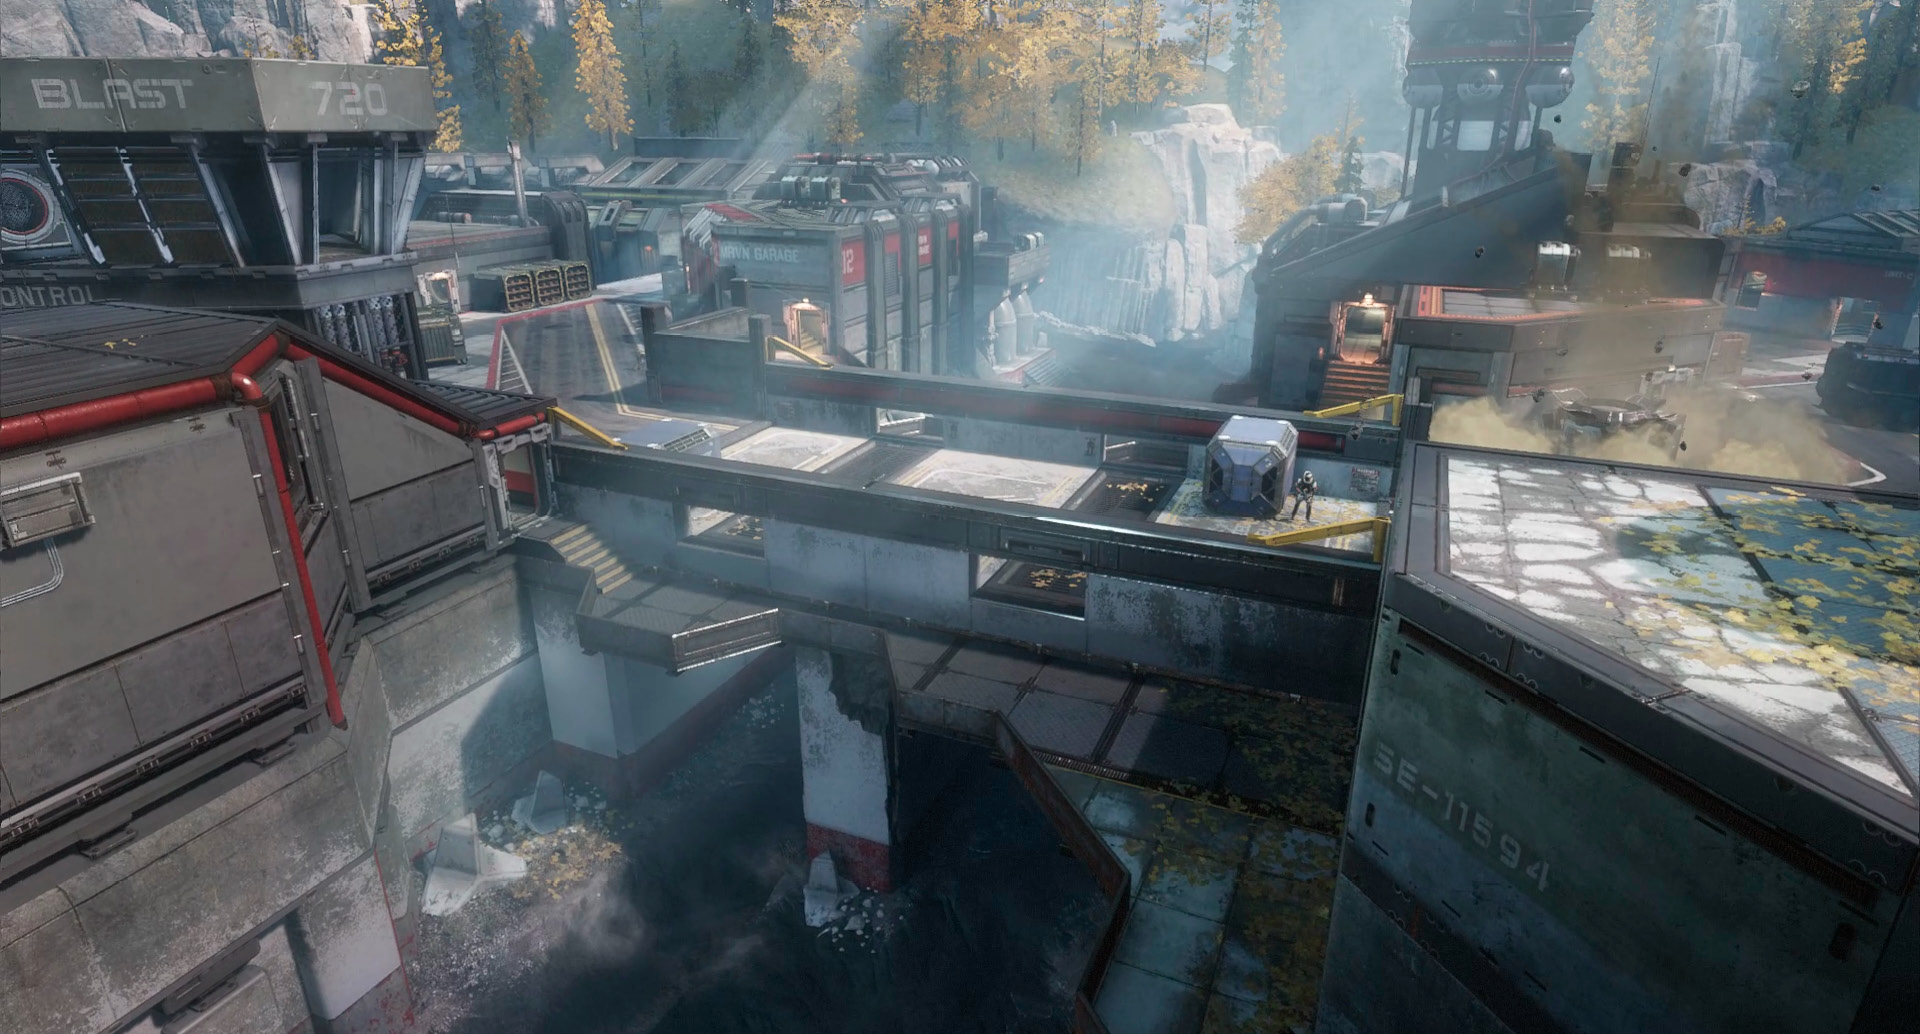
The bridge is one of the most dangerous locations on Black Water Canal. The bridge is not only a wide-open location, leaving little cover for even the most creative, but it is also a major intersection for the entire map. Beneath the bridge is the canal itself where Titans can easily maneuver, making it a death zone for most Pilots. The bridge is also the location of the B hardpoint, due to the fact that it is the center of the map and a great location if you’re looking for a high amount of action. Use the adjacent building for cover, but remember that the wall lining the road is a great piece of cover in a tight pinch.
Pump
The area where the pump is located for the Black Water Canal is quite the spot for Pilot movement, as well as Titan coverage. On one side is the deep canal, which is in a perfect line of fire for Titan weapons. On the opposite side is the road that leads to the bridge, which is also a prime spot for a Titan overwatch or, contrarily, a heavy Titan attack. Adjacent to the pump’s area of operation, there is a two-story building great for defending this location. Be sure to cover all entrances to this building in order prevent being flanked and losing this stronghold to the enemy.
Bulk Storage
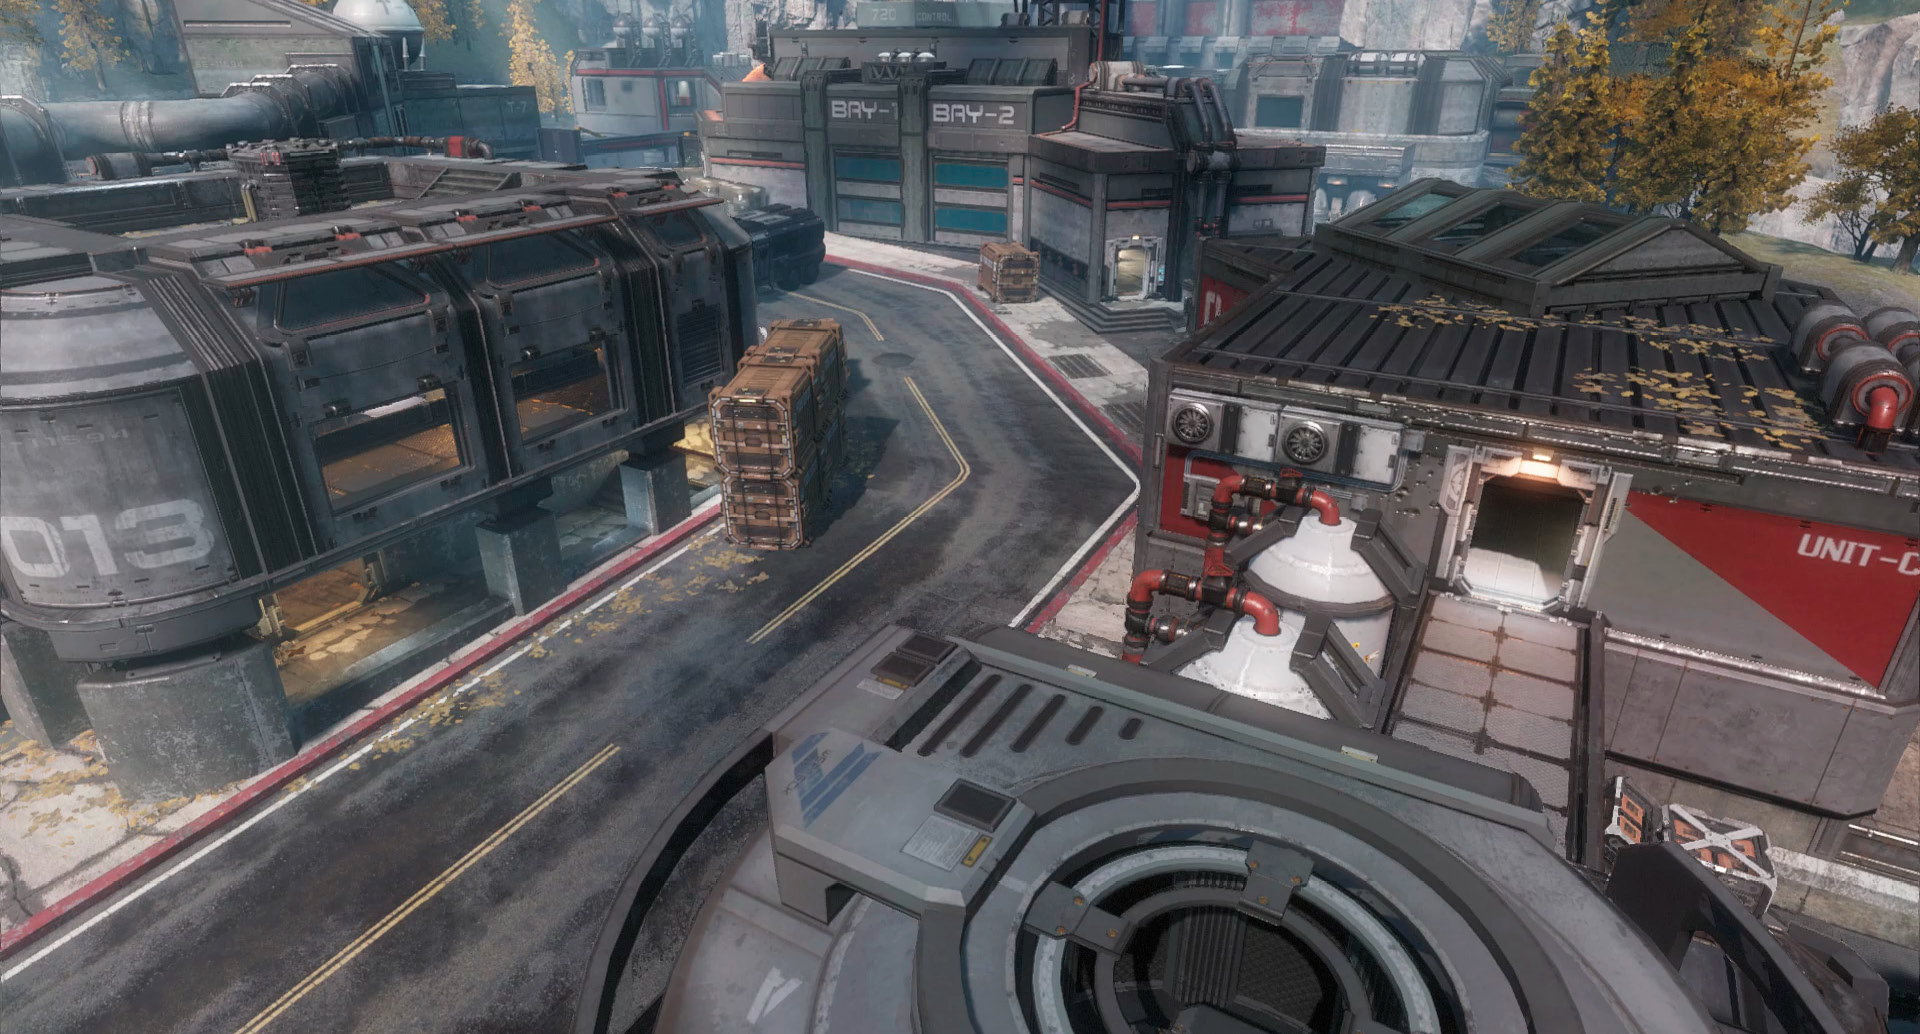
Here at the Bulk Storage, there is the perfect zone for chaos and heroic stunts. This location balances out the advantages and disadvantages Titans and Pilots have over each other. There is a moderate amount of room for Titans to move around and avoid fire, and there are enough buildings for Pilots to launch from where they are able to avoid Titan fire or even rodeo Titans for some damage. Keep your wits about you because Titans like Scorch or Ronin are great at blockading small areas such as this one. Watch out for Scorch’s Incendiary Traps and Ronin’s constant melee attack with his Titan Sword, as they will result in immediate death if you’re caught. Use the intersection at the top of the incline as the ultimate jump location, and do your best not to be caught on the ground.
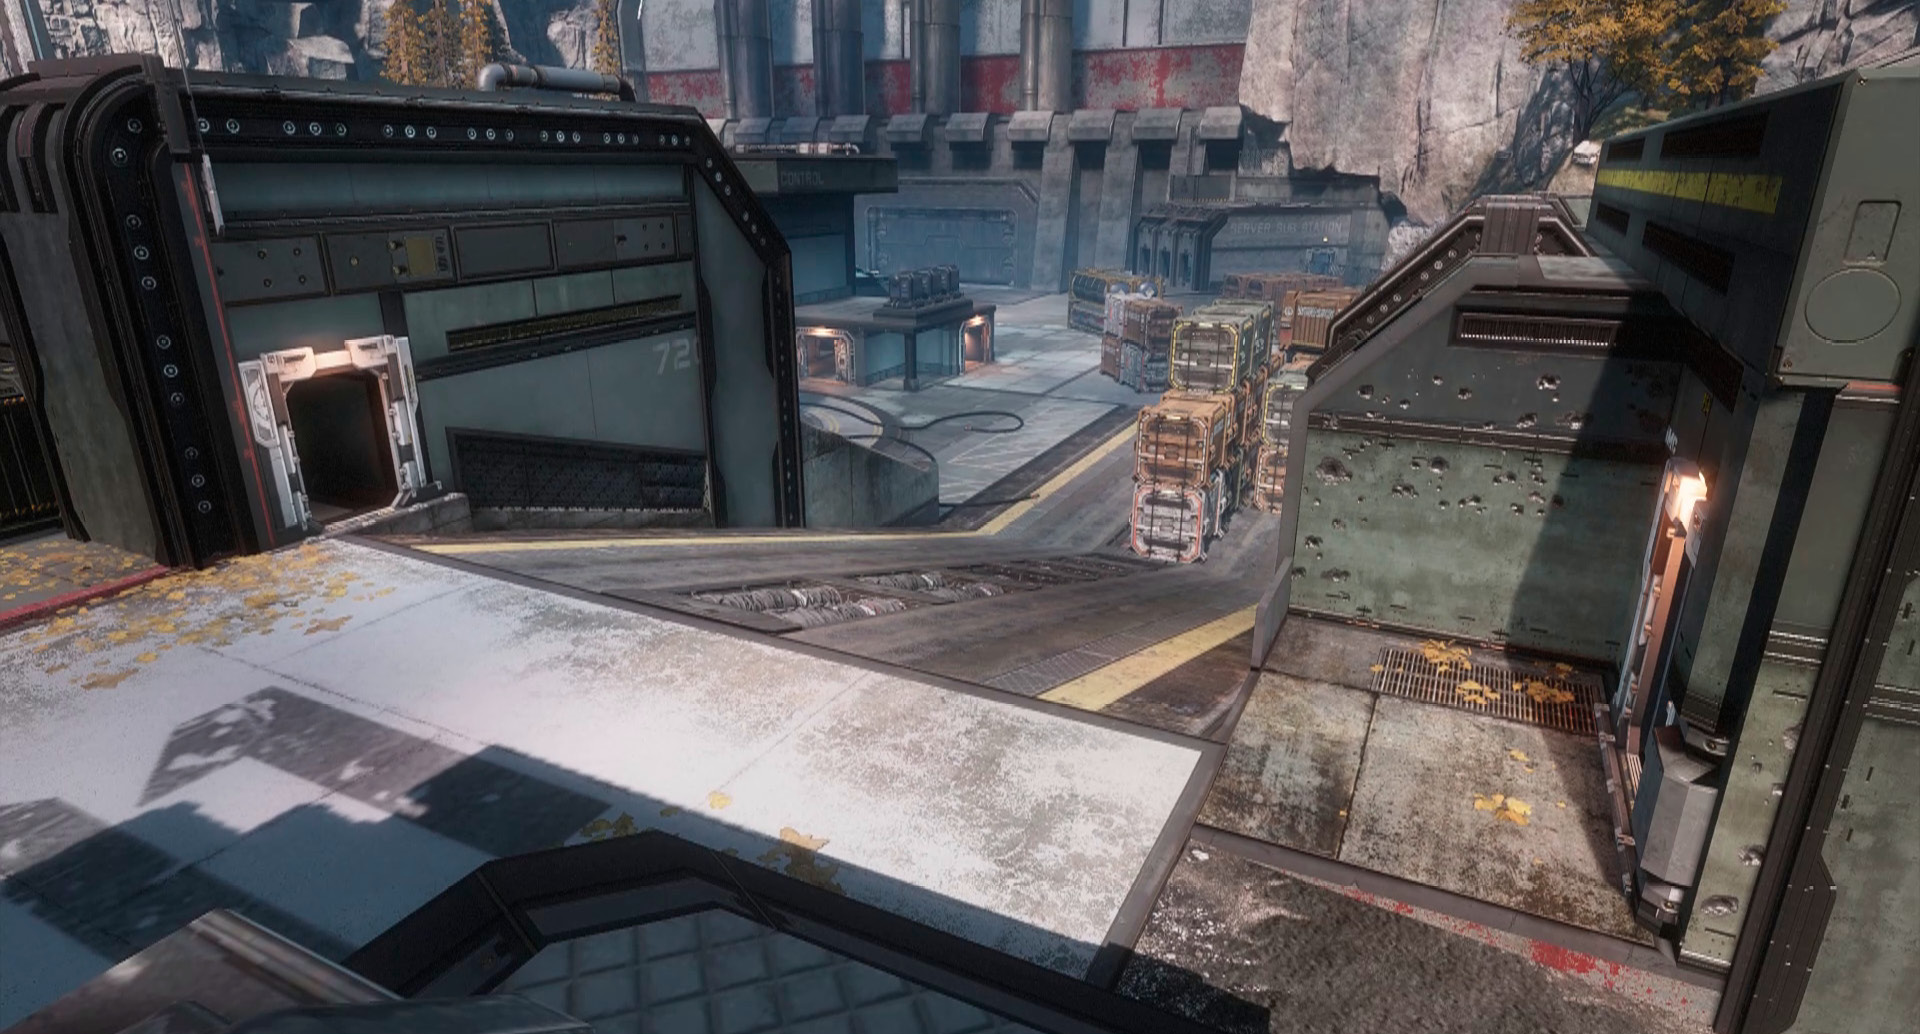
Filtration
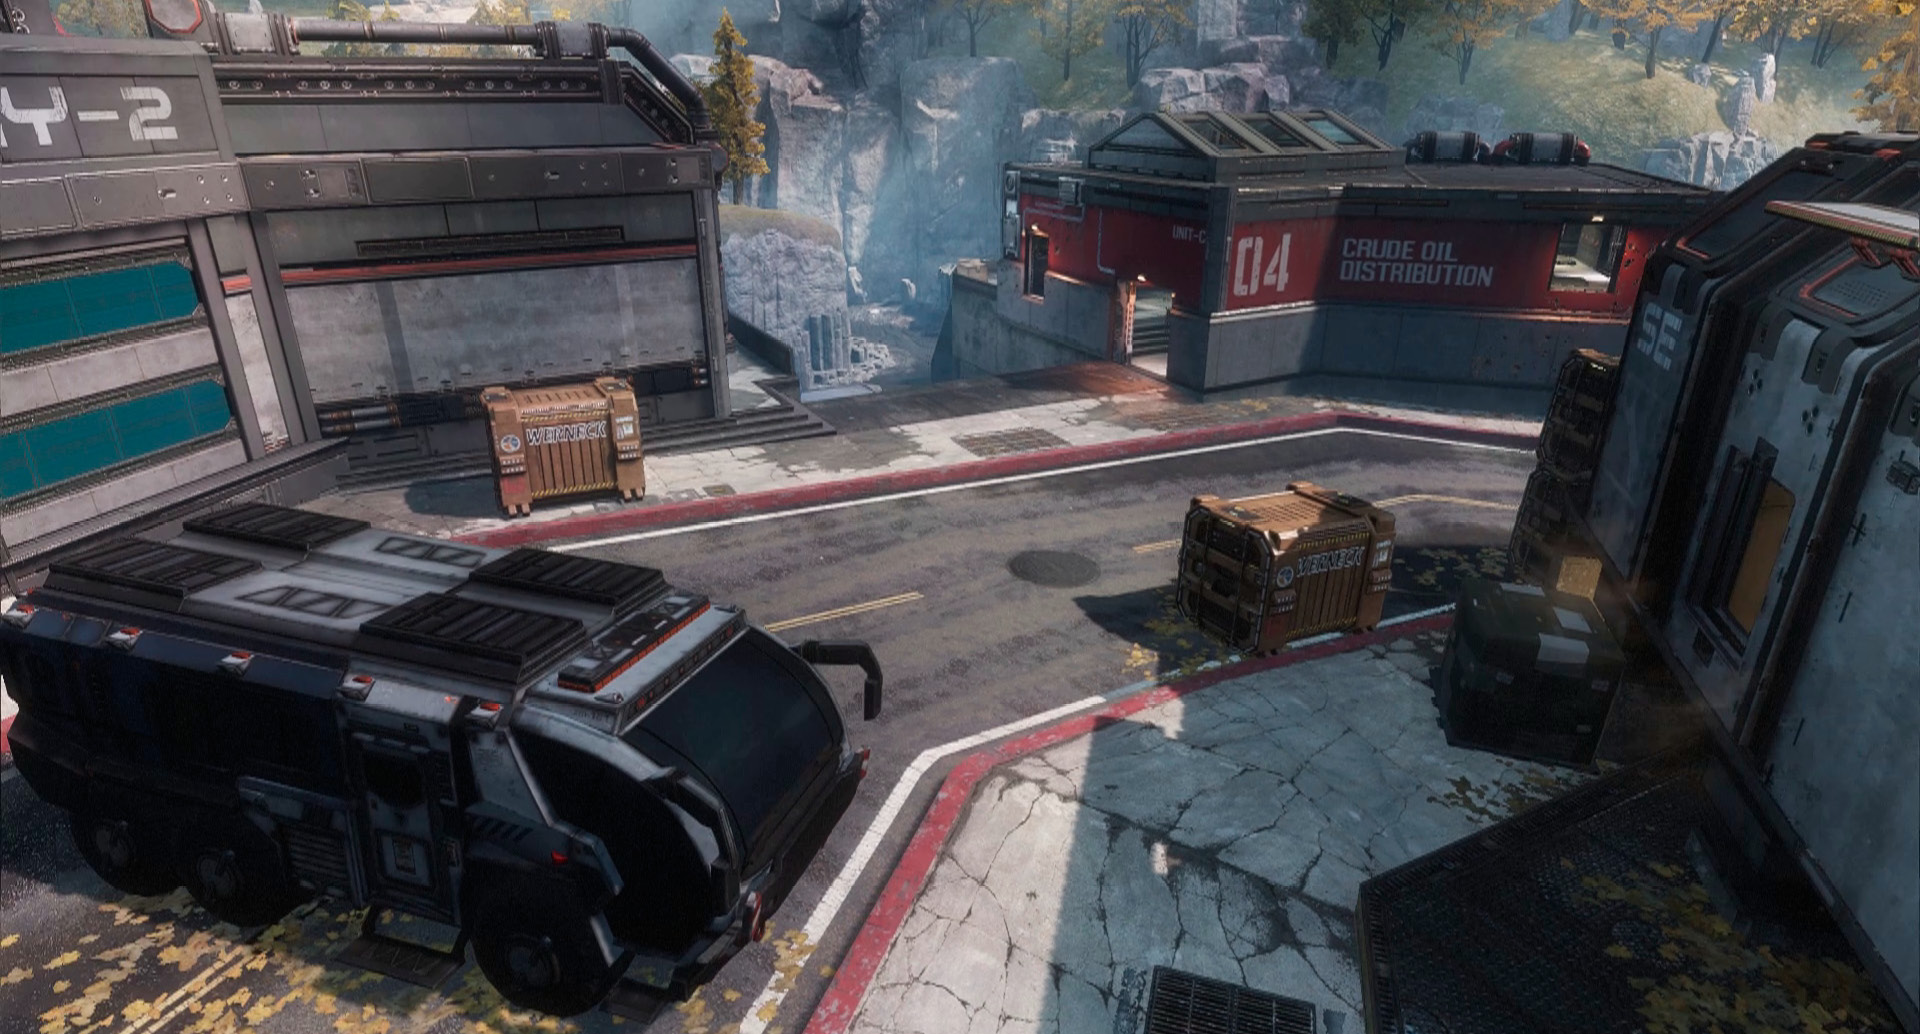
The Filtration building is a prime tactical location. In modes such as Amped Hardpoint and Capture the Flag, the building serves as a vantage point where a player can oversee the bridge, as well as most CTF routes. The problem with this location is that, because it is such a great vantage point, it is well sought-after, which turns it into an extreme hot spot for action. With the support of your team, lock the Filtration building down, and it could turn the tide of the match or seal the victory for your own.
Recommended Pilot Loadouts
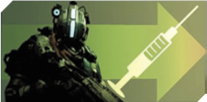
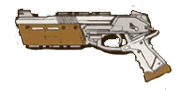
Hyper-Flight HeroThis loadout is ideal for moving from point-to-point quickly without making an easy target. What makes that extremely important for a map like this one is that even though there is a large amount of cover, moving from one point to the other is extremely dangerous. Since this is an ideal loadout for getting from point-to-point, like cover to cover, it makes the Hyper-Flight Hero the loadout for the ultimate point-to-point game mode, Capture the Flag.
|

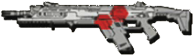

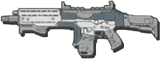
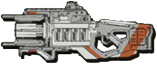
Mid-Range MasterThe Mid-Range Master is ideal for those that wish to focus fully on dealing pure damage to their enemies. The Grapple’s main purpose is simply to get the angle on your opponent in any situation, quickly. Keep the primary weapon that you have equipped in mind when choosing the position to which to grapple. Equipped with the Hemlock, you don’t want to get too close to the enemy, so keep some distance and control the battlefield with the Mid-Range Master.
|


Recommended Titans
Scorch Scorch is a great option for this map because it can own the center stretch with the Incendiary Trap, in combination with the Wildfire Launcher. Not only is this Titan loadout a great pick to stop any advancing Titans down the middle, but the damage from your Thermite Launcher can also drive them backwards, thus further controlling the battleground.
|


Tone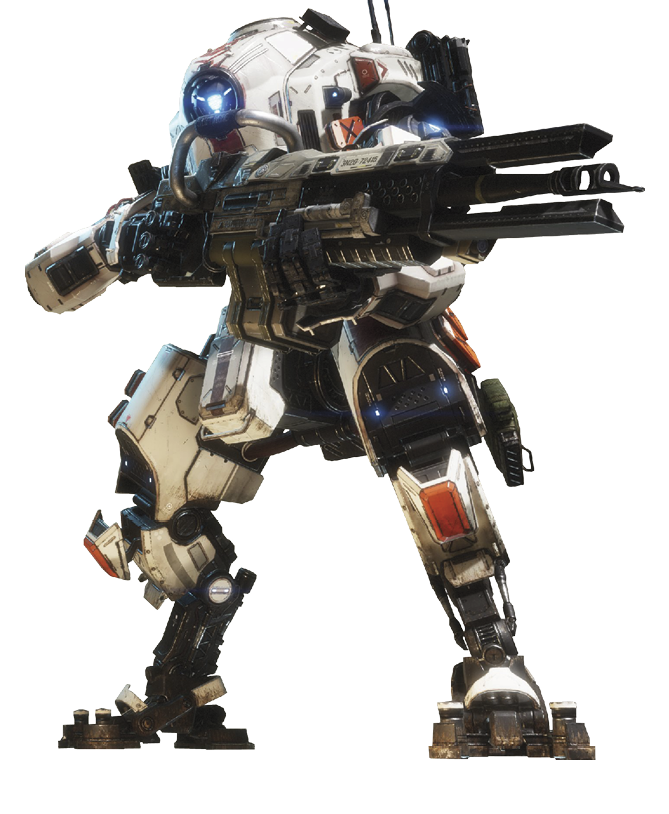 This Titan loadout is great for this map because in the canal itself, most encounters are of the long-range variety, for the most part. Tone is not great for dealing with Pilots, unless you really know what you’re doing. The 40MM Tracker Cannon does have some splash damage, so a semi-accurate shot in the direct viscinity of a Pilot can take at least one out.
|

