Titanfall 2 Guide Multiplayer Maps Forward Base Kodai
Overview
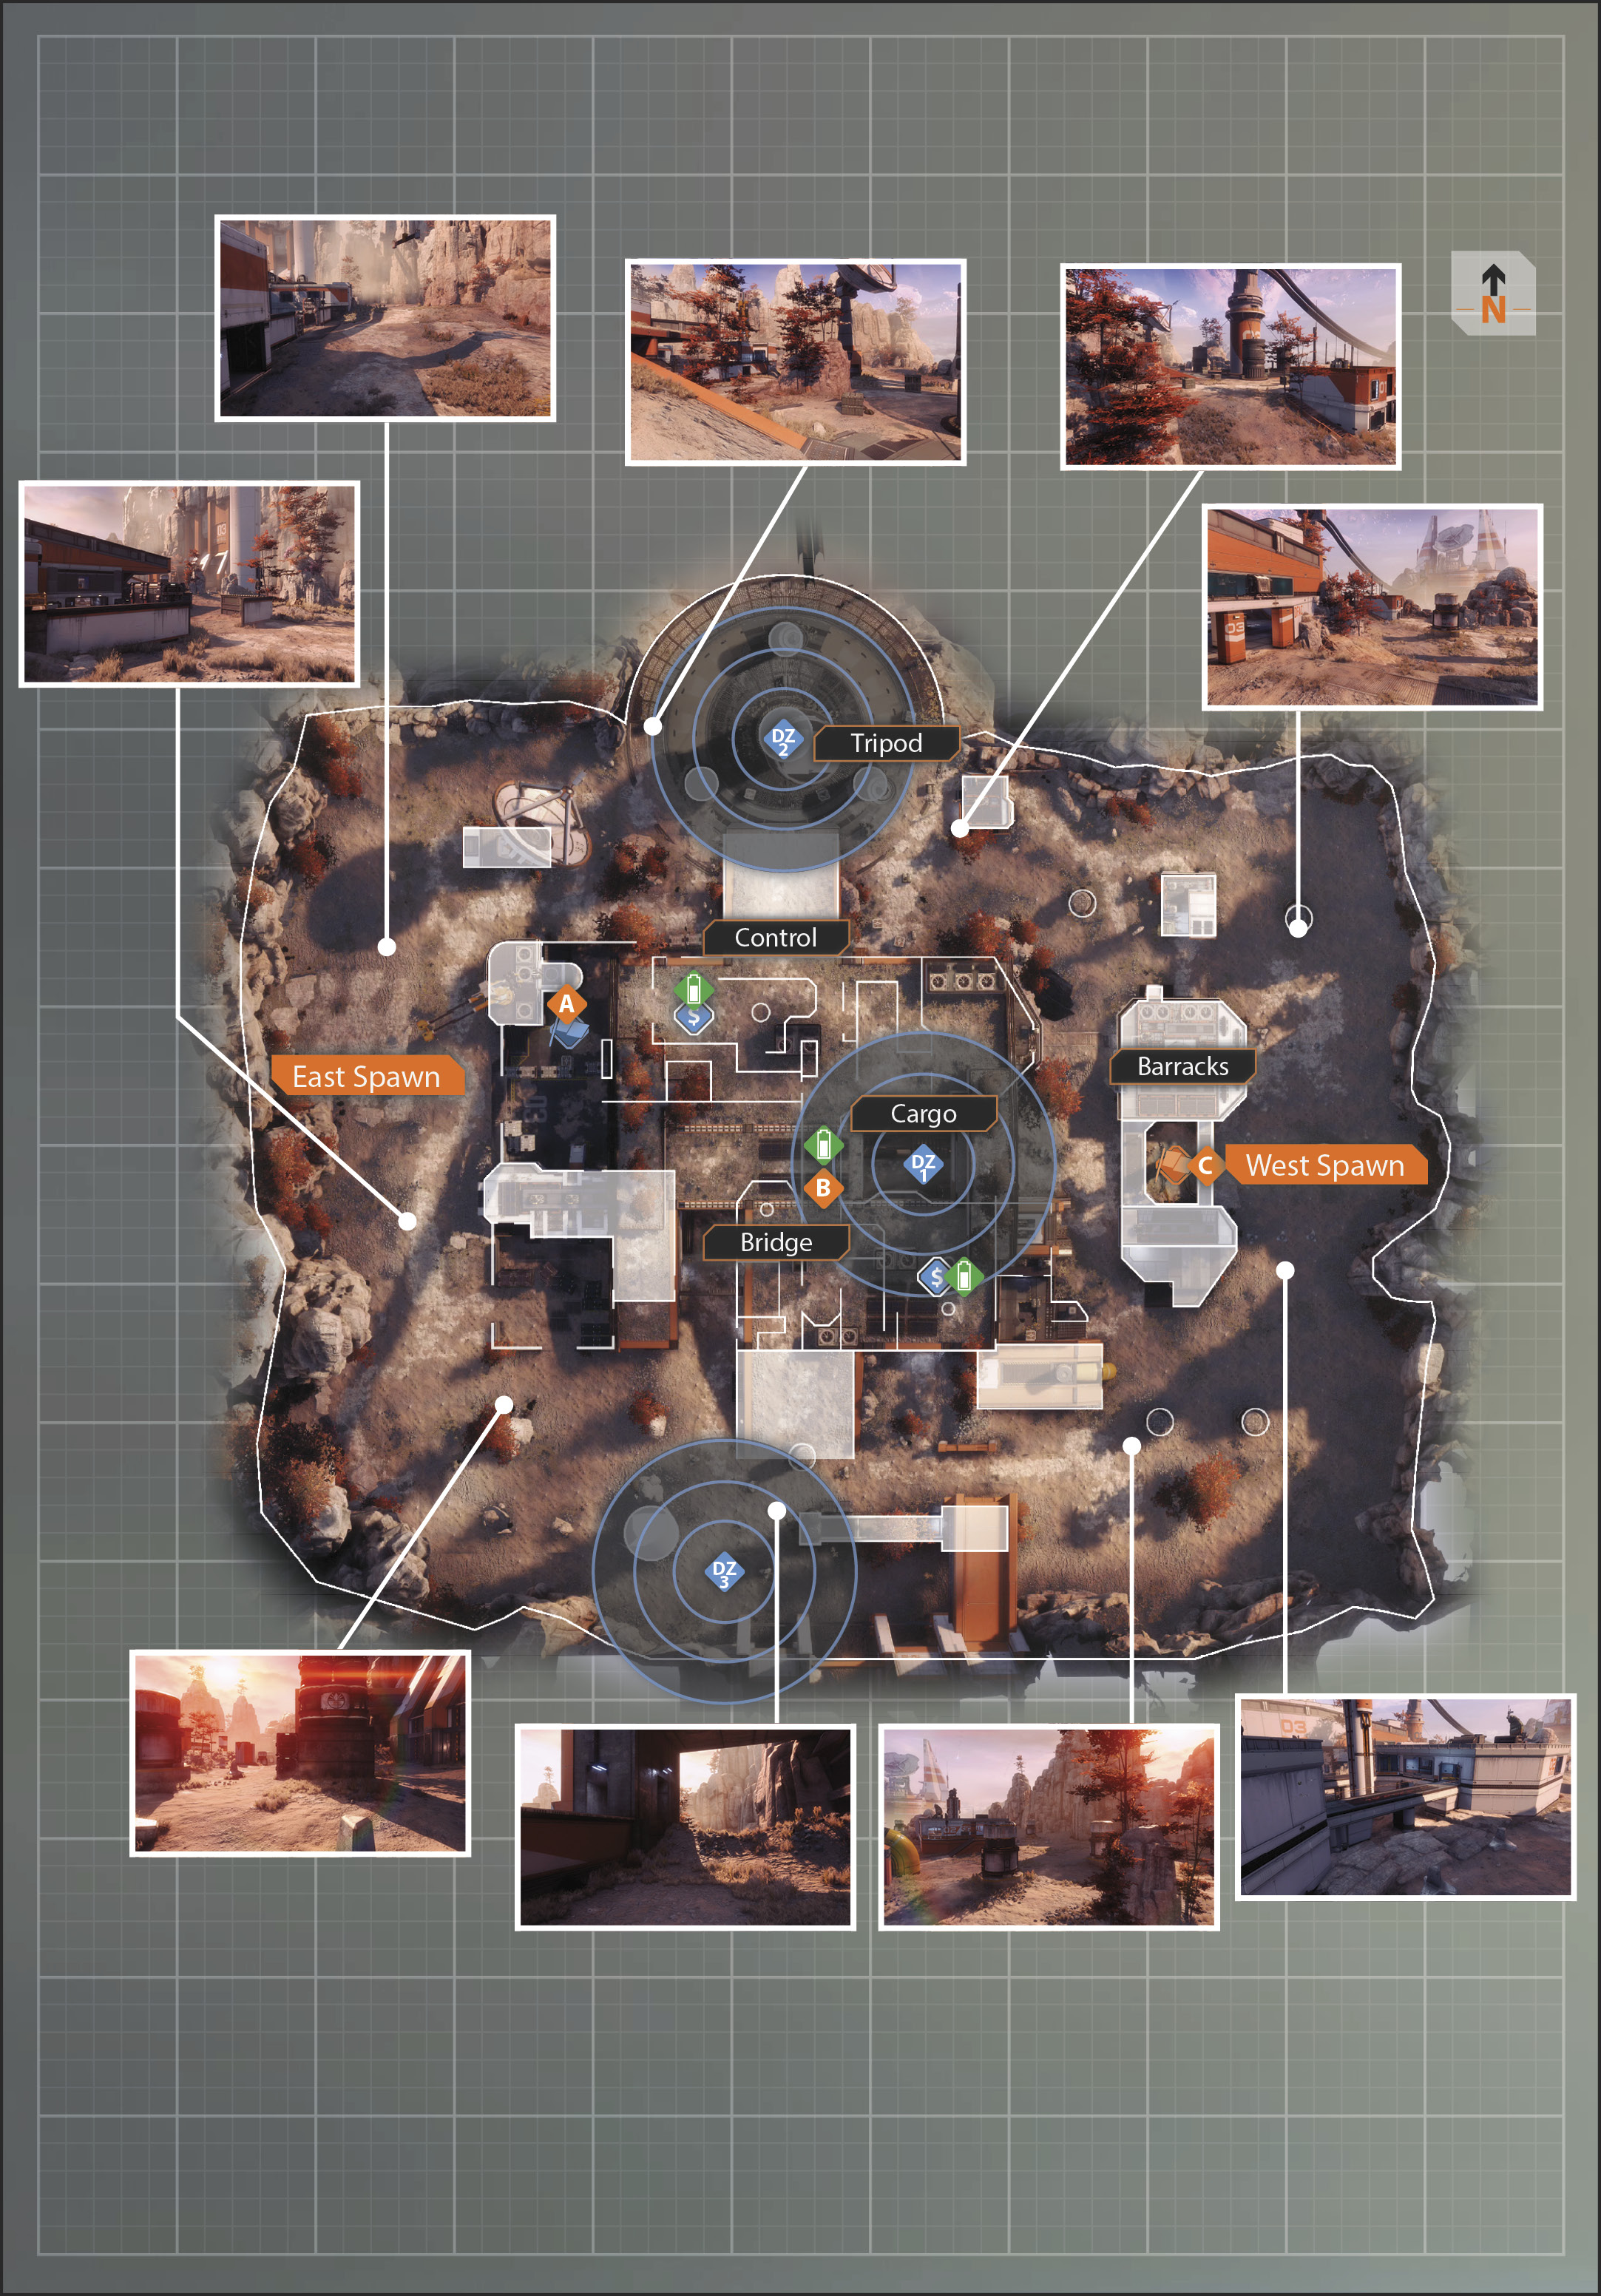
| Legend | |
|---|---|
 |
Last Titan Standing |
 |
Hard Point |
| Bounty Hunt | |
 |
Drop Zone |
 |
Bank |
| capture the flag | |
 |
Blue Team Flag |
 |
Orange Team Flag |
To enhance communication throughout the Frontier, the IMC has established a network of interstellar beacons on various planets. Built by Kodai Manufacturing, the beacons are powered by underground substations that generate a massive amount of energy. As a byproduct, these substations discharged toxic fumes into the surrounding lowlands, destroying all organic life within reach of the noxious gases. Forward Base Kodai is one of a three-part beacon chain, relaying between Gridiron and Typhon.
Kodai is a medium to small environment, with a main central building dominating the battleground. Pilots can find safety from Titans in the hallways and chambers of the main building. Titans can walk over the roof to get a better view of the action. Pilots seeking a quick escape from the exposed roof area should keep an eye out for two separate chutes that run from the interior of the main building to the roof.
Cargo
The cargo area is the first key location, which is home to the A hardpoint in Amped Hardpoint, as well as the east flag in Capture the Flag. The cargo area has a plethora of cover provided by the many cargo containers and the building beneath the crane. The main central building ends partially into the cargo area, which leaves a large wall above to use as an alternate route in and out of the location. The containers make this key location a deceptive one, so the use the Pulse Blade as a Tactical—it is your friend.
Bridge
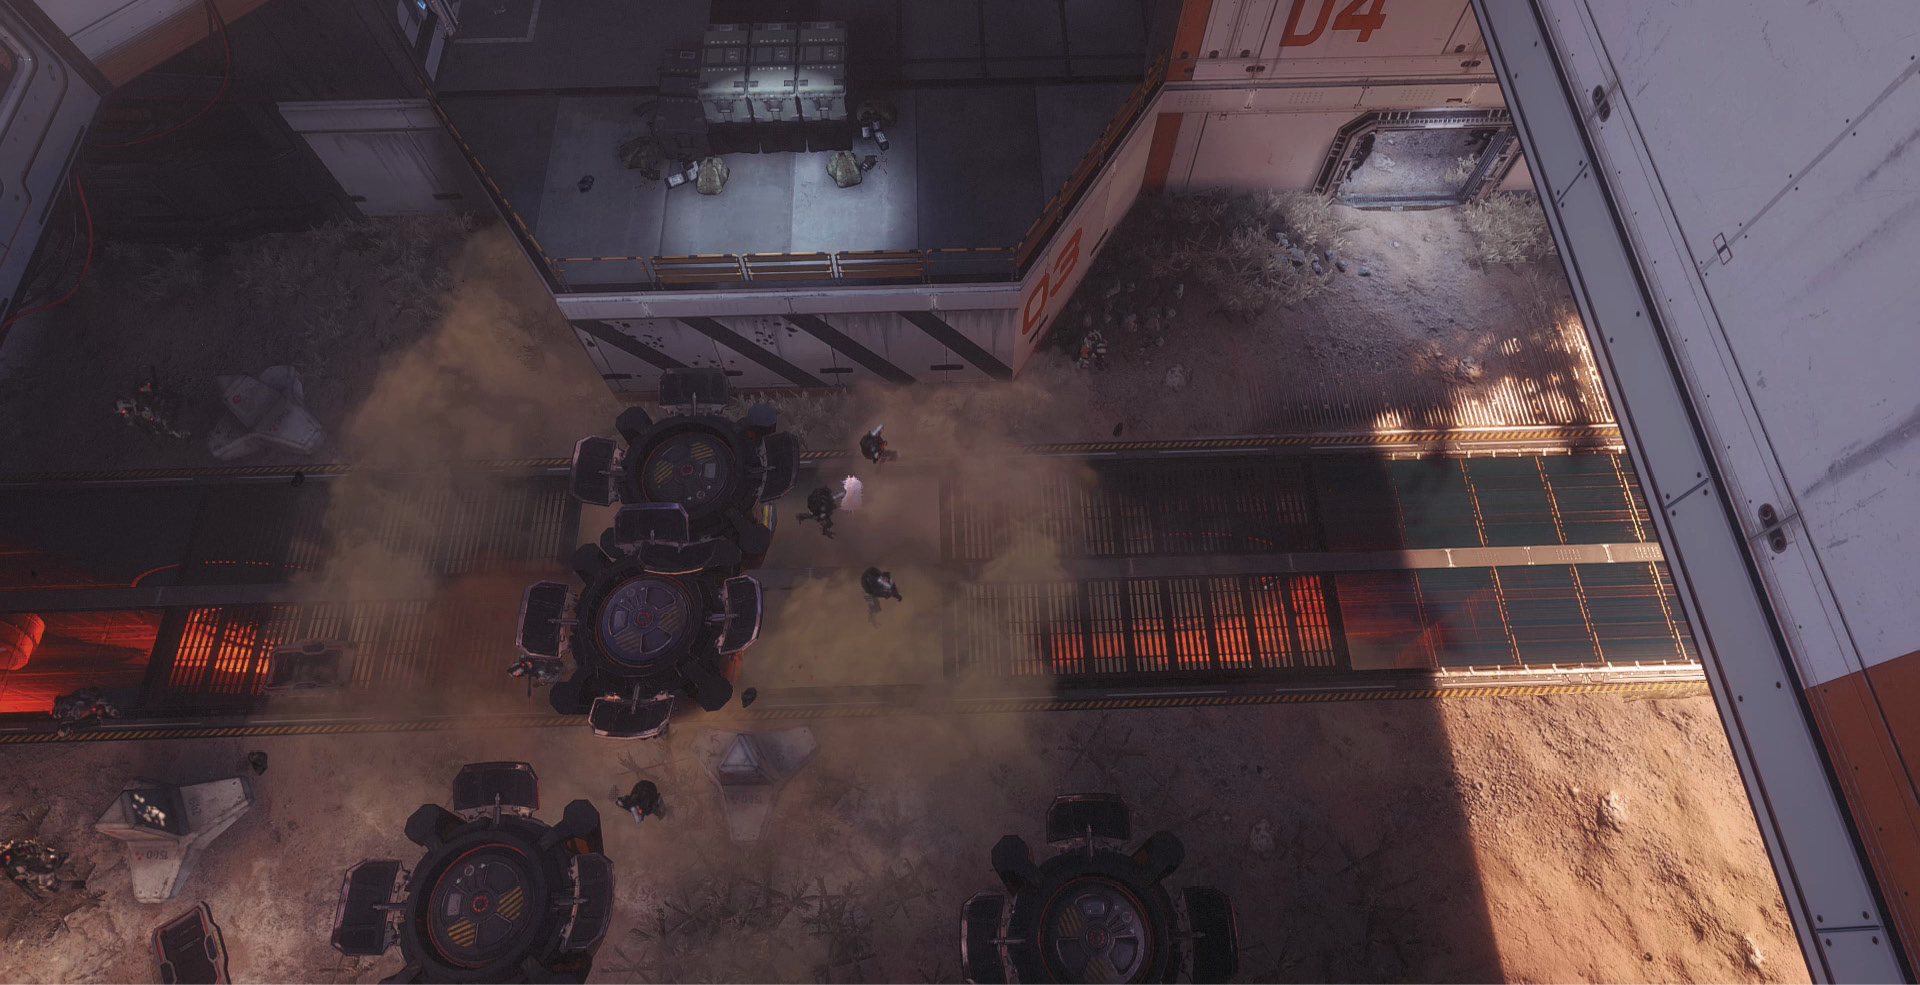
The center of the map is nothing like you’ve ever seen in Titanfall 2. There are many interesting ways to enter the buildings in the center of the map, but there are only two ways into the bridge. Making your way into the building is your first challenge since defenders are hiding around every corner and they are ready to take you out on your way to the bridge. This key location also has more to the bridge area than just the bridge itself. There is an entire midsection beneath the bridge that contains an objective and serves as the main passageway for both Titans and Pilots.
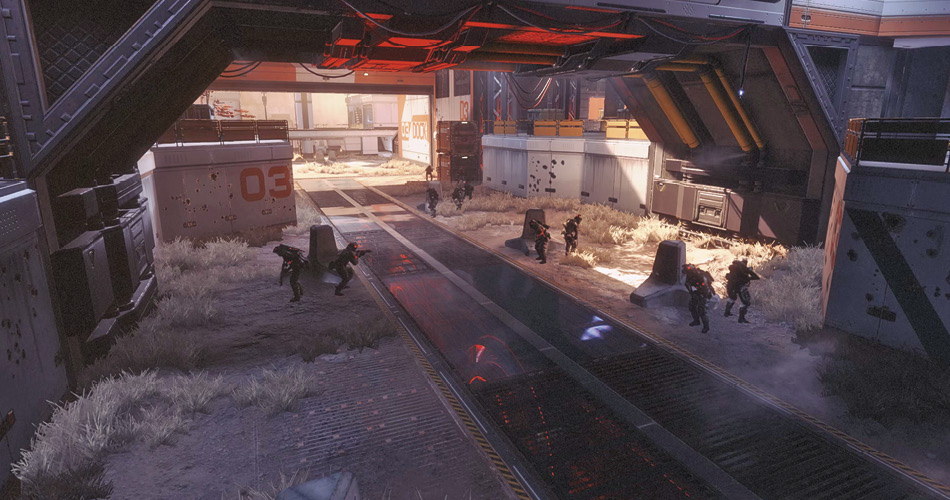
Use the balconies on either side of the midsection to take out other Pilots. However, you may want to hide from oncoming Titans because you are at perfect height for easy sight and Titan melee attacks. Drop in through the top of the ceiling to attack your targets by surprise.
Barracks
The barracks effectively have two buildings connected by parallel bridges on either side of a courtyard. Within the courtyard on the ground level is where the C hardpoint is on Amped Hardpoint. Often there are Pilots from the same team in each of the buildings, but every now and again there will be opposing Pilots on either side, and that’s where the exciting crossfire happens. The roof is popular for sniping in every direction, so be on the lookout for Pilots posting up on the roof before they spot you. There isn’t much cover on the roof, so if you choose to take this position, make sure you have a good handle on where the majority of the action is.
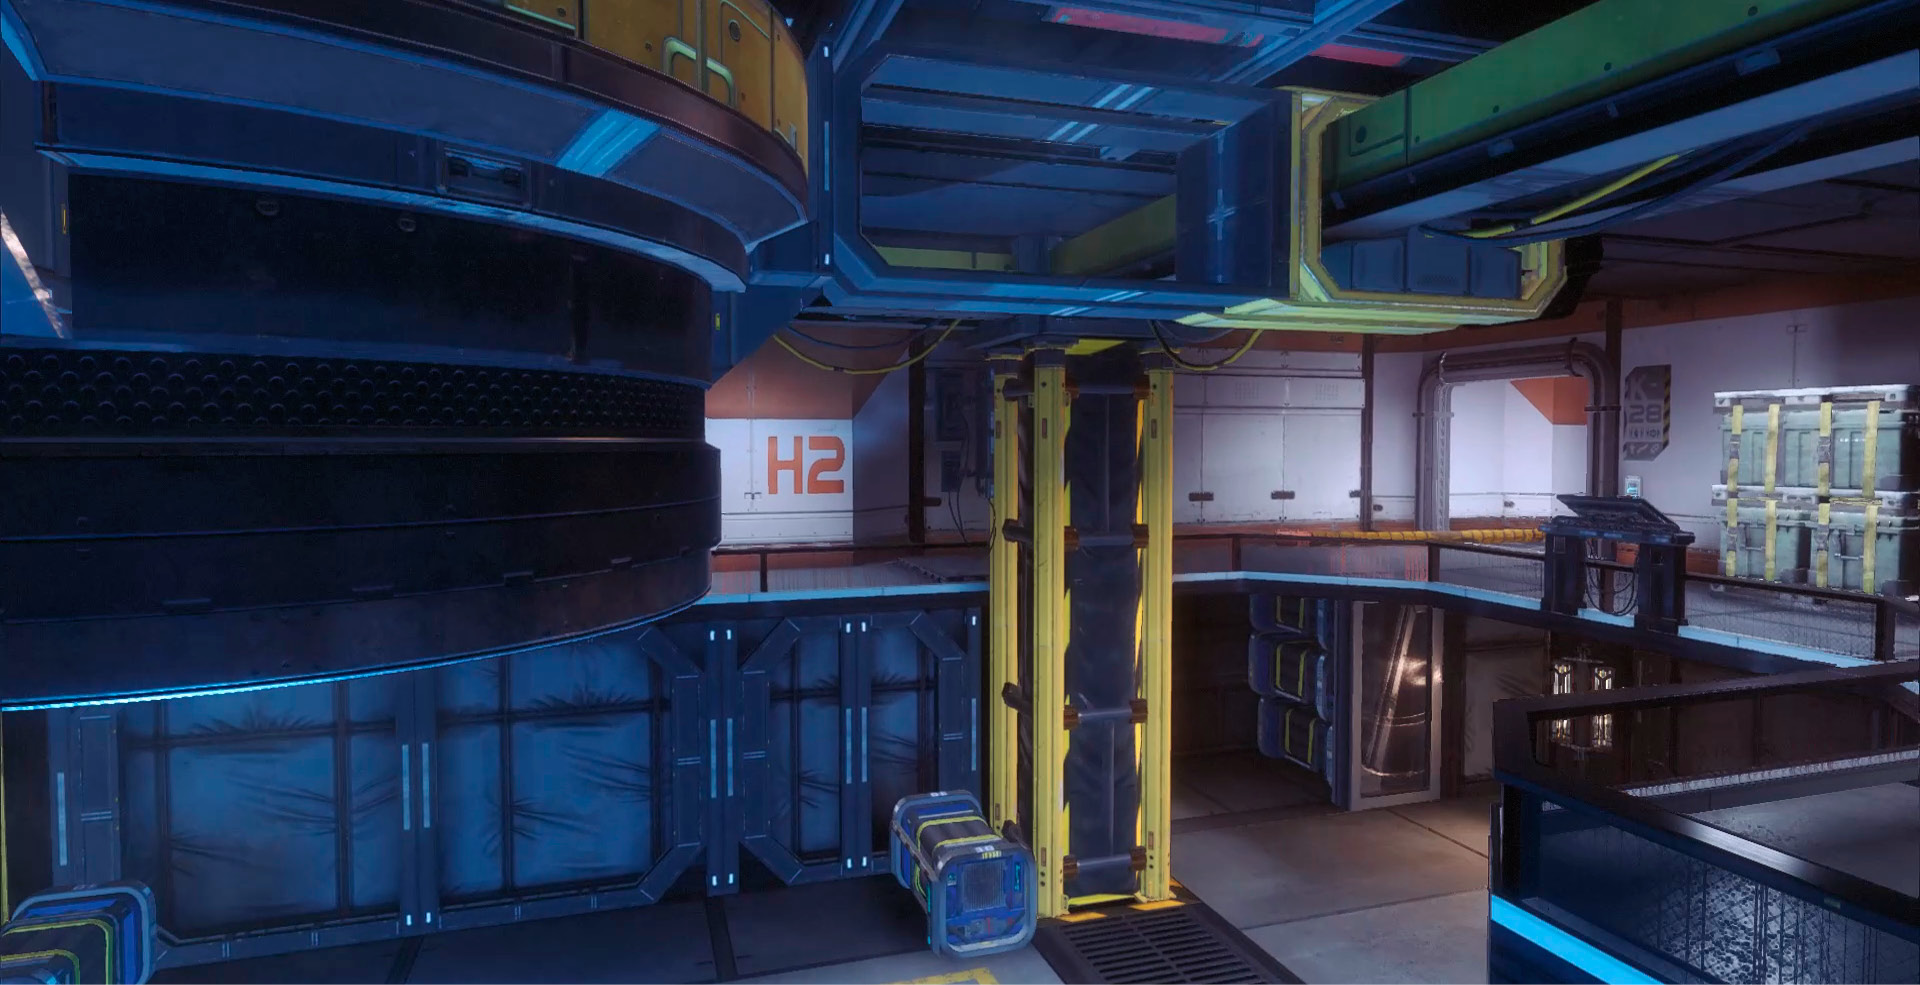
Use the buildings as your main source of cover, stick one Pilot in each building and scan the opposite direction for incoming enemies. This setup serves as a great surveillance tactic. Be sure to keep your communication clear and you can defend the barracks quite effectively.
Tripod
The Tripod is home to one of the Drop Zones in Bounty Hunt. This key location is rather open, leaving most Pilots vulnterable to long-range fire. Titans excel here, but by using the large object in the middle of the Tripod you can keep yourself somewhat behind cover and able to avoid sniper fire. Try to stay away from enemy Titans. There isn’t much you can do other than flee or continuously rodeo the Titan. With Grapple, this task is much easier.
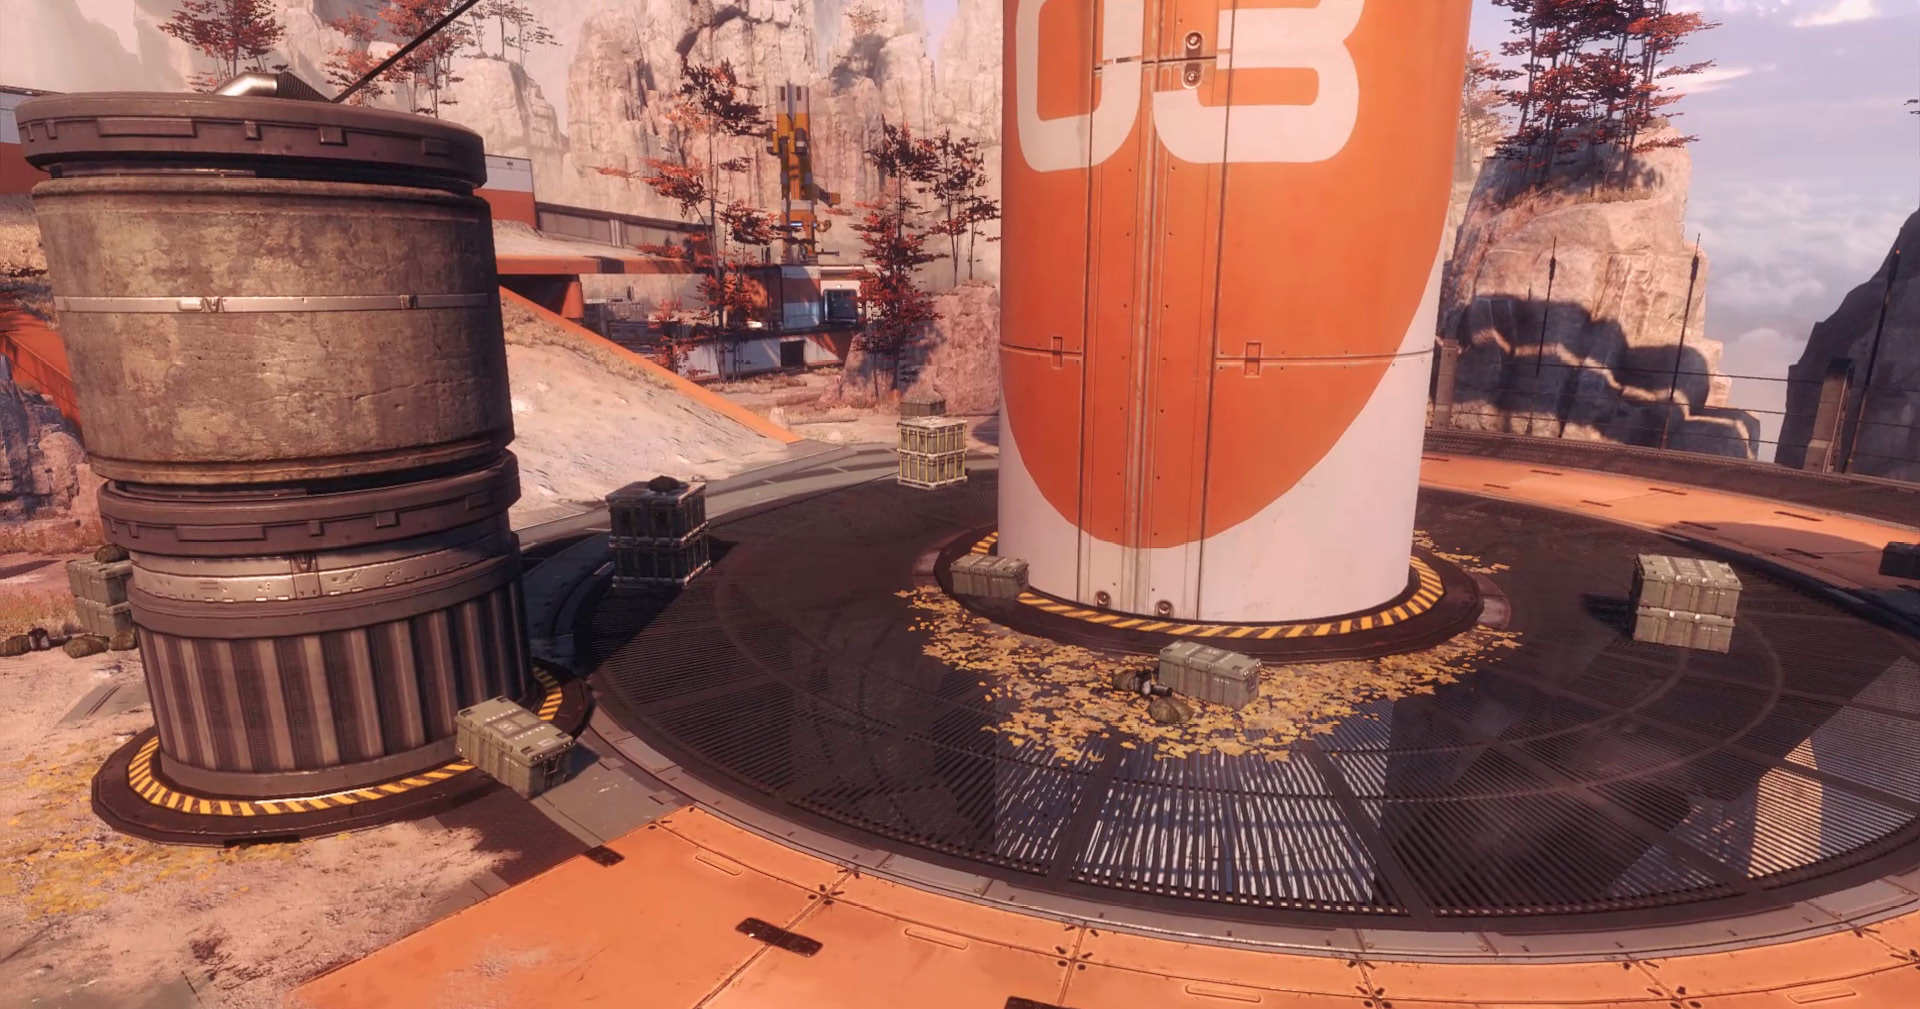
From the center of the map, on top of the open roof, you have a clear line of sight into the Tripod area. This is the best location to help control the Tripod as a Pilot. Any closer will likely get you killed.
Control
The Control area is also very open. However, the major difference between Control and Tripod is that there is a large wall that runs down the middle of the area. This large wall is perfect for Pilots to perch up and take out enemies while still staying protected. This spot is dangerous around Titans, but as long as you stay hidden, this is still a great spot. There are a few basins nearby that also serve as decent cover, but this is another spot that is best observed from the center hill.
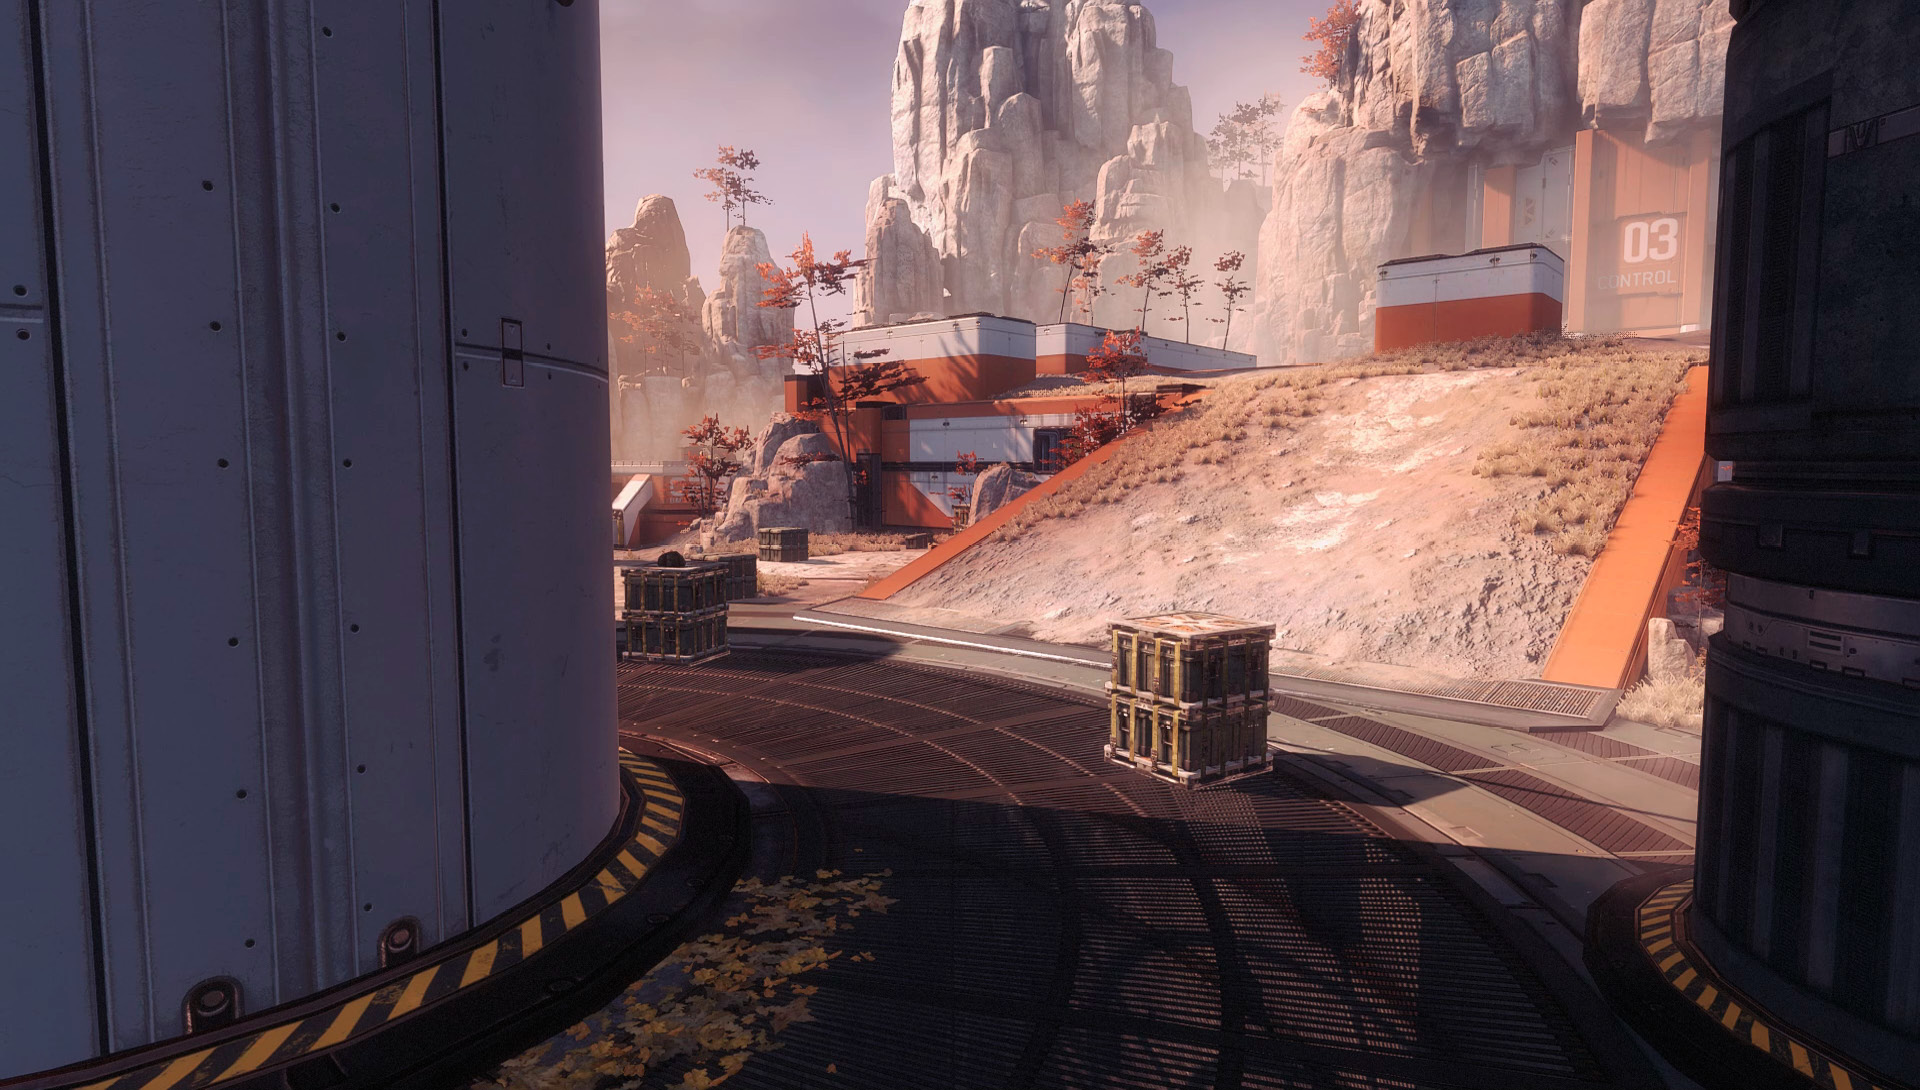
On this side of the hill is a steeper slope that provides more cover from your 6 o’clock. Stay on the move when in the Control area because the moment you stand still is the moment things go bad.
Recommended Pilot Loadouts
Rough Recon v2.0Rough Recon is a strong loadout that requires a skilled player because this is a very specialized combination. Holo Pilot takes some time to restore its use, but that is not a problem as you should only need it when you’re in danger. The combination of Holo Pilot and Kill Report should allow you to have a good survey of the where the action is and roughly where the enemies might be coming from, but in case there aren’t any reports coming in, you can be ready to launch your Holo Pilot and buy some time for you to get away. Both your primary weapon and your secondary weapon are meant for you to keep your distance, so don’t be afraid to flee when things are getting too hot and you need to get out of the kitchen. The difference between this version and its previous version is the weaponry. For certain maps, there is no need for the extremely powerful Kraber. Because of the Kraber’s fire rate, being able to get off a second shot before your enemy finds cover or even charges after you is crucial, especially because the distance that your opponent needs to close is smaller.
|
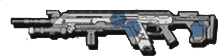
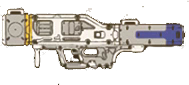


Hyper-Flight HeroThis loadout is ideal for moving from point-to-point quickly without making an easy target. What makes that extremely important for a map like this one is because even though there is a large amount of cover, moving from one to the other is extremely dangerous. Since this is an ideal loadout for getting from point-to-point, like cover to cover, it makes the Hyper-Flight Hero the loadout for the ultimate point-to-point game mode: Capture the Flag. The Hyper-Flight Hero is great for avoiding sniper fire and making it harder for a Titan to track your movement. Stay on the move and make your killer have to work for your death, or kill them before they even have a chance.
|



Recommended Titans
Scorch Scorch is a great option for this map because it can own the center crossroads with the Incendiary Trap and Wildfire Launcher, slightly spreading out the damage just enough to block three different routes at once. Not only is this Titan loadout a great pick to stop any advancing Titans down the middle, but the damage from your Thermite Launcher can also drive them backward, thus further controlling the battleground.
|


Ronin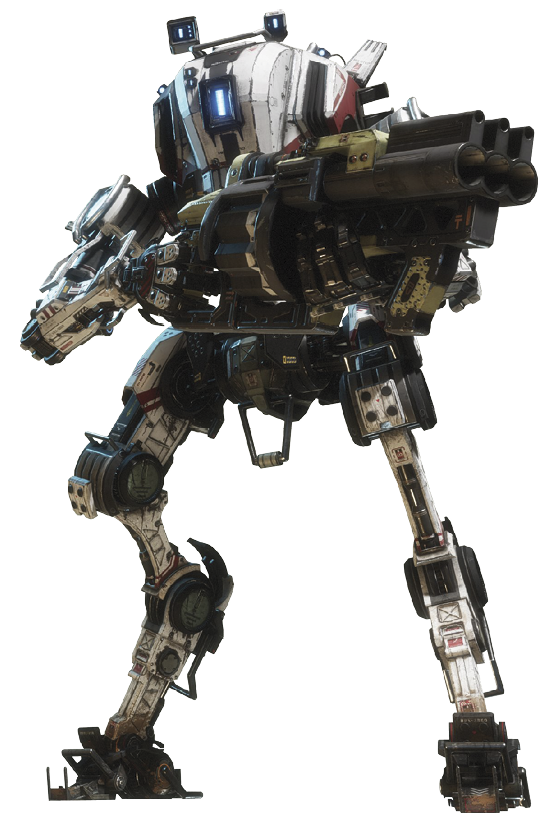 Ronin is an ideal Titan for this map for several reasons. With quick thinking and sharp reflexes Ronin can own the narrow pathways on this map. Equipping Thunderstorm counteracts some of the disadvantages that Ronin has in some of the more open areas of the map. With two Arc Waves pretty close together, you can inflict more damage as you are attempting to close the gap if the enemy Titan slips away a little. Use Phase Dash in conjunction with Arc Wave, and you can close the gap fast, do extra damage, and also stay protected while doing so. Because of Ronin’s speed, you can move back and forth to fend off enemy Pilots and Titans while avoiding Pilots’ Charge Rifle and Thunderbolt fire.
|