
Titanfall 2 Guide Single-Player Campaign Into the Abyss
Dynamic Testing Facility
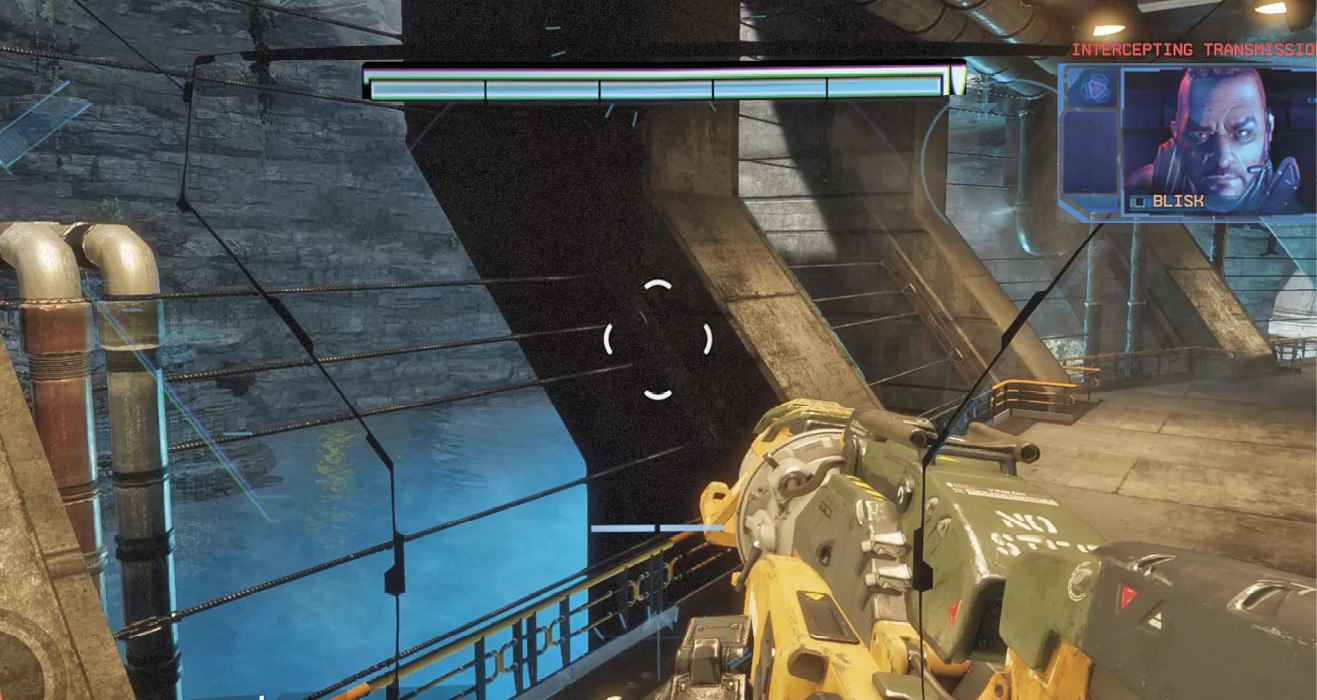
While advancing through the adjoining passage you pick up a conversation between Blisk and one of his mercenaries, Ash. Blisk reports that Kane is not responding. Blisk fears some Militia Pilot is trying to be a hero—apparently you’ve got Blisk’s attention. Blisk orders Ash to kill any Militia Pilots that interfere with their operation. It sounds like Ash is responsible for guarding this mysterious facility you’ve stumbled onto.
|
 Pilot Helmet 2/9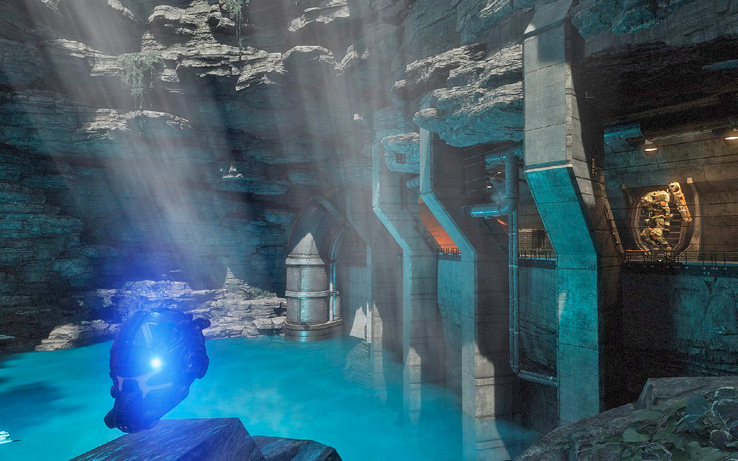
Narrow Alley
As you travel deeper into the facility, it becomes apparent that you’re in some sort of factory. When you turn down this narrow alley, you’re attacked by several grunts and Stalkers. This is the perfect time to test out the Scorch Loadout. Experiment with the T-203 Launcher; lob an Incendiary Trap, then ignite the gas cloud with the Launcher. For more precise attacks, use Firewall, sending a line of thermite toward your enemies. Or get in close and neutralize grunts and Stalkers with the Thermal Shield. These enemies pose little threat to your Titan, so take your time and get familiar with the different weapon systems.
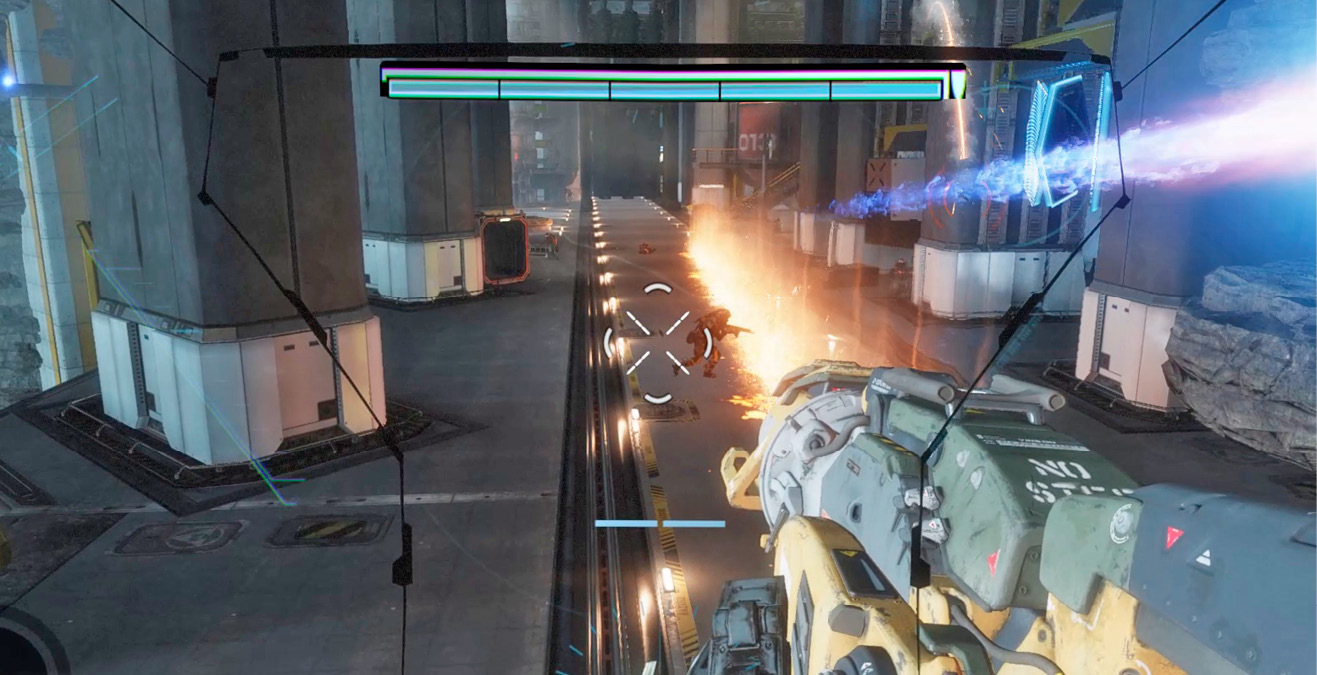
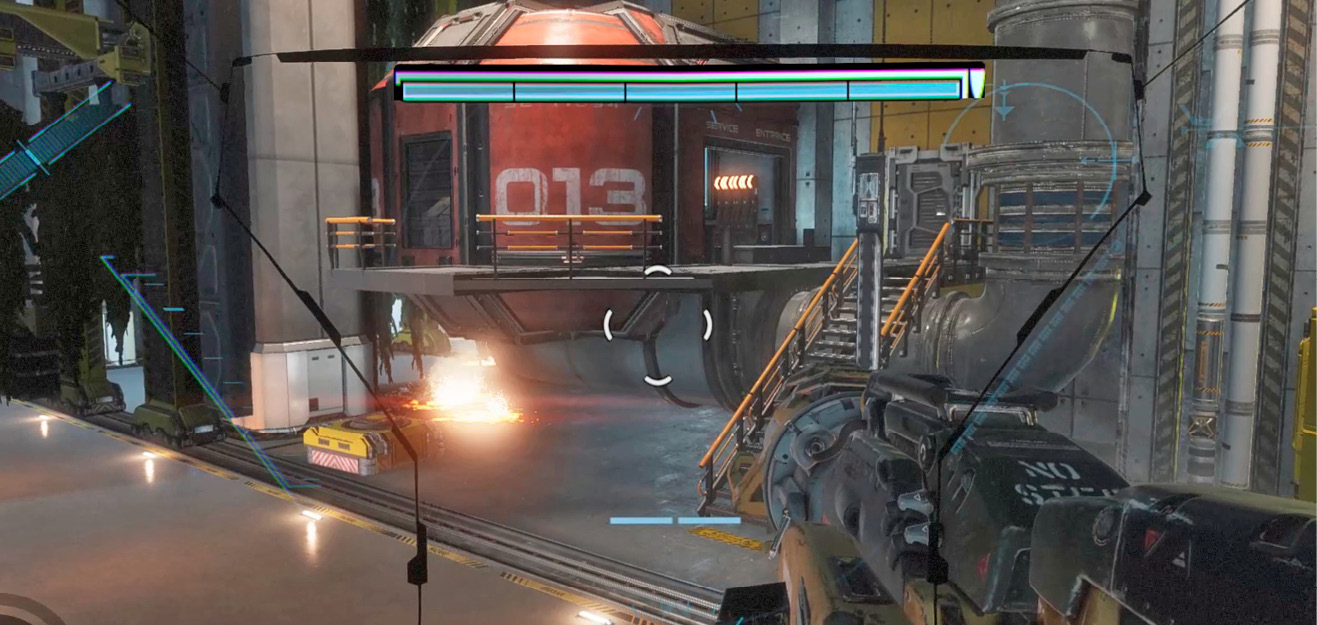
The red structure on the right side of the alley contains some weapon boxes. But before disembarking, make sure the nearby grunts have been eliminated. Inside, you can acquire a Flatline, MGL, and an assortment of grenades. After stocking up, return to BT and advance down the narrow passage to the left. Prepare to engage more grunts along this path—Scorch’s Firewall works well here.
|
 Pilot Helmet 3/9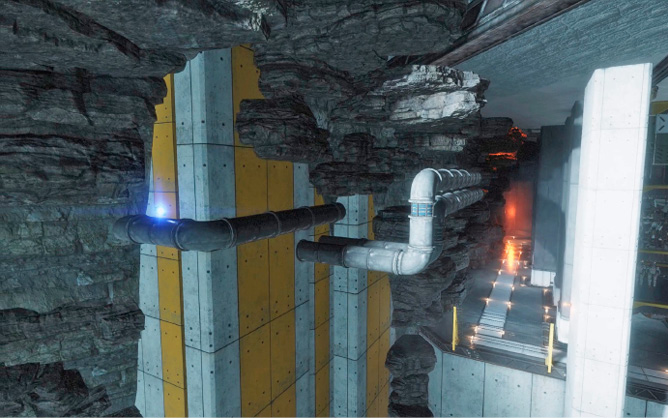
The path narrows even more as you approach this corridor. Be mindful of the moving panels in this area and time your movements to avoid getting hit. Meanwhile, open fire on the grunts, Spectres, and Stalkers. Deter any Stalkers that approach by launching a Firewall down the center of the passage. For even wider coverage, ignite Incendiary Traps—this is a good way to eliminate grunts and Spectres hiding behind cover. If you’ve taken any damage there are a couple of Titan batteries at the end of the corridor.
Factory Floor
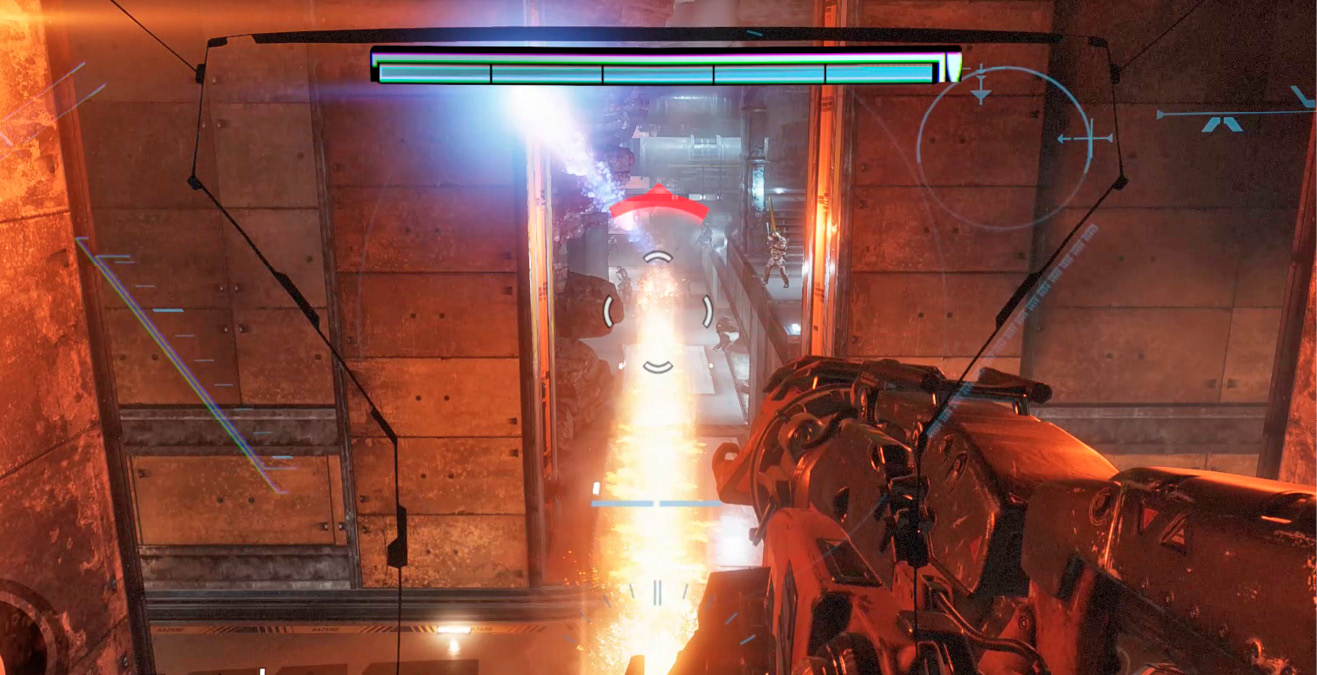
The narrow passage opens onto this large factory floor. You immediately come under attack by several grunts and a Brute Titan. The grunts don’t pose much of a threat, so focus on the Brute Titan. Use your Thermal Shield to block incoming rockets and try to score a direct hit with your Thermite Launcher. Thermite sticks to the Titan’s chassis, continually dealing damage. Stack on more fiery damage by hitting the Brute with a Firewall.
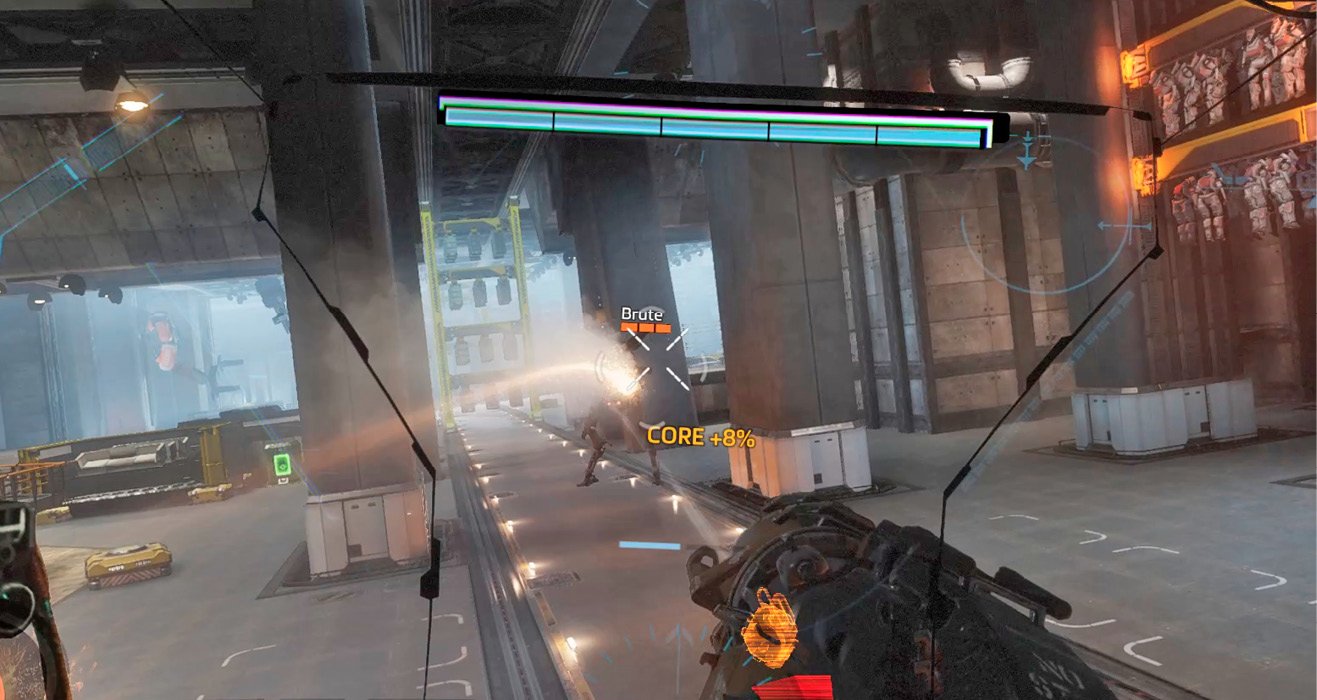
The Thermite Launcher fires very slowly, so take the time to line up your shots. It also has very limited range. For best results, dash to close range and commence aggressive fiery attacks. As the Brute burns, launch an Incendiary Trap toward it to intensify the damage. The Brute Titan drops a battery after it’s destroyed. More batteries can be found in crates scattered across the factory floor.
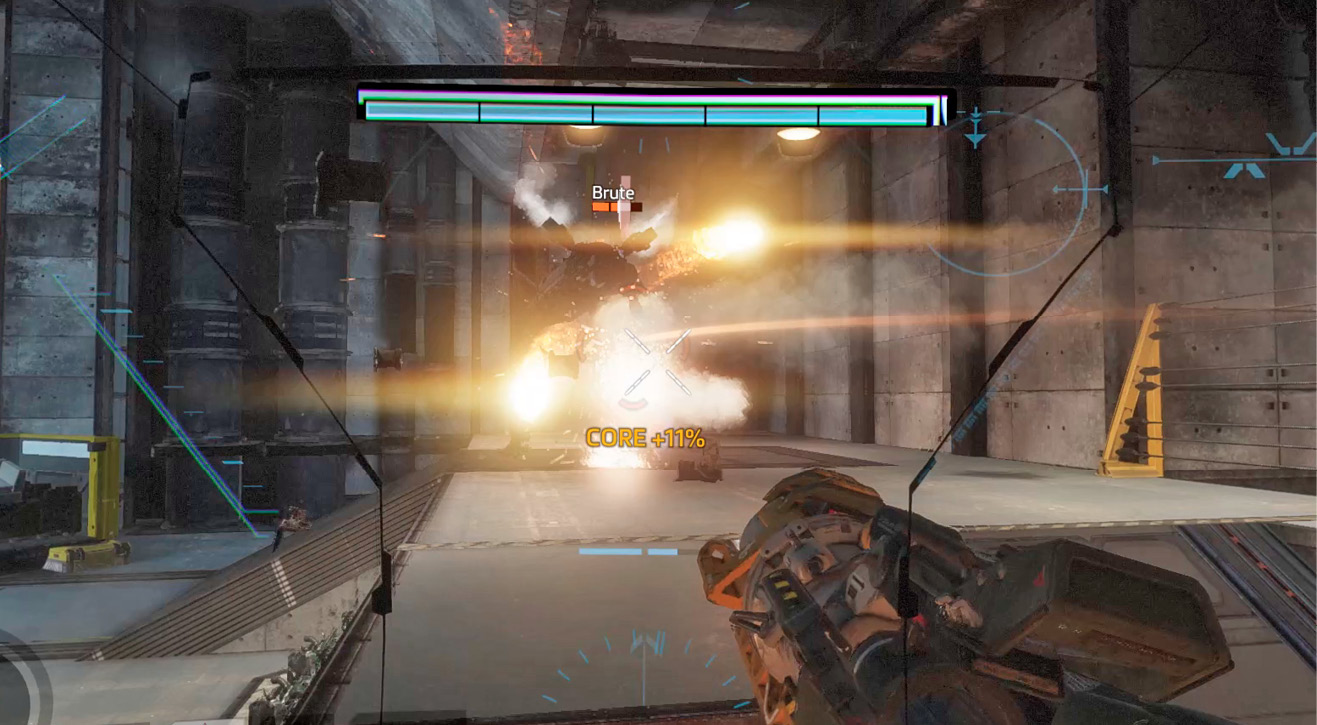
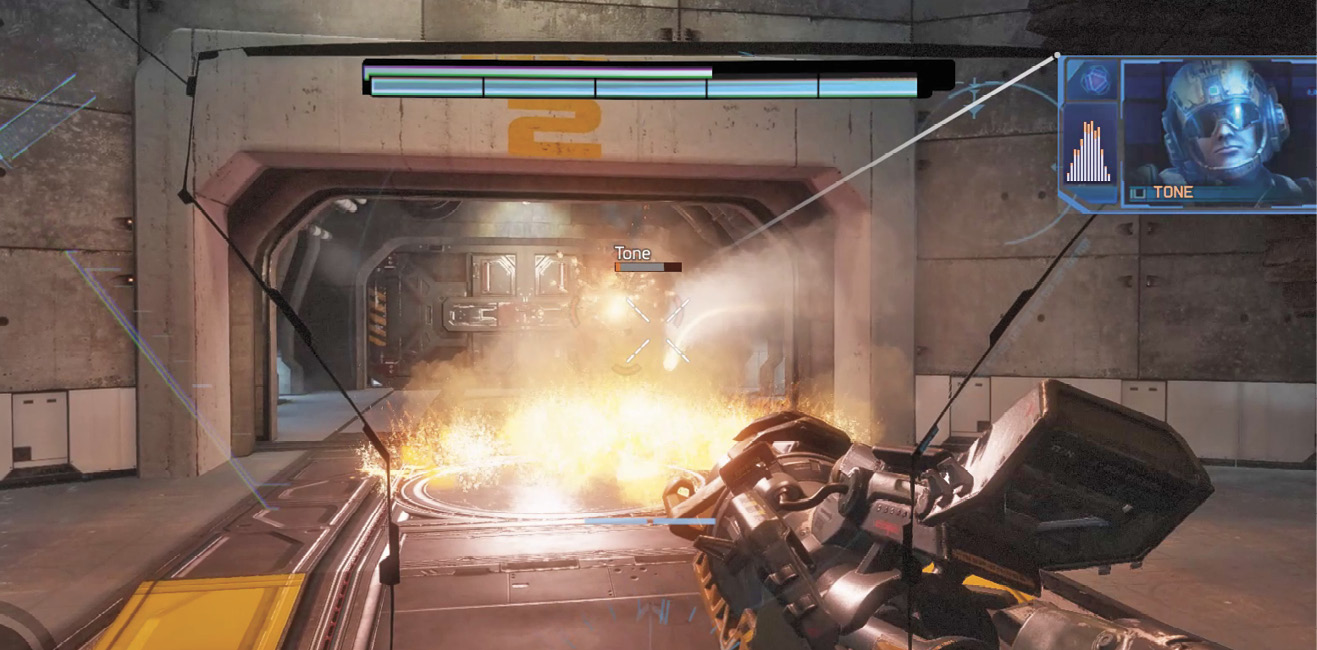
After you defeat the Brute, a Tone Titan engages BT. The Tone Titan tries to keep its distance, sliding in and out of cover and firing its 40mm Tracker Cannon. Push forward with your Thermal Shield deployed, melting all incoming projectiles. Once you’ve backed the Tone Titan into a corner, open fire with the Thermite Launcher. If the Tone takes cover behind a Particle Wall, redeploy the Thermal Shield while attempting to flank. Launch an Incendiary Trap at the Tone’s feet and ignite it with a Firewall. When you’ve finished off the Tone Titan, hunt down the surviving grunts and Stalkers while collecting Titan batteries to restore BT’s armor.
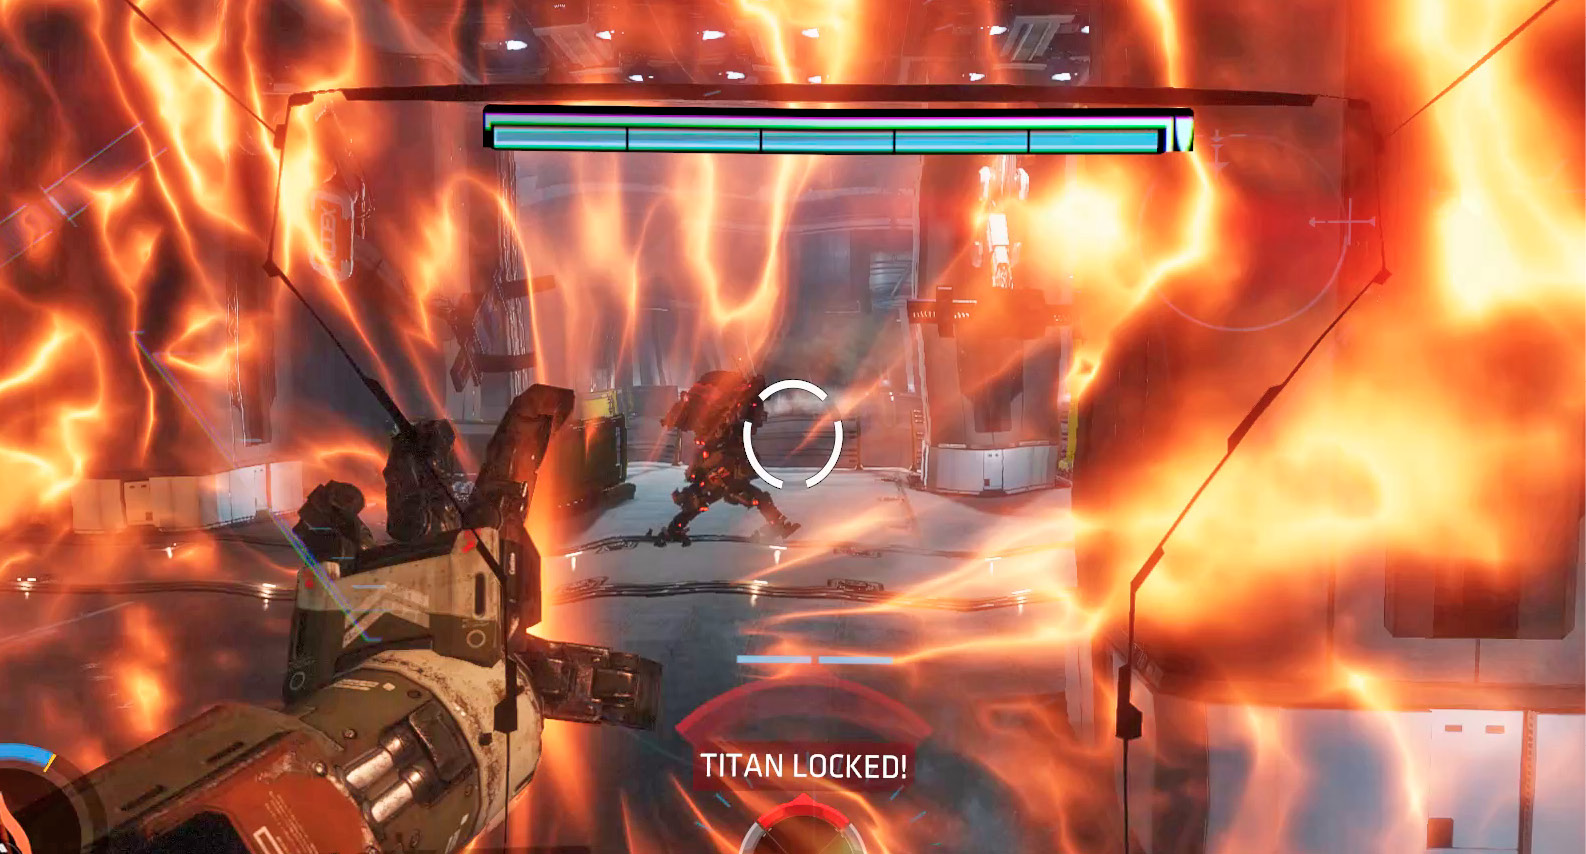
Off to the right there’s a closed door. As you approach it opens and three enemy Titans come marching out—a Tone Titan accompanied by two Brutes. By now your Flame Core should be available. Before activating it, launch an Incendiary Trap toward the three enemy Titans, then ignite it with your Flame Core. If timed right, this attack heavily damages all three enemy Titans.
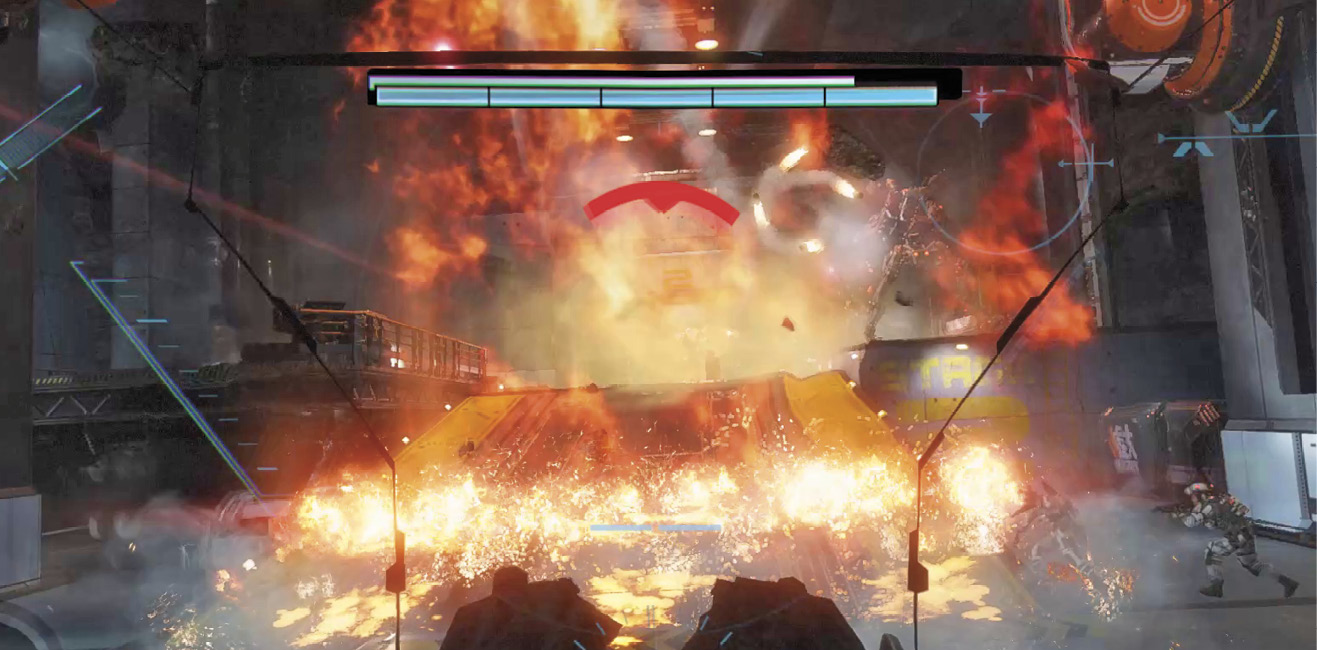
The fight is far from over. Use Thermal Shield to melt incoming projectiles while pushing forward. Try to eliminate the two Brute Titans first. The Tone simply holds back and opens fire from long range. The Tone Titan becomes more aggressive once the Brutes have been eliminated. As you did earlier, stalk the Tone Titan with your Thermal Shield deployed, backing him against far wall. With little room to maneuver, the Tone Titan is easy to finish off. Saturate the floor with fire or hit him with another Flame Core attack. After the battle, consider backtracking through the factory floor to gather Titan batteries.
Loading Dock
Advance through the door the enemy Titans marched out of earlier and prepare to confront a few grunts. Once the path is clear, step out onto a loading dock. The Brute Titan Loadout awaits on a nearby rack. BT reports that this loading dock’s cargo lift offers a shortcut through the facility. He marks the lift’s control panel on the HUD.
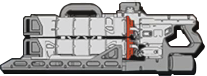
BT-7274 (Loadout: Brute)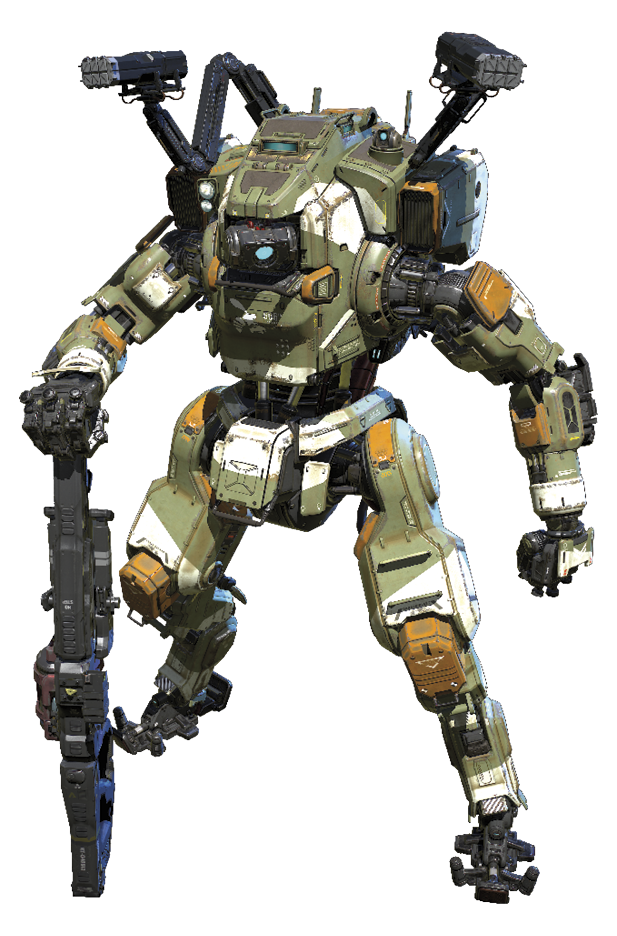 You’ve encountered the Brute Loadout several times in combat. Now it’s your turn to benefit from the rockets and flight capability of this unique loadout. The Quad Rocket can fire a salvo of four rockets at a time, or by using its alternate fire it can fire single rockets. At close range the four-rocket salvo is most effective. But at longer distances, rely on the single rockets for greater precision. The Multi-Target Missile System and Vortex Shield function identically to the same features found on the Expedition Loadout. Using Flight Core and VTOL Hover, the Brute can lift off, engaging targets from a significant height advantage. This can come in handy for targeting Tone Titans hiding behind their Particle Walls.
|




|
 Pilot Helmet 4/9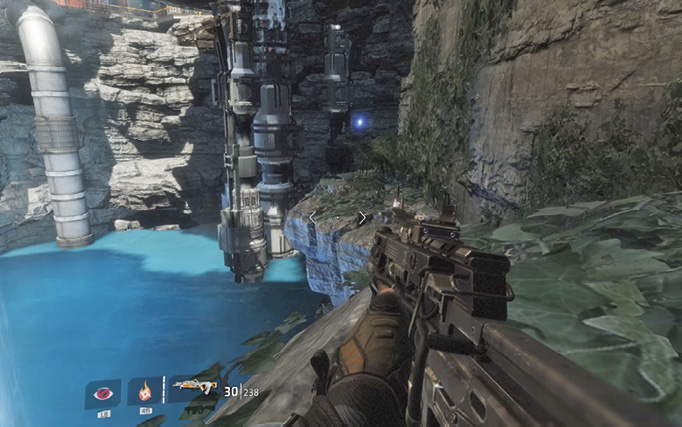
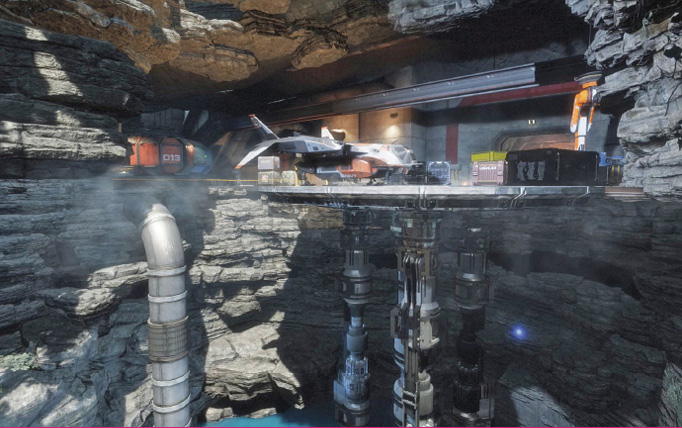
Watch for incoming fire originating from the control room. Use BT’s Brute Loadout to engage these threats from a distance before disembarking. There are two weapon boxes on the landing pad, containing an EVA-8 Auto Shotgun, a Mozambique Pistol, and an assortment of grenades. These weapons are well suited for clearing out the control room. When you’re ready to attack the control room, perform a wallrun along this wall.
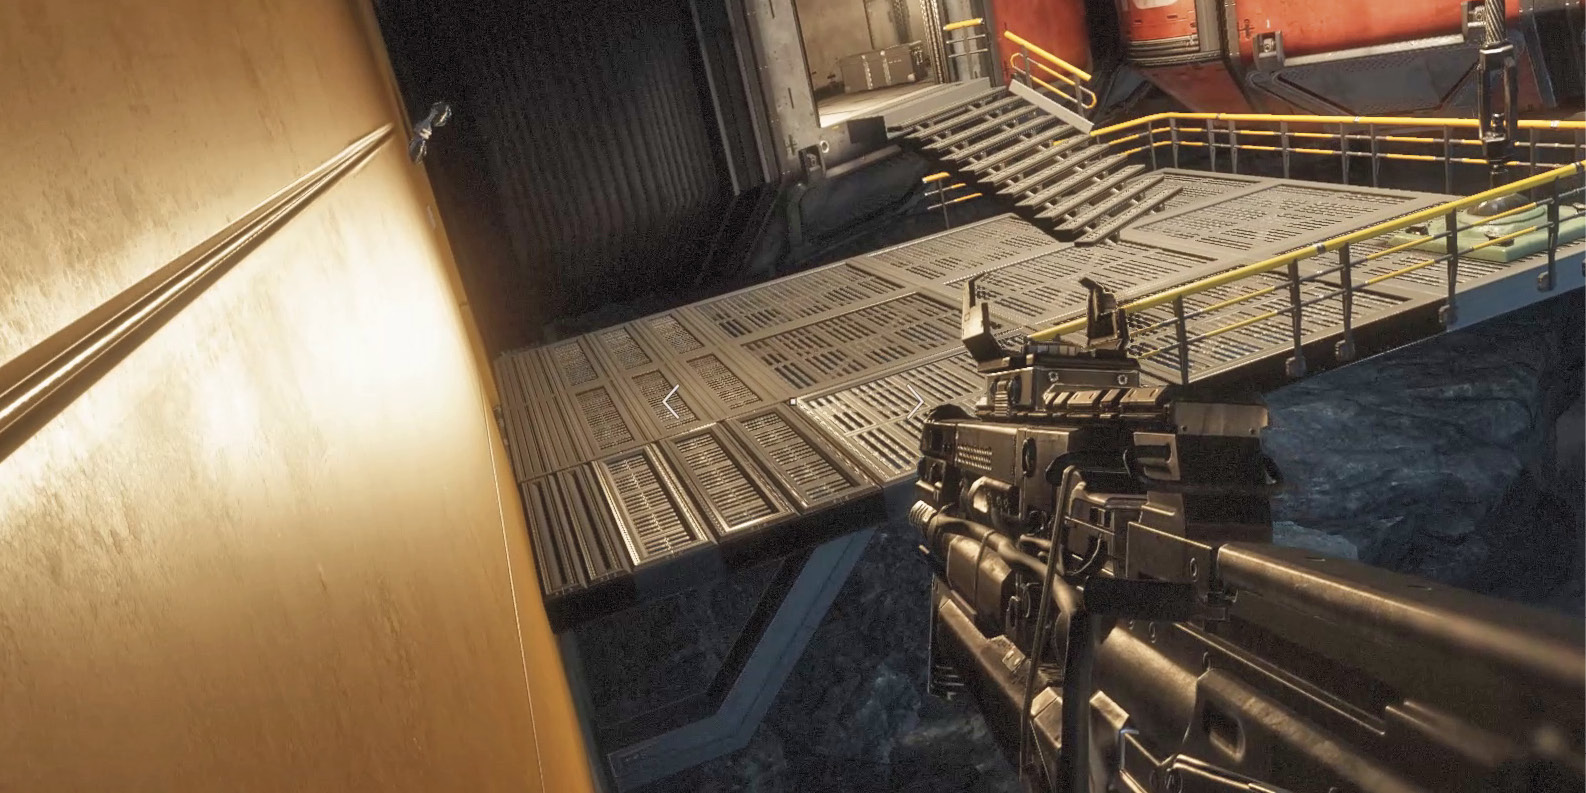
Using Cloak, advance into the control room, clearing out any grunts along the way. Interact with the green-lit console to activate the cargo lift. Before exiting the room consider stocking up on grenades from the weapon box.
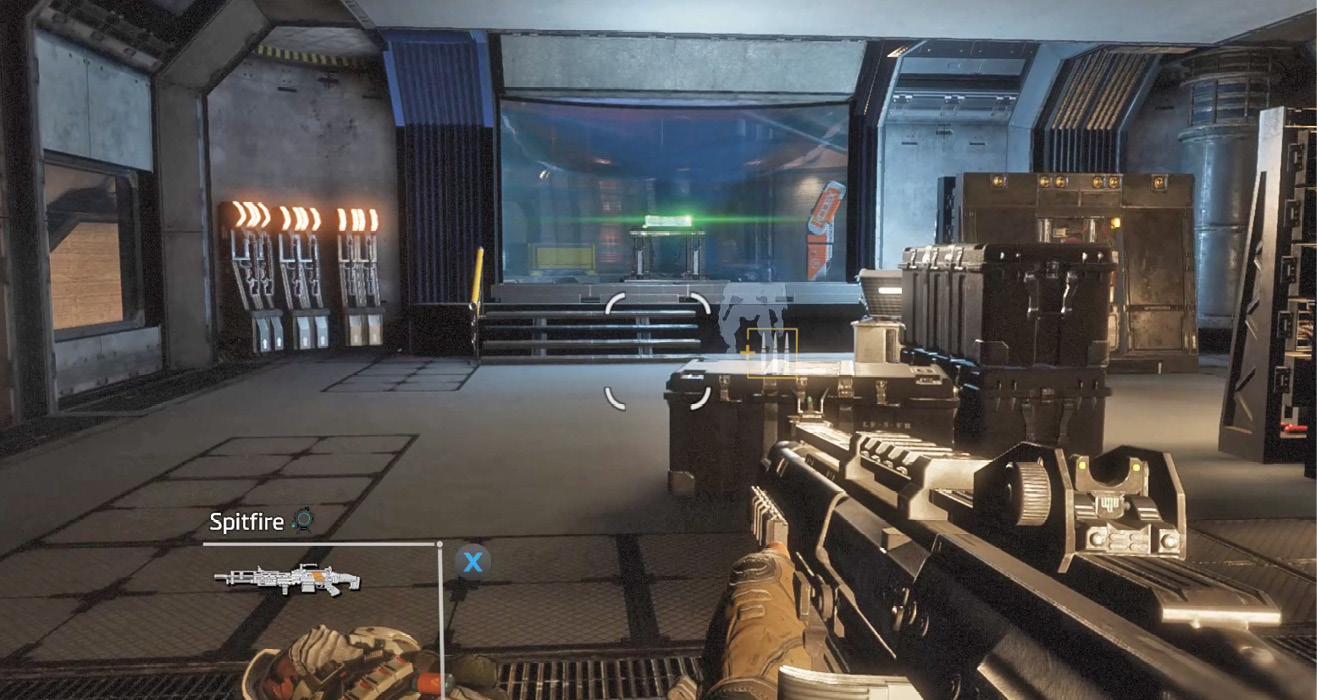
Return to the loading dock to reunite with BT. But as you exit the control room, a large mechanical arm grabs BT and carries him away. Ash is heard over the radio; she’s routing reinforcements to your location. Immediately rush to the cargo lift and interact with the green-lit console. The cargo lift begins to descend, allowing you to follow BT deeper into this mysterious facility.
Pipework
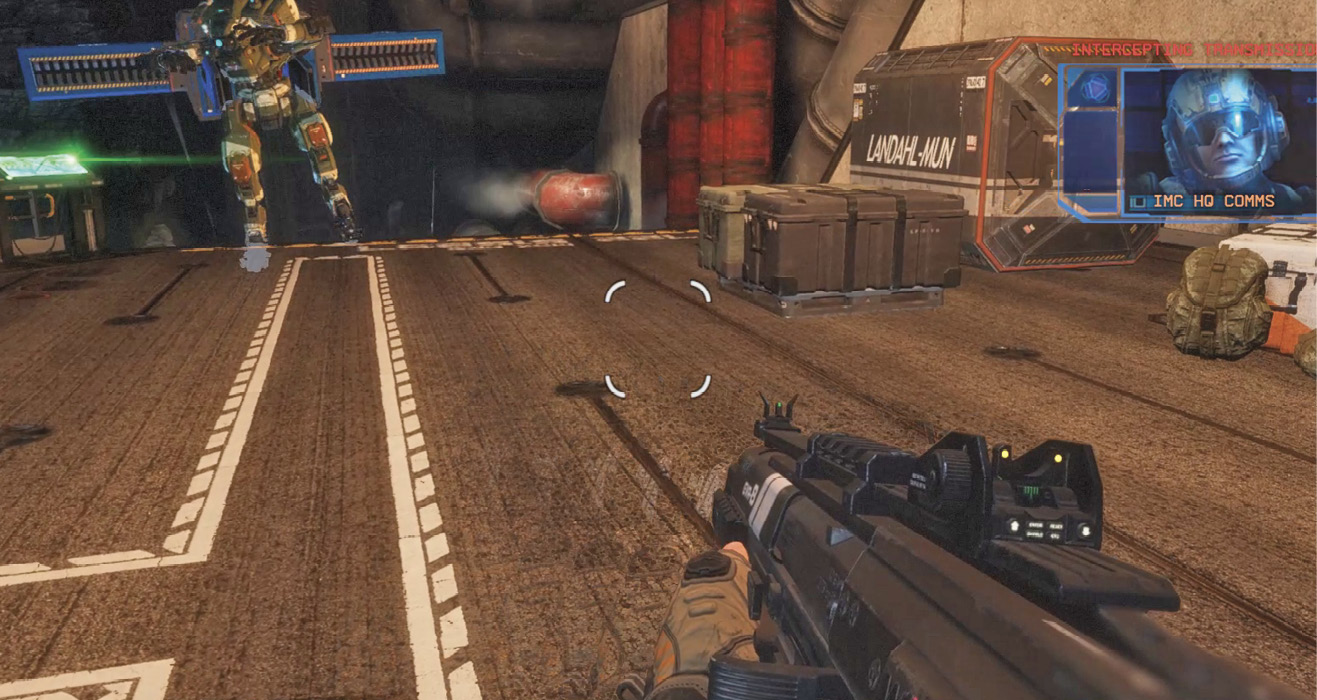
The cargo lift stops at a platform occupied by multiple IMC grunts. The grunts are busy watching BT as he’s carried away by the mechanical arm, so use this distraction to your advantage. Activate Cloak and hunt down the grunts, taking them out with melee strikes or close-quarters shotgun blasts. By the time you deal with the grunts, BT is out of sight. Perform a wallrun off the side of the platform, leaping toward a large, horizontal pipe attached to the adjoining cavern wall.
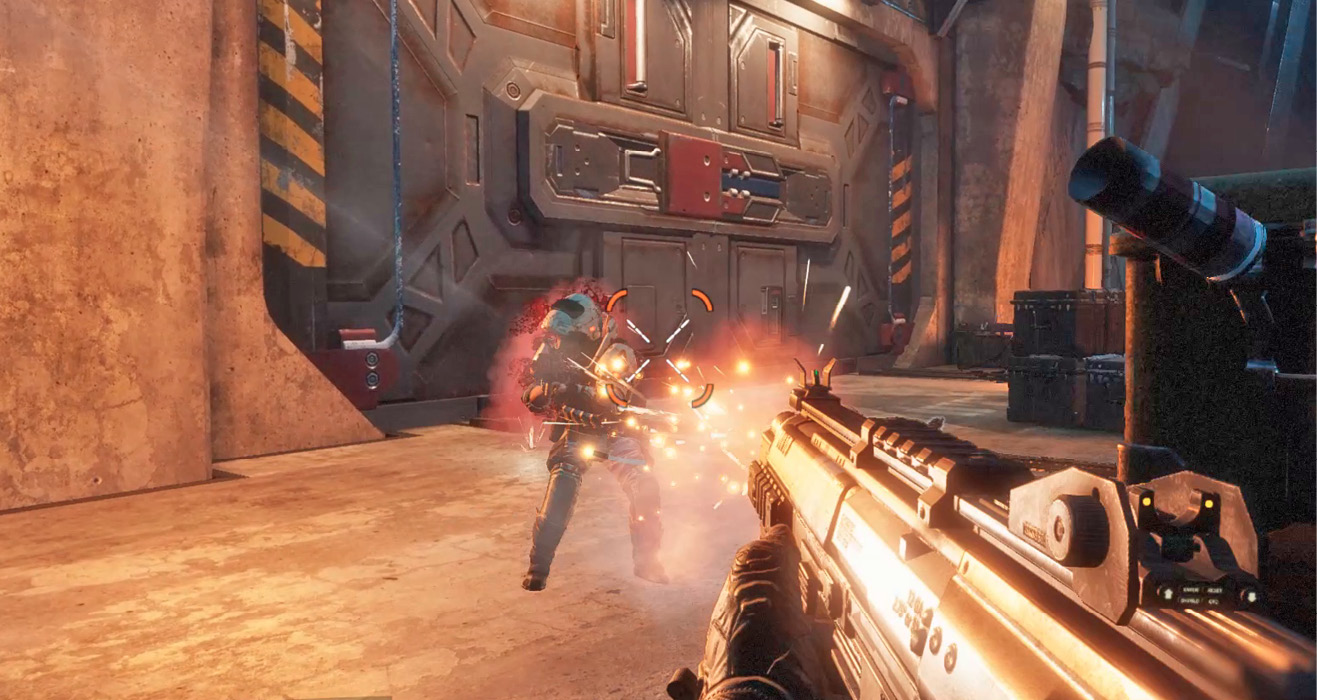
Follow the pipe to this wallrun obstacle. Start by jumping and wallrunning along the wall to the right, then jump and wallrun along the next wall to the left. Finally, jump down to the rocky ledge below—view the ghost runner animation to view the sequence of events. BT reports that he’s being taken to the facility’s substation. He suggests following the pipes through the lower levels.
Continue along the large pipe until you reach this area featuring a series of vertical panels. To traverse this area you must link several wallruns and jumps. Reference the Ghost Runner, if necessary. Start by jumping toward the yellow panel on the right and commence a wallrun, eventually jumping toward the panel on the left. Keep wallrunning and jumping from one panel to the next until you can jump down to a rocky ledge on the opposite side of the cavern. Follow the large pipe into the next area.
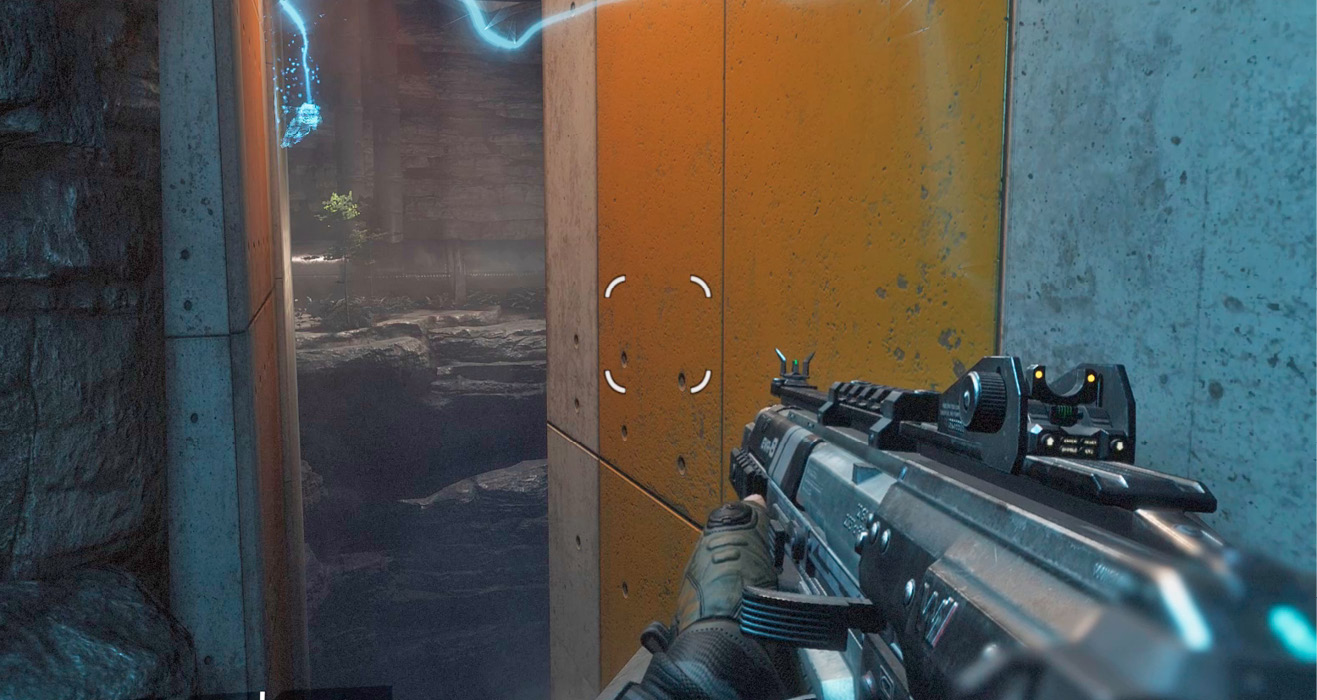
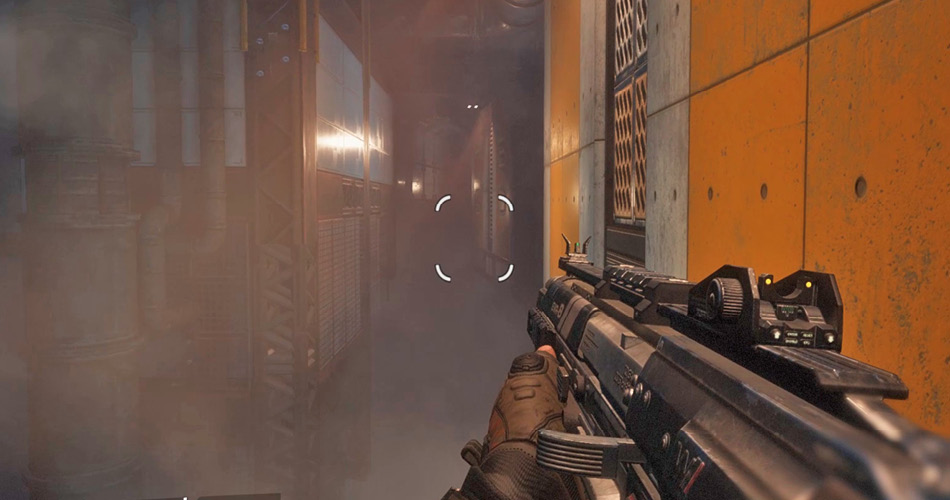
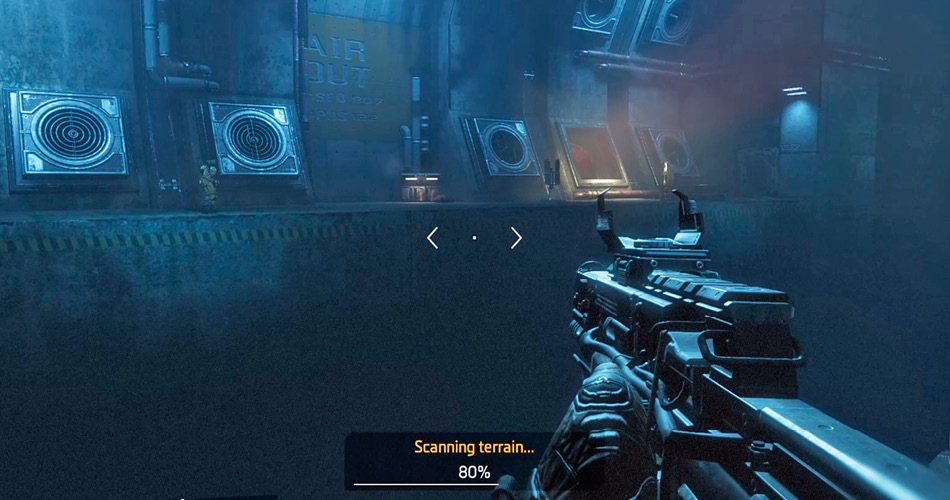
A lone Marvin occupies the distant platform. Wallrun along the wall on the left then double jump toward the platform. BT reports that IMC infantry are scattered throughout this facility and he urges caution. Locate a weapon box containing a Devotion Light Machine Gun and Firestar Grenades. The Devotion is equipped with a thermal sight, making it easy to acquire targets in low light conditions. Next, look for a circular, red-lit duct, just to the right of the weapon box. Hop into the duct to drop down into the next area.
|
 Pilot Helmet 5/9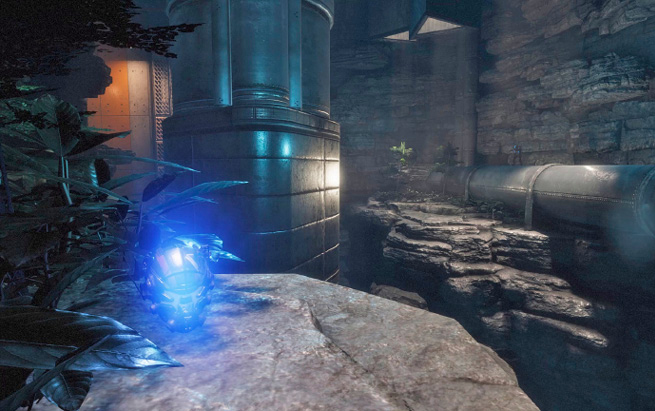
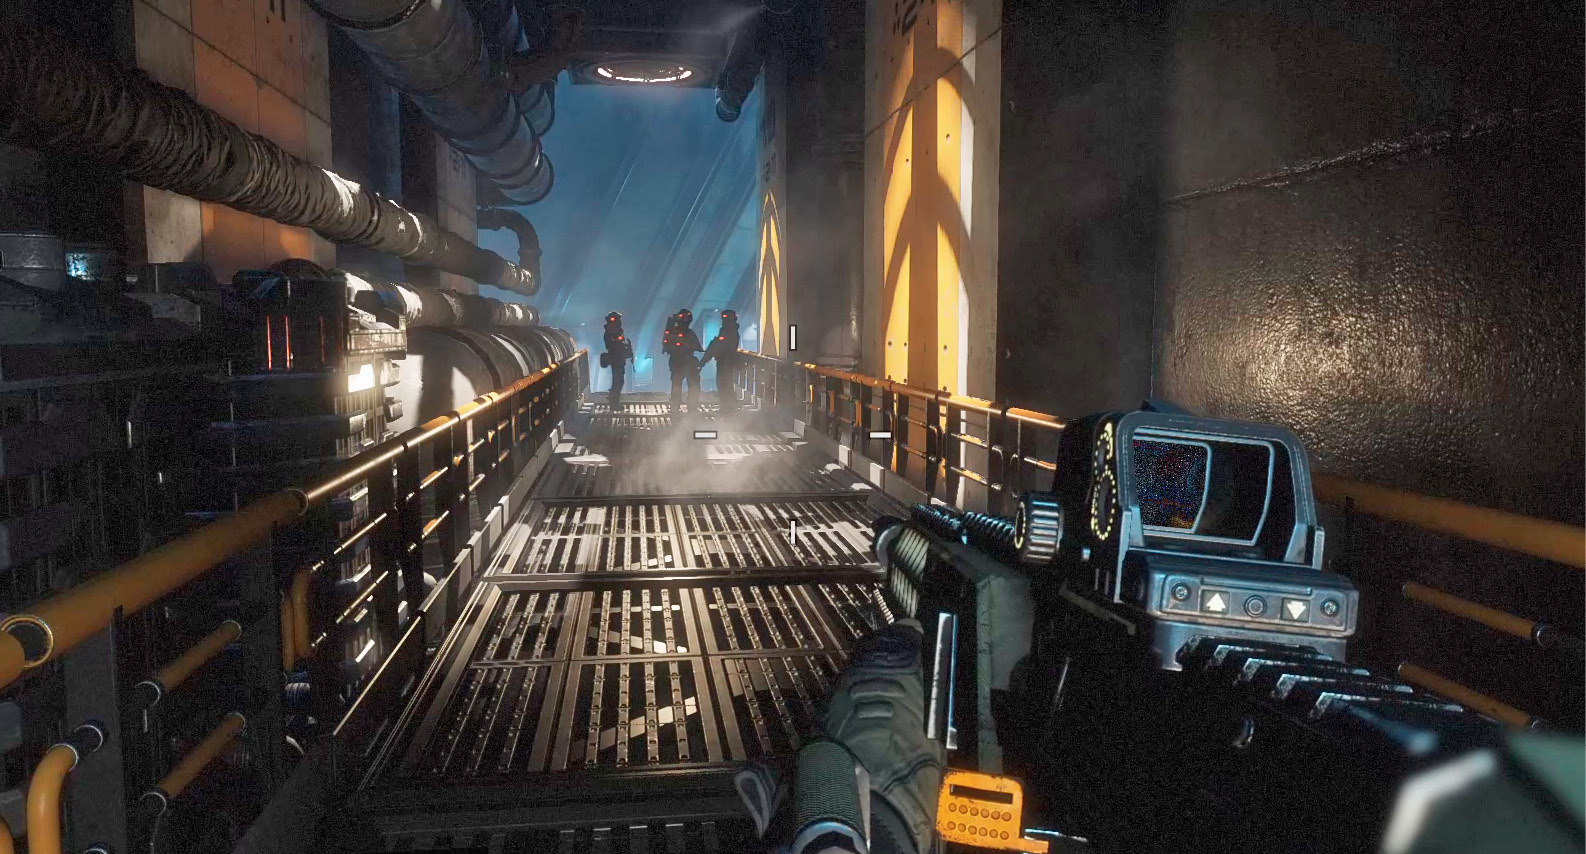
The duct dumps you onto a narrow catwalk occupied by three IMC grunts. They haven’t spotted you, yet. Sneak up behind them and mow them down with your weapon of choice; a shotgun works well at this range.
Assembly Facility
Beyond the catwalk the scope of this massive facility comes into view. It appears to be some kind of assembly line, complete with moving platforms and mechanical arms, just like the one that grabbed BT. Blisk and Ash can be heard talking over the radio. Ash reports she’s secured a Vanguard class Titan, referring to BT. Blisk is less interested in the Titan than the fate of its Pilot. He gives Ash permission to scuttle this entire facility, if necessary. BT chimes in with a helpful hint: he suggests following the flow of the platforms. Start by jumping onto one of the moving platforms and ride it to the first substation.
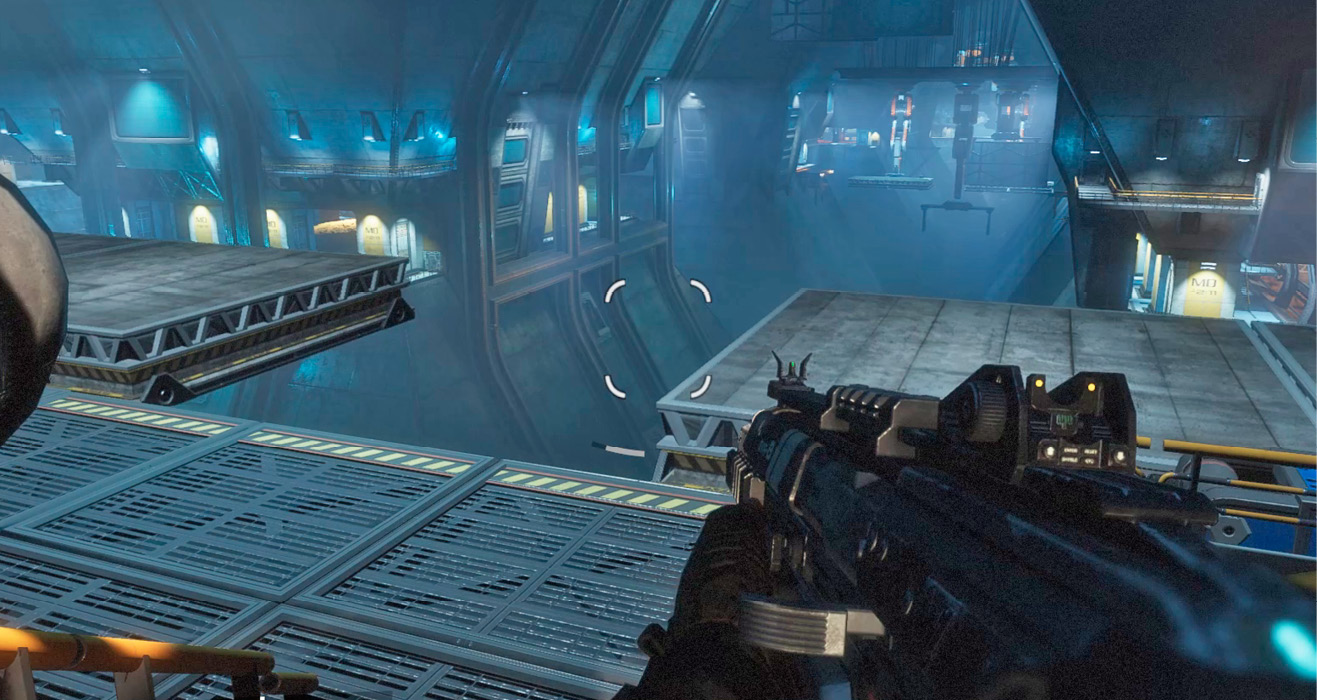
Floor Assembly
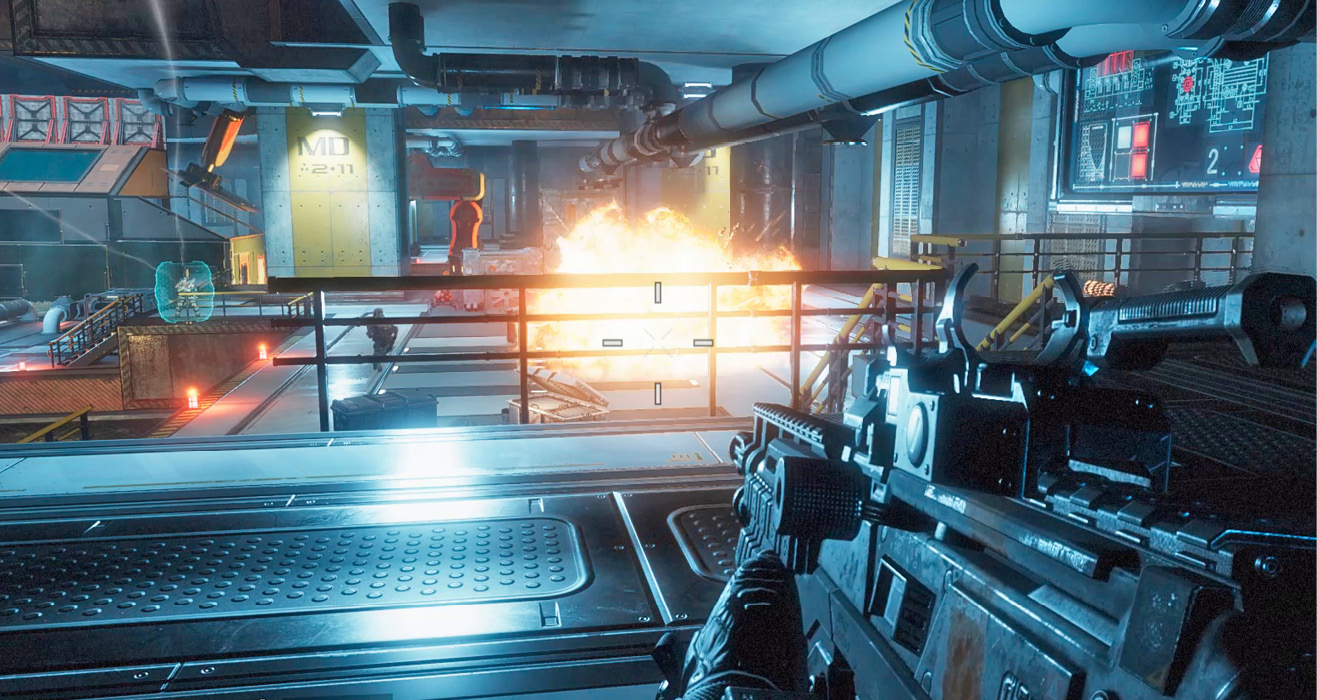
As the platform is rotated vertically, you’re unceremoniously dropped onto an assembly substation, occupied by grunts and a few Stalkers. Among the grunts is a shield captain. These officers are equipped with an energy shield. The shield is directional and only protects the front of the officer. So look for opportunities to flank. For best results, activate Cloak, then double jump over the shield captain, shooting him in the back. While navigating around this area, watch out for moving equipment. If you’re not careful, you might get smashed by the heavy equipment.
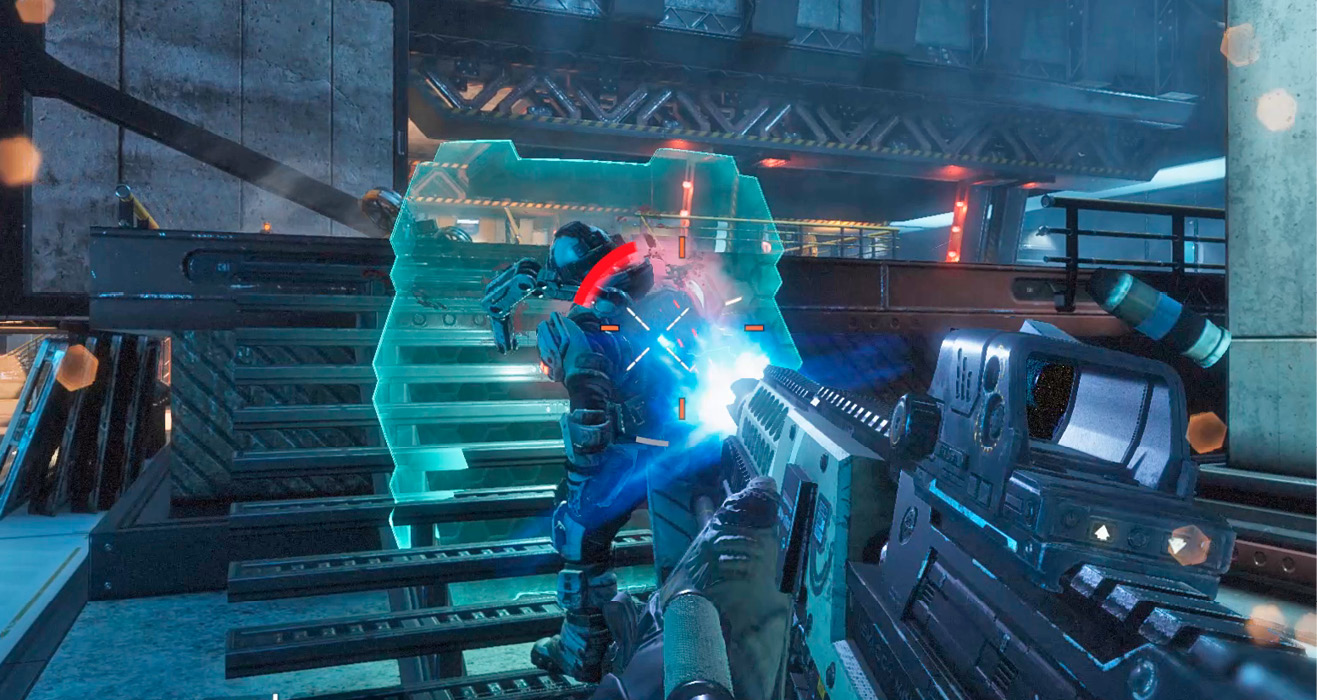
Once you’ve eliminated the hostiles in this assembly area, pay attention to the flow of the platforms. Step onto a moving platform as this point, just ahead of the grinder-like piece of equipment. To avoid getting pulverized by the grinder, leap off the right side of the platform and wallrun along the adjacent panel. At the end of the wallrun, leap back onto the platform to the left. After passing through the machinery, the platform is now covered in grass.
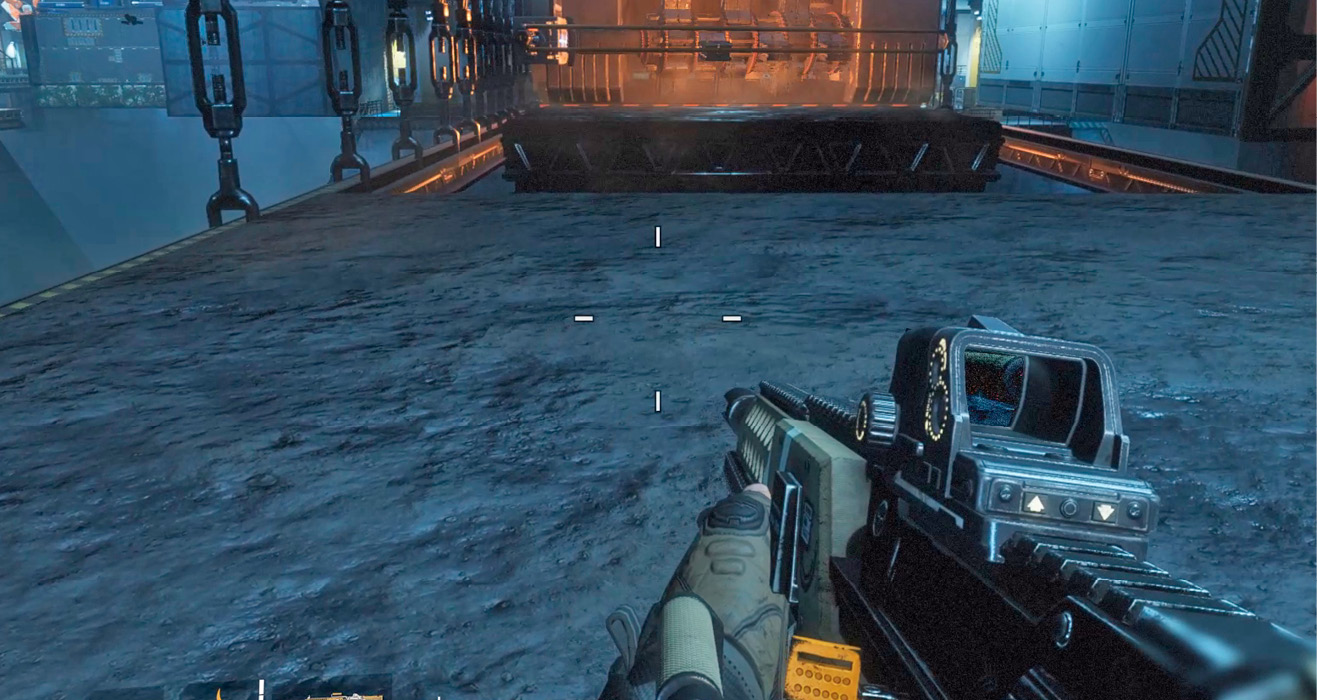
Ride the grass-covered platform to the next substation and jump off to the right. Here, you’re confronted by more grunts and Stalkers. Activate Cloak then move to a position where you can get a tactical advantage before opening fire. A shield captain is among the grunts; use Cloak to get behind him.
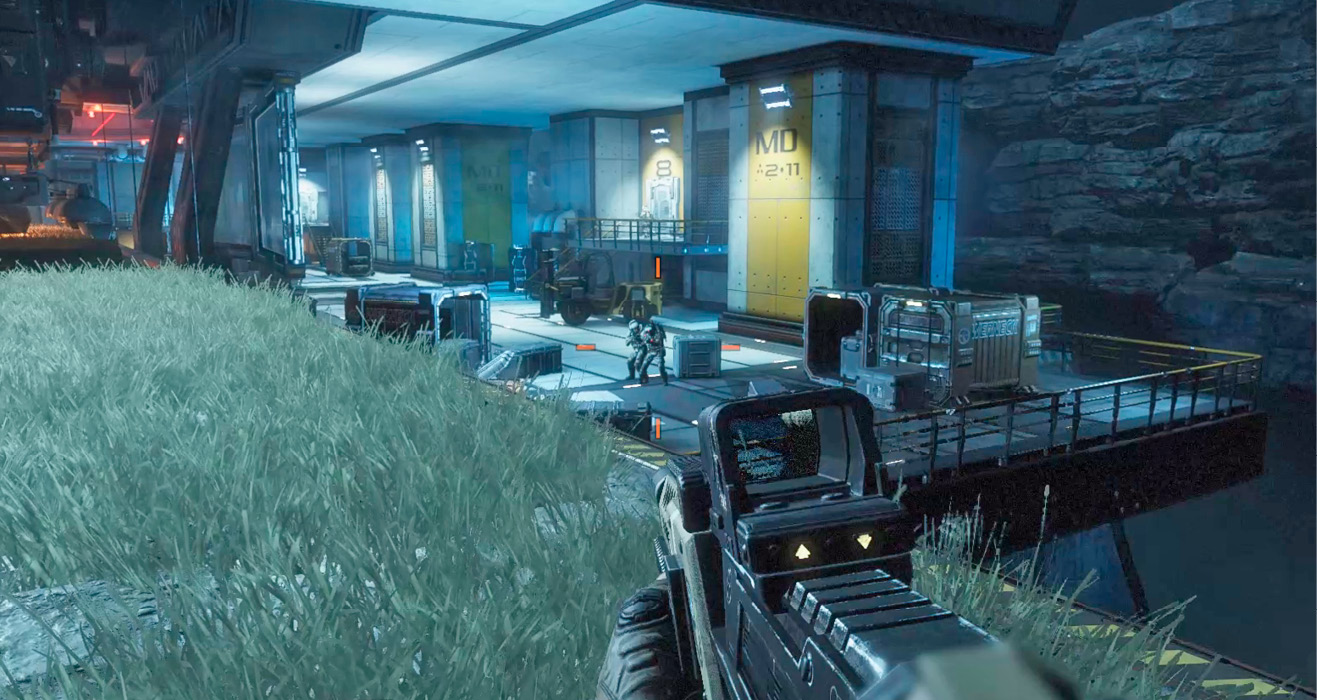
Proceed up a set of stairs and follow the adjoining catwalk to this area. Here, horizontal platforms are rotated vertically, presenting a wallrun challenge. Step onto the walkway just above the moving horizontal platforms and watch the sequence of events. Apparently the vertically oriented platforms are undergoing some type of scanning process. After being scanned, the platforms are rotated horizontally again. Step onto a moving horizontal platform, then jump and wallrun along one of the vertical platforms to the left or right, careful to evade the scanning machinery. Leap toward one of the recently rotated horizontal platforms, riding it to the next assembly area and get ready for another fight.
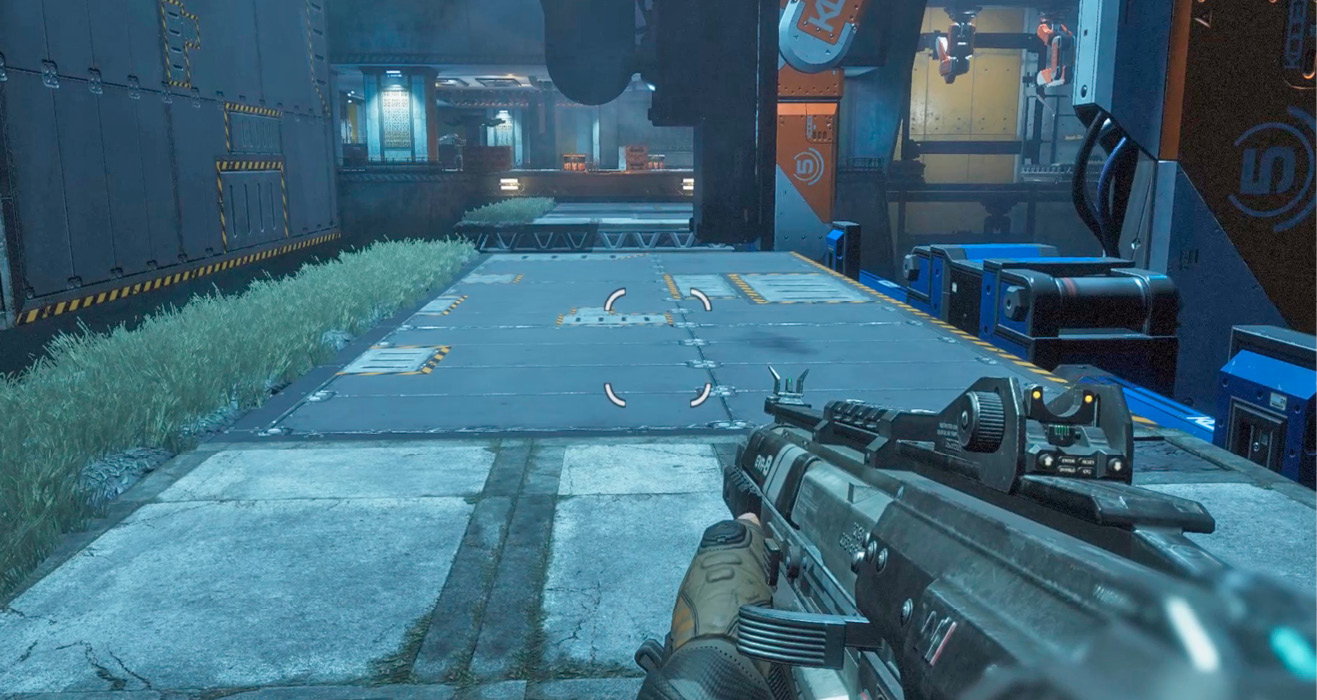
Furniture Assembly
Activate Cloak as soon as you land at the next substation. Take down the nearby grunts, then consider grabbing a G2 Semi-Auto Precision Rifle from the nearby weapon box. The G2 is ideal for engaging some of the more distant threats at this substation. Peek in and out of cover while returning fire with the G2. All it takes is one headshot to drop a grunt. Watch out for the automated plasma turret here, too. Instead of trading shots with the turret, activate Cloak and flank it. Once you’re behind the turret it can’t rotate to engage you; either ignore it or take it out with a melee strike.
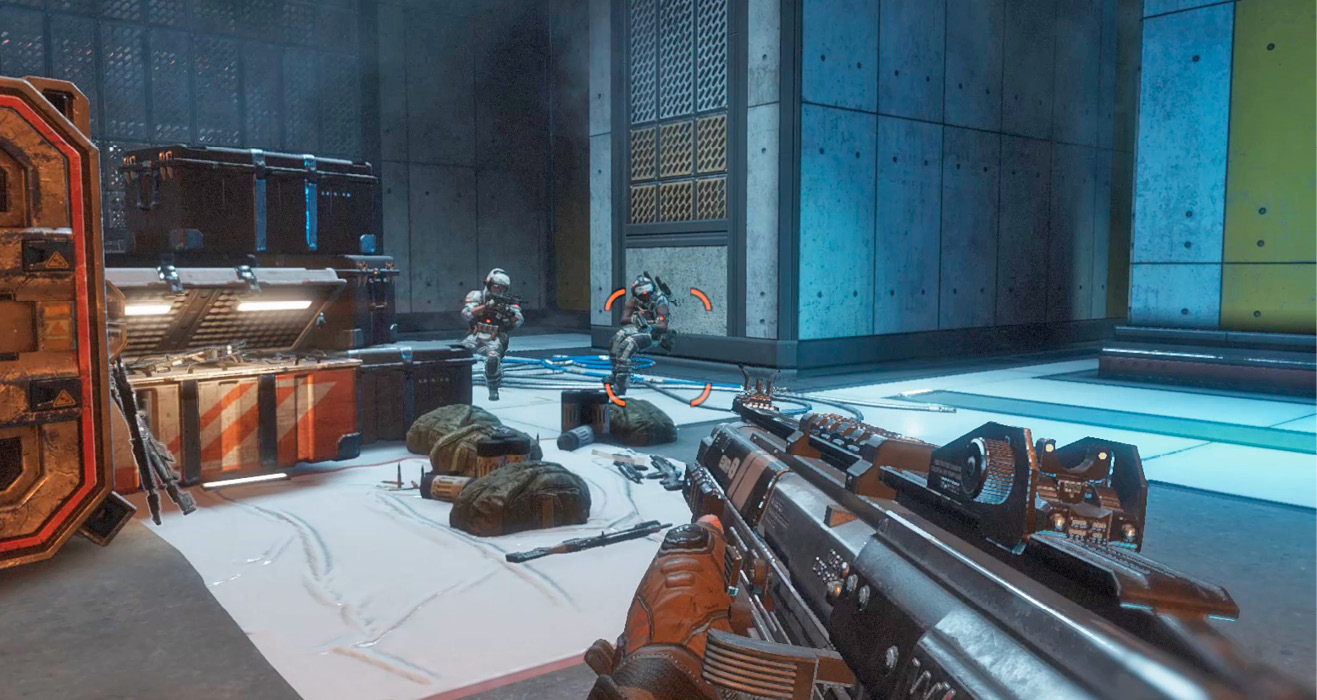
Eliminate the threats at the substation, including a Spectre and Stalker, then board one of the moving platforms. The robotic arms here are installing furniture in the areas marked with striped yellow and black. Avoid standing in these areas to avoid getting smashed by an incoming couch or desk. BT reports that he’s in an area stocked with prefabricated structures. It appears the IMC is constructing homes, but it’s unclear why. Stay clear of the robotic arms, then jump off to the left at the next substation. Chances are you’ve been spotted.
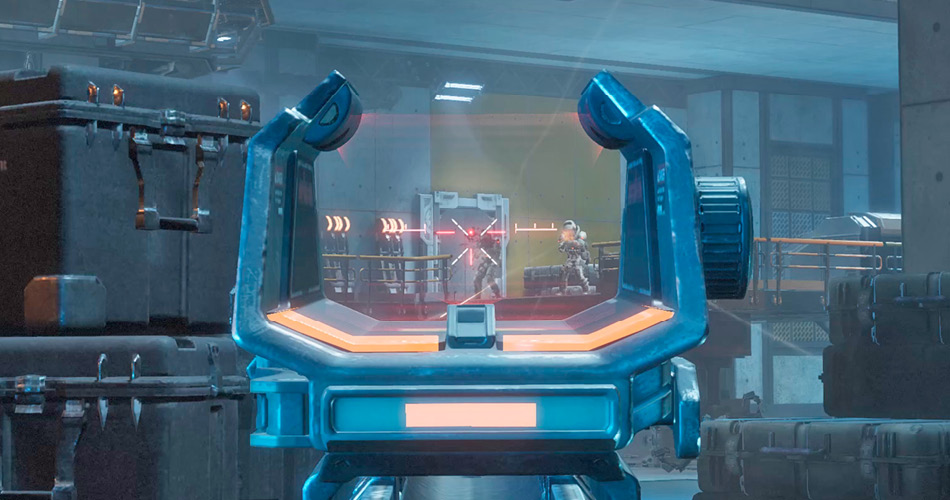
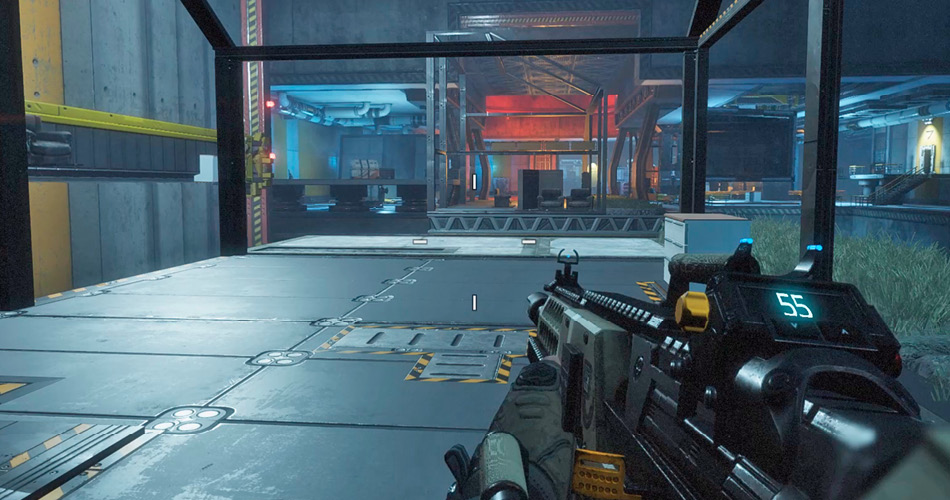
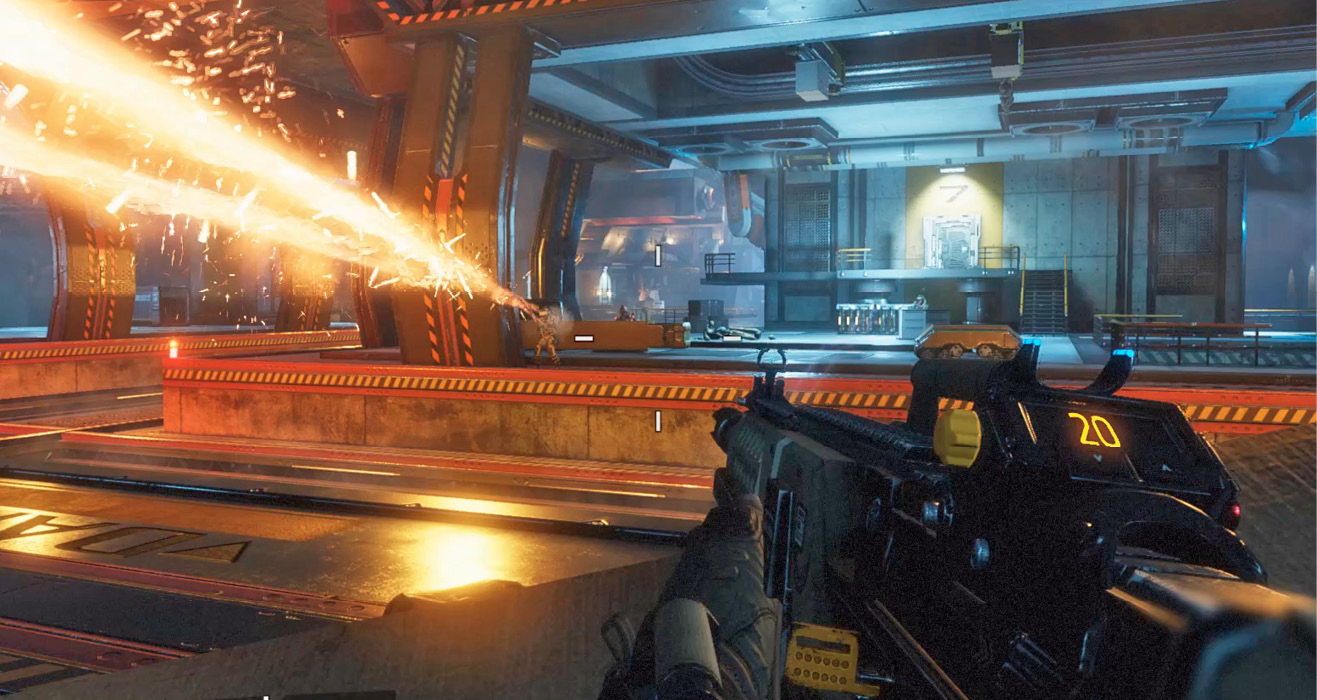
Activate Cloak and turn your attention to the grunts and Stalkers guarding this area. Somewhere there’s a Specialist releasing Ticks. Use the Ticks to your advantage, shooting them when they’re near enemy units. But if a Tick gets too close, move away before it detonates. There’s enough cover here to hold back and engage threats one at a time. There are a number of weapons available by the grenade-filled weapon box including an L-Star, Mozambique, and Devotion. If you no longer have the G2, the Devotion and L-Star are formidable mid-range weapons.
Wall and Stairs Assembly
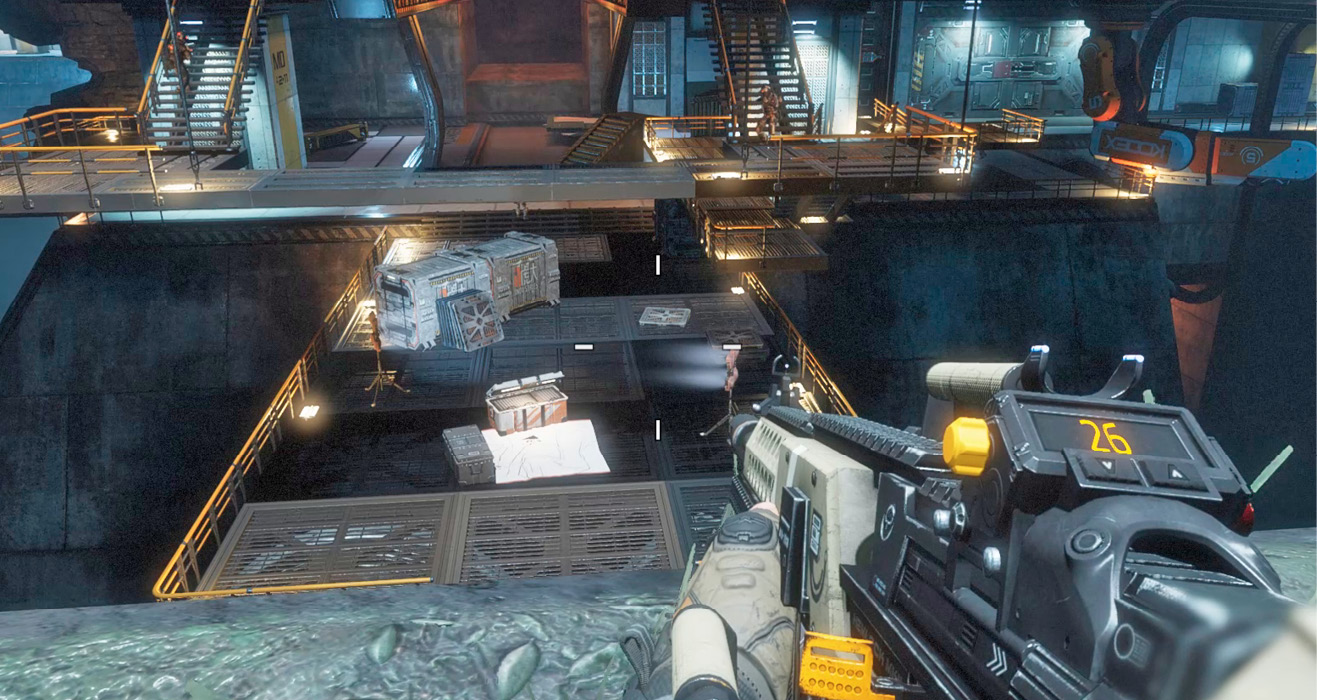
Take your time clearing out the area, then hop aboard another prefab structure moving along the assembly line. As a mechanical arm grabs the platform and rotates it, double jump toward this series of catwalks; make your jump quickly before walls are installed. Once again, expect heavy resistance from grunts, Stalkers, Ticks, and Spectres at this substation. Stay mobile and make liberal use of Cloak while engaging threats at close range with your weapon of choice. When possible, hack Spectres with your Data Knife.
|
 Pilot Helmet 6/9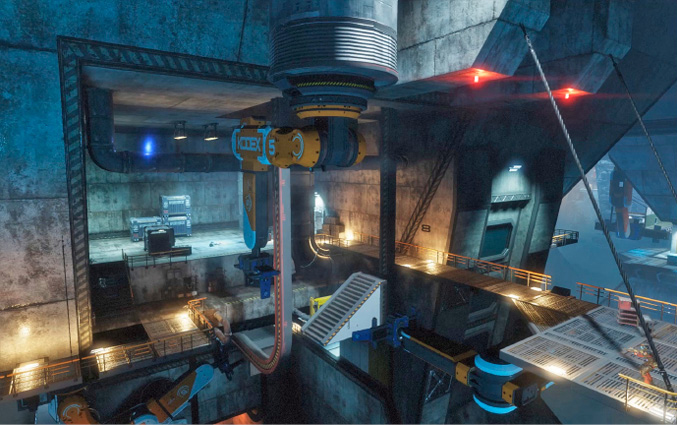
Roof Assembly
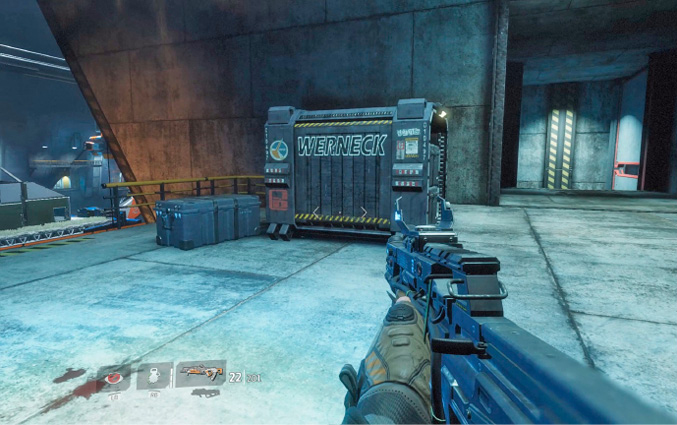
Having eliminated all threats, return to the assembly line, hopping on a prefabricated structure as it has its stairs and upper floor installed. Jump off the structure as it approaches the next substation. Take out the nearby grunts, then keep your distance from the remaining threats. Shoot the incoming Ticks at long range before they become a serious hazard. There’s also a shield captain here; activate Cloak to flank him, as well as the nearby plasma turret.
Sideways Town
Catch up to the assembly line as the prefabricated structures have their roofs installed. Hop inside one of the prefab structures and ride it to the final assembly area. The assembly line picks up speed as the structure is whisked along an elevated track. Realizing you’re listening in, Ash chimes in over the radio, suggesting the only way out is up. Suddenly, the structure tilts on its side—a wall becomes the floor and the floor becomes a wall. This can all be a bit disorienting, but follow Ash’s hint and look up. Jump and climb over the pieces of furniture, working your way to the top.
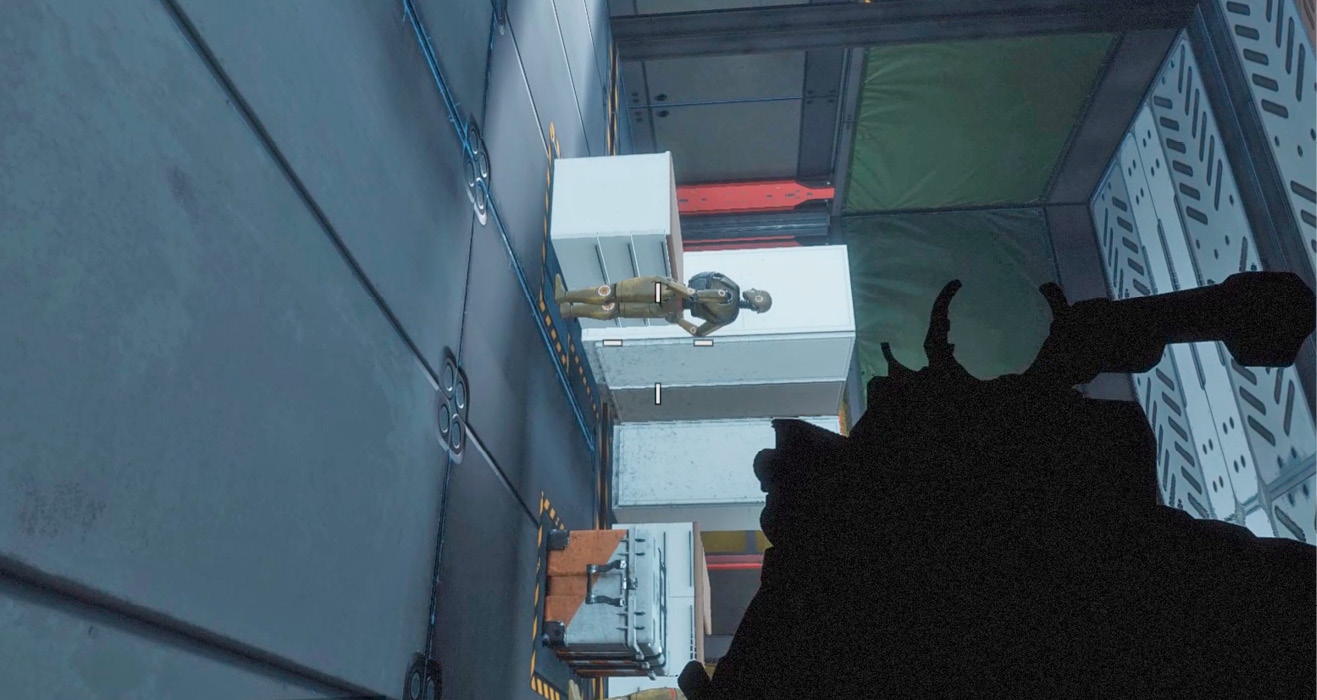
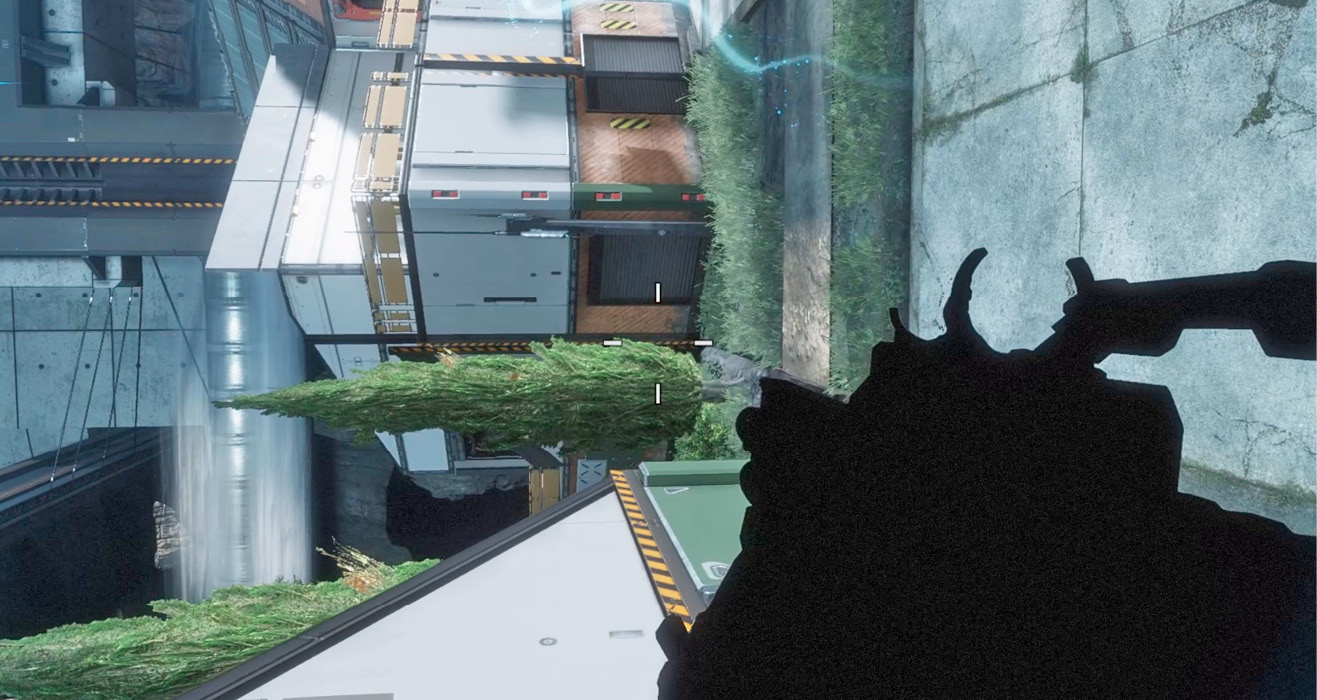
Once you’re outside the structure, take a look around. It looks like the world has been tipped on its side. To better orient yourself, rely on the ghost runner animation. Wallrun against the surface on your right, then jump to the adjacent building, climbing its exterior wall. Make your way toward the orange robotic arm and double jump onto the arm.
|
 Pilot Helmet 7/9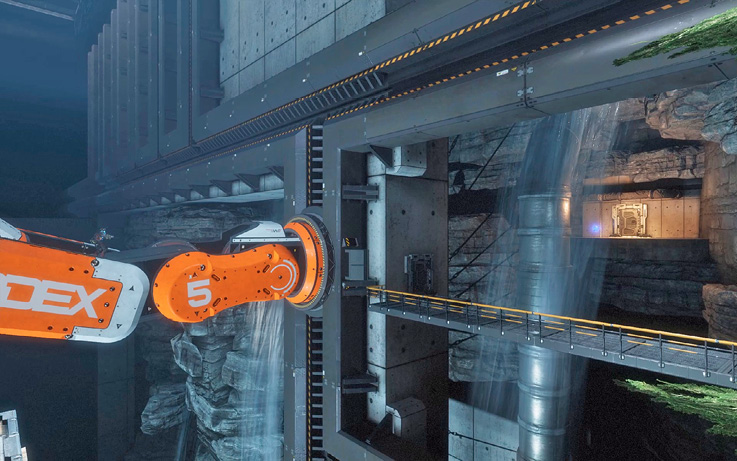
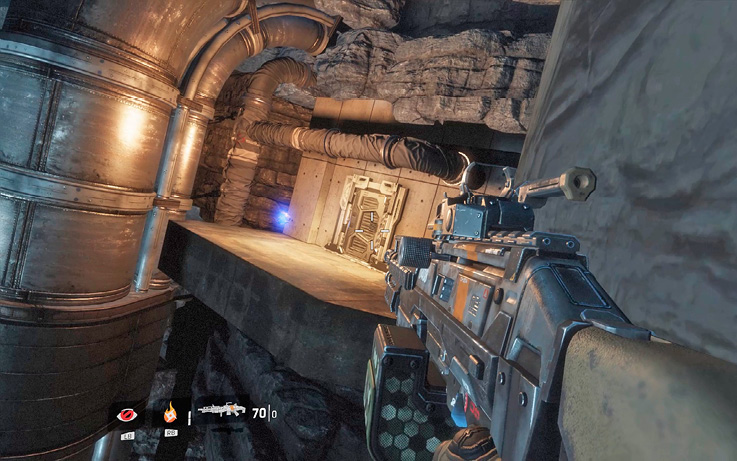
Advance along the orange robotic arm. At the end of the arm, step to the right onto a gray and blue platform. From there you can double jump toward a second robotic arm. Scale the second robotic arm to reach this platform. Wallrun along the wall to the left to reach the next platform. Next, double jump down to the large garbage truck-like vehicle. Wallrun along the grassy wall on the left, then double jump toward the distant catwalk.
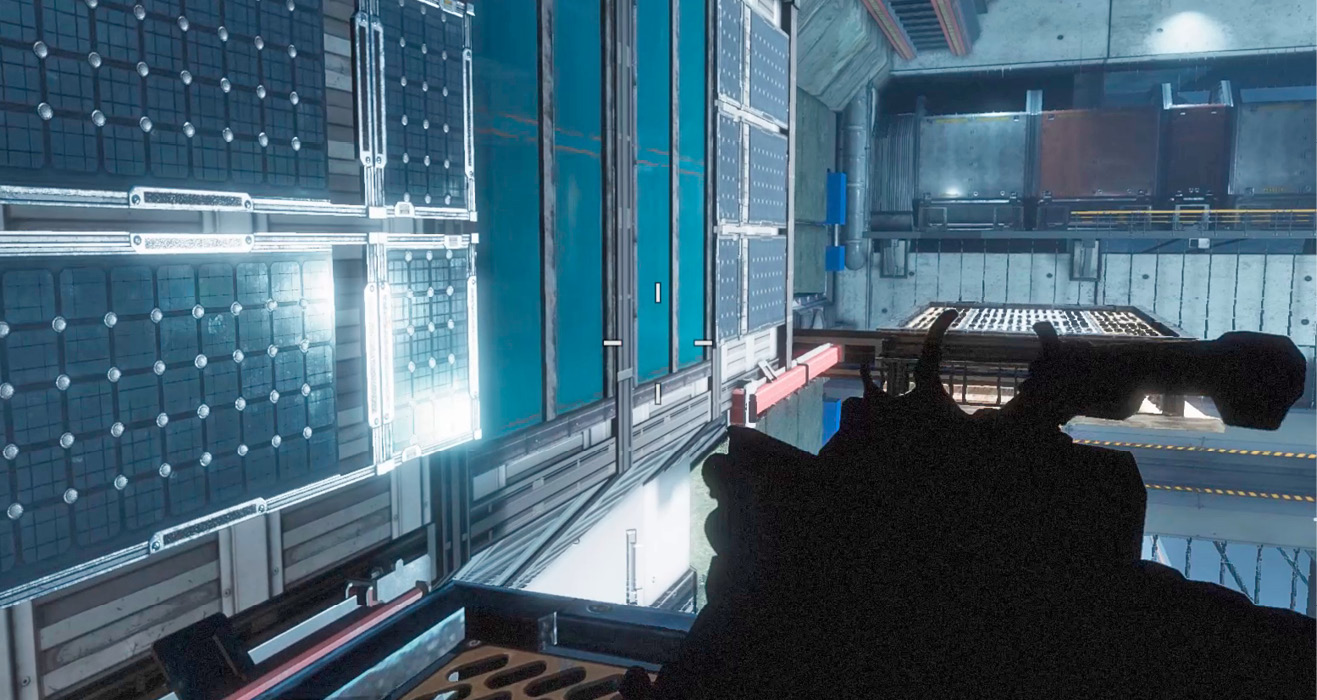
Ash is impressed by your progress. She suggests the only way out is by stepping onto a moving platform. Glance to the side of the catwalk to spot a series of moving platforms and hop onto one of them. As you land, the platform is raised into a mock town. It appears you’re about to take part in some sort of simulation.
Reaper Town
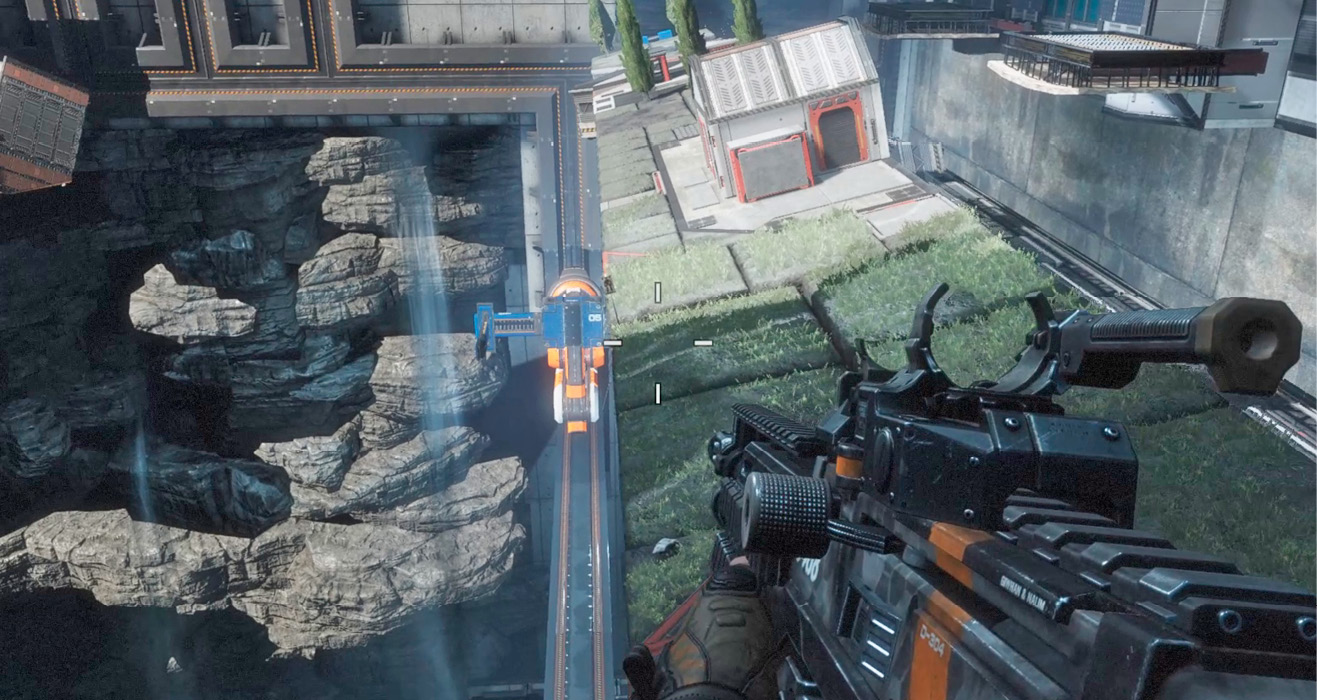
As buildings and other structures rise from the ground, take a quick survey of your surroundings. Jump to one of the rooftops for a better view. You’re trapped beneath some sort of dome; artificial projections on the dome’s interior walls create the illusion of a natural setting. Turn your attention toward the center of this arena-like environment, scanning for platforms that hold weapon boxes.
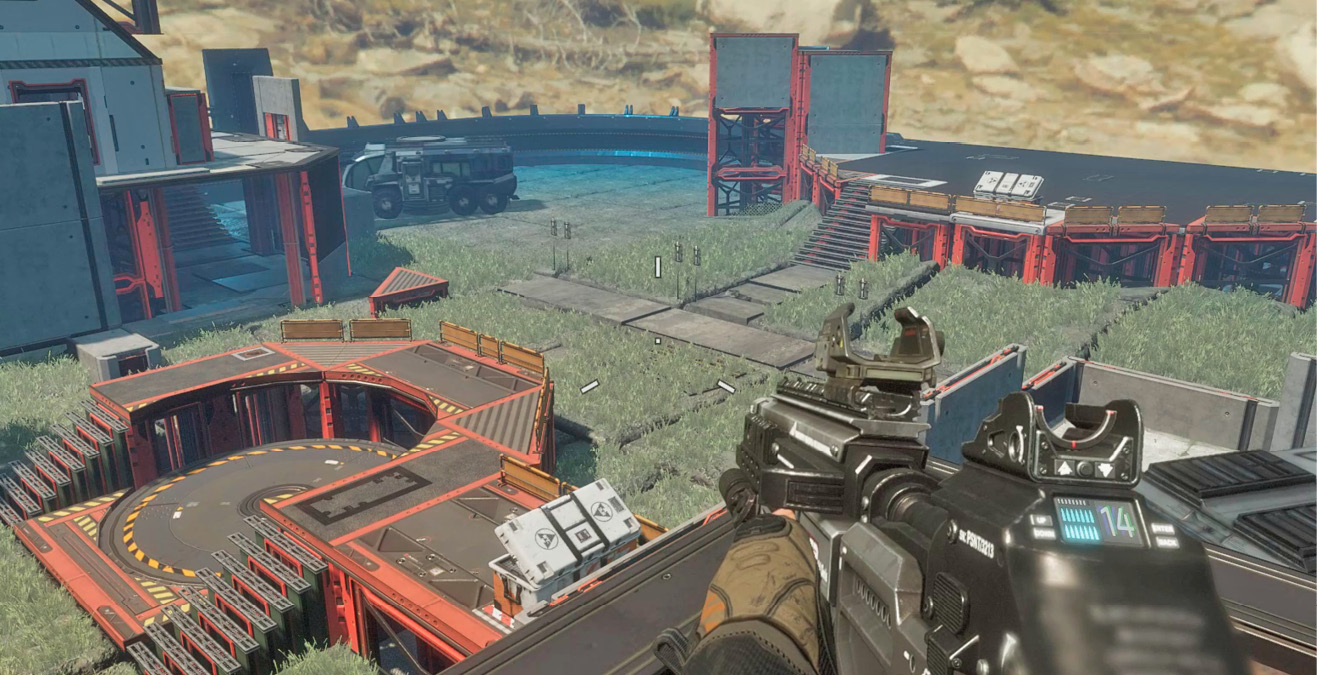
One such weapon box appears on a stage-like platform on the dome’s perimeter. This box contains a Spitfire and an L-Star, both good options for the ensuing battle. The stage is soon occupied by four Militia riflemen; apparently they were captured by the IMC during the assault. One of them mentions something about a test. Is the IMC really using Militia prisoners as test subjects?
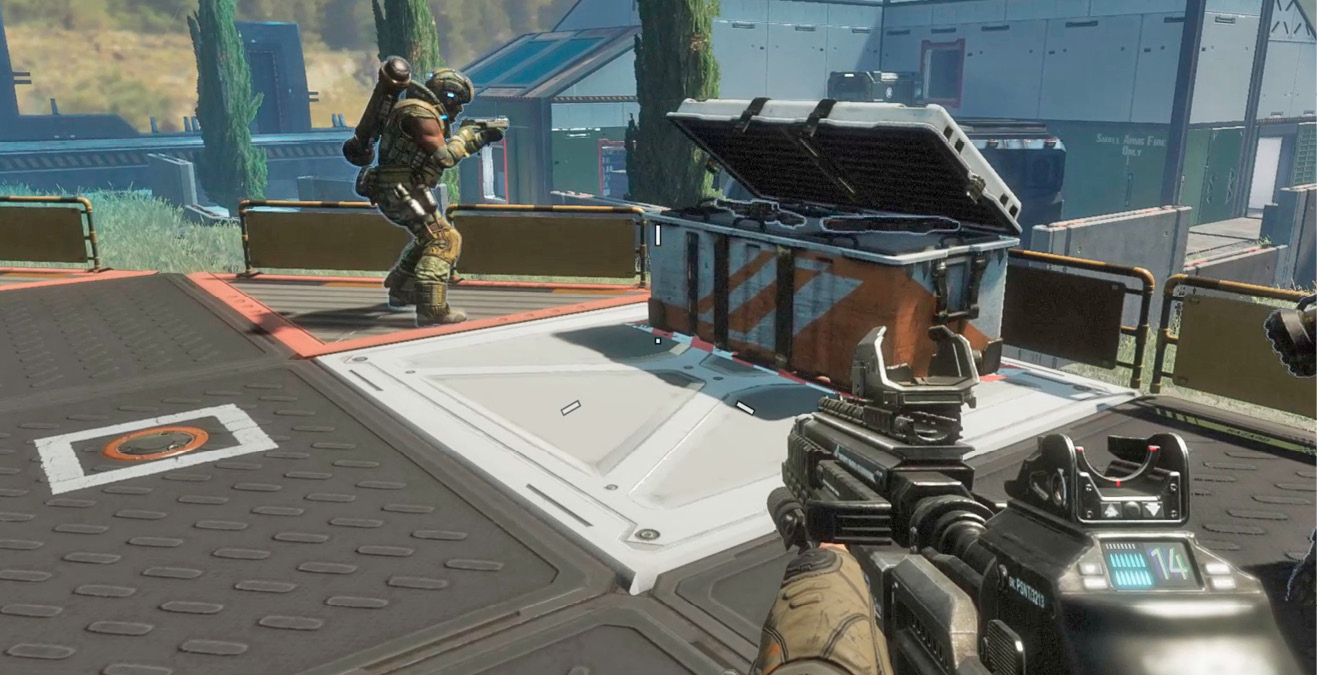
Vacate the stage and return to one of the perimeter rooftops as Ash announces the deployment of Spectres. From your rooftop perch, fire down on the Spectres as they emerge from Drop Pods. Alternately, activate Cloak and sneak up behind the Spectres, hacking as many as possible. Having a small army of Spectres fighting for you is never a bad thing—this will pay dividends later. But get back to a rooftop when you hear an announcement about the “Reaper test program.”
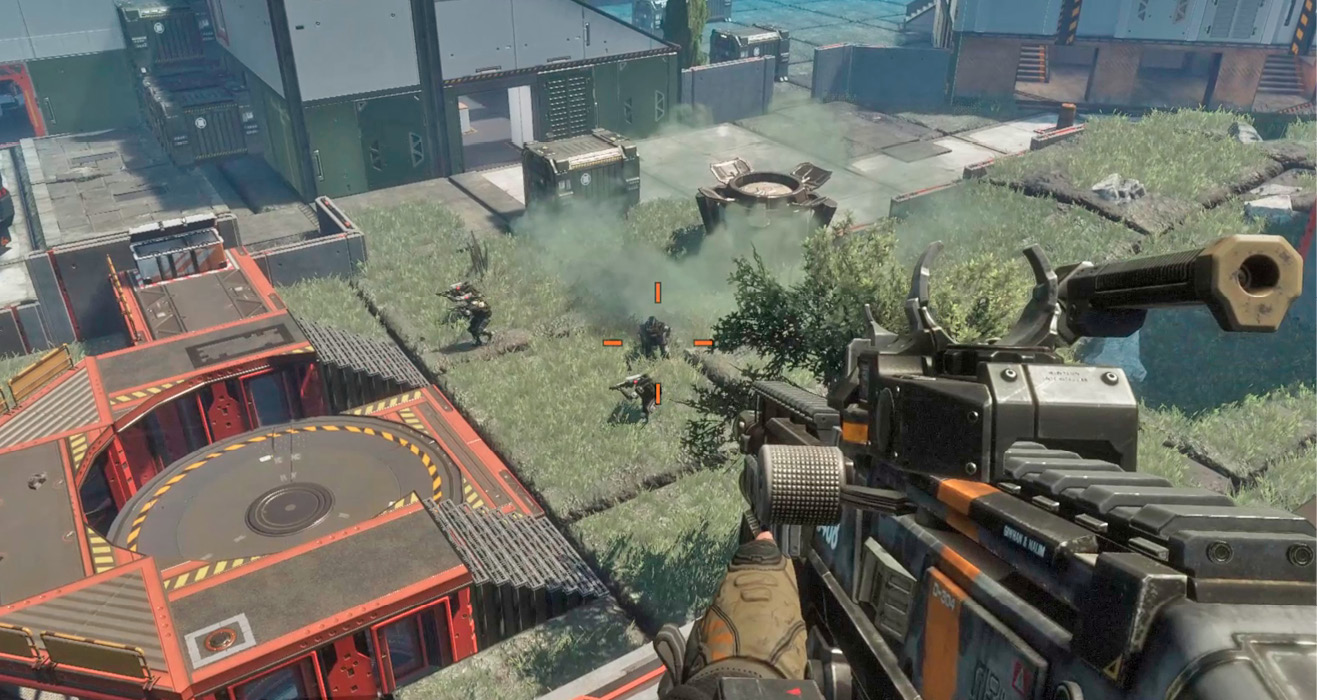
A large mechanized entity known as a Reaper emerges from the floor and immediately attacks the Militia riflemen on the stage, savaging them with melee attacks. Equip the L-Star and aim at the Reaper’s glowing, red midsection. Score critical hits on this area to deal heavy damage. Despite your efforts, you probably can’t save all of the Militia soldiers. But at least the Reaper is distracted, allowing you to focus your fire. BT reports that the houses contain weapons caches. Once you’ve finished off the Reaper, consider searching for weapon boxes.
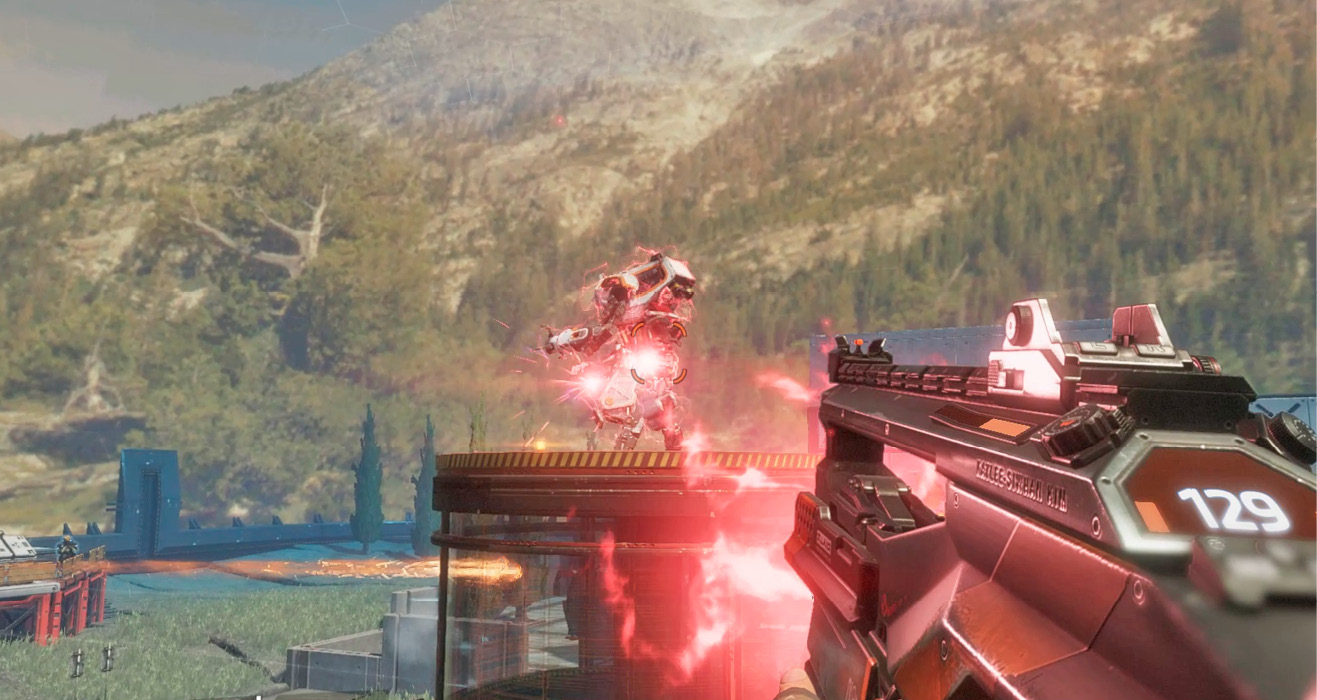
Shortly after you destroy the Reaper, a second Reaper is deployed, along with several Spectres. This Reaper deploys Ticks, the explosive spider-like robots you encountered earlier. Stay on the move, using wallruns and double jumps to circle around the dome—you can wallrun on the dome’s interior wall. Along the way, try to hack as many Spectres as possible. Hacked Spectres help keep the Reaper and Ticks off your trail. While the Reaper is busy attacking Spectres, open fire with your L-Star or Spitfire, focusing on the Reaper’s vulnerable midsection. Endeavor to keep your distance. The Reaper can move incredibly fast and is capable of devastating melee attacks. So when you’re not shooting, put some distance between yourself and the Reaper.
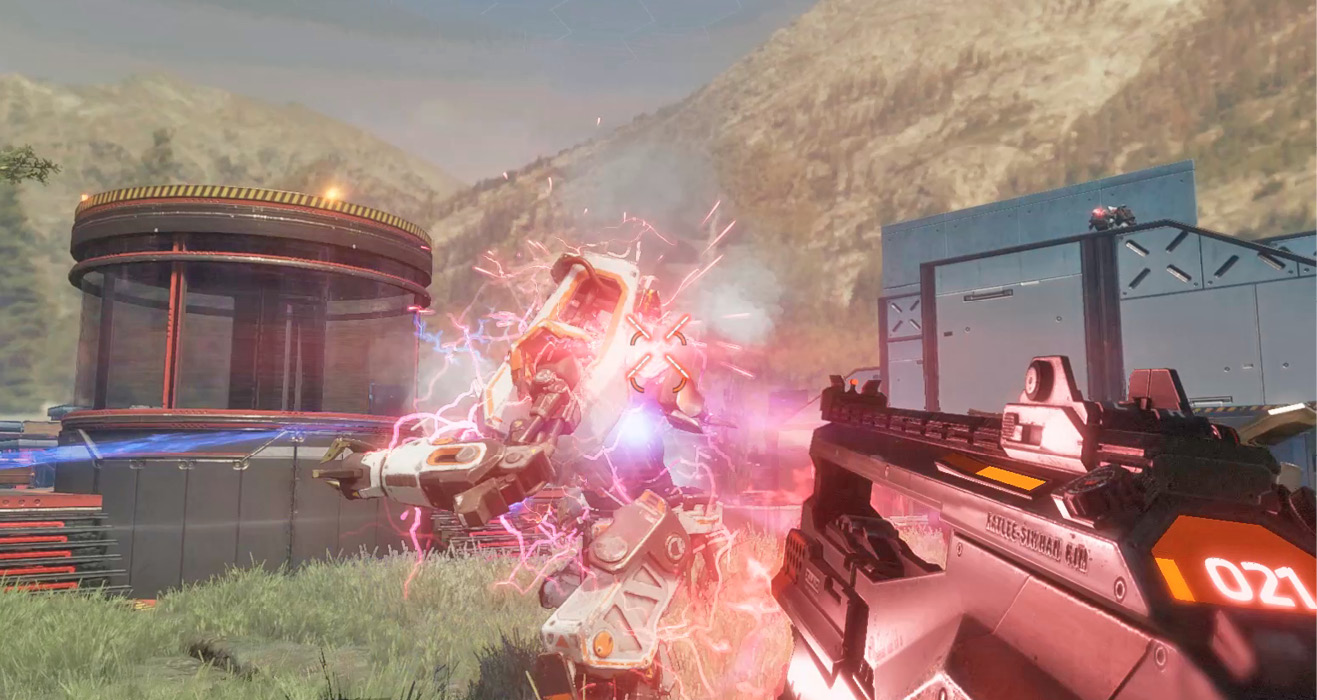
Ash wasn’t expecting you to live this long. Once you’ve destroyed the second Reaper, Ash orders a team of IMC grunts to enter the dome and eliminate you. A group of IMC grunts and Stalkers emerge from a breach in the dome’s wall, located just behind the stage area where your Militia comrades perished. Toss grenades toward the breach in an attempt to eliminate multiple enemies. The grunts and Stalkers are led by a shield captain so activate Cloak to flank him. When it’s clear, pass through the breach in the dome, veer right, and look for a set of four white parallel pipes. Climb atop these pipes, then follow them down into the next area.
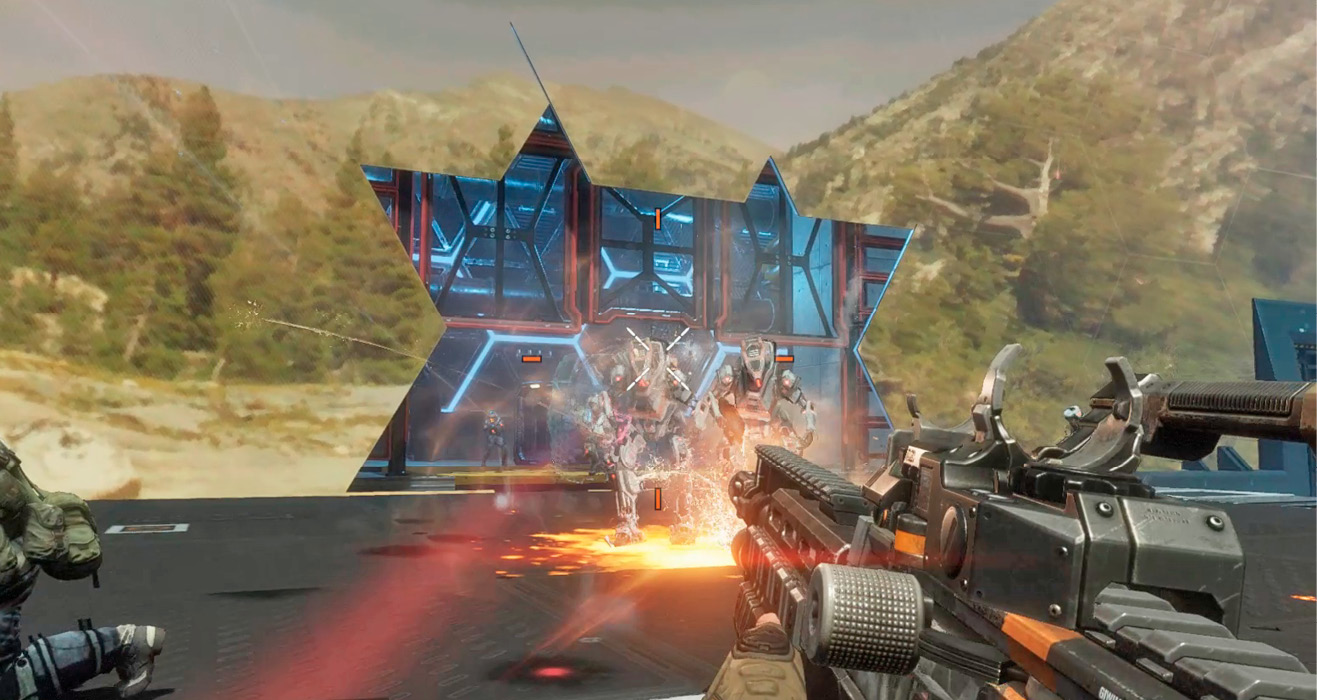
Prowler Towers
Blisk is disappointed in Ash’s ability to deal with you. Fearing you may escape, Ash commences an auto-destruct sequence, dooming the IMC facility. Proceed through the pipe-filled cavern until you come to a massive chamber filled with towering columns. In addition to creating Reapers, it looks like the IMC has also been tampering with the planet’s wildlife. The containers inside these columns are some type of containment system for prowlers. Interact with the green-lit console to rotate the prowler containment array. As the columns rotate, several containers protrude, creating step-like features that allow for your escape.
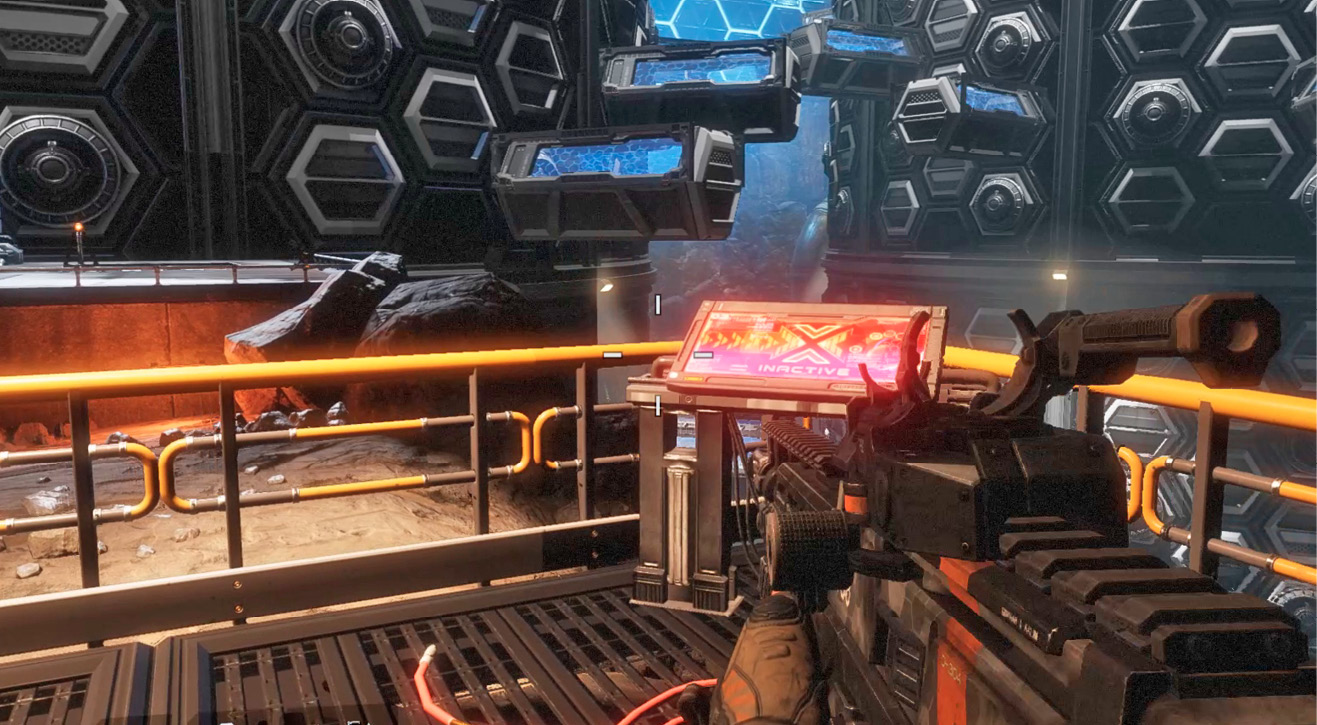
Wallrun across the nearby column, then jump to the top of the adjacent holding container. As you jump to the next container, a prowler comes tumbling out of a container in the nearby column. There’s no need to shoot—the prowler falls. Double jump to a container in the adjacent column, then leap to the container previously occupied by the prowler.
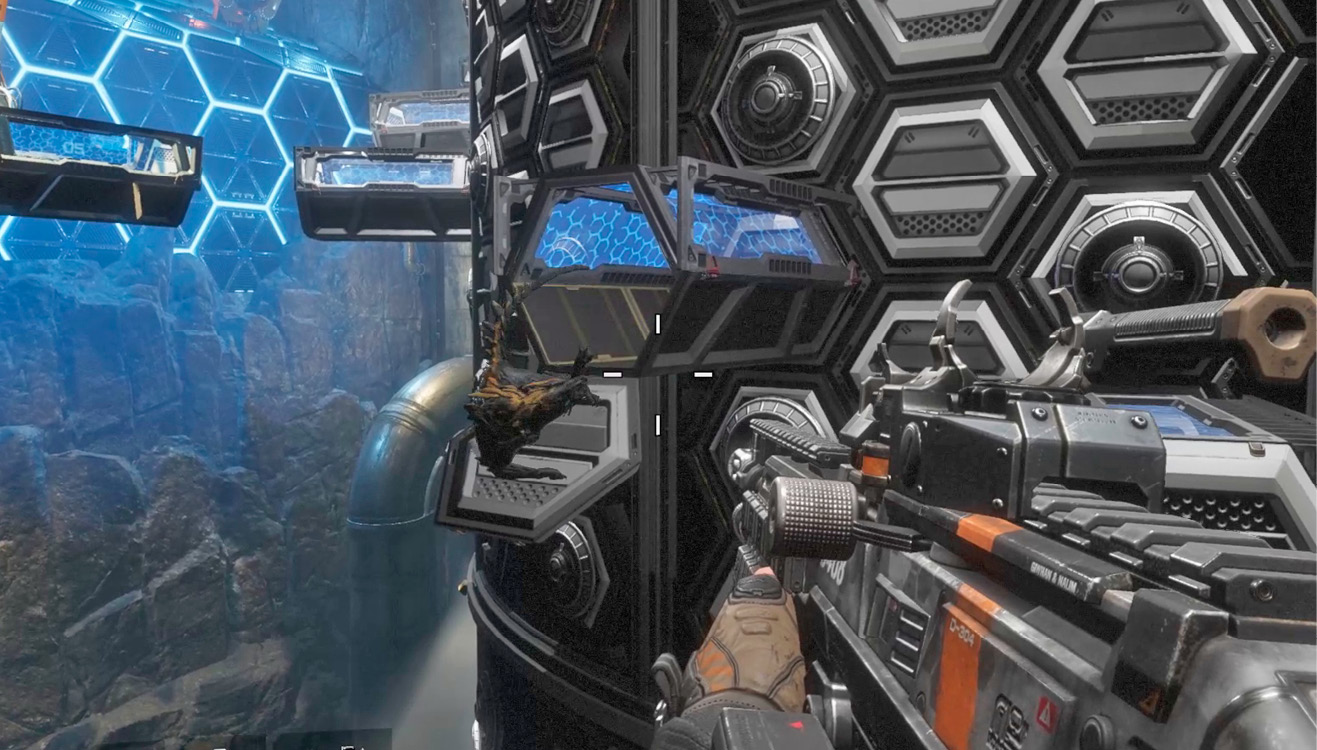
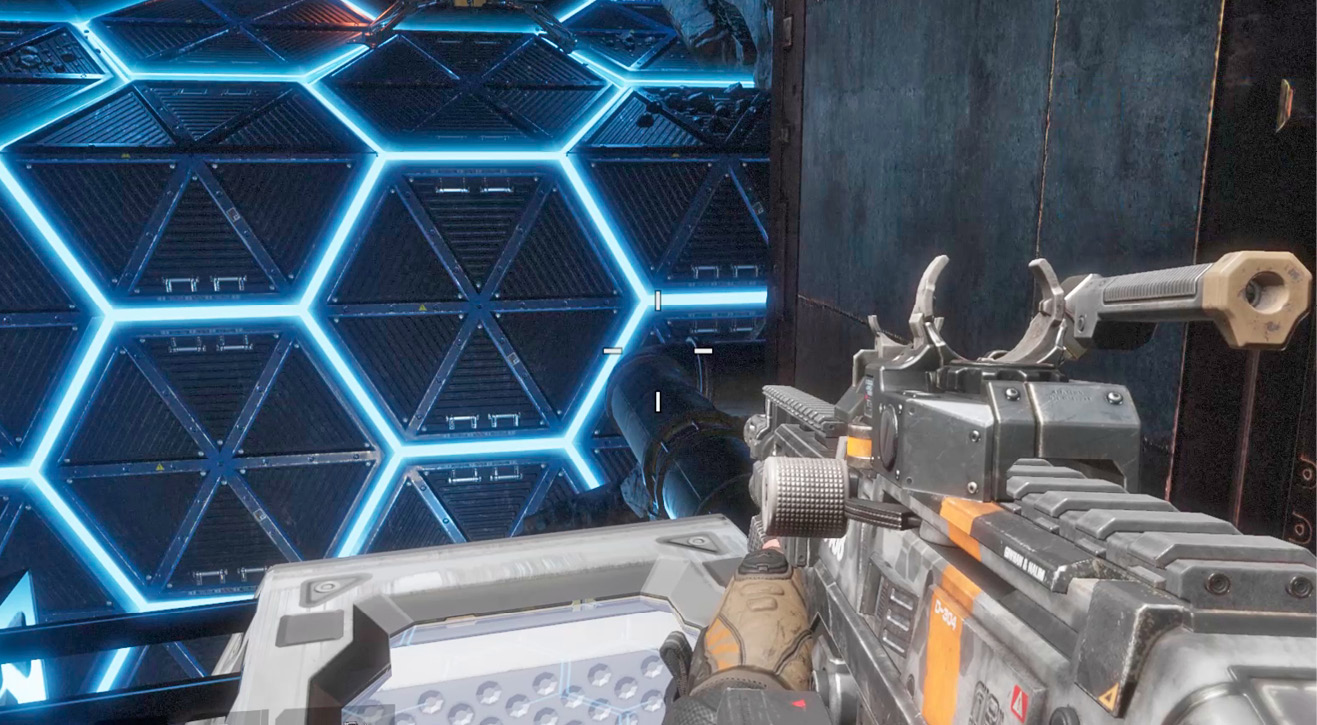
Hop across the prowler containers, then turn left and head toward the blue-lit structure covered in hexagonal tiles. This is the roof of one of the facility’s simulation domes. Wallrun along the wall to the right, then jump to the roof.
|
 Pilot Helmet 8/9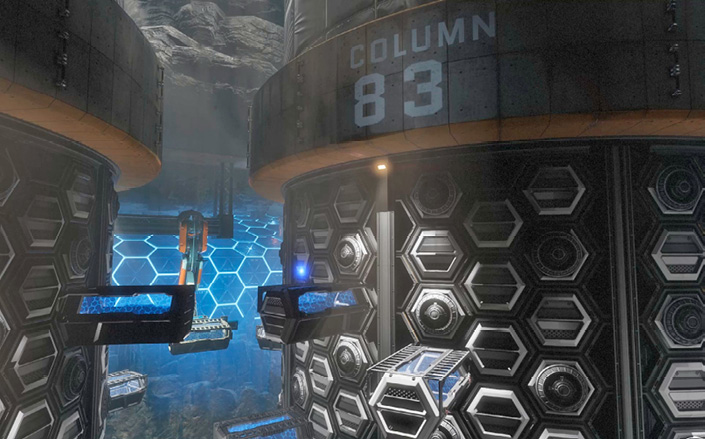
Above the Dome
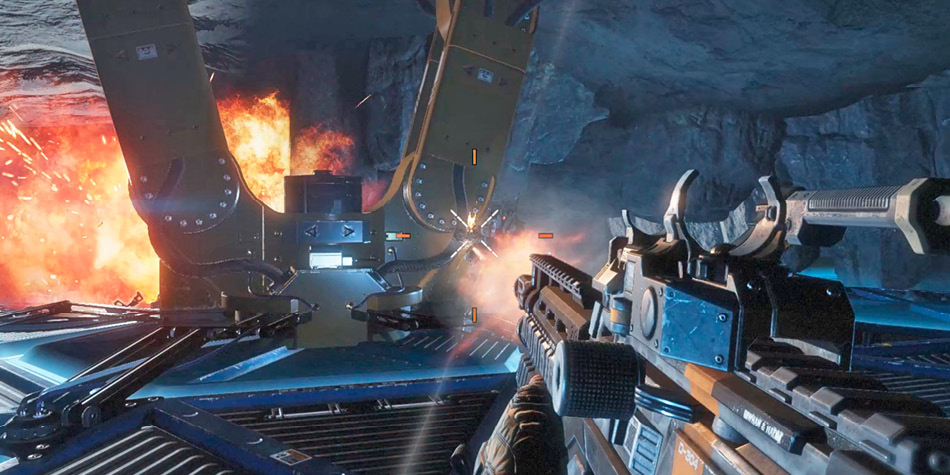
BT reports that the facility is falling apart; he suggests leaving. He’s not far from your location, marking his position as your next waypoint. Don’t rush toward BT just yet. The cramped space above the dome is filled with hostiles, including Ticks and Spectres. Advance through this area with caution, engaging threats as they appear. Use the metal vertical supports for cover, as necessary, and try to detonate the Ticks before they get too close. Some of the Spectres are armed with Kraber Sniper Rifles and MGL Launchers, so avoid exposing yourself; use Cloak to conceal your advance.
|
 Pilot Helmet 9/9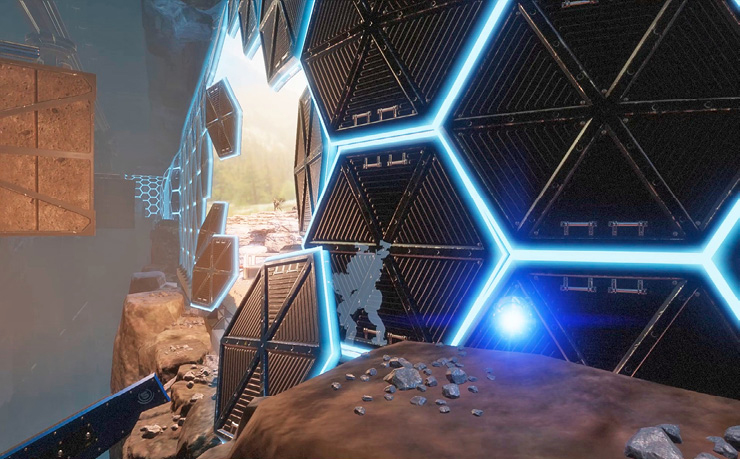
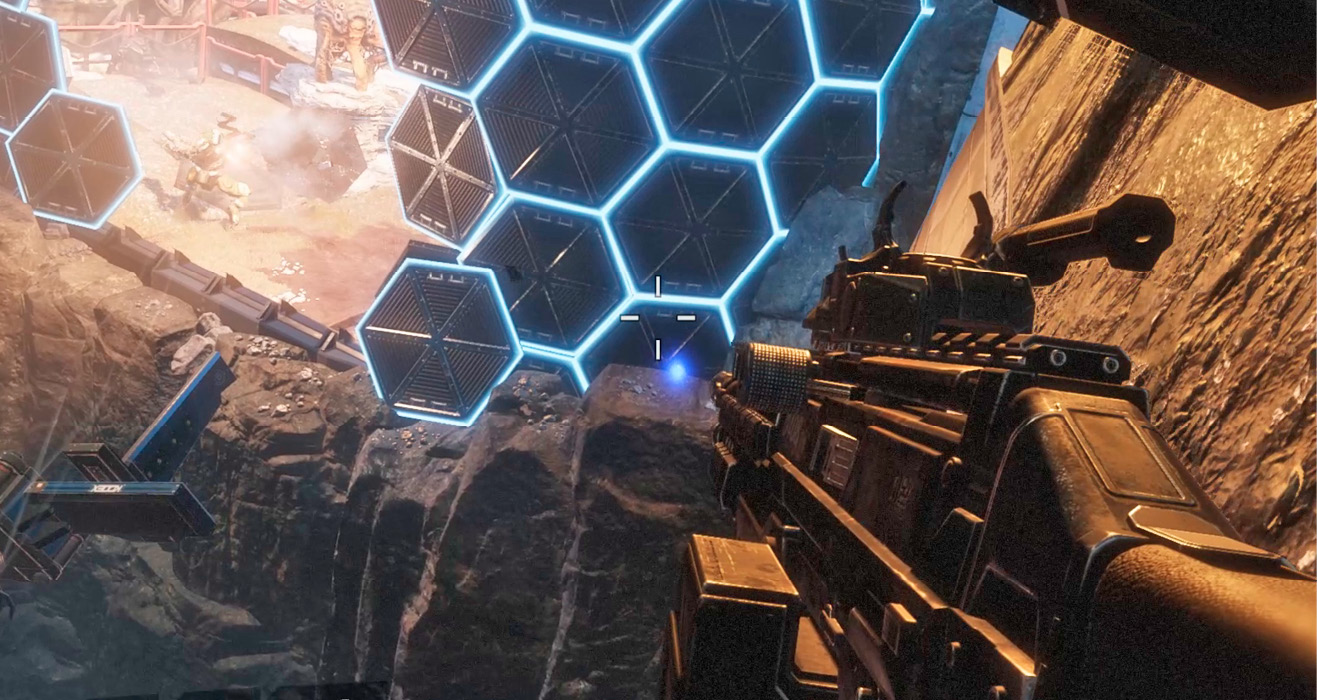
Follow the waypoint marker provided by BT to reach this area. BT can be seen fighting in a dome on the opposite side of a deep chasm. There are a series of vertical panels moving along a track just above this wide gap. Wait until one of the panels approaches, then jump and wall across it. As you near the end of the wallrun, double jump toward the dome where BT is fighting.
Dome Battle
BT is under assault by a mix of prowlers and Reapers. Immediately embark and turn your attention toward the Reapers. While Reapers are a serious threat against Pilots, they’re far less effective against Titans. Still, take steps to evade (or block) their incoming fire. Use the Brute Loadout’s Quad Rocket to engage the Reapers while using the Vortex Shield to redirect their incoming fire. There’s no need to worry about the prowlers; they pose no threat to BT.
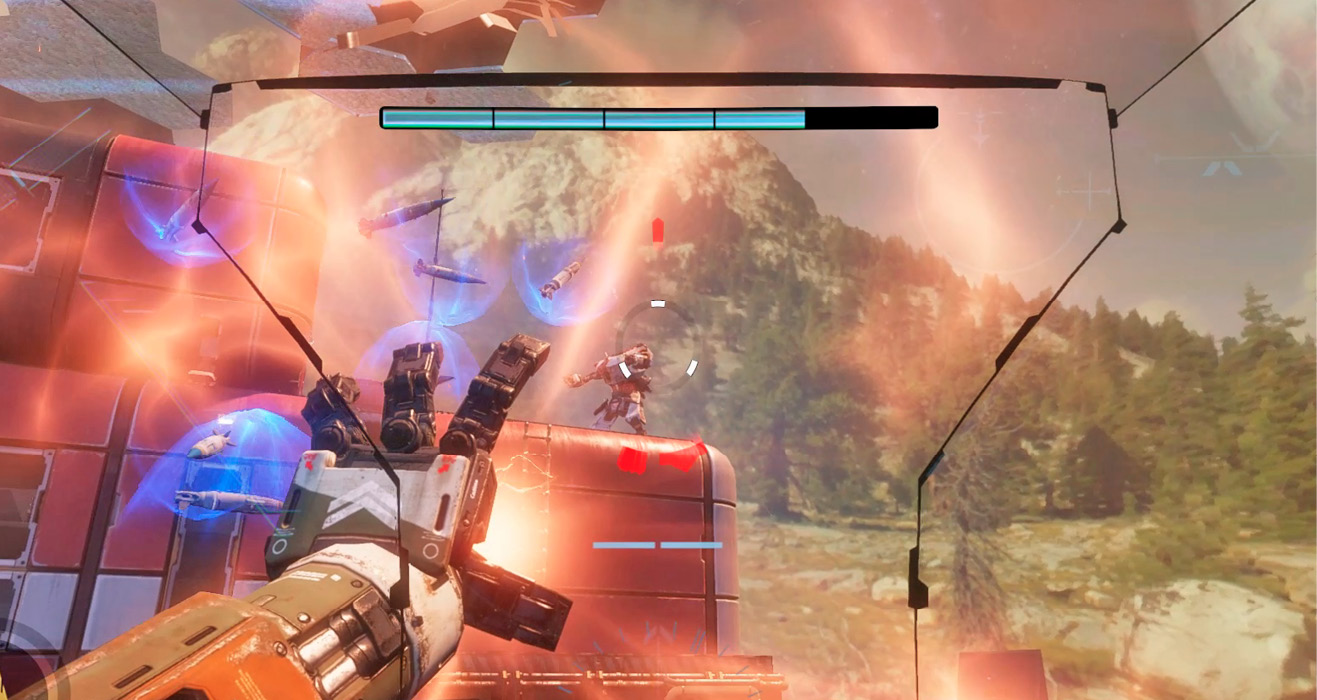
Three Titans have entered the dome through a breach on the opposite side. The Titans include a Brute, Ronin, and Northstar. Consider switching to the Tone Loadout and using the Particle Wall for cover while engaging the Brute Titan. The Particle Wall allows you to engage the Brute while protecting you from the Northstar Titan’s devastating Plasma Railgun attacks.
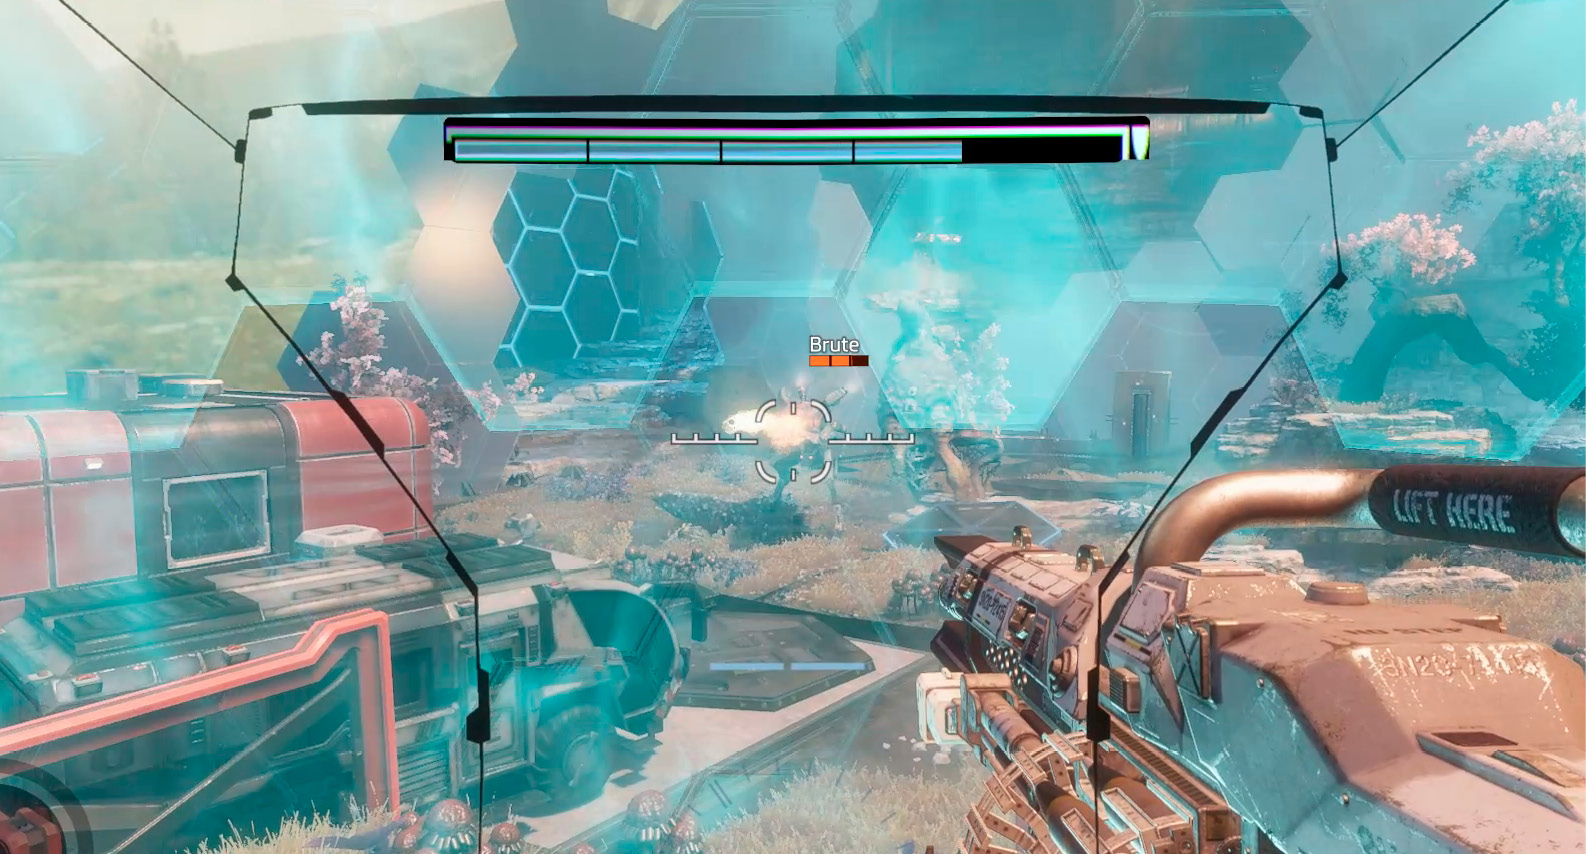
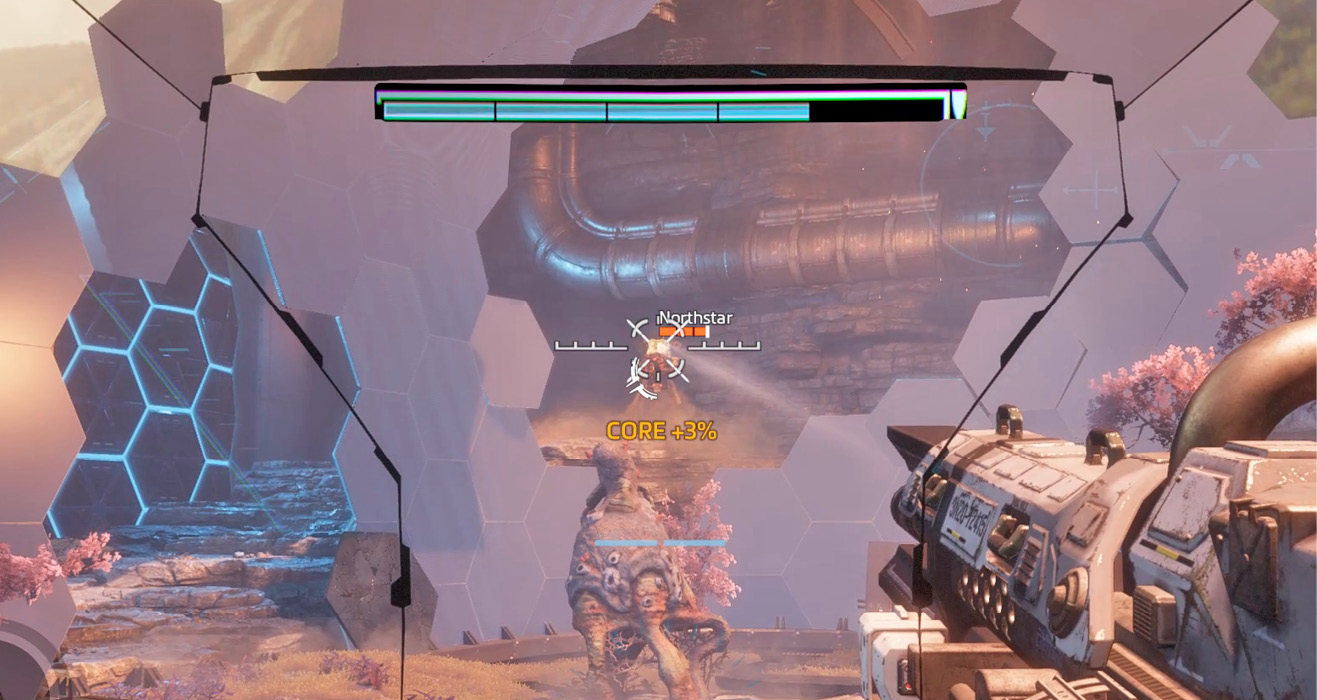
If the Ronin Titan hasn’t closed in yet, turn your attention to the Northstar Titan firing at you from an elevated perch. If you don’t deal with this long-range threat quickly, it will continue hitting you with Railgun shots. The Tone Loadout is your best option in this fight. As with the Brute, deploy the Particle Wall and keep hitting the enemy Northstar Titan with the 40mm Tracker Cannon and Tracking Rockets.
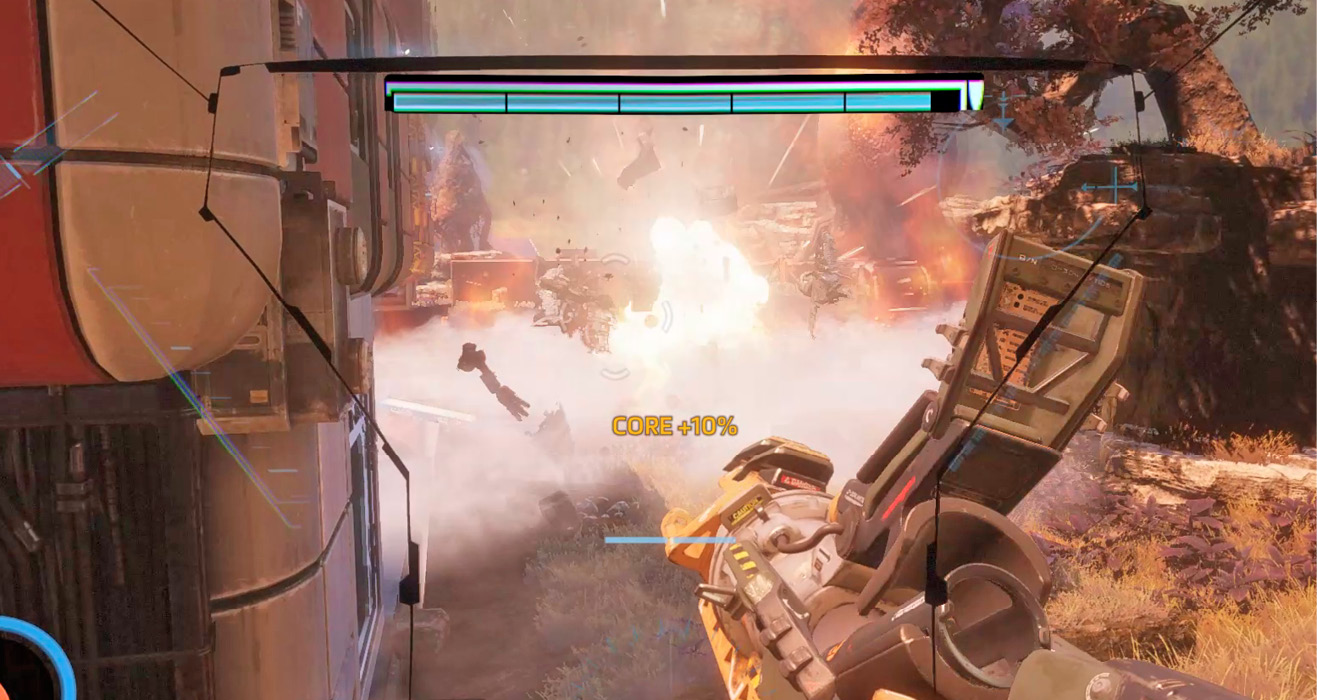
Keep your distance from the Ronin Titan. Equipped with a large sword and Leadwall Shotgun, the Ronin excels in close-quarters combat. If possible, continue using Tone’s Particle Wall for cover while pelting the Ronin with your 40mm Tracker Cannon and Tracking Rockets. If the Ronin gets too close, switch to the Scorch Loadout and use the Thermal Shield to block attacks. Meanwhile, saturate the ground with fire until the Ronin succumbs to the heat. Once all three enemy Titans are destroyed, search the dome for batteries and restore BT’s armor.
Escape Route
Enter the cavern beyond the dome. The facility is already crumbling from the detonation of charges triggered by Ash. A chaotic scene ensues as IMC units attempt to evacuate while being attacked by escaped prowlers. Attack an enemy Tone Titan while it’s distracted, hitting it with the Scorch Loadout’s fiery arsenal.
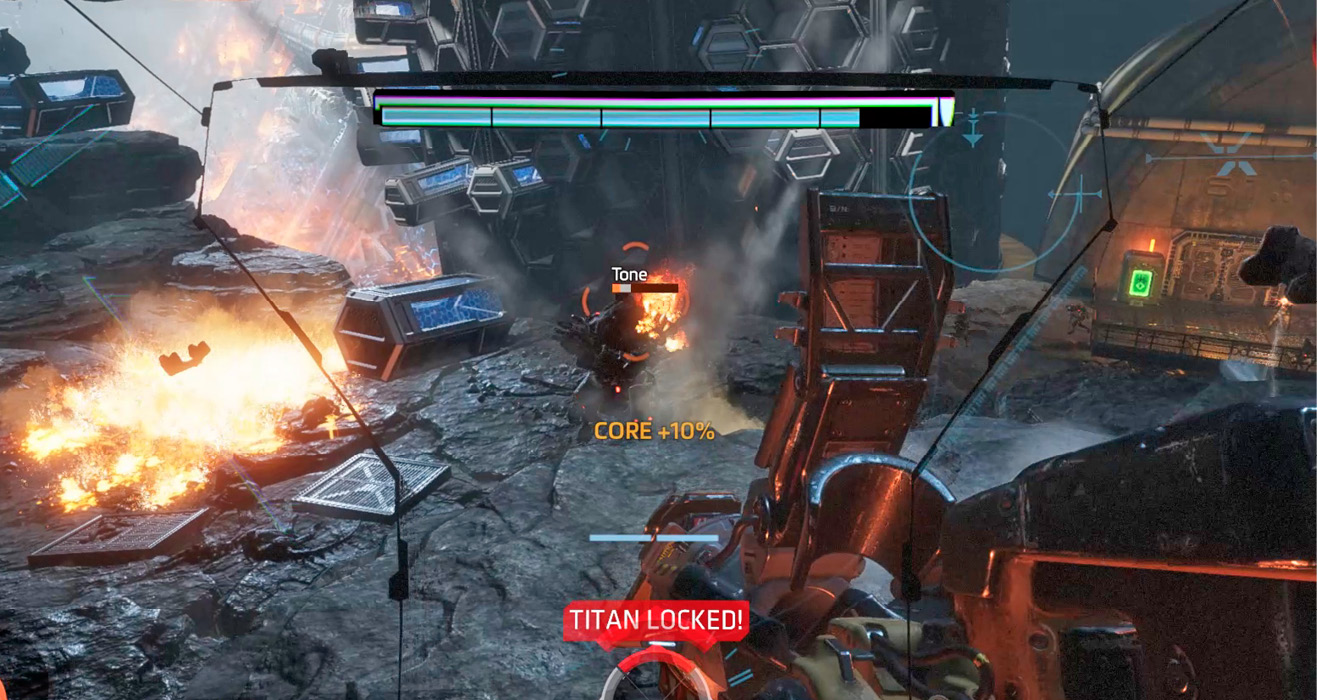
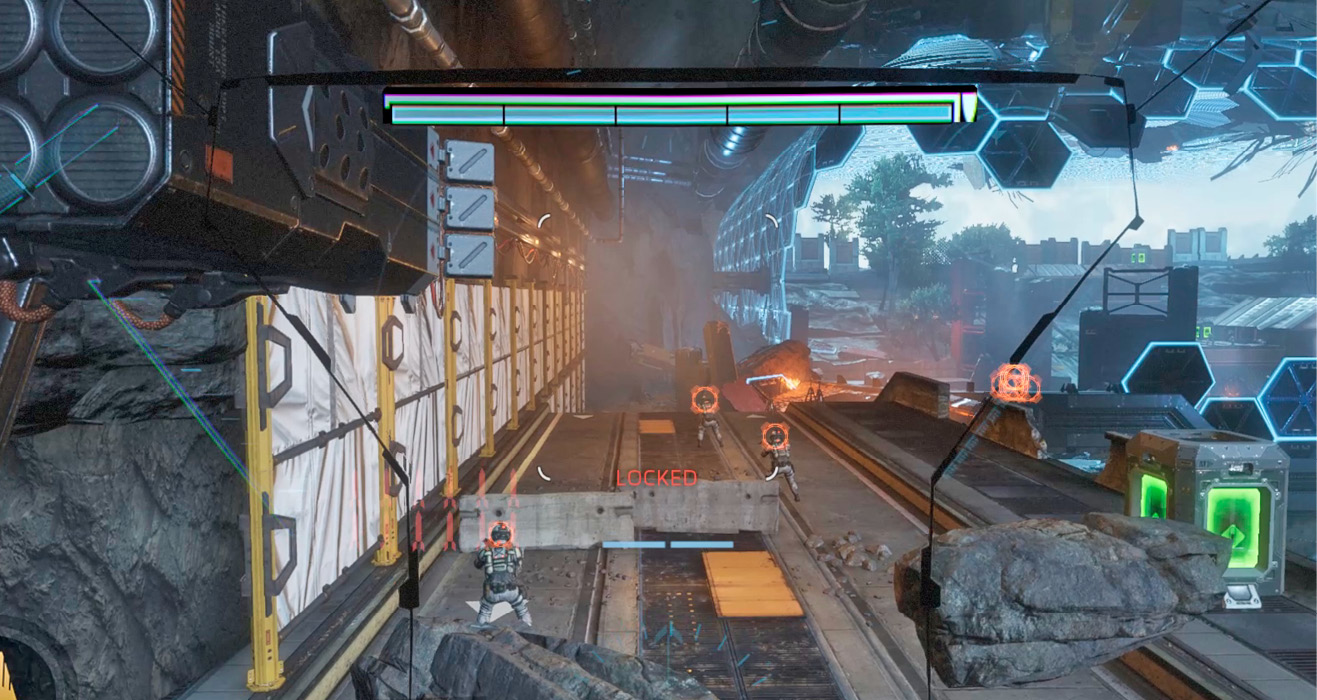
The grunts, prowlers, and Stalkers aren’t much of a threat. But if you want to take them out quickly, use the Brute or Expedition Loadout’s Multi-Target Missile System. This allows you to lock on to multiple targets simultaneously, making cleanup of this area a cinch. If BT has sustained damage, take a moment to gather batteries before continuing into the next area; you’ll want full health before you confront Ash.
Boss Battle: Ash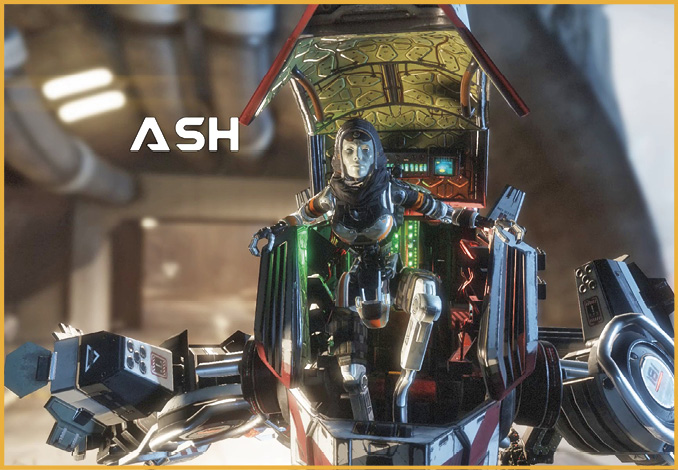 Faction: Apex Predators Role: Assigned by Blisk to monitor the Dynamic Testing Facility on Typhon. Age: Unknown. Vocal simulation seems to be 30-45 for a human female. Skills: Hyper-multitasking, foreign systems reverse engineering and co-option. Personal Titan: Ronin History: At some point in the past, Ash was rebuilt from a partially constructed but deteriorated state. Independent but without a clear memory of her origins, Ash operates as a mercenary, searching for the answers to her past. As one of the Apex Predators’ mercenaries, she is responsible for gatekeeping against Militia forces, preventing them from trespassing or discovering the Dynamic Testing Facility. “One should never send a human to do a machine’s job.” — Ash |
Piloting a customized Ronin Titan, Ash makes her appearance near the facility’s exit. She’s determined to halt your escape. Like the Ronin you faced earlier, Ash’s Titan is fast and nimble, specializing in close-quarters combat. Like Kane’s Titan, Ash’s Ronin is equipped with shielding, making it extremely durable.
Given Ash’s tendency to charge forward and attack with her Ronin’s sword and Leadwall Shotgun, get ready to move. Consider equipping the Expedition or Brute Loadout, as both have relatively fast-firing weapons and a Vortex Shield. Mobility is key, so make liberal use of lateral dashes to dodge incoming Leadwall and electrical Arc Wave attacks. If your shield is depleted, immediately seek cover behind one of the nearby structures before Ash can inflict damage on BT’s armor. Also, don’t forget about your Core abilities. The Brute’s Flight Core ability can eliminate Ash on its own.
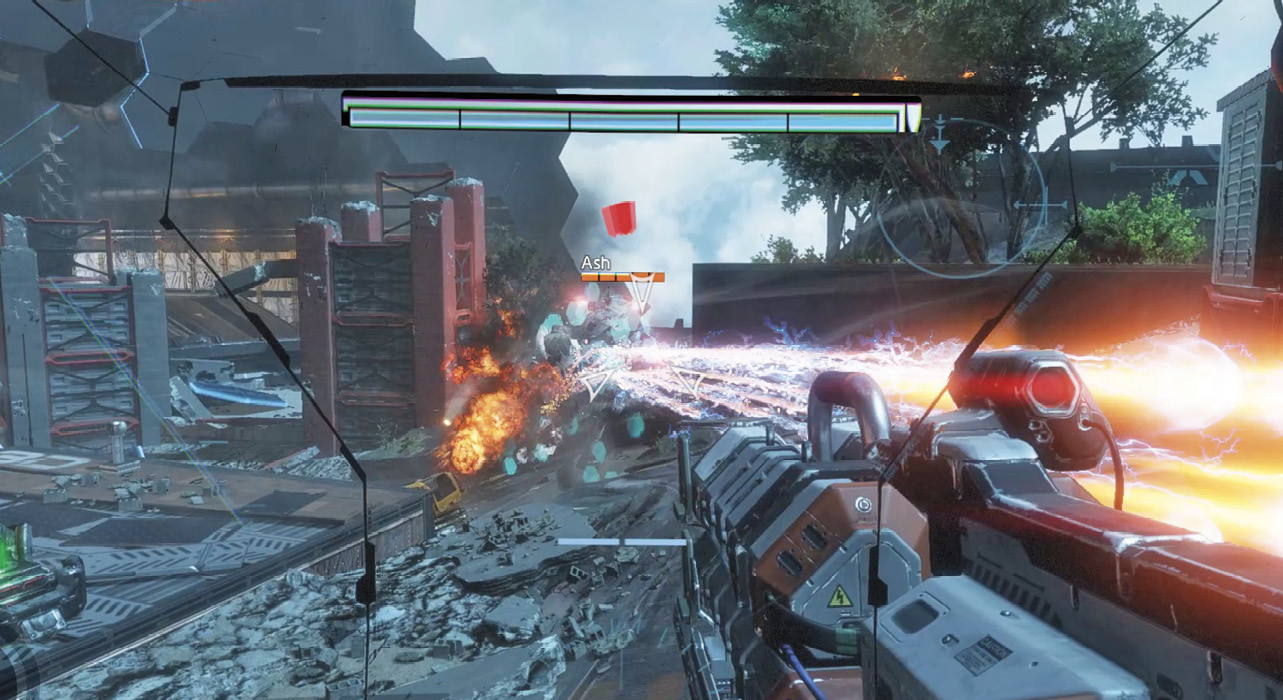
If you aren’t getting the desired results with the Expedition or Brute Loadouts, consider switching to Scorch. Focus on saturating the ground with fire, lobbing Thermite Grenades, Incendiary Traps, and initiating Firewall attacks. This makes it difficult for Ash to maneuver without taking damage.
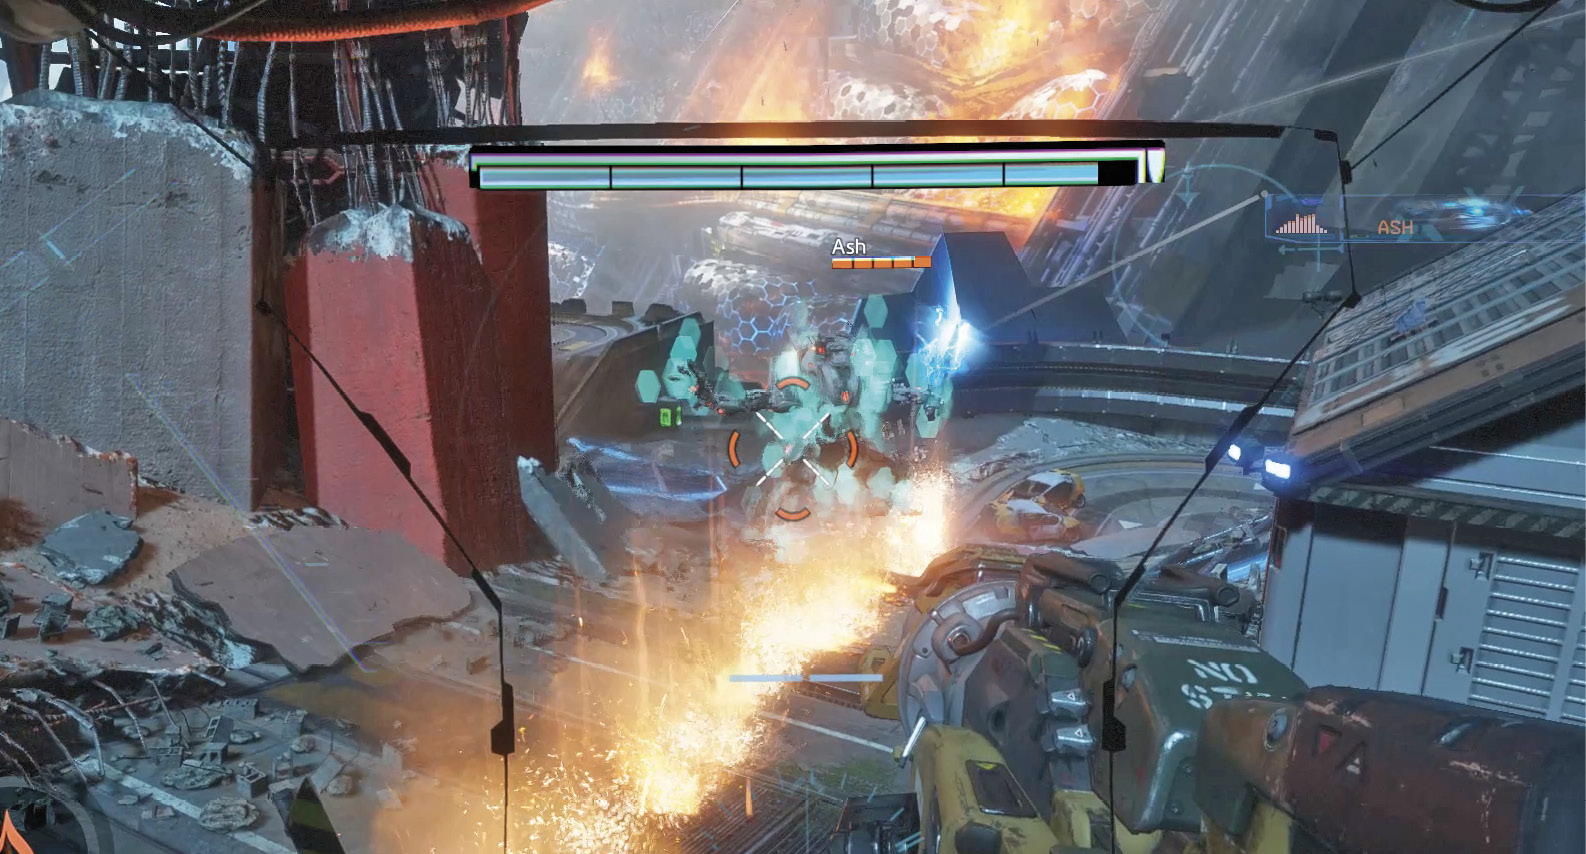
The Scorch Loadout’s Thermal Shield is extremely effective if Ash tries to get too close for comfort. That sword she’s carrying can inflict heavy damage if it makes contact with BT. In addition to blocking attacks, the Thermal Shield can inflict heavy damage if it makes contact with Ash’s Titan. So if she comes in for a sword attack, always counter with the Thermal Shield. Monitor the enemy Titan’s shields and armor at all times. When its shields are down, attack relentlessly, preferably with a Core ability, to finish off Ash.
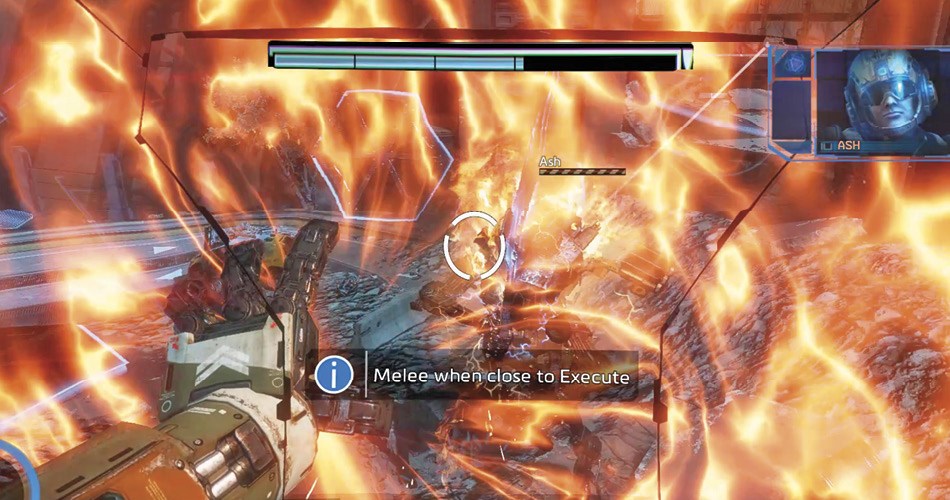
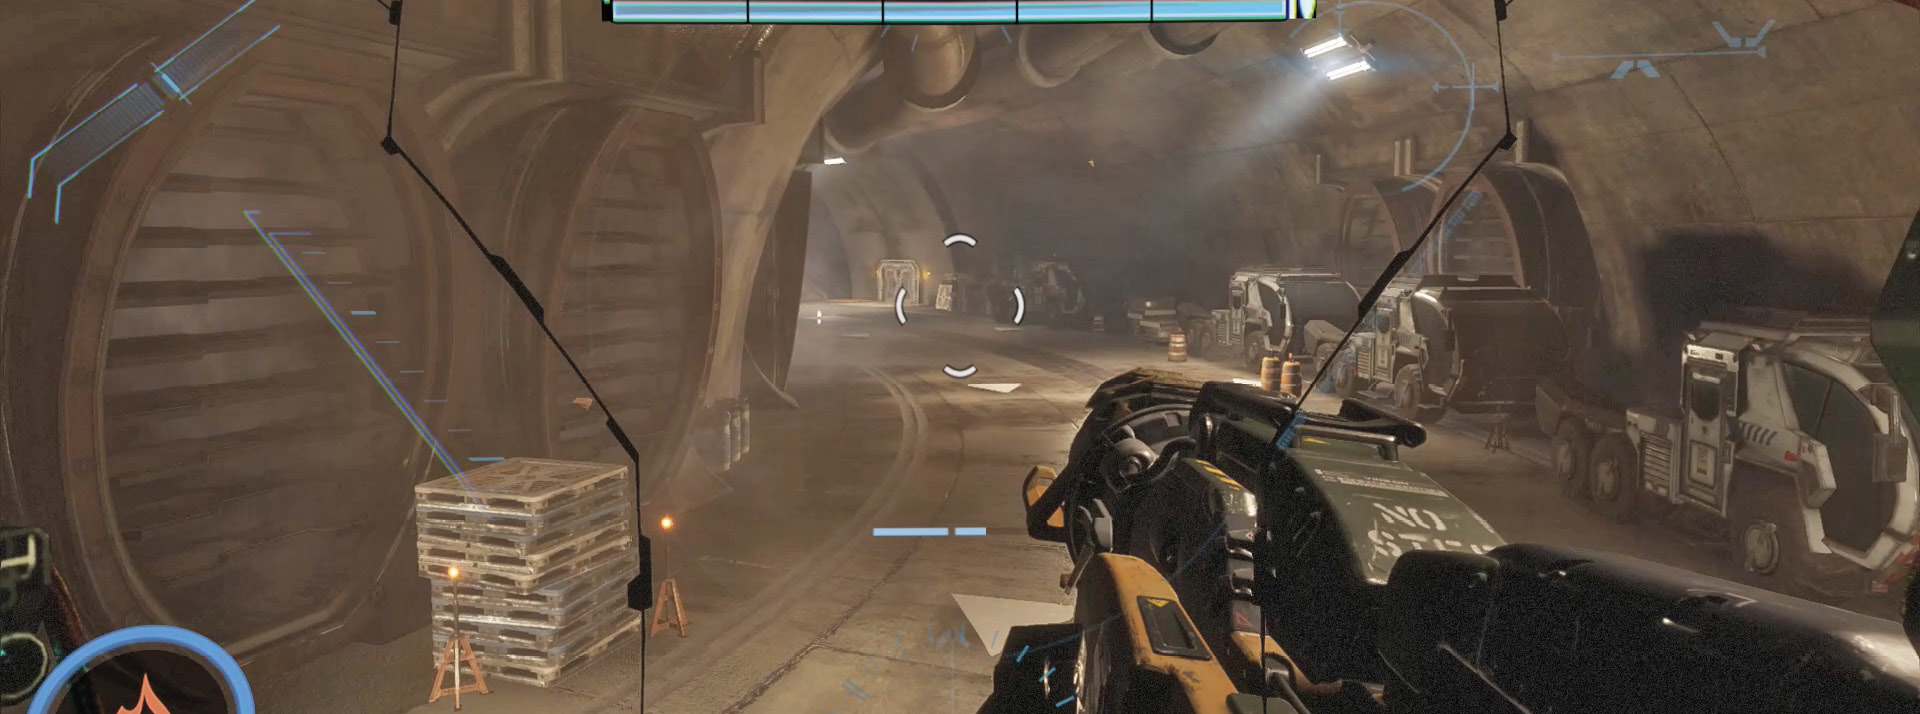
Following the fight with Ash, BT reports the facility’s security lockdown has been disengaged; it’s time to get out of here. Take a moment to gather some batteries, including the one dropped by Ash’s Titan, then proceed through the large tunnel. As you ascend the ramp at the end of the tunnel, BT concludes that you should avoid shortcuts in the future.
Achievement and Trophy Checklist
| Image | Name | Description |
|---|---|---|
 |
Off the Beaten Path | Find 10 Collectibles |
 |
Flame On! | Destroy a Titan with your Flame Core in the Campaign |
 |
Annihilation | Kill 25 infantry in 2 seconds as a Titan in the Campaign |
 |
Close Shave | Kept Lt. Shaver and Lt. Freeborn Alive (Secret) |
 |
Some Shortcut! | Enter the World Foundry (Secret) |
 |
Incepted | Climb the Sideways Town (Secret) |
 |
I’m Not Locked In Here With You | Defeat the Reapers in Ash’s Simulation Dome (Secret) |
 |
Angel of Death | Destroy a Titan with your Flight Core in the Campaign |
 |
Dust to Dust | Defeat Ash (Secret) |