
Titanfall 2 Guide Single-Player Campaign The Beacon
Interstellar Beacon Facility
Cooper’s LogbookFound Anderson, KIA. The IMC recently conducted a weapons test against a moon of Typhon, shattering it. They plan to use a large-scale version of this technology to target the Militia planet of Harmony. We must get the intel about this “Fold Weapon” to Militia command immediately. BT says an IMC interstellar beacon could do the trick. |
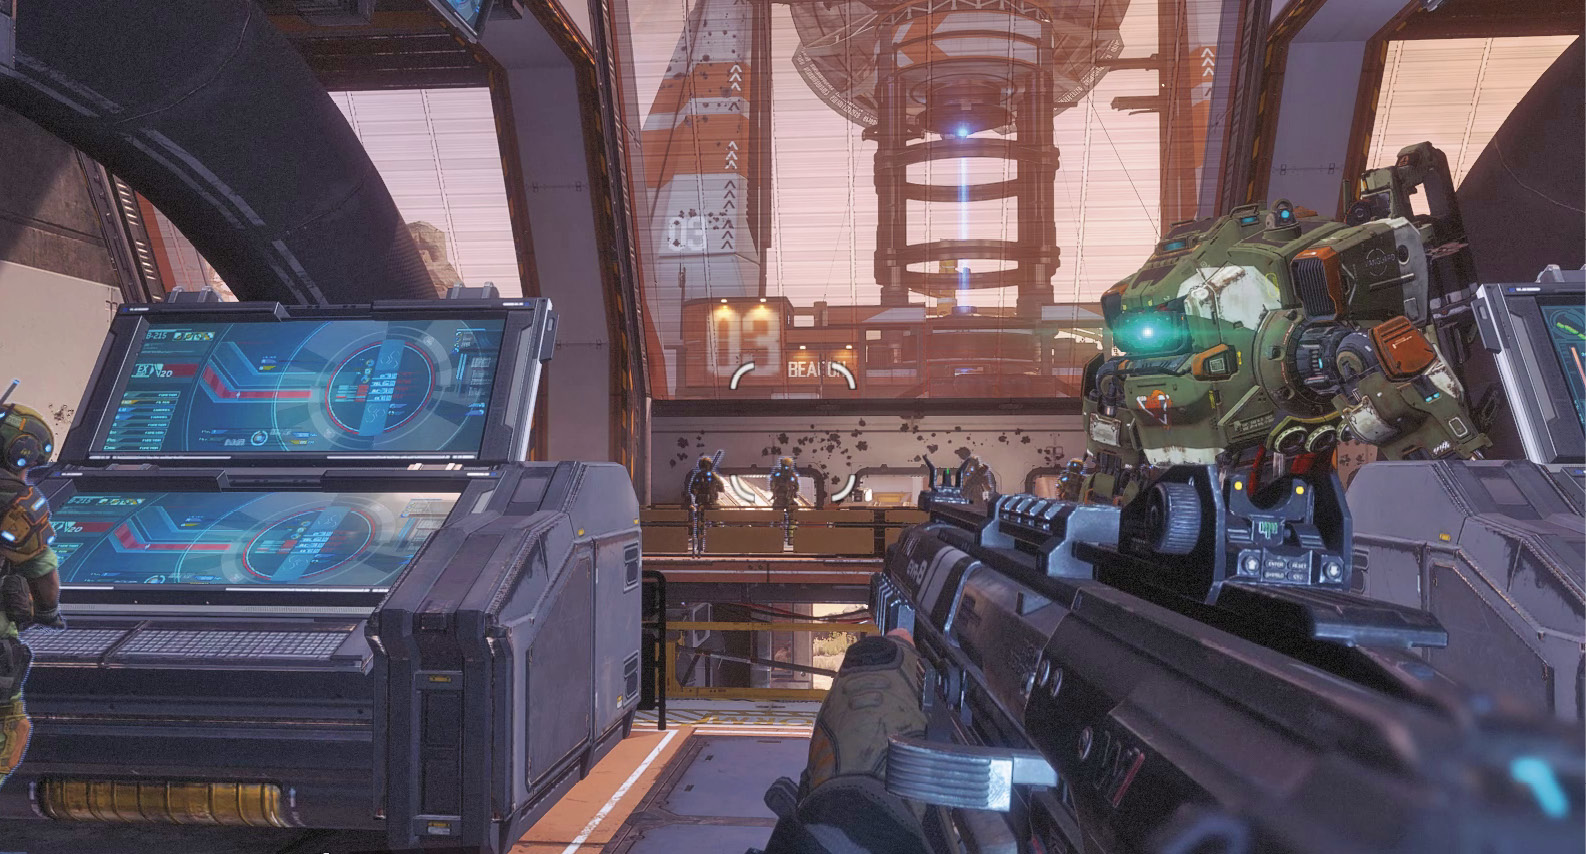
BT has located an interstellar beacon. With some luck (and a few repairs) it can be used to contact the Militia fleet and warn them about the IMC’s plan to destroy Harmony. Follow BT through the rocky terrain until you come to a clearing covered in a dense fog. BT detects traces of poisonous chemicals in the fog. Hop inside BT to avoid taking damage from the fog during your advance. Along the way, grab the Ronin Titan Loadout by the facility’s fence.
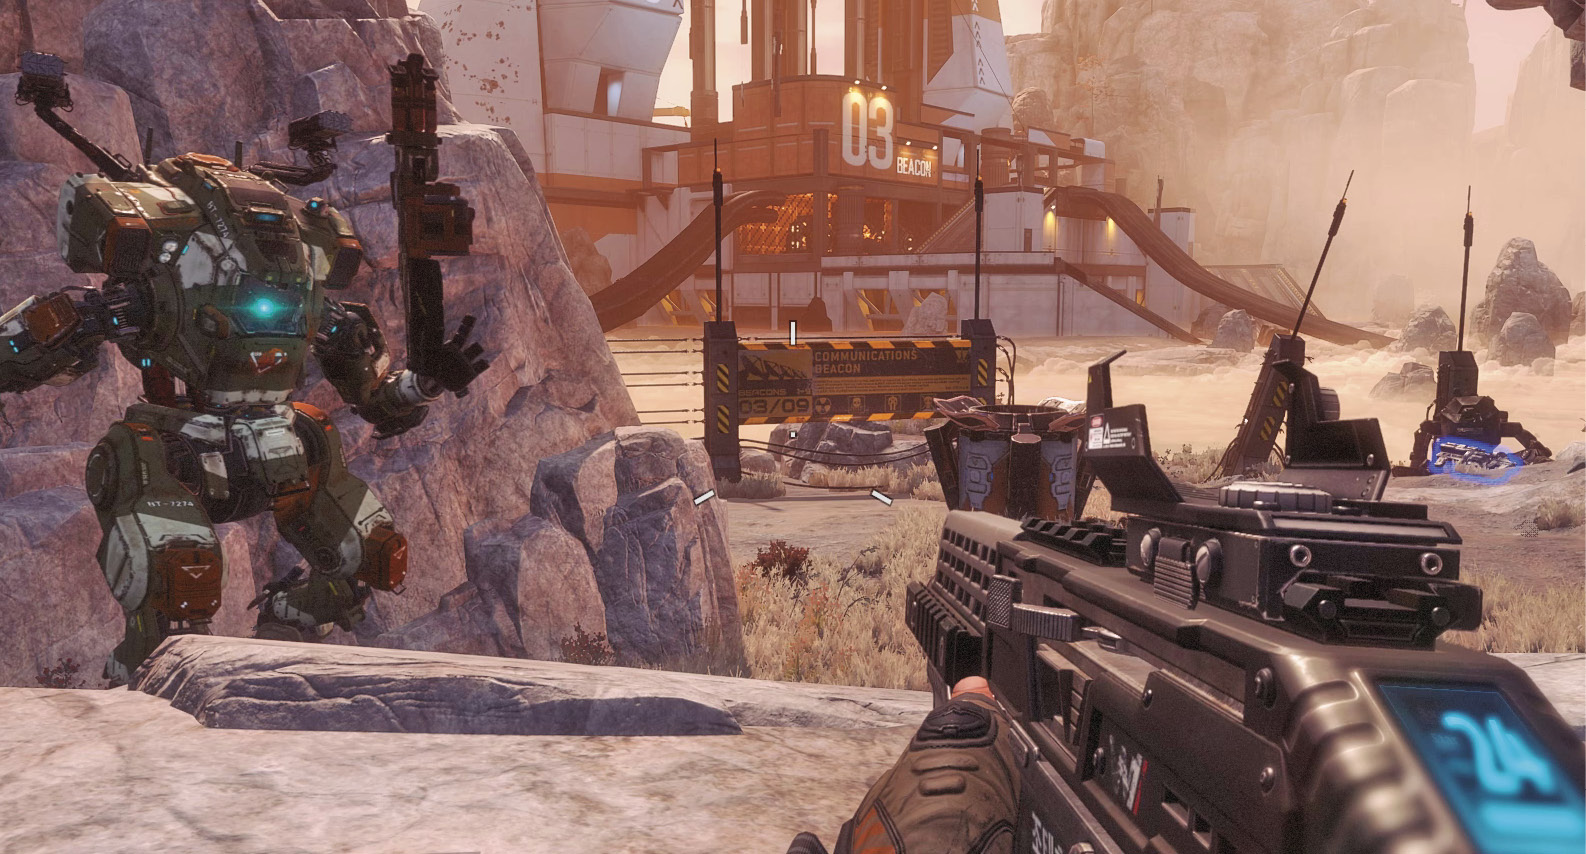
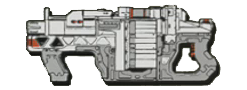
BT-7274 (Loadout: Ronin)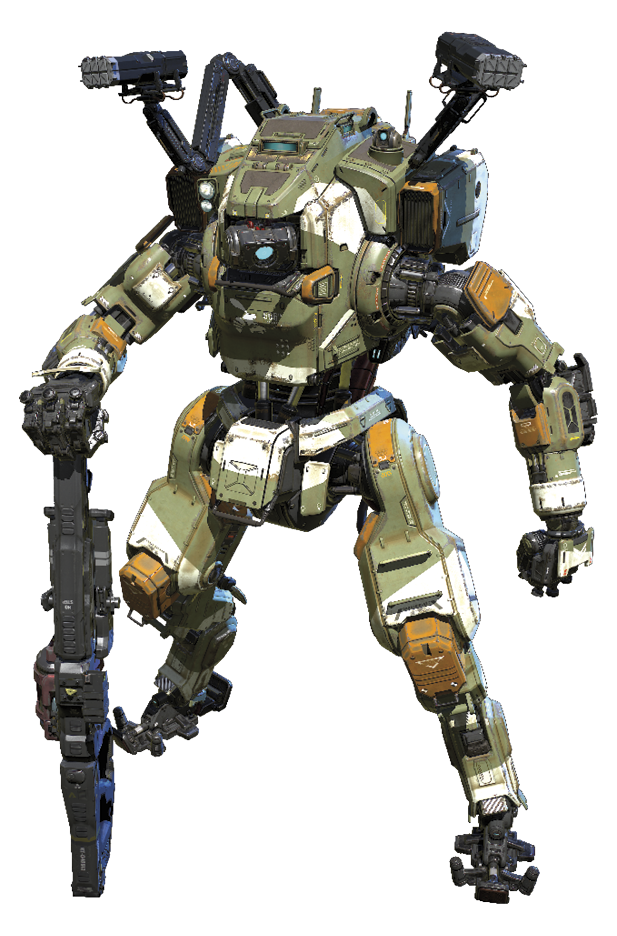 The Ronin Loadout excels in close-quarters combat, using its broadsword and Leadwall Shotgun to deal massive damage. When performing melee strikes with this loadout, BT swings a massive broadsword, dealing much more damage than a standard melee attack. The damage is further intensified when activating Sword Core, imbuing the broadsword with an electrical field. The Leadwall Shotgun fires a wide spread, ideal during chaotic Titan battles. But the rotary drum magazine is depleted after four shots, so be prepared for frequent reloads. Arc Wave functions similarly to the Scorch’s Firewall. But instead of dropping a line of fire, the Ronin Titan emits a linear electrical wave. By deploying Sword Block, the broadsword can be used to partially block incoming fire. Use Sword Block to mitigate damage while closing in on enemy Titans and other threats. Sword Block’s effectiveness is increased when Sword Core is active. Functioning similarly to a standard Dash, Phase Dash causes your Titan to disappear in one spot and reappear in another. Use Phase Dash to rush enemy Titans, instantly putting them within range of the Ronin’s devastating broadsword and Leadwall.
|




Beacon Control Room
BT receives an incoming radio transmission from a Captain Cole of the Militia. He reports that his men are being overrun by Stalkers in the nearby beacon control room. With the Ronin Loadout equipped, advance through the fog and veer right to locate the control room. Instead of shooting the Stalkers one by one, simply run them over, crushing them with BT’s chassis. Alternately, use the Expedition or Brute Loadout’s Multi-Target Missile System to quickly target and eliminate multiple Stalkers. This is most beneficial when engaging the Stalkers climbing on the control room’s exterior.
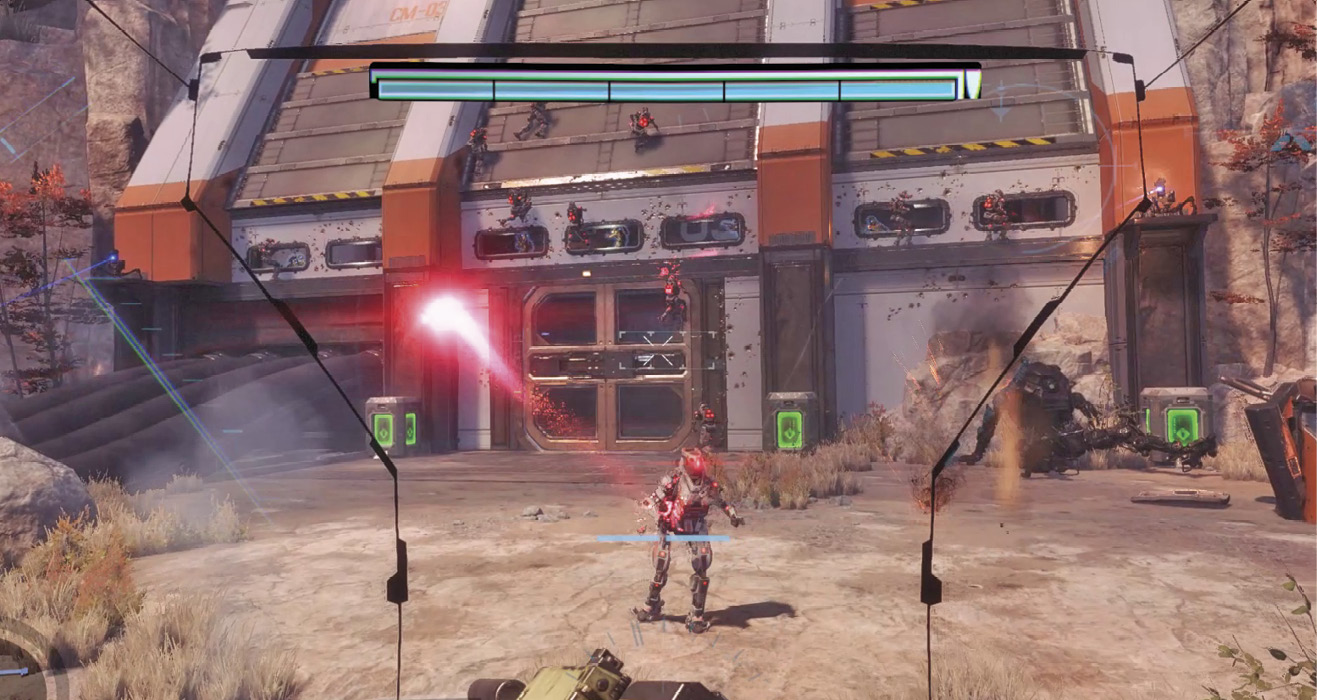
Once the Stalkers are eliminated, Captain Cole opens the control room’s blast doors. Step inside, ride the adjoining lift to meet the Captain, and then disembark from BT. Cole reports the beacon’s power is shut down. You’ll need to find a functioning Arc Tool to restore power to the facility. Apparently there’s an Arc Tool in a substation, but Cole’s men haven’t been able to retrieve it. Advance through the open doorway to begin your journey to the substation.
Substation Facility
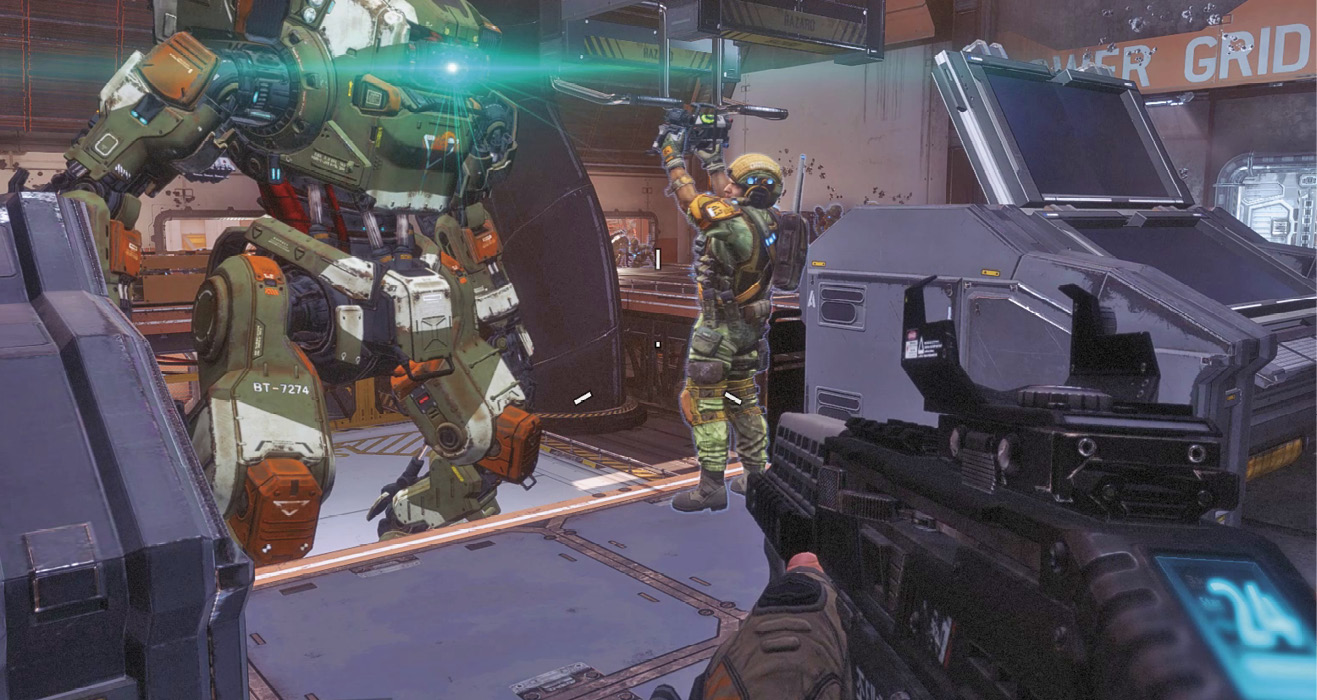
Several exhausted Militia riflemen (and destroyed Stalkers) line the path to the substation—these guys have clearly had a tough time on Typhon. Along the way, look for weapons scattered on the ground, including an L-Star and Mastiff. When you come to a large closed door, turn down a narrow walkway to the left, passing a Marvin that is busy welding.
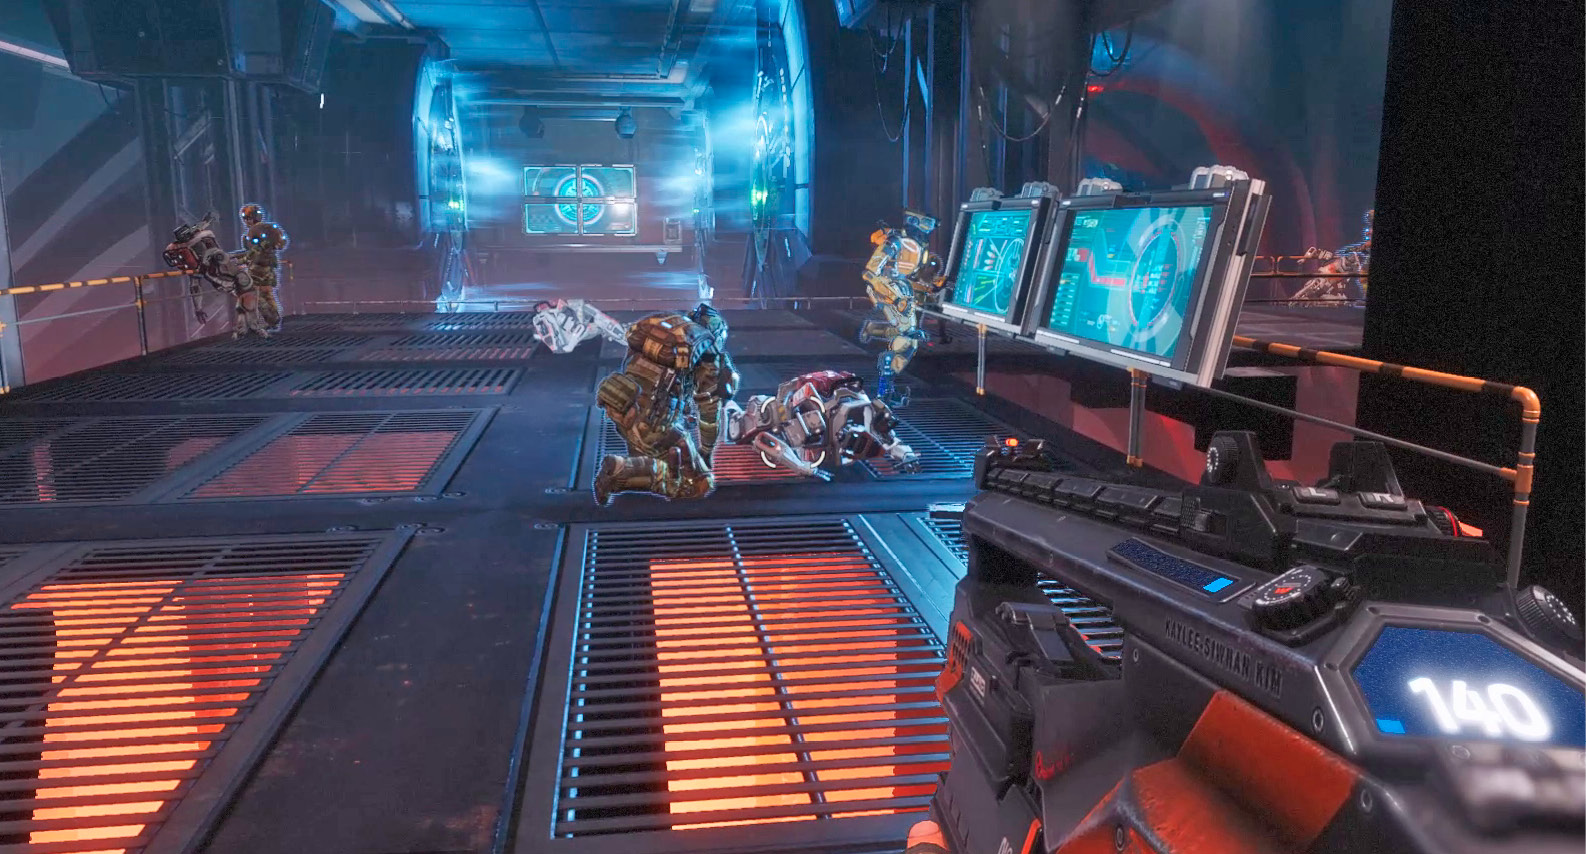
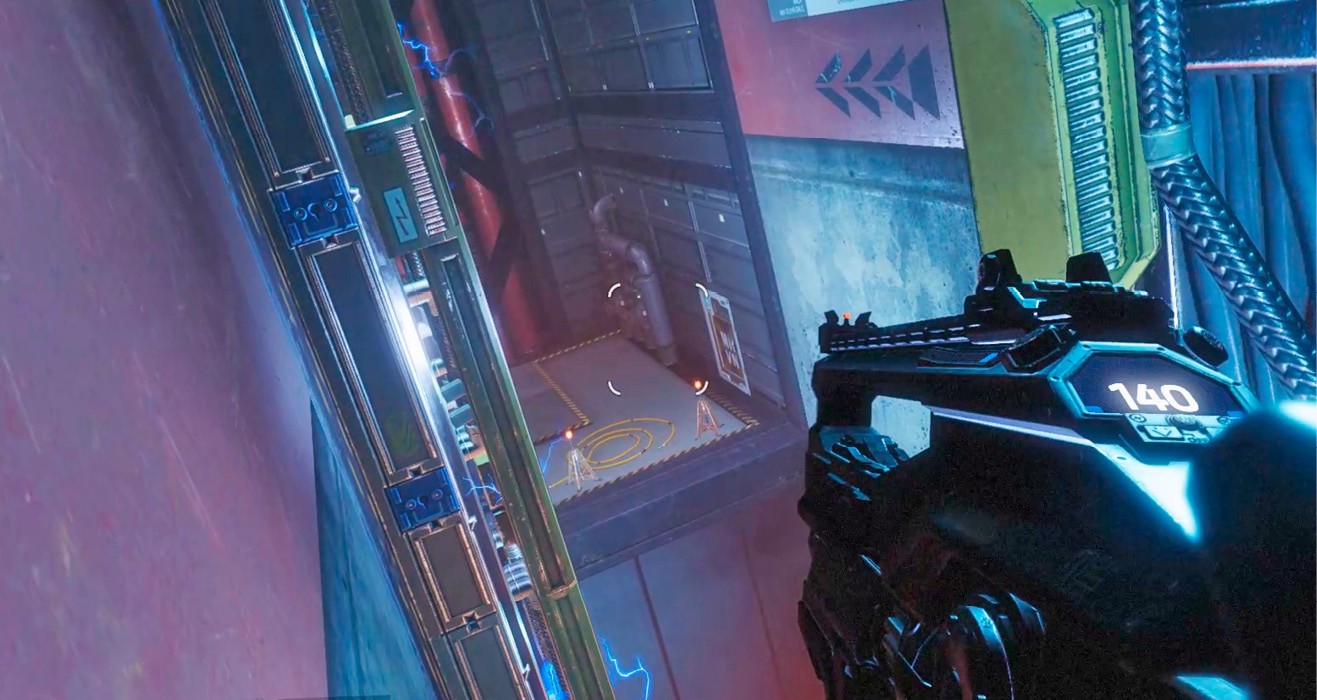
Some of the walls in this area are electrified. Carefully link jumps and wallruns to traverse this section, avoiding the vertical electrified columns. As you near the electrified columns, your HUD view becomes garbled, due to interference. Take this as your cue to jump away, landing on the next wall. Falling here is fatal, so carefully plan your movements, maintaining contact with the walls.
Substation 03
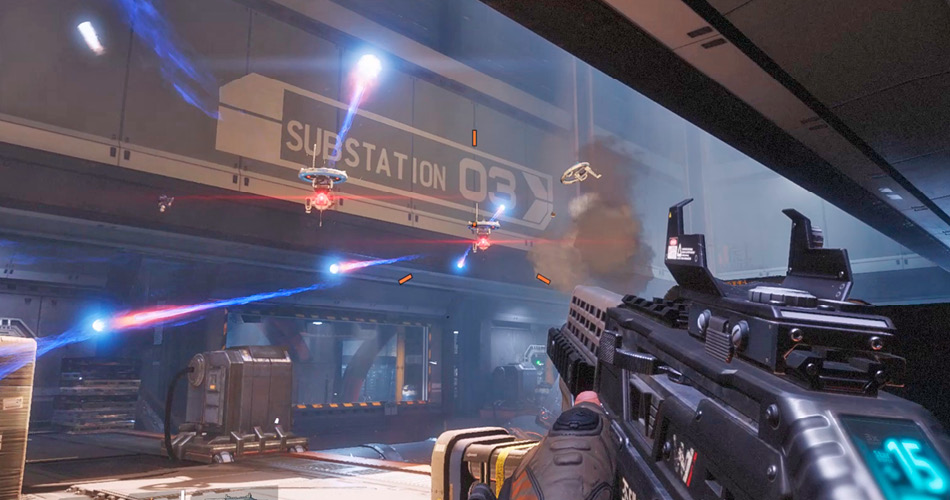
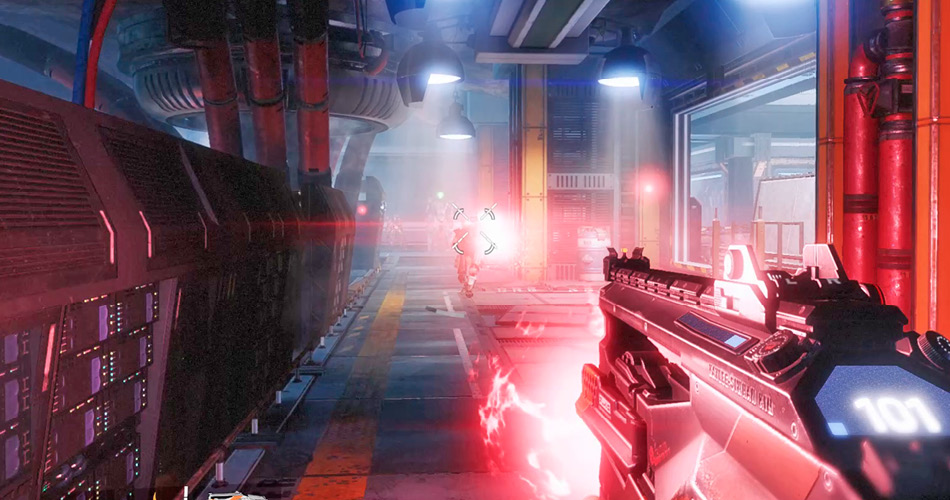
Turn your attention overhead as you enter this substation; drones are humming overhead. Seek cover behind one of the nearby crates and pick off the drones one by one before turning your attention to the Stalkers and Spectres on the far side of the room.
Watch for Stalkers and Spectres advancing down this corridor to the left. Grenades and explosives work well in this confined space. Use Cloak as necessary to avoid detection. If an opportunity presents itself, hack a Spectre with your Data Knife. Having a Spectre or two on your side greatly increases your chance of survival. But exercise caution while hacking—you’re completely vulnerable.
|
 Pilot Helmet 1/11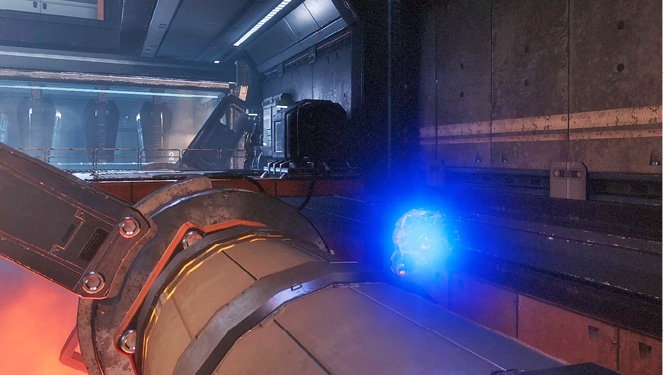
Power Grid
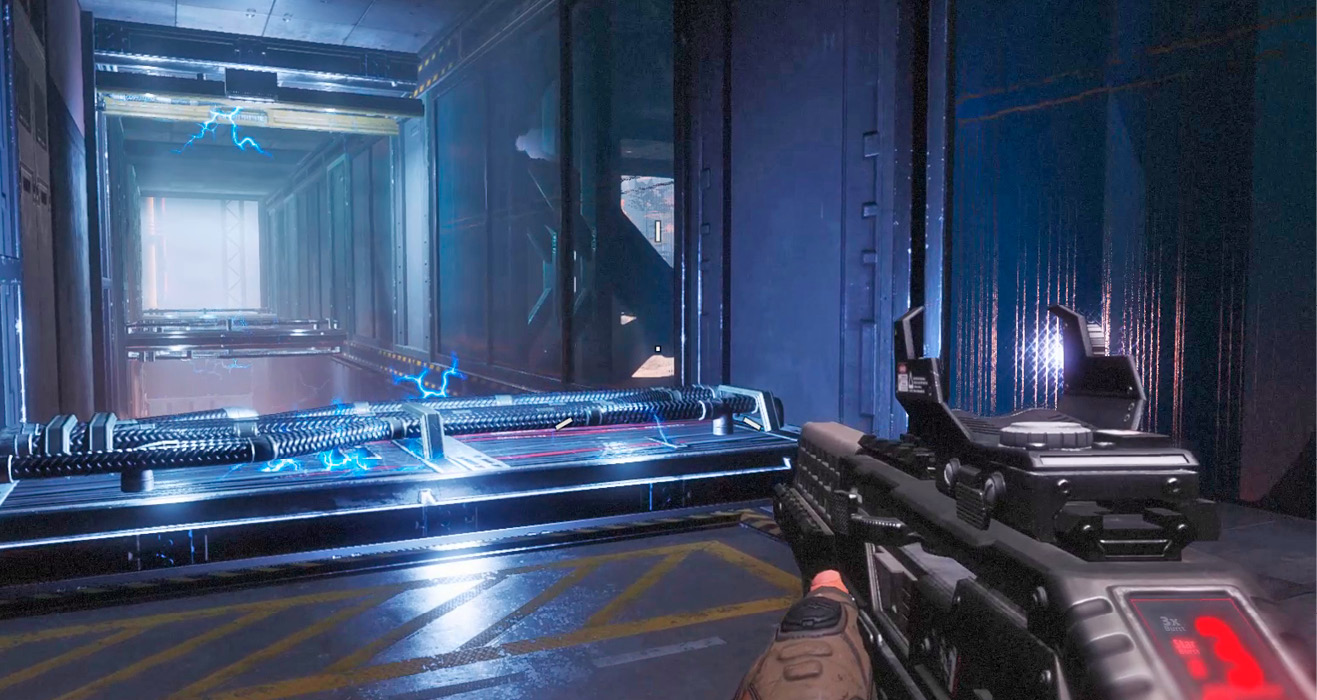
Proceed through the adjoining passage until you reach another wallrun challenge. In this corridor, horizontal beams on the top and bottom are electrified. While wallrunning try to maintain the same altitude along each wall, careful not to jump too high or drop too low. Be careful when using double jumps following wallruns, as you may drift too high, crashing into one of the electrified beams above.
Silo 01
A powerful turbine blasts air upward through this massive silo. You need to find a way to shut it down before you can continue your search for the Arc Tool. Take a leap of faith and jump toward the center of the turbine. The airflow carries you upward. As you float above the silo, continue moving toward the distant ledge, entering the doorway marked “L3.” When you land, turn around and jump back toward the turbine, allowing the airflow to carry you to the blue-lit control room on the other side of the silo.
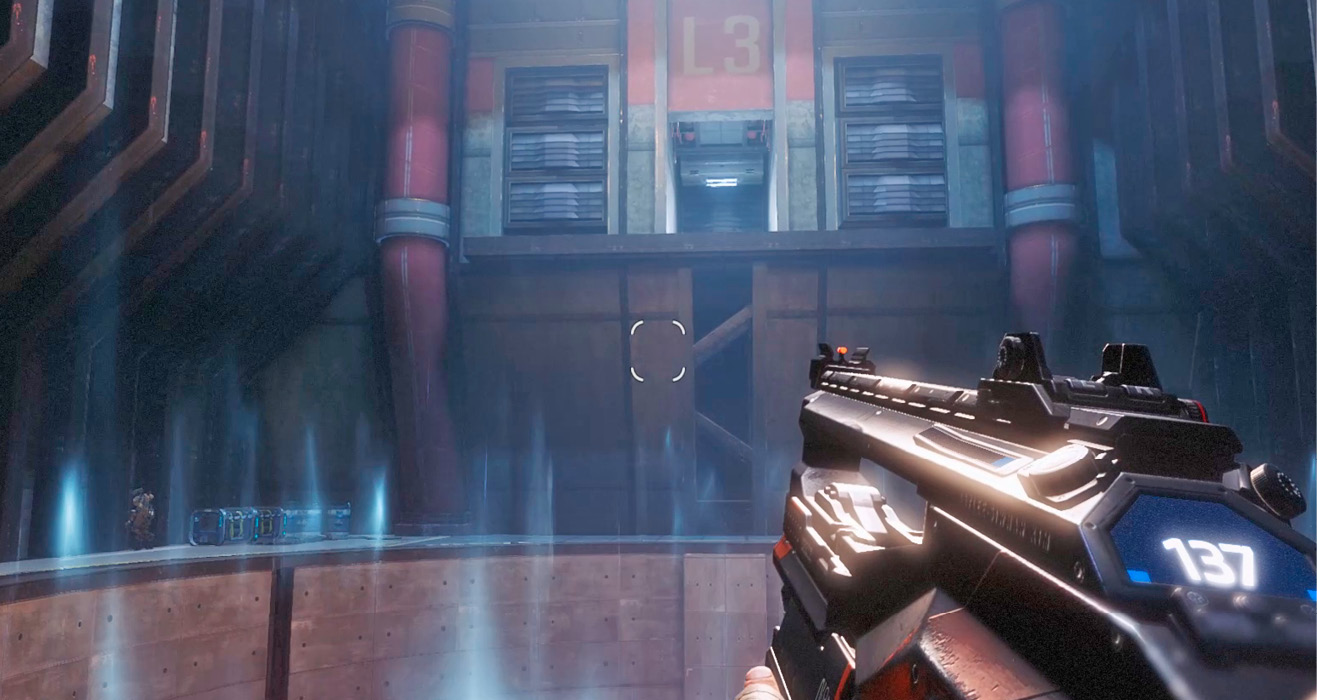
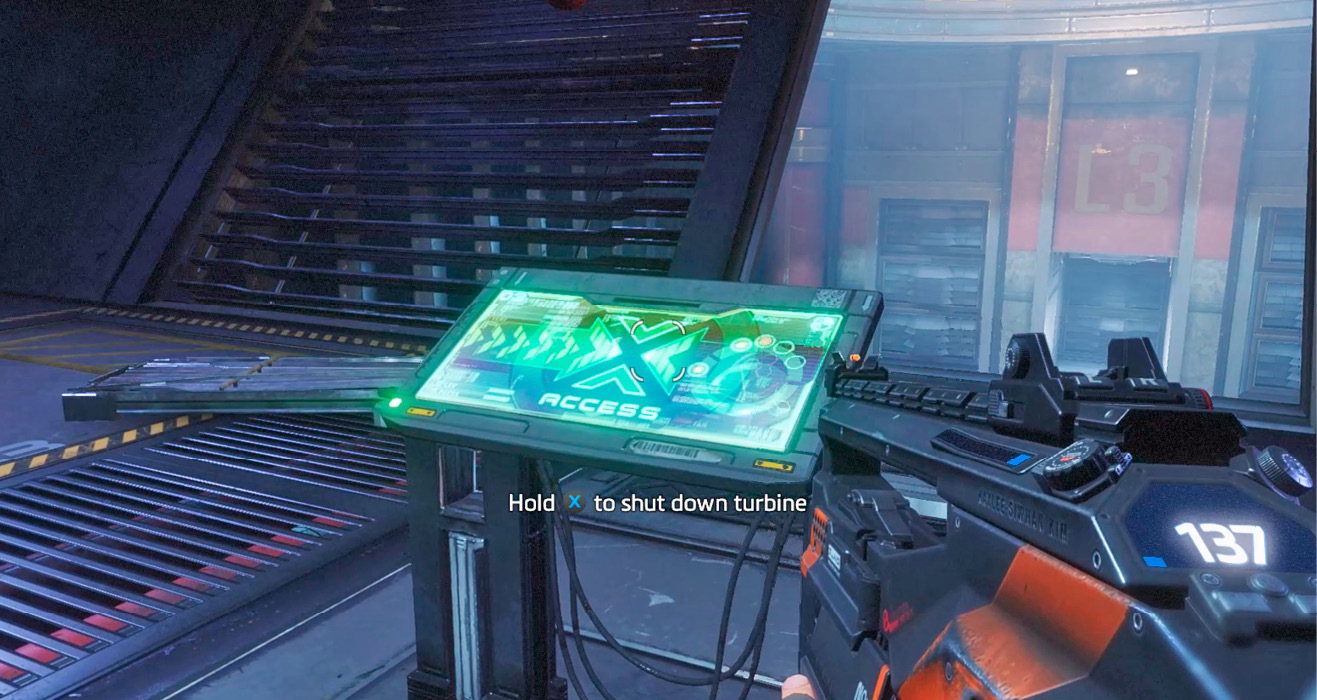
In the control room, interact with the green-lit console to deactivate the turbine. But your access to the control room has been detected by the enemy, and drones have been dispatched. Peek in and out of the control room’s entrance while engaging drones in the silo. When all the threats have been eliminated, jump out of the control room and drop all the way down to the bottom of the silo. Your Jump Kit prevents you from taking any damage, despite the height.
Arc 07
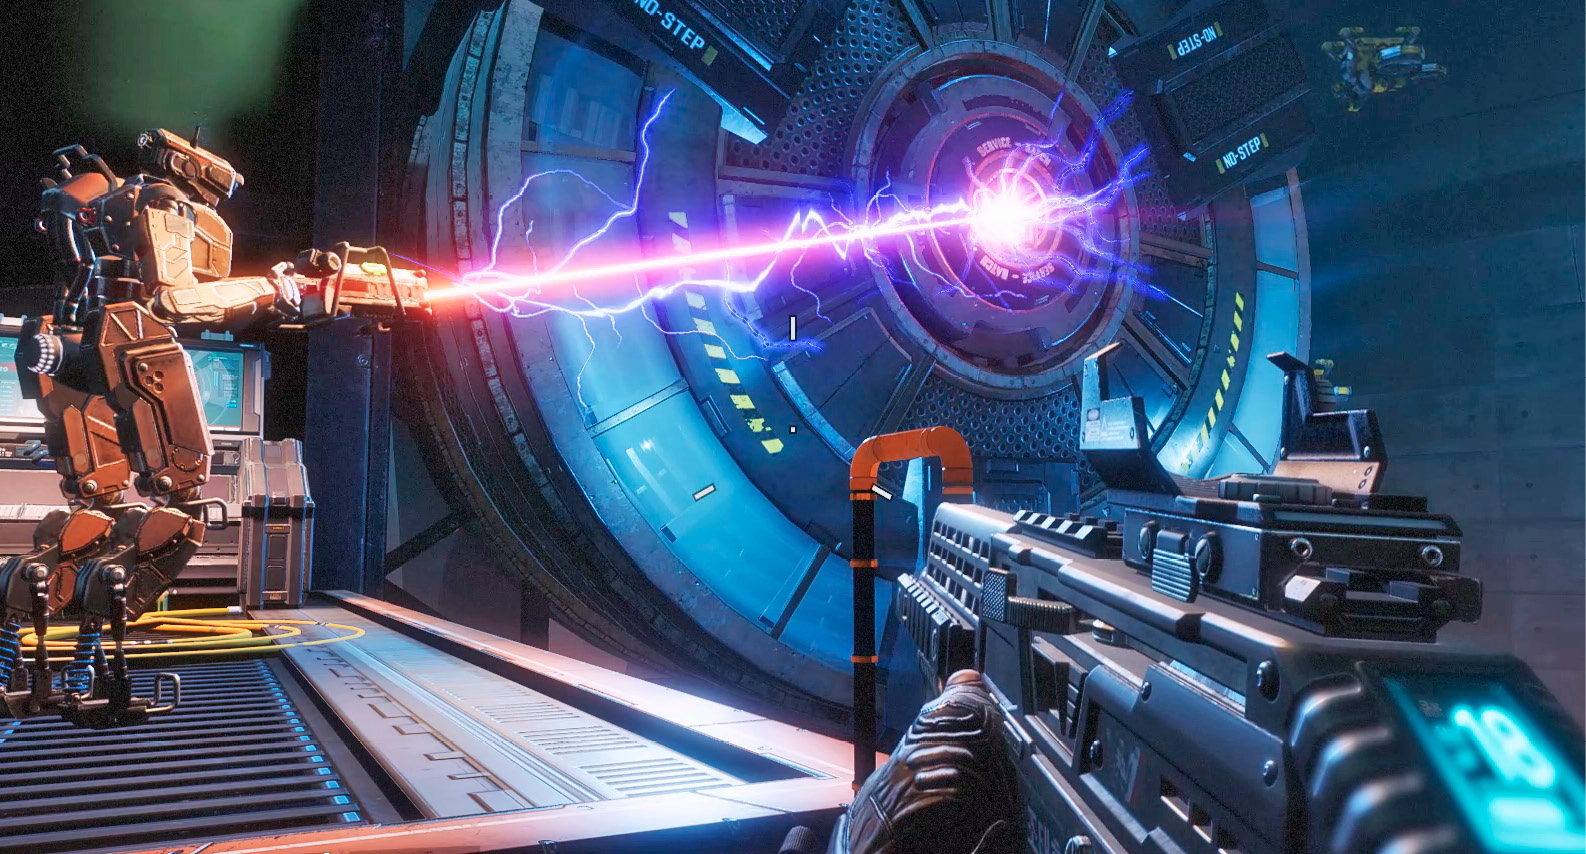
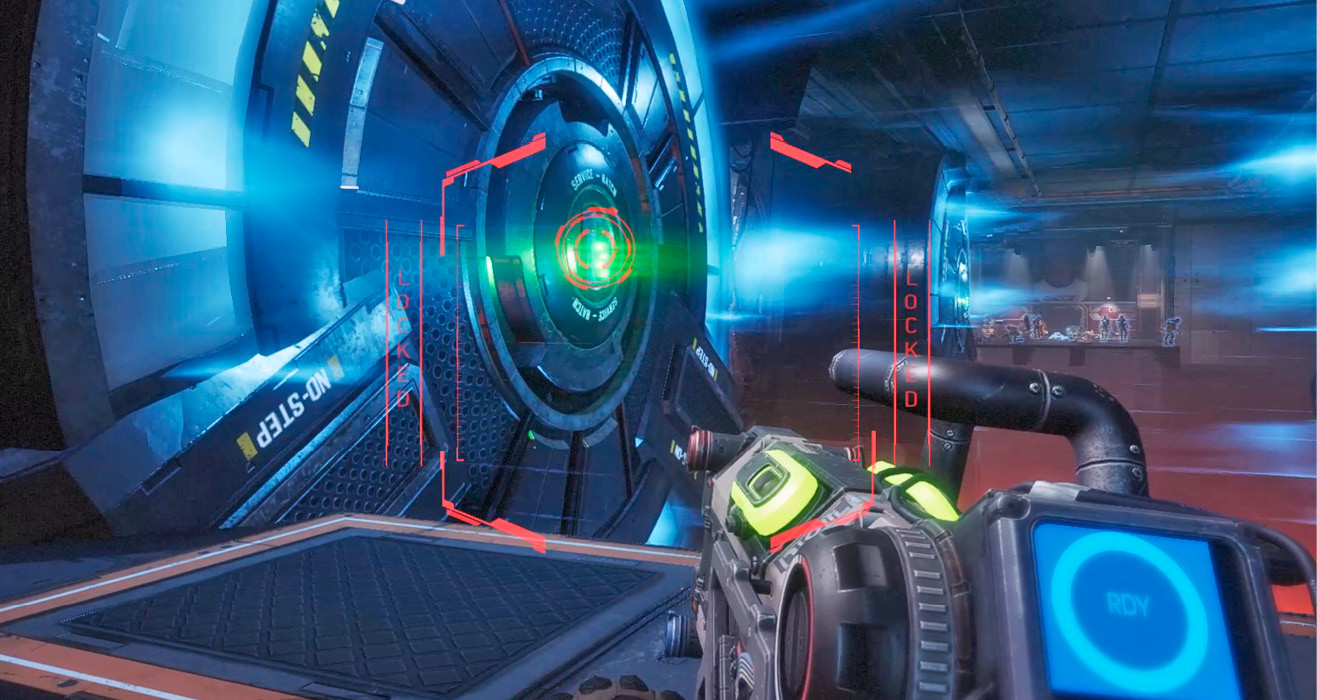
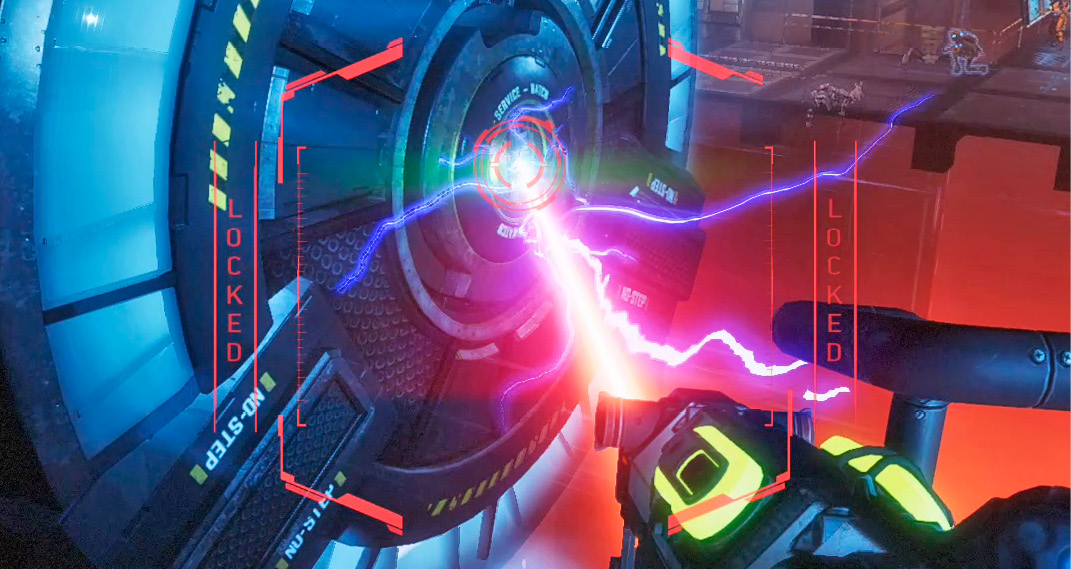
The Arc Tool is being used by a Marvin in this chamber. Notice how he uses it to temporarily deactivate the nearby turbine. Interact with the Marvin to take the Arc Tool. He won’t be happy. Next, aim the Arc Tool at the turbine and fire it at the green-lit panel in the center. When the turbine is deactivated, jump toward the turbine and wallrun across it to quickly cross the room. You only have a few seconds to complete the wallrun before the turbine reactivates.
Silo 02
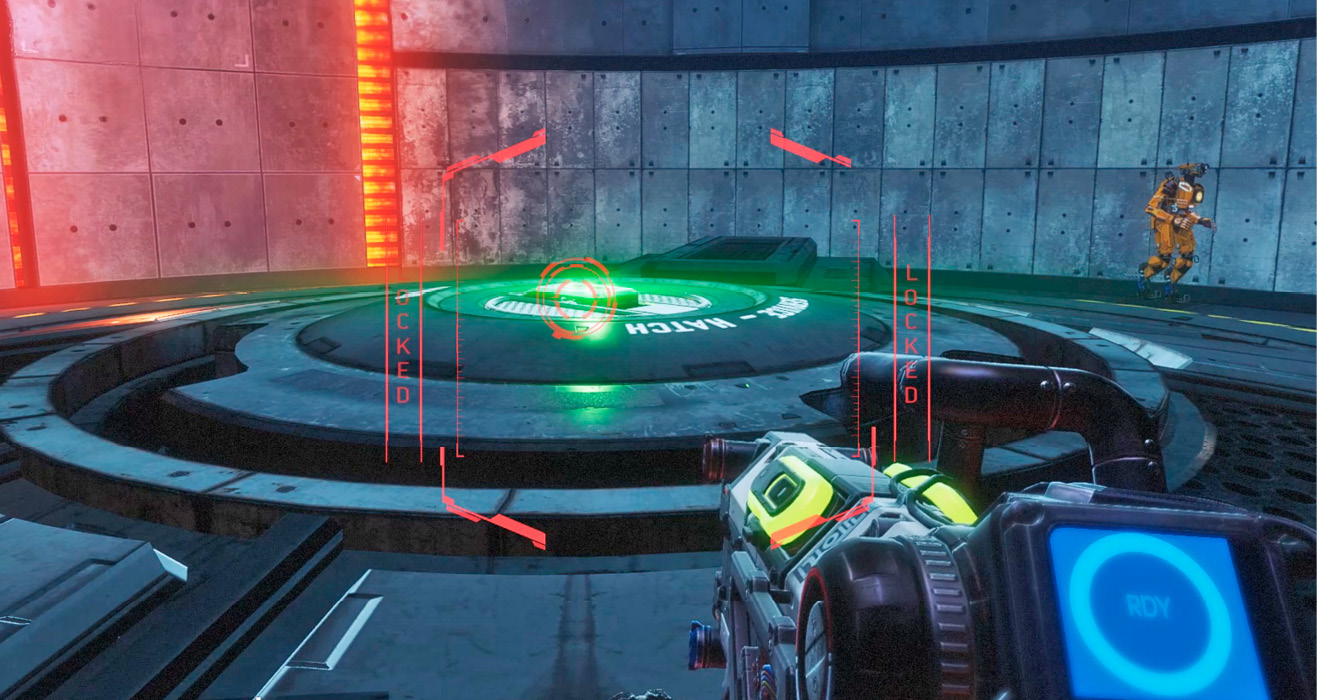
Cross back through the turbine silo and use the Arc Tool to open the door on the other side by targeting the green-lit panel to the right of the door. Beyond the door is a second silo occupied by a few Marvins. The turbine on the floor is inactive. Target the green-lit panel at the center of the turbine to activate it, which will send you flying upward. This turbine only stays active for a couple of seconds, so move to the perimeter of the silo to avoid falling all the way to the bottom.
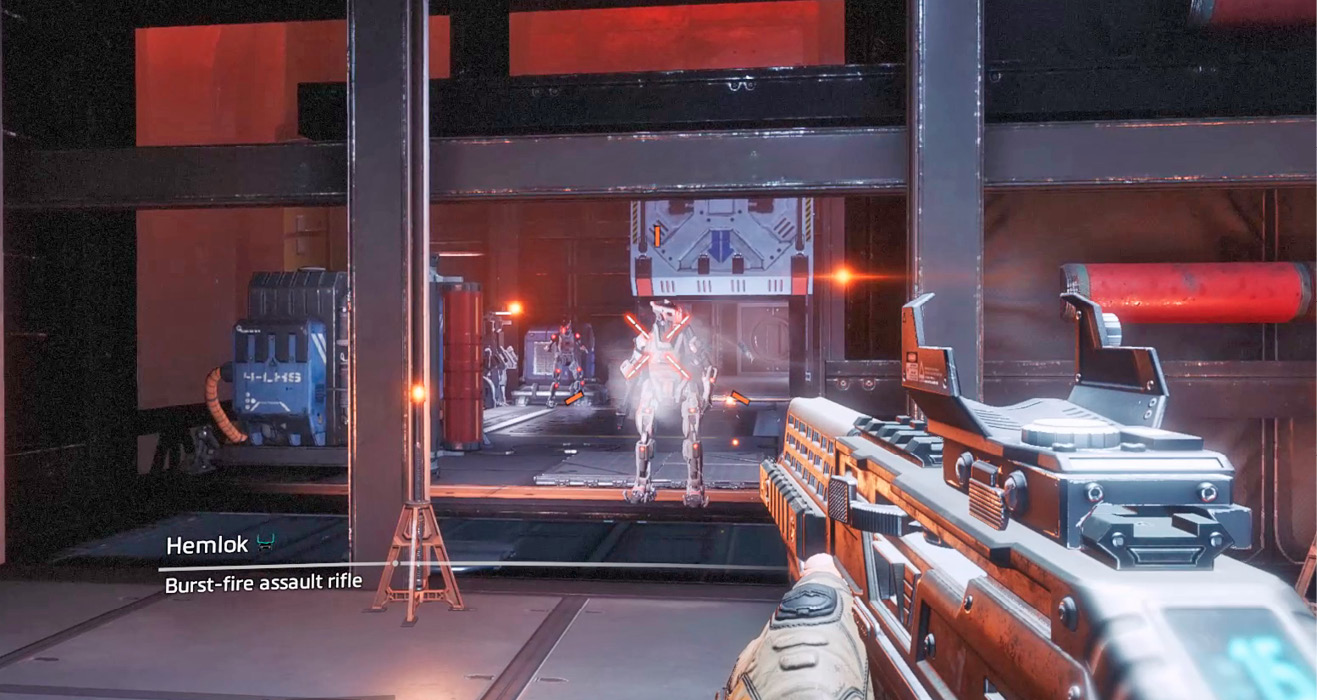
After grabbing the Pilot helmet, activate the turbine again. This time float to the opposite side of the silo to reach a lower passage. Turn to the right and engage a couple of Stalkers marching toward you. To avoid getting shot, shoot off their legs then dispatch them as they’re crawling on the ground. Once the Stalkers have been eliminated, proceed into adjoining turbine room.
|
 Pilot Helmet 2/11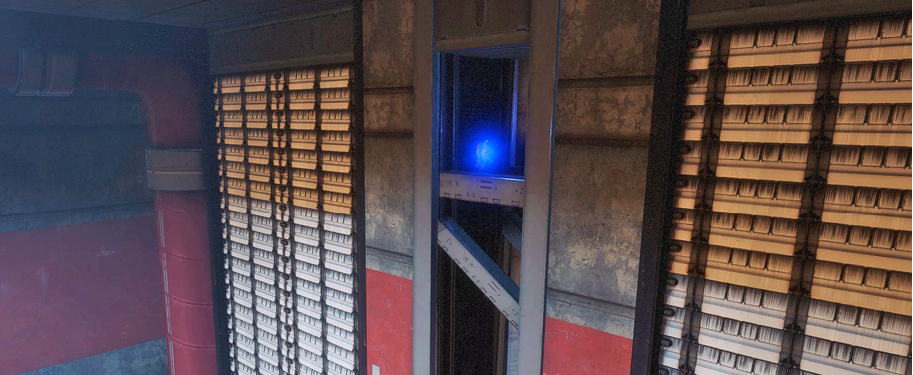
Primary Heat Sink
The transparent walls in this heat sink room block the airflow created by the turbine at the far end. While behind one of these walls you’re not affected by the violent flow of air. Use your Arc Tool to raise a wall on the left side of the room by targeting the green-lit panel. Even with the new wall in place, there’s still a small gap in the coverage where airflow can pass through. Sprint (don’t jump) past this gap to avoid getting blown to the back of the room. Continue into the adjoining room on the left.
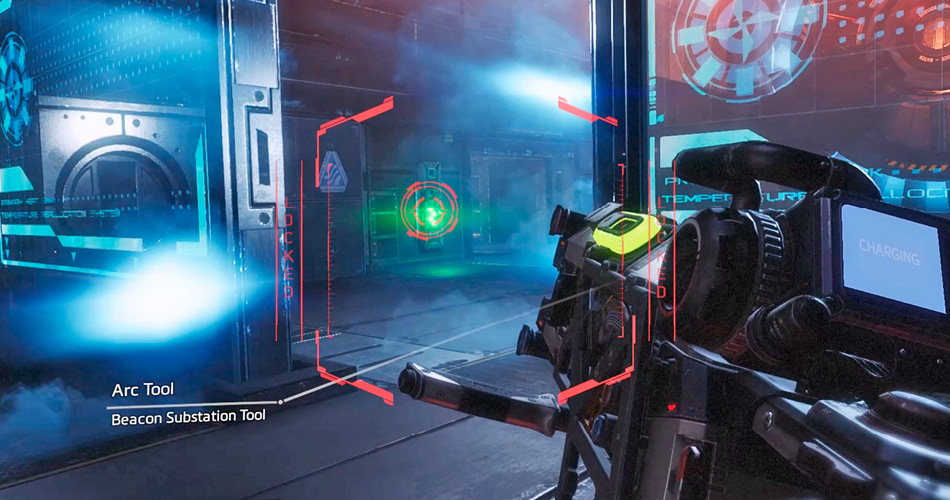
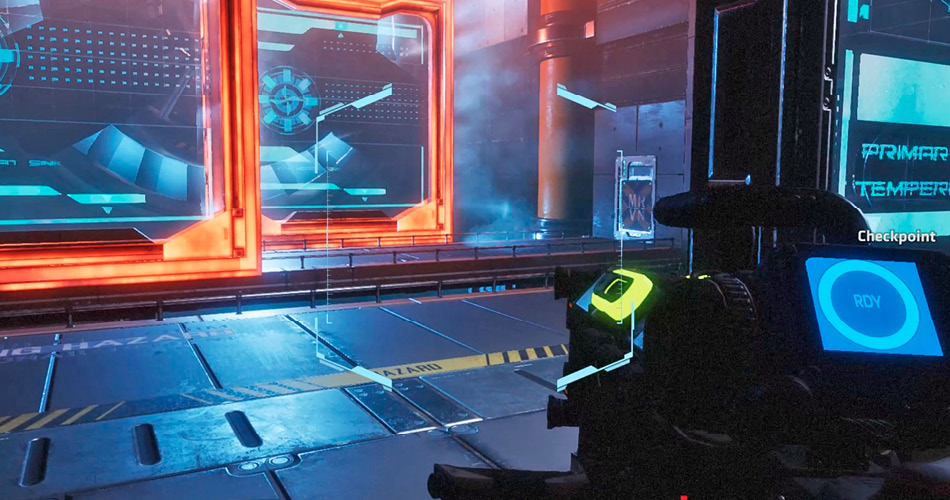
The second heat sink room presents a similar puzzle. Use the Arc Tool to raise a couple of transparent walls to restrict airflow. As you advance, keep your feet firmly planted on the floor while resisting the urge to jump. Stay behind the walls as you work your way to the exit on the left.
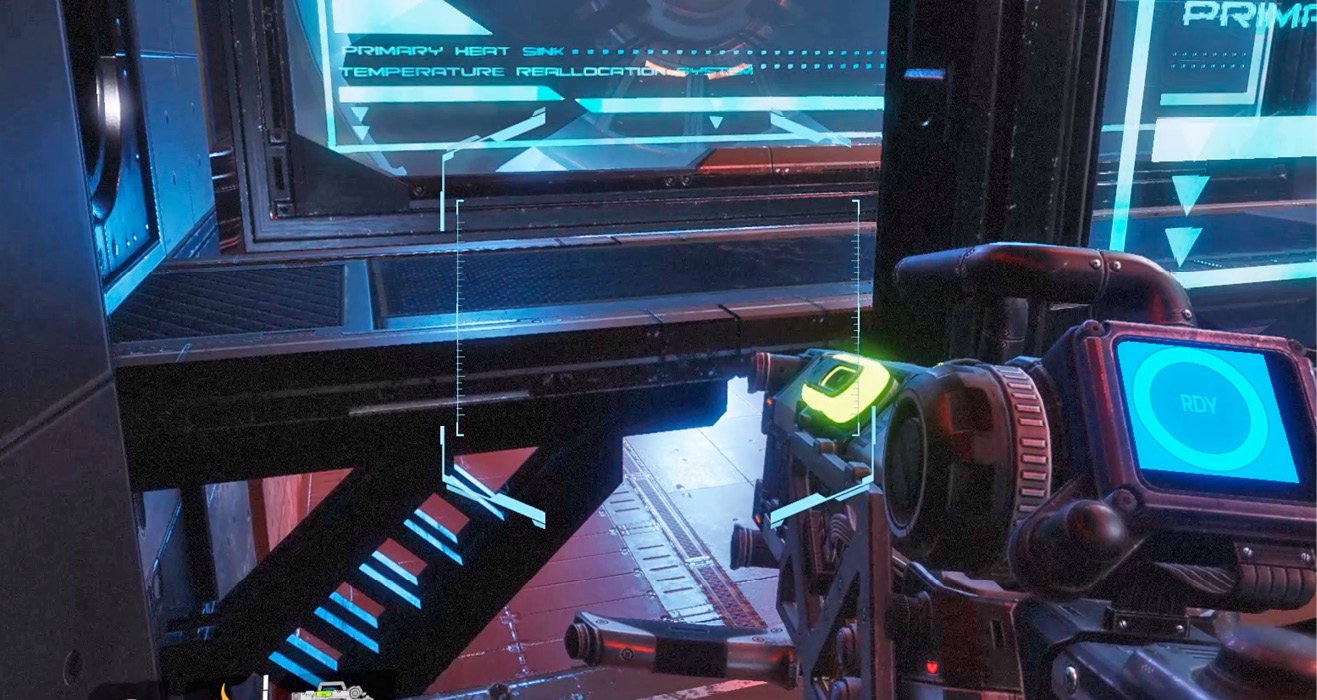
Cross a catwalk and enter the third heat sink room. Once again, use the Arc Tool to raise three transparent walls. Next, move to the far left side of the room and move toward the turbine. While you’re hugging the wall on the left, you’ll see a small gap in the floor. Lightly hop over this gap toward the nearby transparent wall—as long as you stay low, you won’t encounter the turbine’s airflow. Hop a second gap while moving along the left wall, maneuvering in the direction of the turbine. Finally, turn to your right to locate the exit. Simply walk in the direction of the exit. The airflow will catch you, but the raised walls prevent you from being tossed to the back of the room.
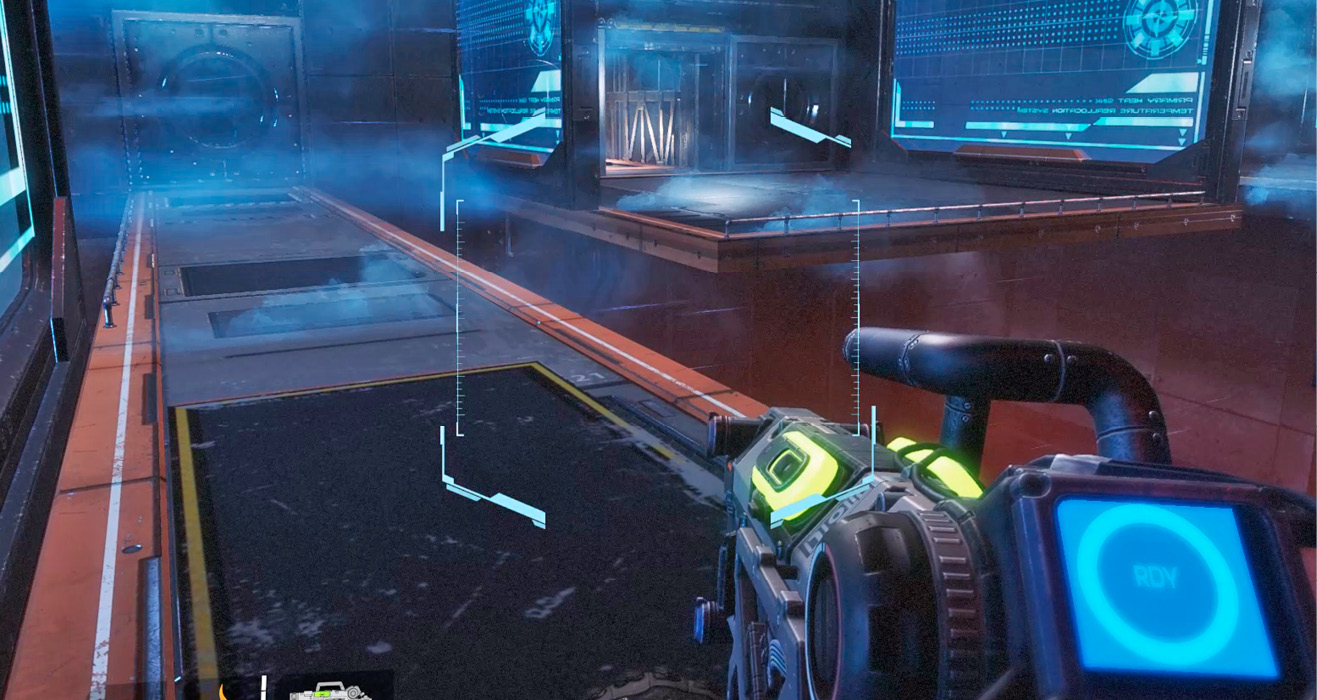
Fight your way past a Stalker and a couple of Spectres in the next room. The hostile units have a height advantage in this fight, shooting down while you try to climb the stairs. Cloak and use jumps and wallruns to flank your opponents. Don’t worry about hacking the Spectres here—they won’t be of much help. Climb to the top of the stairs and use the Arc Tool to open a door.
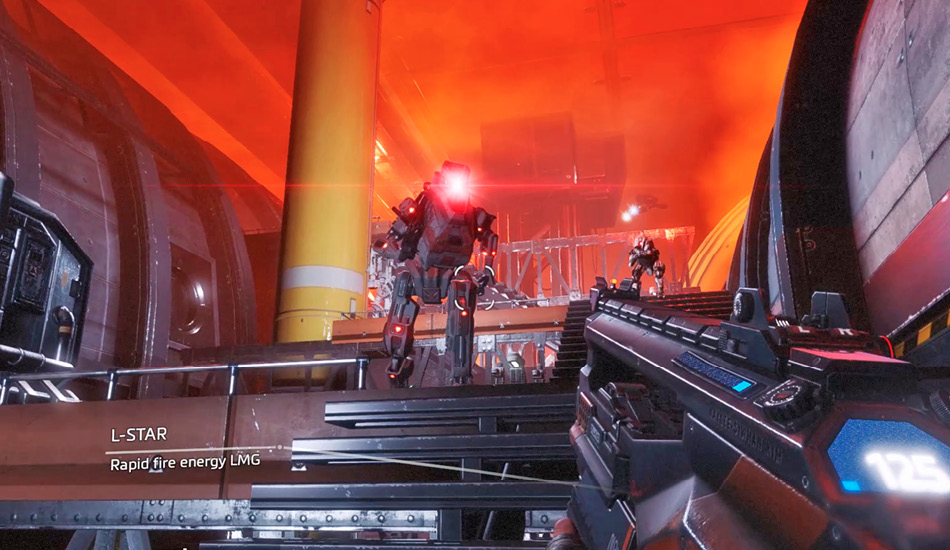
The door leads back to the third heat sink room. But this time you have access to the upper portion of the chamber. Step into the room and let the airflow carry you to a curved wall at the back of the chamber. As you make contact with the wall, you automatically initiate a wallrun—go with the flow. Continue wallrunning and jumping through this curved passage. Use double jumps as necessary to maintain proper altitude. Falling here is fatal.
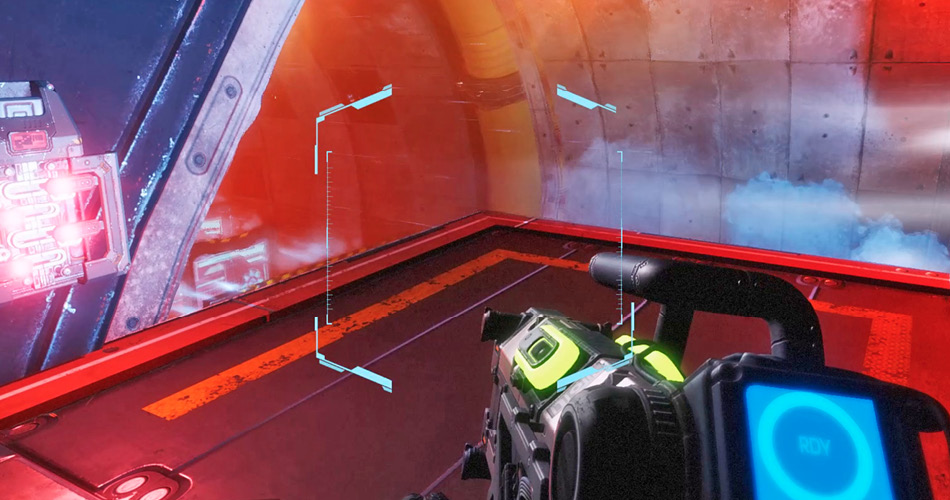
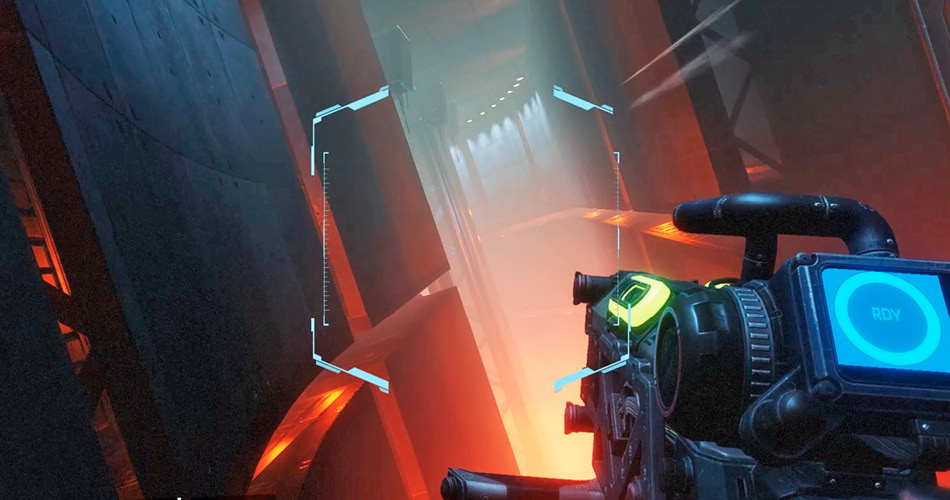
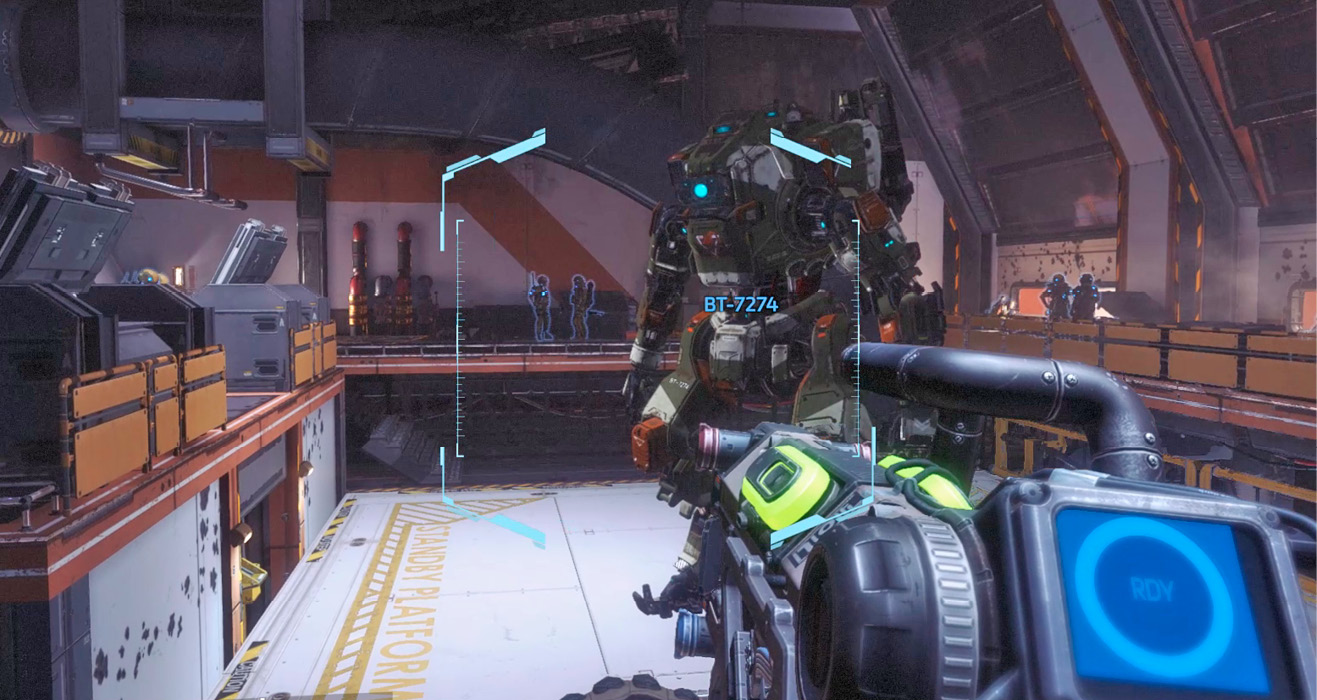
At the end of the curved passage you drop down a shaft, landing on this platform. Militia soldiers can be seen on the catwalk ahead. This is where you originally entered the substation facility. But before you can return with the Arc Tool, you have another puzzle to complete. An array of three active turbines block your path. Turn to the first turbine on the left and deactivate it with the Arc Tool. Immediately jump toward it and initiate a wallrun. Jump toward the next turbine on the right, deactivating it with the Arc Tool in midair. Wallrun across the second turbine and repeat the same steps as you jump toward the third turbine. The Militia soldiers cheer you on as you advance and make a successful landing on the catwalk. Follow Rifleman Hall back to the control room.
Power Relay
Back in the control room, the consoles are still powered down, unable to interact with the interstellar beacon. BT informs you that the power chamber relays are offline. The Arc Tool should have enough energy to jump-start them manually.
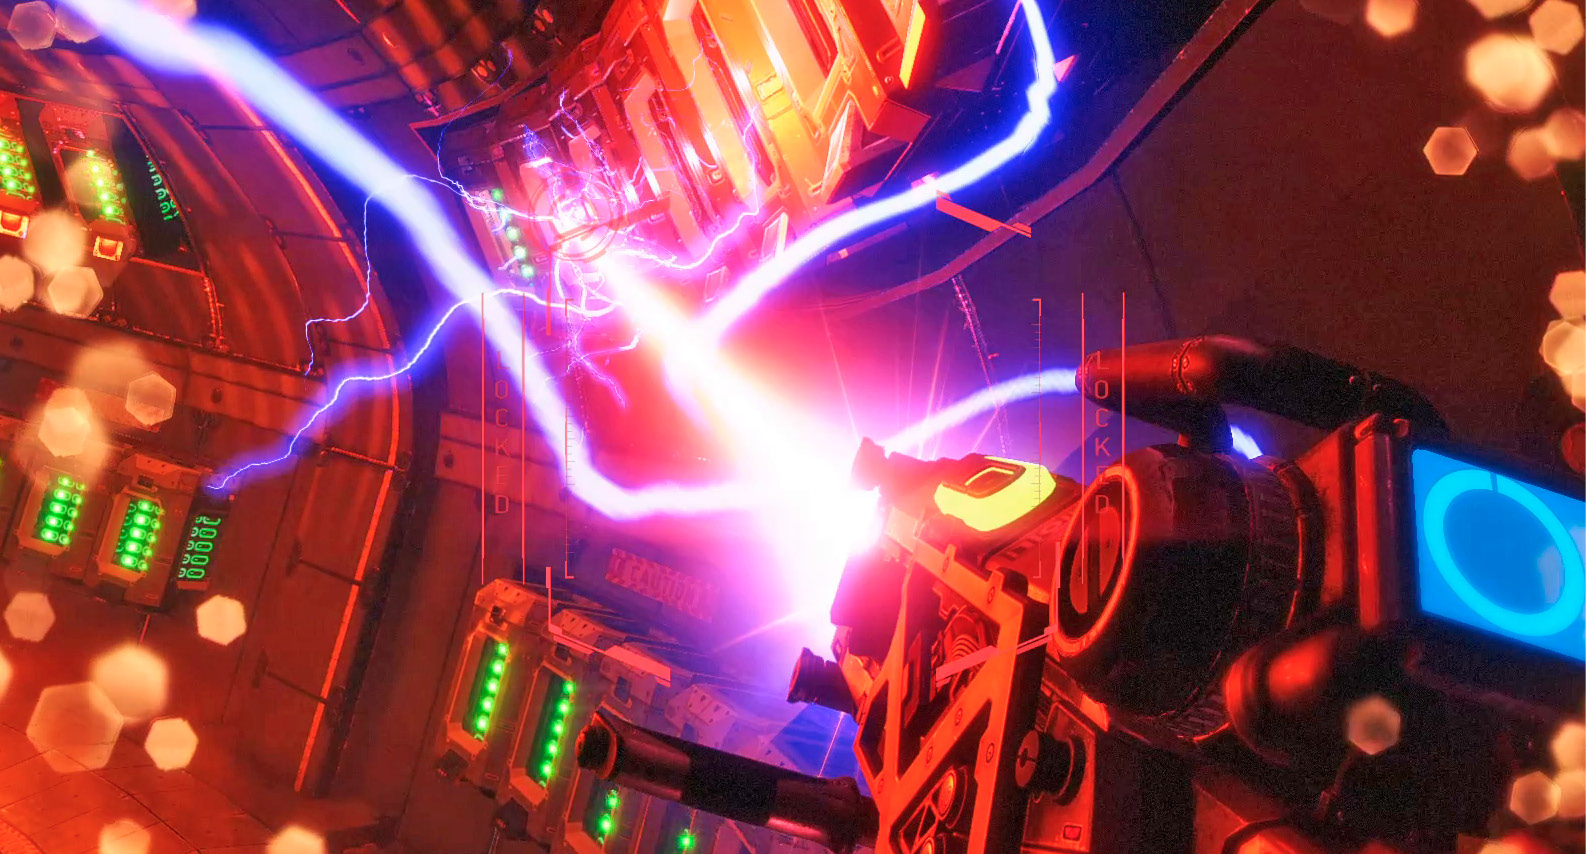
Step inside the corridor leading to the power relays. BT warns that high radiation levels are present. Your suit will only protect you for a limited time. As the door to the power relay chamber opens, step inside and immediately start targeting the green-lit relays on the outer wall with the Arc Tool. There are dozens of relays, so act quickly. Consider wallrunning along the outer wall of the chamber while activating the relays. Once activated, the relays turn red. Target any remaining green relays then exit the chamber when BT reports that power is at 100 percent.
Return to the control room as the Militia soldiers attempt to power up the beacon. But something goes wrong: a fault has been detected leading to an emergency shutdown. BT sees that the uplink targeting module is offline. You’ll need to repair it manually. To make matters worse, the IMC has probably detected your attempts to activate the beacon. Hop aboard BT and head toward the beacon.
Beacon
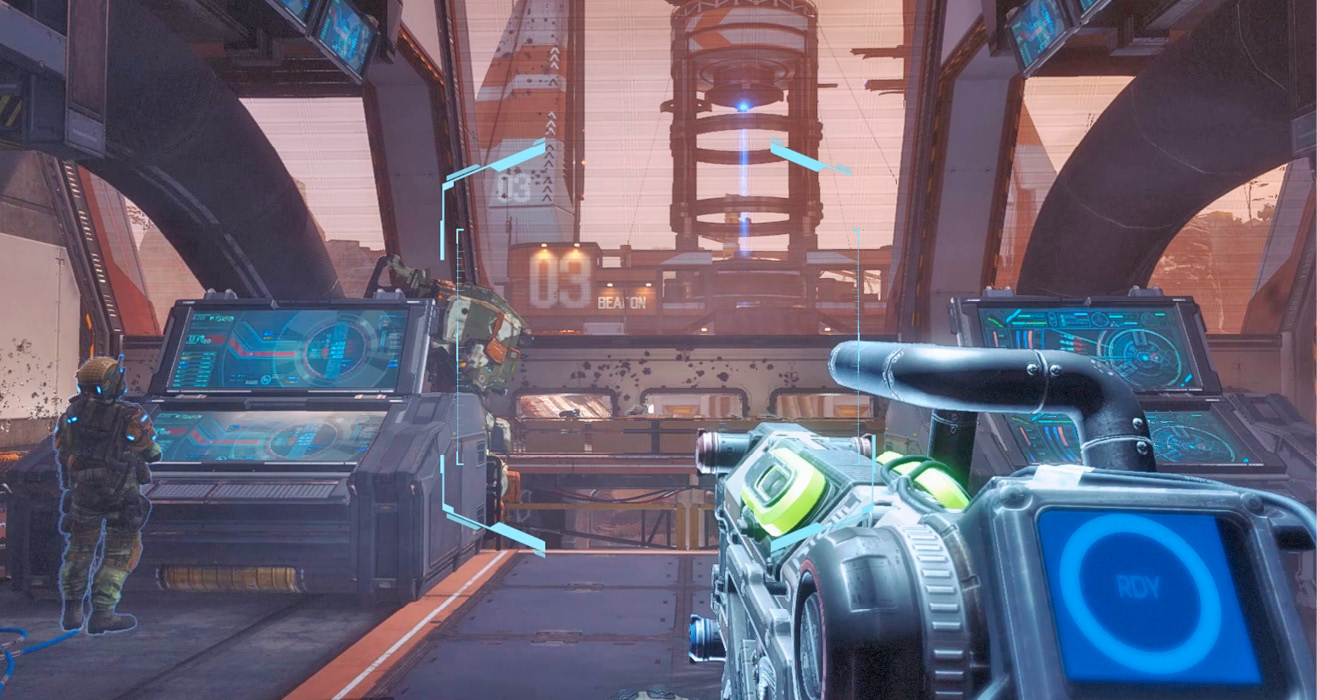
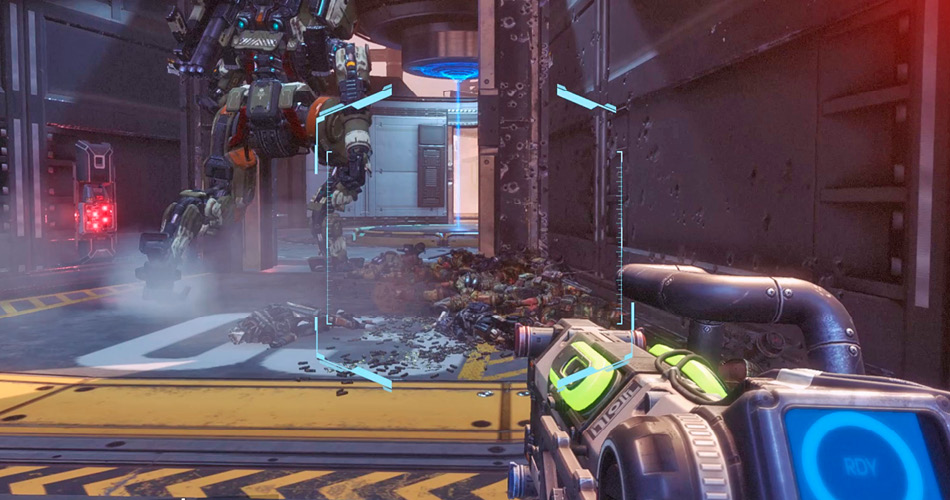
As you near the base of the beacon, look for a green-lit panel. Hop out of BT and shoot the panel with the Arc Tool to open the door. Follow BT through the chamber and onto a platform overlooking a series of cranes. BT’s scans have detected a functional targeting module in the distance. He suggests throwing you across a gap. But before you get tossed by BT, take a moment to explore the area. There are a couple of Pilot helmets nearby.
|
 Pilot Helmet 3/11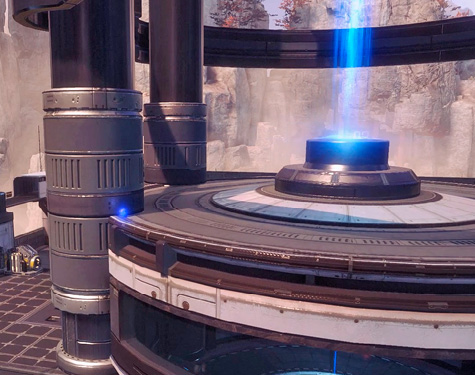
|
 Pilot Helmet 4/11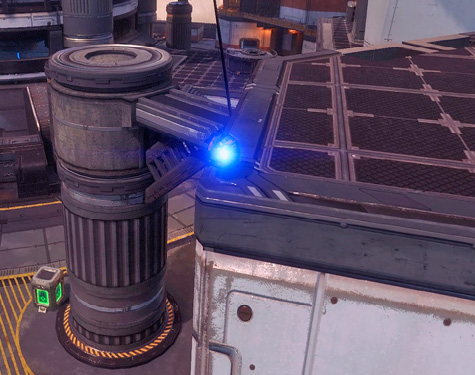
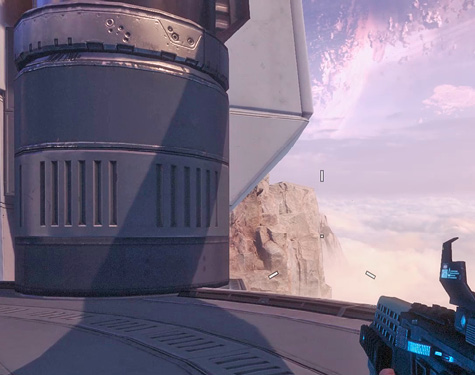
Construction Zone
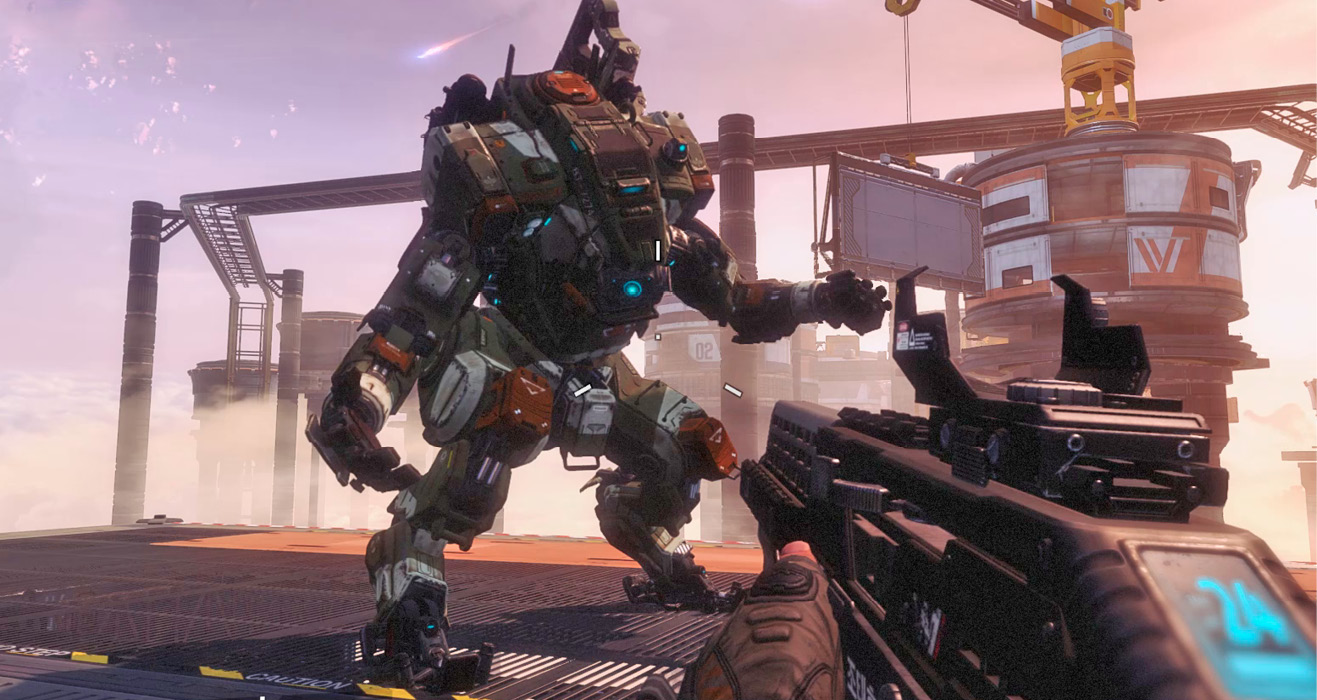
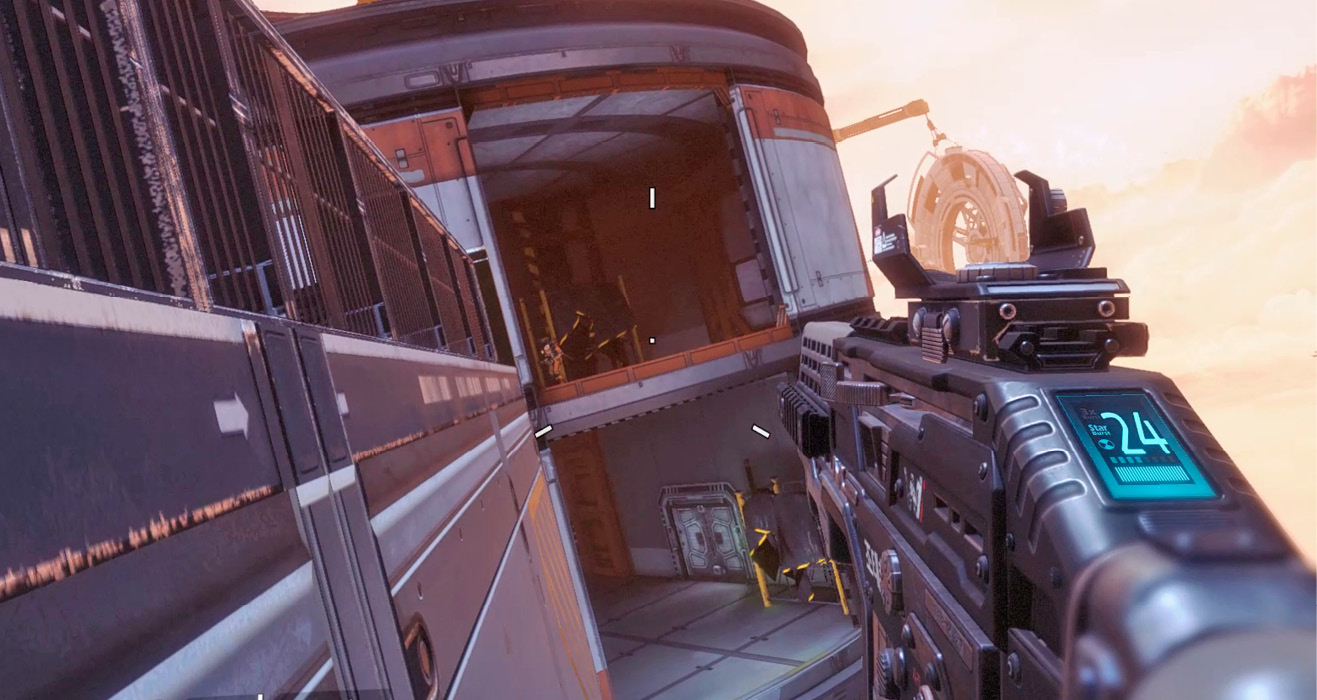
BT is waiting for you at the edge of the platform, eager to toss you across the gap toward the distant cranes. As BT grabs you, he holds you for a few seconds while he works out the calculations for this throw. When he throws you, be ready to wallrun along a panel held in place by a crane. At the end of the wallrun, hop inside the adjoining structure. Blisk can be heard over the radio ordering Richter to stop you from activating the Beacon. It sounds like you’re going to have company…
|
 Pilot Helmet 5/11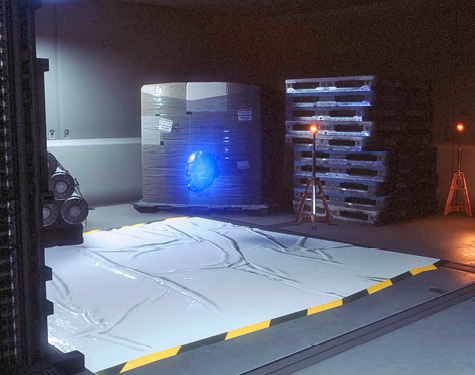
Crane 1
Turn toward this opening and wallrun across the hanging vertical panel on the left. Jump toward the crane. On the other side, take control of the crane and rotate the panel, moving it all the way to the right. This aligns the panel with an adjacent platform, setting up your next wallrun.
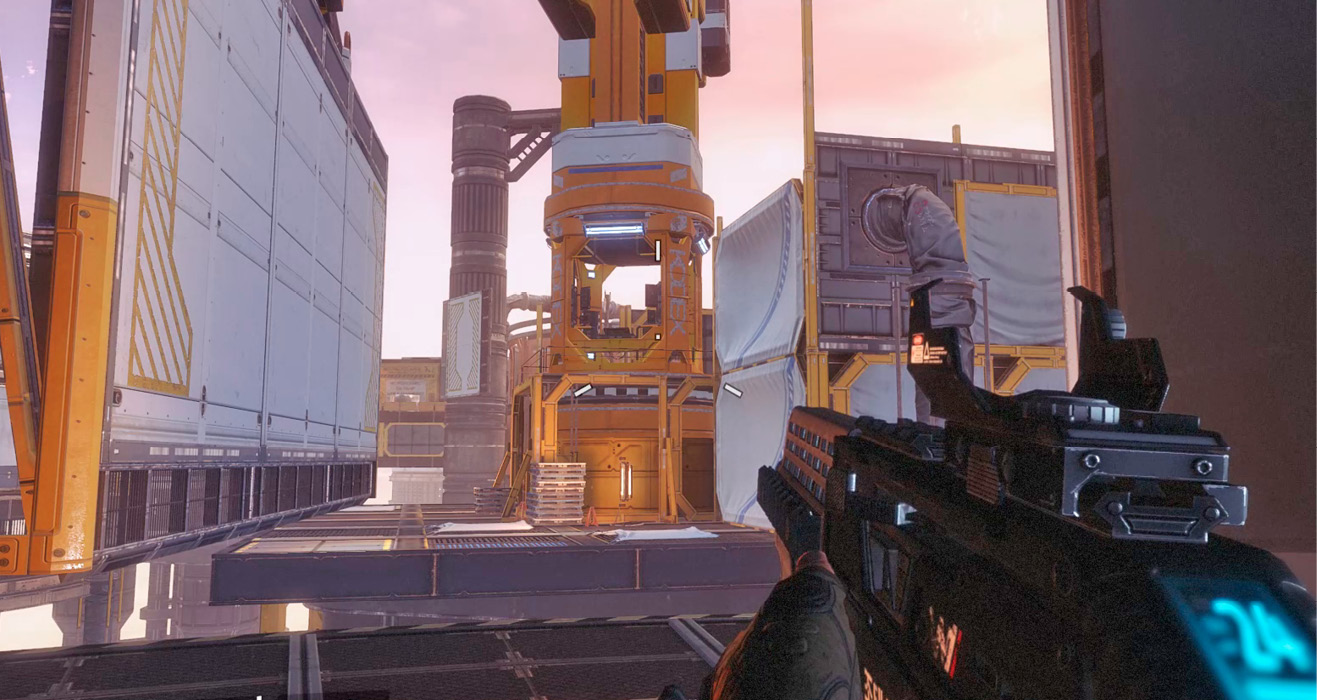
Wallrun across the newly positioned panel and leap to the next platform. BT reports that IMC dropships have entered the area; prepare for hostilities. Climb the stairs to the left and use the Arc Tool to access the structure’s interior. Ascend the spiral stairs inside. Spectres and grunts can be heard patrolling outside.
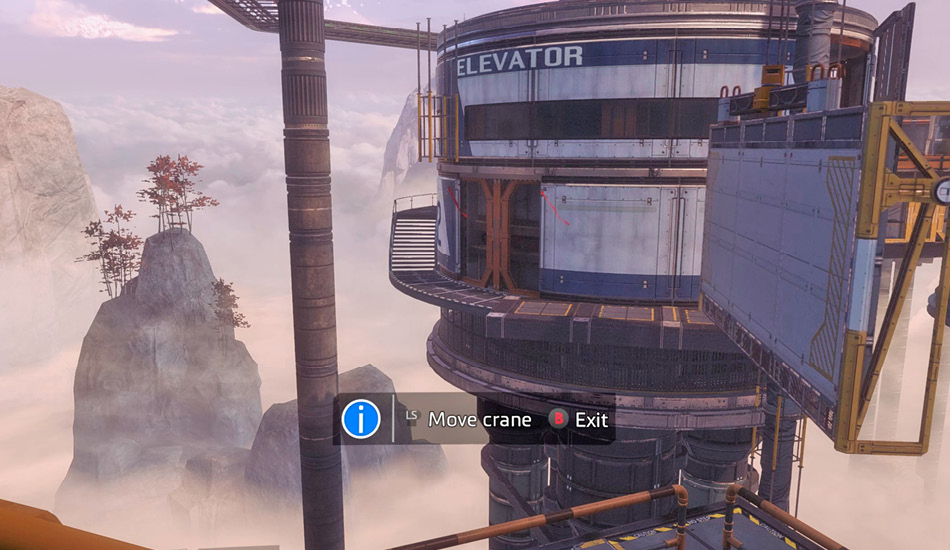
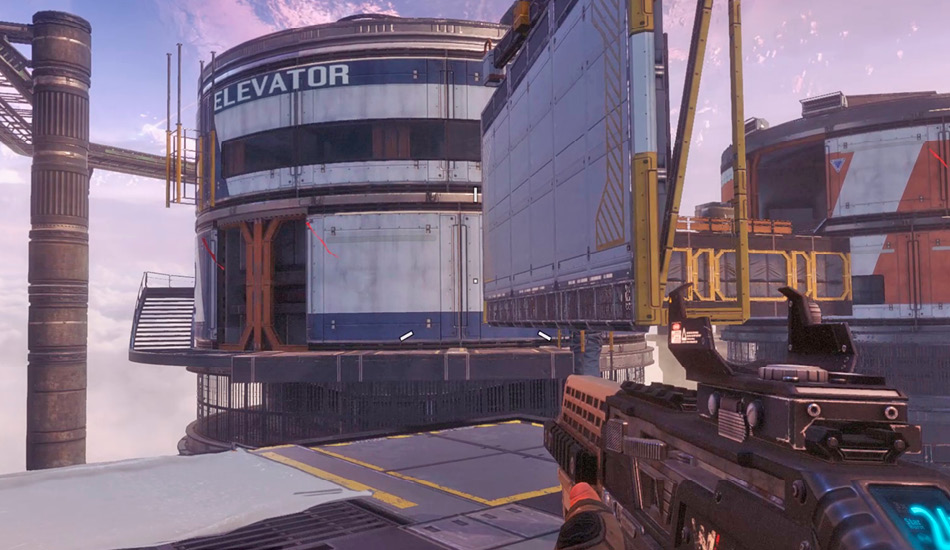
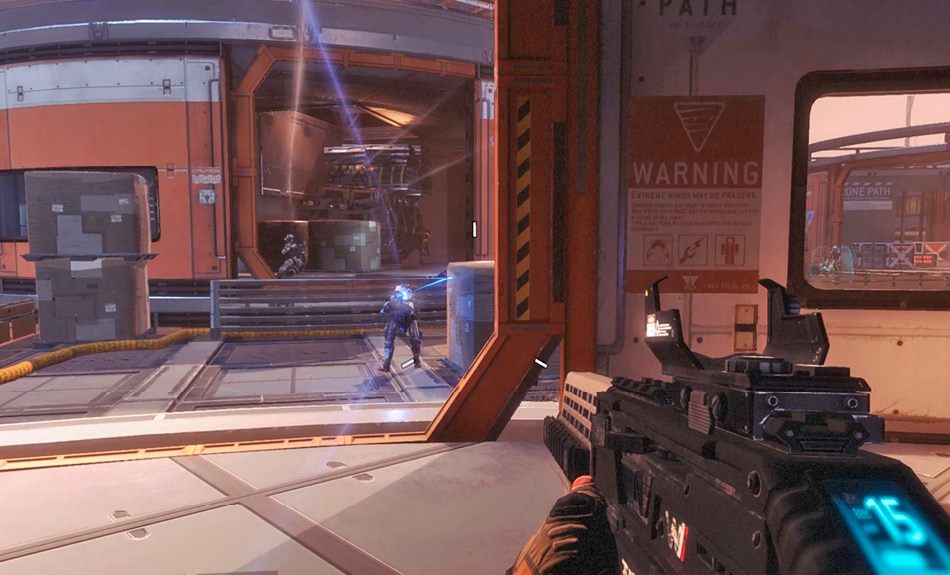
Engage the Spectres and grunts in the adjoining structure. Eliminate the grunts first, then use Cloak to sneak up on the Spectres and hack them with your Data Knife. During this fight, try to avoid eliminating Spectres whenever possible. Building a small army of Spectres divides the attention of your enemies, making it easier for you to advance unscathed.
|
 Pilot Helmet 6/11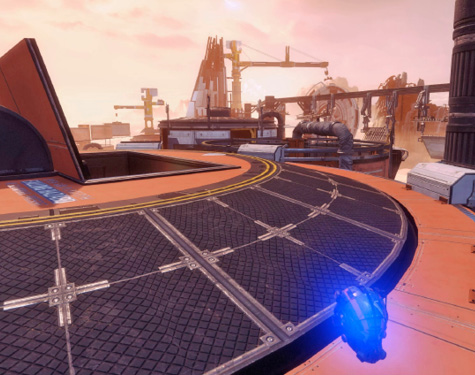
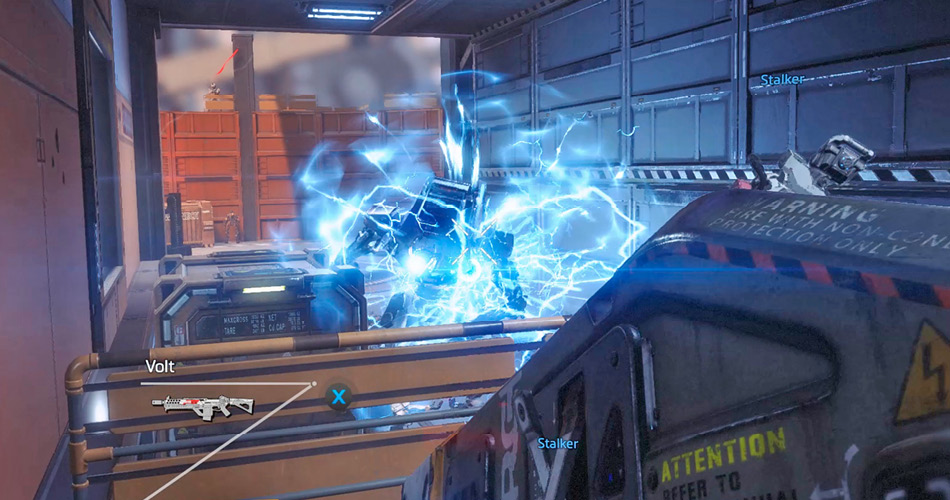
A shield captain and several Spectres wait for you on this adjoining walkway. Activate Cloak and wallrun along the wall to the left, entering the adjacent structure. Here you find two dormant Stalkers resting on a charging node. Target the green-lit panel on the charging node with the Arc Tool to activate the Stalkers. Like hacked Spectres, these Stalkers will now fight for you. Use the distraction caused by the activated Stalkers to flank the shield captain.
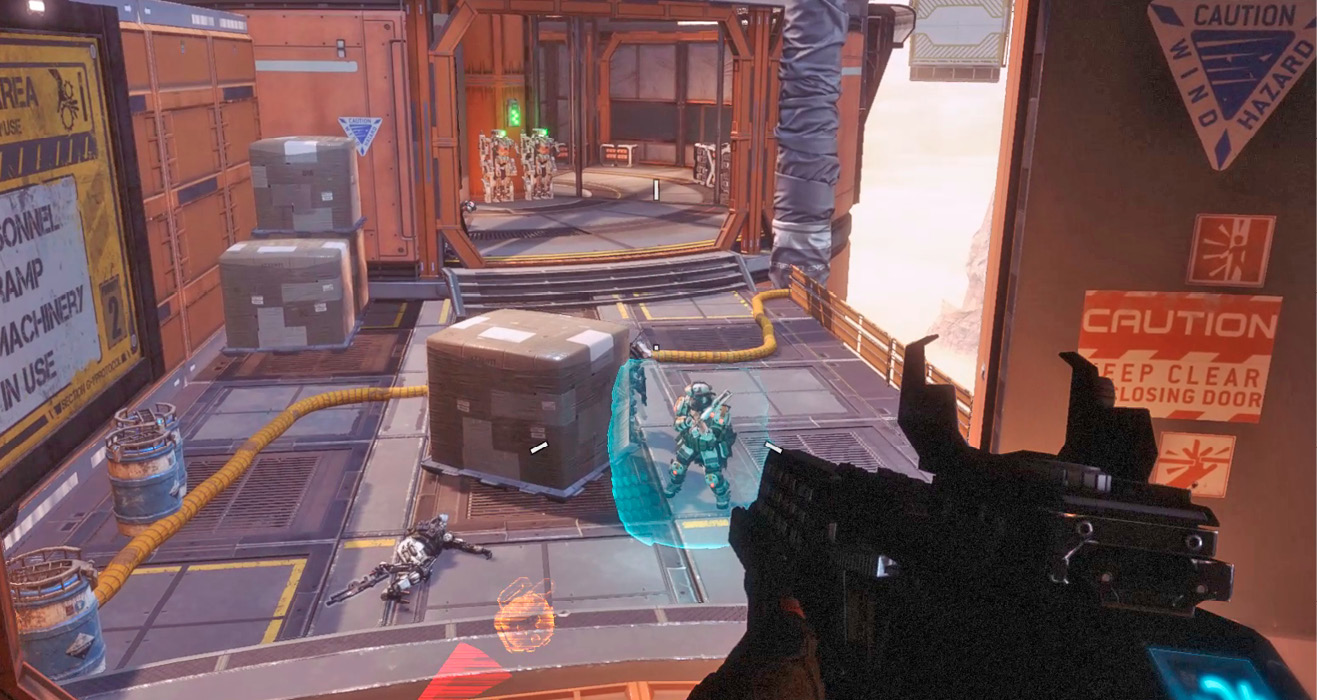
In the same structure where you activated the Stalkers, locate this opening. There are a couple of Double Take Sniper Rifles propped up against the nearby crate. Either double jump toward the next structure’s upper level, or use the Arc Tool to open a door leading to the lower level. An elevator inside the structure can be used to access the upper floor.
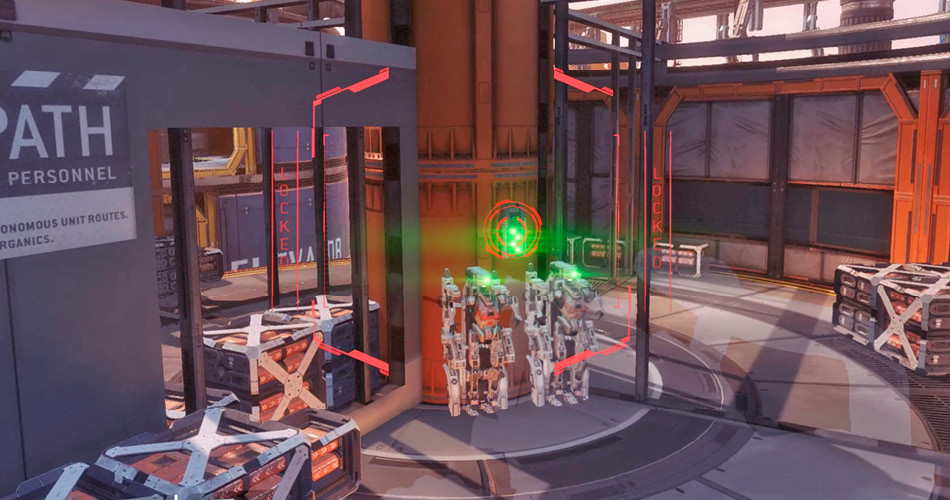
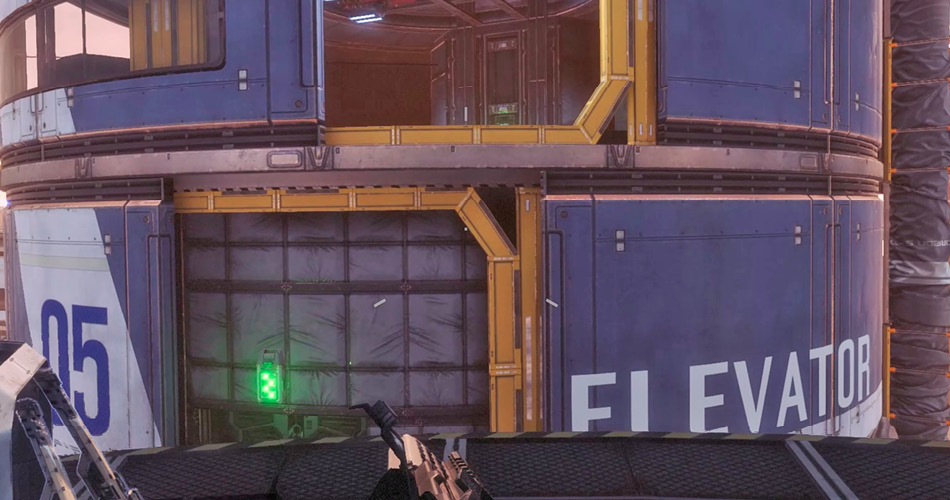
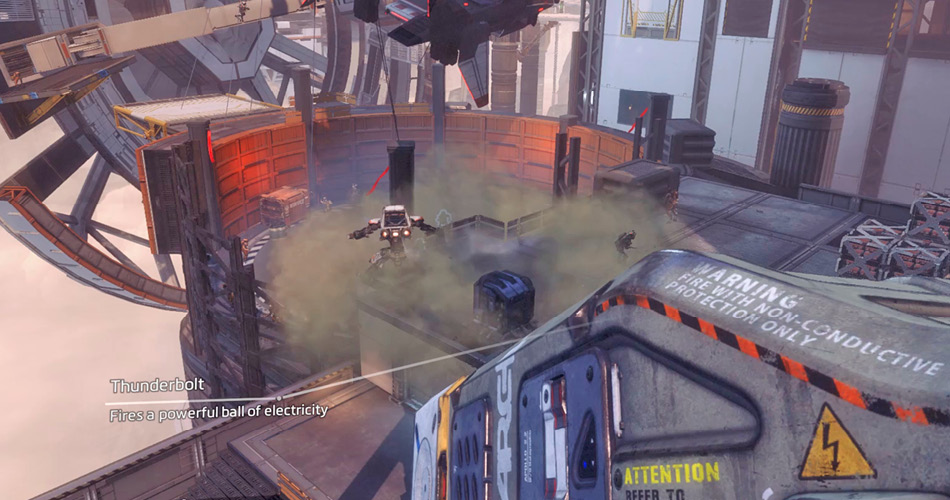
On the structure’s upper floor there’s a weapon box containing a Thunderbolt anti-Titan weapon. Add it to your arsenal and then turn to the nearby opening. An IMC dropship has arrived, dropping more grunts. A Reaper also drops into the area. Immediately jump out of the opening toward a pair of inactive Stalkers. While in midair, use the Arc Tool to activate the Stalkers. The Stalkers will keep the grunts and Reaper busy for a while. Activate Cloak and help the Stalkers deal with the grunts.
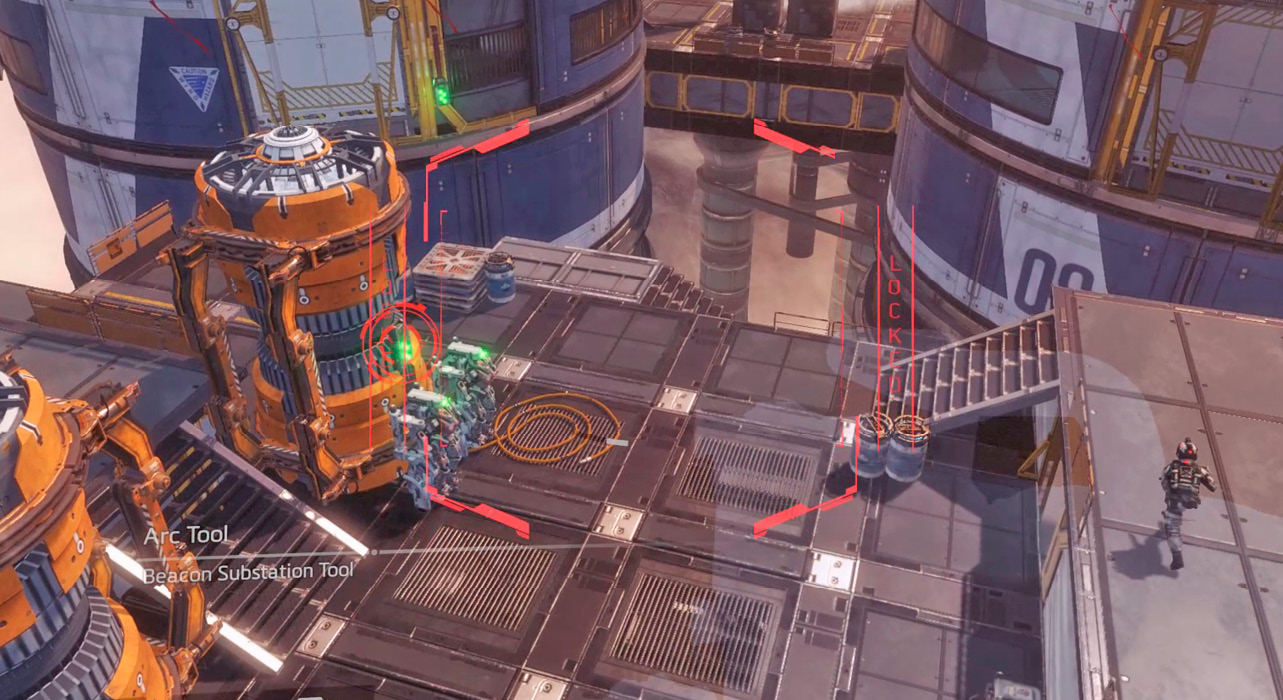
While the Reaper is busy fighting the hacked Stalkers, equip the Thunderbolt. This bulky weapon fires a powerful ball of electricity, ideal for taking out mechanical threats. You’ll need to hit the Reaper at least three times with the Thunderbolt. Don’t worry about precision; aim for the Reaper’s torso to increase the chances of scoring a hit. The ball of electricity moves quite slowly, so wait until the Reaper is stationary before taking a shot. Also, keep your distance. The ball of electricity explodes upon contact, emitting arcs of electricity over a wide area. Don’t expect the Stalkers to last very long. As the Reaper sets its sights on you, activate Cloak to keep your distance. Once the Reaper is destroyed, finish off any grunts in the area, including those positioned atop nearby structures.
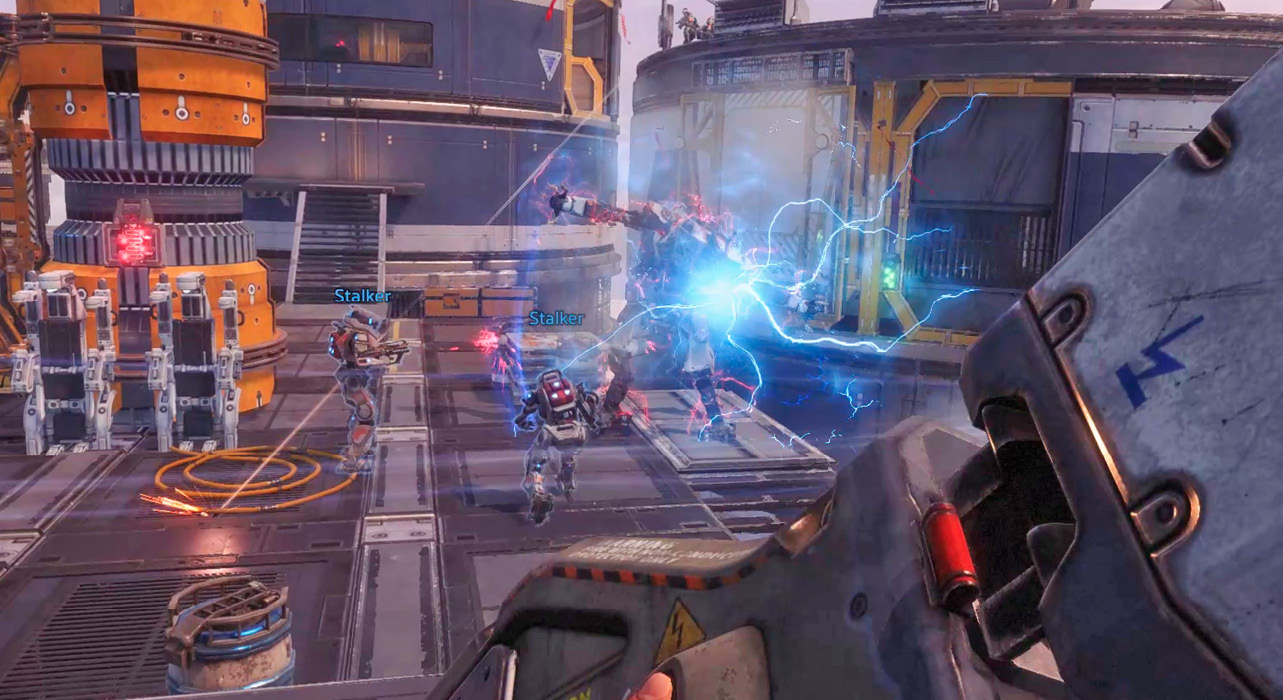
Use the Arc Tool to open a door in either of the two structures ahead. They both lead to the same location. Watch for more grunts and Spectres on the adjoining platform. As you did earlier, take out the grunts first and then activate Cloak to flank the Spectres so you can hack them. Advance through the next structure and follow the adjoining path to another crane.
Crane 2
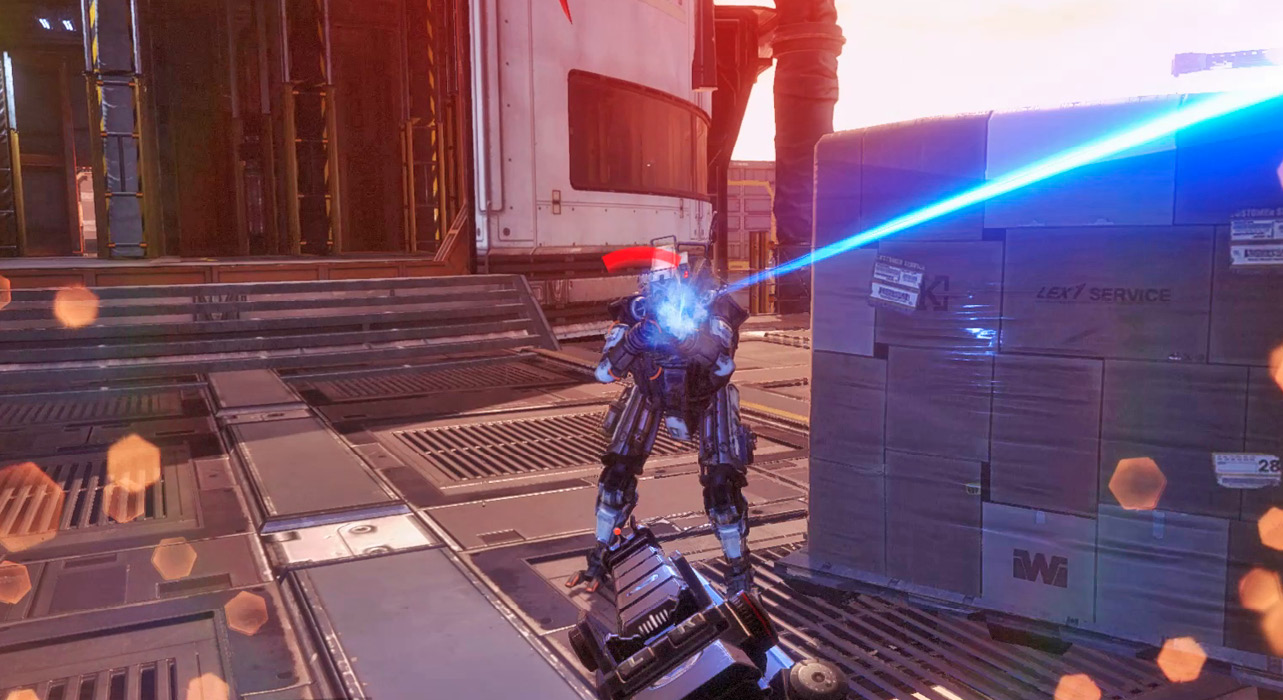
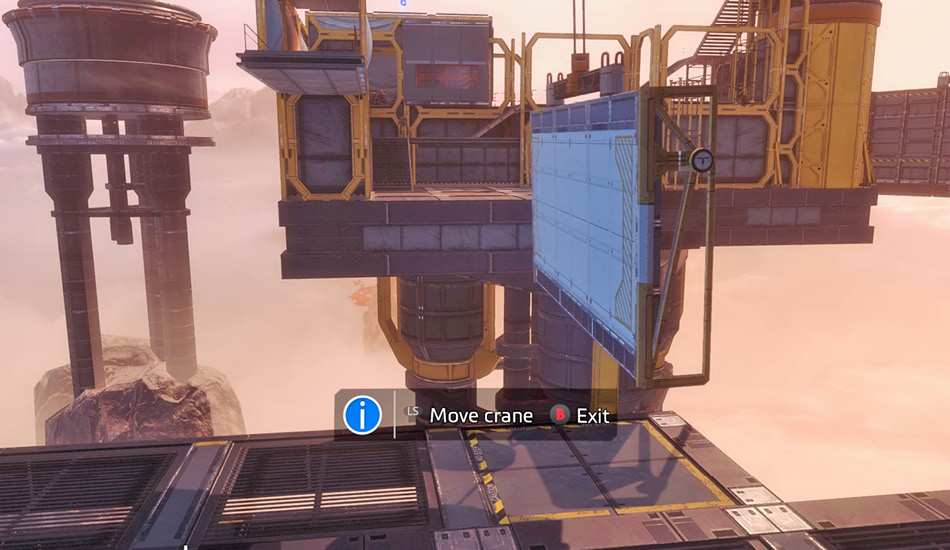
By the time you reach the crane, there’s a lull in enemy activity. Hop behind the controls of the crane and rotate the connected panel all the way to the left. Wallrun across this panel to reach the distant platform occupied by several Marvins. There’s another crane attached to this platform. But before advancing to the crane, collect a Pilot helmet nearby.
|
 Pilot Helmet 7/11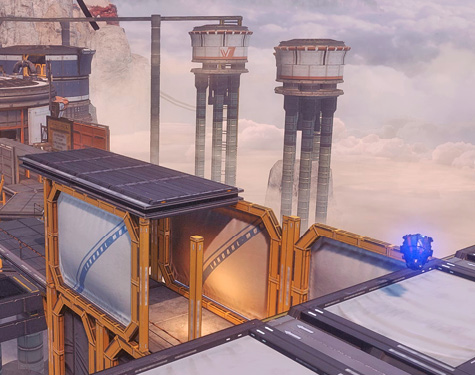
Crane 3
Step behind the controls of the third crane and rotate the connected panel all the way to the right. Now, return to the second crane, wallrunning along the panel you rotated earlier.
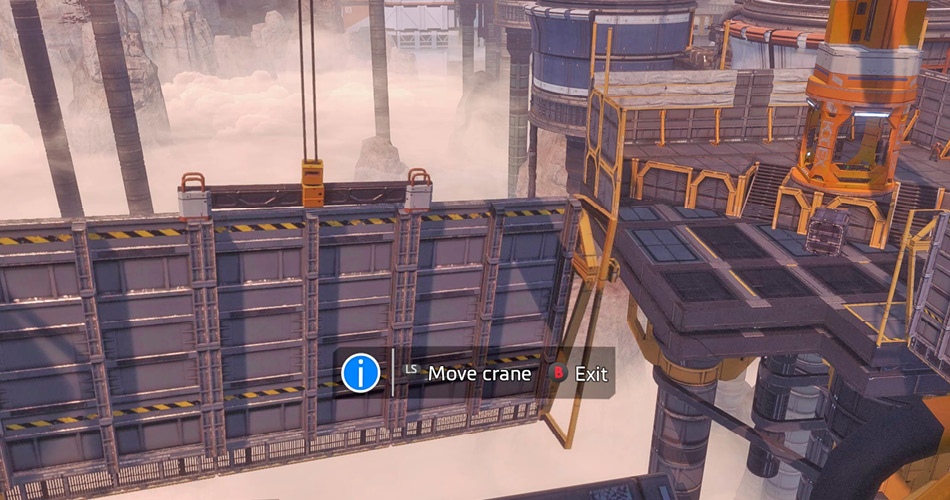
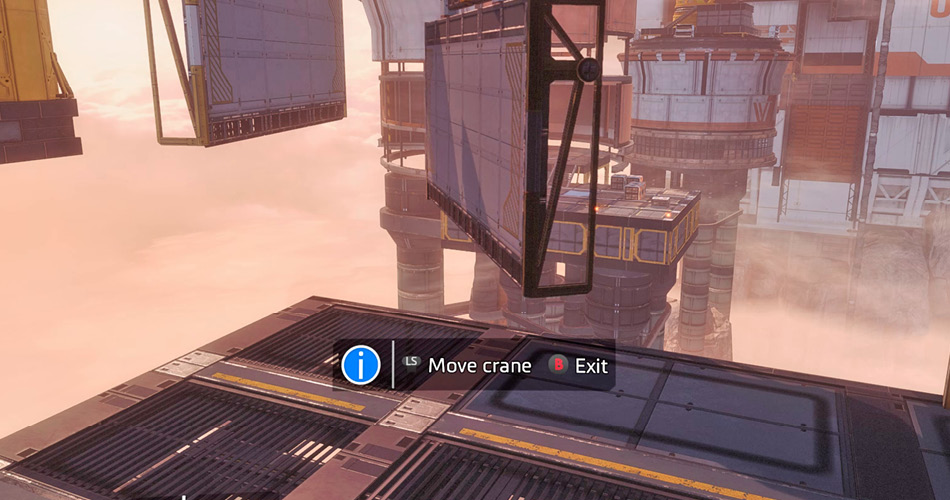
Back at the second crane, rotate the connected panel all the way to the right. By rotating the panels into this configuration you’ve established a wallrun path leading to the next platform. Wallrun across these panels and then leap to the distant platform.
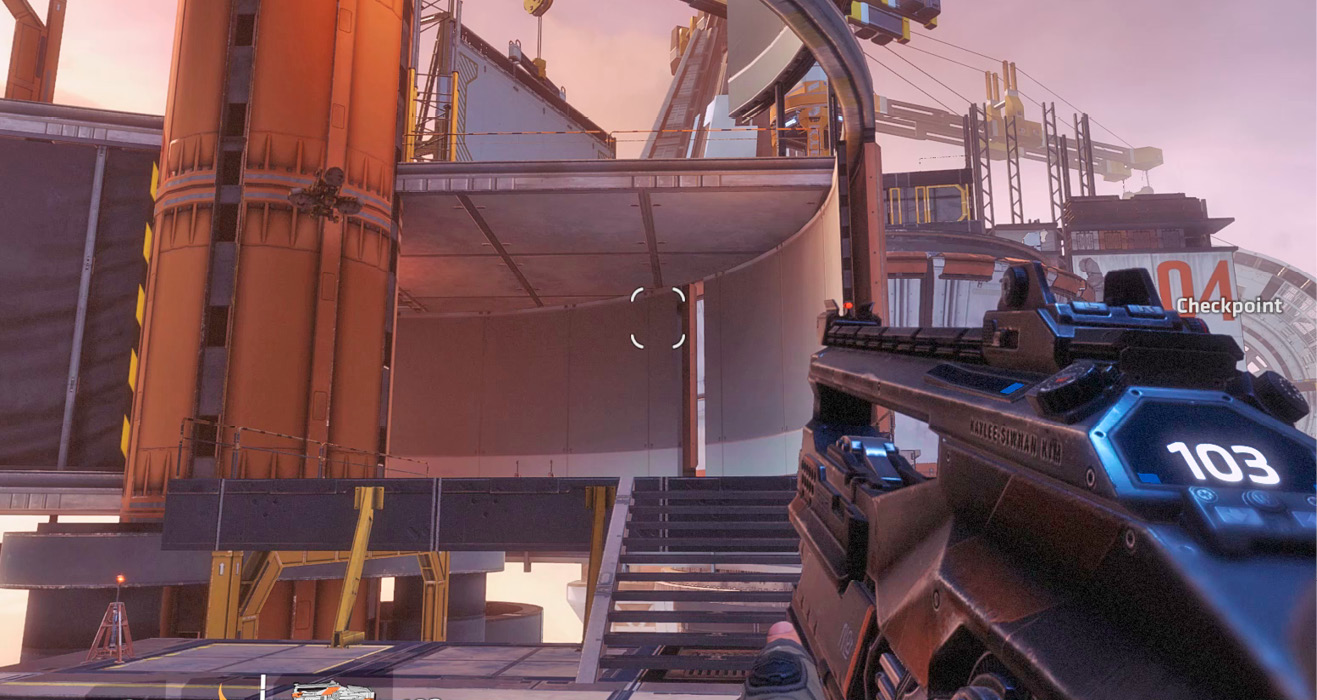
The cylindrical structure on this platform is incomplete—part of the floor is missing. Wallrun along the curved interior wall to corkscrew your way to the top. On the roof, a hanging panel serves as your path to the next crane. This panel is too high to reach with a stationary double jump. So take another lap around the structure’s interior wall to build up momentum and altitude. As the hanging panel comes into view, double jump toward it. Wallrun along the panel and jump toward the next crane.
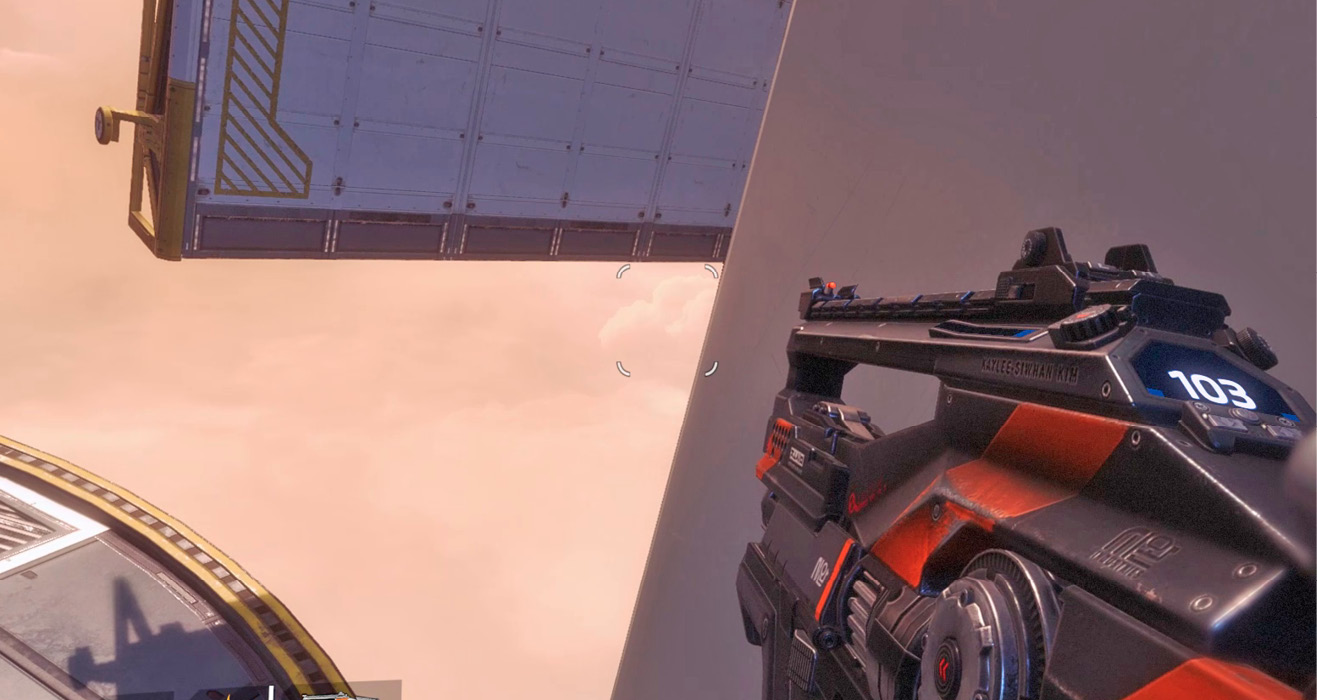
Crane 4
As you land near the base of the crane, your radio picks up enemy chatter. More hostiles are headed your way. Take control of the crane and rotate the panel you just crossed. Rotate it to the right to create a wallrun path to the next structure.
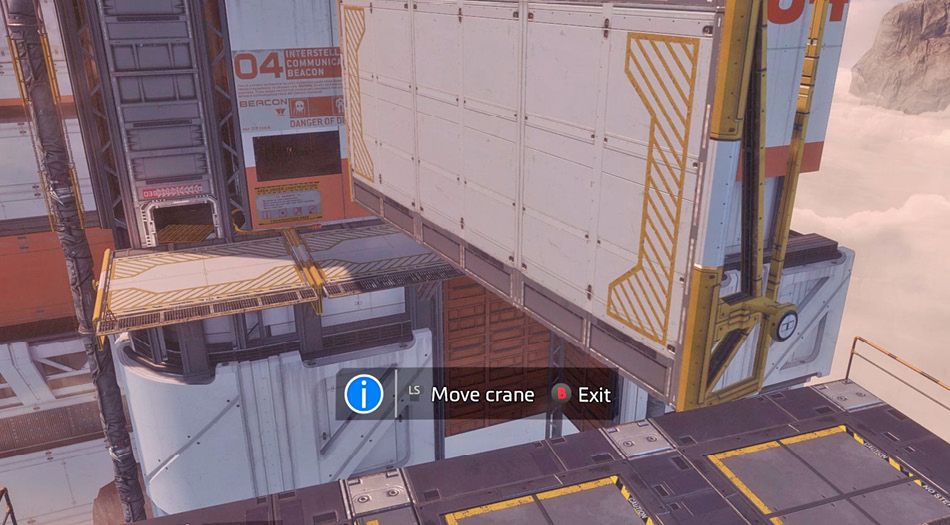
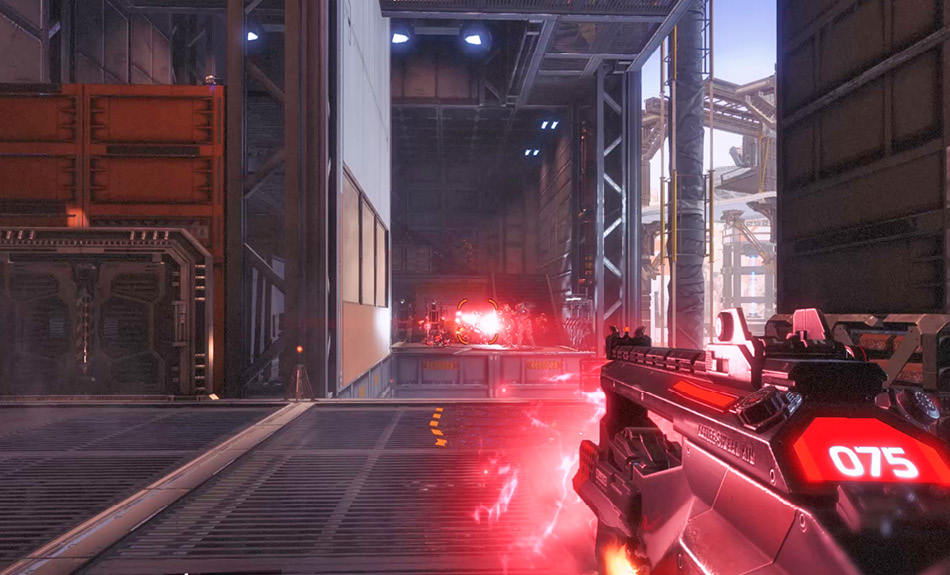
Complete the wallrun and step inside the structure, immediately turning to the doorway on the right. Here, you come under attack by several Stalkers and grunts. Attack the Stalkers aggressively. Try to hit a Stalker’s red “backpack” to set off an explosion. Duck in and out of the doorway while engaging these threats.
Climb a series of stairs, passing a couple of Marvins along the way. More grunts and Stalkers seek to block your path on the upper floor. Fight your way past these enemies. Use Cloak to conceal your movement, then flank. If you have any Ticks, deploy one to serve as a temporary distraction. When the upper floor is clear, use your Arc Tool to open a door.
|
 Pilot Helmet 8/11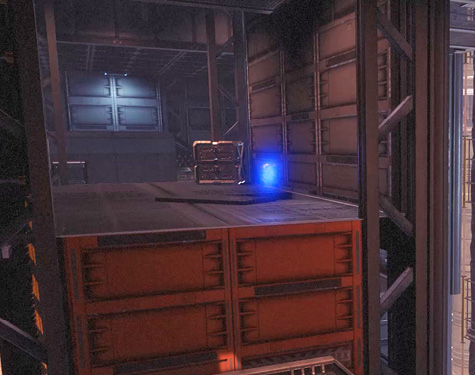
Dish
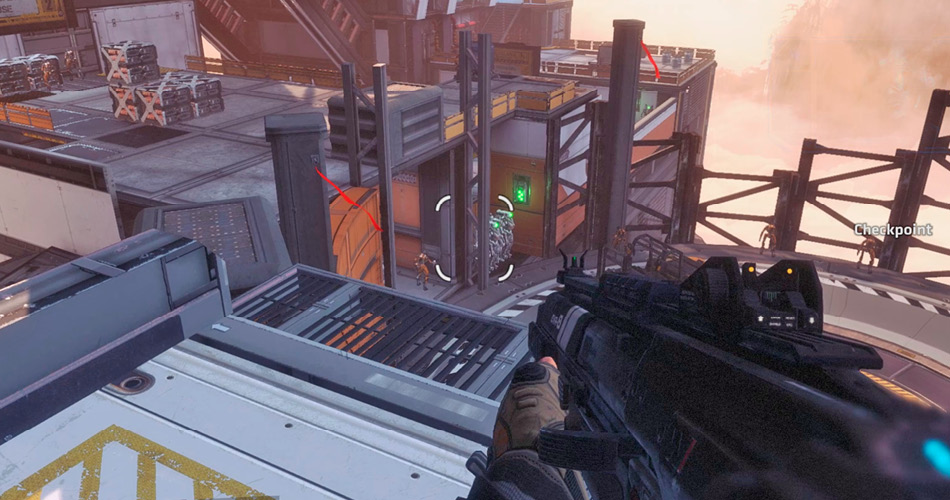
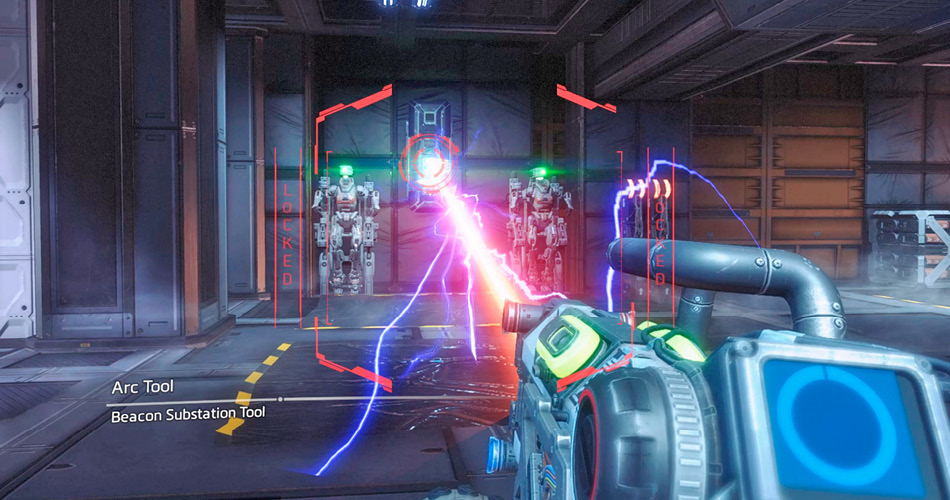
BT has detected an uplink targeting module on the nearby dish. Before making a move for the module, explore the facility below and activate the dormant Stalkers using your Arc Tool. There are three Stalker charging nodes here, allowing you to activate a total of six Stalkers. These Stalkers will help distract IMC reinforcements heading to your location. There’s no need to rush at the moment, so take some time to fully explore this area while advancing toward the dish’s control room.
|
 Pilot Helmet 9/11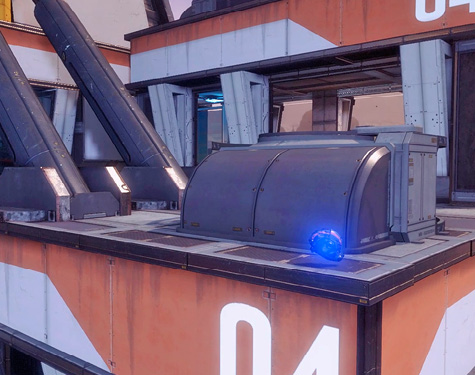
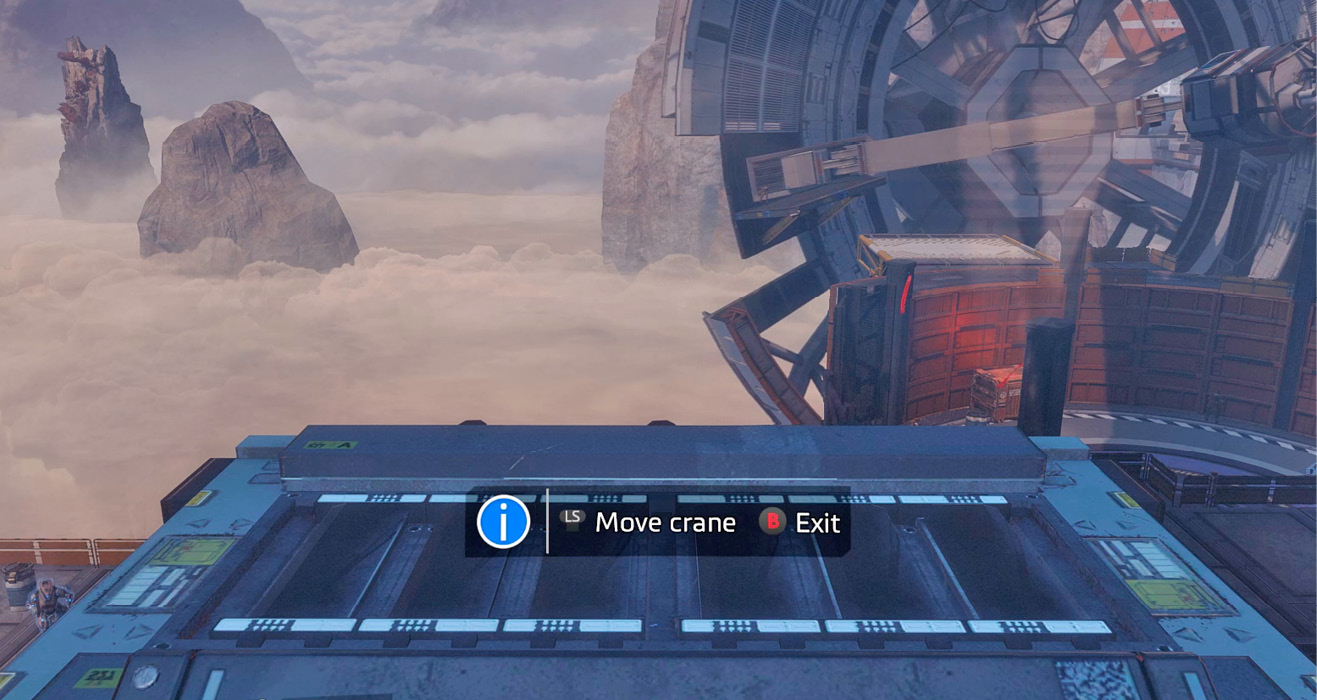
Take control of the dish’s controls and move it to the far right, as instructed by BT. This puts the dish within reach of a platform you can use to gain access. As you move the dish into position, you intercept communications between Richter and IMC forces (Richter is another one of Blisk’s mercenaries). The IMC have requested backup at the dish. Get ready for company.
Within seconds, an IMC dropship arrives, deploying grunts near the dish. They’re joined by a Reaper dropping down from the sky. Fortunately, the six Stalkers you activated earlier waste no time responding to the attack. Equip the Thunderbolt or Gravity Star and immediately take aim at the Reaper while it’s distracted. The Reaper has no problem crushing your Stalkers, so act quickly before your little army is destroyed. Be prepared to hit the Reaper with three direct hits—less if your Stalkers have dealt some damage. Also, watch out for Ticks deployed by the Reaper. Try to stay outside where you have room to maneuver and escape. Once the Reaper is down, turn your attention to the grunts scattered around the dish.
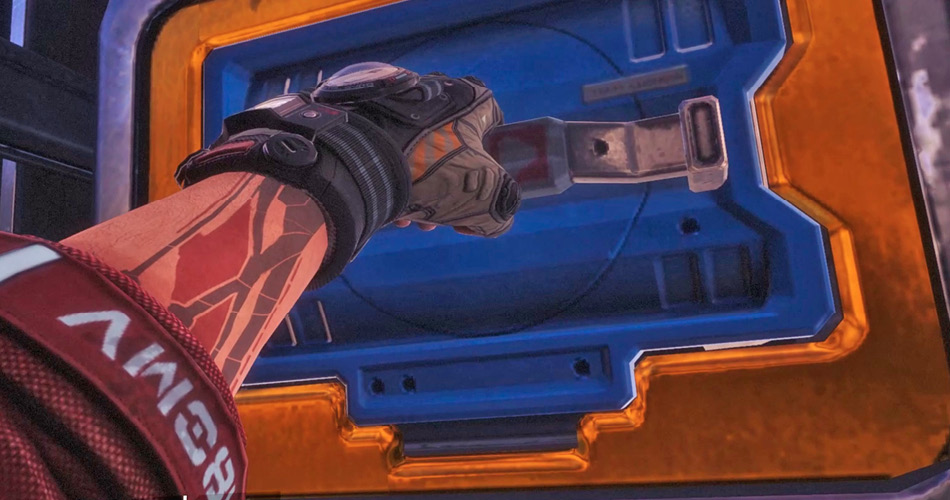
After eliminating the IMC reinforcements, head for the dish. Hop onto a platform on the left side of the dish and then jump onto a horizontal arm extending toward the dish’s projector, at the center. Interact with a hatch on the projector to remove the uplink module. This module can be used to repair the interstellar beacon.
Once you’ve acquired the module, the dish’s projector automatically retracts, putting you within reach of a distant platform occupied by a Marvin. Sprint and double jump toward the platform to clear the gap. Continue your advance, using wallruns and jumps to reach the distant platform.
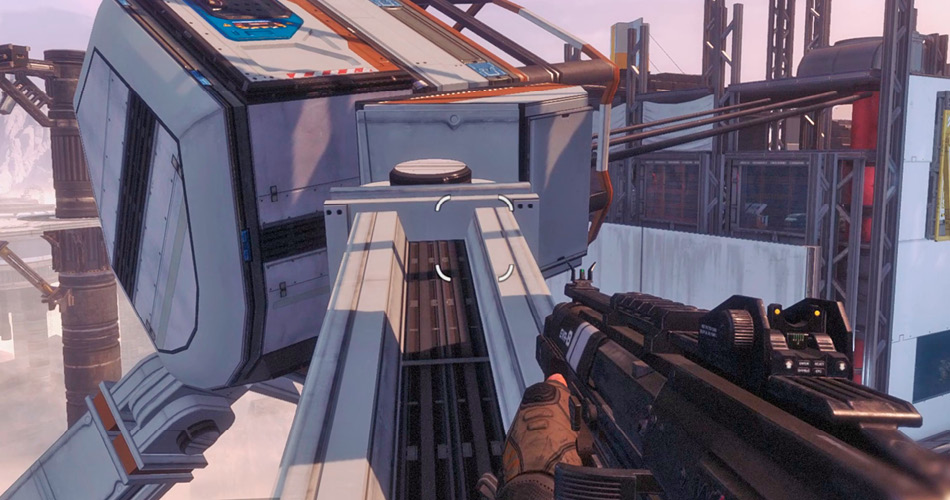
On the next platform, use the Arc Tool to lower a panel on the left. Wallrun and jump across this series of three panels to access the next platform.
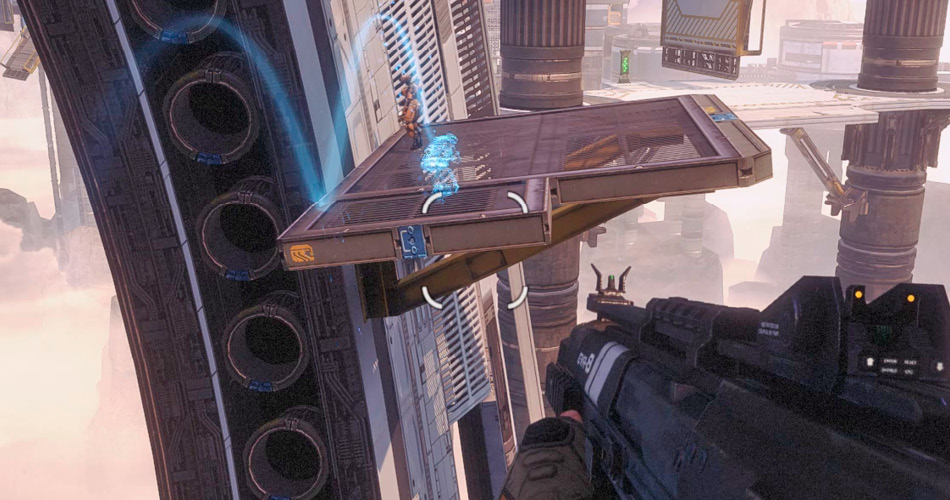
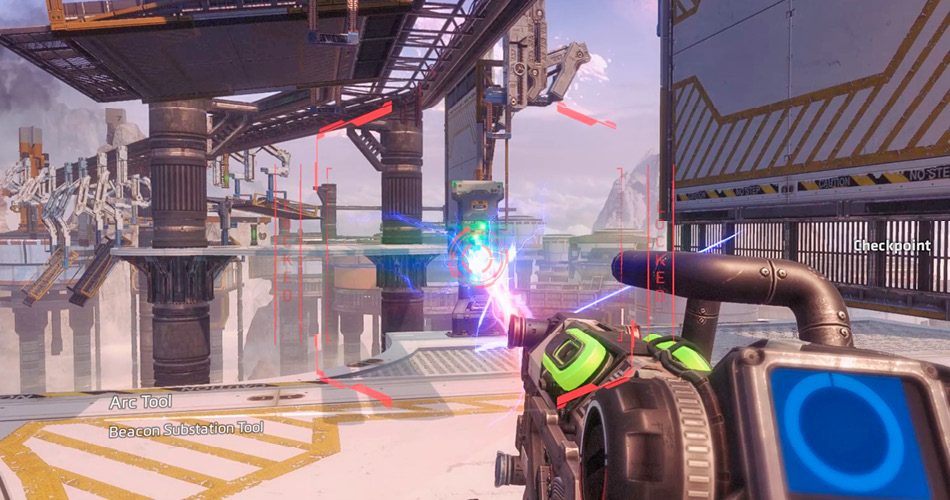
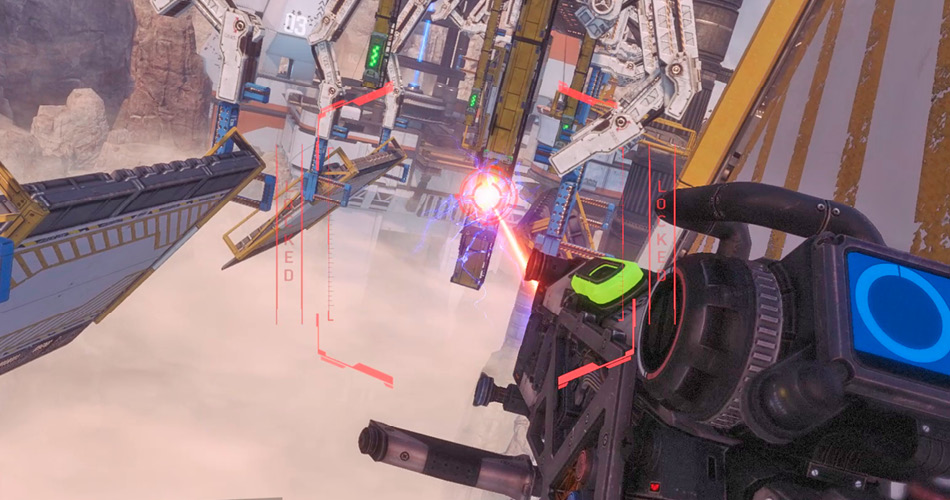
Keep the Arc Tool equipped as you approach the next series of panels. Target the green-lit panels to rotate these panels into horizontal and vertical positions. Run across the horizontal panels and wallrun across the vertical panels while advancing back toward the Beacon. In some instances you will need to use the Arc Tool while wallrunning, so keep it equipped at all times. After performing the final wallrun, double jump toward the distant structure. BT reports that anti-Titan squads have been deployed at his location and he needs assistance.
Upon landing, climb the stairs to the right and enter the structure. Inside, continue your climb to the top floor. This area is occupied by several grunts; they’re focused on a zipline leading toward the beacon. Take down the grunts before they have a chance to retaliate and then use the zipline to rendezvous with BT back at the beacon. As you near the beacon, jump off the zipline and immediately hop inside BT’s cockpit.
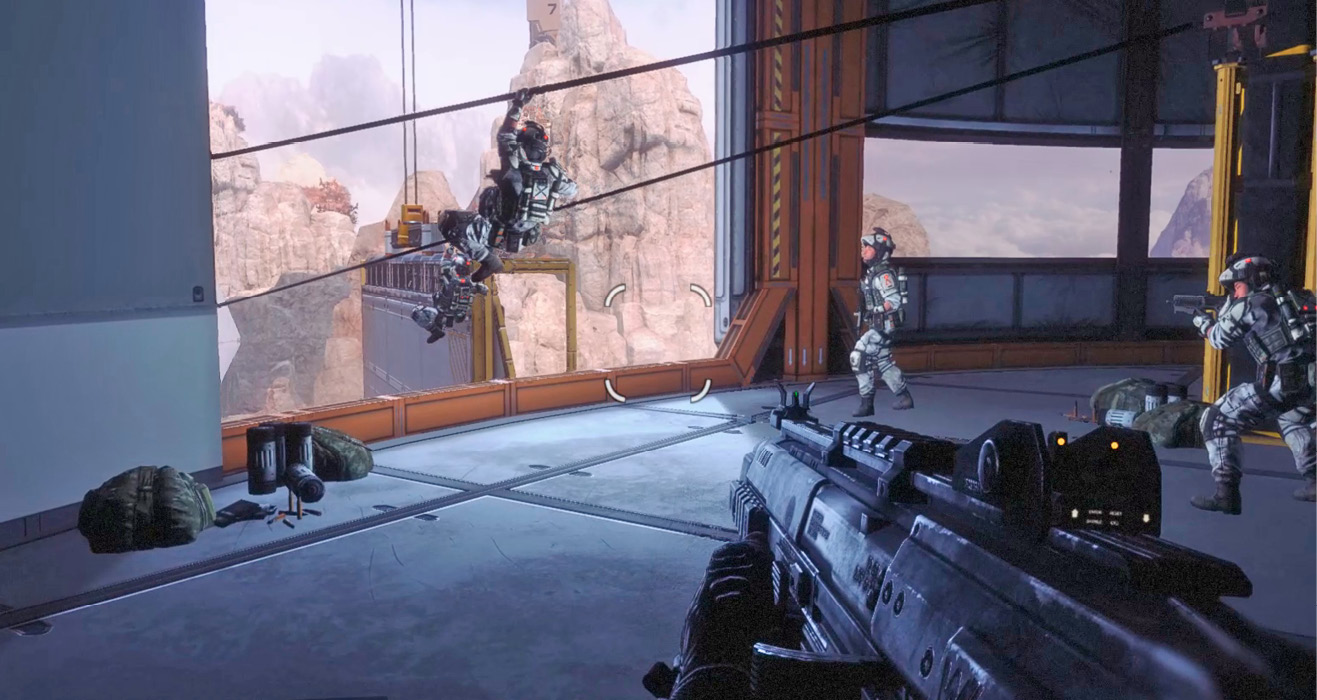
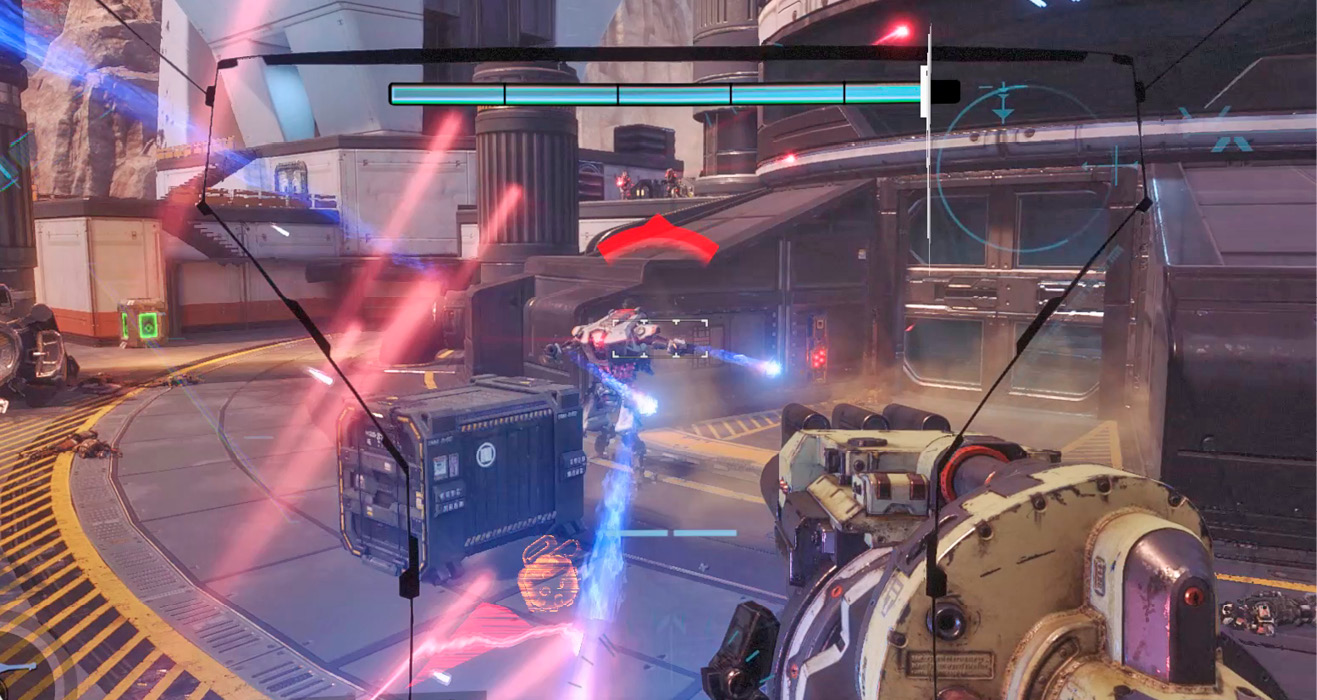
BT is under attack by a Reaper, as well as several Stalkers and grunts. Focus on the Reaper first, smacking it with the Ronin Loadout’s Leadwall and broadsword. Next, focus on the Stalkers and grunts. For the enemies on the ground, crush them with BT’s feet. The grunts on the nearby rooftops and catwalks are easily eliminated with BT’s weapons. Once again, the Expedition or Brute Loadout’s Multi-Target Missile System is ideal for taking out multiple threats.
Beacon Dish
Once BT reports the area is clear, disembark. Now it’s time to install the uplink module. The module must be installed in the dish high above. BT suggests that a throw, followed by additional climbing, is necessary for you to reach the dish. Move into BT’s waiting hand and let him toss you toward a catwalk high above. Upon landing, step onto an adjoining catwalk to the left and then double jump toward a set of stairs.
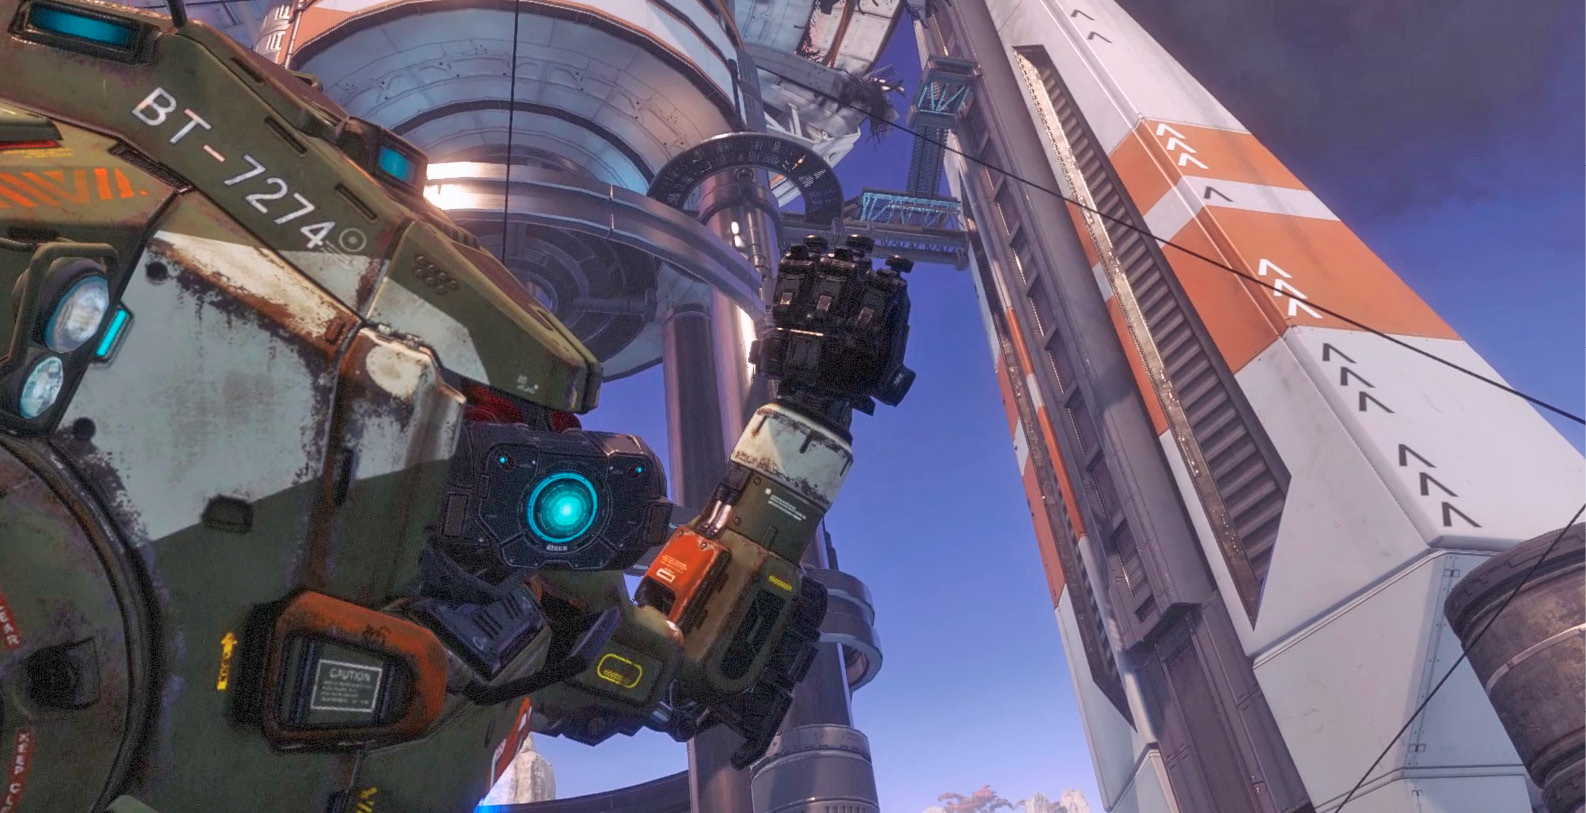
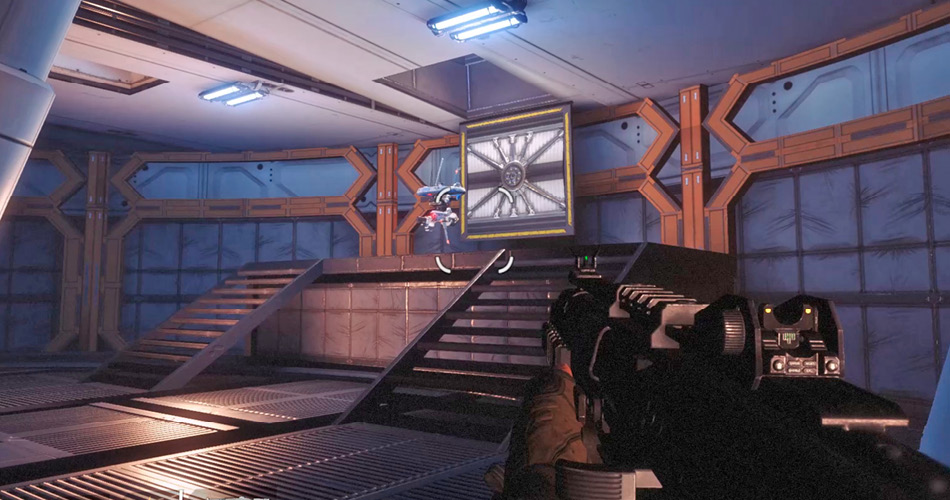
At the top of the stairs, double jump through a rectangular opening of a cylindrical structure. Once inside, turn to the right and engage a drone as it descends through a hatch in the ceiling. Once the drone is down, hop through the same hatch through which it descended.
|
 Pilot Helmet 10/11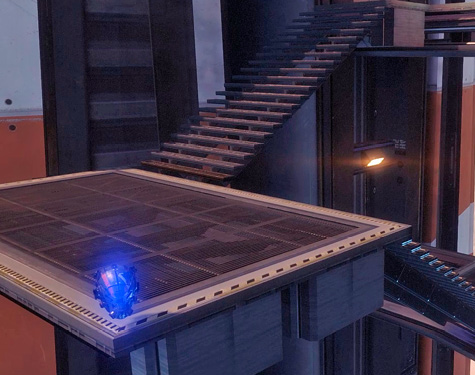
|
 Pilot Helmet 11/11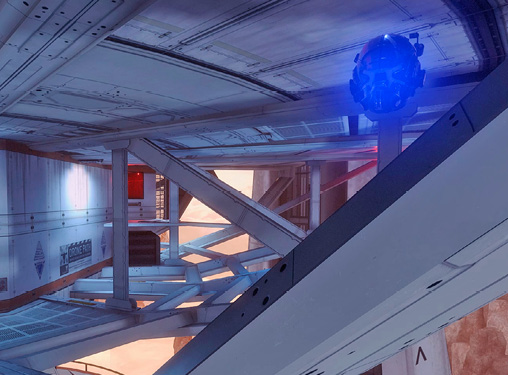
Up top you intercept a radio conversation between Blisk and Slone, another one of Blisk’s mercenaries. Slone reports that Kane and Ash are dead. Realizing you’re probably listening in on Kane’s radio, Blisk dishes out some taunts. While listening to Blisk, climb the nearby staircase. The stairs lead to a landing within jumping range of the dish’s underside. Jump toward an outstretched damaged beam and follow it beneath the dish.
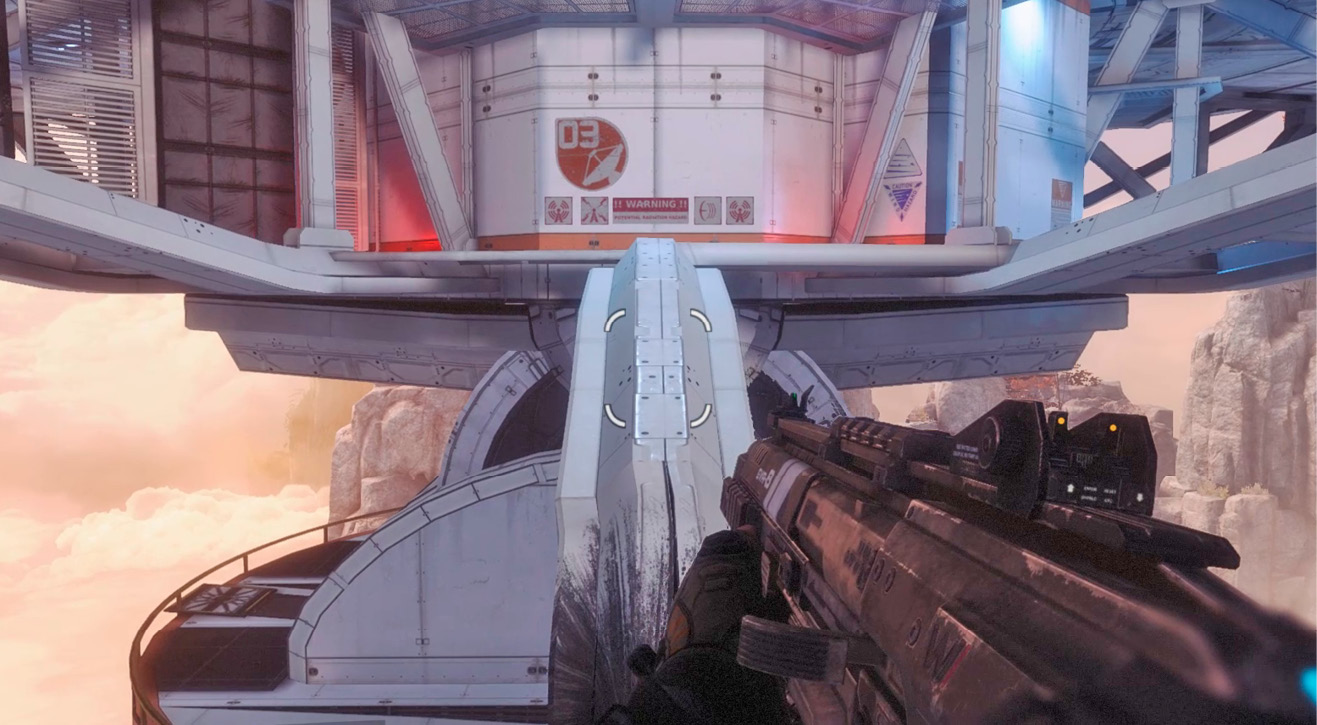
Continue moving along the catwalk beneath the dish. Wallrun along the interior wall (to the left) to cross a gap in the catwalk’s floor. Watch out for a drone emerging from a red-lit maintenance duct. After taking out the drone, crawl through the duct from which it emerged.
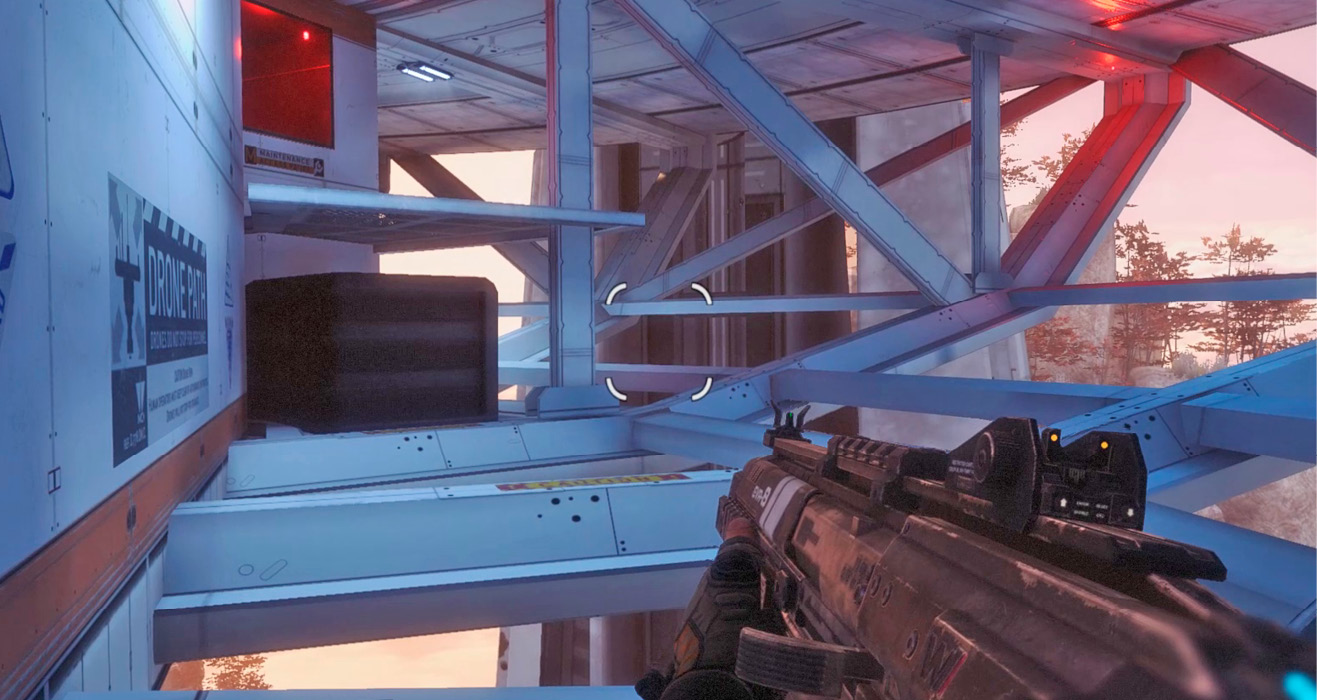
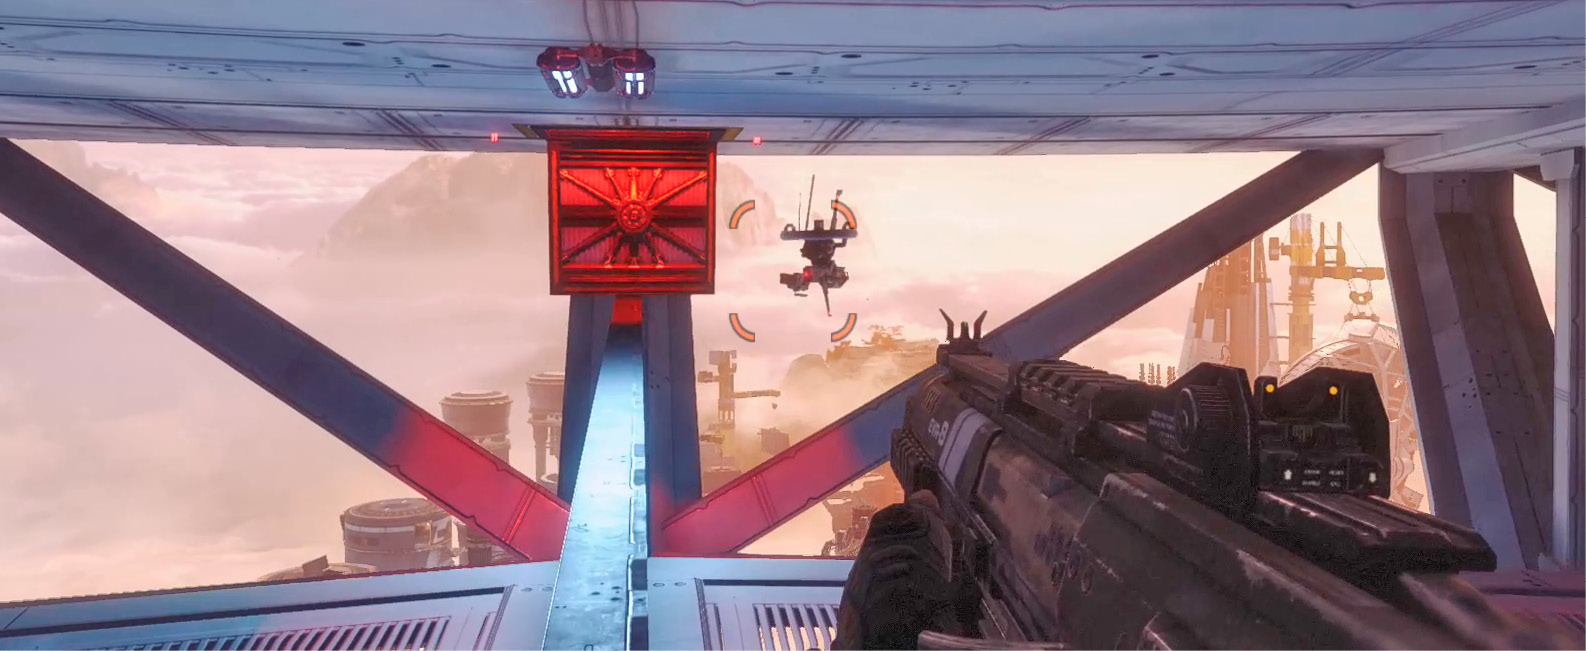
As you emerge from the duct, engage a couple of more drones near a red-lit hatch. Move laterally to dodge their incoming plasma bolts. When the drones have been destroyed, jump up through the hatch.
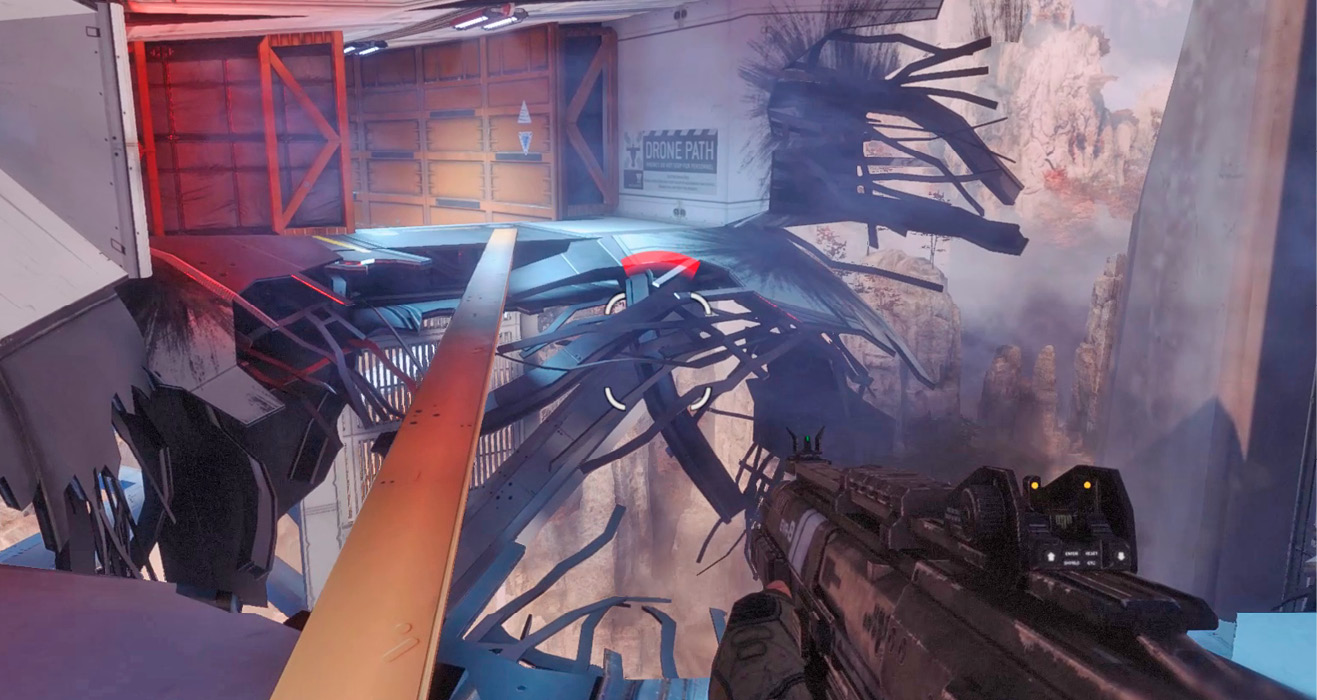
This corridor beneath the dish has been damaged. Wallrun along the exterior wall to cross a gap in the floor. Just ahead, a huge section of the floor has been completely destroyed. A single beam is the only path across this gap. But before crossing, watch out for a drone lurking below. Lure the drone out by peeking over the edge. Destroy the drone, and then carefully cross the narrow beam. Beyond the beam perform another wallrun and then enter a hatch in the ceiling.
Finally atop the dish, approach the projector and install the new uplink module. BT warns that the dish will automatically reorient itself once the module is installed. Just as BT predicted, the dish tilts, causing you to slide off the edge. Fortunately, BT has prepared for this outcome and catches you before you plummet off the edge of the beacon platform. At least you don’t have to climb down. Captain Cole reports that the beacon is now online, and he requests your presence in the control room.
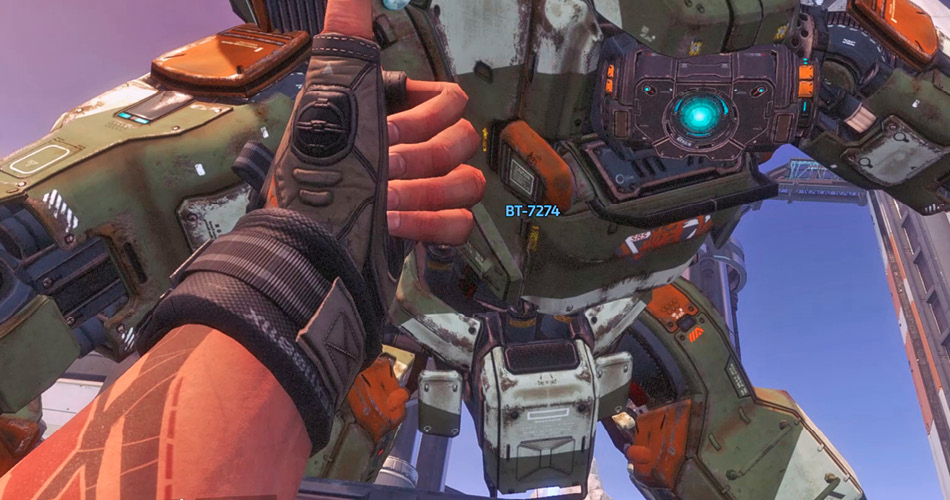
Reunited with BT, advance toward the control room with the Ronin Loadout equipped. In a last-ditch attempt to stop you from contacting the Militia fleet, Blisk orders Richter to eliminate you. In turn, Richter deploys several Reapers with orders to kill you and the Militia troops in the control room. Attack the Reapers aggressively, using Ronin’s Phase Dash to rush them while swinging the broadsword and firing the Leadwall Shotgun. Each destroyed Reaper drops a battery. Collect the batteries to repair any damage to BT’s armor.
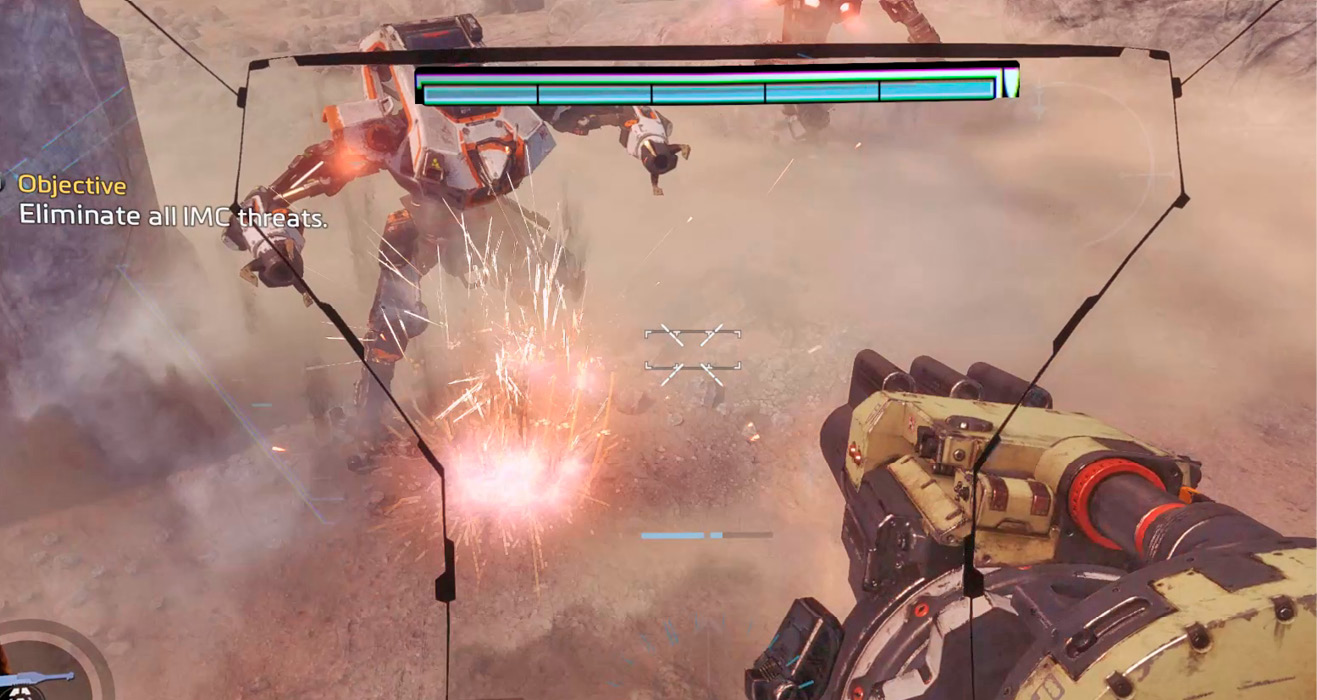
Defeating the Reapers prompts Richter to send in a couple of Titans: a Brute and a Ronin. Consider switching to the Tone Loadout and deploying a Particle Wall. This allows you to retaliate without worrying about dodging incoming rocket attacks from the Brute. Try to isolate and destroy the Brute first before the enemy Ronin moves into close range. Consider switching back to the Ronin Loadout when confronting the enemy Ronin. In this even showdown, stay mobile using Dashes and Phase Dash to avoid the enemy Titan’s attack. Also, don’t forget to use Sword Block to absorb melee attacks, particularly if the enemy Ronin deploys Sword Core. If necessary, hide among the rocks to recharge your shields before resuming the fight.
Boss Battle: Richter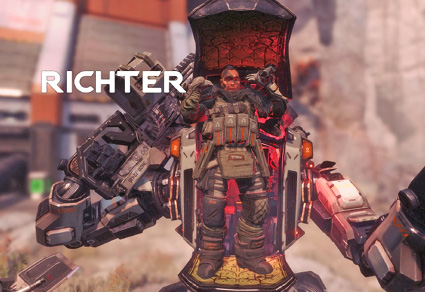 Faction: Apex Predators Role: Core Mercenary subcontracted by Blisk to hunt and destroy Militia Titans. Age: 28 Skills: Direct-action raids and piracy against heavily armored convoys. Personal Titan: Tone History: Richter is unrefined. He loves to relentlessly verbally taunt and intimidate opponents into making mistakes during Titan battles, telling unnerving tales in German with a bit of English sprinkled in, borderline non sequitur style. “War ist ein Spiel of the winners und the dead.” — Richter |
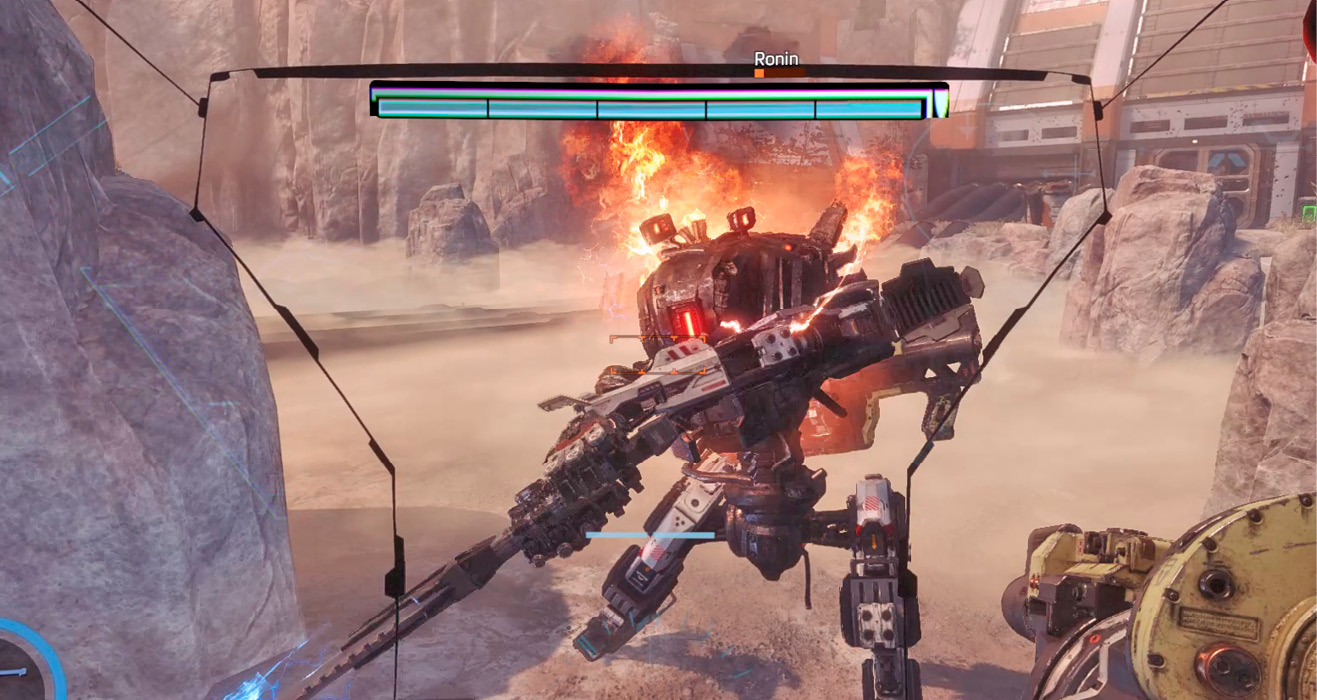
Now that you have wiped out his Reapers and Titans, Richter has no other option than to deploy himself. His Titan comes rocketing down, landing a few meters away. Richter is equipped with a Tone Titan, so expect a standoff approach as he attempts to dish out damage from long range. Equip the Ronin Loadout and take the fight to him, forcing Richter to fight at close range.
Richter’s 40mm Tracker Cannon and Tracking Rockets pose a constant threat during this battle. To avoid getting hit, use the various rocks for cover. If you stay motionless behind a rock, Richter may move in to investigate. When there’s no cover, use the Ronin Loadout’s Sword Block to absorb damage. There are multiple battery crates located near the control room. Acquire the batteries within if you take heavy damage during the fight.
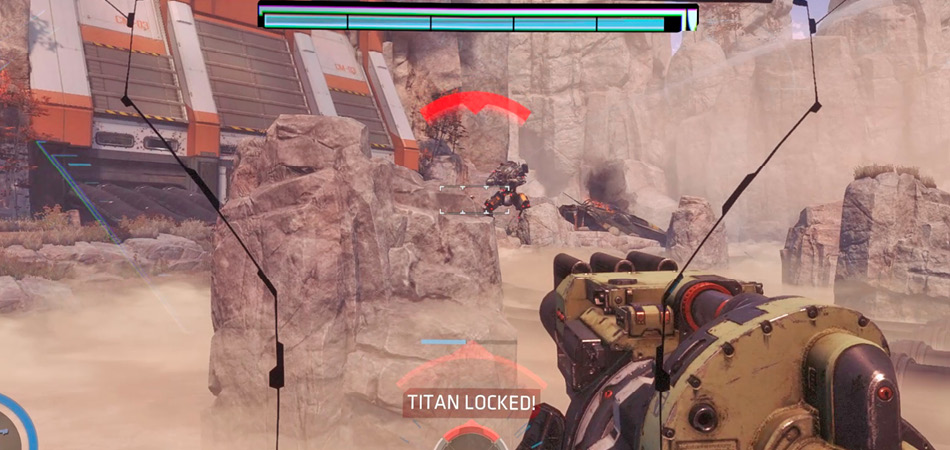
Try to lure Richter into the foggy terrain where you can use the rocks to stage “hit and fade” attacks. Circle strafe around the rocks in an attempt to flank him. But don’t prolong the battle too long. Like the other bosses, Richter’s Titan is equipped with shielding. If his Titan doesn’t sustain consecutive hits, the shield will slowly recharge. So keep hitting him repeatedly to keep his shields down. While the shields are down, you continually deal permanent damage to his Titan’s armor.
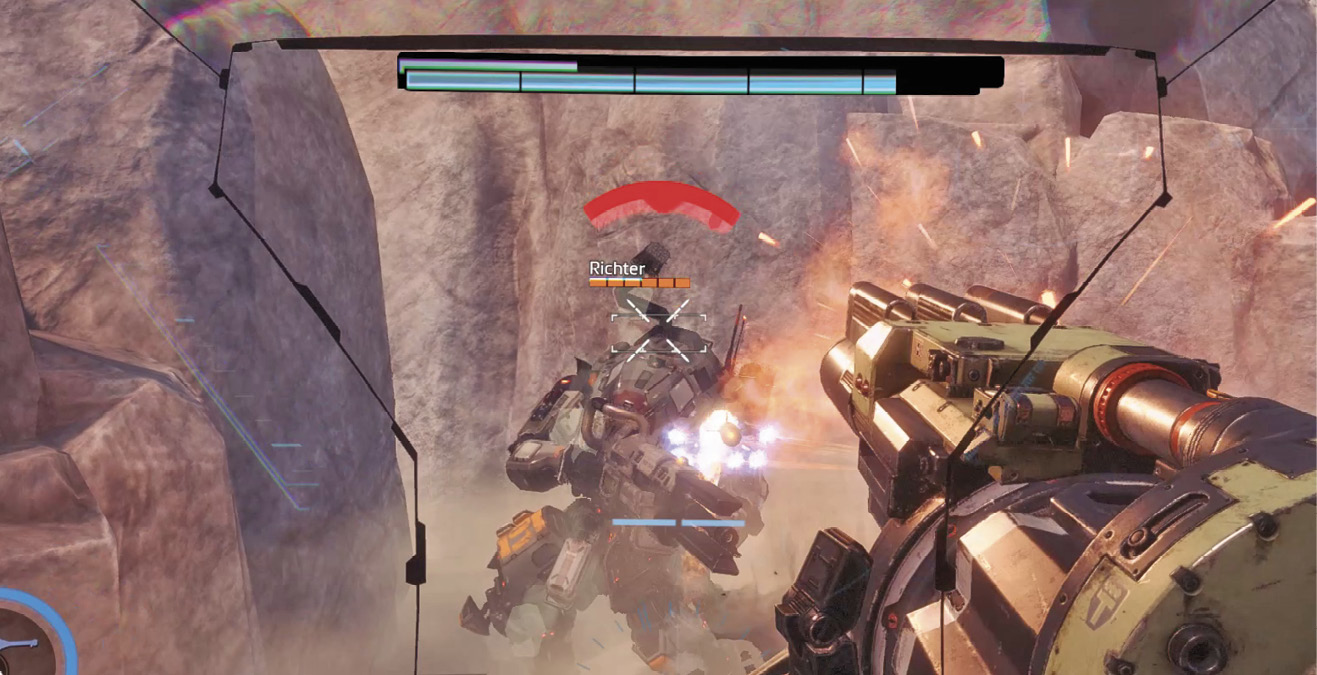
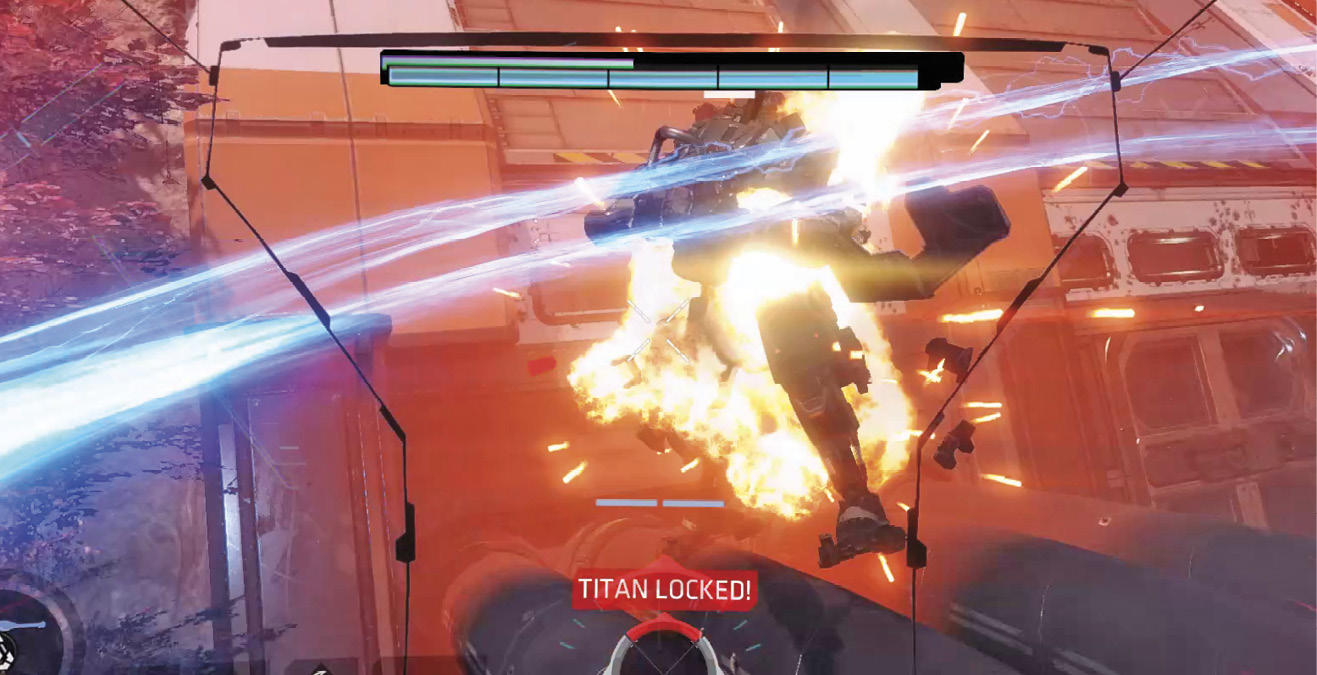
If you didn’t use BT’s core ability in earlier fights, consider putting it to use now. The Ronin Loadout’s Sword Core ability can eliminate Richter on its own. But you need to get close before you start swinging the broadsword. Use Dashes and Phase Dash to quickly push forward, backing Richter up against the wall of the control room. One swing of Sword Core is enough to drop Richter’s shields. Each landed strike knocks back his Titan, leaving him open to subsequent hits. Continue with sword strikes until Richter’s Titan explodes.
Contact
Once Richter has been defeated, return to the control room while Captain Cole’s men prepare to contact the Militia fleet. BT commences the transmission of data revealing the IMC’s plans to attack Harmony with the Fold Weapon.
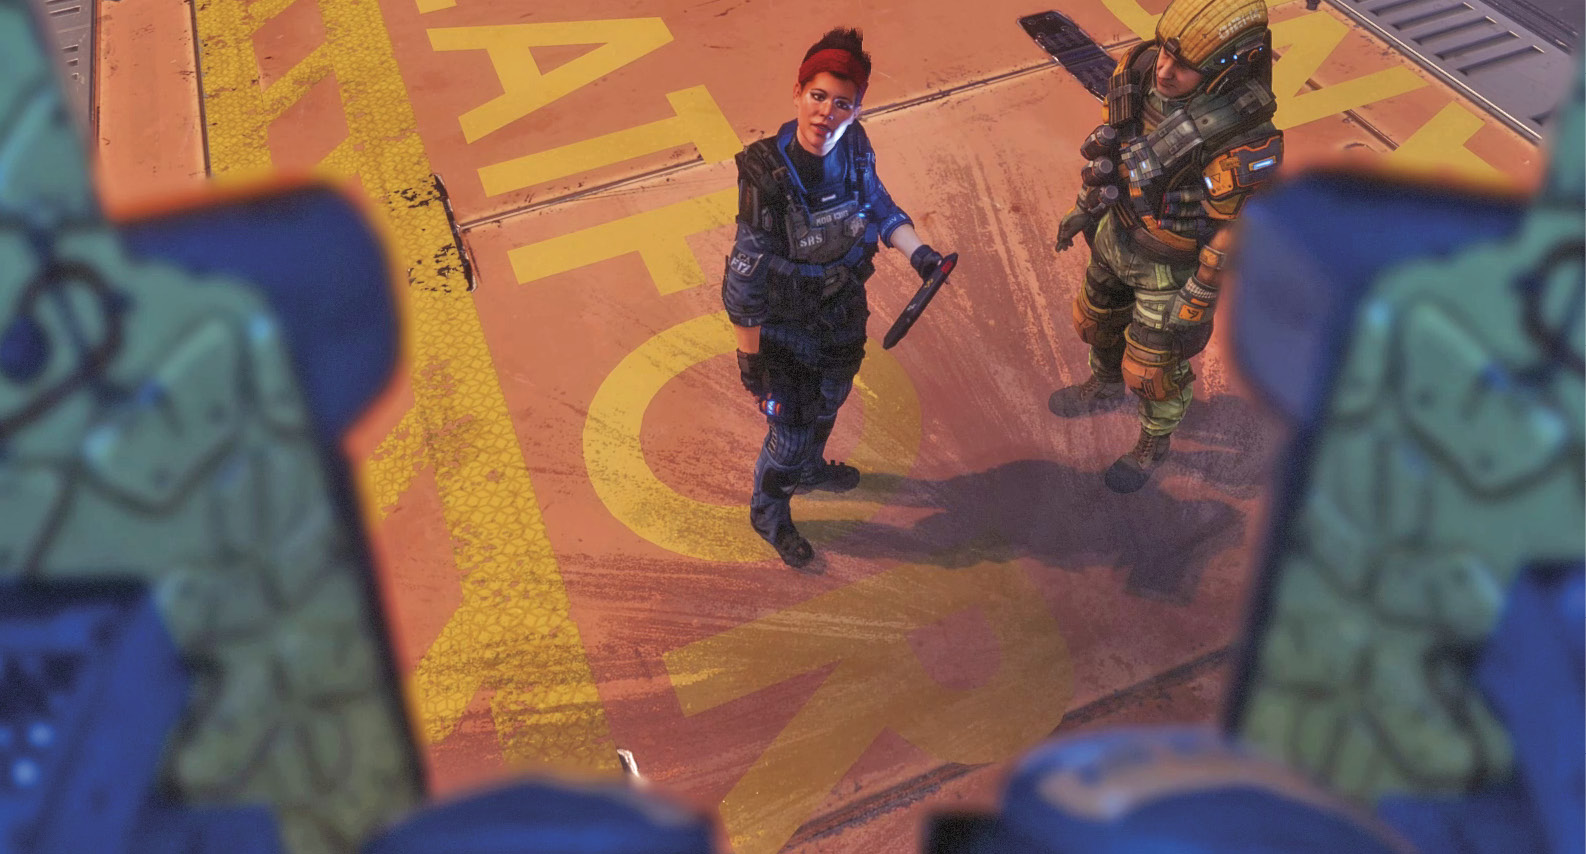
Responding to BT’s report, reinforcements arrive at the beacon facility shortly after the transmission. Commander Sarah Briggs is happy to see BT, but seems confused as to why BT is linked to a common rifleman. She offers to transfer a qualified Pilot to BT, but BT protests, stating Jack Cooper is his Pilot. Given the current situation, Commander Briggs doesn’t have much of a choice; she approves your promotion to Pilot. Your scan data of the Ark has proven invaluable. The Militia have tracked the Ark’s energy signature to an IMC base on Typhon. But there isn’t much time.
Sarah Briggs Faction: Marauder Corps Role: Commander of the Marauder Corps Age: 32 Skills: Master level combat Pilot. Specializes in covert operations against the IMC. History: As a child, Sarah lost several close members of her family to incidents in which the IMC displaced Frontier citizens by force. As a result, she vowed to take revenge on the IMC at every possible opportunity, refusing to rest until they have been removed from the Frontier. For most of her career, she served in Covert Operations for the Militia, before moving into the command ranks of the Militia’s Marauder Corps. Her long list of successful attacks on IMC installations landed her on the IMC’s High Value Target List, where she remains listed as one of the fifty most dangerous Militia operatives still at large. The rapid growth of the Militia after the Battle of Demeter has triggered recent changes in the Militia’s command structure. One of these changes was the creation of the Militia’s elite unit, the Special Recon Squadron, headquartered on Harmony. Sarah commands one of several “Corps” within the SRS: the Marauder Corps. |
Achievement and Trophy Checklist
| Image | Name | Description |
|---|---|---|
 |
Unlicensed Nuclear Accelerator | Find the Arc Tool (Secret) |
 |
Calling CQ | Power the Beacon (Secret) |
 |
Pied Piper | Use the Arc Tool to activate a Stalker rack (Secret) |
 |
Robot Army | Acquire 6 or more friendly Stalkers at the same time in the Campaign |
 |
4 Bars | Retrieve a working Uplink Module (Secret) |
 |
I Have the Power! | Destroy a Titan with your Sword Core in the Campaign |
 |
See You at the Party | Defeat Richter (Secret) |