
Titanfall 2 Guide Multiplayer Maps Complex
Game Mode Strategy
Amped Hardpoint
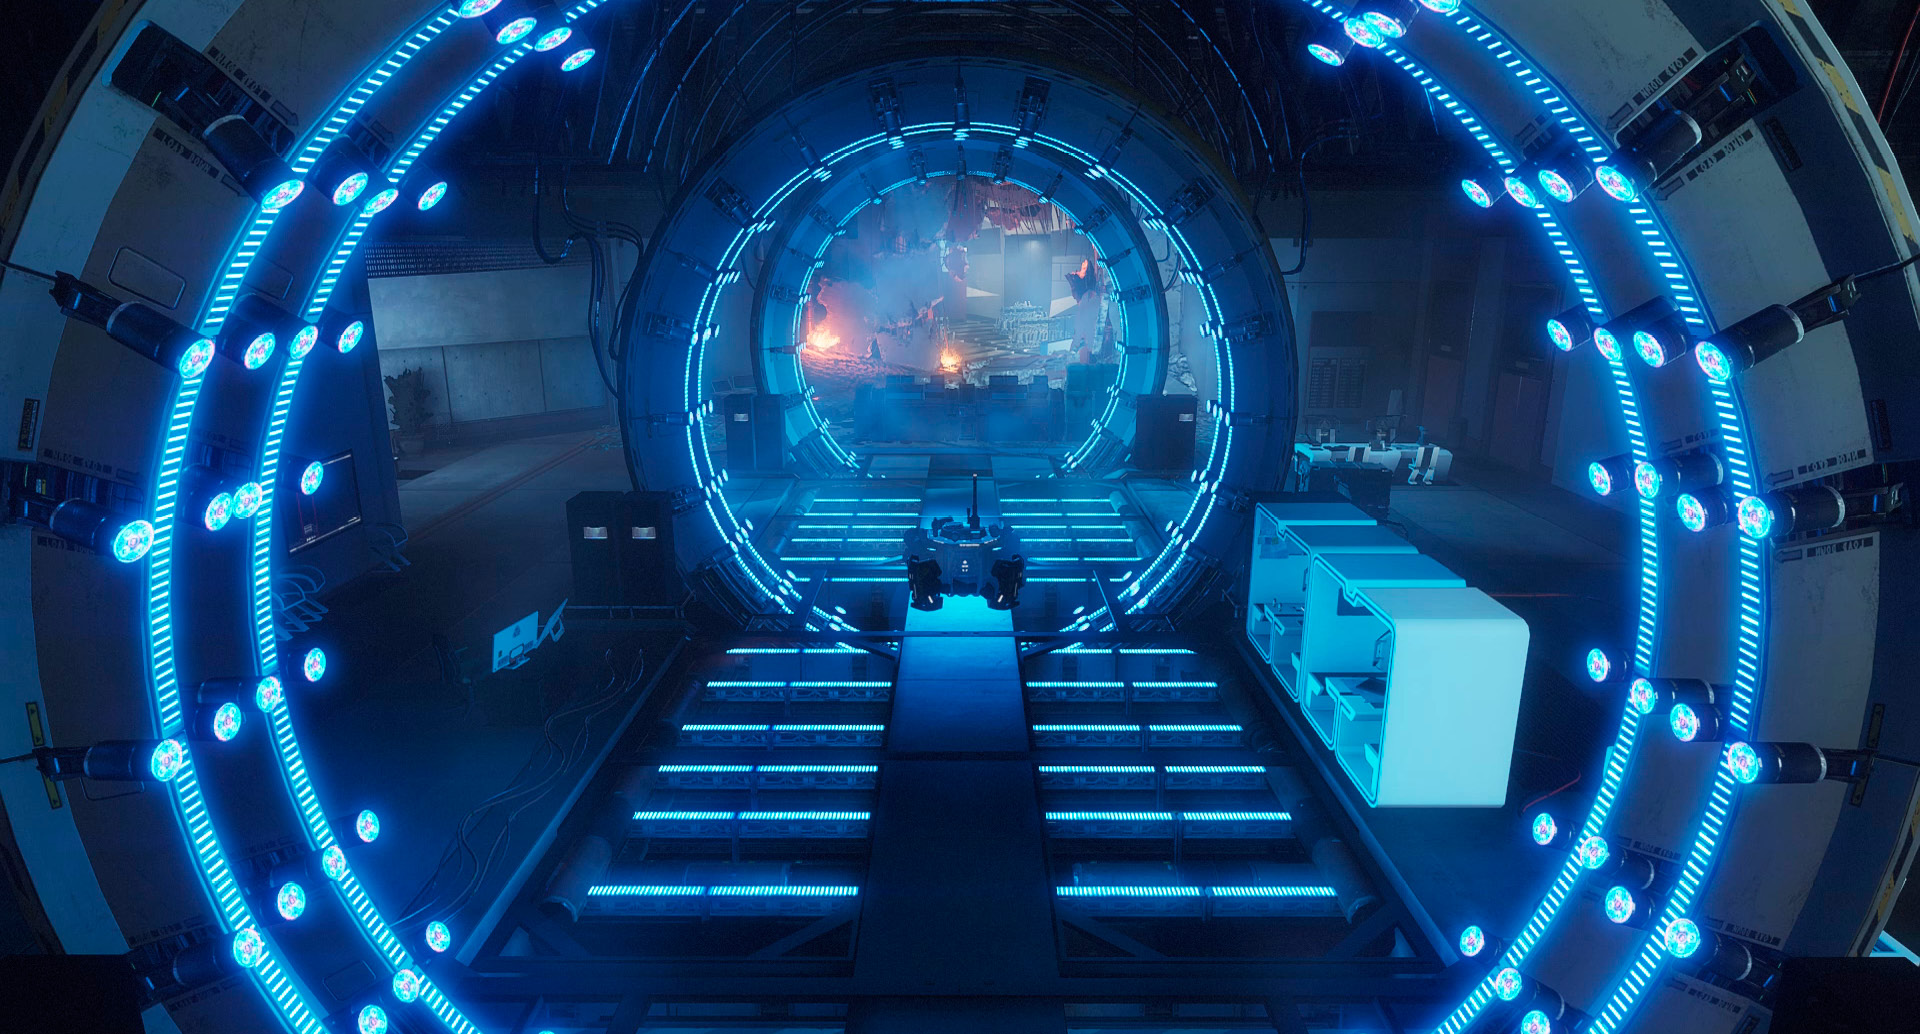
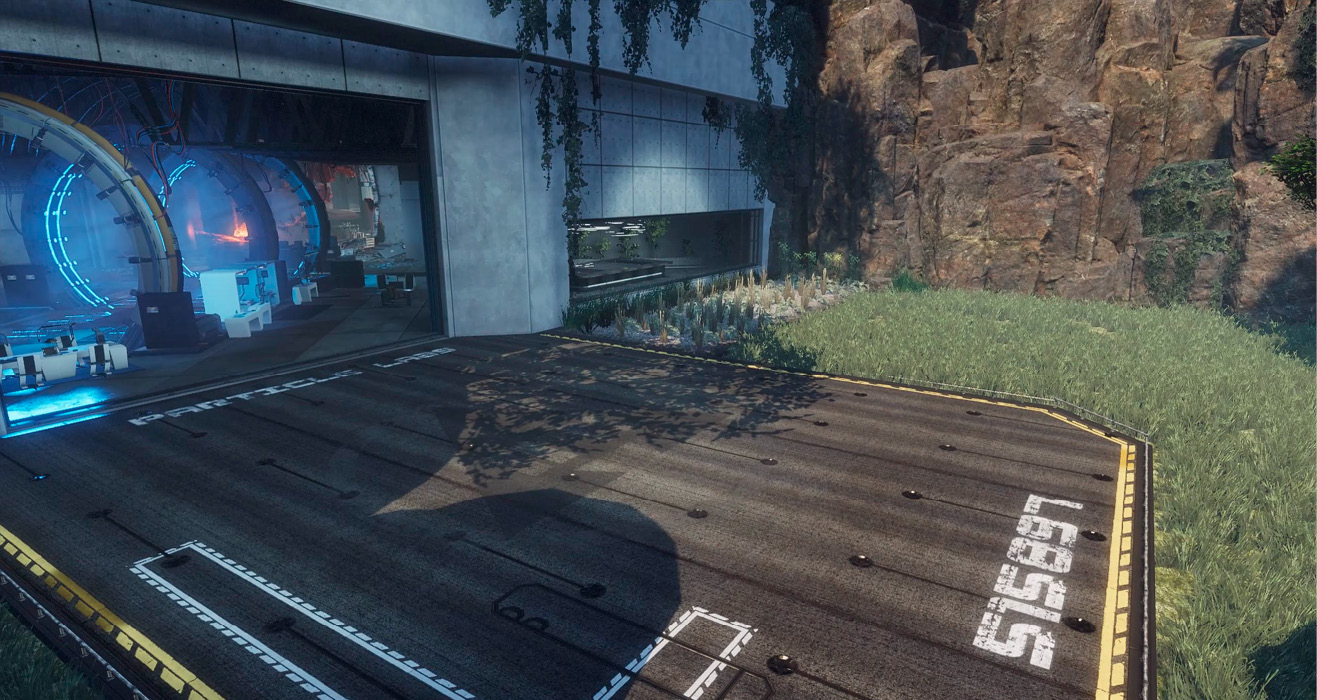
Complex is one of the more chaotic maps on which to play Amped Hardpoint. Starting from the helipad, the A hardpoint is just inside the building, better known as the Particle Lab. The Particle Lab is an indoor area. However, it is still a rather wide-open facility, allowing for plenty of mobility in order to avoid Titans attempting to attack or defend this hardpoint. Cloak works very well for defending hardpoint A because of how dark the lack of lighting makes this location, creating the best location to focus on amping.
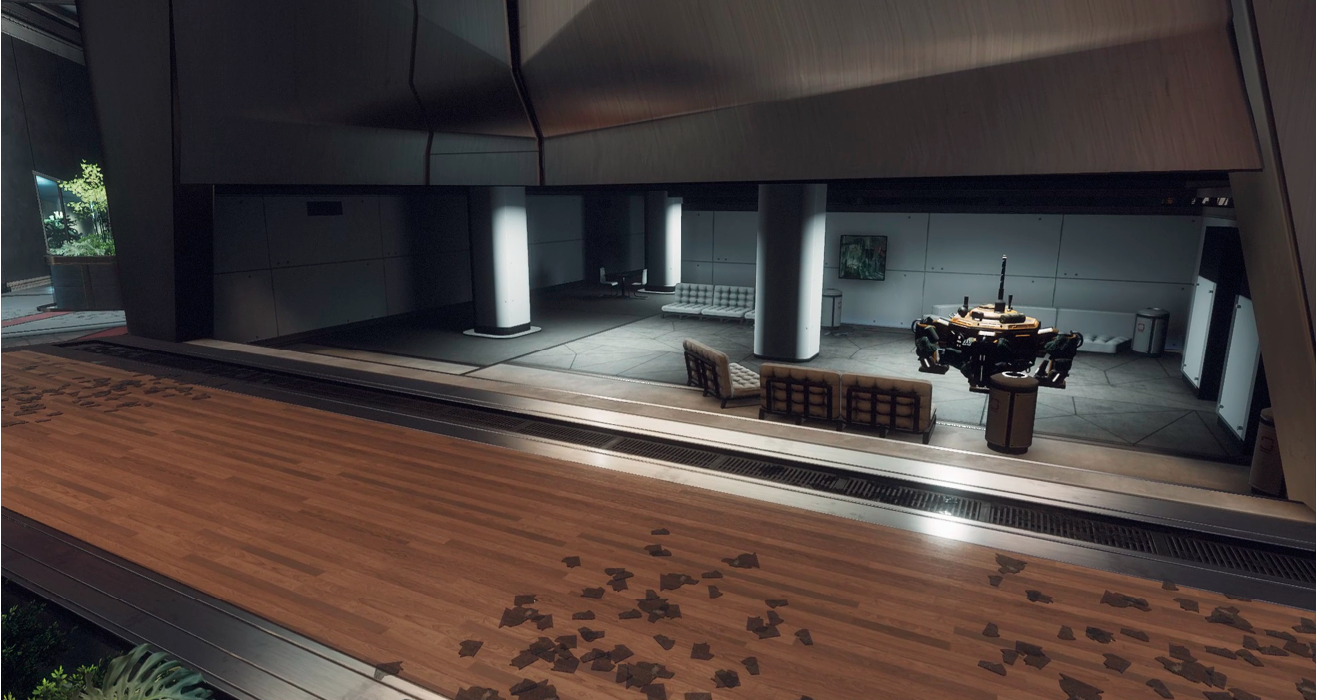
The B hardpoint is tucked inside the reception area in the middle of the Main Hall. This location can be seen from several different angles, but not while in a Titan in close proximity, due to its architecture. Adjacent to the reception area is the Thunderdome, which can serve as a quick escape after the hardpoint has been captured, thus not to get bombarded with explosives when the enemy comes to take it back.
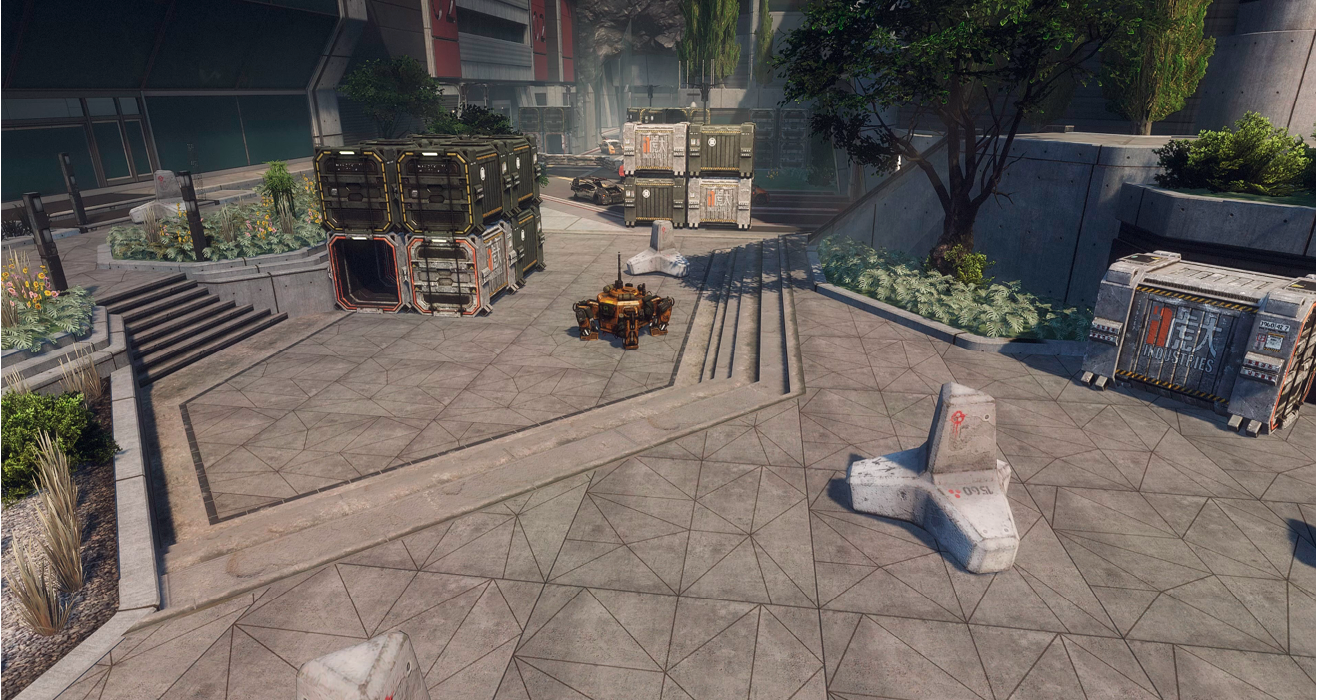
Finally, the C hardpoint is located outside in between the courtyard and the street. Due to the fact that it is outside, you might want to prepare for a Titan fight. Defending this location without a Titan proves to be near impossible. However as a Pilot, you should find it is easy to hide from Titans, as well as other Pilots. You may not be able to directly defend this location very easily, but if you are able to stay hidden you can defend from Pilots by keeping the element of surprise. If you’re faced with a Titan coming to gain control of this hardpoint, use your Firestar or Arc Grenade to keep the Titan distracted while you buy time for friendly Titan support, or to get your fellow Pilots to overwhelm the Titan with rodeo bombing and Anti-Titan fire.
Bounty Hunt
During Bounty Hunt, the first wave takes place in the Main Hall, so prepare for some chaos and lots of wallrunning. Keep your eyes focused on all elevations while killing minions and ending the wave. Electric Smoke is a great ordnance option for the first wave because of the tight spaces.
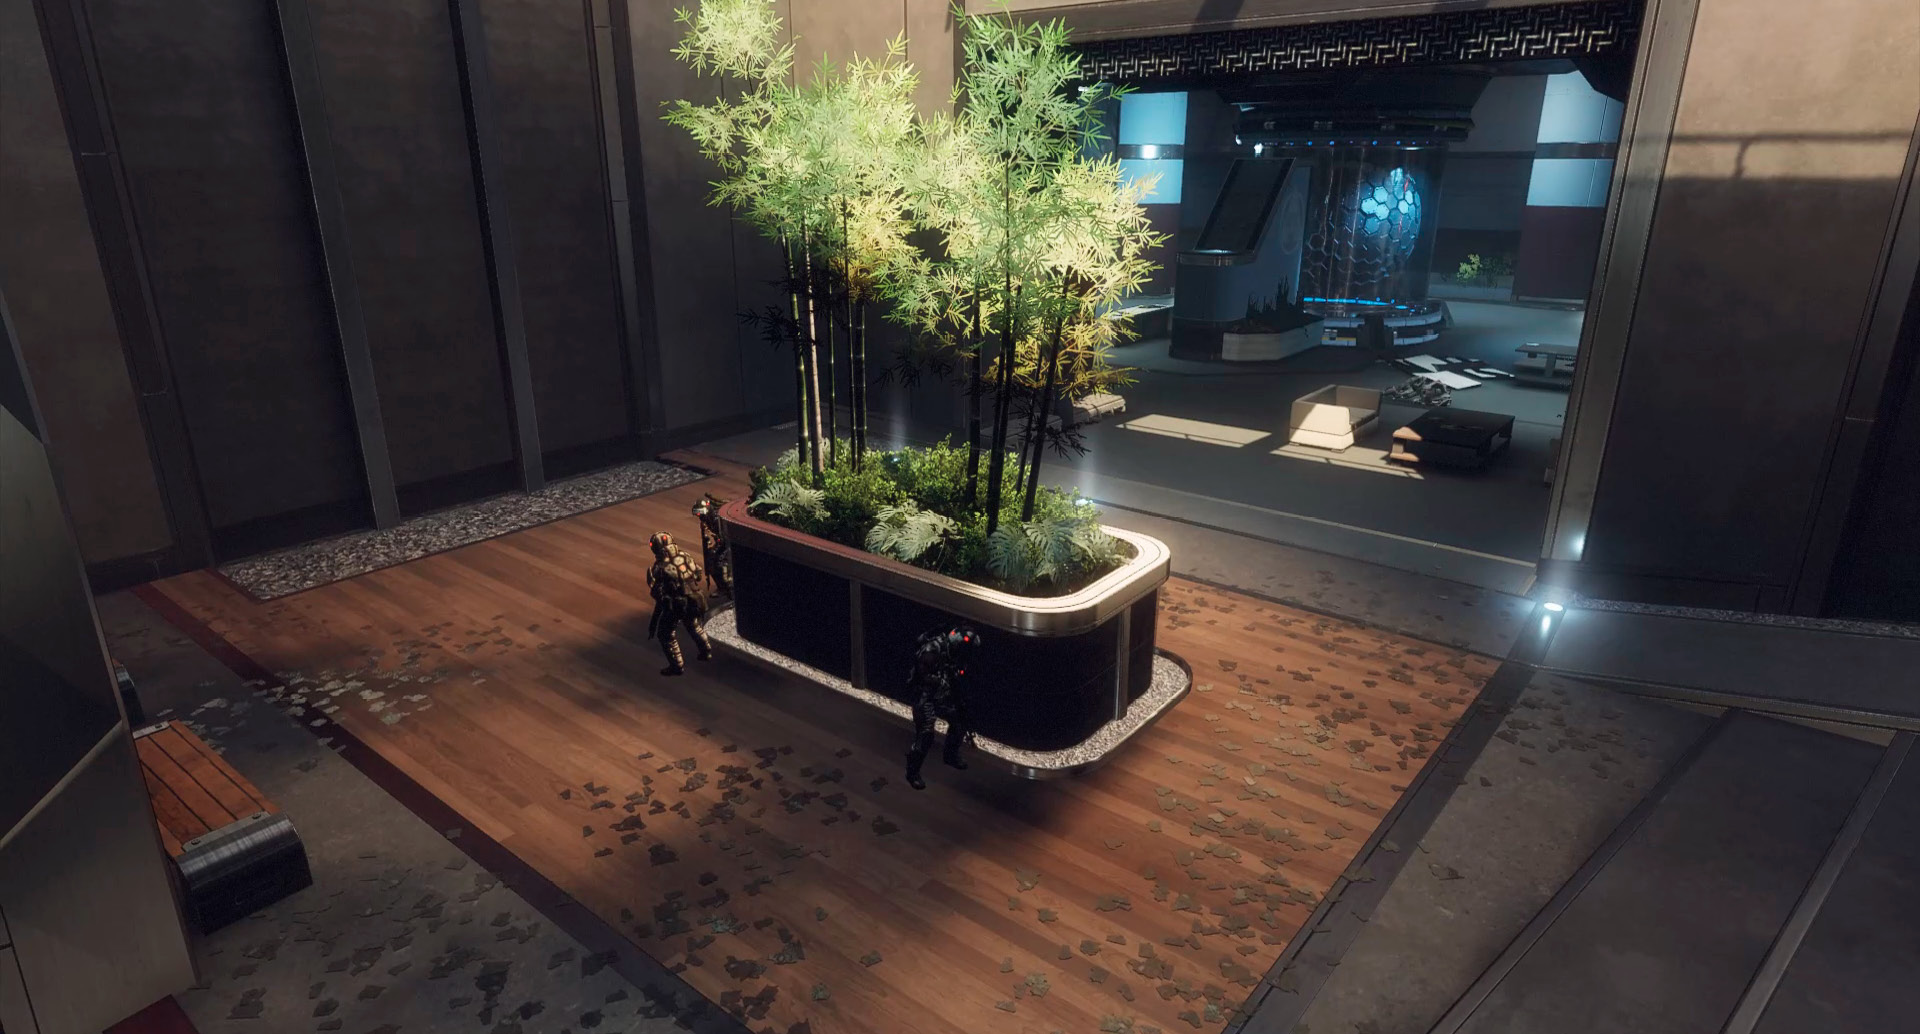
After the first wave and as the waves begin to separate from the center of the map, you can find one of these location in the courtyard. The courtyard is rather open, making it the preferable Drop Zone when going after minion and Titan bounty. If your team’s spawn is on the opposite end of the courtyard, you may want to organize your team to send a full on assault on the courtyard to take advantage of these easier kills. This serves as two different advantages because, if you are able to successfully take over the courtyard, you will be able to gain more money for your team, as well as grow your bonus. However, try not to get killed by the other team, as you will give them half of the bonus that you gained.
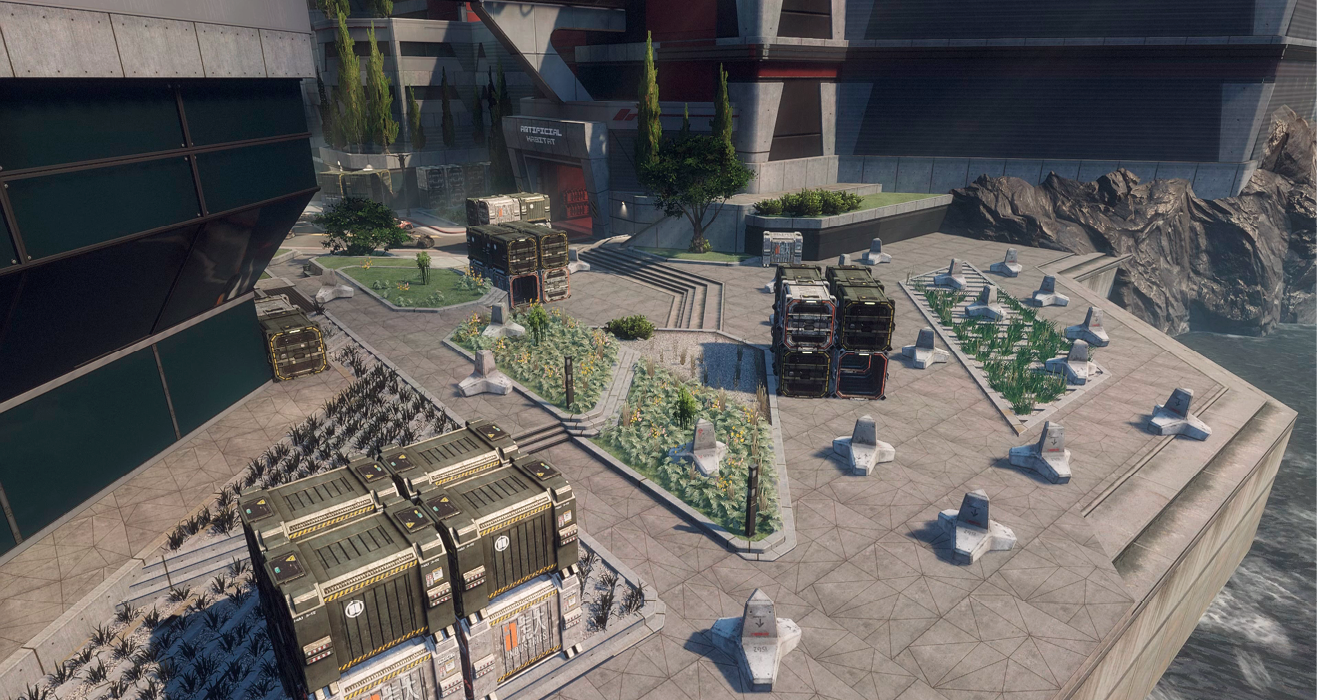
Once you’ve depleted the forces in the courtyard, make your way to the helipad, where the other Drop Zone is. At the helipad, your best strategy is to get there early and corner the enemy into the helipad before they are able to enter the building, because you might be able to claim their bounty swiftly.
Capture the Flag
Since Complex is designed with three separate lanes, so to speak, there are three major routes that you, when participating as the flag runner, can take when attempting to capture it. It is important to understand each route individually, because combining them is what will keep your opponents guessing and keep you safe. Running down the middle through the Main Hall is the fastest route, due to the narrow hallway because bouncing from side to side will keep your speed up. If you’re using the Grapple Glider, you can correct any mistakes you make during the run or swing under the short doorways to keep your momentum up. Be sure to slide when you need to hit the ground.
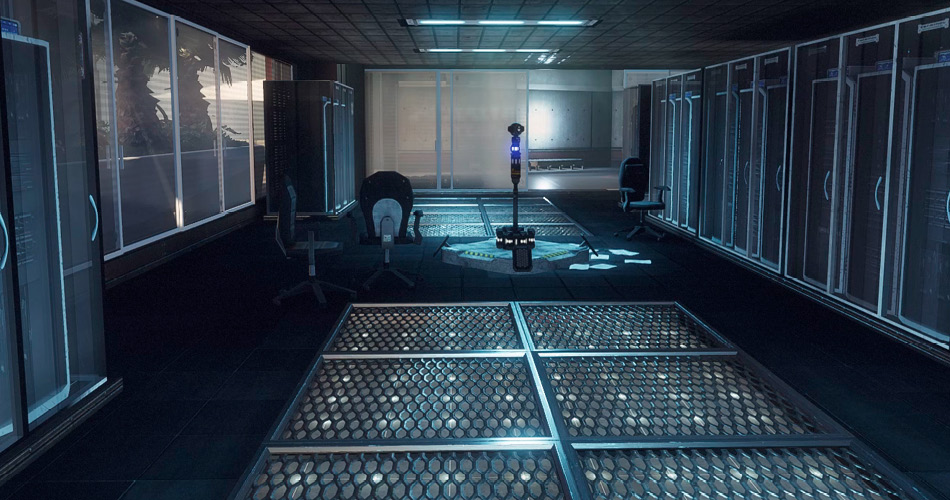
Traveling down either of the side paths is much slower because there is not much room for error, if you intend on staying off of the ground. This is a great situation upon which to use the Grapple Tactical because you want to run the wall as much as you possibly can. If you decide to take the route of the Thunderdome, which is not recommended unless you can come in hot, prepare for a firefight. It is almost mandatory that you have your teammates there ahead of you to clear the Thunderdome out, because if you’re caught, you’ll need to make some swift evasive maneuvers in order to survive. On the path of the elevator lobby, be prepared for Titan blockades, and use the walls and pillars to keep the enemy guessing and avoid unexpected pre-firing as the enemy rounds the many corners.
Pilots Vs. Pilots
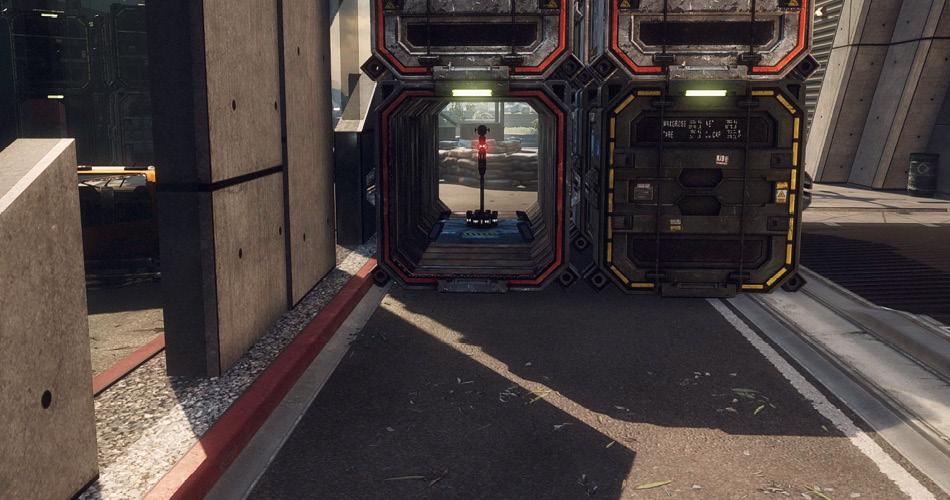
Pilots vs. Pilots is extremely strategic on Complex because positioning is key in almost every situation. As Complex is not only the description of the facility, it is a great description for how the facility is built. Practice finding small hallways that lead around the larger rooms. There are plenty because of the close quarters. Flanking might be the only way to gain the advantage on any given firefight.
Posting up with an L-Star or a Softball in the Thunderdome, in combination with Cloak, is great for quick kills, but that will only last for a short while until the other team exposes your position. Using heavy weapons and grenadier-sized weapons are extremely useful in these tight quarters, but always keep a powerful secondary at the ready because your primary weapon can backfire extremely easily when you’re caught face to face with your enemy. Stay on the move and keep your head on a swivel or find that perfect location for a temporary campsite in order to win Pilots vs. Pilots on Complex.
Last Titan Standing
Last Titan Standing on Complex requires a very careful selection of Titan before initiating Titanfall. There is not much room on this map to move around, but that does not mean you cannot use a Stryder class Titan. Titans such as Ronin can dash around the map and take the enemy by surprise on their flanks. However, the Titans that will excel on Complex are those that we have recommended above.
Scorch is great on a map like Complex, but something unique to Last Titan Standing is the fact that you don’t necessarily have to deal with Pilots jumping around your viscinity, even though it is still possible. With Scorch, the Incendiary Trap and the Firewall are far more effective against other Titans because it is incredibly difficult to avoid them while in a Titan. While communicating with your team, you can really corner the enemy into a small space, leaving them no room to move around, let alone defend themselves. Just be careful and keep your distance when you corner a skilled player, because if well coordinated they can focus fire your Titan, taking your armor down rather quickly. As with any Titan versus Titan situation, strategies can always backfire if you’re not careful.
attrition
Complex is a bit different when it comes to Attrition than most of the other maps. Complex is full of enclosed spaces, which means you are almost required to always stay on the move. Use every wall that you possibly can to get around and make yourself a difficult target to hit. The more trouble the other team has of killing you, the obviously lower score they have against you. Complex also works in lanes; however, this map is all about chokepoints in the hallways and doorways. If you can arrive on one side of the chokepoint before the other side, you may have an advantage against them. Use Grapple to get to high places quickly or Stim to get around fast. Take the enemy’s flank and beat them to the punch.