Titanfall 2 Guide Multiplayer Maps Eden
Overview
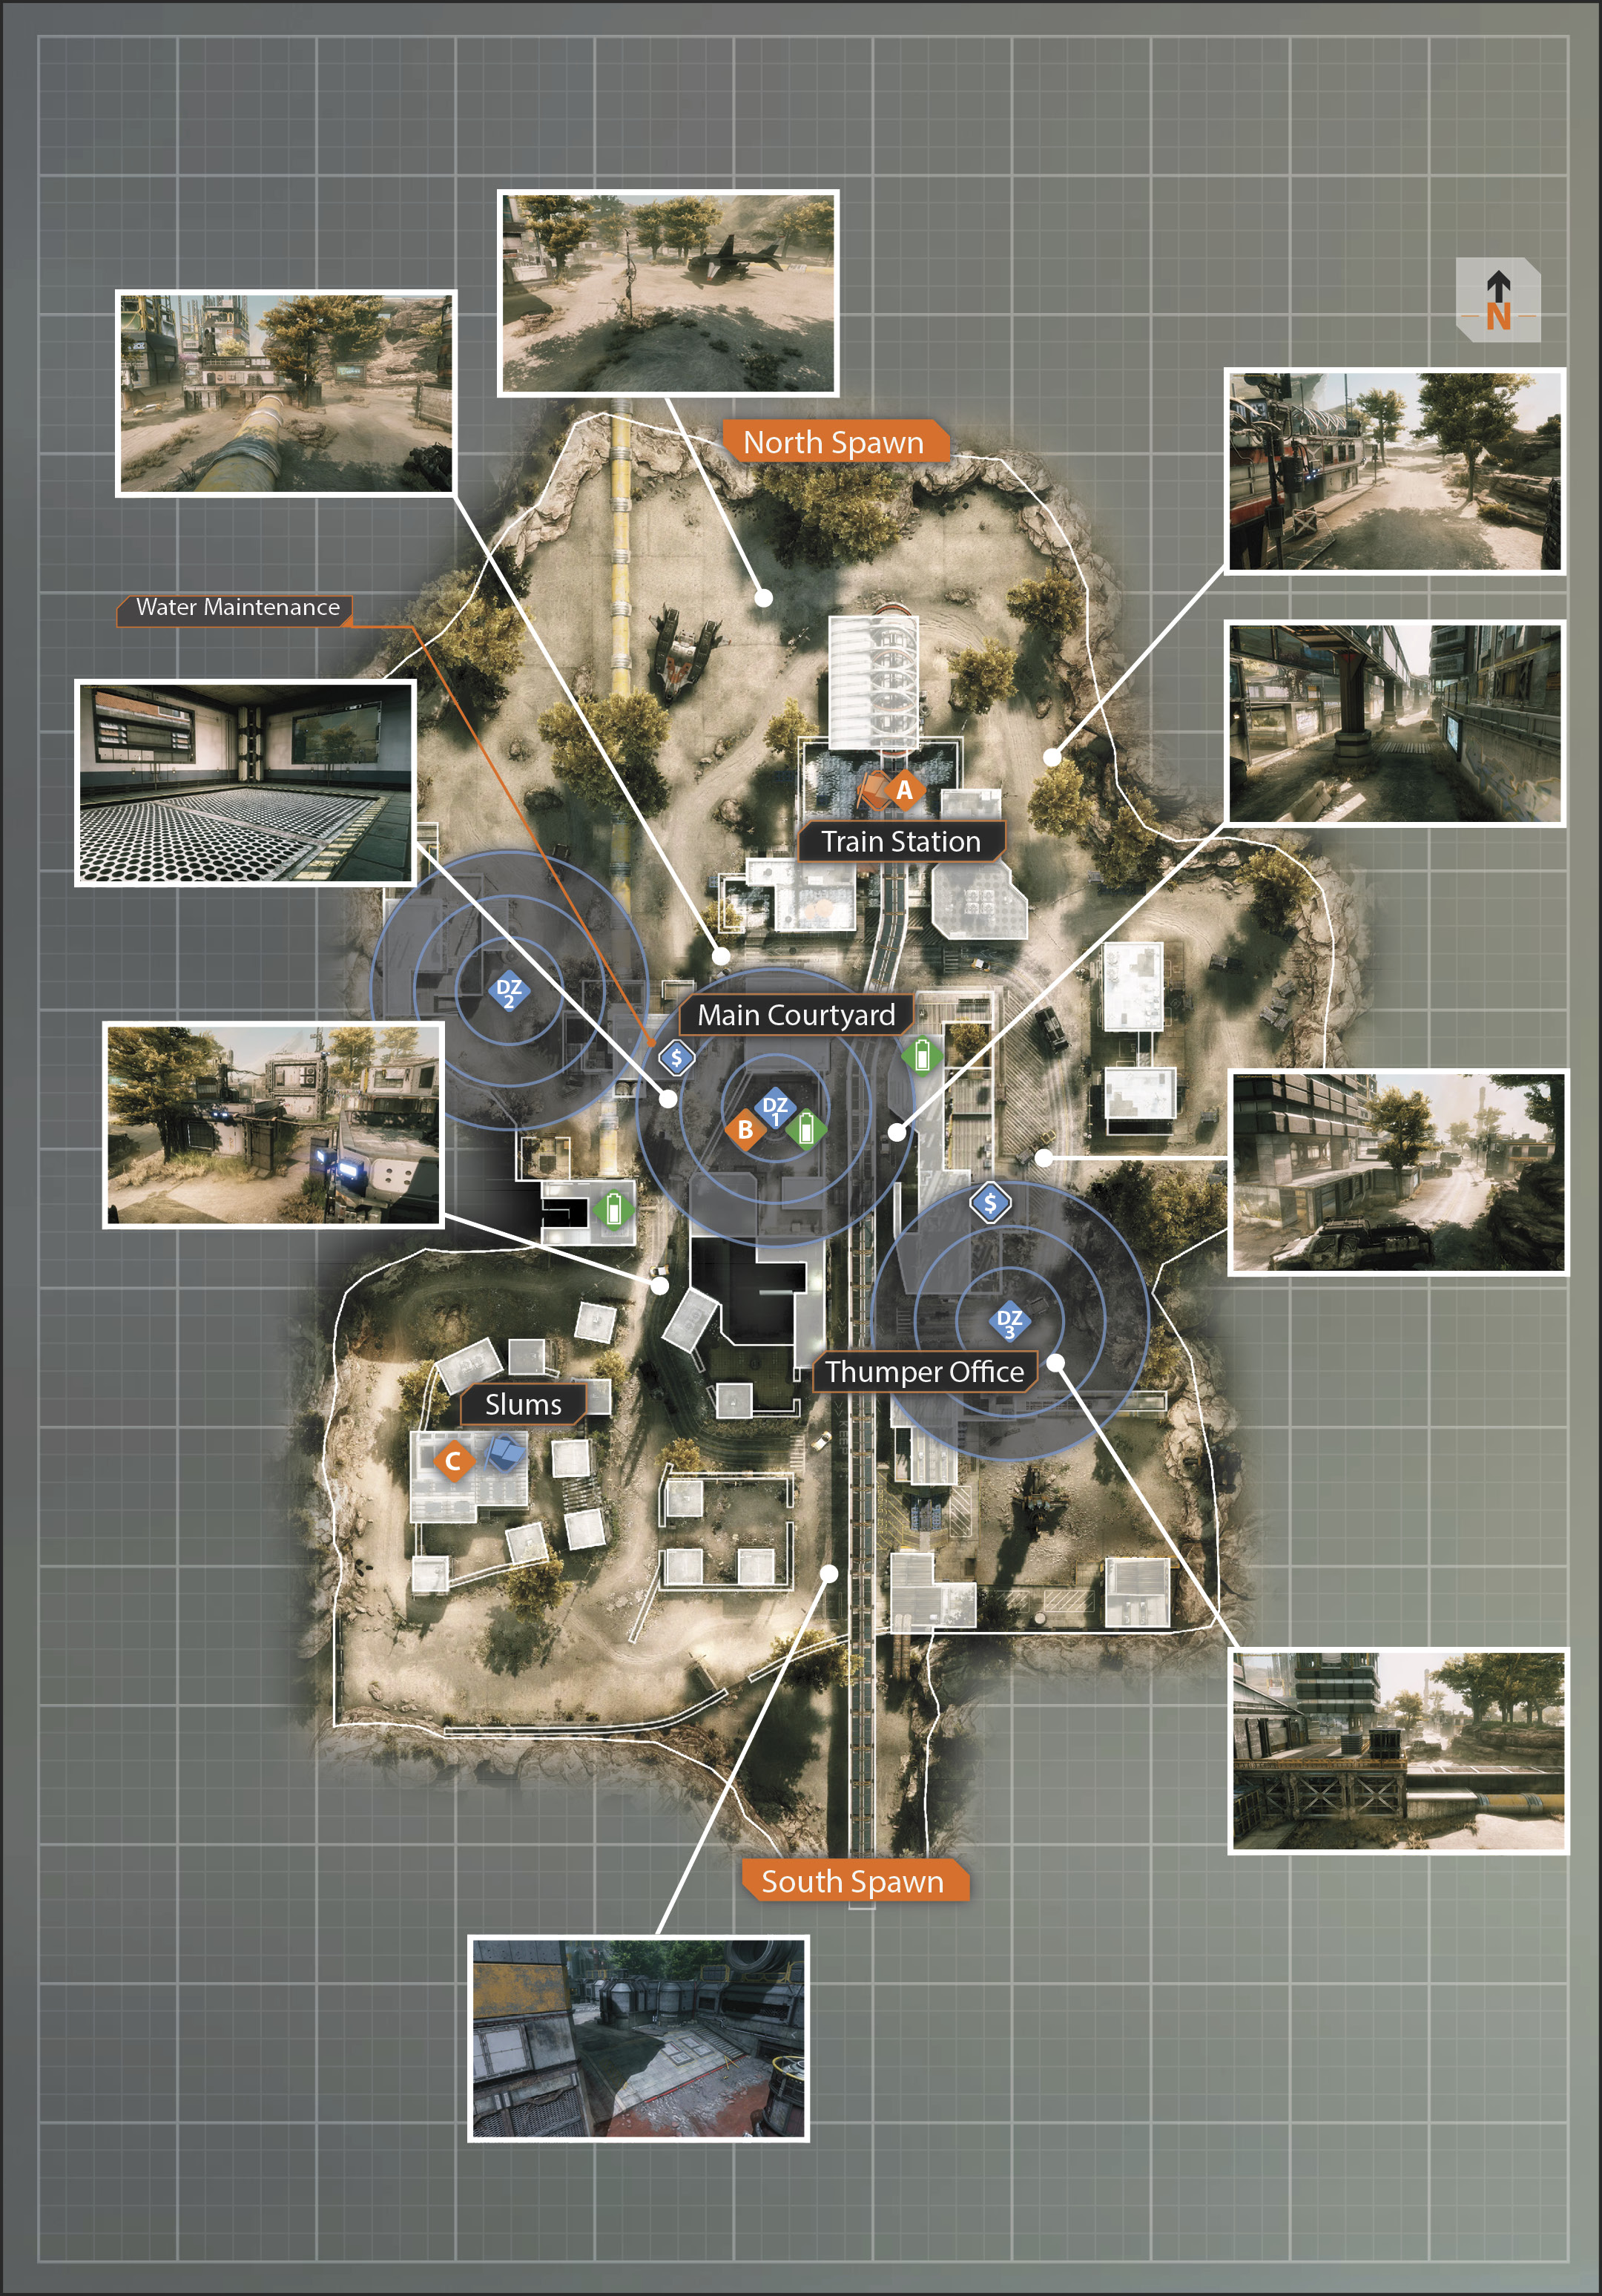
| Legend | |
|---|---|
 |
Last Titan Standing |
 |
Hard Point |
| Bounty Hunt | |
 |
Drop Zone |
 |
Bank |
| capture the flag | |
 |
Blue Team Flag |
 |
Orange Team Flag |
Eden was once a paradise, sold as the ideal residential community by the IMC to their new employees from the Core Systems. IMC employees responded in record numbers, attracted by the promises made by the IMC’s Interstellar Colonial Authority. But the discovery of an extensive, deep network of naturally occurring fuel reservoirs changed everything. As they had done previously with other worlds in the Yuma System, the IMC fracked the area until dust reigned over light. Today, the train and space elevator remain in operation, maintained by a small community of dispirited IMC employees tied to long-term employment contracts.
Eden is a medium-sized map with choke points running through the middle sections of the town. Billboards all along the elevated rail line allow Pilots to achieve great wallrunning speeds and traverse the town quickly. Titans will find excellent opportunities to engage Pilots safely in the streets and open lots that ring the outskirts. Pilots, however, have many options amongst the diverse spread of small outbuildings and their interiors, as well as walled courtyards, for both escape and counterattack.
Main Courtyard
The Main Courtyard is the central location where the majority of the action on Eden unfolds. The actual courtyard is not very large, and there isn’t much cover here, but both the B hardpoint and one of the bank locations in Bounty Hunt are located here. As you get more experienced and become more familiar with the Main Courtyard, you’ll understand a little more where enemies might be when they are defending the location. Check the corners, and unless you’re in a pinch, don’t drop in from the top because you might find yourself in the middle of a heavy crossfire.
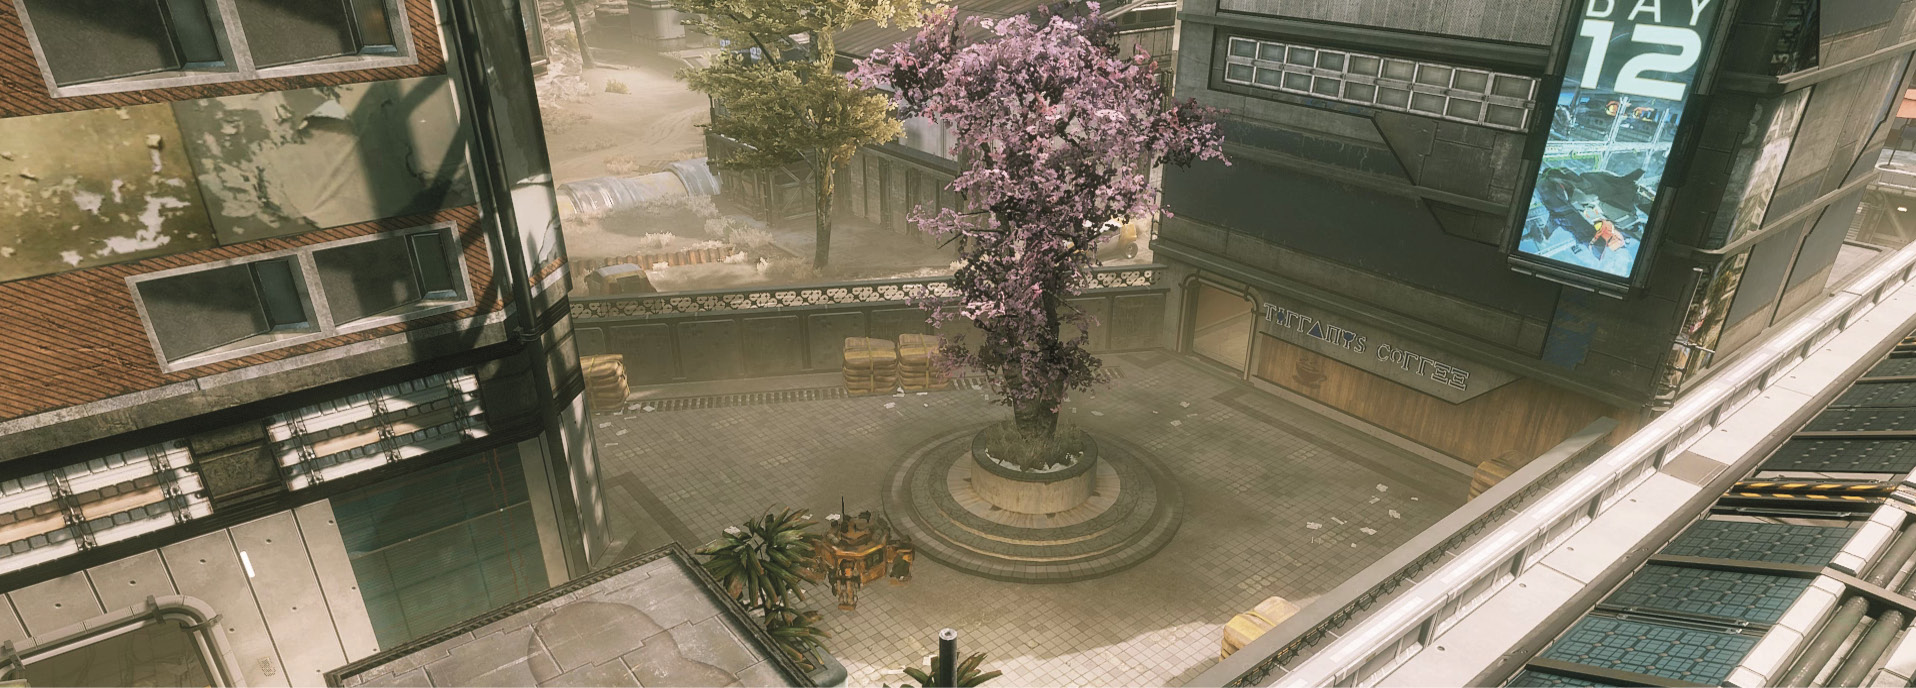
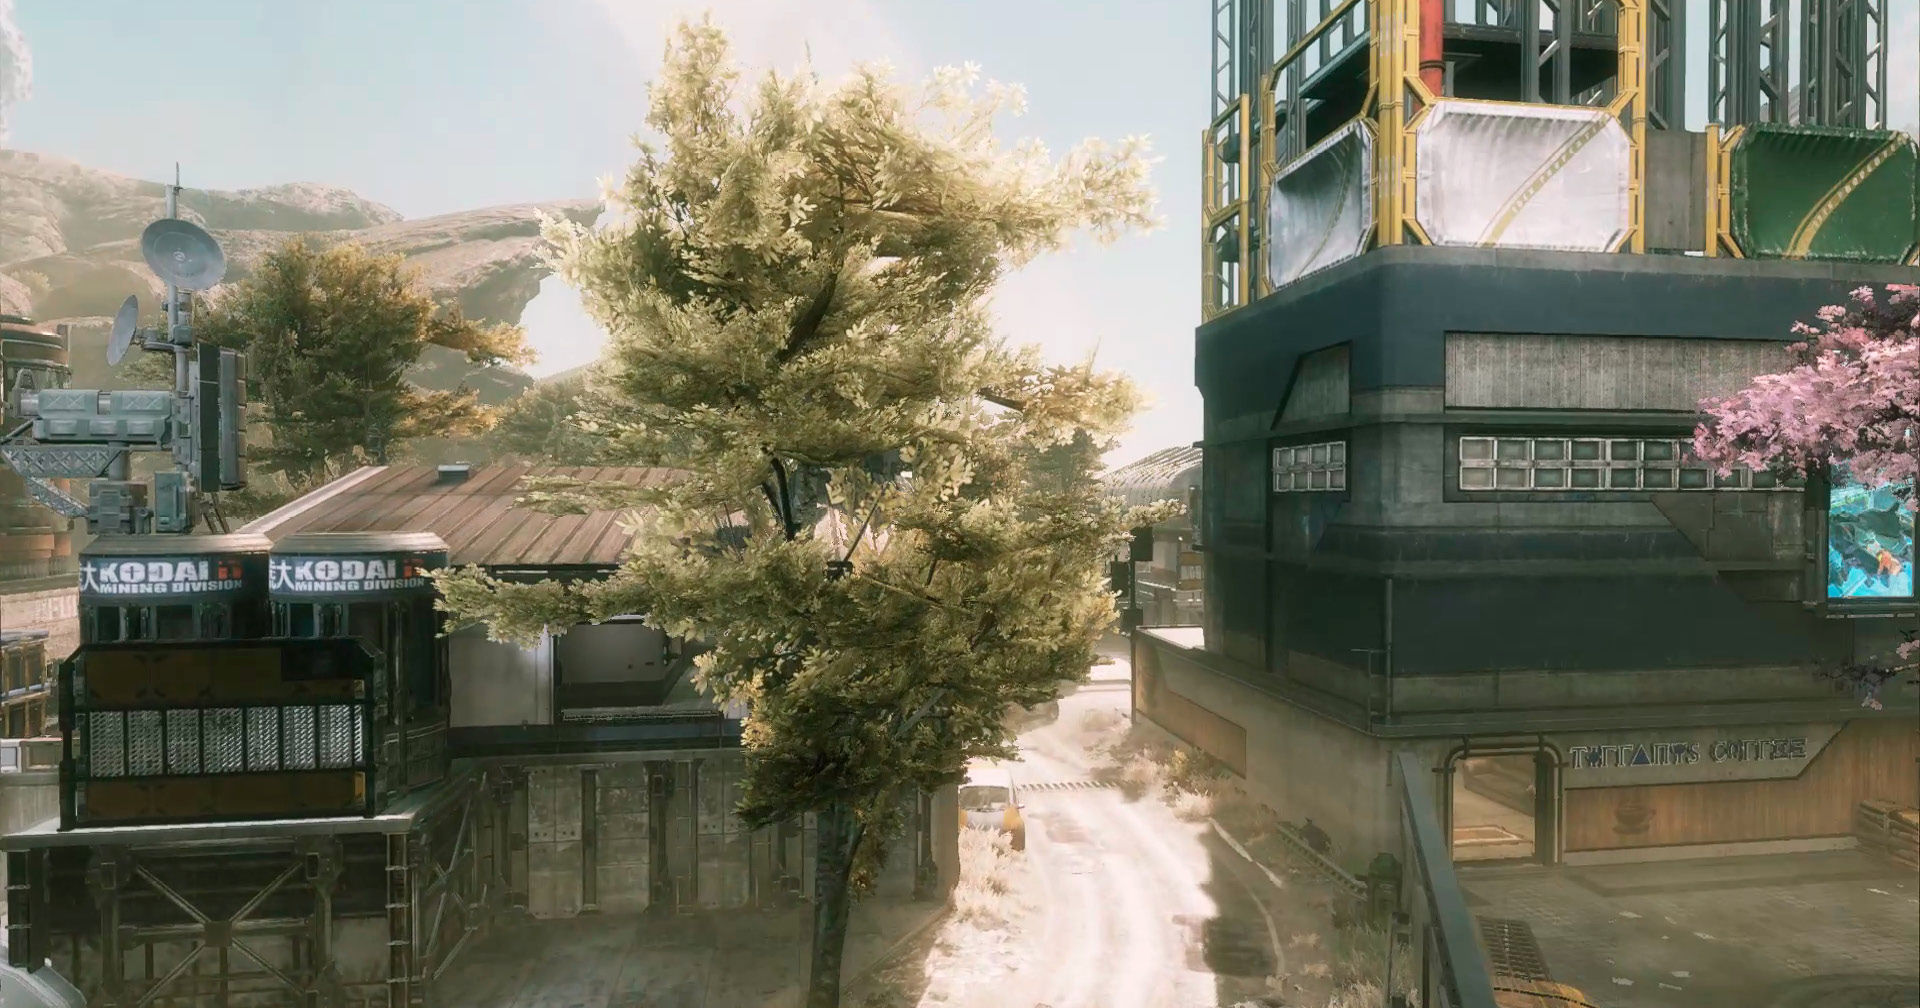
Making your way through the adjactent buildings, like the coffee shop and the high-rise can provide you and your team some cover on the approach to the Main Courtyard. You can also use these building as cover if you choose to defend this location from slightly off-site. One of the more important pieces that directly affects the Main Courtyard is the train line because it overlooks the courtyard. The train line is a very popular route to take to the courtyard, so on your way try to take out the enemy before they spot you first.
Train Station
The train station has a few elevations that can all be used for different tactical advantages. On the ground floor is the courtyard, and if you use the buildings you have a ton of cover to keep yourself concealed as you get the angle on incoming enemies. Next, use the buildings to get a bit higher and ambush enemies as you are either attacking or defending the train station. To get the highest angle on your enemy, take control of the train line and use the billboards so that you are not a sitting duck right out in the open for snipers.
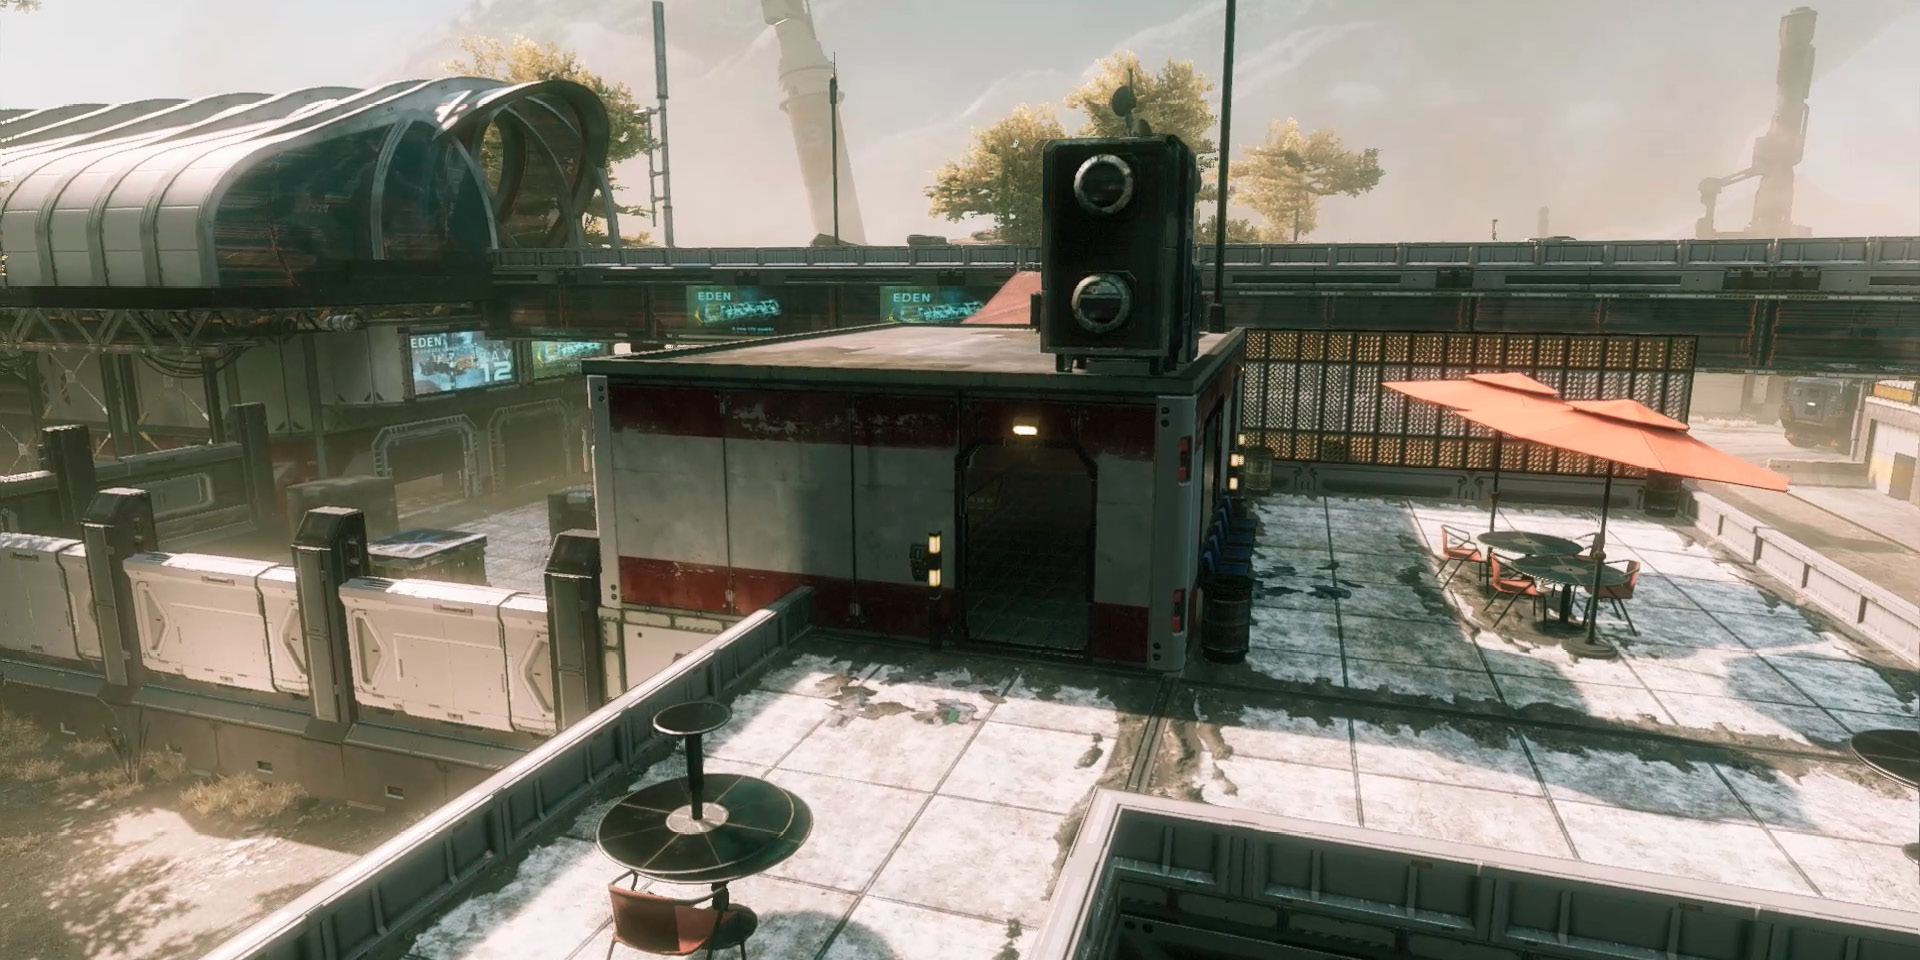
One of the best ways to enter the train station stealthly is through the back and right underneath the train stop. Even though it is tough to get here without being seen on your approach, it is not much different from striking head-on. One thing to take into account though is that if you take the long way around, the chances of the enemy looking in all directions are slim, and this might be the only way to slip through their defenses. Attacking head-on is only a good idea if you can be quick and use some evasive maneuvers or a distraction to get in. Once you’re in, prepare for some close-range action.
Slums
The slums should be treated like an area with more to explore than every courtyard on Eden. With the buildings in close proximity of each other, as well as the Ration Center, there are several layers of battle that can and will occur here. Take extreme caution when traveling the roofs because some of the most heated firefights are known to be had here, short- to mid-ranged weapons are highly recommended. It is easy to lose your target in the slums, so equipping the Pulse Blade is one of the most useful moves you can make for the slums.
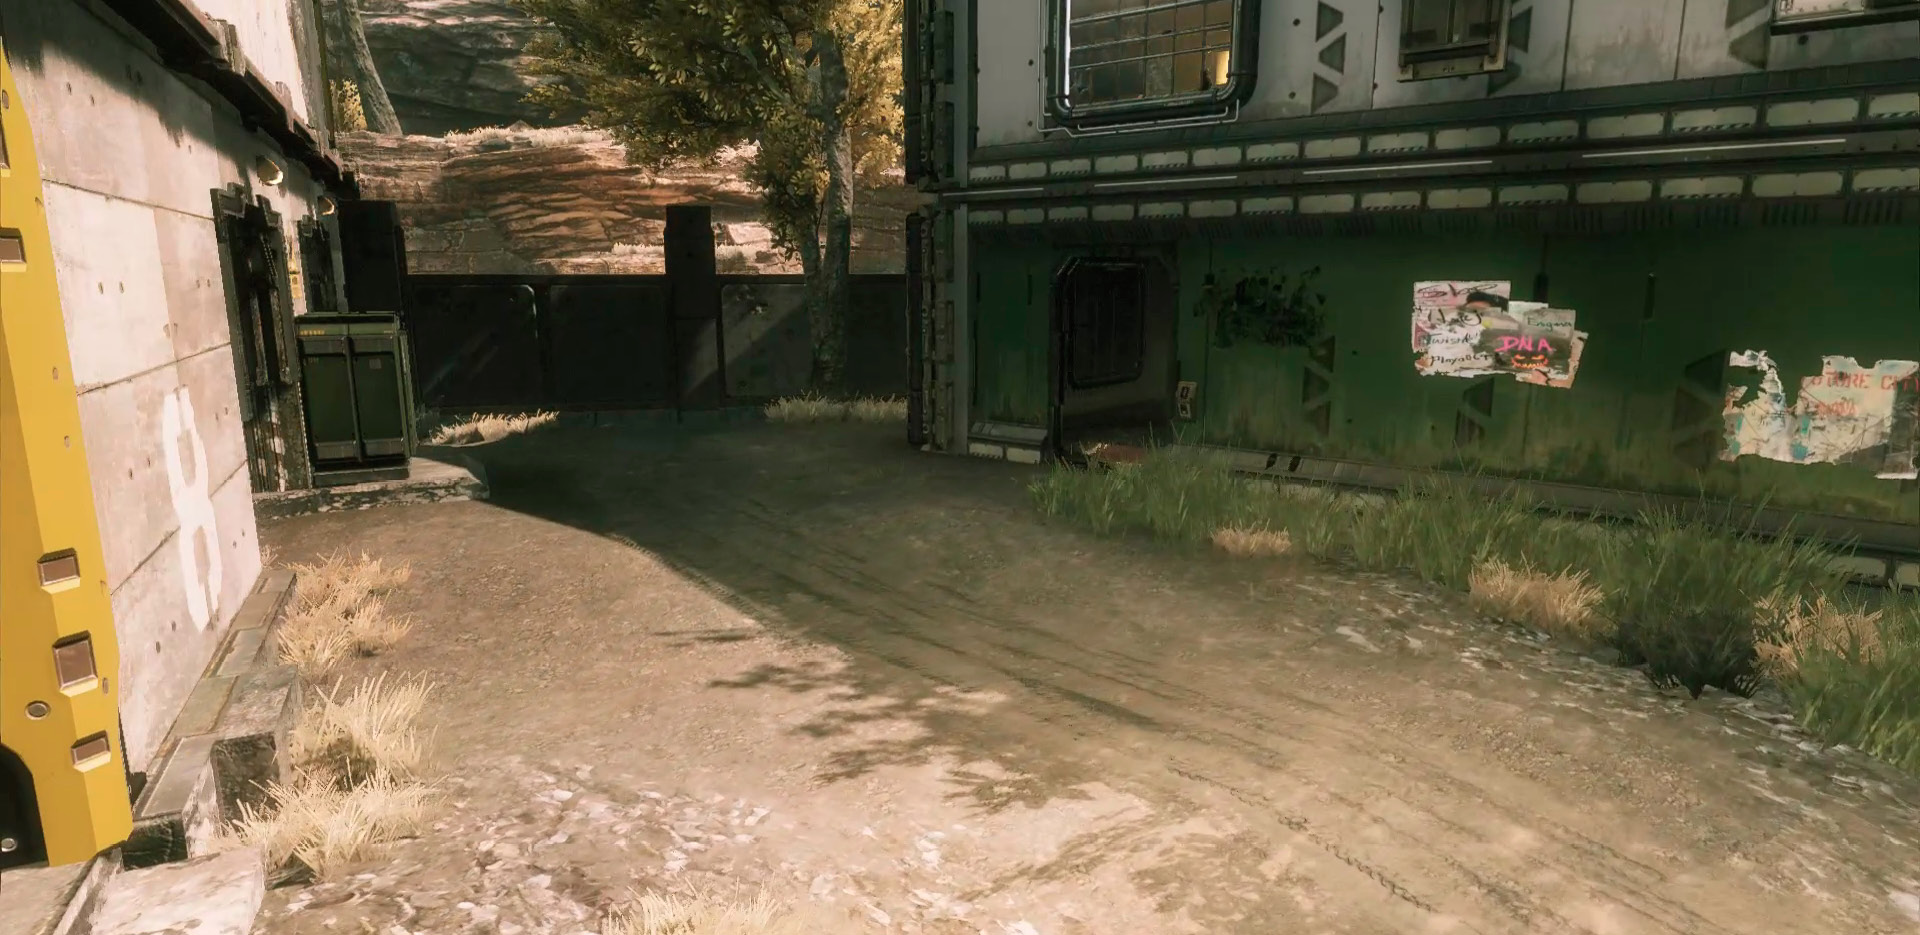
Always check the inside before attempting to capture or initiate any of the objectives in this location. There are many places to hide, and simply running through will sometimes not be enough. Running away with the flag might only result in the enemy nipping at your heels only seconds later.
Water Maintenance
The large building just outside the Main Courtyard has a tall, slopped roof that serves as a main map connection and sits right next to a few main objectives. This large building is called the Water Maintenance building and is extremely important. Sitting on top of the building and using it as a sniper nest is not necessarily the best idea, but controlling the area around it and using it as a sniper perch every now and again can serve you very well. Adjacent to the building is where minions drop in for Bounty Hunt and where a neutral Mega Turret placement stands. If there is a free Titan on your team, they should be attempting to keep this area controlled because it can turn the tide or help you dominate your enemy.
Thumper Office
The Thumper Office is a lot like the Water Maintenance building, as it is extremely important for controlling the other side of the map. This is also a position relative to a Drop Zone, as well as a Mega Turret. Both of said objectives lie in front of the building, and because of the slope on the roof, it provides cover as you scope them. The Mega Turret might be at a medium range, but the building is right in front of the Drop Zone. Just make sure you keep your eye on the middle of the map to keep enemies from flanking you.
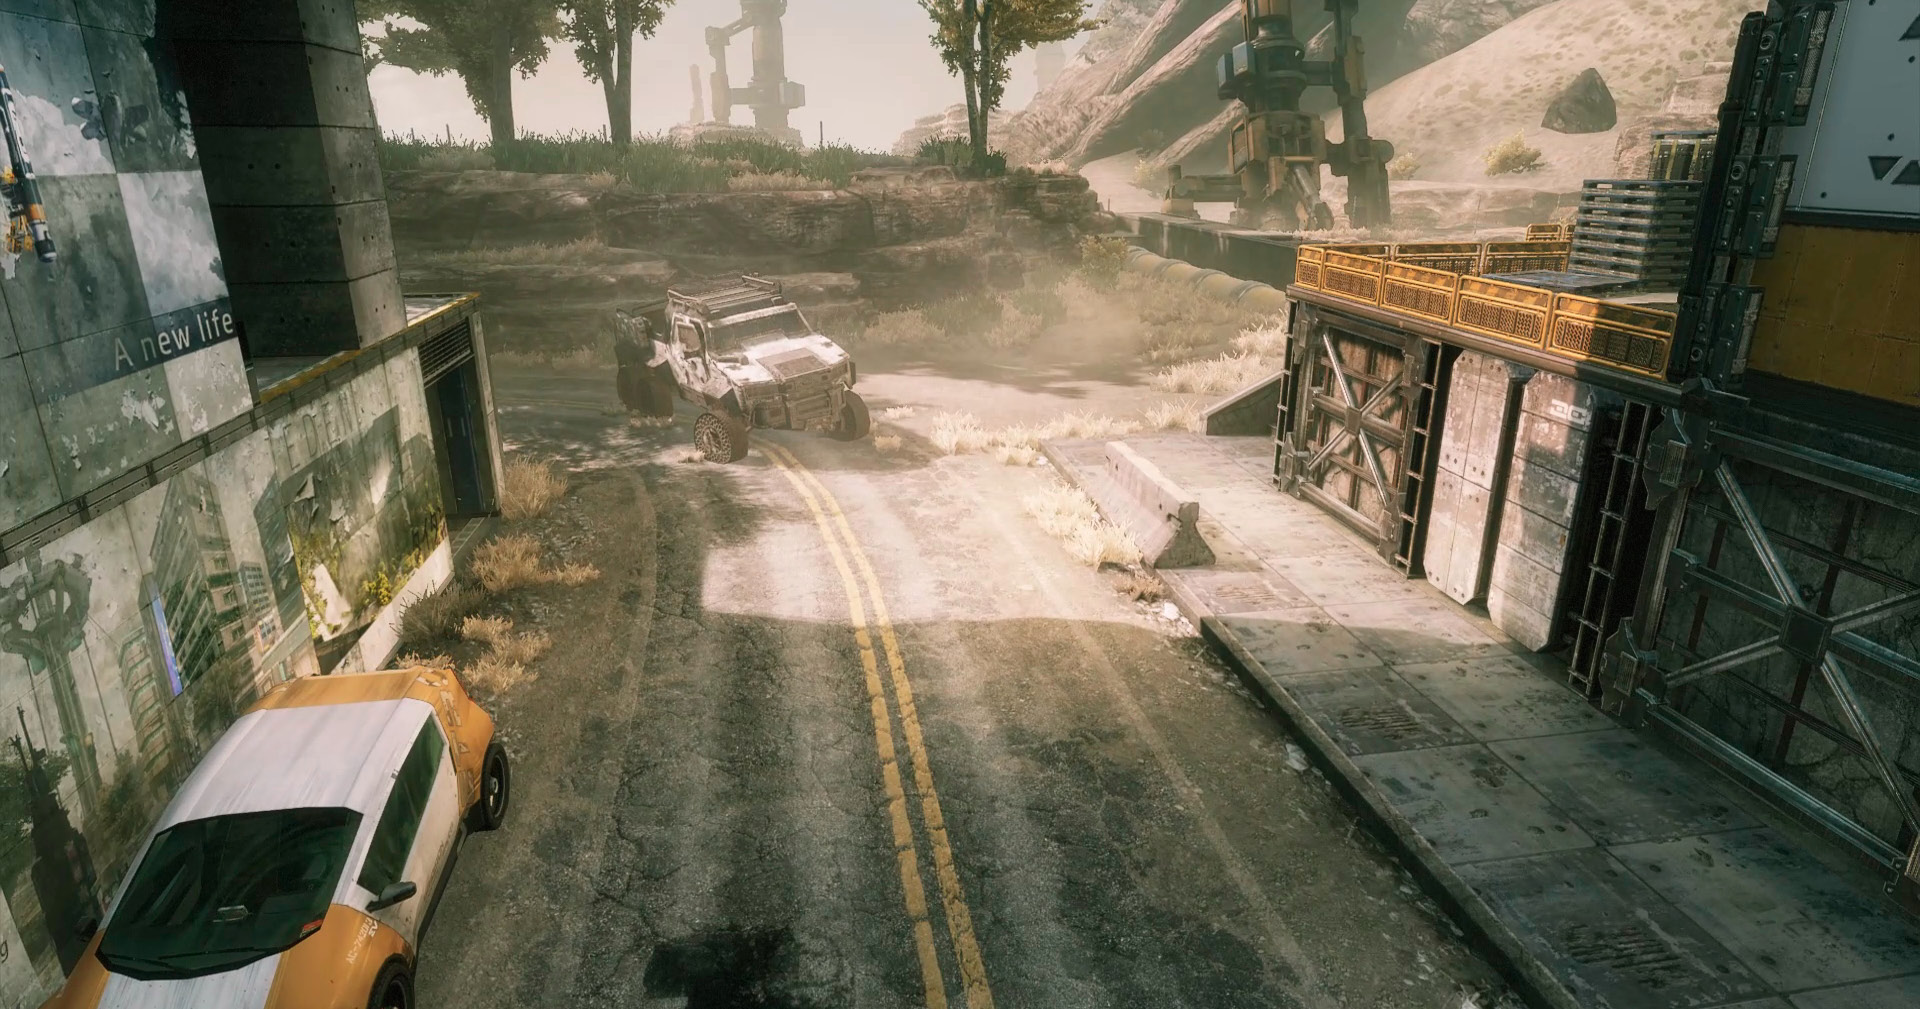
As you explore the Thumper Office, you might notice the cut-through across the street. It is difficult to see enemies approaching because of the overhang in the cut-through, so try to get the right angle by sitting at the end of the roof. Not noticing enemies under the overhang could be dangerous, and staying on the move is always a smart strategy, as there are a lot of sniper lanes that can make you regret staying still.
Recommended Pilot Loadouts
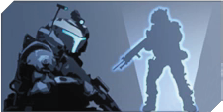
Rough ReconRough Recon is a strong loadout that requires a skilled player because this is a very specialized combination. Holo Pilot takes some time to restore its use, but that is not a problem, as you should only need it when you’re in danger. The combination of Holo Pilot and Kill Report should allow you to have a good survey of the where the action is and roughly where the enemies might be coming from. But in case there aren’t any reports coming in, you can be ready to launch your Holo Pilot and buy some time for you to get away. Both your primary weapon and your secondary weapon are meant for you to keep your distance, so don’t be afraid to flee when it’s getting too hot and you need to get out of the kitchen.
|


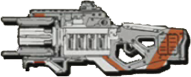


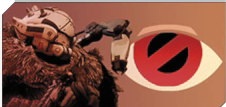
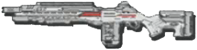
Ghost v2.0The Ghost Loadout is ideal for a full-on offensive mission with the ability to back off if things get desperate. Use Cloak as a way to get closer to your enemy, and always take the positioning of you and your opponent as priority. The difference between Ghost and Ghost v2.0 is the choice in weaponry; both the primary weapon and secondary weapon are chosen in design for a slightly longer effective range. Certain maps require a little more range than others, but Ghost is still a very powerful loadout, so with a few tweaks it is a great loadout for every map. You may be faced with no other option than to flee, because it’s much better to flee and fight another day rather than give the other team a Pilot kill and make it easier for them to call their Titans in. Always know where your exits are and as soon, as you think things are looking grim, activate your cloak. Run toward the exit, and don’t be afraid to jump and get acrobatic on your way out. That’s what Low Profile is for..
|


Recommended Titans
Ion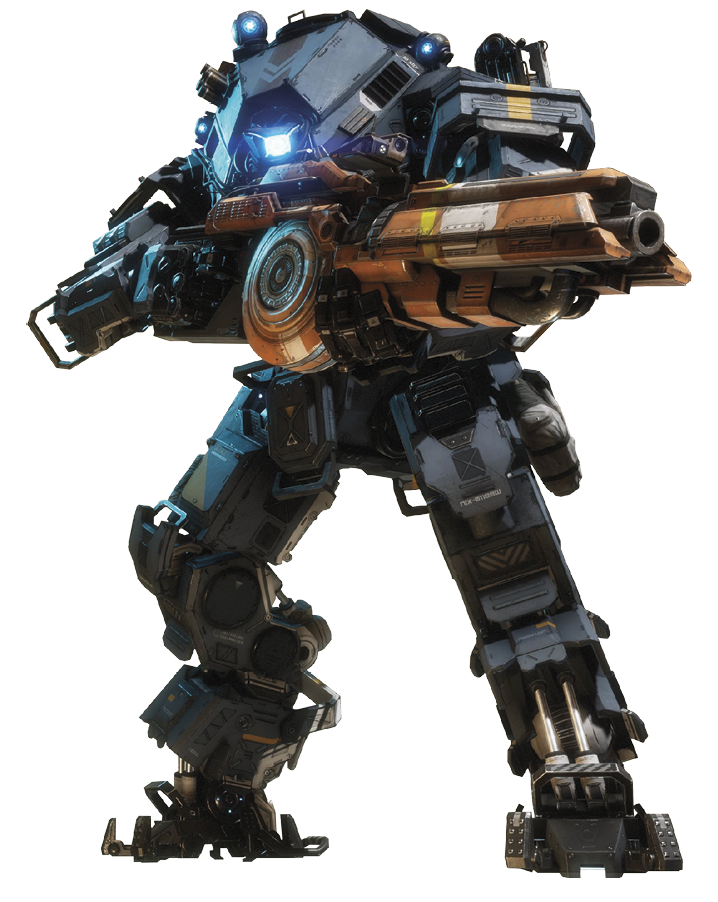 Ion is one of the most well-rounded Titans in Titanfall 2, and Eden requires a few different styles in order to survive. Because of the extremely long stretches of land and tighter corners, Ion makes a great match-up against almost any situation, as long as you learn the other Titans and how they work in order to counter them. On Eden, there’s quite a bit to be aware of while inside your Titan. Pay attention to the enemies at range, because they normally have a straight line of sight to you, which means a Titan like Northstar can inflict some major damage to your hull. As an Atlas class chassis, your Titan has some armor, but you might want to be careful. Without batteries nearby, your armor could deteriorate rather quickly, which is a big reason to stay extra cautious.
|

Northstar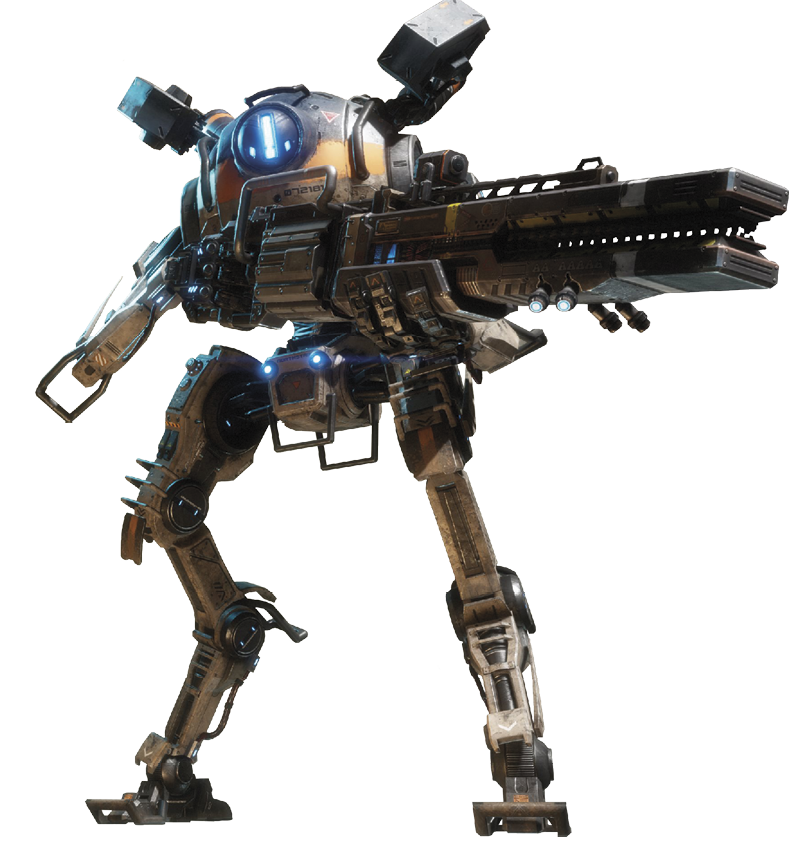 This Titan loadout is ideal for this map because there are many opportunities to use Northstar’s abilities—even more so than any other map. Eden has enough open space for Northstar to be able to move around and avoid enemies, but because of some close spaces Twin Traps is equipped on this loadout. There is almost nowhere in on this map that Northstar cannot see while keeping some distance, which is what makes this Titan loadout such a threat on Eden. Use the two major lanes on either side of the Main Courtyard to keep enemy Titans at bay while your team controls your half of the map. This should really distract the enemy from attempting to control any objectives as they try to defeat you.
|