
Titanfall 2 Guide Single-Player Campaign BT-7274
The Wilds
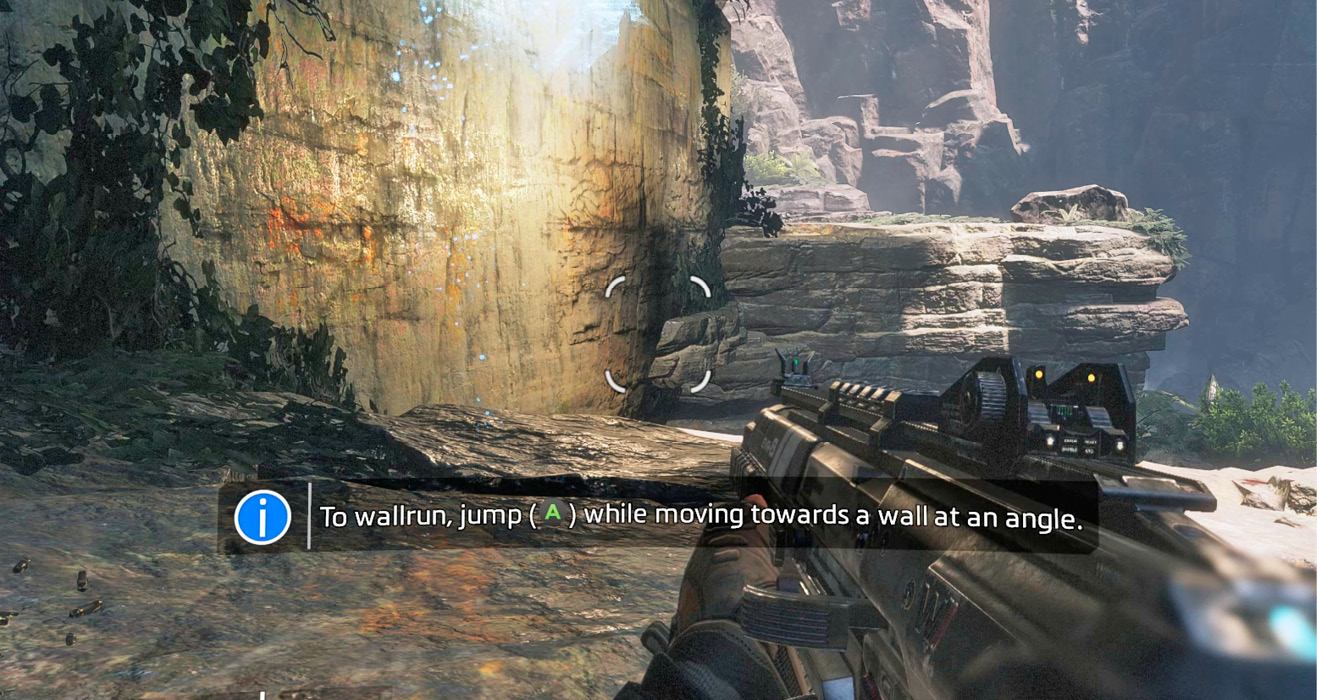
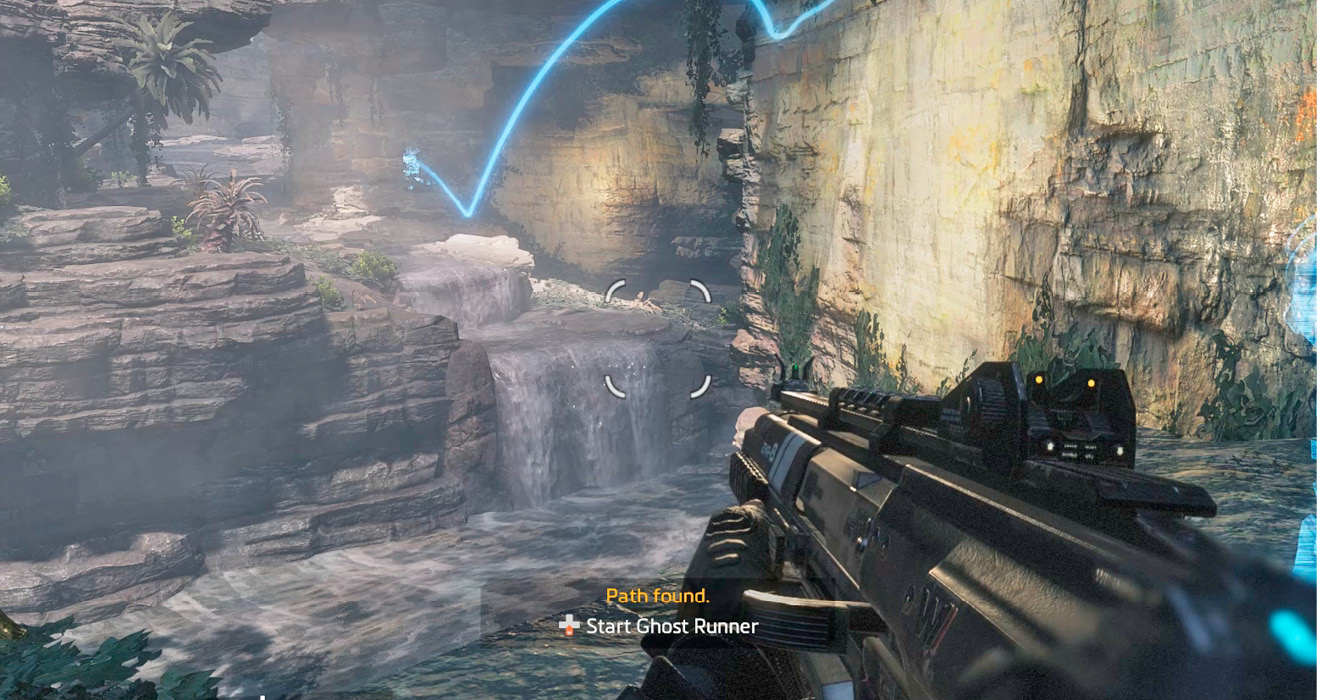
Turn toward the waypoint marker on your HUD—a couple of prowlers can be seen lurking in the distance. Raise your weapon and pick off the prowlers before they get too close for comfort. When they take damage, prowlers immediately charge, so be ready to empty several rounds into these vicious creatures. Scoring headshots expedites the process. An EVA-8 Auto Shotgun can be found along the nearby stream. Shotguns are ideal for dealing with charging prowlers. After dispatching the prowlers turn your attention to the stone wall to the left. You’ll need to wallrun along this wall to cross this shallow gap. When your reach certain obstacles, a holographic ghost runner appears, showing you exactly how to proceed. Start the ghost runner animation and follow along. If you fall, don’t worry—you can easily climb back to the starting point and try again.
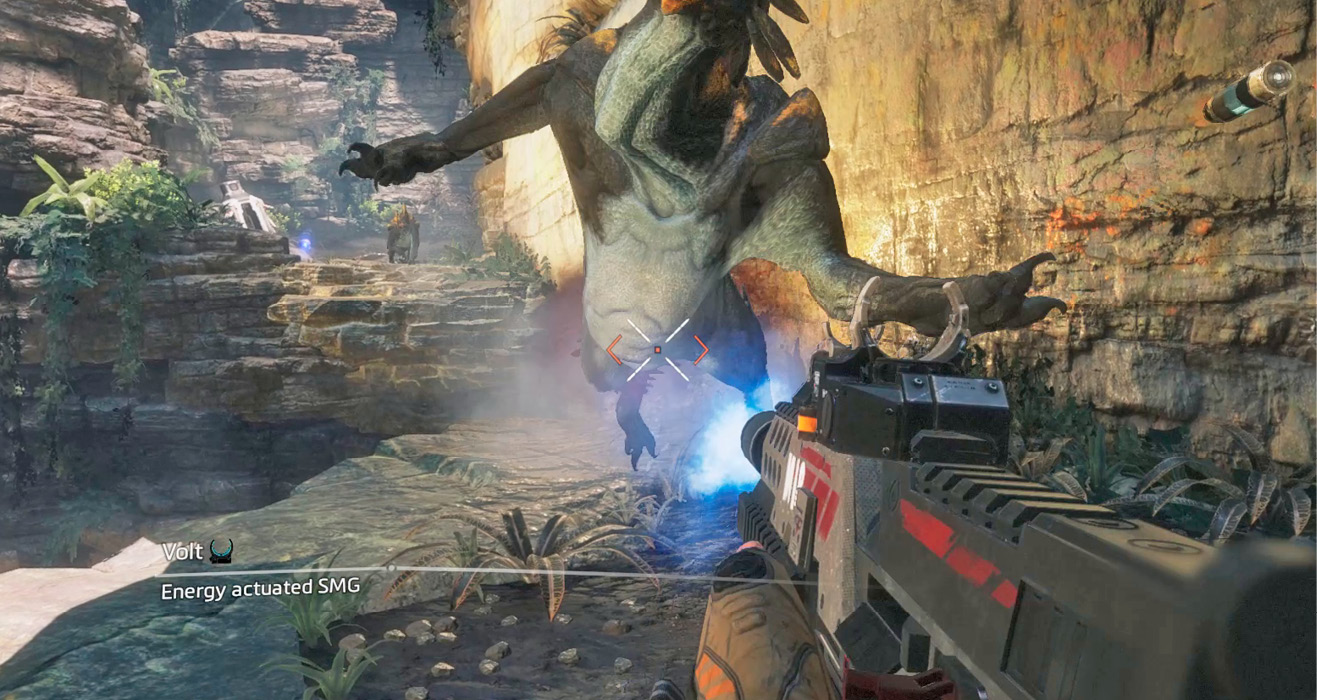
A few dead Militia riflemen lie scattered in the narrow canyon ahead. One of them has dropped an R-201 Carbine. Your new helmet picks up enemy radio chatter—apparently this Ark is under heavy security. Continue forward until you come to another wallrun obstacle. Before running along this wall on the right, dispatch the two prowlers waiting on the other side. Don’t be surprised if they leap the gap and attack. Once the prowlers are down, complete the wallrun and approach the Drop Pod on the other side. There’s something glowing next to it…
|
 Pilot Helmet 1/2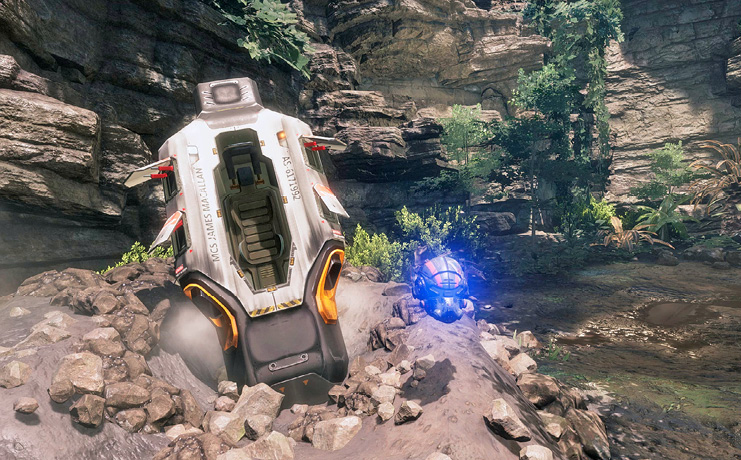
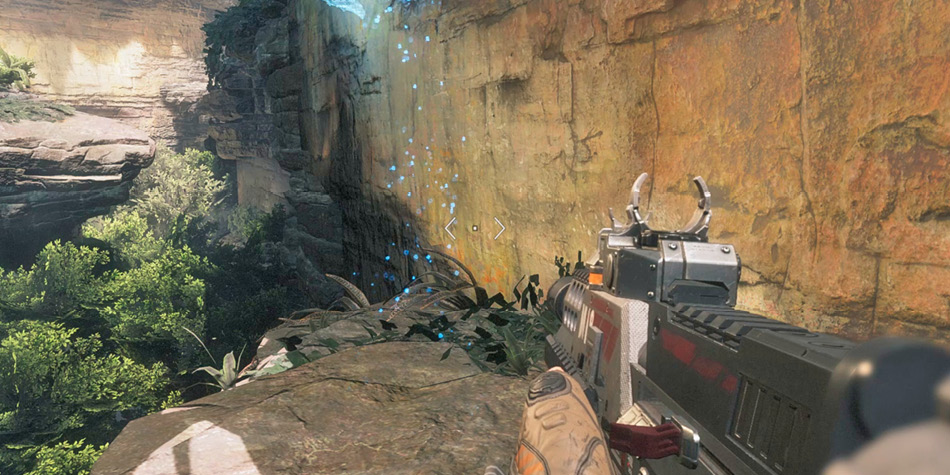
The path ahead tests your jumping and wallrunning skills. At the moment, the Jump Kit’s double jump ability is offline. So when completing a wallrun, you can only jump once. For this reason, maintain contact with walls as long as possible when performing wallruns. If you’re unsure how to overcome an obstacle, view the ghost runner animation.
Just ahead, a couple of IMC grunts stand on a ledge—their backs are turned to you. Sneak up behind one of the grunts and perform a melee strike. Your cover is blown as soon as you attack, so be ready to gun down the second grunt. One well-placed shot from the EVA-8 Auto Shotgun should do the trick. A third grunt patrols the adjoining path to the left. Take him down before he can retaliate. The third grunt drops a Hemlok Assault Rifle. Consider making this burst-fire weapon your long-range option.
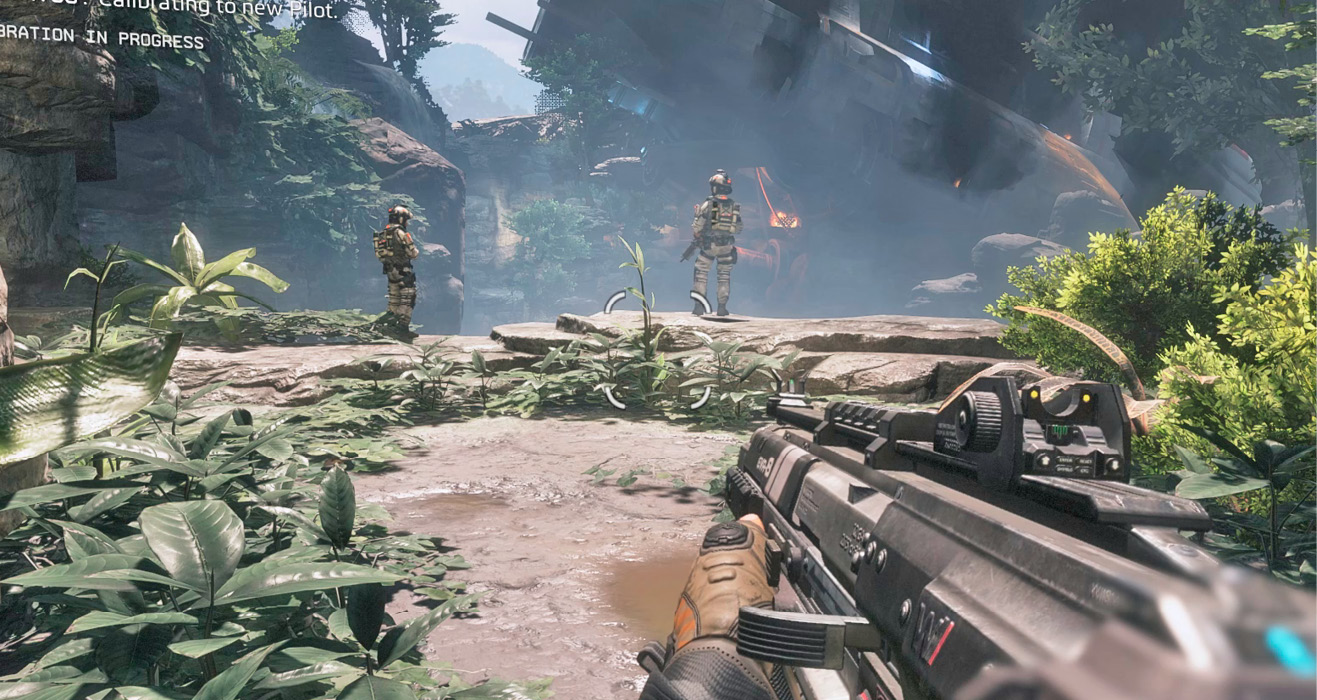
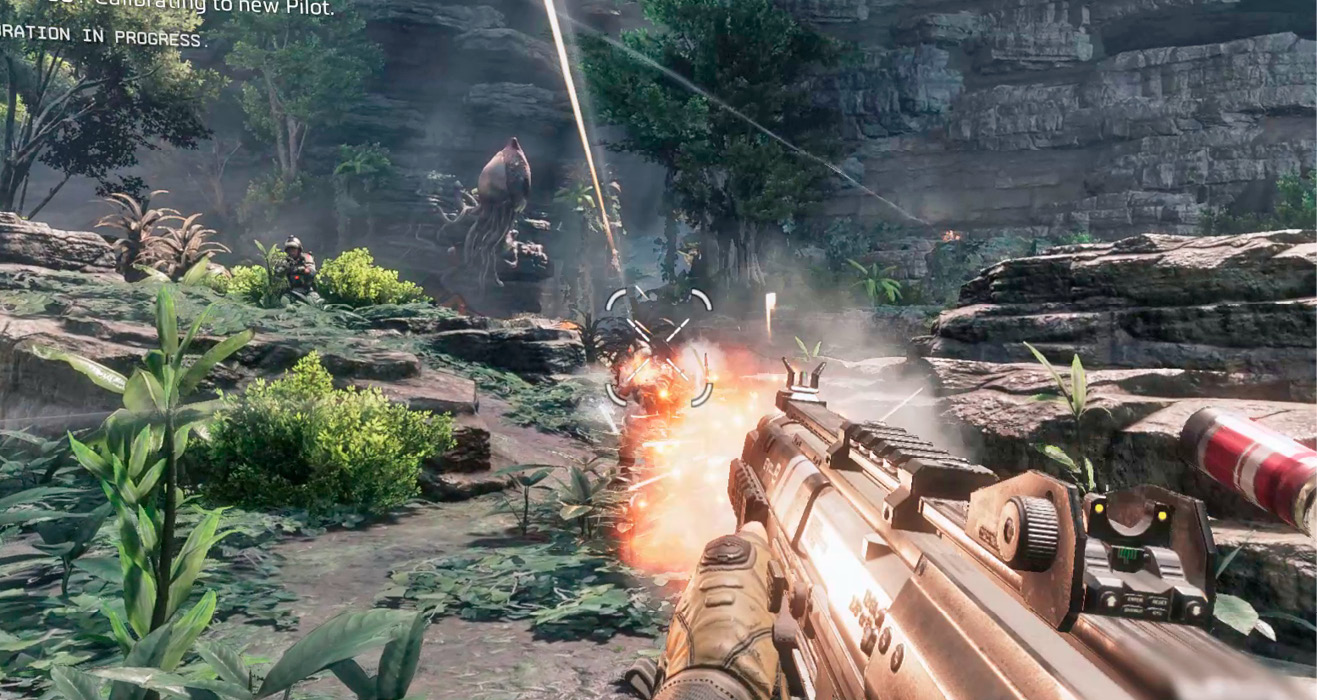
The clearing ahead is patrolled by multiple IMC grunts. Now’s a great time to activate your Cloak ability. Cloak renders you invisible for a few seconds, making it great for staging ambushes or quick escapes. Using Cloak and your arsenal of weapons, sneak around the clearing and take out one IMC grunt after another. Cloak has a cooldown, so you can’t use it repeatedly. When Cloak isn’t available, use the various rocks for cover and concealment. When possible, try to sneak up behind enemies to perform melee takedowns. Watch for more grunts firing from the nearby Cliffside, The Hemlok is ideal for taking down these distant threats. If you’re having trouble spotting these grunts, look for muzzle flashes or follow the vapor trails of passing bullets back to the shooters.
Once incoming fire has ceased, locate a zipline and ride it to the path on the other side of the canyon. Pilots can ride ziplines in any direction, so keep your eyes peeled for these handy transportation options. On the adjoining path you’ll find a weapon box containing an R-201 Carbine and a DMR. Swap out your chosen long-range weapon for the DMR. This high-powered semi-auto assault rifle has a magnified optic, ideal for precise long-range shooting. Peer down into the crevasse below and look for more IMC grunts standing near another weapon box. Pick them off from a distance using the DMR. Soon after you approach the second weapon box, the Jump Kit’s double jump ability will come online, allowing for more dynamic movement.
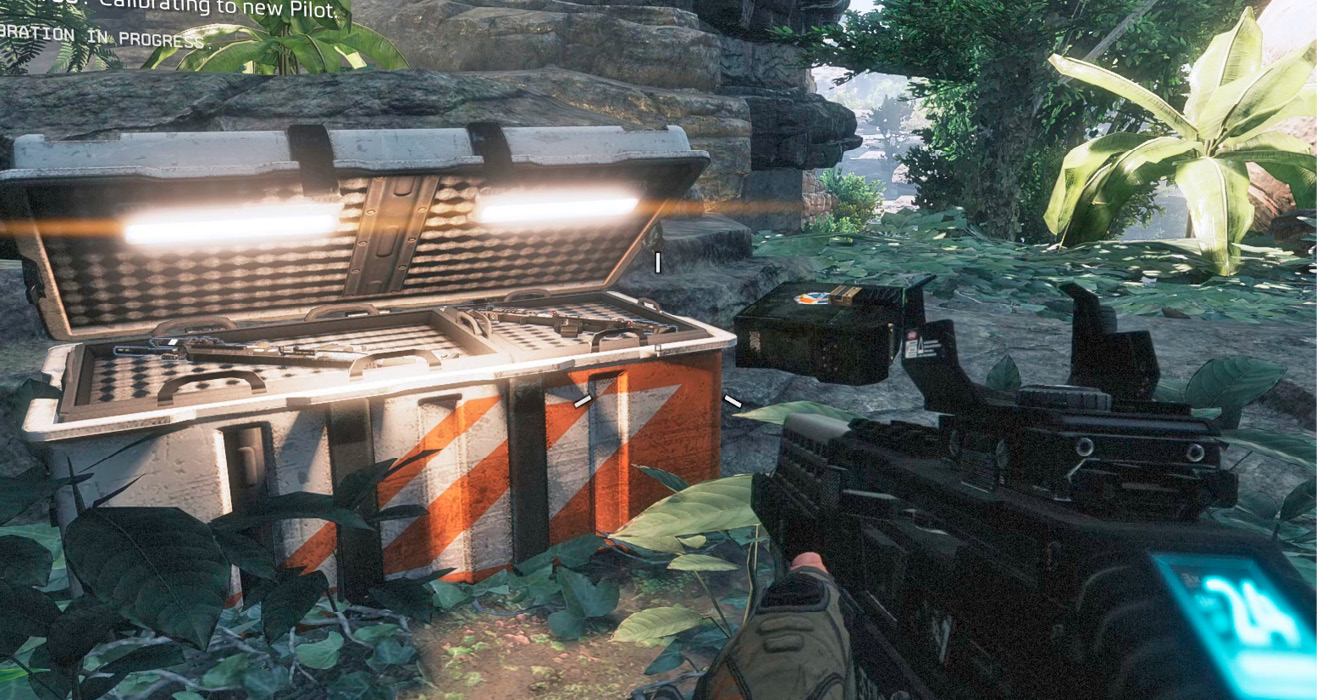
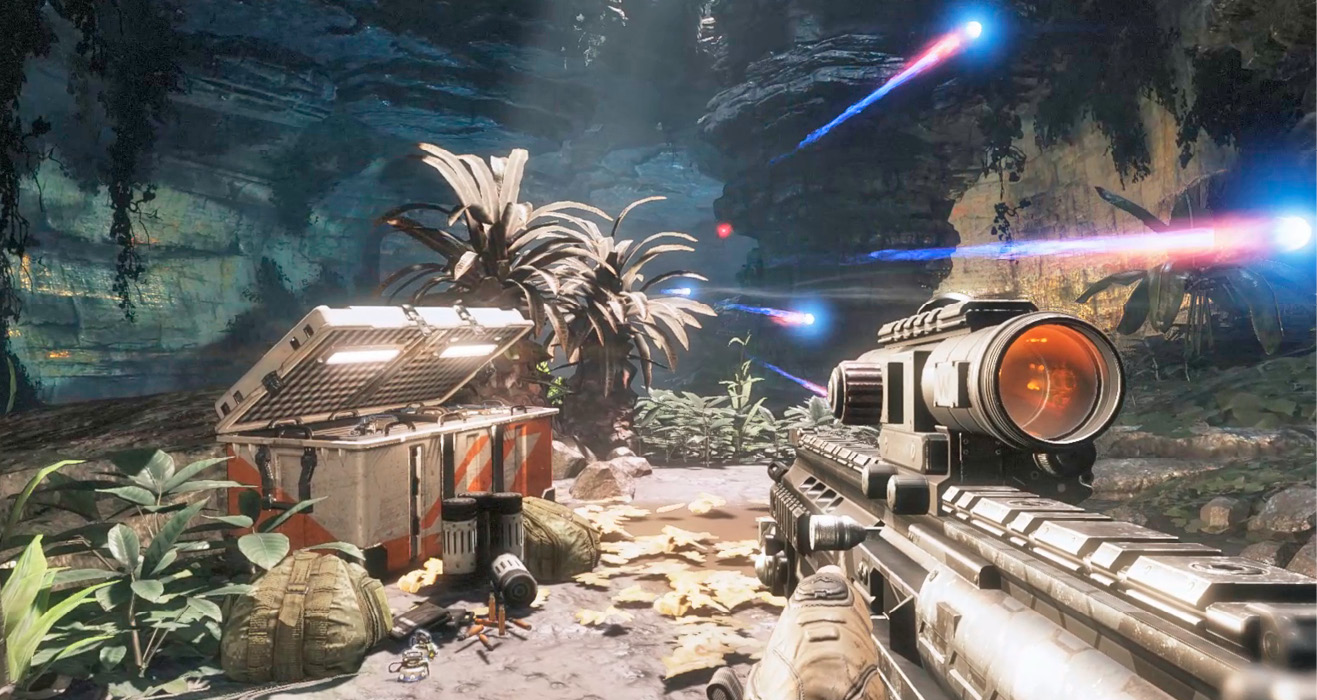
Another weapon box sits beside the path ahead. If you didn’t pick up a DMR earlier, grab one from this box. As you approach the box you come under attack by a few IMC drones. These aerial threats fire plasma bolts in your direction. They’re not terribly accurate, but they can become a serious nuisance when attacking in numbers. Take aim and shoot them down—it only takes one shot with the DMR. Once all the drones have been eliminated, wallrun along the wall to the right to continue your journey.
Lagoon
An unusual engagement occurs on the plateau above a lagoon. Several IMC grunts have come under attack by a few prowlers. Keep your distance, then pick off the survivors with your DMR. There’s another weapon box next to the dead grunts and prowlers, but take care during your advance. There are some Spectres and drones nearby.
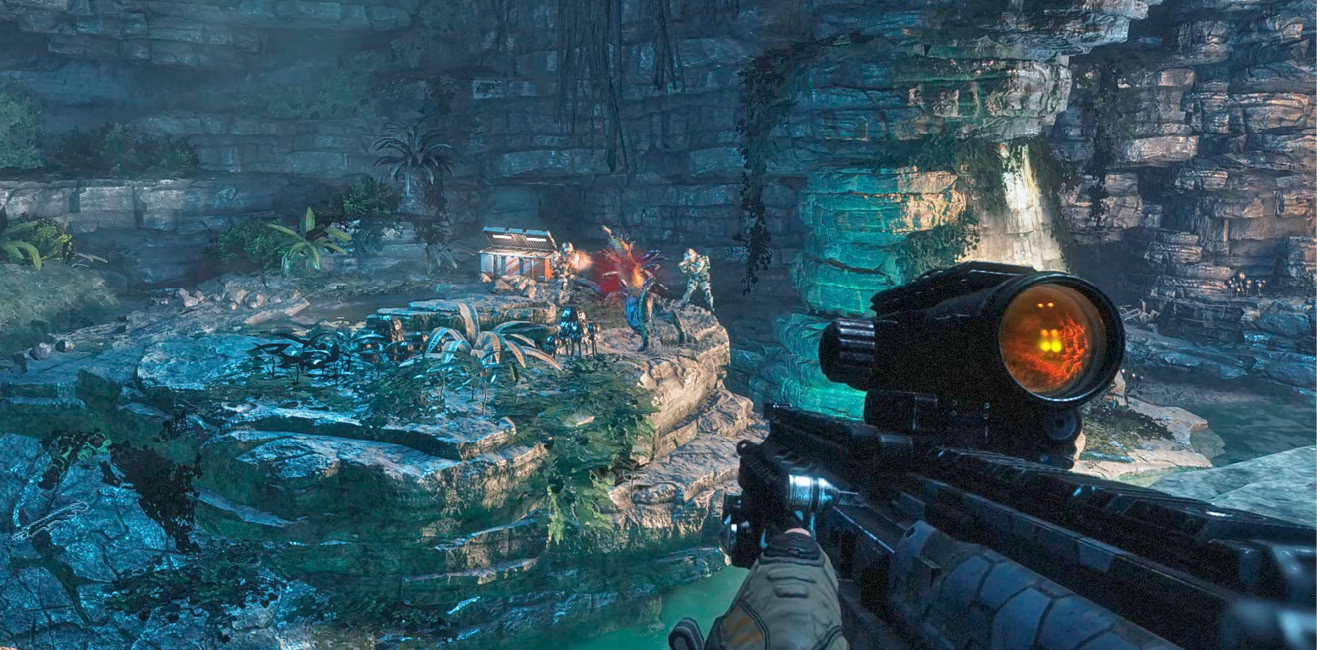
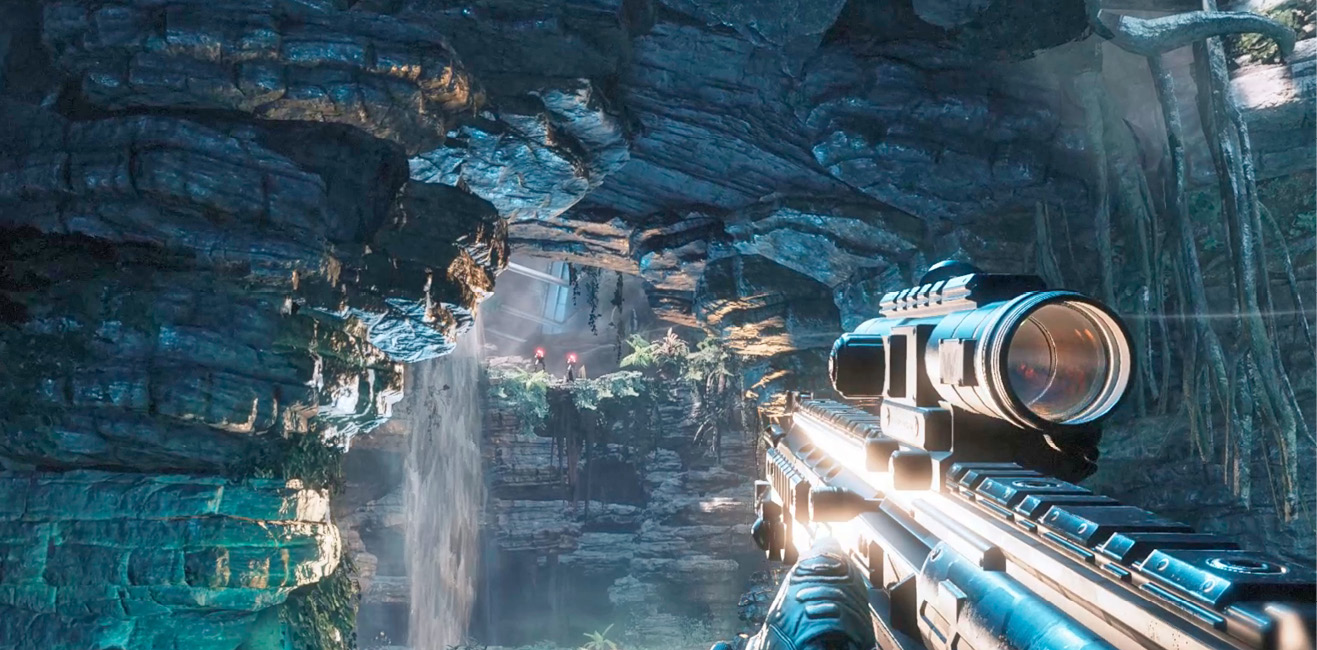
Take up a position near the weapon box and open fire on the distant Spectres and drones. At this range, the DMR is your best option. Take aim at the red glowing “eye” on each Spectre. One critical hit to the head is all it takes to take down each Spectre with the DMR. Hold this position and keep dropping Spectres. However, watch for Spectres dropping down into the lagoon and advancing on your position. Deal with these threats before they get too close. Consider switching to an automatic weapon or shotgun when confronting Spectres at close range. Of course, there’s always the Data Knife…
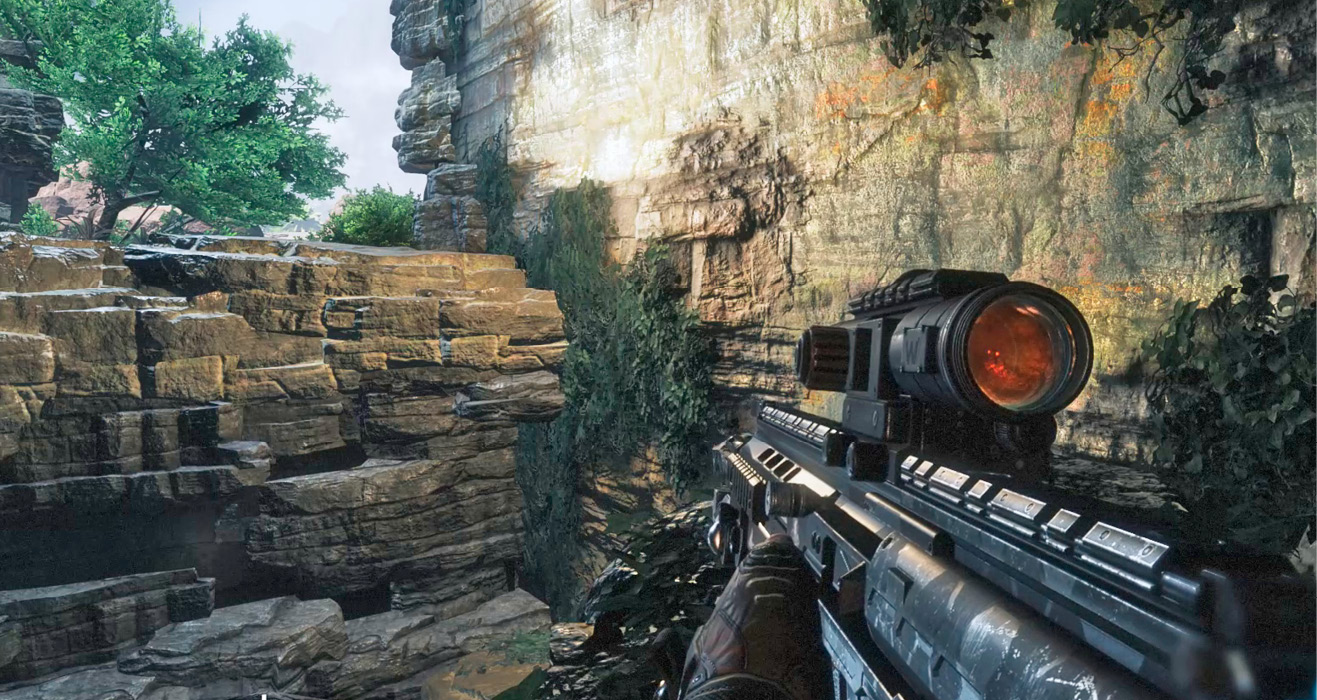
Eliminate all of the Spectres in the lagoon, then check your waypoint marker to stay on course. Stay to the right side of the lagoon, and perform a wallrun here to continue. In the area beyond the lagoon, perform a series of wallruns and jumps to proceed to the crash site. When necessary, use the ghost runner to help navigate the terrain.
Crash Site
As you near the wreckage of the MCS James MacAllan, you come under attack by more IMC drones. Sidestep their plasma bolts while returning fire with the DMR. To get inside the ship’s hull, you must perform another wallrun, running along the rock wall on the left. Then jump toward the bulkhead on the right before leaping into the ship.
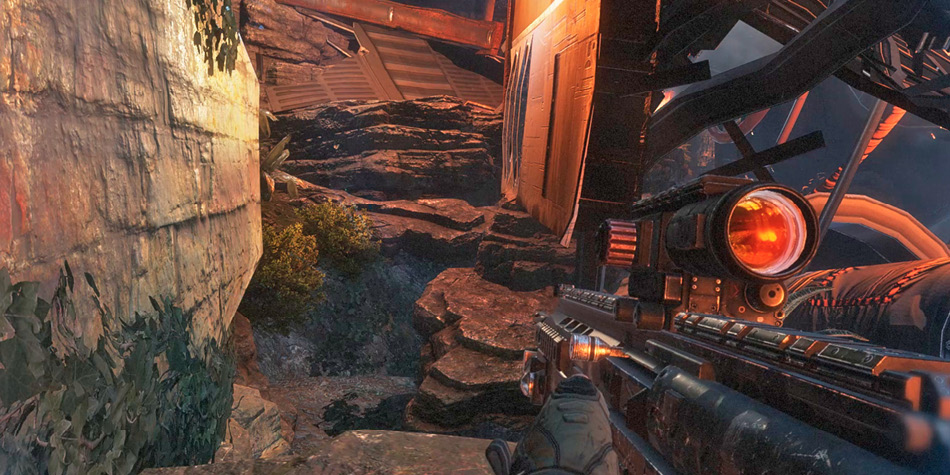
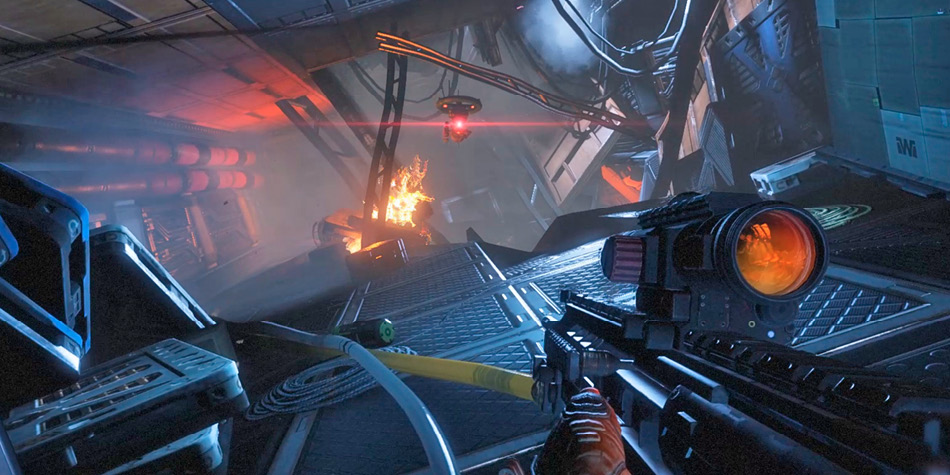
Once inside, you must ascend through various decks of the doomed capital ship. Jump across rocks and crates while looking for ramps and other features that lead up. Along the way, watch out for more IMC drones. Take them down before they can open fire as there isn’t much room to maneuver in this cramped space.
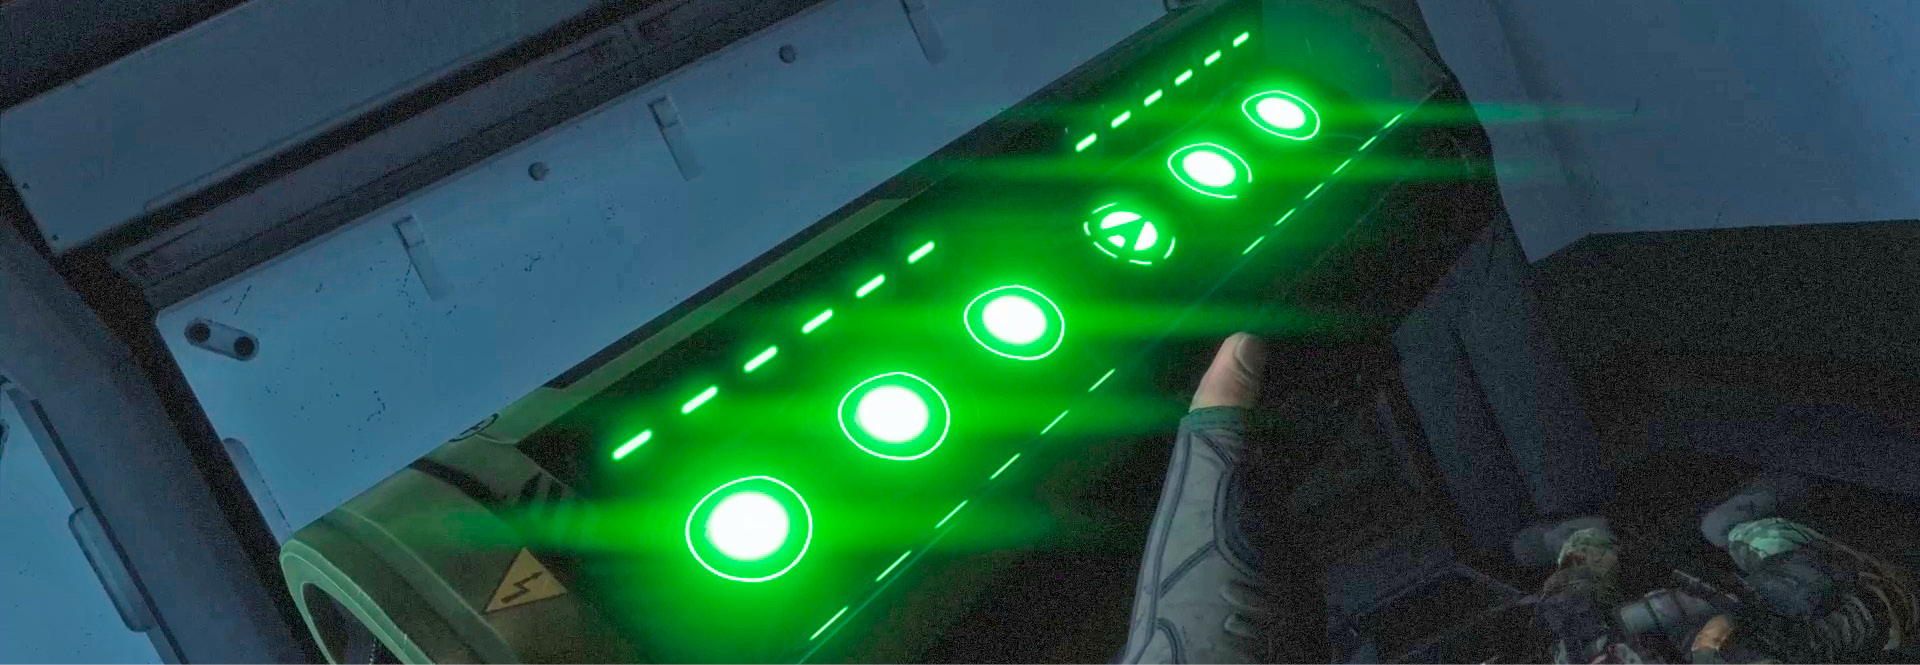
Crouch beneath a jumble of crates to reach the room containing the Titan battery. Interact with the battery to add it to your inventory. Now you need to get this back to BT. Follow the nearby path out to a cavern and be ready to fight off a prowler as you exit the ship.
After performing a simple wallrun near the crash site, proceed to this ledge overlooking a river. Here, you must wallrun along the rocky wall to the right. But start this wallrun with a double jump, giving you more altitude. As you near the end of the wallrun, jump toward the bank to the left of the waterfall. As you descend off the wall, jump again to secure a safe landing. BT-7274 is just ahead—and he’s not alone.
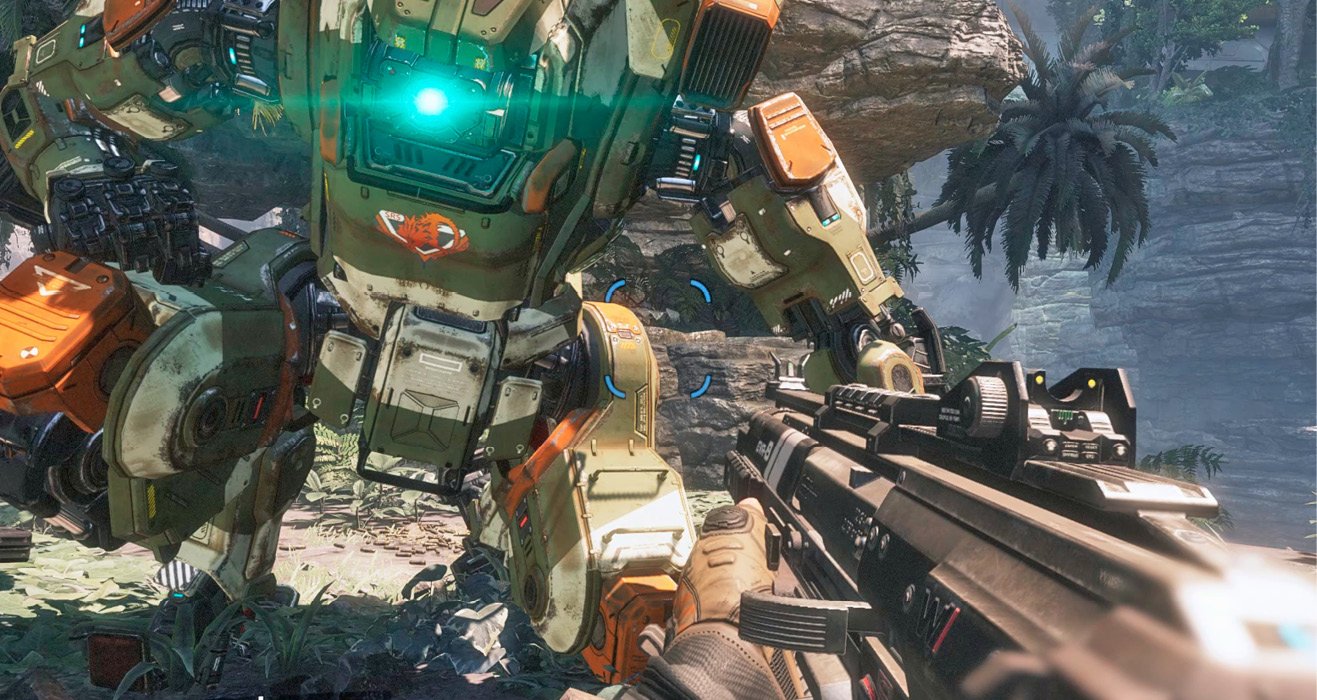
A trio of IMC grunts have gathered around BT-7274. Using Cloak, sneak up from behind and dispatch them at close range with your weapon of choice. When the area is secure, install the battery into BT, inserting it into the port just beneath his left arm. BT now has two batteries installed, but he needs one more before he will be fully functional. BT has located a battery in another section of the MCS James MacAllan’s wreckage. A new waypoint has been added. BT can now assist you over your helmet’s radio.
Follow the nearby stream to a ramp-like piece of debris. Use the ramp as a launching point for a double jump. From the adjoining path, perform a wallrun along the wall on the right, then double jump toward the rocky path to the left. Continue using wallruns and double jumps to traverse the challenging terrain ahead. If you’re unsure how to proceed, rely on the ghost runner to show you the way. Be ready to dispatch a few more IMC grunts and drones along the way.
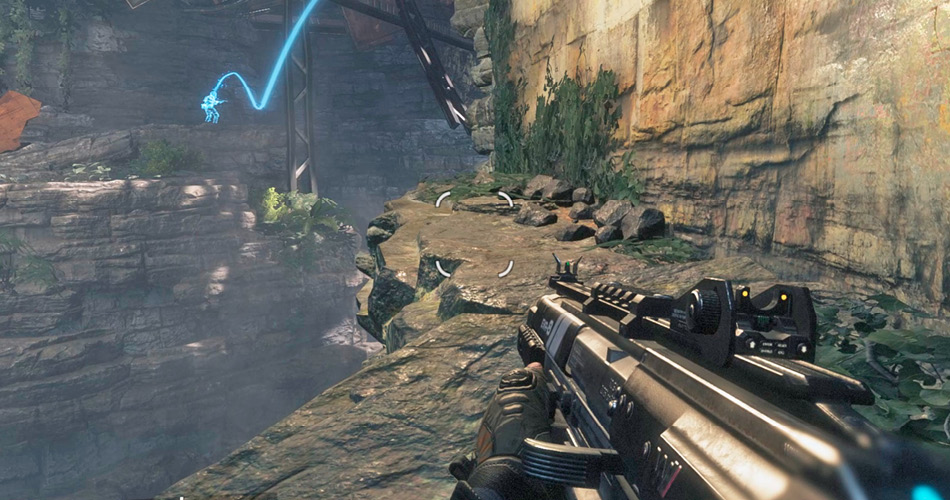
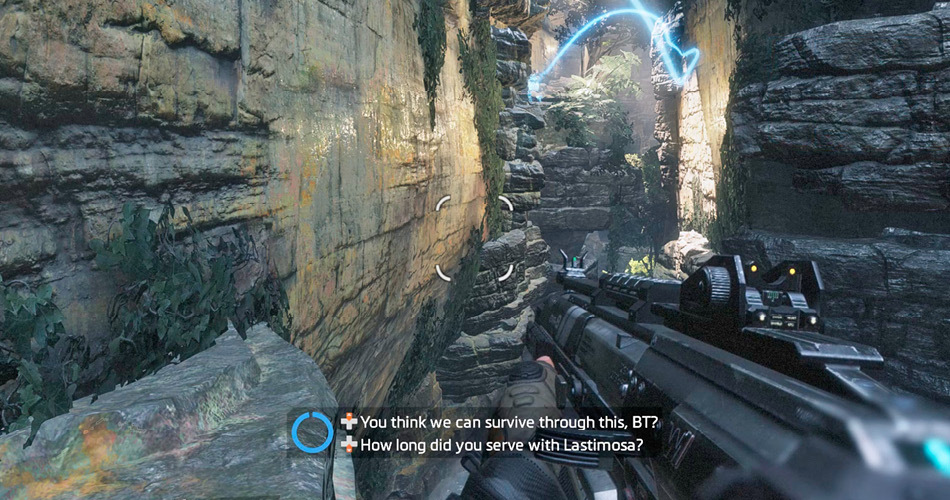
IMC Outpost
Try to remain quiet and undetected when you spot a grunt standing next to a weapon box. A well defended IMC outpost is located nearby. Activate Cloak and dispatch the lone grunt with a melee takedown. If you don’t already have a DMR, grab one from the ground next to the weapon box.
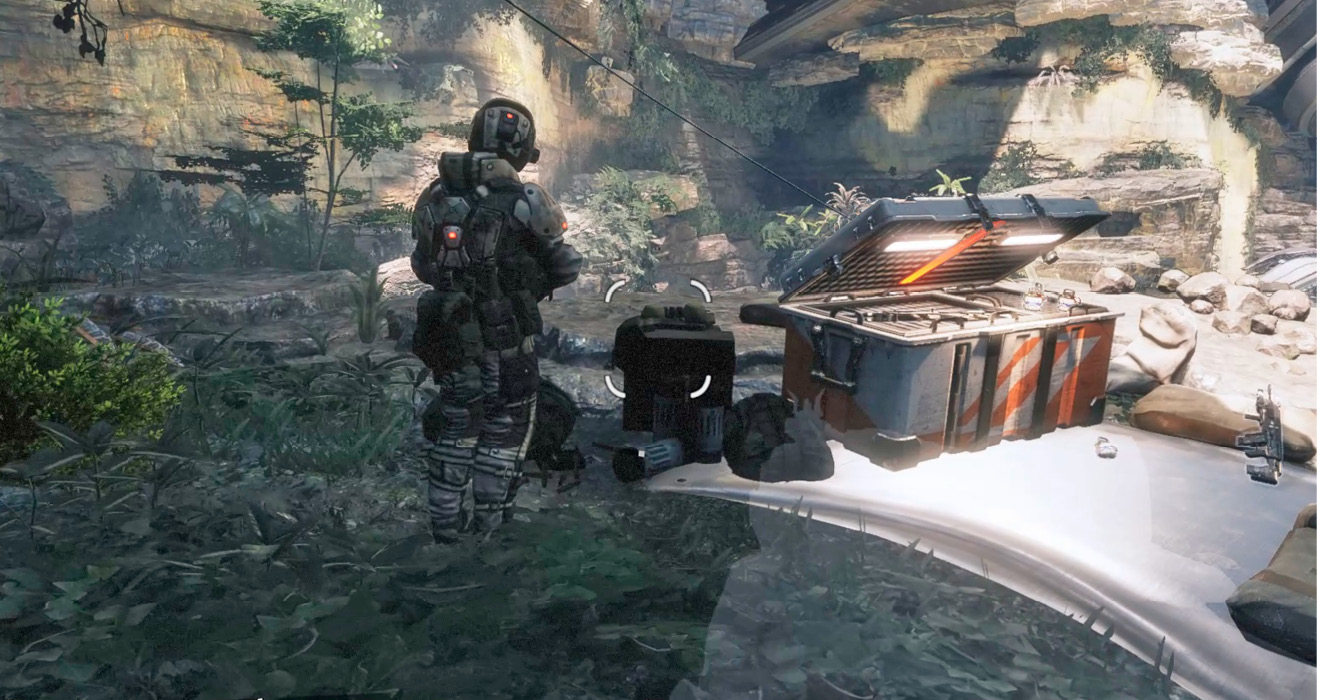
Take up a position near the weapon box and look for patrolling IMC grunts near the outpost below. This elevated position is perfect for launching your attack. Set your sights on one of the patrolling grunts and open fire. Taking the enemy by surprise works to your advantage for a little while, but watch out for drones.
These drones are equipped with high-powered lasers. They’re much more accurate and lethal than the plasma-based drones you encountered earlier. As you start drawing fire (and incoming grenades) activate Cloak and drop down toward the outpost. You can even use the nearby zipline to make a quick advance.
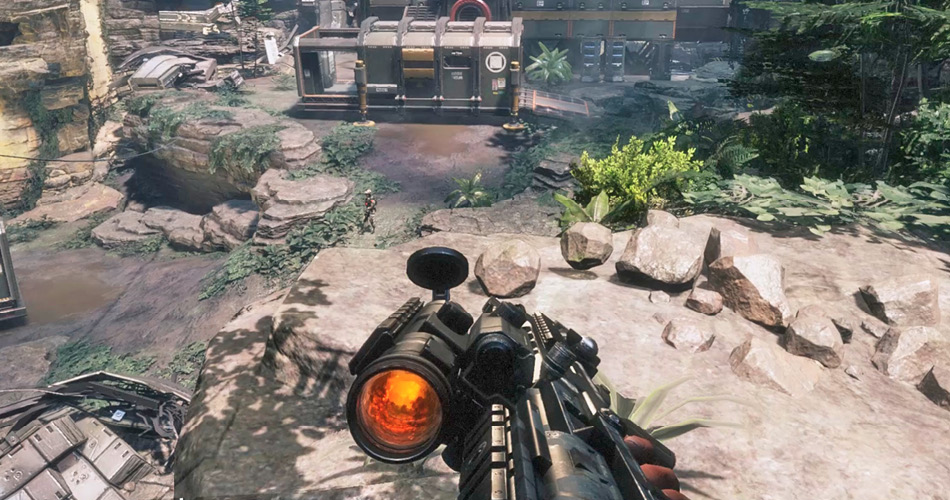
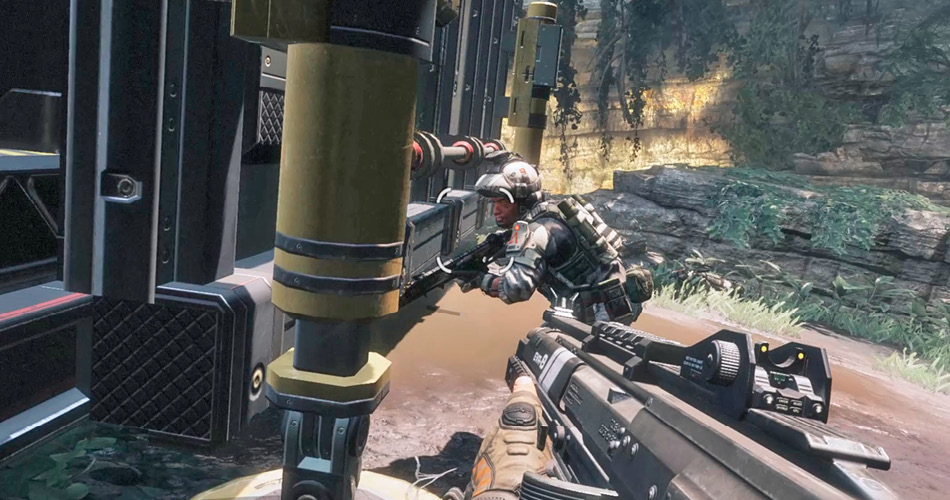
The structures of the outpost provide excellent cover and concealment. Using Cloak, stalk the surviving IMC grunts, taking them down one by one. As long as you keep moving they’ll have a tough time zeroing in on your position. If you come under heavy attack, immediately activate Cloak and escape behind cover.
Second Crash Site
After fighting your way past the IMC outpost, gain entry into the MCS James MacAllan. You haven’t visited this part of the ship yet. Apparently the hull of the ship broke into several pieces during its descent through Typhon’s atmosphere. Start by double jumping upward through a small square hatch. As you advance through the twisted wreckage, look for shafts of light to stay on course.
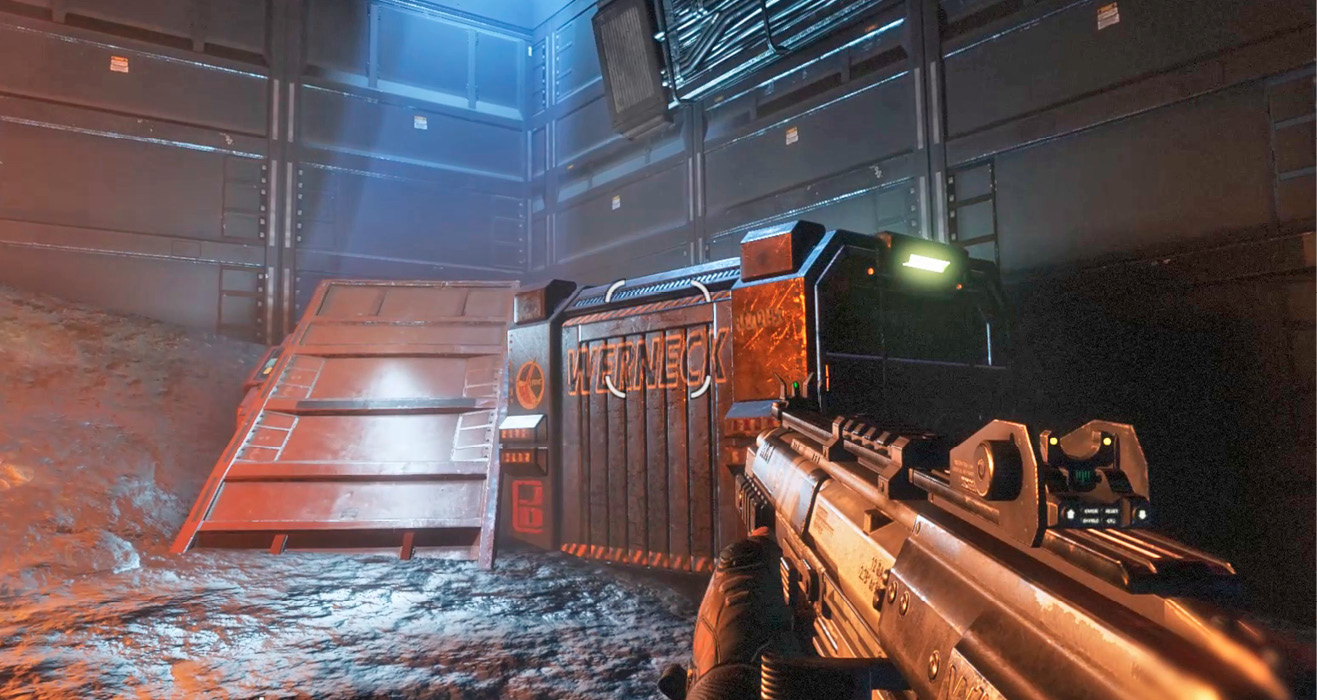
The battery you’re looking for is located in this room, protruding from a socket in the wall. Jump over the gap in the middle of the room, then pull the battery free. Once you have the battery, drop through the opening in the floor to exit the ship.
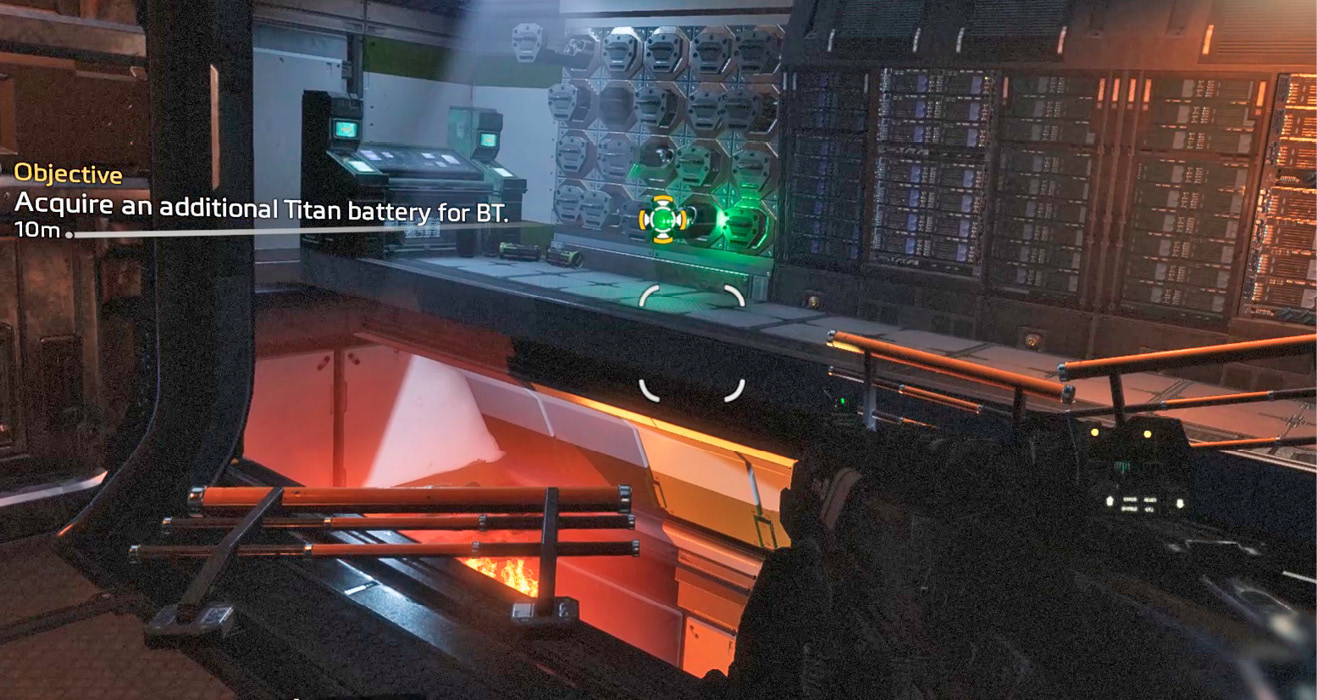
Perform a few more wallruns to make your way back to BT. When you arrive, several Spectres have closed in on BT’s position. Before installing the battery, finish off the Spectres. Use Cloak to get the jump on them, blasting them at close range or hacking them with your Data Knife. Once all the Spectres have been eliminated, return to BT and insert the last battery.
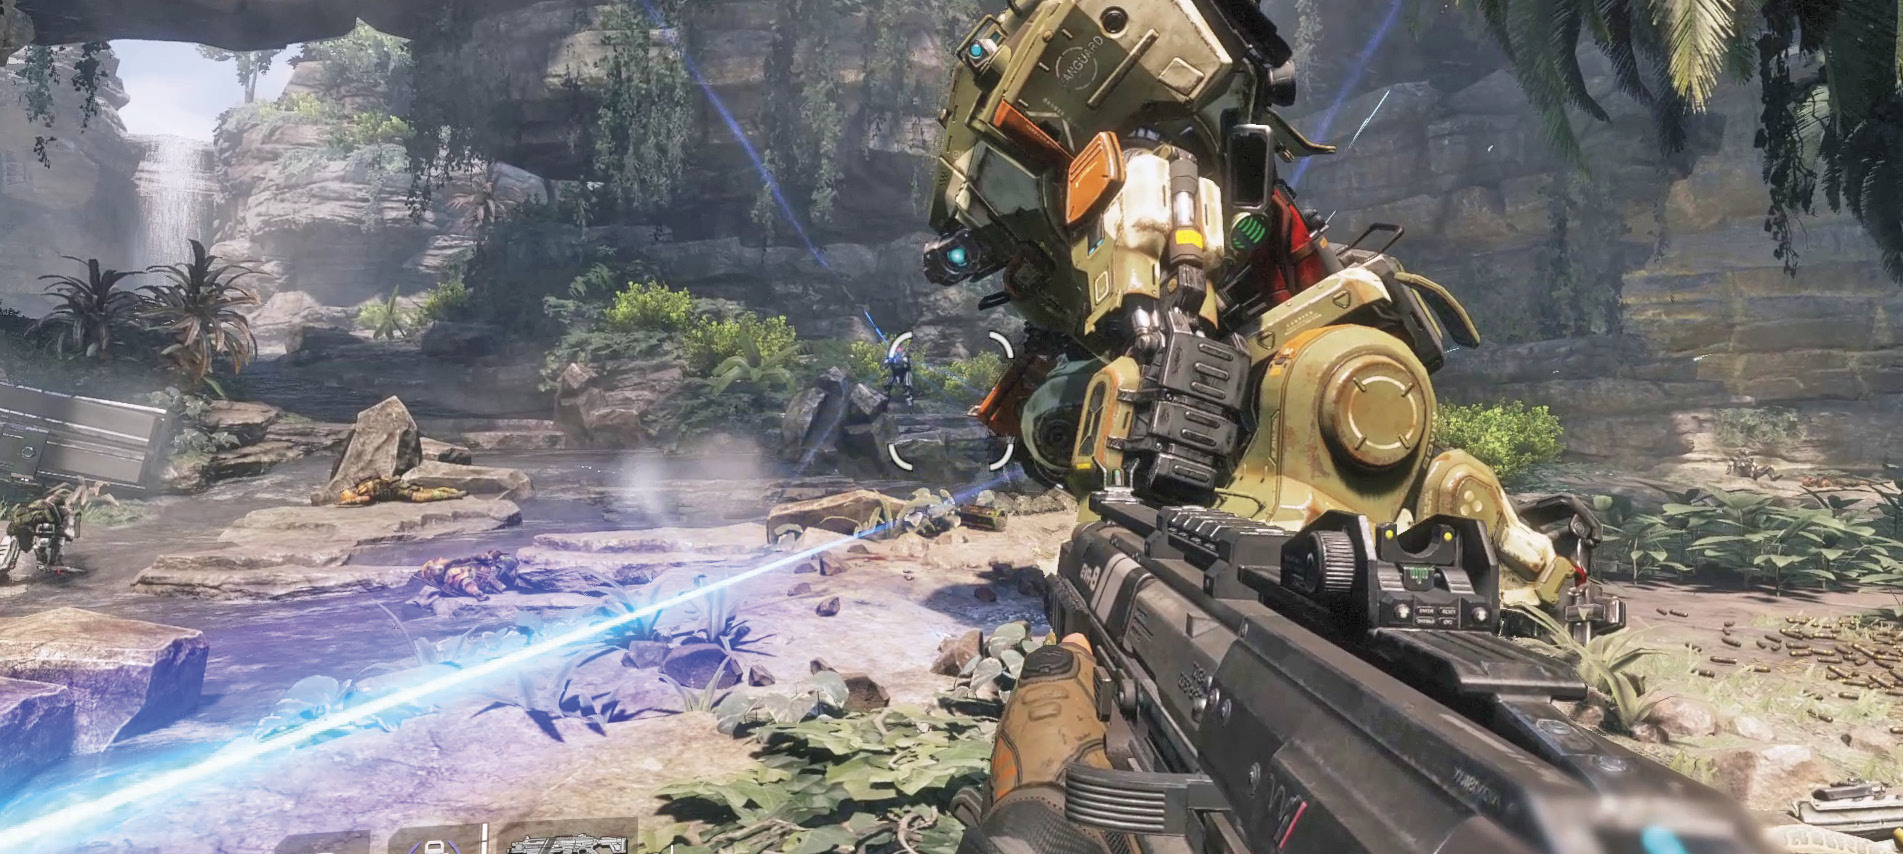
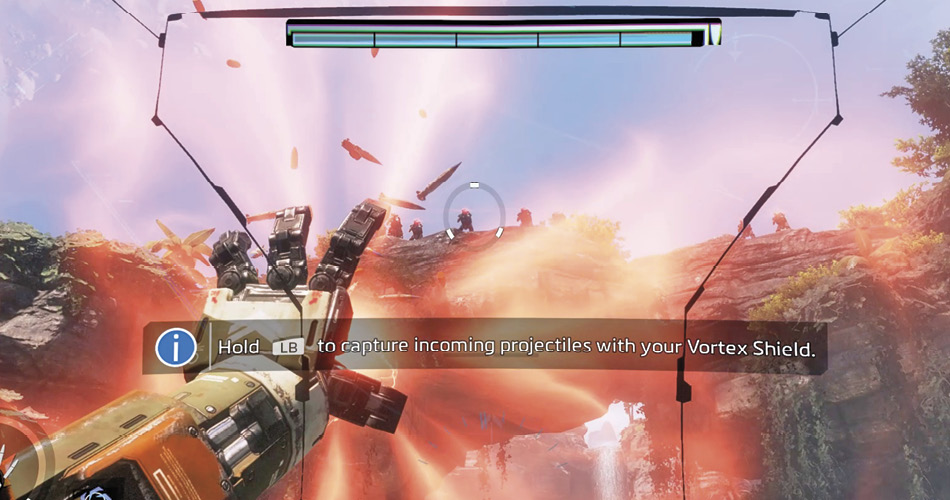
Now that BT is fully recharged, you must establish a neural link with him. Interact with BT to embark. You are now confirmed as acting Pilot of BT-7274. Your orders are to uphold Captain Lastimosa’s mission, rendezvousing with Major Anderson. But before you get underway, you must deal with several threats that have converged on this location. Start by using BT’s Vortex Shield to dispatch several Spectres on the ridge above. The Vortex Shield catches incoming projectiles and launches them in a direction of the Pilot’s choosing. Catch the bullets fired by the Spectres and send them back.
|
 Pilot Helmet 2/2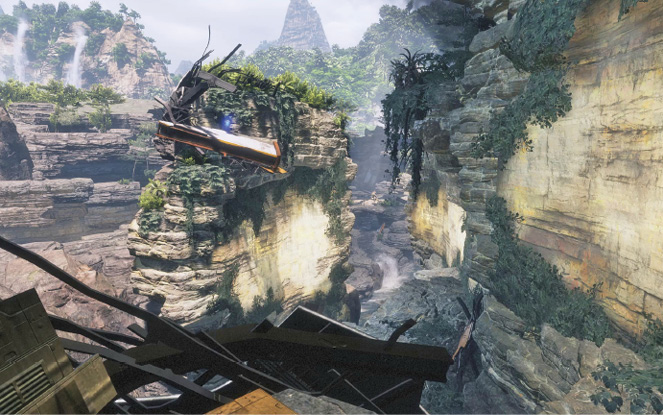
BT-7274 (Loadout: Expedition)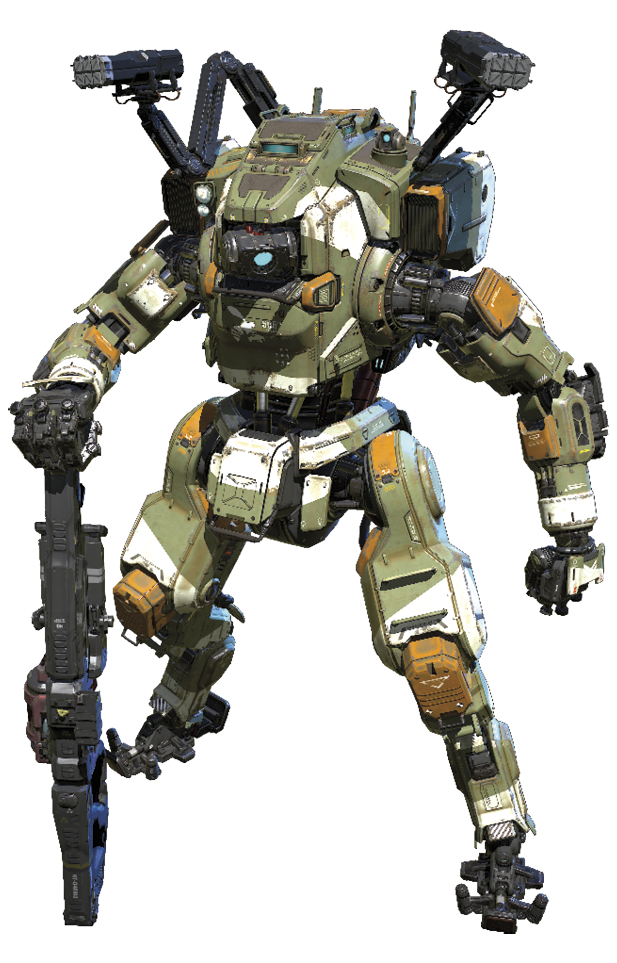 The Expedition is BT’s default loadout—and it’s a well-balanced one. The X0-16 is an extremely versatile primary weapon, capable of rapid fire, ideal for tearing up infantry, as well as enemy Titans. Add Burst Core to the mix to increase the loadout’s already impressive damage output. While the Multi-Target Missile System is effective against Titans, it’s best deployed when you’re outnumbered by smaller units, perfect for instantly wiping out squads of infantry and Spectres. The Vortex Shield and Electric Smoke give the loadout some welcome defensive capability, as well.
|
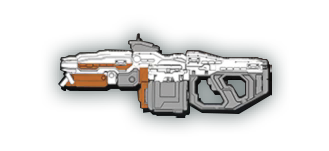




Next, use BT’s shoulder-mounted Rocket Pod to engage multiple targets simultaneously. By holding down the Rocket Pod’s button, targets are automatically acquired and locked on. The Rocket Pod can acquire up to twelve targets at a time. Release the Rocket Pod’s button to send a salvo of guided rockets at the targeted Spectres and drones. Any remaining enemies can be eliminated with BT’s X0-16.
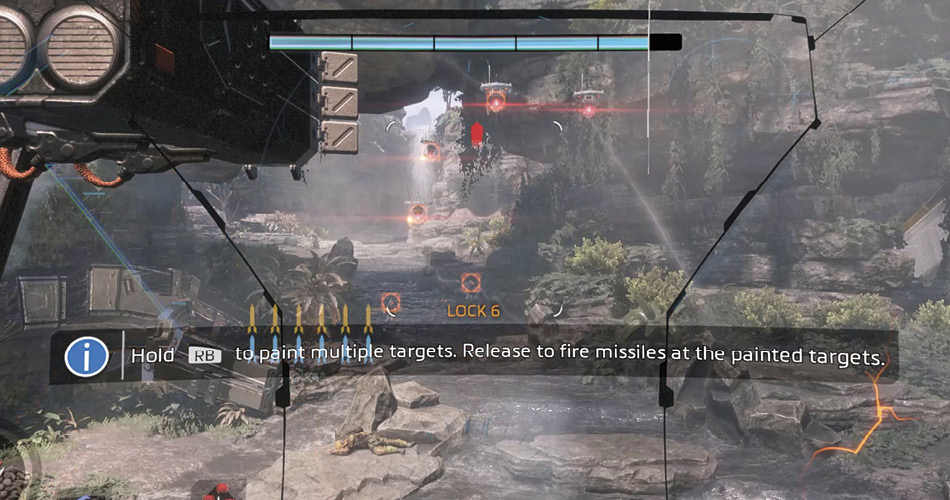
Titan Battle
Shortly after dispatching the enemy Spectres and drones, BT announces an incoming Titan. Stay clear of the Brute Titan as it falls from the sky. Don’t bother shooting at its orange Dome-Shield—you won’t inflict any damage. Instead, wait until the enemy Titan exits the Dome-Shield before opening fire. The Brute Titan is armed with Quad Rockets and a Vortex Shield. Use BT’s Dash ability to laterally dodge incoming rockets. Alternately, use the Vortex Shield to catch the incoming rockets before sending them back at the Brute.
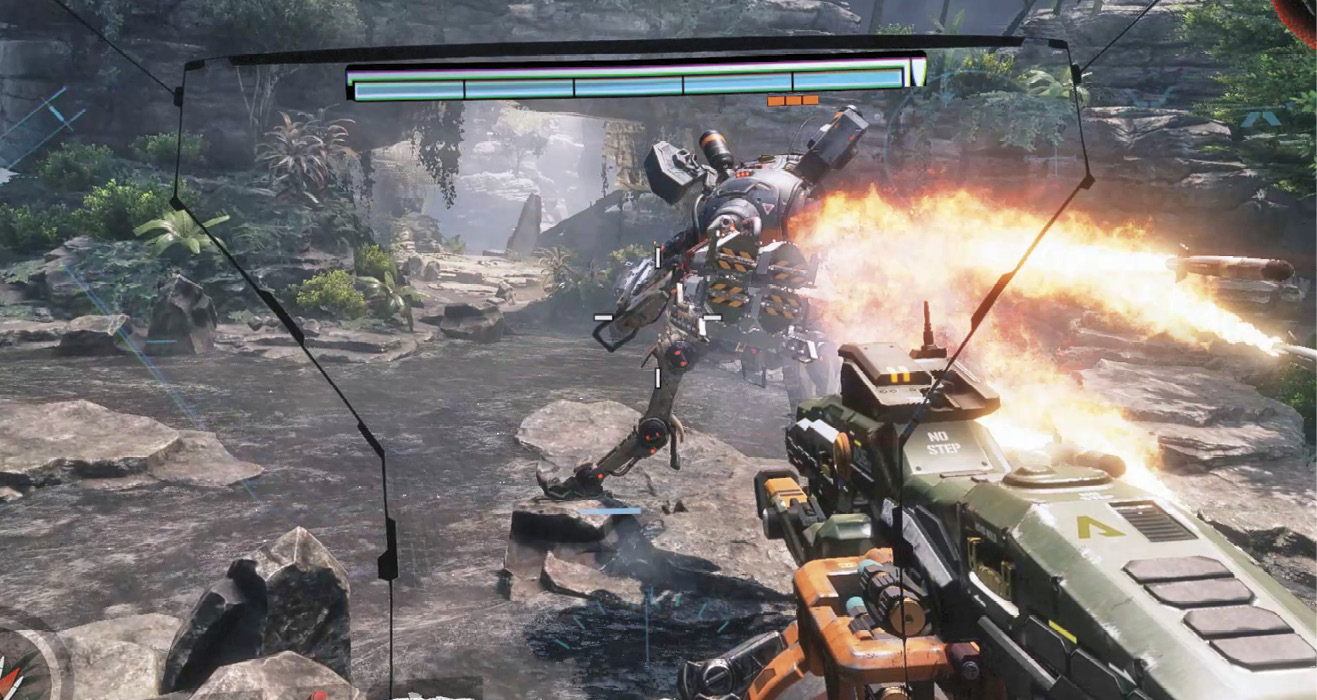
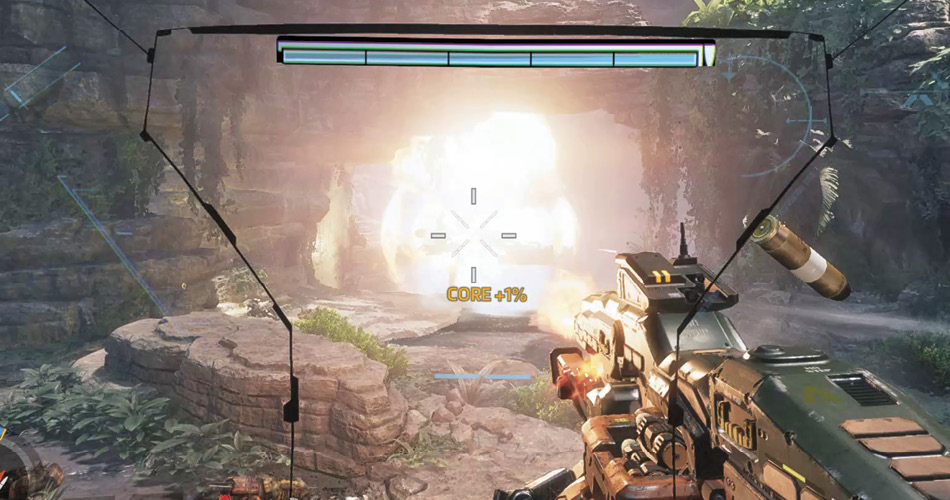
Standard enemy Titans, like the Brute, aren’t equipped with shielding. However, they are protected by thick armor, indicated by the orange bars on the screen above the Titan. Each hit slowly chips away at the enemy Titan’s armor. Continue hitting the Brute with rockets, the X0-16, and Vortex volleys until its armor is depleted, causing it to explode in an impressive ball of flame. BT has detected more IMC salvage teams on the way. He recommends continuing the mission. If you hope to survive this ordeal, you must rendezvous with Major Anderson. Follow the waypoint on the HUD to continue your adventure.
Achievement and Trophy Checklist
| Image | Name | Description |
|---|---|---|
 |
BT Prime | Fully Power BT 7274 (Secret) |
 |
Excessive Force | Destroy a Titan with your Burst Core in the Campaign |
 |
Coup de Grace | Destroy a Mercenary Titan with a melee execution in the Campaign |
 |
Apex Predator | Perform a melee takedown while cloaked in the Campaign |
 |
Power Slide | Shoot and kill 3 enemies in a row while sliding as a Pilot in the Campaign |
 |
I Know Kung Fu | Shoot and kill 3 enemies in a row while wallrunning as a Pilot in the Campaign |