Titanfall 2 Guide Single-Player Campaign The Fold Weapon
IMC Fold Weapon Facility
General Marder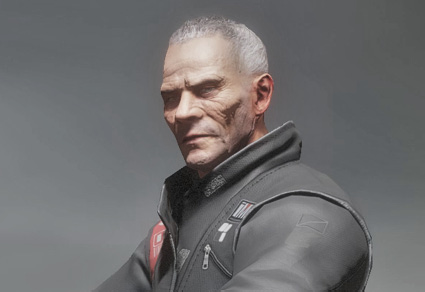
Faction: IMC ARES Division Role: Commanding officer of the IMC’s ARES Division. Age: 52 Skills: Marder has the ability to function seamlessly as both scientist and engineer. He is equally comfortable with theoretical research and the application of theory towards the development of practical, usable systems. History: Marder has long been fascinated with the myriad of artifacts and relics discovered on the Frontier, and their unique properties as discovered in IMC laboratories. As an alternative path to achieving major military technological breakthroughs, the IMC have authorized General Marder to conduct extensive archaeological surveys across the Frontier, in search of more powerful samples of the ancient relics and sites found on many Frontier worlds. Marder is a competent warrior (he does not believe in honorifics), capable of doing his own fighting, including the use of a Titan. But he prefers to focus on planning and executing much larger, strategic solutions to problems. Marder wields considerable influence within the IMC, and has little difficulty in obtaining the resources he needs to fund and supply ARES Division’s operations. General Marder sees the IMC’s war with the Militia as the main obstacle to humanity’s evolution on the Frontier. Employing mercenaries to minimize IMC losses, Marder uses his position as the leader of the IMC ARES Division, seeking “emergent technologies” to help the IMC “resolve” the Frontier War. “Through the lens of cold objectivity, it is irresponsible to say that all individuals on such worlds are actually indispensable.” — General Marder |
Interrogation
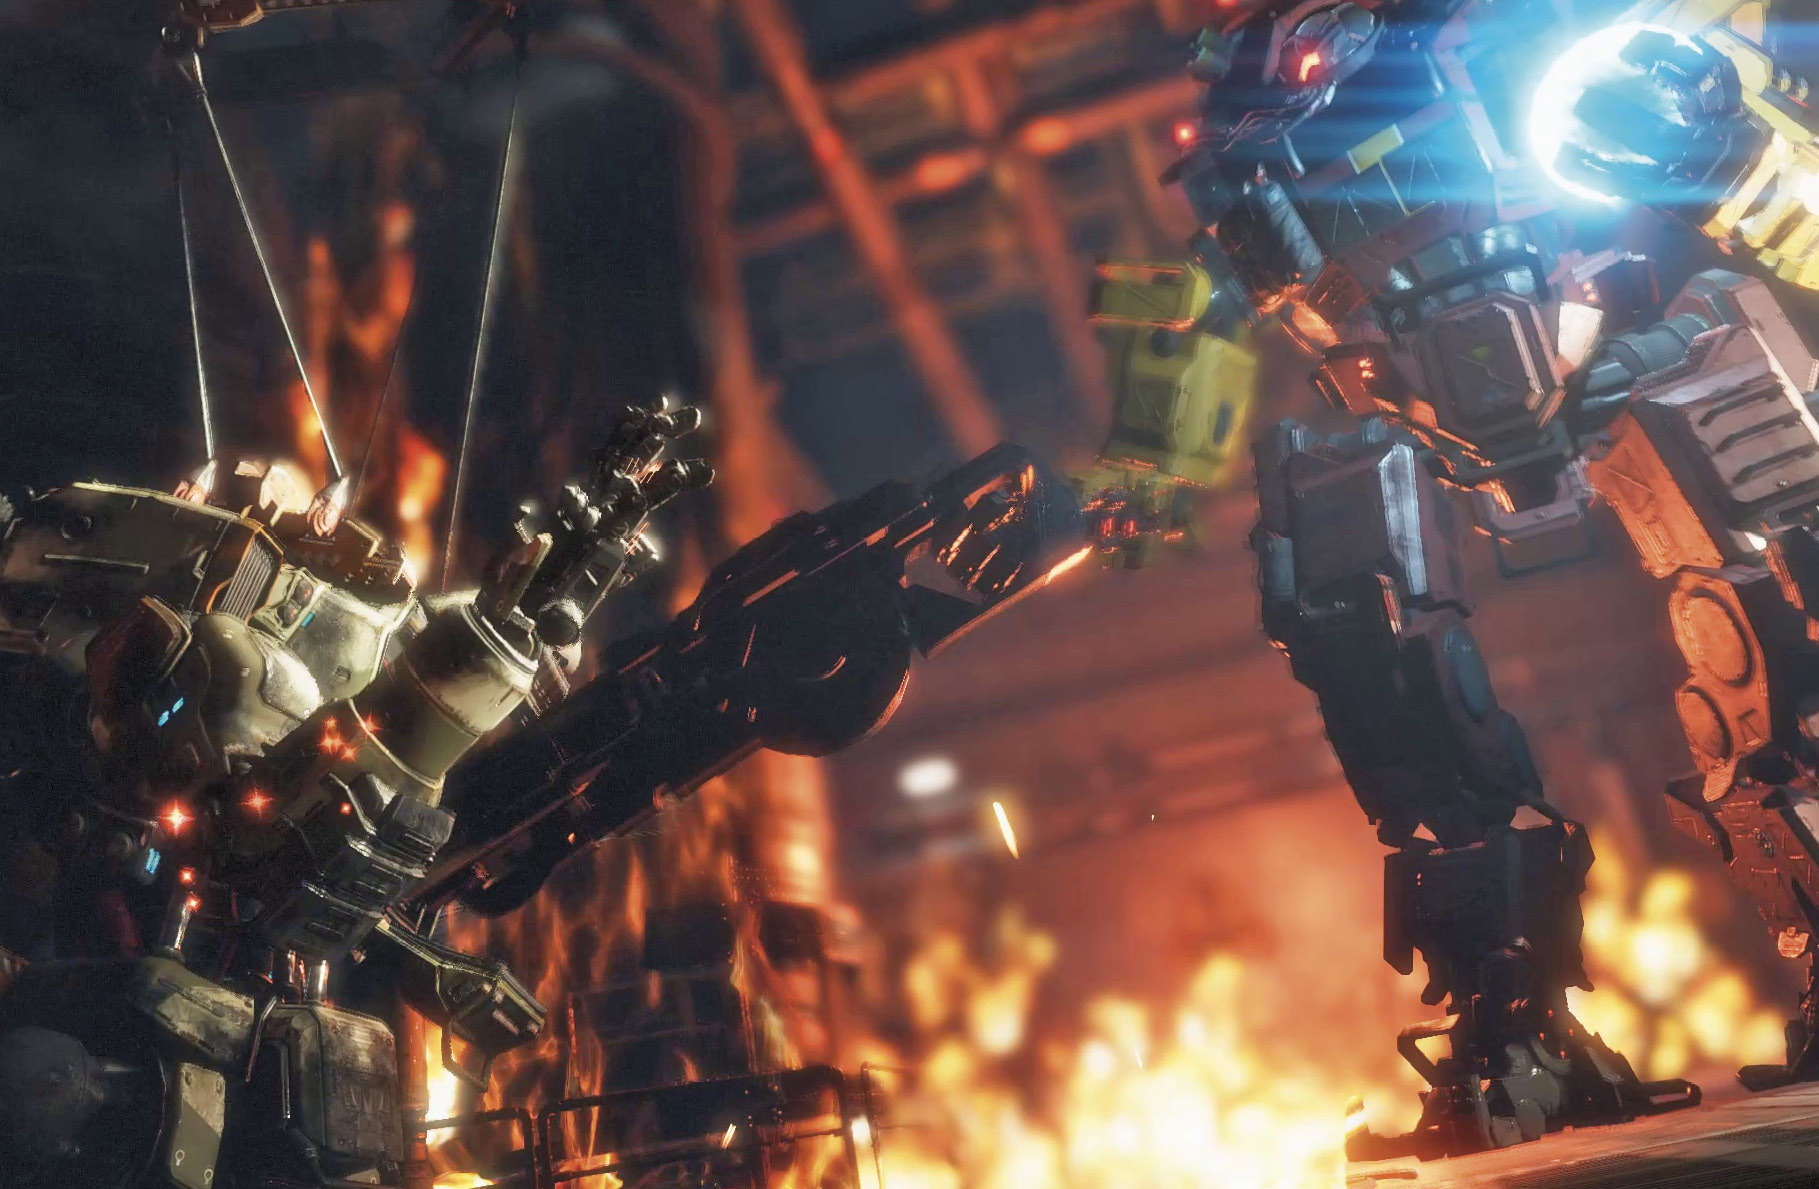
While you’ve managed to survive the crash of the Draconis, both you and BT have been captured by Blisk. BT’s torso is suspended by cables nearby; his legs were lost in the crash. As you regain consciousness, Blisk, accompanied by Slone, can be heard negotiating a deal with a holographic projection of General Marder, commanding officer of the IMC’s ARES Division. Marder won’t pay Blisk until the Ark is delivered.
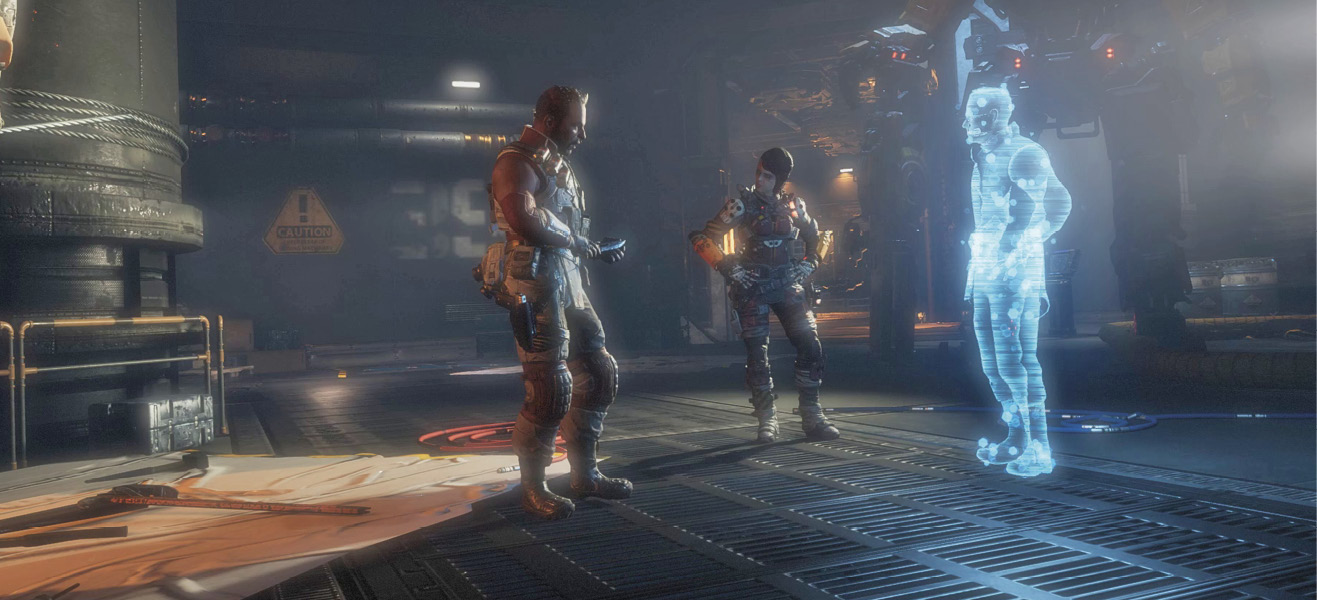
Following his conversation with the General, Blisk turns to BT and demands he open up, as the Ark is still housed within BT’s cockpit. When BT doesn’t comply, Blisk turns to you, threatening to shoot you if BT doesn’t give up the Ark. Recognizing your life is in danger, BT comes up with a plan. As Blisk aims a gun at your head and counts down, BT relays a simple message through your helmet’s display, “Cooper, Trust me.”
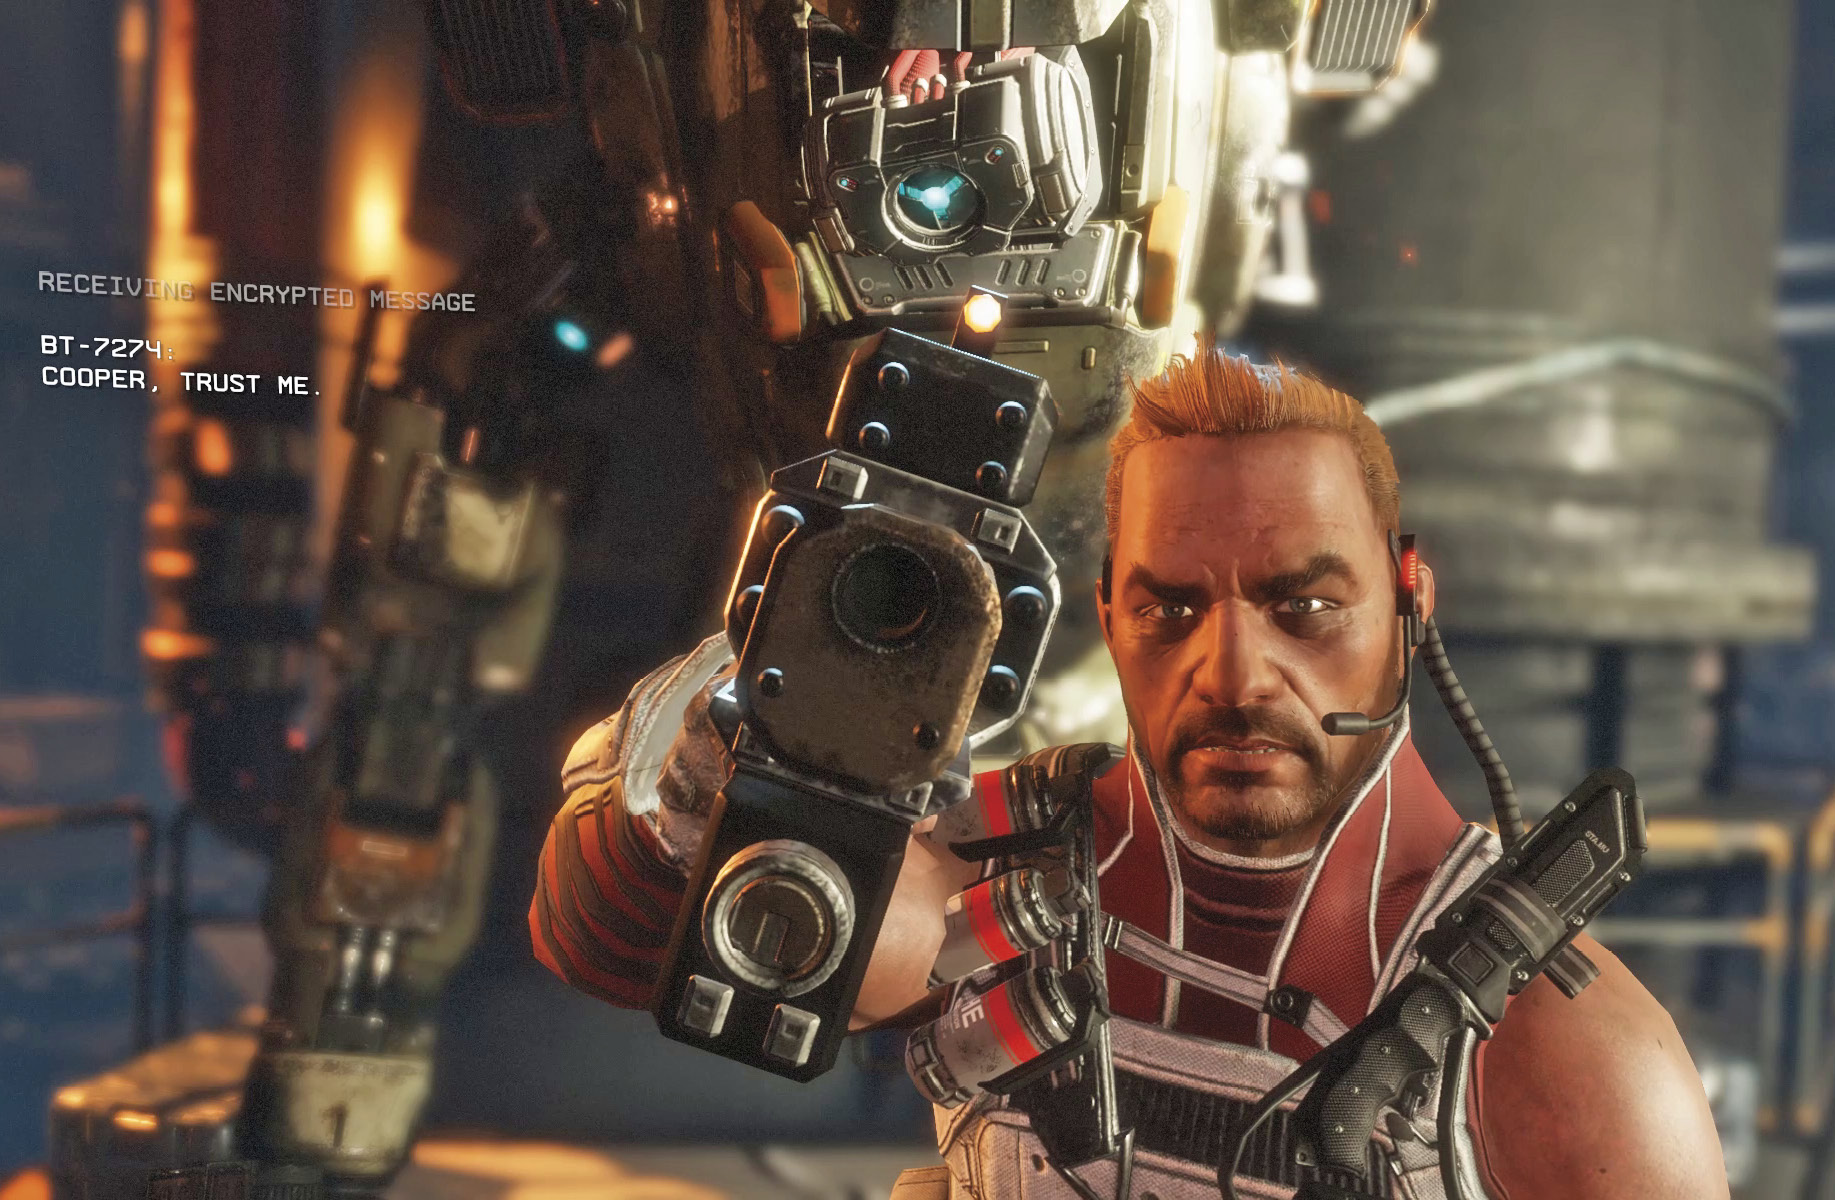
In an attempt to trick Blisk, BT opens his cockpit, revealing the Ark. But before Blisk can retrieve the Ark, BT swings at Blisk with his arm. Blisk ducks under the attack and retreats while BT opens fire with his remaining chassis-mounted weapons, killing some of Blisk’s men. Slone, protected within her Titan, responds to BT’s attack by snatching the Ark from his cockpit. She then thrusts her Titan’s Splitter Rifle into BT’s empty cockpit and fires off several rounds. BT’s chassis dangles lifelessly from the cables.
Escape
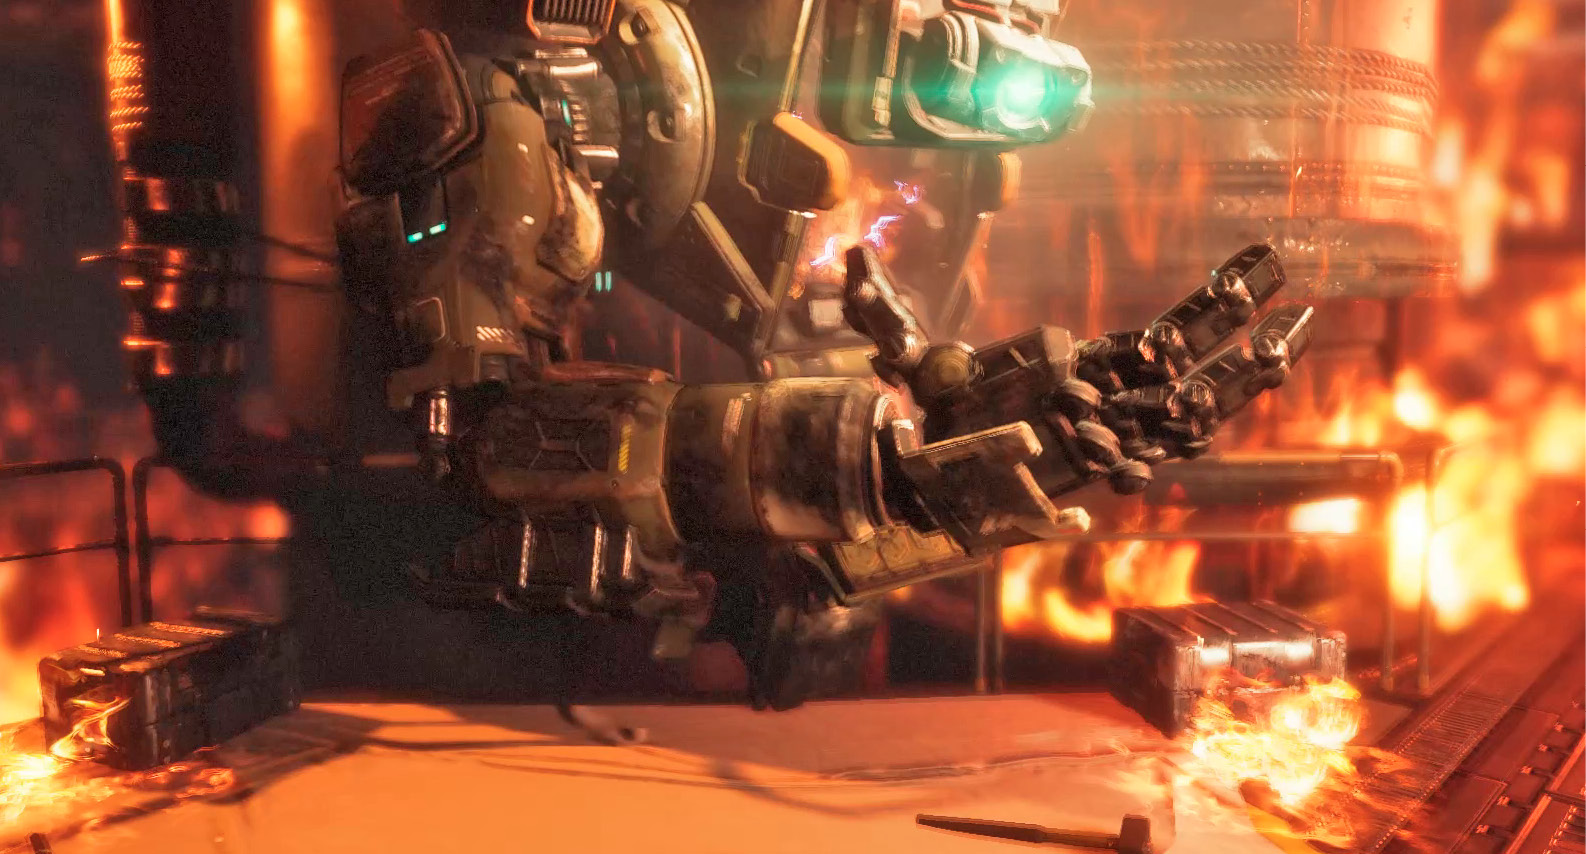
After Slone leaves, crawl over to BT. Despite sustaining incredible amounts of damage, BT is still functional—but just barely. He tells you to take the SERE Kit, as it offers you the best chance of survival. BT removes the kit, which contains his Datacore, and sets it down on the floor. Retrieve the kit and remove the Smart Pistol and Data Knife contained within. Cooper also removes BT’s Datacore from the kit. Using the Data Knife, hack the nearby console to open the door. As you exit, Commander Briggs can be heard over the radio. She’s trying to find you and BT. But you’re incapable of responding.
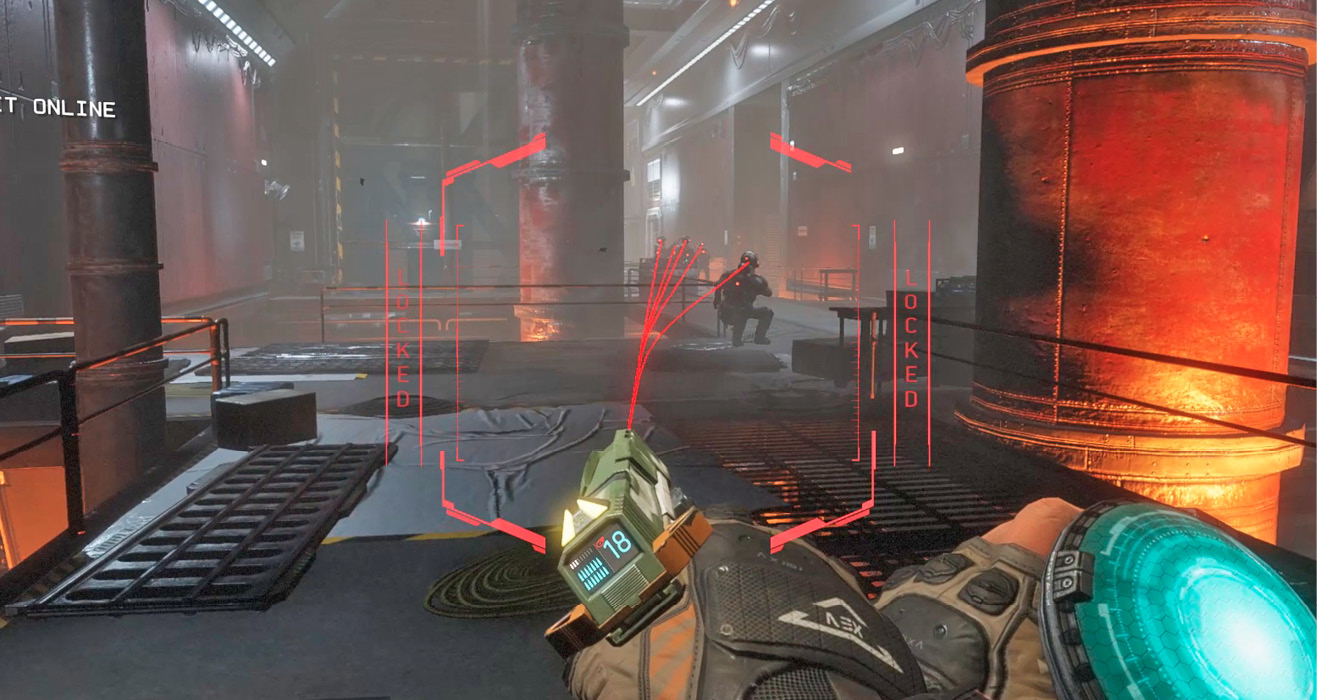
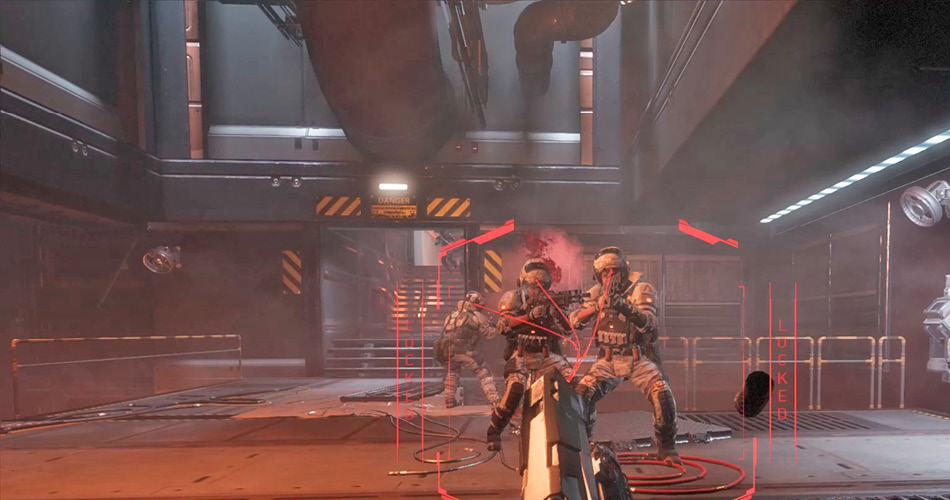
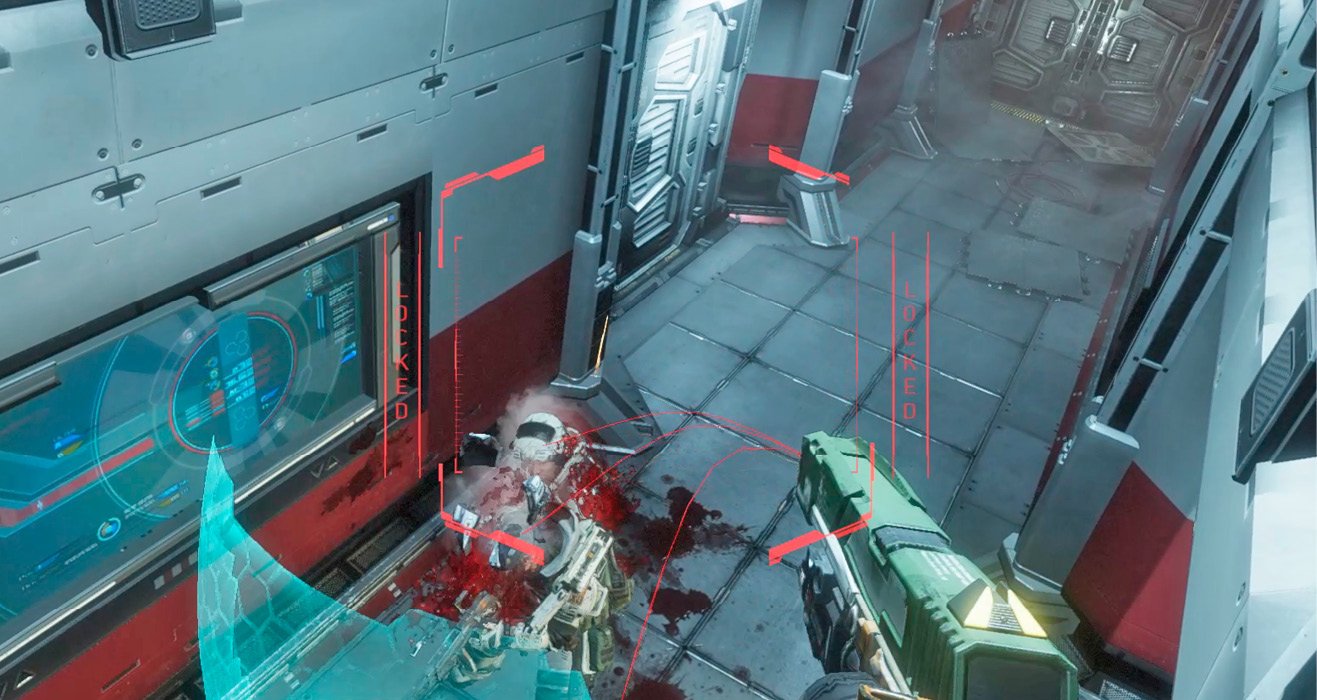
In the passage ahead, several IMC grunts run along a catwalk, unaware of your presence. Take aim with the Smart Pistol. This weapon automatically locks on to multiple targets. Keep the targets within the red brackets visible on the HUD; the red lines leading to each target indicate the path the bullets will take. When all the grunts have been locked, fire one shot from the Smart Pistol to instantly eliminate all the targets. Be ready to engage more grunts as you make your escape.
Briggs continually tries to contact you and BT as you proceed through the corridors ahead. The gap in this room is too large to negotiate with a simple jump. So run along the wall on the right, and then leap toward the elevated platform while engaging grunts with the Smart Pistol. This weapon is ideal for taking out threats while wallrunning and jumping, allowing you to advance without stopping.
As you slide through an opening at the end of the corridor, you emerge outside. The rotating rings of the Fold Weapon are visible just ahead. Follow the catwalk to the right and take out a pair of drones with the Smart Pistol. Sarah has been tracking BT’s Datacore and suspects you’re both still alive. She tells you to get to a bridge to the north. She reports the Militia fleet is moving in on the Fold Weapon.
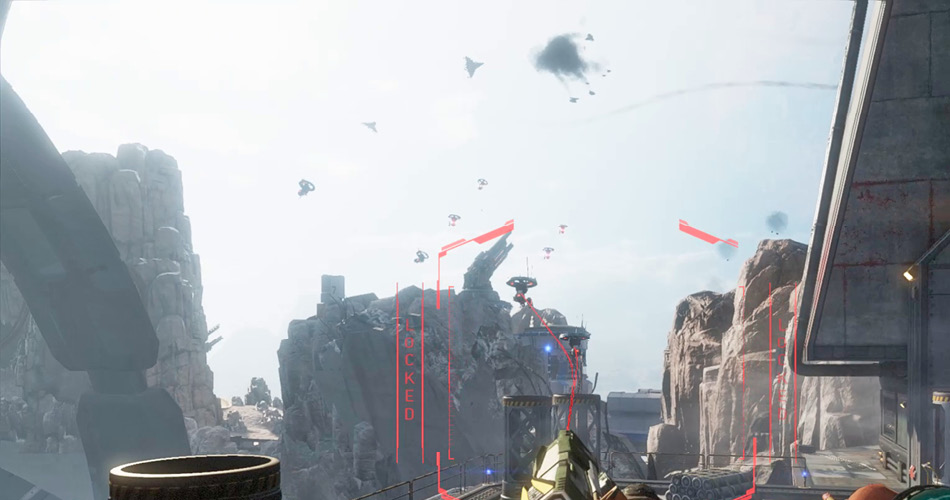
Repair Bay
At the end of the catwalk, hop on a zipline an ride it down toward a partially open door. Upon landing, slide beneath the door and engage the grunts on the other side with the Smart Pistol. Wallrun along the wall to the right and jump toward the upper catwalk to access the next corridor.
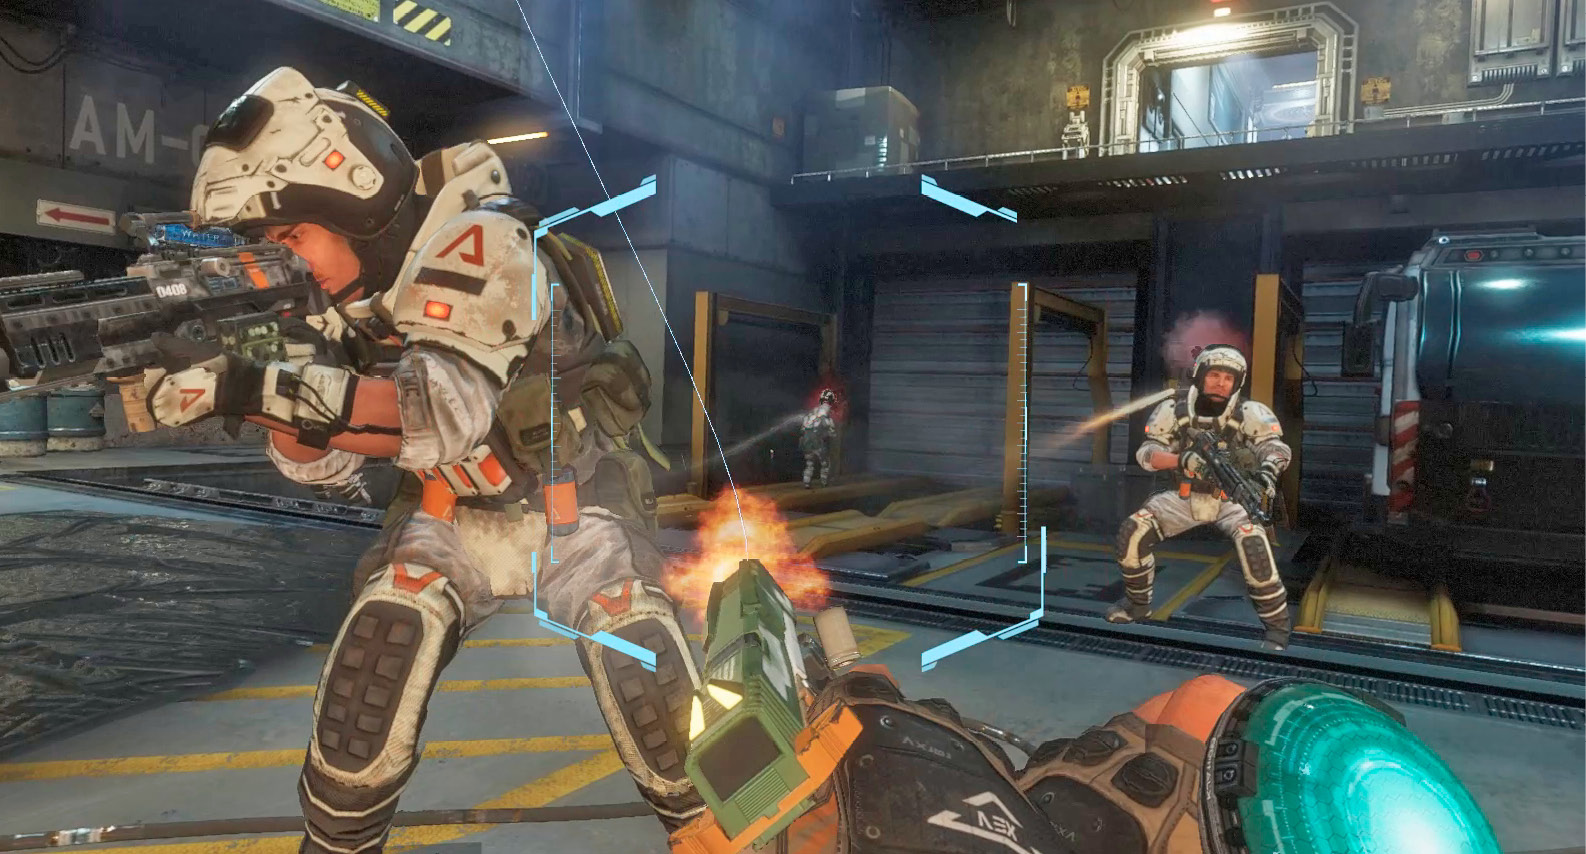
The corridor is occupied by more grunts. The first pair of grunts go down easily with the Smart Pistol. But when you encounter a shield captain, double jump and commence a wallrun in an attempt to flank. As you pass over the shield captain, aim downward and open fire with the Smart Pistol. The shield captain’s shield can’t protect him from attacks coming from directly above. Finish off the remaining grunts and continue along the corridor.
Cooling Vent
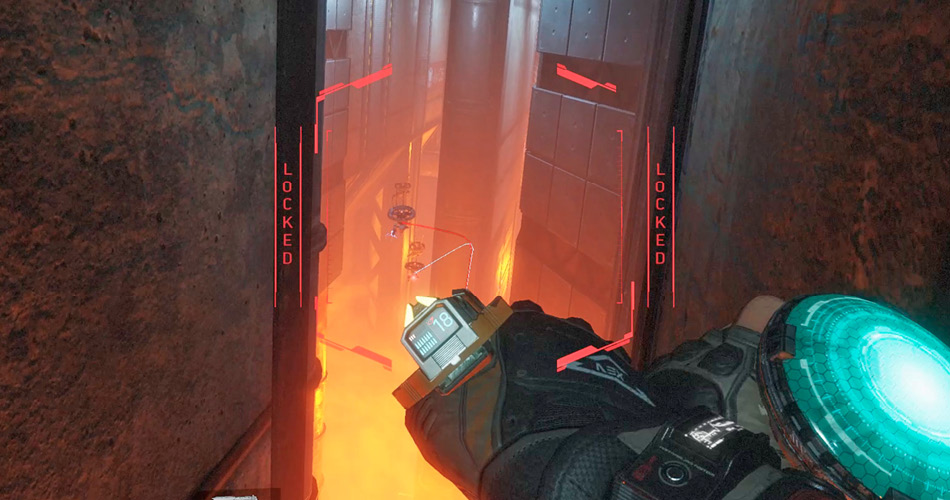
Enter the doorway on the right to access this large chamber occupied by several grunts and drones. They’re no match for the Smart Pistol. Just ahead, commence a series of wallruns to advance through the cooling vent area. There’s no floor here, so don’t fall. While wallrunning, watch out for drones in this passage; shoot them down with the Smart Pistol. If you can’t hit all the drones, don’t worry. It’s more important to keep moving than it is to destroy every drone. As you near the end of the wallrun section, watch for a few grunts on the platform below. Hit them (and a few more drones) with the Smart Pistol during your descent.
Power Grid
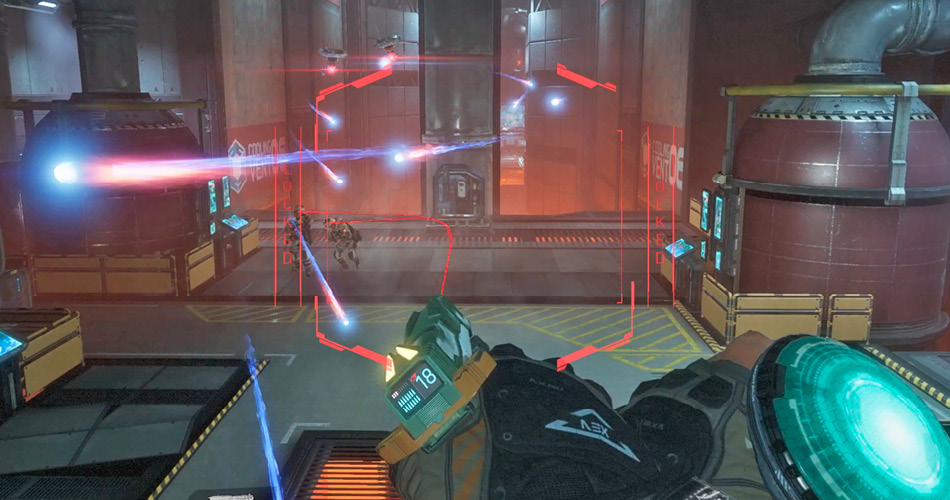
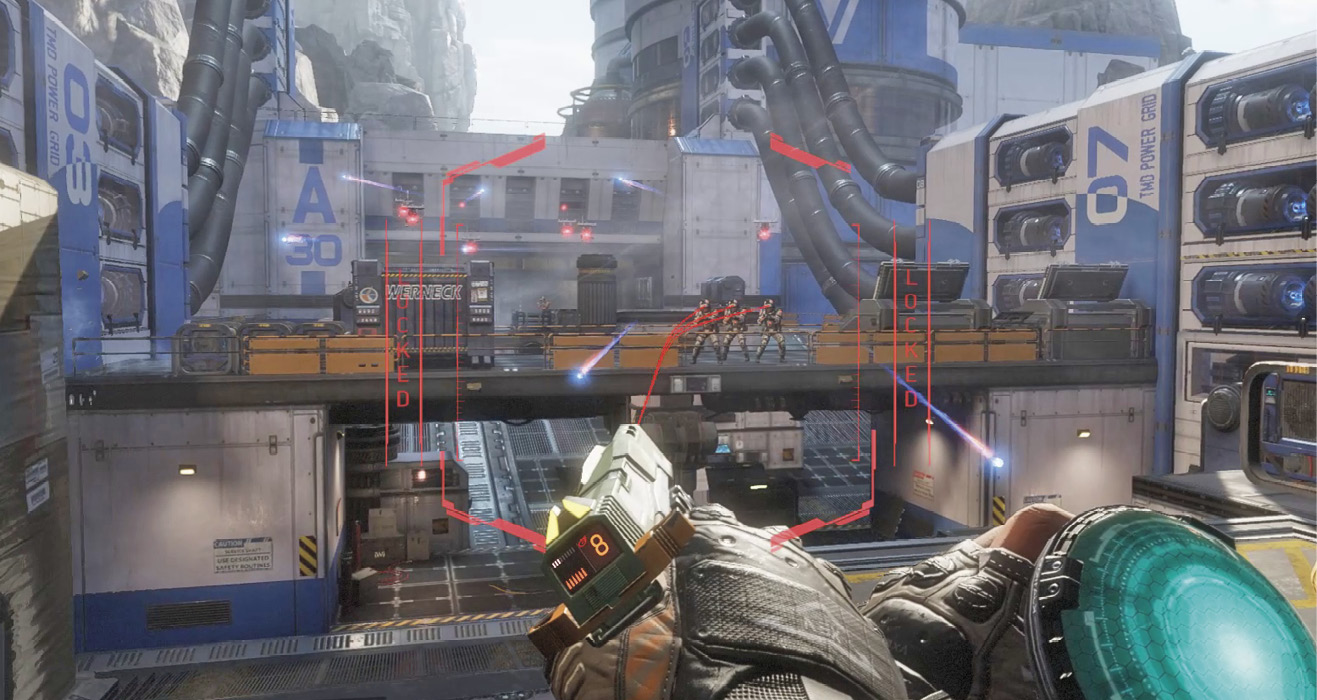
Briggs reports she’s preparing an extra Vanguard class Titan for you. When you emerge back outside, you come under attack by multiple grunts and drones. Immediately lock on to as many targets as possible and open fire with the Smart Pistol. Instead of standing still and trading shots, keep moving around the area, utilizing jumps and wallruns to stay ahead of incoming fire. Before exiting this area, collect a Pilot helmet.
|
 Pilot Helmet 1/3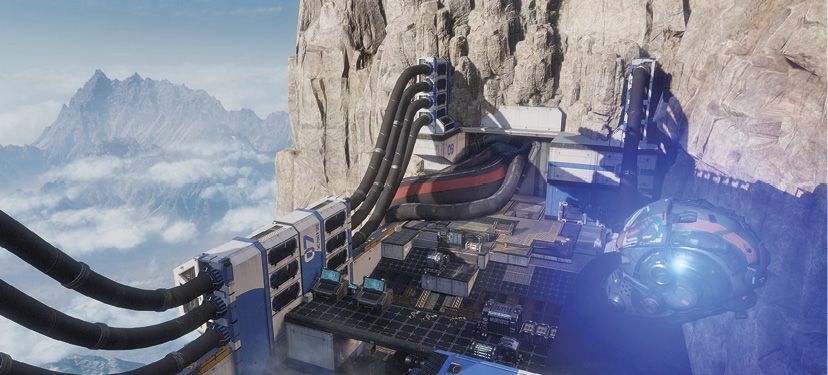
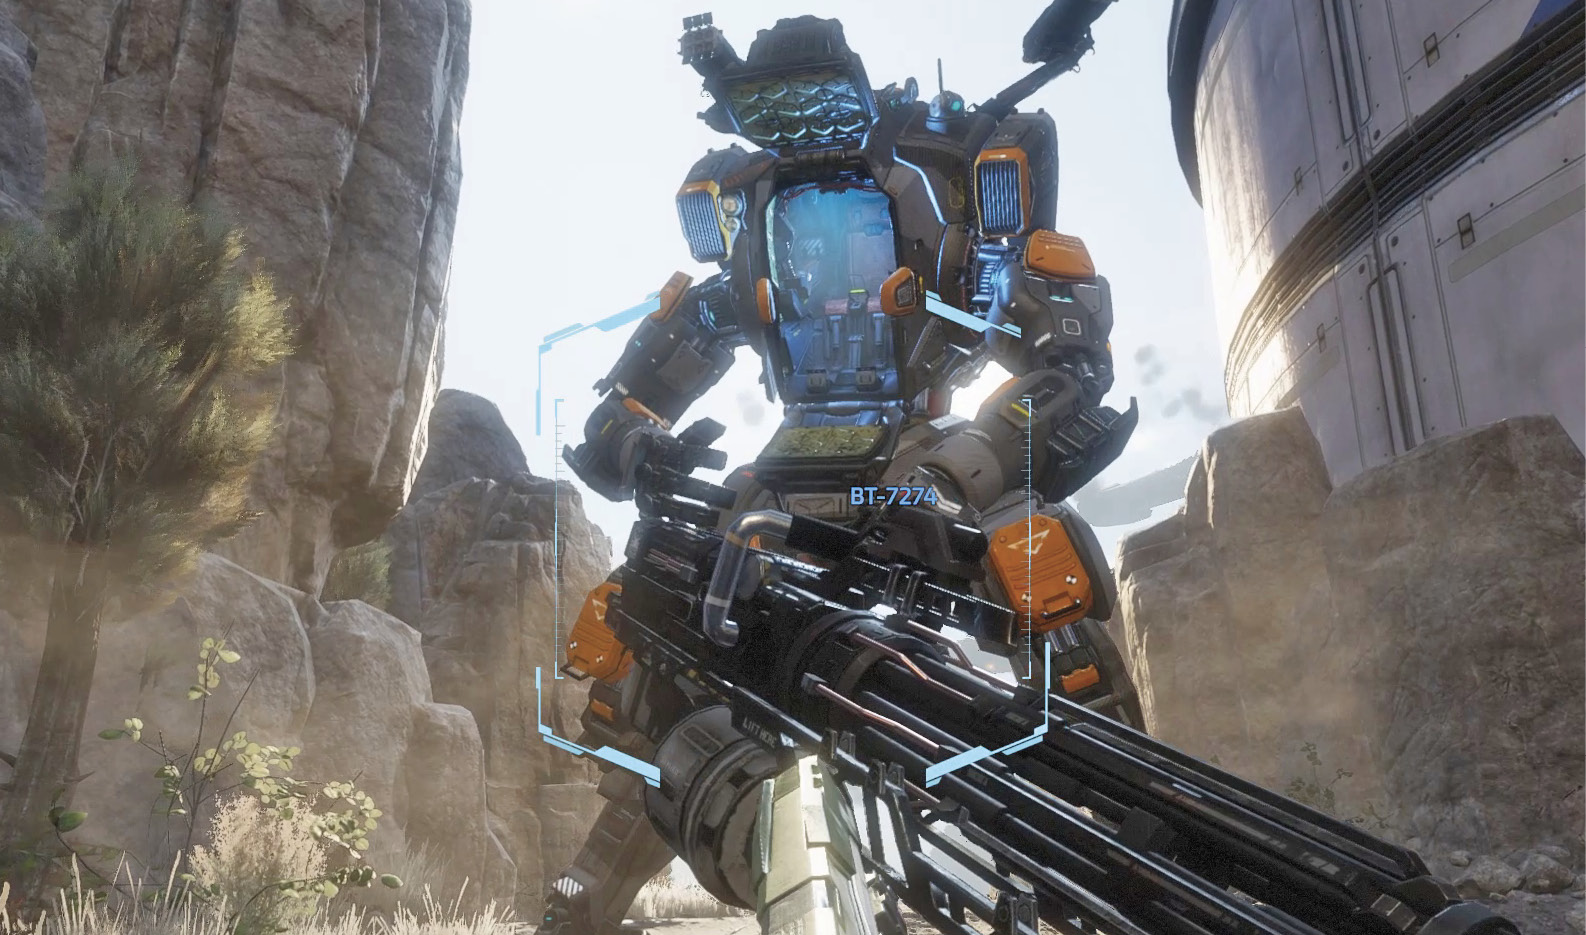
Briggs reports that your Titan is ready for Titanfall. Advance to the clearing and call in the Titan. A Vanguard class Titan (FS-1041) comes crashing down to the surface. Approach the Titan and install BT’s Datacore. Suddenly BT is back, but in a new, unscathed chassis, complete with a new Legion Loadout. Embark and get ready to storm the Fold Weapon’s injection facility.
BT-7274 (Loadout: Legion)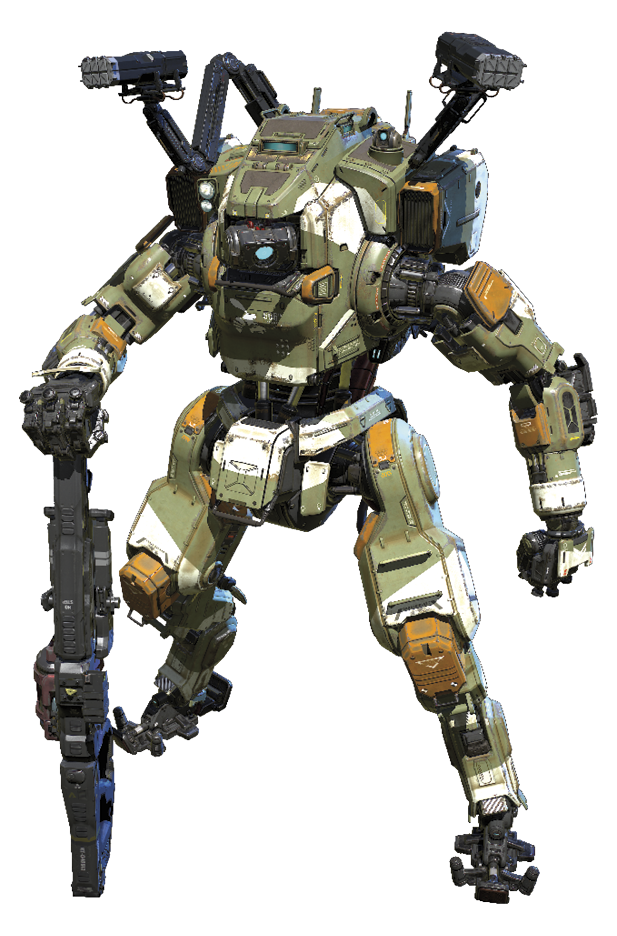
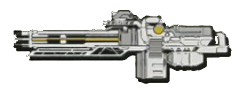
Sporting the powerful Predator Cannon, the intimidating Legion Loadout is ideal in standoff and defensive situations. The Predator Cannon is a massive minigun requiring a somewhat lengthy spin-up cycle before it starts firing. Be prepared for this delay as you hold down the trigger. The cannon can be equipped with close-range or long-range ammo through Mode Switch. It’s best to keep long-range ammo loaded unless fighting at extreme close range—in which case other loadouts (like Scorch or Ronin) are often better suited. Your ammo choice also impacts the effectiveness of Power Shot. When close-range ammo is loaded, Power Shot knocks back enemies. But when long-range ammo is loaded, Power Shot offers greater penetration, capable of passing through multiple targets. The Predator Cannon really shines when Smart Core is active, an auto-targeting feature ensuring 100 percent accuracy. When taking incoming fire, activate Gun Shield to deploy a small energy shield around the Predator Cannon. While this shield isn’t as large the Tone’s Particle Wall, it’s just as durable. It has the added benefit of being attached to the Predator Cannon, offering continuous frontal protection as you move around.
|




Anti-Aircraft Emplacements
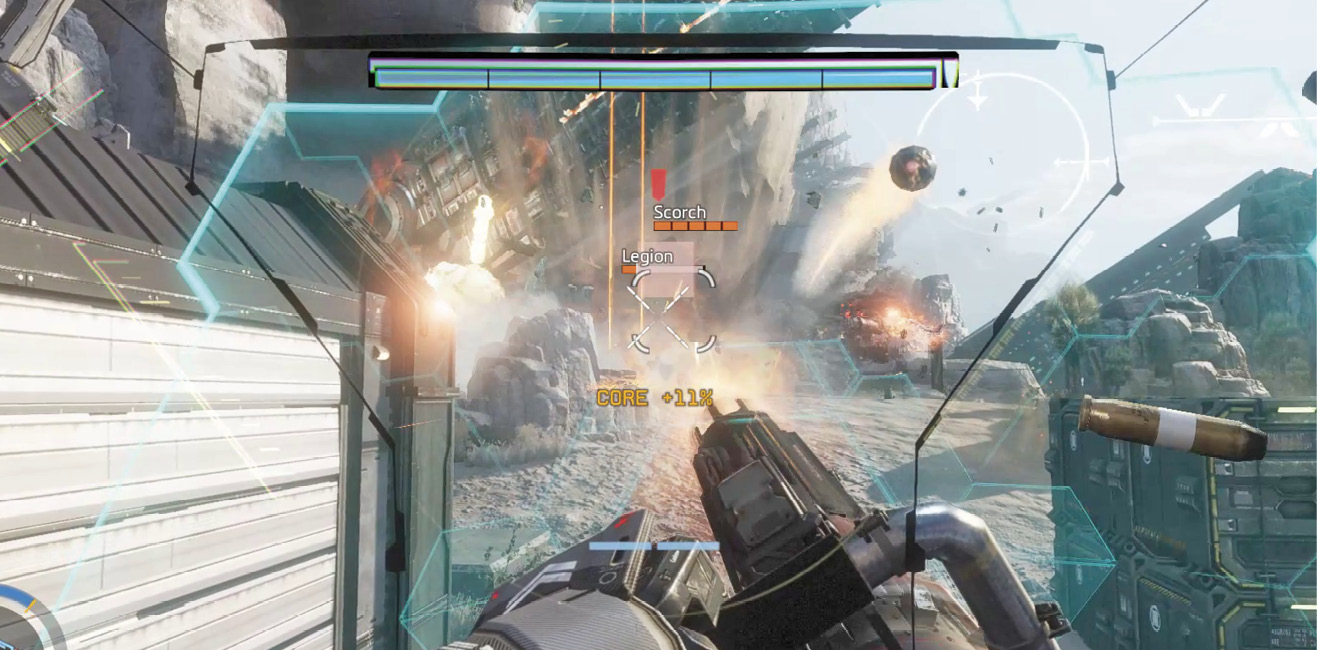
The Militia fleet has commenced attack on the IMC’s Fold Weapon. But Commander Briggs needs you and BT to get inside the control room. She orders all Militia fire stations to provide close-fire support during your advance. Advance toward a group of distracted IMC Titans, crushing a few Stalkers along the way. Now’s the perfect time to test out the Legion Loadout. Take aim at the enemy Titans and Reapers while they’re busy firing at Militia ships. The Predator Cannon takes a while to spin-up, but once it starts firing, it quickly chips away at the armor of the enemy Titans. Instead of firing in short bursts, simply hold down the trigger while raking it across the enemy Titans and Reapers. Once you’ve gotten their attention, deploy the Gun Shield to block incoming fire.
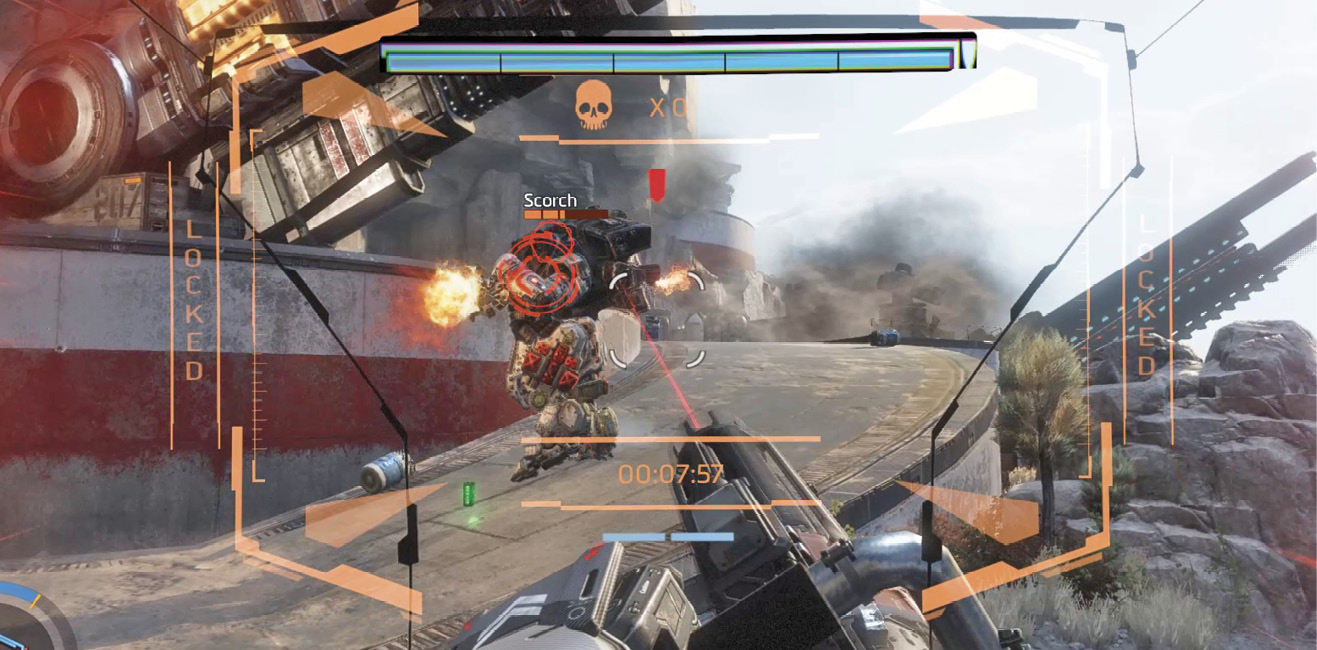
As you advance, the Militia fleet provides fire support, wiping out several enemy Titans with one barrage. Push forward and engage any survivors. Once available, activate Smart Core to enhance the Predator Cannon’s targeting. Smart Core functions similarly to the Smart Pistol. Line up targets within the blue brackets on the HUD to automatically achieve locks. Once locks are attained, simply open fire with the Predator Cannon. You need to keep the targets within the brackets on the HUD to maintain a lock. But other than that, there’s no need to aim directly at the targets. Just hold down the trigger and enjoy the carnage as the Predator Cannon goes to work. Incoming fire support helps you clear out the remaining enemy Titans in this area.
The Militia attack isn’t going well. The fleet has just lost one of their ships. But Gates and Bear of the 6-4 have your back, promising to support your advance with air strikes. Continue past the spinning rings of the Fold Weapon and march through a line of Stalkers along the way. Engage the enemy Titans and Reapers near an array of anti-aircraft guns ahead. Gates and Bear come through with close air support. Watch for the orange targeting rings on the HUD to identify impact points of incoming strikes.
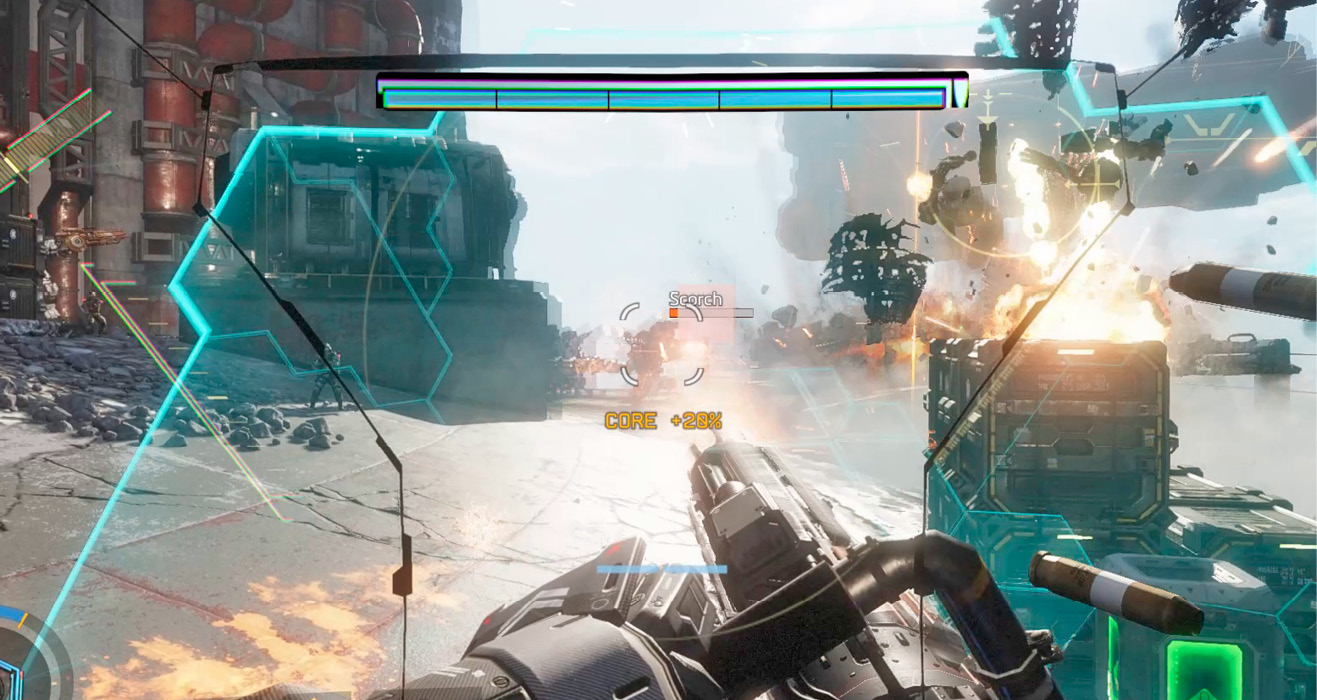
The doorway behind the massive orbital defense gun is guarded by a Legion Titan. Use your own Legion Loadout to chip away at the Titan’s armor. When the enemy Legion deploys its Gun Shield, retreat behind cover and reload your Predator Cannon. Resume your attack once the enemy Titan’s Gun Shield has worn off. Fire continuously at the Legion until it explodes. Before entering the doorway, mop up any remaining grunts near the AA guns. There are also a few batteries nearby if you need to replenish BT’s armor.
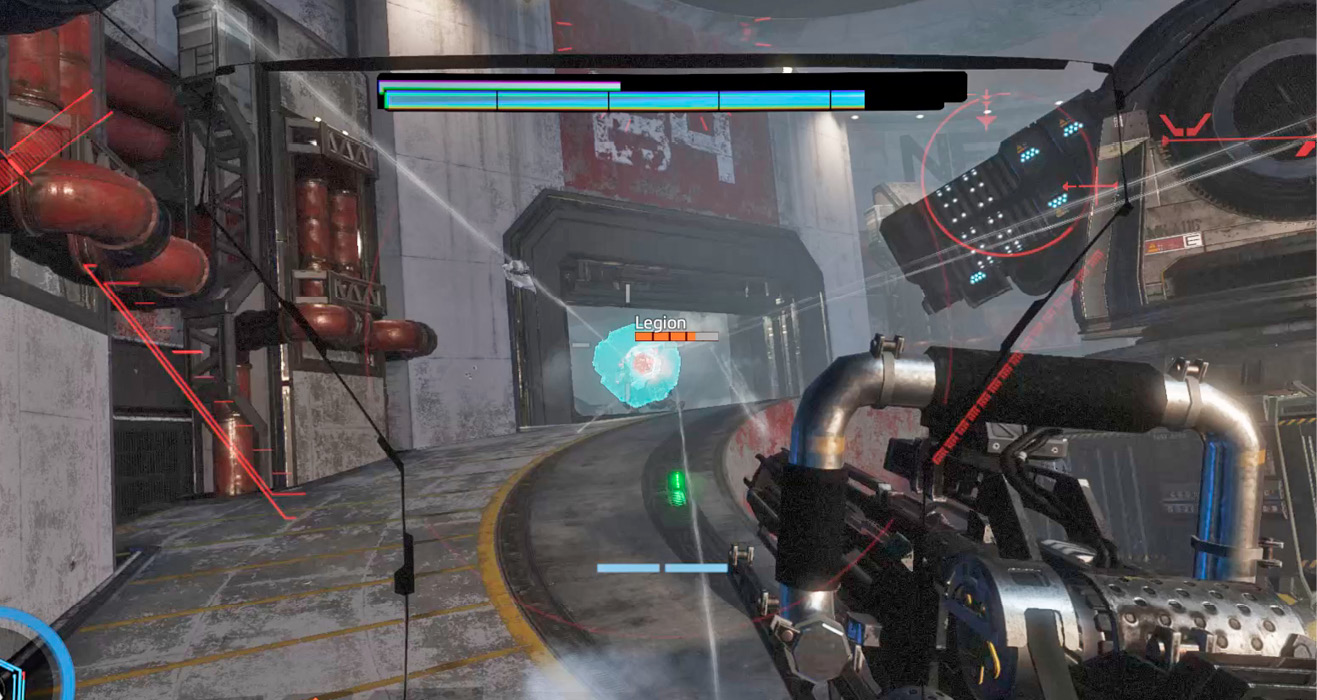
Generator Room
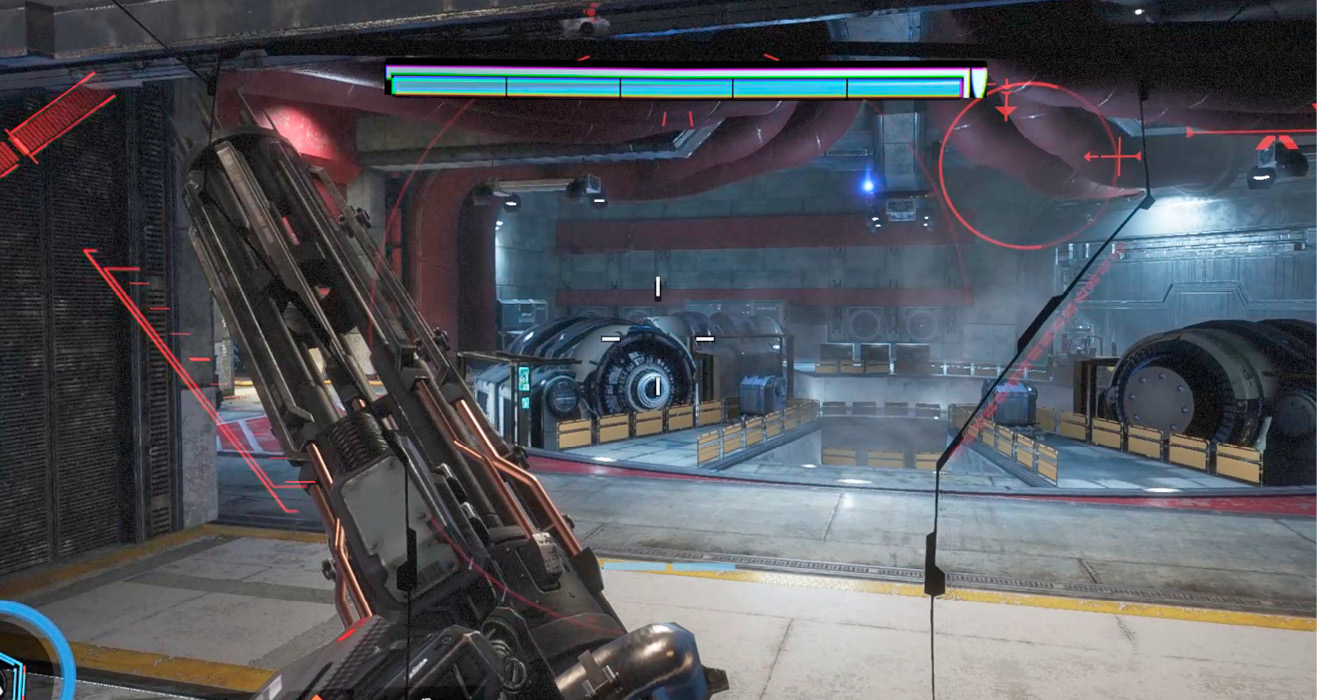
Sarah reports that they’ve tracked Blisk and Slone, and they have the Ark. Pass through the doorway to enter a large room containing several generators. Several grunts line the low passage to the left. Clear out any nearby grunts, but don’t enter the passage just yet. Stay in the room with the generators to search for a Pilot helmet.
|
 Pilot Helmet 2/3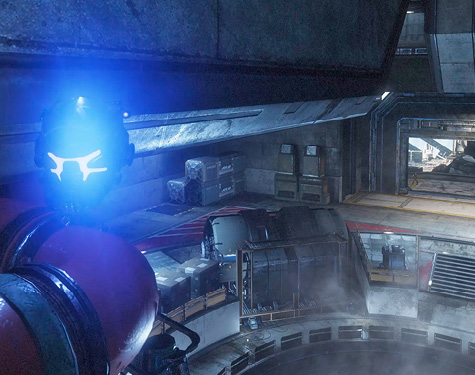
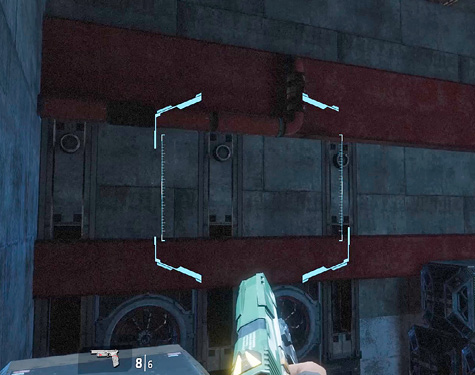
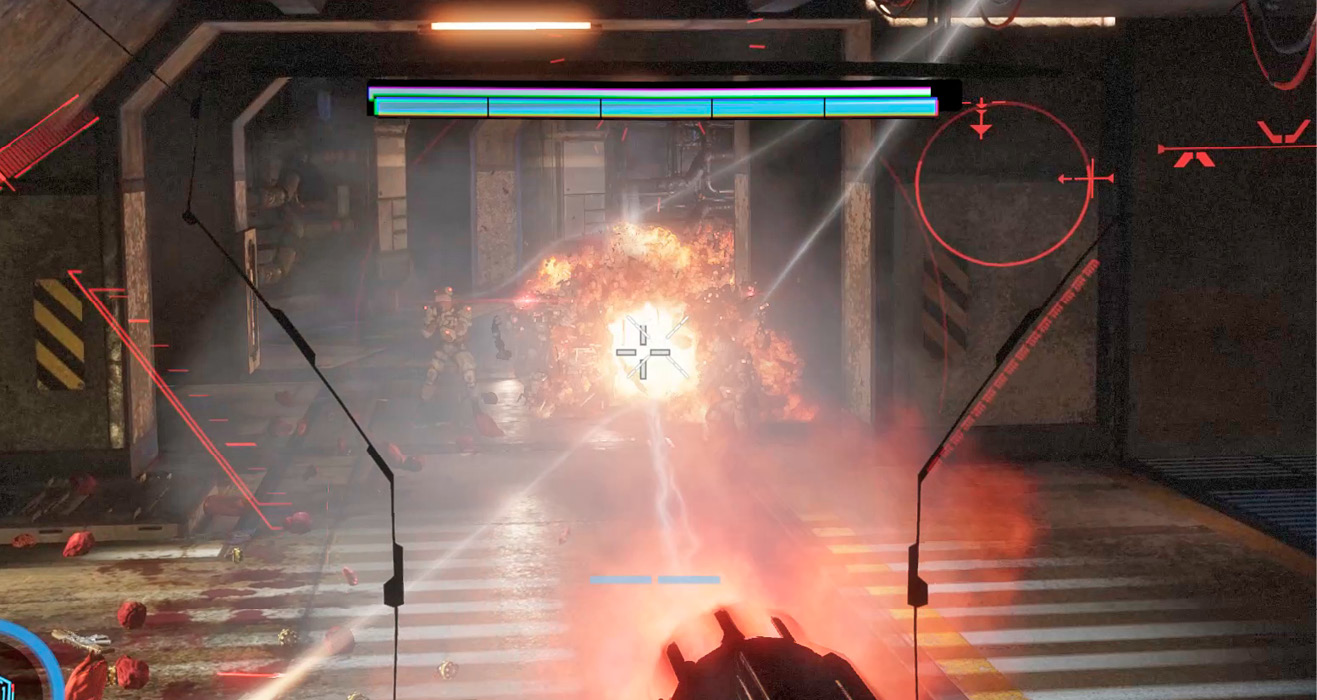
Back in BT, crouch to enter this low passage. As you crawl forward through this tight space, several IMC grunts run out into the passage and immediately run away from BT. Open fire on the grunts, as well as a few Stalkers equipped with anti-Titan weapons. If you don’t care for the Predator Cannon, consider switch to the Scorch or Expedition Loadouts. The Expedition or Brute’s Multi-Target Missile System is perfect for engaging these threats. General Marder can be heard over the facility’s PA system, ordering Blisk to prep the Fold Weapon.
Targeting Room
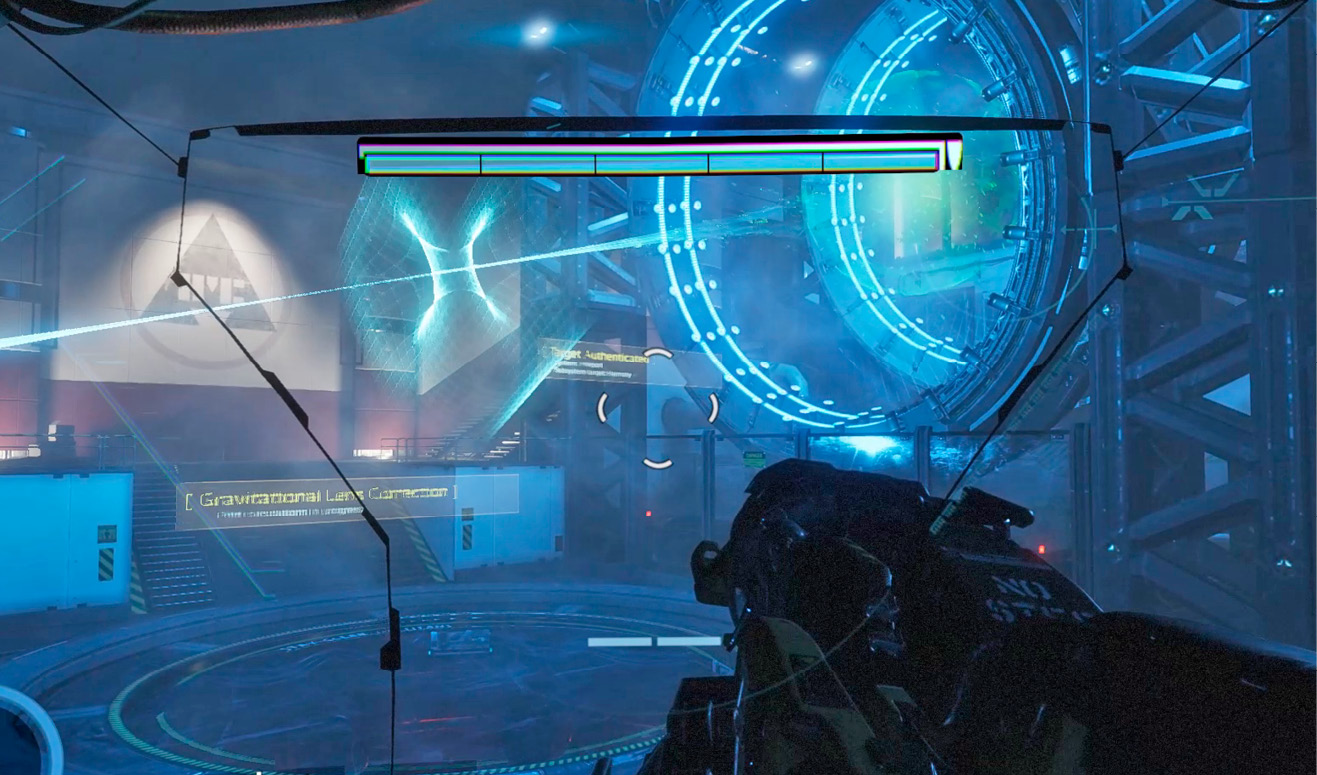
This room looks just like the one you encountered in the Advanced Research Facility. A large holographic image runs the length of the room, showing Harmony as the target of the Fold Weapon. Before advancing any farther, hop out of BT and search for another Pilot helmet.
|
 Pilot Helmet 3/3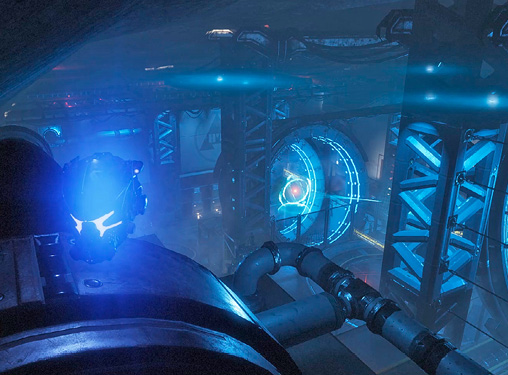
Boss Battle: Slone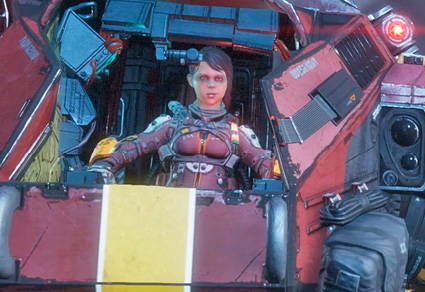
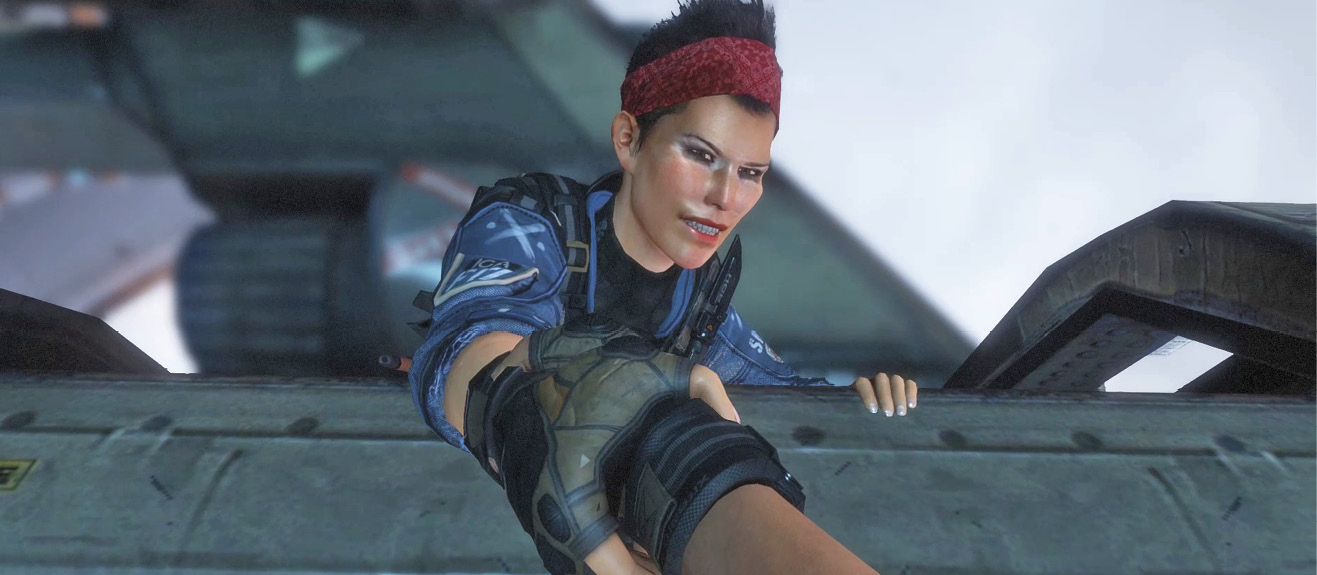
Faction: Apex Predators Role: Bounty hunter subcontracted by Blisk to hunt and destroy Militia Pilots. Age: 29 Skills: Tracking down individuals in war zones, parkour expert with and without a Jump Kit. History: Slone grew up in poverty. Her talent for mobility led to a respected thief’s role within a criminal organization, and later, infiltration of enemy compounds and assassination of enemy Pilots in other cartels. Slone is confident, unpolished, and blunt. She intentionally adopted a misspelled version of her name because it bugs people. She revels in any chance she has to make others feel uncomfortable and off balance. Distracting others is a tactical advantage for her, even off the battlefield. “You know what I see when I look at you? A pile of easy money.” — Slone |
Cross the targeting room and follow the adjoining corridor to the injection facility. There are several battery crates lining the hall. Smash the crates and retrieve the batteries to ensure BT has full health. As the door at the end of the corridor opens, Blisk can be seen loading the Ark into the Fold Weapon. Having completed his job, General Marder says Blisk is free to go. As Blisk turns away, he tells Slone to deal with you. Slone pilots a modified Ion Titan. The Legion Loadout, or any loadout with a shield, is a good match for the Ion. If you don’t care for the Legion, consider equipping the Expedition, Tone, or Brute Loadouts.
Slone is joined by a Brute Titan, which drops down directly in front of you. Deploy the Legion’s Gun Shield and open fire on the Brute. Try to keep the Brute positioned between yourself and Slone, denying her a clear shot. Scoring repeated hits on the Brute charges BT’s core. At the earliest opportunity, activate Smart Core. While active, Smart Core allows the Predator Cannon to tear through Slone’s shields and armor. As Slone’s armor is depleted, she phases out of sight, denying you the kill shot.
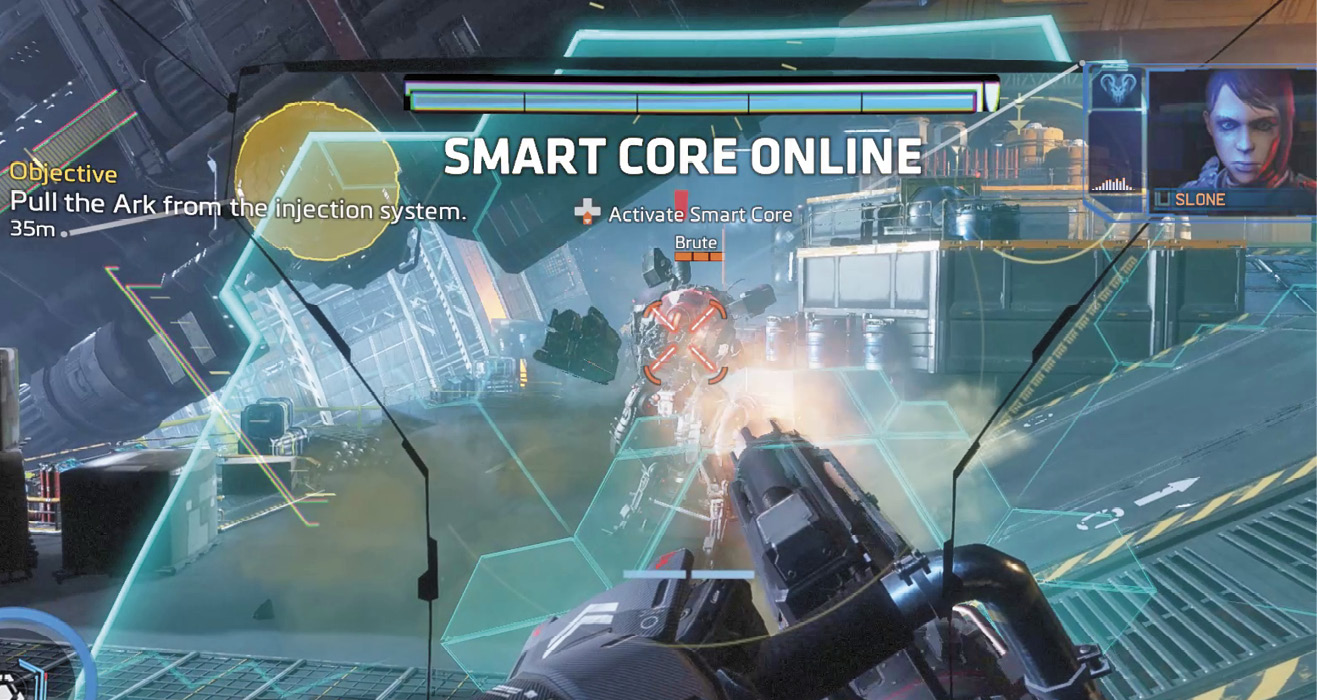
When Slone disappears, a Tone and Scorch Titan drop down. Continue firing the Predator Cannon while keeping your distance from the Scorch Titan’s Thermal Shield. As the Scorch Titan pursues, back and dash away while continually firing the Predator Cannon. A sustained burst is enough to drop this big guy. If the Scorch Titan gets too close, use Power Shot (loaded with close-range rounds) to knock him back. The Tone Titan will attempt to keep his distance, so make an effort to hunt him down before Slone reappears.
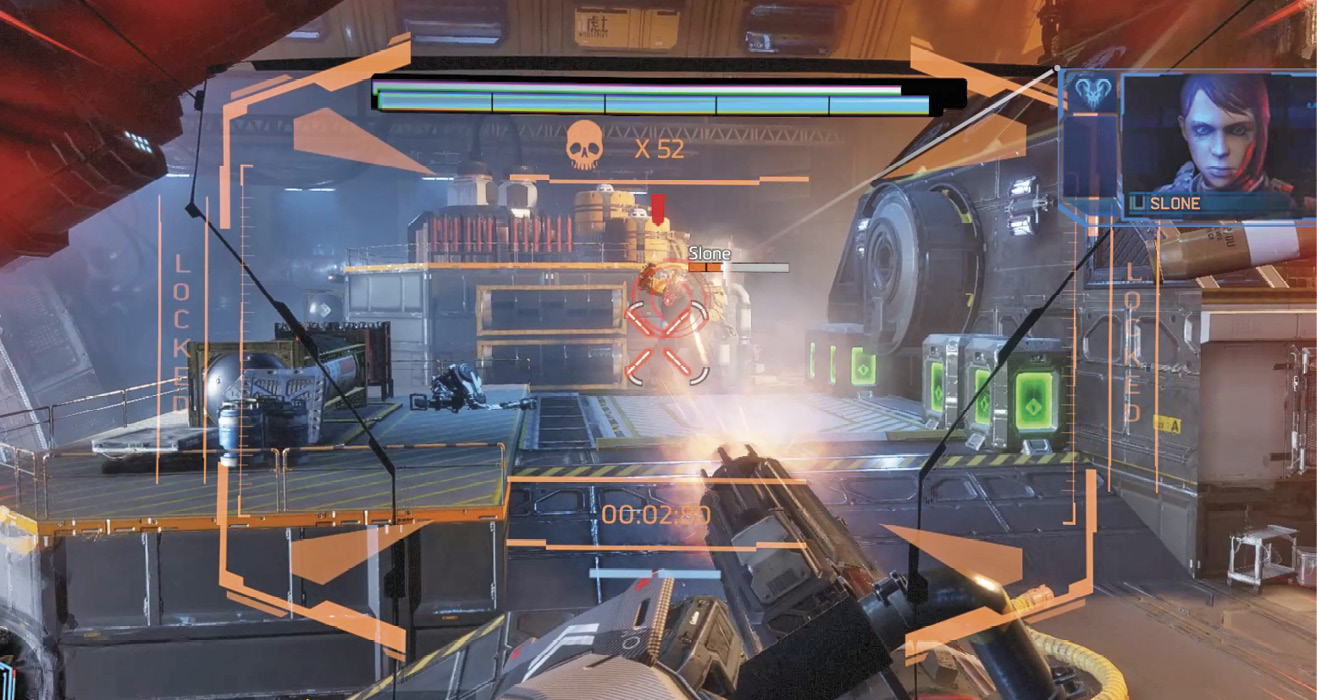
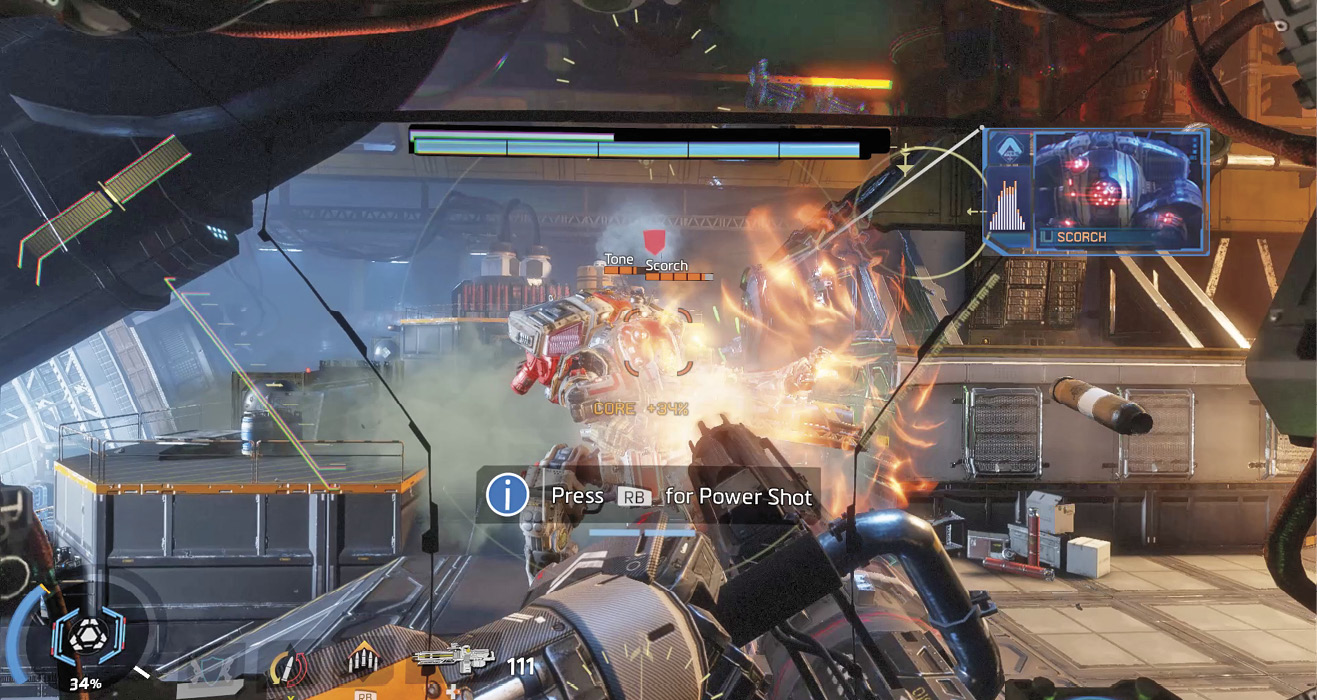
Take note when Slone returns: her shields are restored, but she’s still sporting some armor damage. During the fight with Slone, feel free to change your loadouts as the tactical situation dictates. If you prefer close-range combat, consider switching to the Ronin Loadout. Use Phase Shift to rush Slone, and then go to work with the broadsword and Leadwall Shotgun. Also, don’t forget to deflect her shots with Sword Block. If you can back her into a corner, she’ll have a tough time getting away from your sword and shotgun strikes.
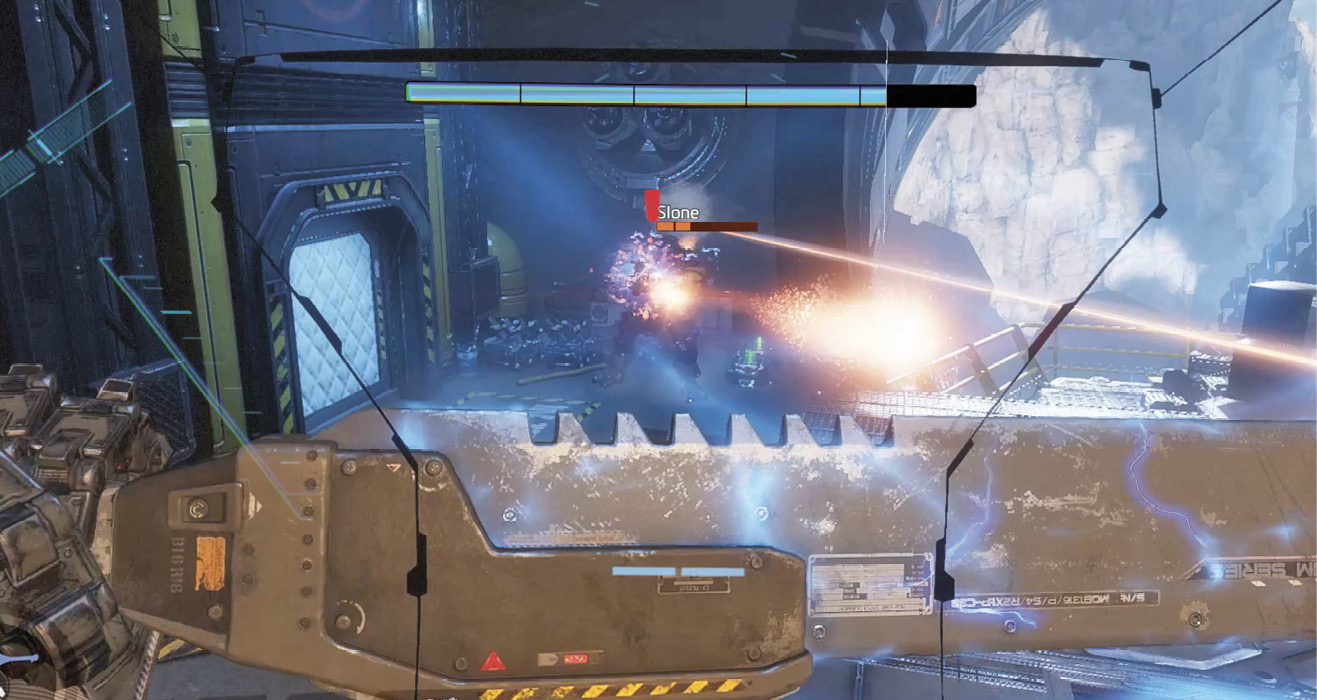
When you force Slone to disappear a second time, you come under attack by three Reapers. The Reapers land on the crates at the back of the facility. The Legion Loadout is best suited for these threats. Activate the Gun Shield and tear into the Reapers with the Predator Cannon. Try to eliminate all three Reapers before Slone returns for the final round.
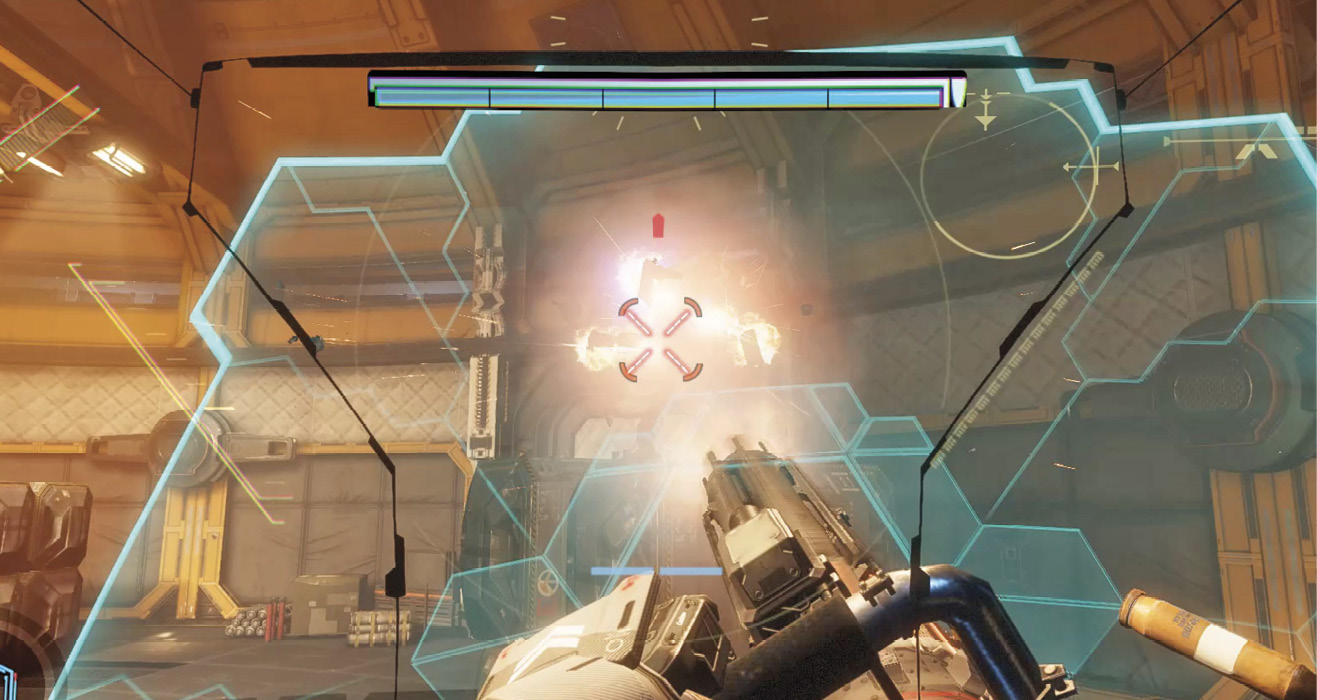
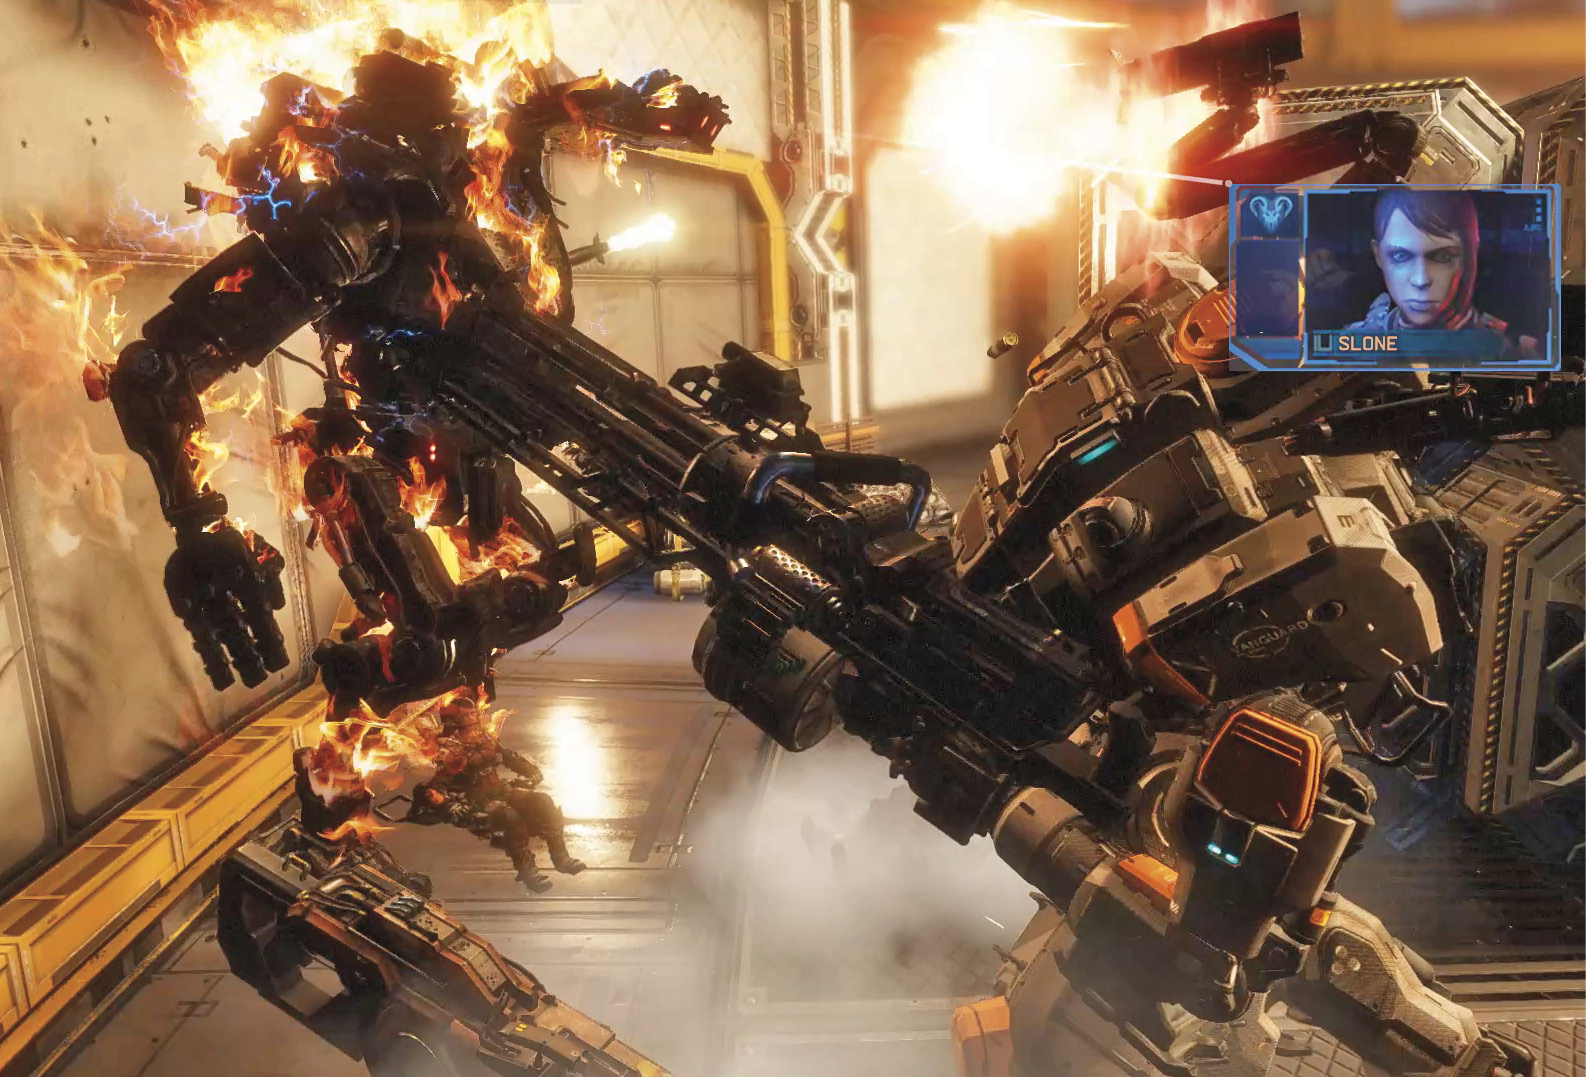
Slone returns with fully-restored shields, but her Titan’s armor is extremely weak. Meanwhile, an announcement warns to vacate the injection facility, as the Fold Weapon is about to fire. Use the Legion Loadout’s Predator Cannon to rapidly chew through Slone’s shields and armor. But be ready to retreat if she initiates a Laser Core attack. Completely deplete Slone’s armor, then dash into close range and perform a melee strike for a spectacular Titan execution.
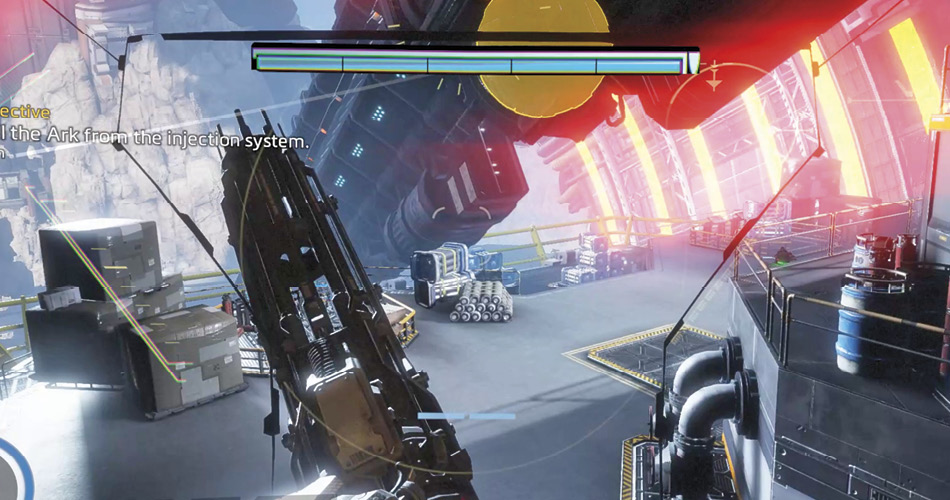
The Fold Weapon is moments away from firing. Briggs urges you to retrieve the Ark from the Fold Weapon’s injection system. Move to the waypoint marked on the HUD and interact with the Ark injector. Rapidly press the button/key shown on screen to open the injector. But something goes wrong; the injector back blast overloads BT’s internal systems.
As BT’s systems come back online, Blisk is seen standing overhead. Oddly, Blisk seems pleased with your prowess as a Pilot. He promises not to kill you. After all, killing you wasn’t part of his contract. Before leaving, Blisk places an Apex Predator’s card on BT’s cockpit; consider this an open invitation to join his group of mercenaries. Before BT can get back to his feet, Blisk is long gone.
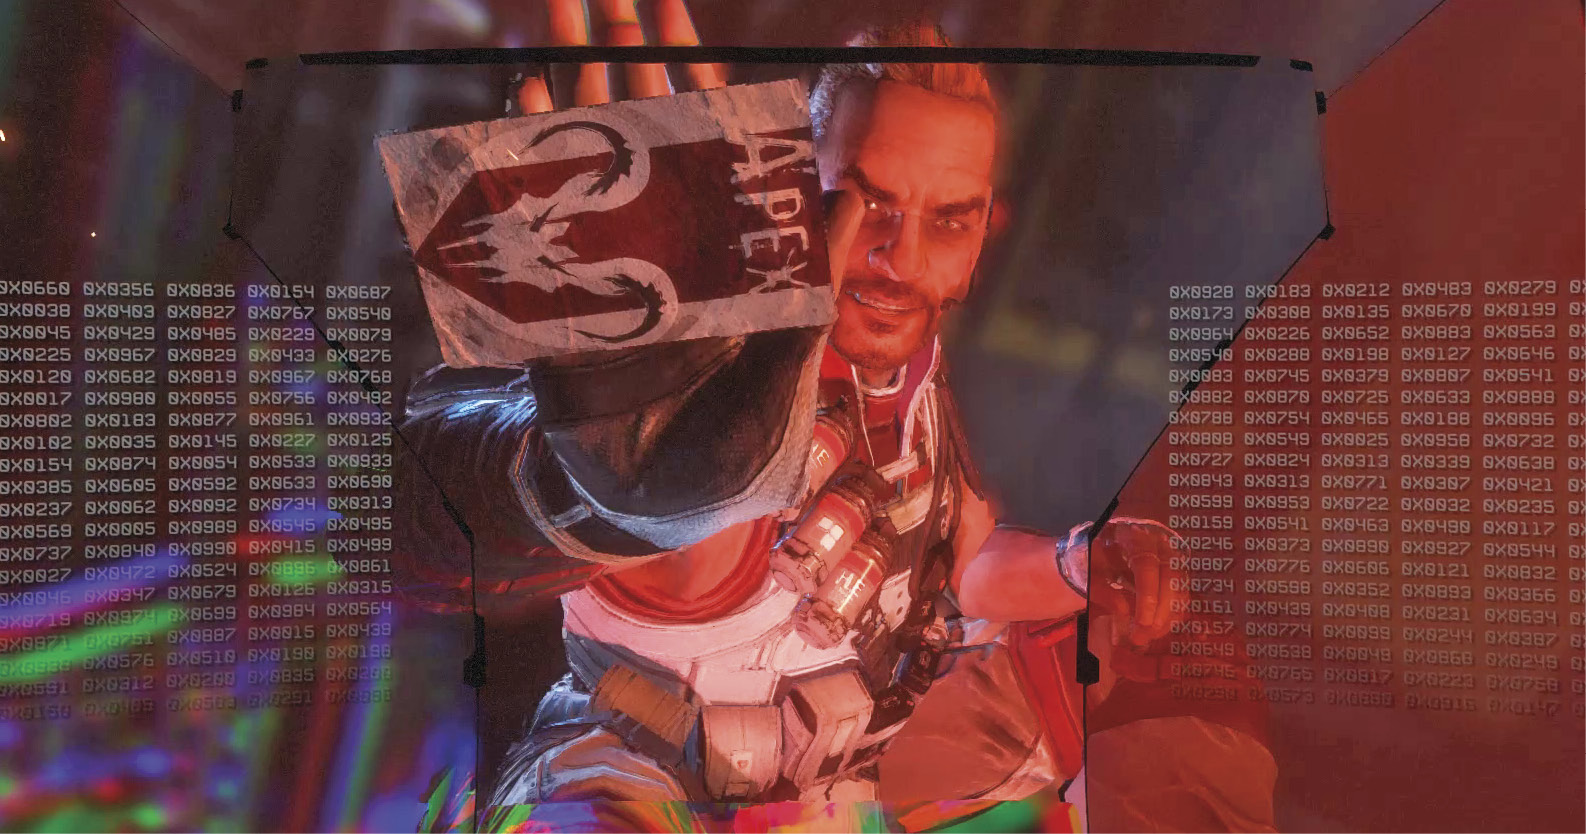
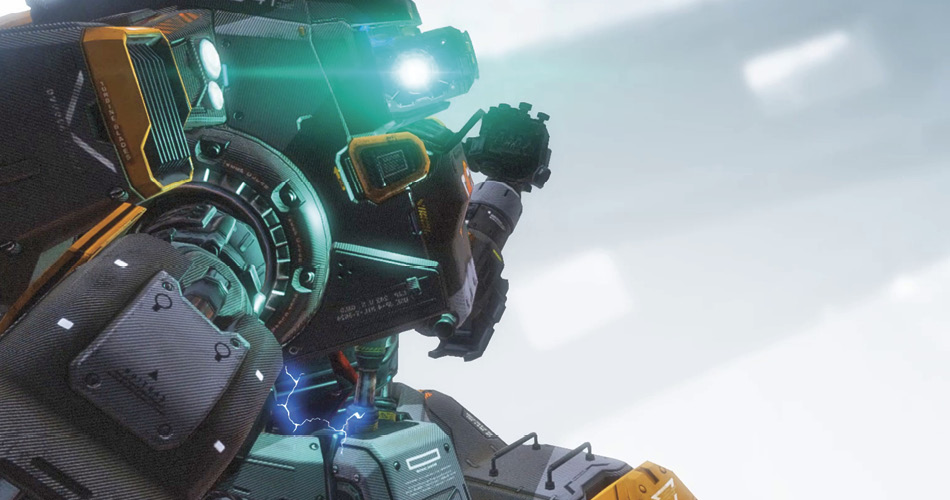
Help BT get up with forward movement inputs. Briggs urges you to find a way to destroy the Fold Weapon before it can fire. BT has a plan: he theorizes that his exposed reactor core may be powerful enough to destabilize the Ark at the center of the Fold Weapon. BT loads himself into the injector and launches himself toward the Ark. While flying toward the Ark, BT grabs you and throws you away from the Fold Weapon. BT continues hurling toward the Ark, resulting in a blinding blast, which obliterates the Fold Weapon.
Debris Field
As you drop to the ground, a field of debris hovers in place where the Fold Weapon once stood. Sarah reports that an evac site is located nearby, but she can’t find a spot to land a dropship. You’ll need to maneuver across the debris field to reach Barker’s ship. Wallrun across a series of three panels, then jump to a floating piece of rock below.
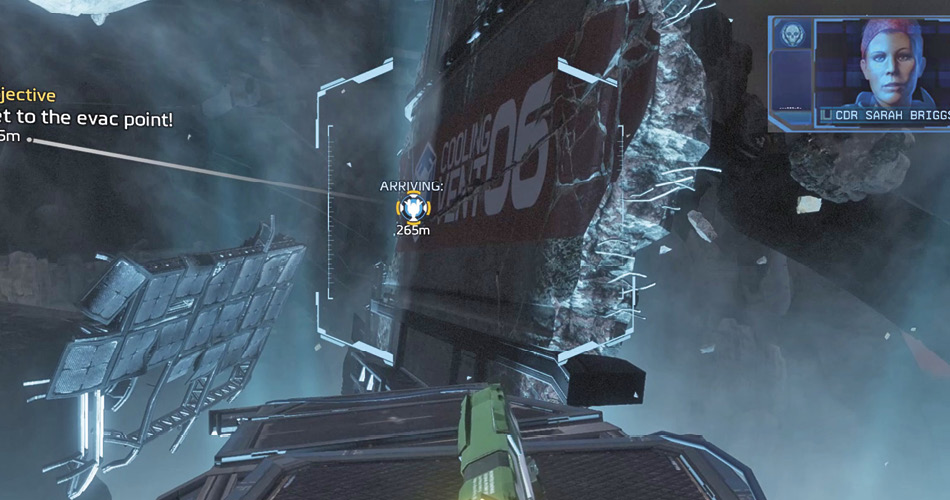
Upon landing on the rock, jump to a horizontal platform, and then wallrun across a slab of rock to the right before leaping to a floating storage container to the left. Pause on the storage container momentarily and wait for two vertical panels to come into view. Wallrun across them and take a leap of faith forward, falling on a large rock slab far below. You’re not far from the evac site, but you need to wallrun across a vertical slab of rock to the right and jump onto a large metal platform below. Race across the platform in the direction of the waypoint marker and leap off the edge. Barker’s ship flies into view while you’re in midair. Briggs reaches out of the cargo hold and pulls you inside as Typhon crumbles below.