
Titanfall 2 Guide Single-Player Campaign Blood and Rust
Reclamation Facility
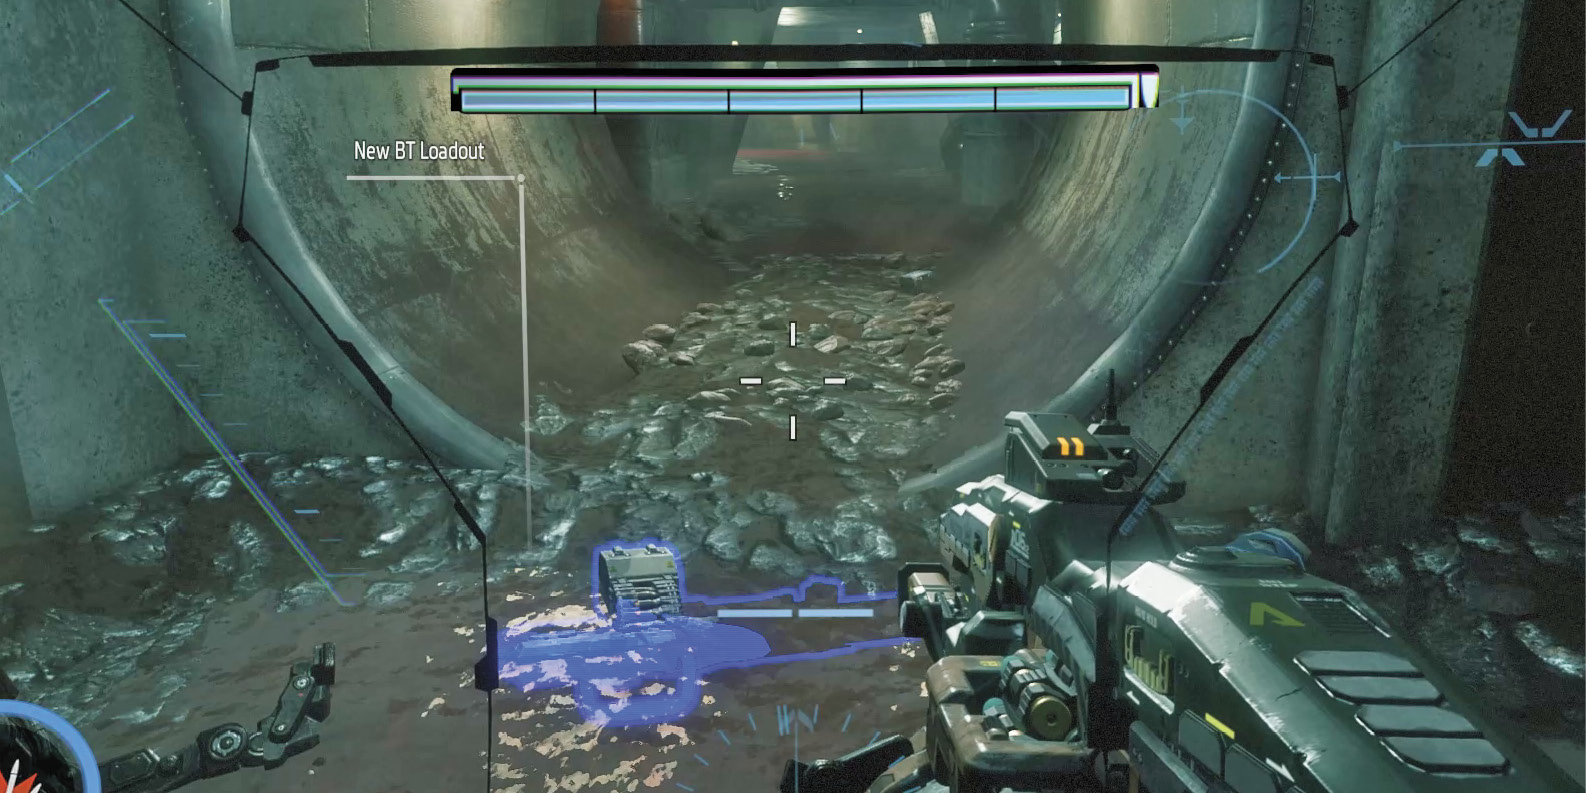
Once the enemy Titans (and IMC infantry) have been defeated in the drainage channel, proceed into the tunnel system ahead. The Militia Titans opt to hold back and secure the area. Inside the tunnel you’ll find a couple of Titan batteries, as well as the Tone Titan Loadout. Throughout the campaign you’ll encounter new loadouts for BT. Access BT’s Loadout Database to switch from the Expedition Loadout to the Tone Loadout. Make a habit of switching loadouts as dictated by the ever-changing tactical situation. For example, some loadouts are better suited for close range engagements, while others are best deployed at long range. While you access this database menu, the game is paused. So don’t feel rushed. Cycle through your available loadouts and find the right set of tools for the job at hand.
BT-7274 (Loadout: Tone)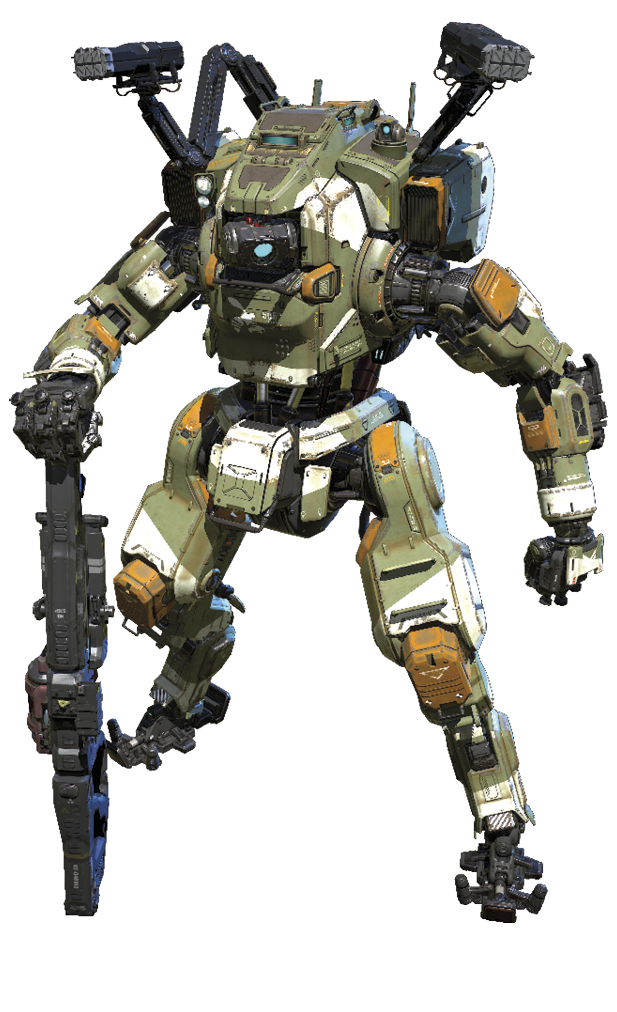
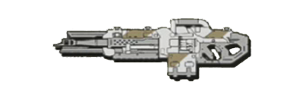
The Tone Loadout is another well-balanced option for BT. In addition to dealing impressive damage, the 40mm Tracker Cannon can help acquire lock-ons. It takes three hits from the cannon to acquire a full lock-on. The Sonar Lock can also be deployed to help acquire locks. Once a lock is achieved, the Tracking Rockets can be fired, automatically homing in on the target. The 40mm Tracker Cannon and Tracking Rockets are a lethal duo. When there isn’t adequate cover, deploy the Particle Wall. This stationary force field blocks all incoming shots, but you can still shoot through it. This can give you a huge advantage during Titan duels—just watch out for enemies attempting to flank.
|


|
 Pilot Helmet 1/6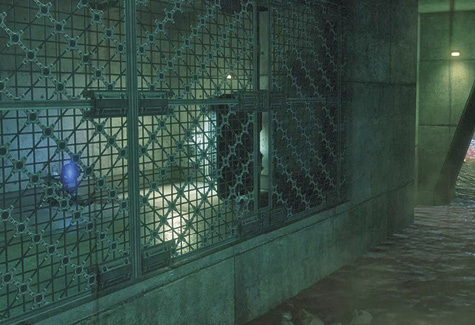
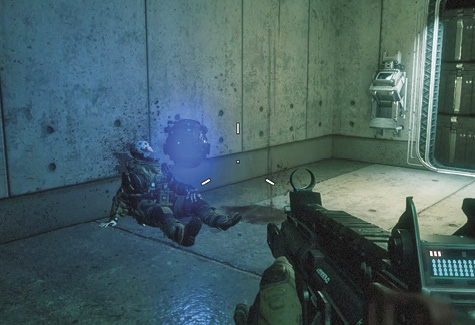
Flow Regulation Gate
Continue through the tunnel system to a large open chamber. Two Tone Titans are waiting to ambush you. Immediately deploy a Particle Wall at the entrance into the chamber and open fire on the enemy Titans. Use a combination of 40mm rounds and Tracking Rockets to chip away at the enemy Titans’ armor. A red circular reticle appears around an enemy Titan once it has been locked. Take this as your cue to fire the Tracking Rockets. If BT’s Core was partially charged from the previous battle, now’s the perfect time to try out Tone’s Salvo Core, firing a continuous stream of guided missiles. Remember, the enemy Tone Titans have Particle Walls of their own. This can lead to a bit of a standoff. So look for opportunities to flank.
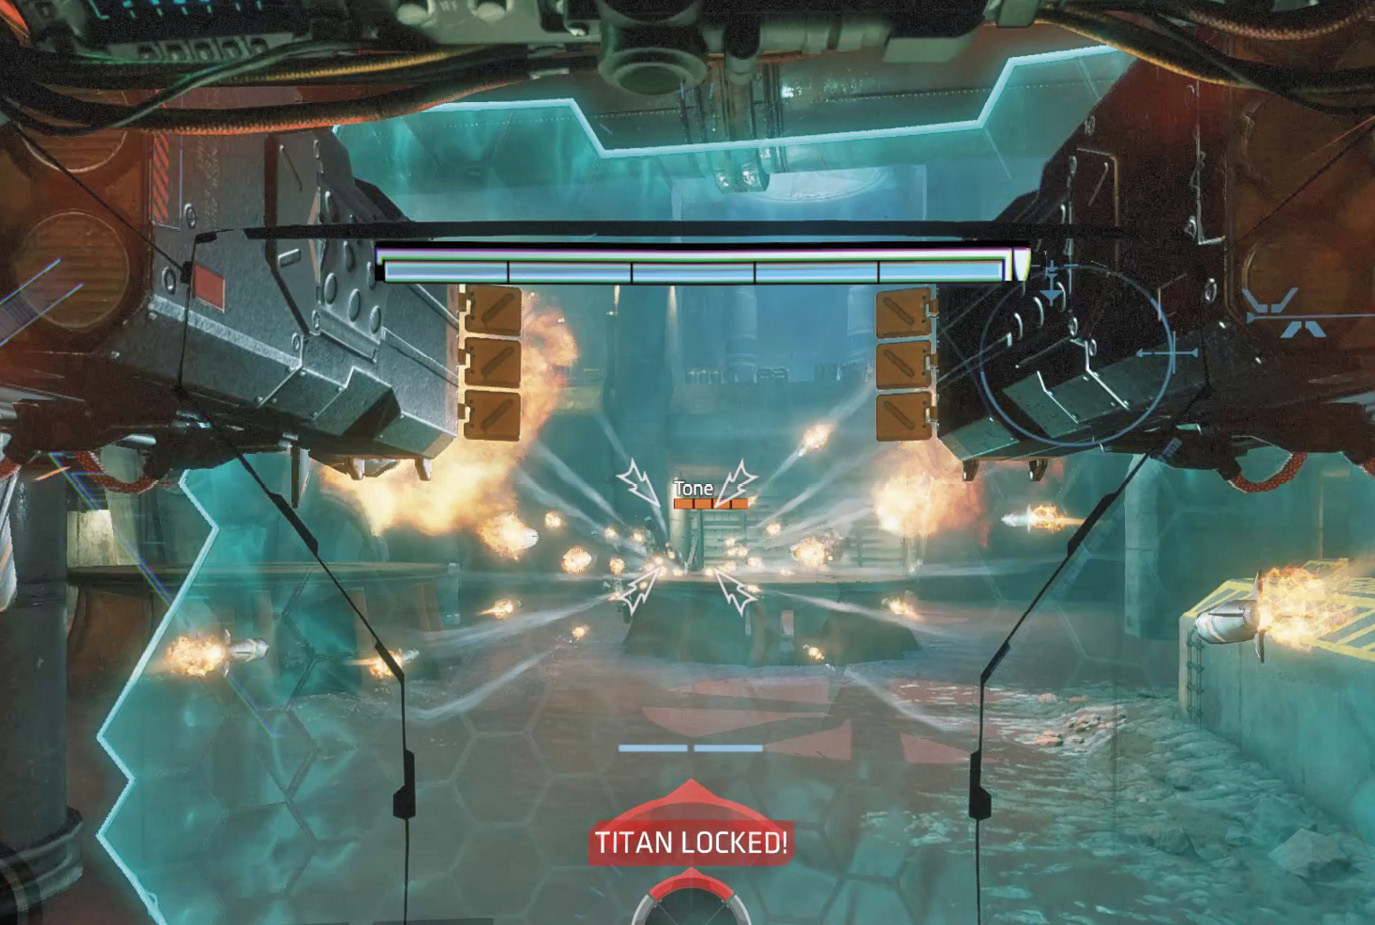
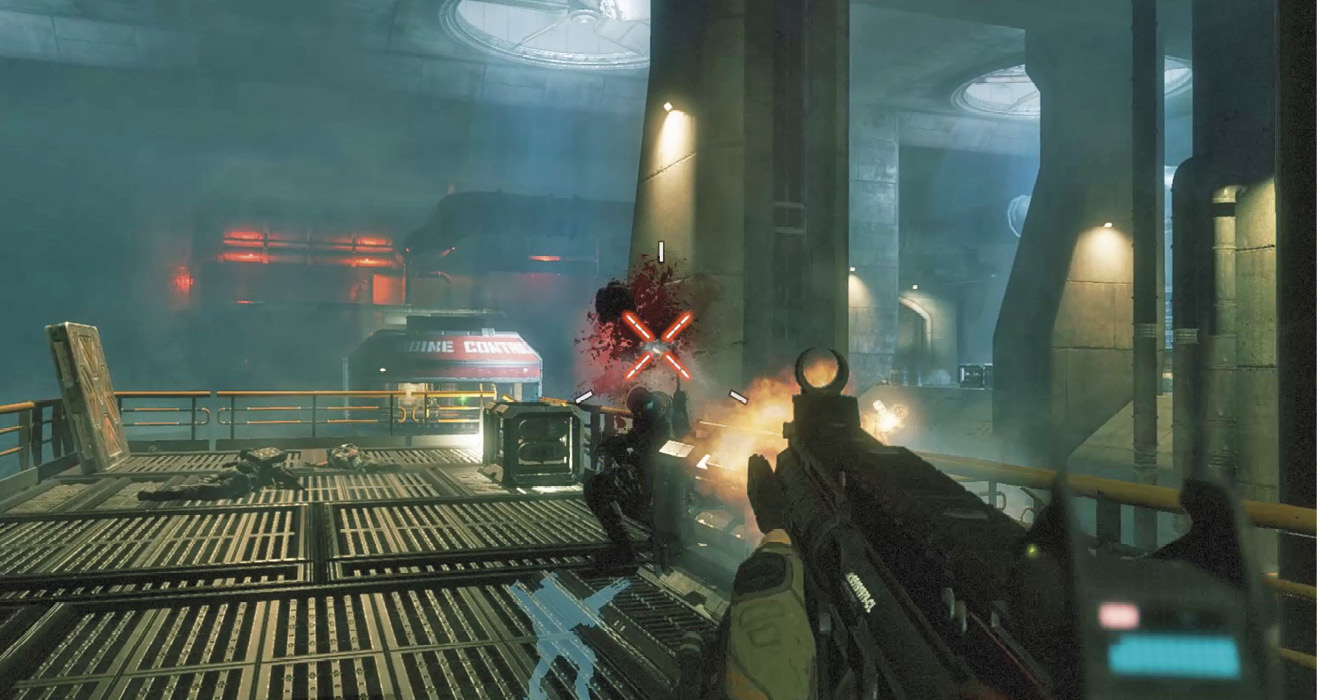
After defeating the Tone Titans, BT reports that the path ahead is blocked by a flow regulation gate. He suggests seeking a way to open the gate. Before disembarking, turn your attention to the Militia grunts firing down on your position. Eliminate as many of these threats as possible. The Expedition Loadout’s Multi-Target Missile System is ideal for taking out multiple threats. When the incoming fire has died down, move to the right side of the chamber and disembark. A mix of grunts and drones block your path to the control room. Advance with caution, using Cloak to get the jump on your adversaries.
|
 Pilot Helmet 2/6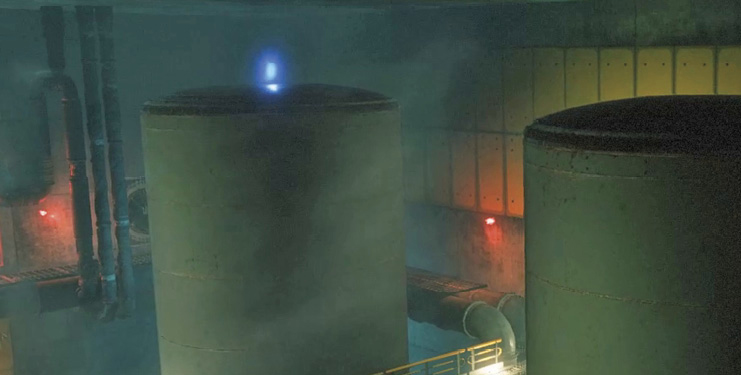
Control Room
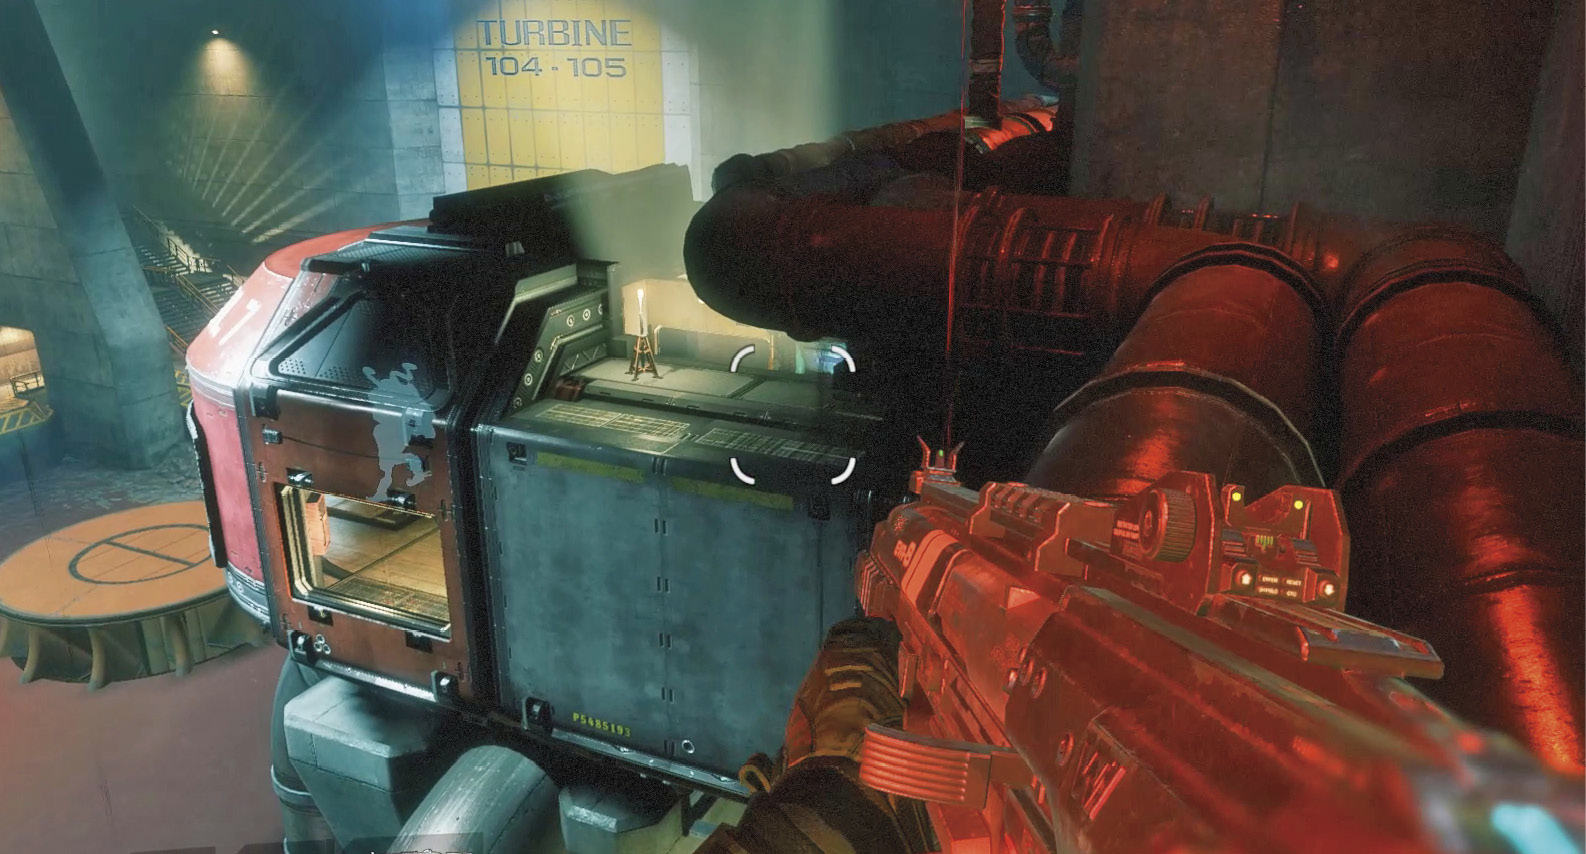
Fight your way past the grunts and drones until you spot a pair of red-lit horizontal pipes in the corner of a storage chamber. Jump onto the pipes and follow them to the control room. Drop through the opening in the roof of the control room. Then interact with the green-lit console to open the flow regulation gate. A safety airlock seals you in the control room. You’ll need to find another way back to BT. A door at the back of the control room slides open. Proceed into the adjoining corridor.
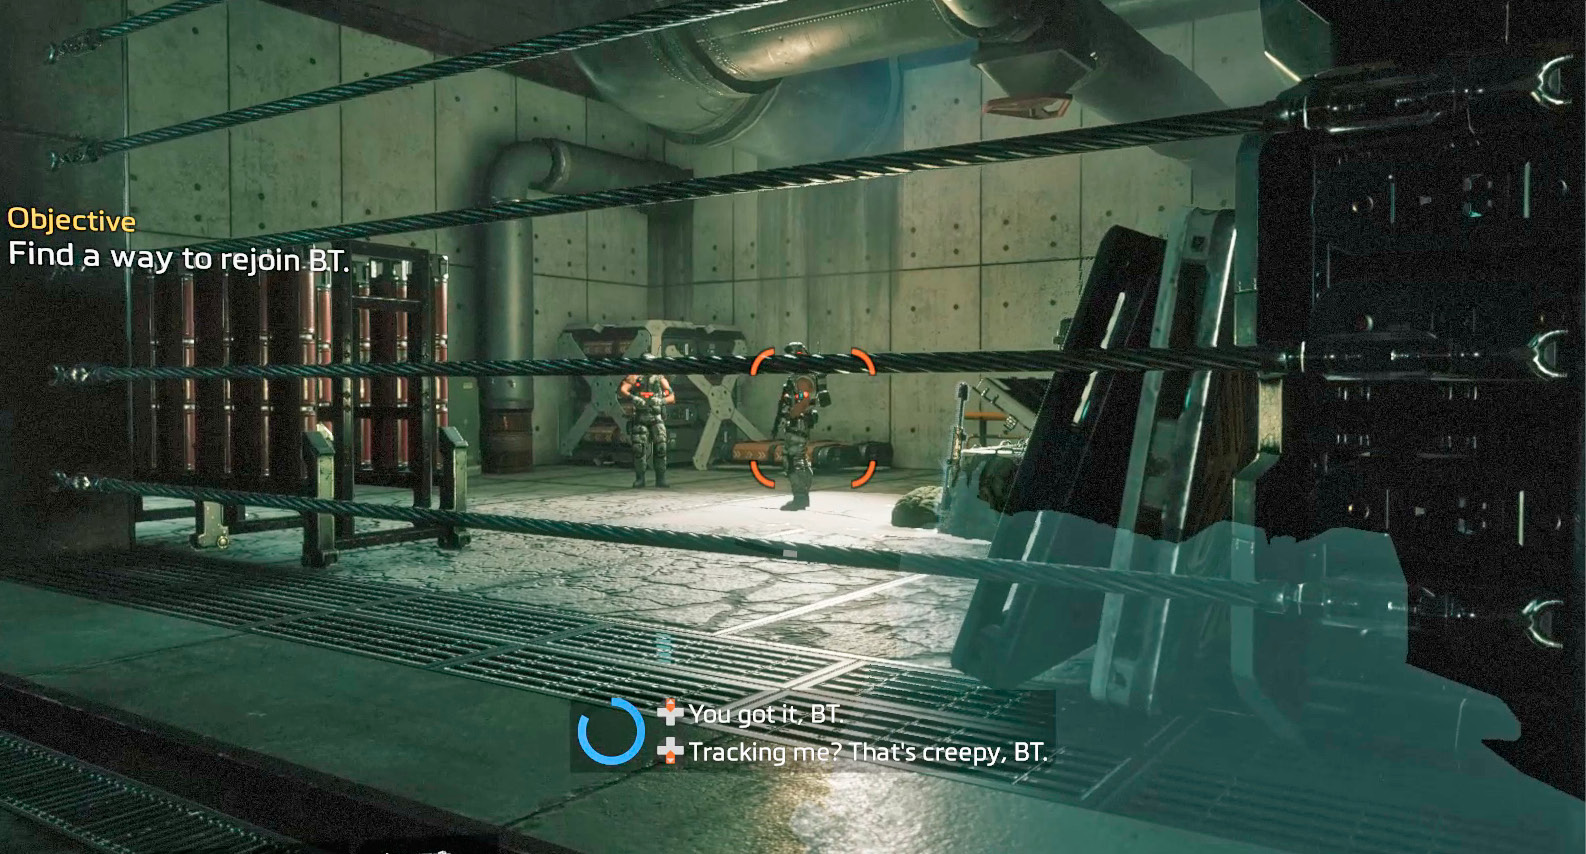
After passing through a barracks, engage a couple of IMC grunts standing near a weapon box. Use Cloak to get the jump on them and then consider updating your arsenal. The weapon box contains an EVA-8 Auto Shotgun and a Spitfire Light Machine Gun. A Kraber Sniper Rifle rests alongside the box. The EVA-8 Auto and Spitfire LMG make a good combination for the path ahead. If you want better performance at a longer range, choose the Kraber and Spitfire.
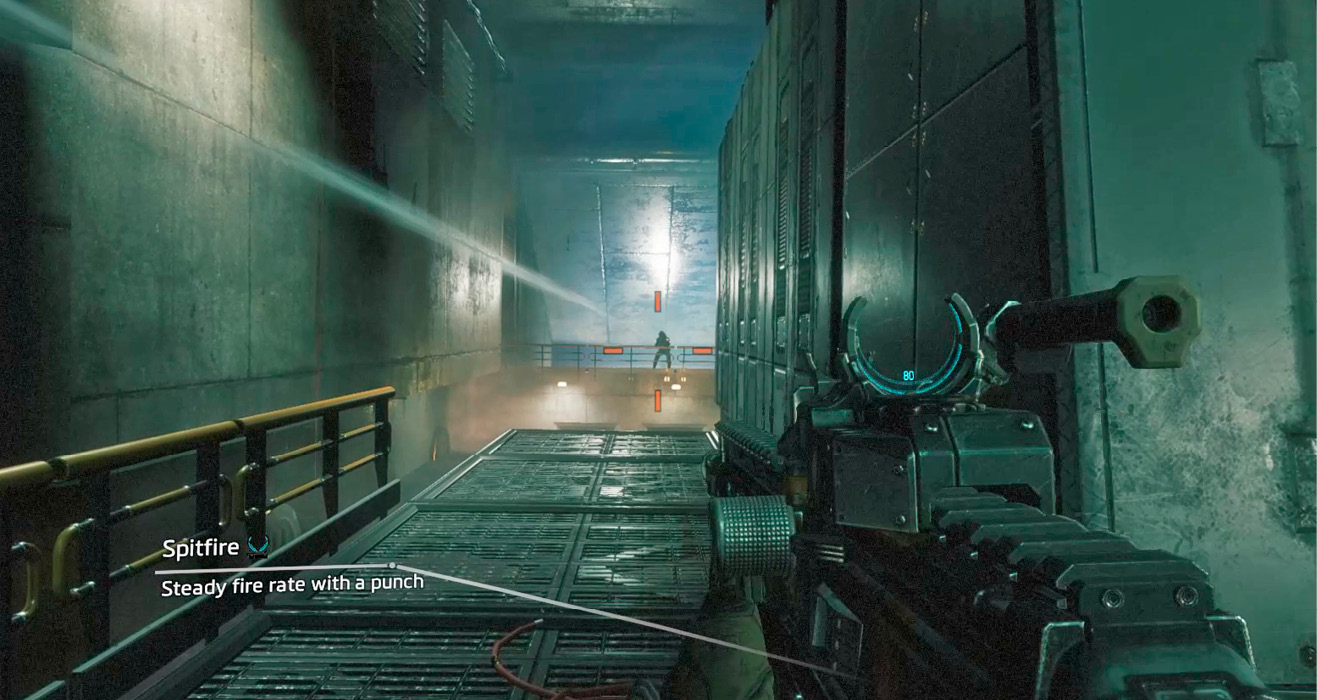
Turn toward this nearby passage. Another grunt will open fire on you with a sniper rifle. Quickly eliminate the grunt, then wallrun along the wall to the left to reach the distant catwalk where the sniper once stood. Slide down the adjoining spillway, then double jump toward another catwalk, which is occupied by a Marvin. The Marvin isn’t a threat, so don’t waste ammo on it.
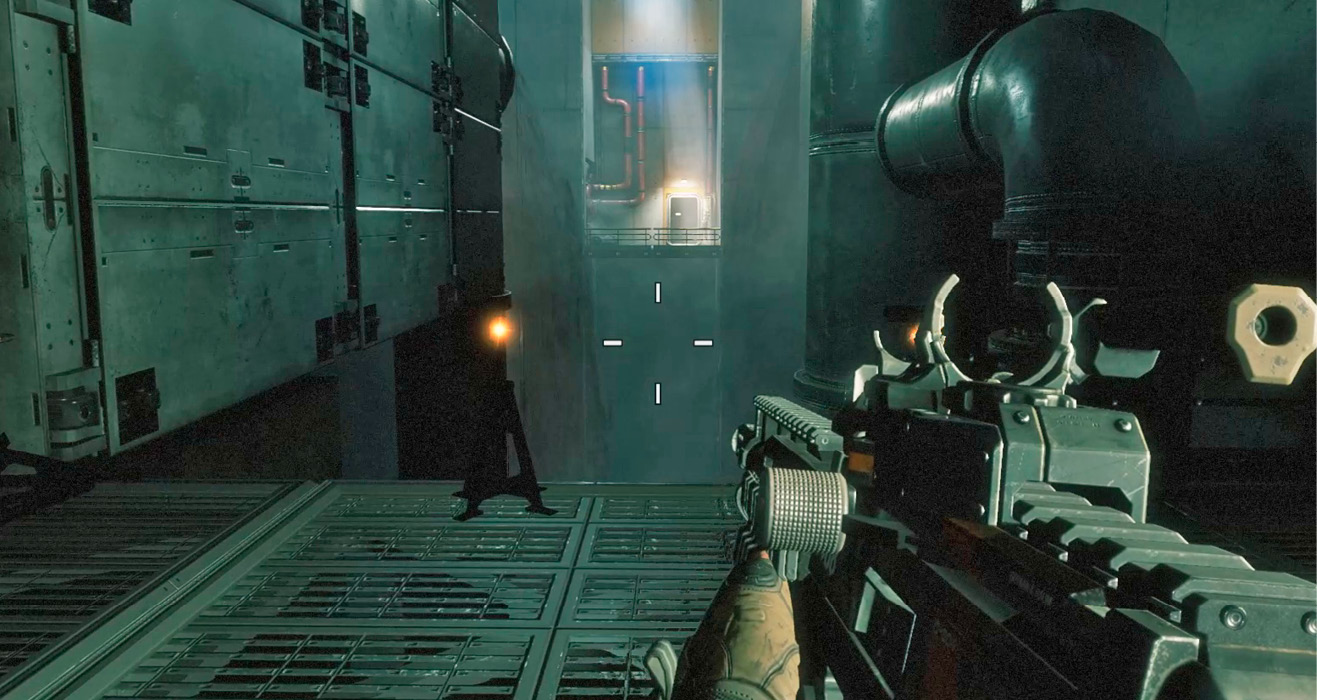
The next wallrun challenge takes some careful consideration. Farther down this passage, toxic sludge flows down the walls. Start by wallrunning along the wall on the left. Double jump toward the wall on the right to avoid making contact with the corrosive sludge. After wallrunning on the right wall, leap to the nearby catwalk and melee attack the grunt that wanders out of the doorway.
Sludge Falls
Sneak up behind a pair of grunts outside on this catwalk. Take them out, then grab the Kraber Sniper Rifle that is propped up against the wall. Use the Kraber to engage several grunts positioned along the distant catwalks. These grunts are also armed with Kraber Sniper Rifles, so limit your exposure. Strafe out from the wall on the right to take shots. Then duck back behind cover as the weapon cycles a new round. When it’s clear, traverse the adjoining walkway, using wallruns, as necessary, to negotiate gaps. There may be a few more grunts, Spectres, and drones along the way, so be ready to duck behind cover.
At the end of the catwalk, turn to the left and hop onto the adjoining horizontal pipe. Next, wallrun along the wall to the right, then double jump to the distant horizontal pipe, and enter the red-lit tunnel ahead. You can hear voices…
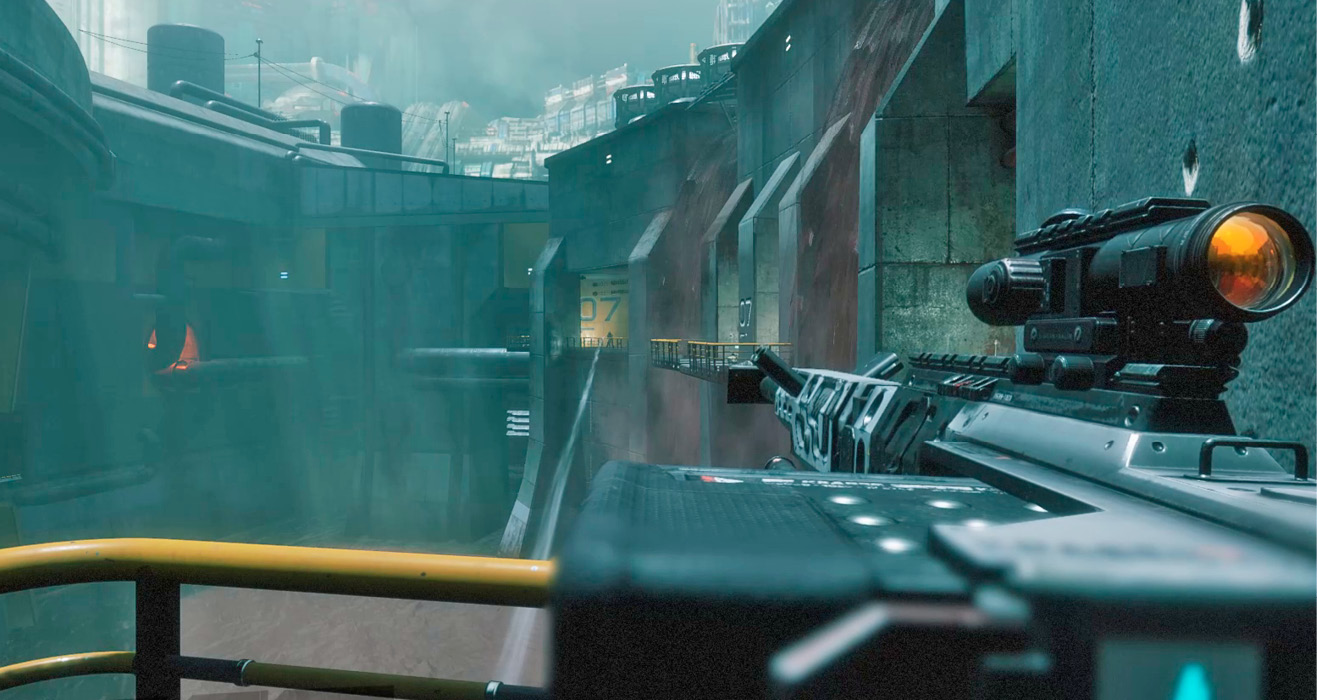
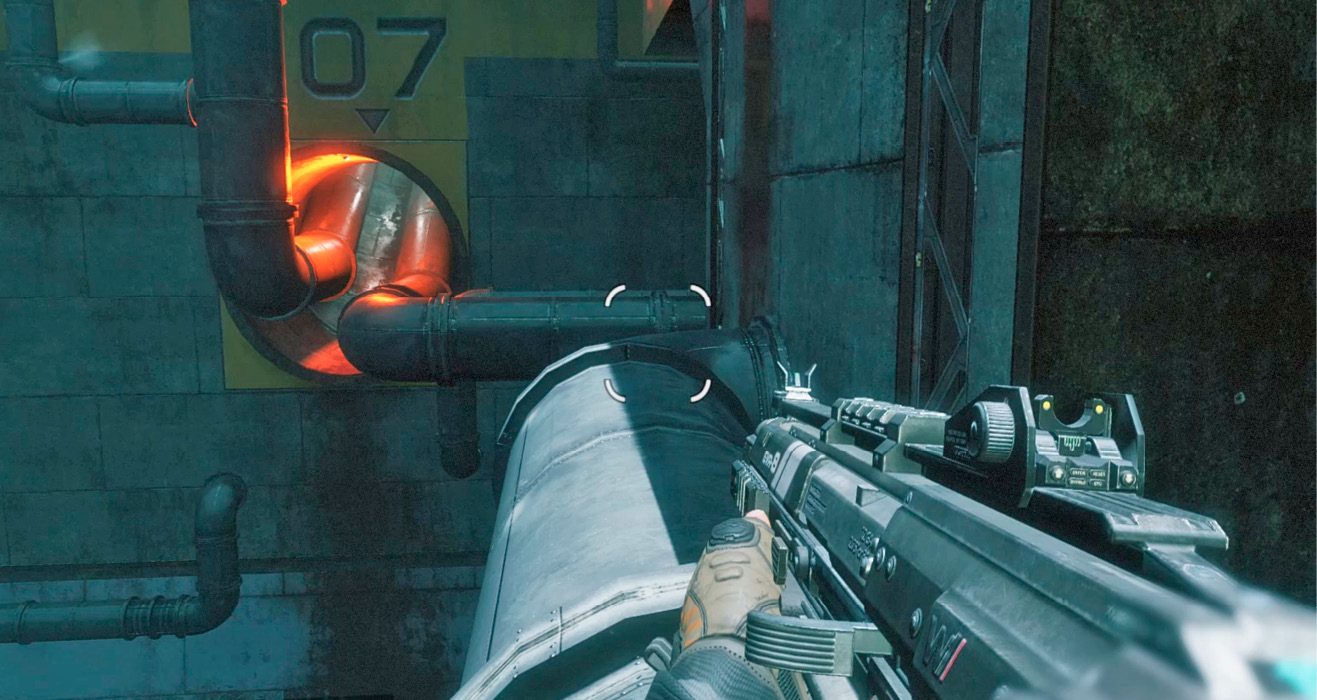
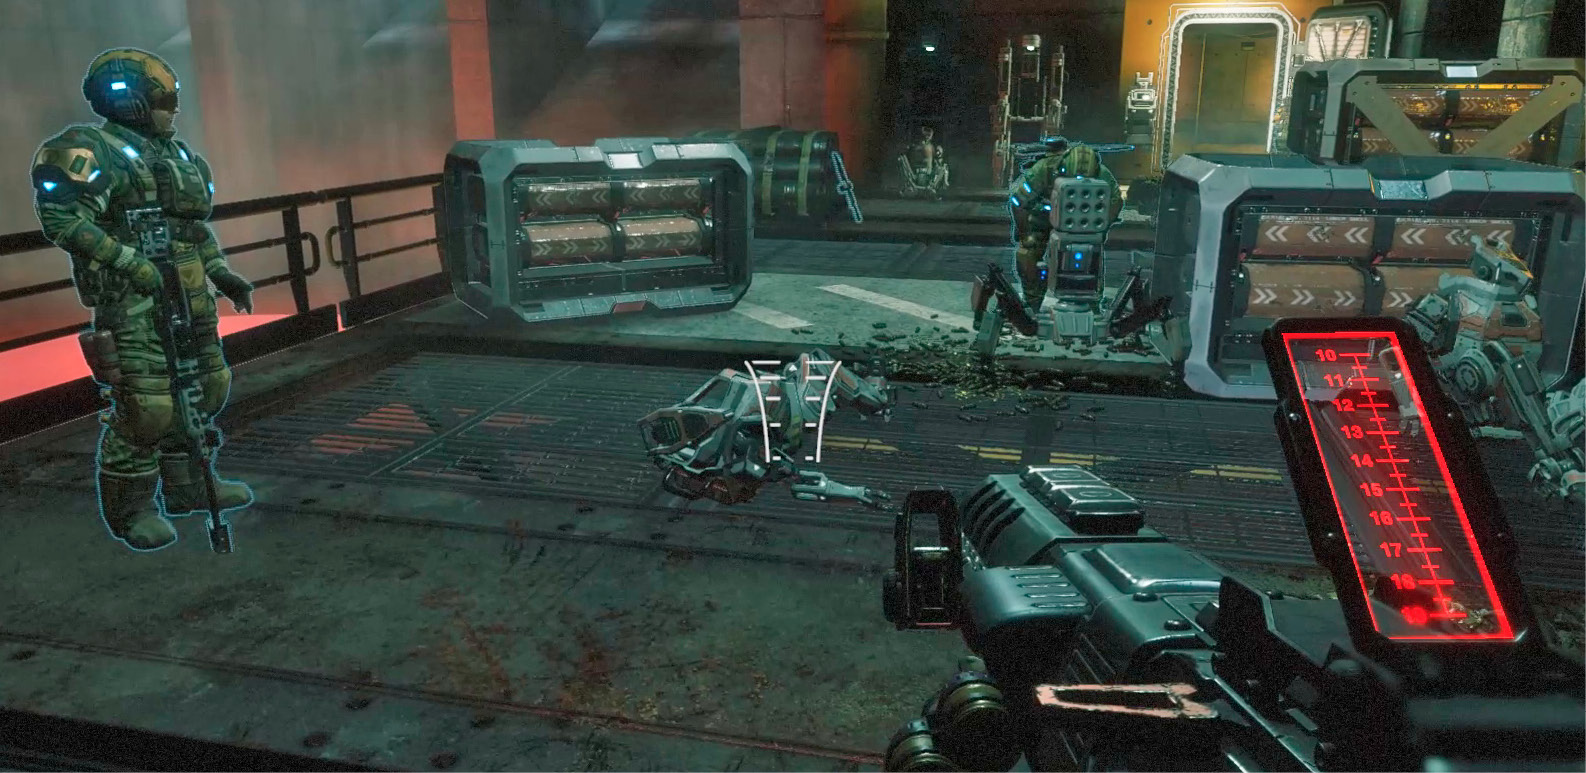
A disorganized group of Militia soldiers have taken shelter in this chamber. Wallrun along the wall to the right to reach them. Among the soldiers’ belongings is a cache of weapons, including an MGL Grenade Launcher and an L-Star. Sort through the weapons scattered on the ground and assemble a versatile loadout. The L-Star and MGL are highly recommended for the next phase of your journey.
|
 Pilot Helmet 3/6
Stalker Attack
After gearing up, enter the next corridor. Just ahead, a Stalker claws its way through a closed door. While these robotic enemies look similar to a Spectre, they’re far more aggressive. Using your weapon of choice, shoot the Stalker in the torso, causing it to double over for a couple of seconds. As the Stalker bends over, take note of the red box on its back—this “backpack” is its weak spot. Either flank or get the Stalker to expose its back, then shoot the red “backpack.” When hit, the red box emits sparks, triggering a large explosion. Make sure you’re far away from the Stalker when it explodes—the blast radius is impressive. Alternately, you can shoot off a Stalker’s legs. But even with their legs destroyed, Stalkers are relentless in their pursuit. They’ll keep crawling toward you. While crawling, a Stalker’s red “backpack” is exposed, making them easy to finish off. Experiment with takedown techniques on the remaining Stalkers in this tunnel system.
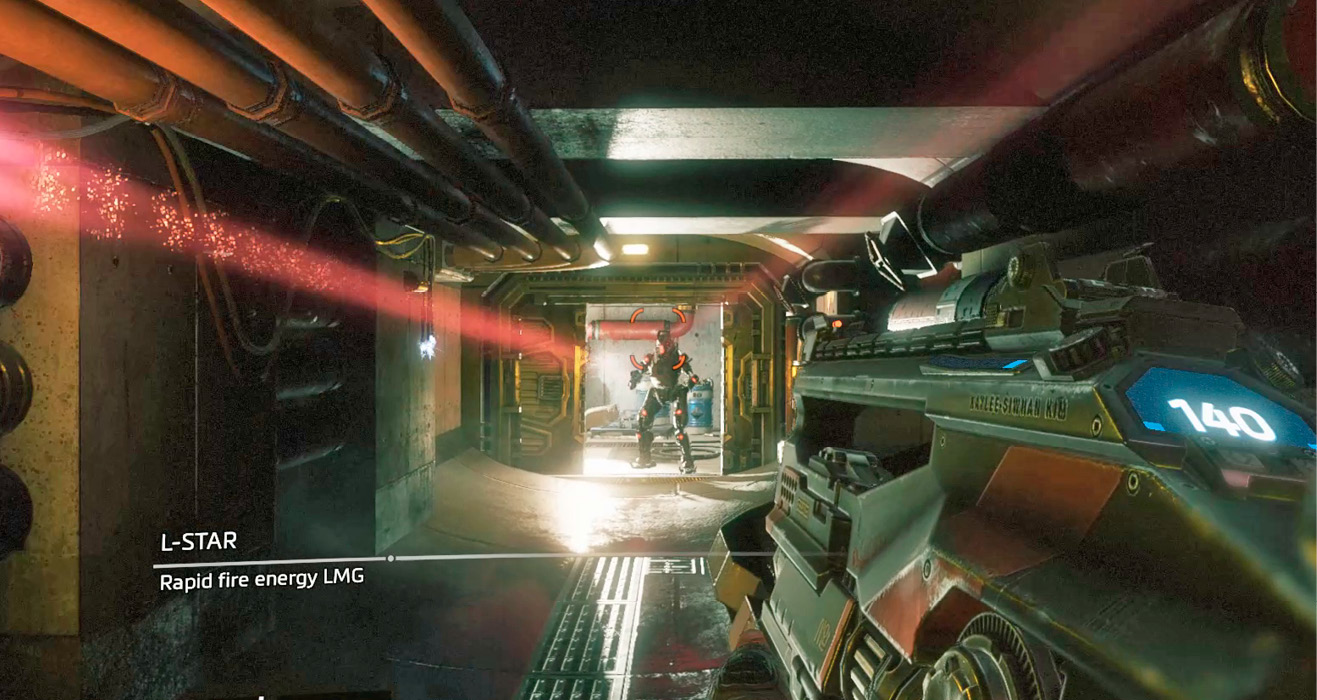
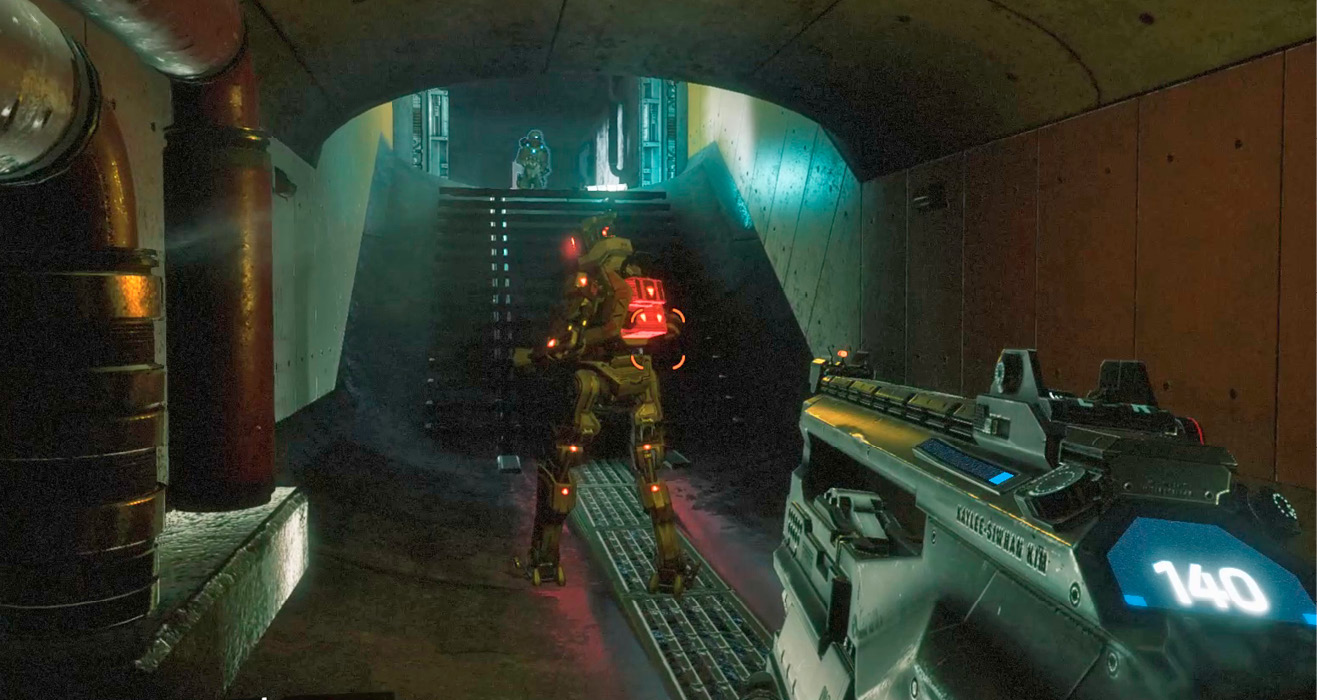
In the passage ahead, Sergeant Reyes and a small contingent of Militia riflemen are busy fending off an attack of Stalkers. Take cover and turn your attention to the Stalkers crossing the adjoining channel. To slow their advance, shoot for their legs. But even after you’ve lopped off their legs, don’t forget to shoot their red “backpack.” The secondary explosion caused by detonating a “backpack” is ideal for taking out nearby Stalkers. When the Stalker advance has subsided, double jump across the channel and attack several IMC grunts at close range. Use Cloak to conceal your advance to maintain the element of surprise.
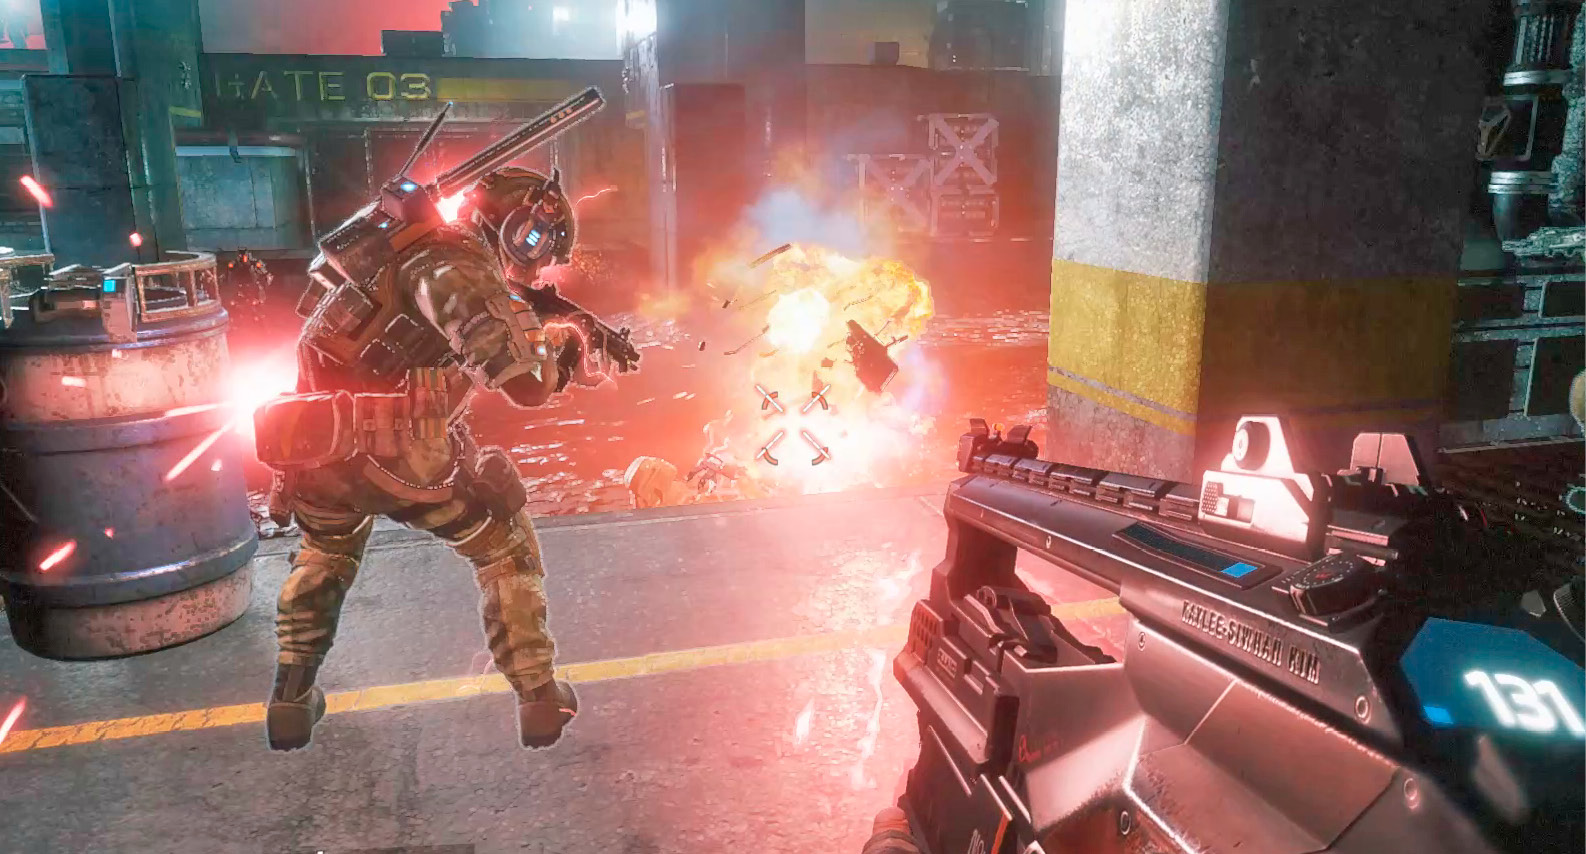
While cleaning up the grunts, watch for three more Stalkers advancing from the right. They exit their charging nodes as you approach. Duck in and out of cover while engaging these Stalkers. If possible, try to hit the red “backpack” on one of them to trigger a large explosion. One of these explosions should be enough to take out all three Stalkers. Alternately, shoot off their legs. While crawling, Stalkers can’t shoot back. Instead, they simply try to melee you.
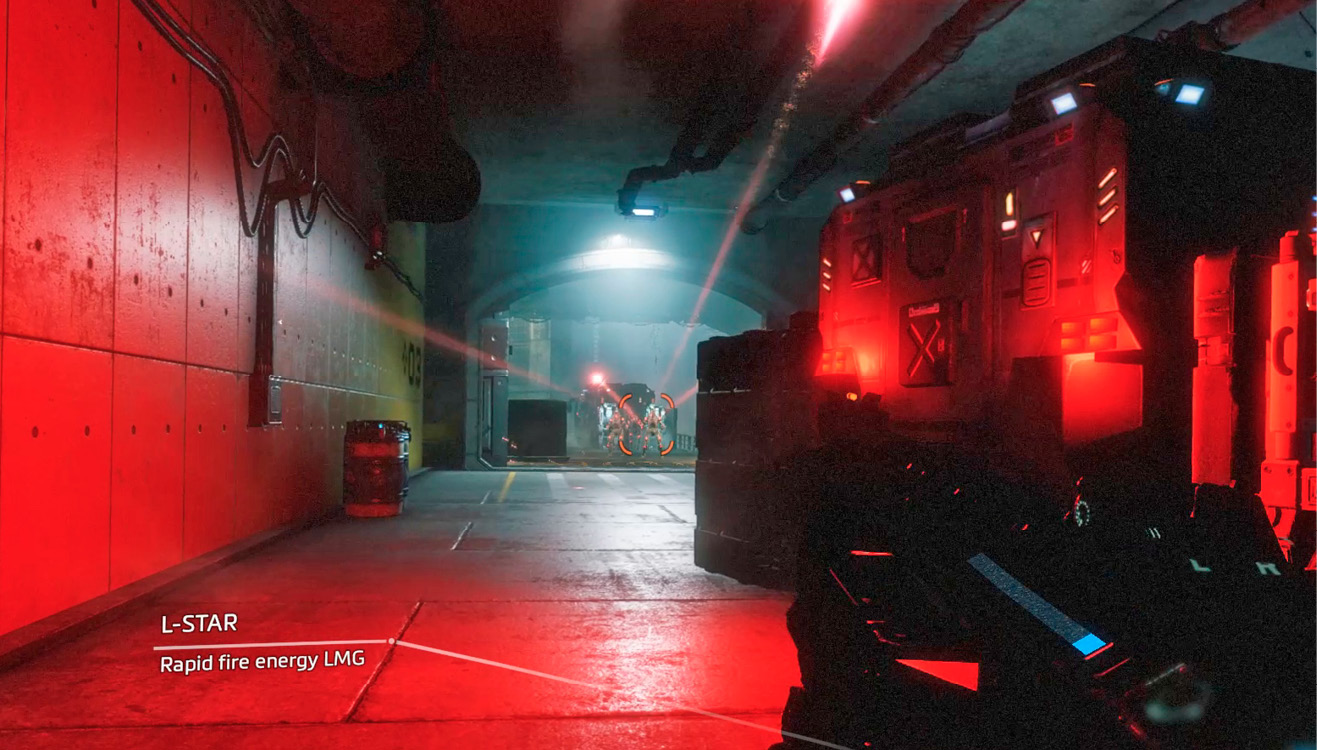
Walk across a pair of red horizontal pipes, then double jump toward another set of pipes. Continue forward, then double jump toward the wall on the right. As you wallrun along the wall take note of grunts on the platform ahead. Activate Cloak to avoid getting shot. Jump onto the platform, then seek cover before Cloak disengages. Now you can hunt down the grunts one by one while using the various pipes and crates for cover.
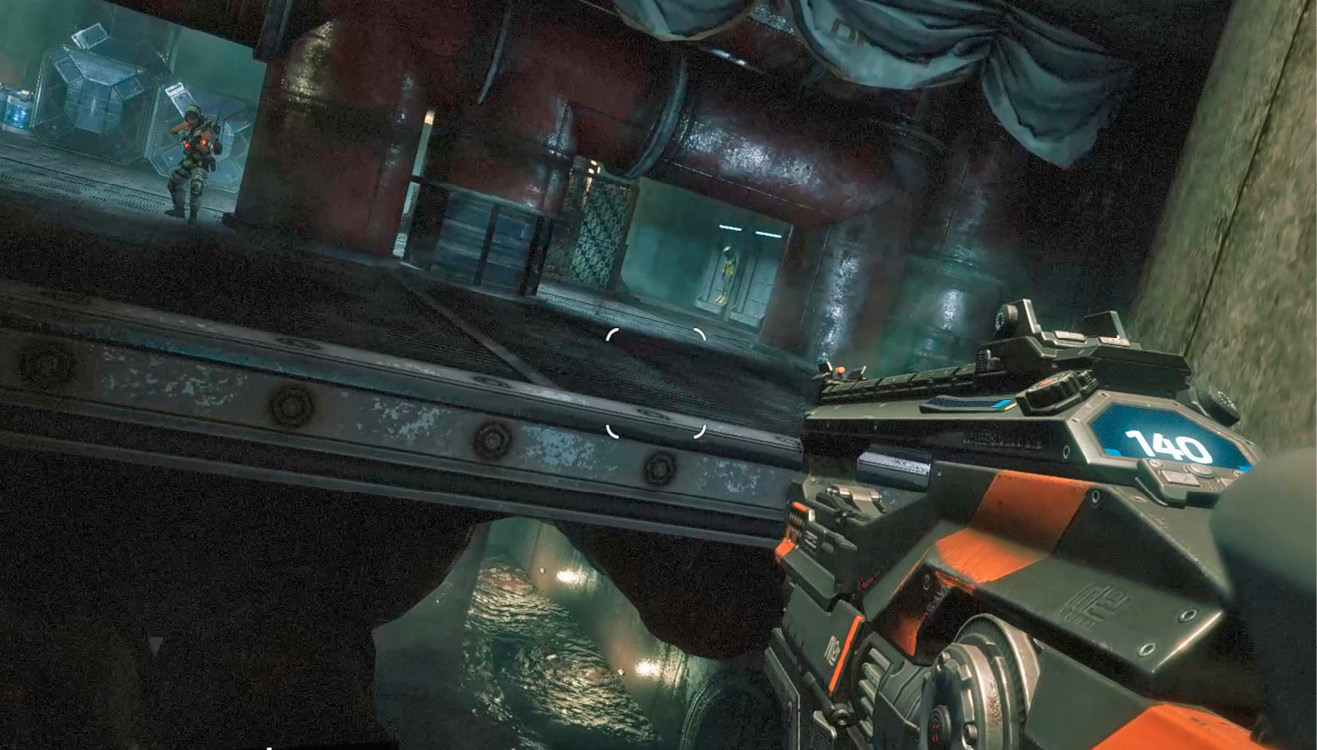
Prepare to engage a mix of grunts and Stalkers in the next room. Use Cloak once again to keep the enemies guessing. Once the threats are eliminated, perform a wallrun along the wall on the right to access the upper walkway. Expect resistance from more grunts up here. The automated turret peering out a window doesn’t pose a threat, but feel free to blow it up with a grenade or a melee strike.
|
 Pilot Helmet 4/6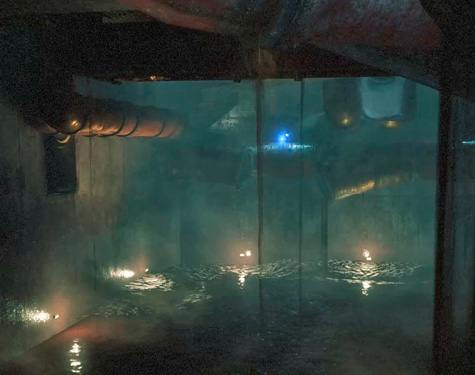
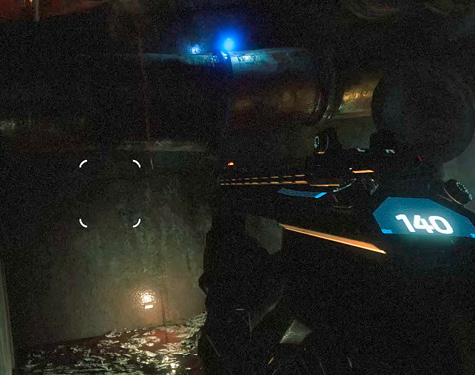
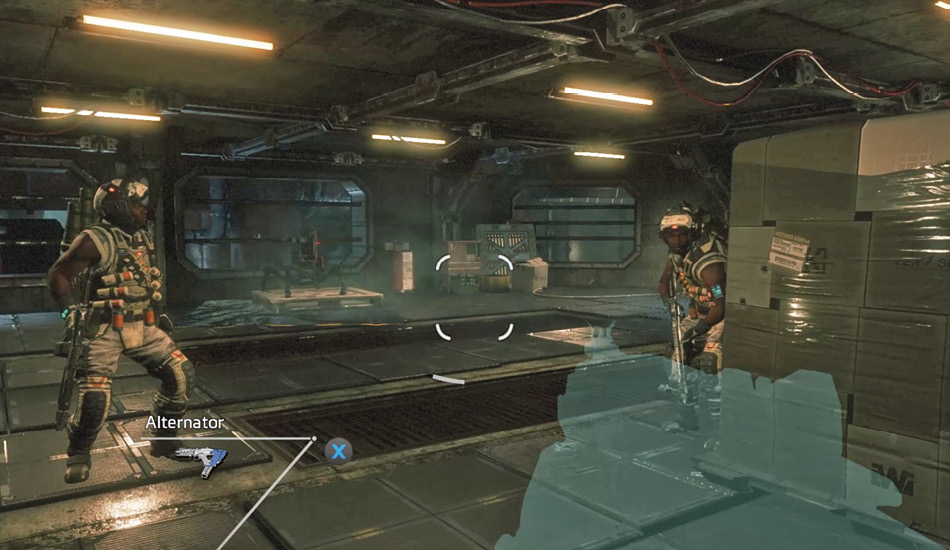
The adjoining room contains a weapon box with an L-Star, Kraber, and several grenades. Once you’ve visited the weapon box, turn to the green-lit panel next to the large door. Interact with the panel to open the door and proceed through the adjoining passage.
|
 Pilot Helmet 5/6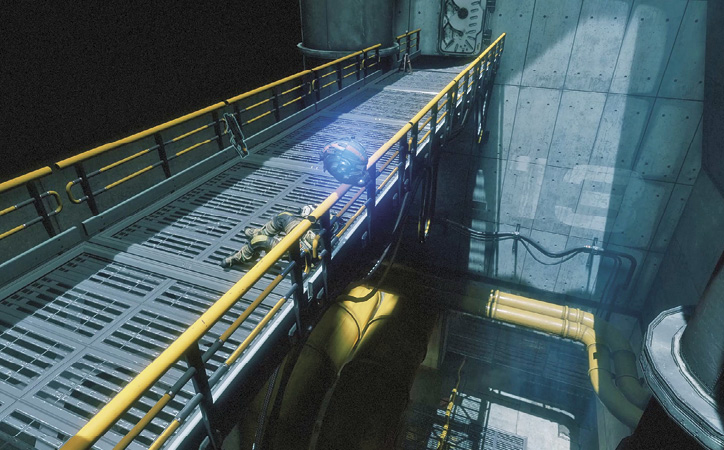
Corkscrew Room
The thunderous sound of rushing liquid fills this cylindrical chamber as multiple spillways of toxic sludge cascade from pipes high above. You need to reach the top of this chamber (using wallruns) without making contact with the toxic sludge. Follow the catwalk around to the left, then wallrun and jump along the inner wall to reach the first landing.
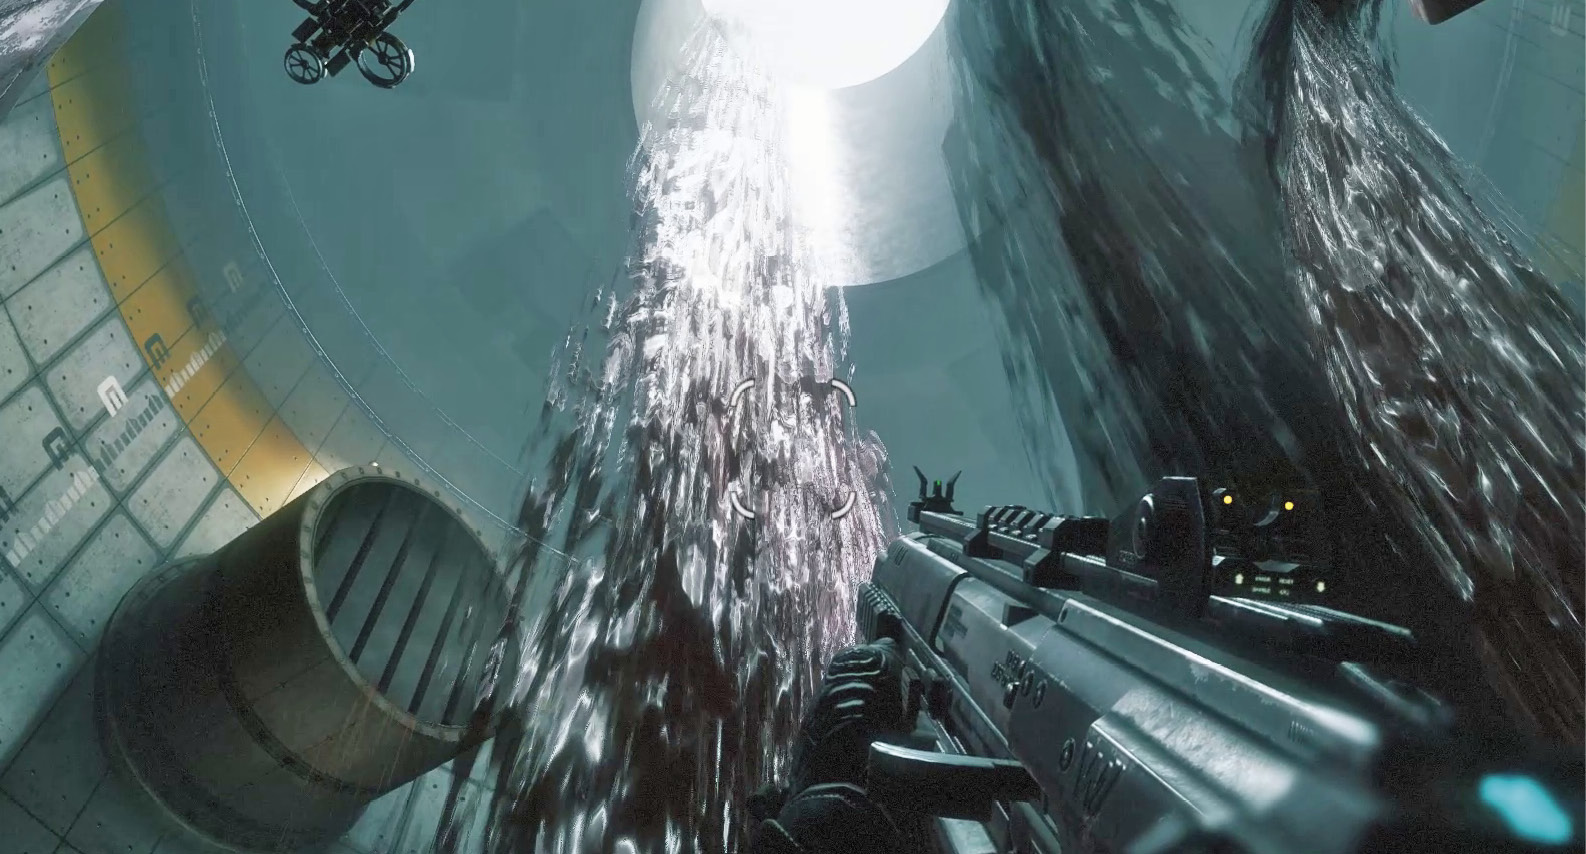
On the first landing, locate and jump to the top of a large, rectangular concrete block. From there, turn around and wallrun toward this large pipe jutting out of the outer wall. Stop on top of the pipe, then initiate another wallrun along the outer wall, leaping toward a pair of horizontal yellow pipes.
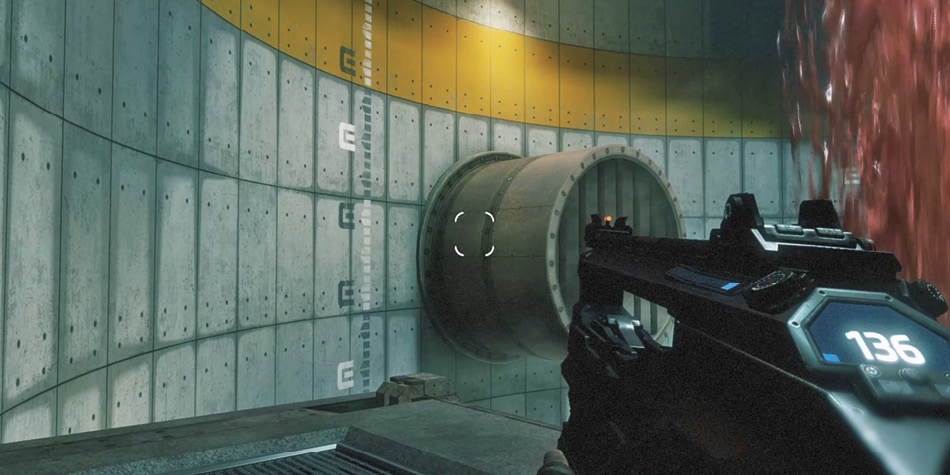
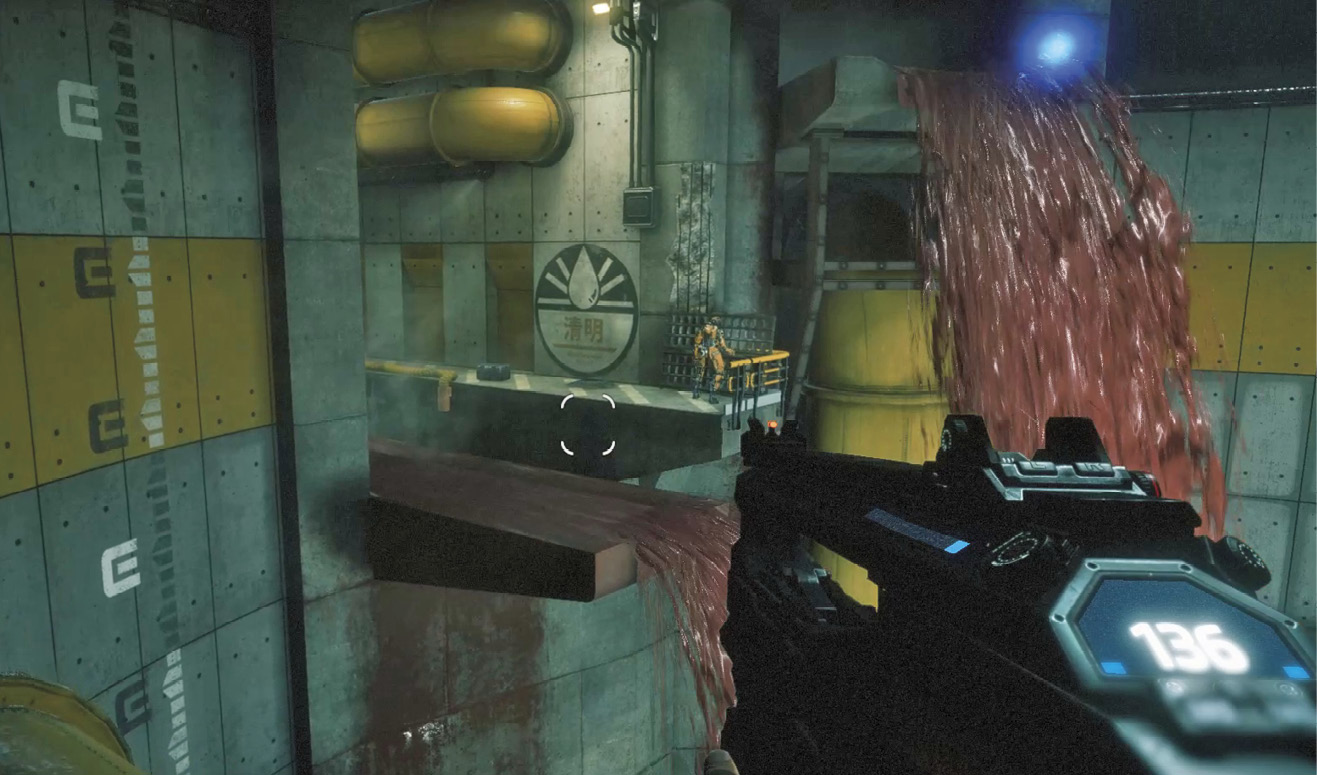
Now turn toward the platform where a Marvin is working away. This is your target platform. Wallrun along the exterior wall, then jump toward the platform that contains the Marvin.
|
 Pilot Helmet 6/6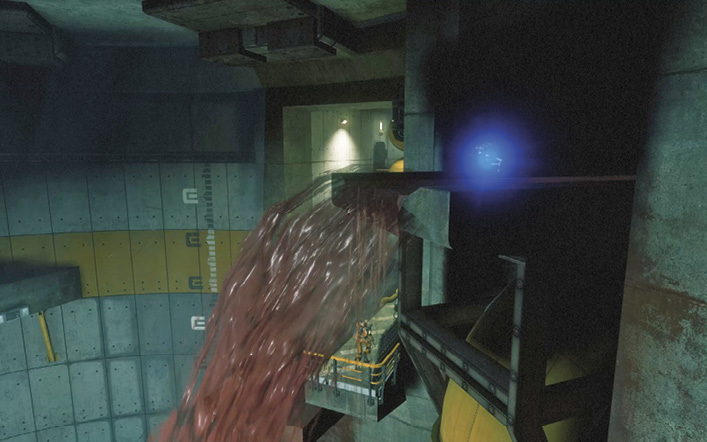
Sludge Flow Control
Advance through the adjoining corridors until you can see BT waiting for you ahead. Before you can reunite, you must first deactivate the sludge flow. Stop by the weapon box in this room, then interact with the green switch to open the adjacent door. Descend a set of stairs in the next room, then slide beneath the partially open door. Get ready for a fight.
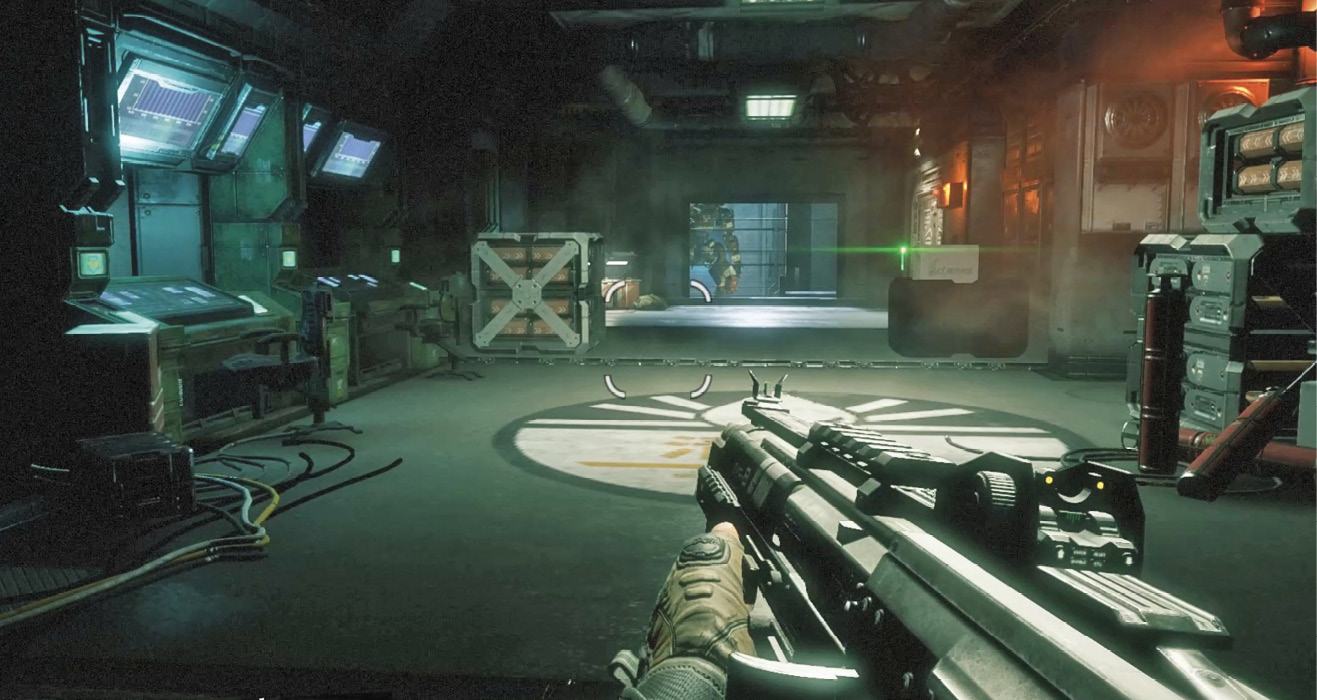
A curtain of putrid, flowing sludge separates you from BT. He won’t be able to help you until the flow stops. The path to the sludge flow control room is heavily guarded by IMC grunts. Use Cloak and stay mobile while clearing out hostiles along the way. Fight your way into the control room and interact with the green-lit panel to stop the sludge flow. It takes a while for the flow to cease completely, so don’t stick around. Keep moving and using Cloak to avoid getting trapped by grunts.
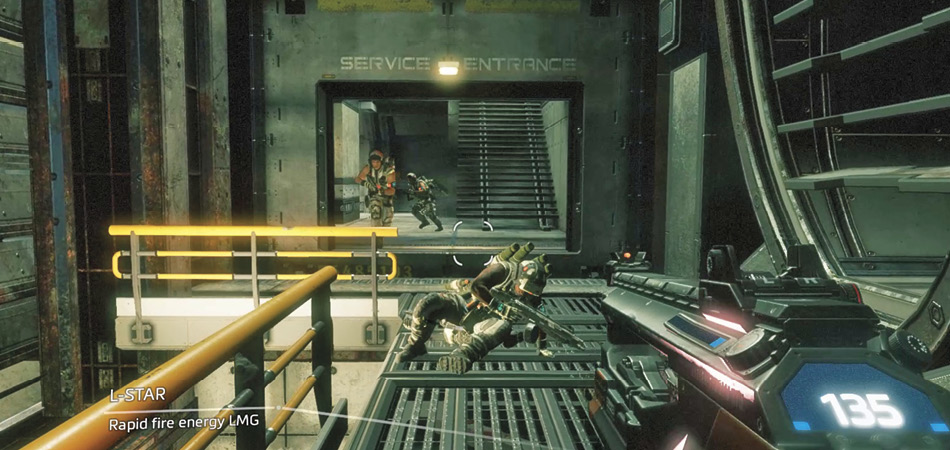
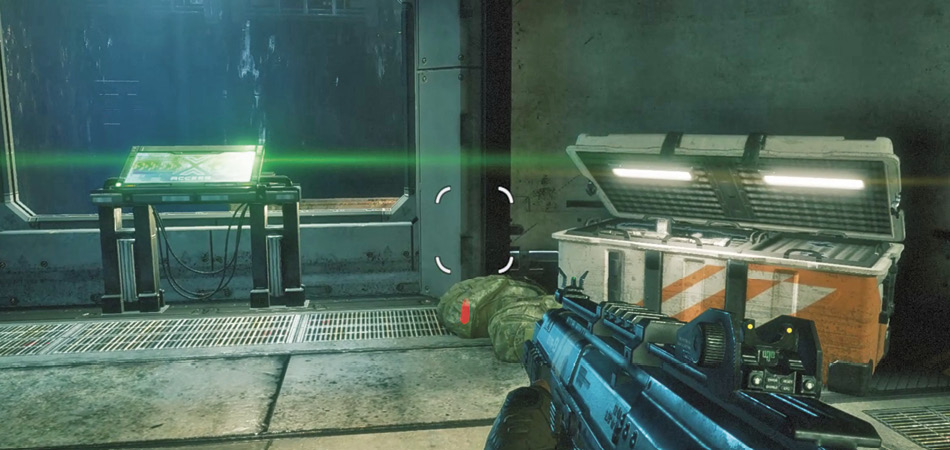
Grunts continually appear throughout the sludge flow shutdown sequence, leaving you isolated from BT. Make circuits around the room, using jumps and wallruns to stay ahead of your pursuers. Activate Cloak liberally to keep the enemies guessing. While dispatching enemies helps, it’s better to keep moving until the sludge flow shutdown sequence is complete. While you’re racing around the chamber, try to find the Specialist responsible for releasing all those Ticks.
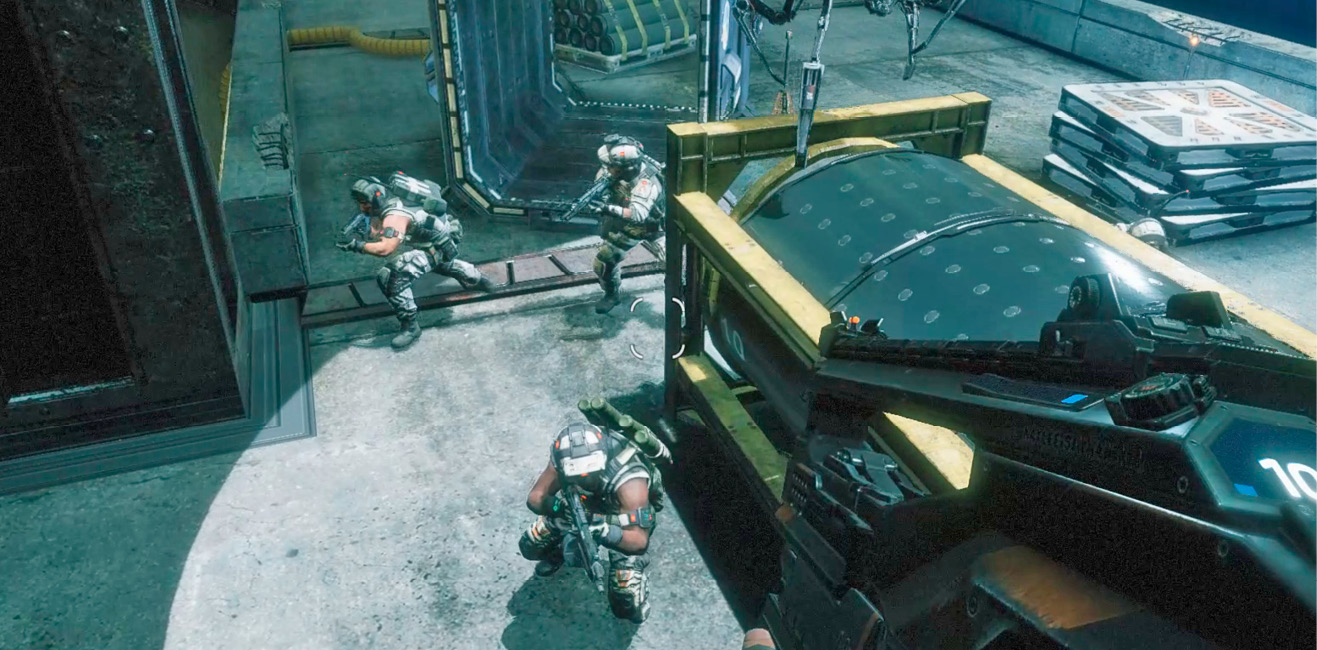
There’s a Kraber Sniper Rifle on the control room’s roof. Consider taking the high ground and sniping some adversaries from long range. This corner perch can be reached by wallrunning from the control room’s rooftop. While this spot is inaccessible to grunts, you’ll need to watch out for Ticks. Consider holding out here until the flow shutdown sequence is complete. When the flow stops, BT joins the fight. Help him clear out the surviving IMC forces.
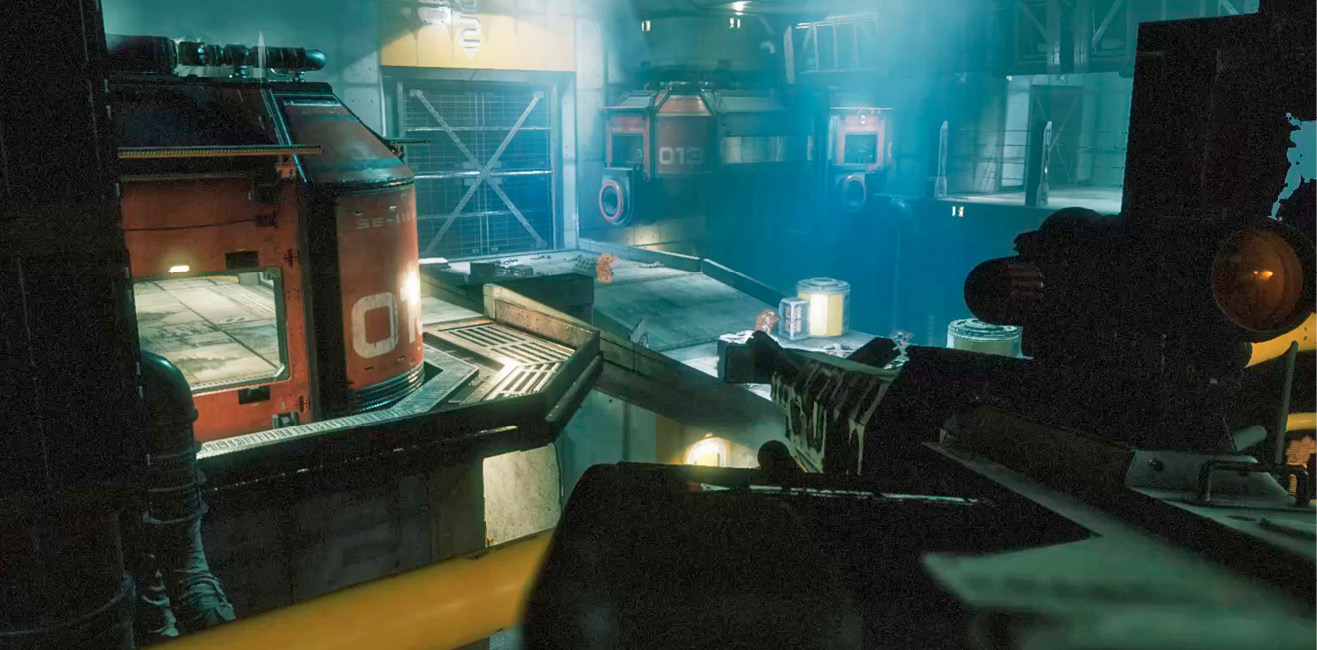
As the chaotic firefight comes to an end, BT waits for you to catch up. Hop onto this pipe, then wallrun along the wall to the right to reunite with BT. As you advance through the adjoining passages, BT reports that this IMC facility is not following standard protocols. In his estimate, the toxins produced by this facility will eventually destroy Typhon.
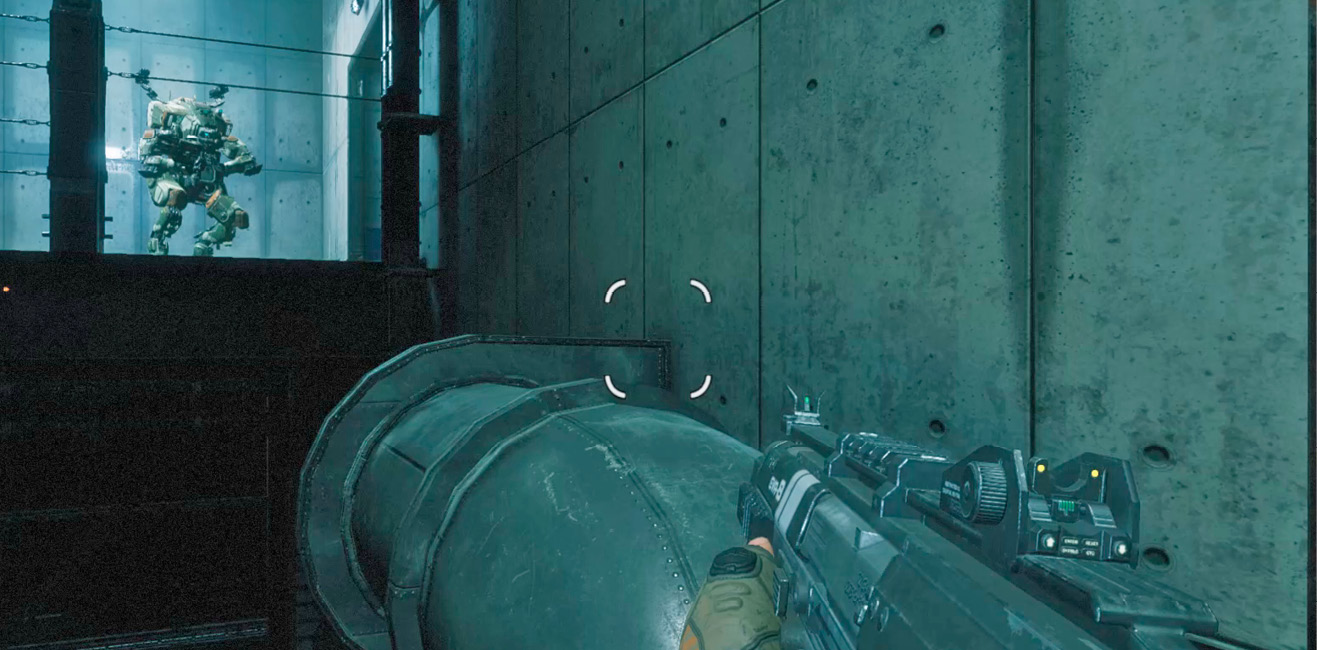
Boss Battle: Kane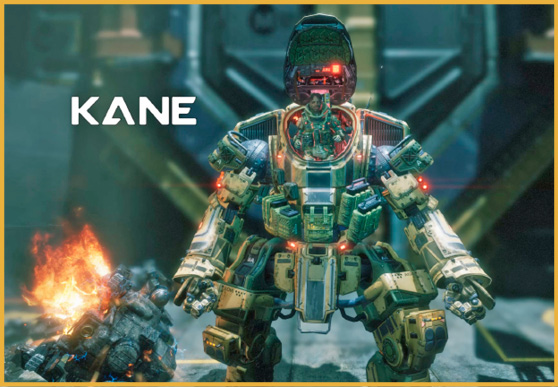
Faction: Apex Predators Role: Former IMC operative requisitioned by Blisk to support IMC manhunt ops Age: 33 Skills: Large-scale search, salvage, and recovery, comms and coordination. Excellent multitasker. Masterfully uses a small army of drones and automated infantry to get jobs done that would otherwise have required many more people. Was a top candidate for the IMC’s mothballed “Operator” program. Personal Titan: Scorch History: Brilliant electrical engineer with a love of gadgets, weapons, and explosives. Anarchistic and loves the independence and freedom of his IMC-backed “counter-insurgency contracts.” Born and raised in Los Angeles, IMC trained in Tokyo, initially in drone and remote ops. “Kane’s not afraid of dying! Gonna take a lot more than that, scrub, now come on and HIT ME!!!” — Kane |
The sewer exit is blocked by Kane, one of Blisk’s mercenaries. He’s just finished off a Militia Titan and its Pilot. But he’s more than ready for another fight. Unlike Titans you’ve confronted thus far, bosses like Kane have Titans equipped with shielding just like BT. This makes them much more resilient. Therefore, prepare to attack aggressively. An enemy Titan’s shields are represented by a blue bar above their orange armor bars.
Following Kane’s introduction, an enemy Brute Titan drops in to assist him. If you haven’t already, equip the Tone Loadout and immediately drop a Particle Wall to absorb incoming rounds. Kane pilots a Scorch Titan, specializing in short-range, fire-based attacks. Instead of focusing on Kane, target the Brute Titan first. Stay behind your Particle Wall and continually pound the Brute with the 40mm Tracker Cannon and Tracking Rockets. Try to eliminate the Brute before Kane can close in and hit you with his Titan’s devastating Thermite Launcher.
As Kane pushes forward, do your best to keep your distance. While there isn’t much room to maneuver, dash laterally to dodge his incoming shots. His Titan’s Thermite Launcher lobs large incendiary grenades that explode on contact and coat the target in fire. His Titan’s Firewall attack is equally devastating if you’re caught in its narrow path. Keep moving and watch your step. If you accidentally stray into an area that’s been set ablaze, BT will take continual damage. Monitor your shields and armor at all times to verify you’re not taking damage.
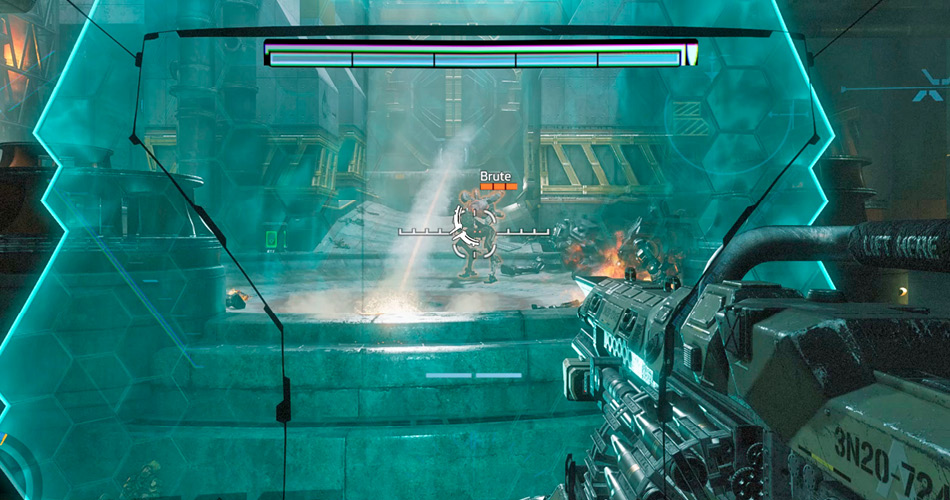
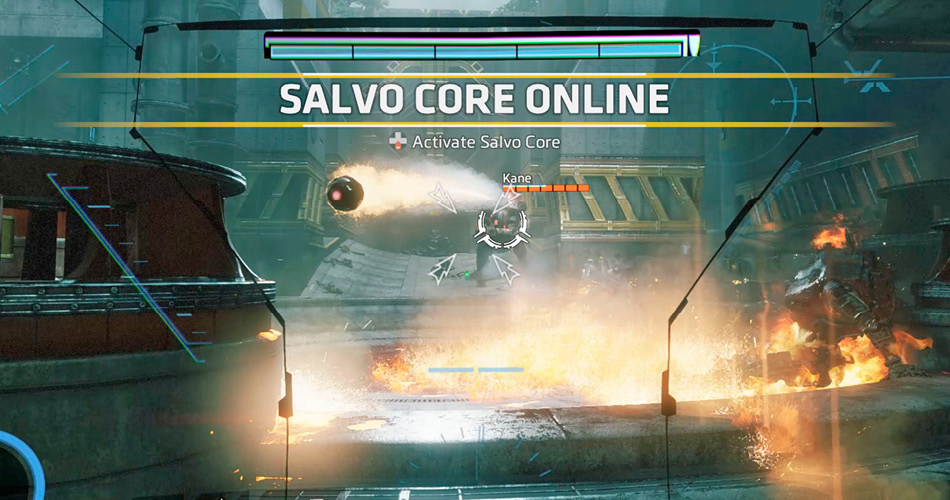
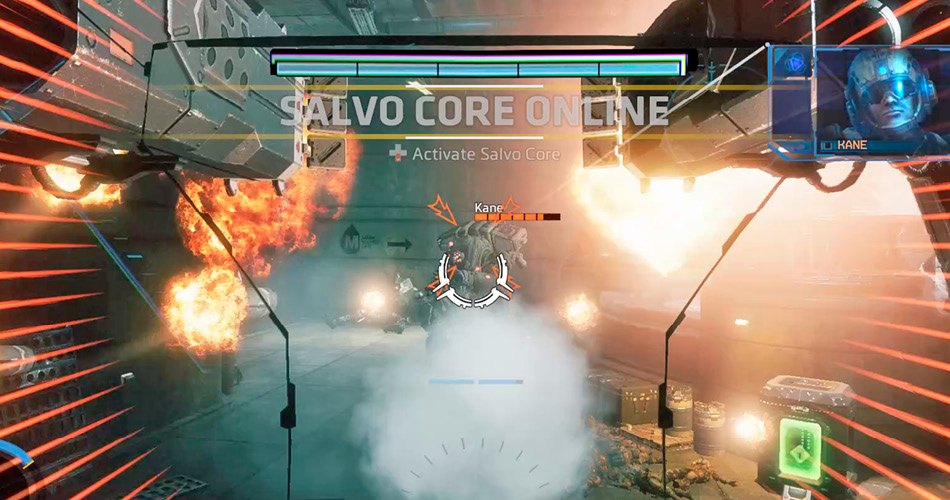
The Tone Loadout’s Particle Wall won’t hold up very long against Kane’s weapons. So instead of remaining stationary, keep moving while scoring hits with the Tone Loadout’s 40mm Tracker Cannon and Tracking Rockets. When Salvo Core becomes available, get ready to make an aggressive push. Salvo Core can take down Kane’s shields and a good portion of his Titan’s armor. Follow up with an aggressive attack, pounding Kane with continuous 40mm rounds and Tracking Rockets. Or, if you prefer, switch back to the Expedition Loadout and unleash fury with the X0-16. The Expedition’s Vortex Shield comes in handy for tossing Kane’s fiery munitions back at him.
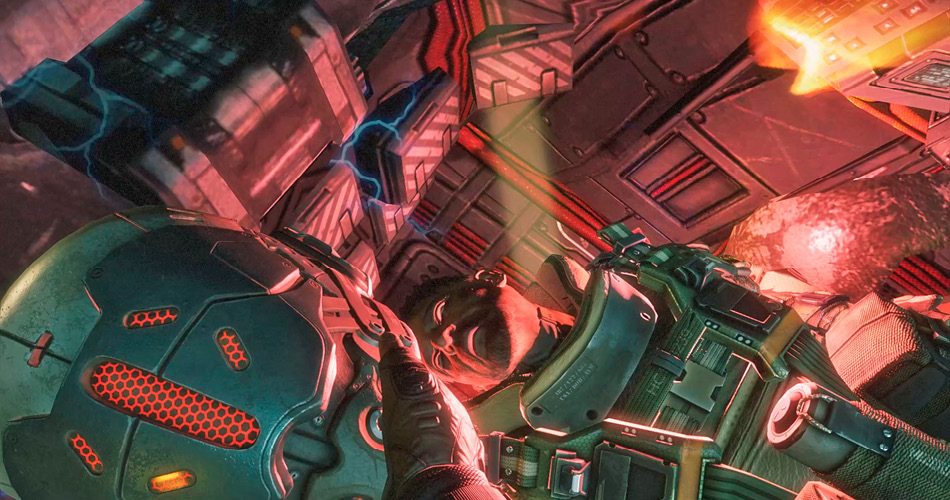
If Kane is allowed to retreat, his Titan’s shields will regenerate, prolonging the battle. So keep up the attack until Kane’s Titan is down for good. Following the battle, BT reports that Kane’s helmet radio can be retrieved. This will allow you to eavesdrop on Blisk’s comms. Disembark from BT and interact with Kane’s fallen Titan. This move pays off immediately, revealing an incriminating conversation between Blisk and Slone: not wanting to deal with prisoners, Blisk tells Slone to execute three captured Militia personnel. But your ability to decrypt enemy communications is only a small victory. If you want to survive, you need to keep moving.
Achievement and Trophy Checklist
| Image | Name | Description |
|---|---|---|

|
Fire Everything! | Destroy a Titan with your Salvo Core in the Campaign |

|
Hat Trick | Destroy 3 enemy Titans with 1 Core ability in the Campaign |

|
Hot Mess | Defeat Kane (Secret) |