Titanfall 2 Guide Single-Player Campaign The Ark
IMS Malta
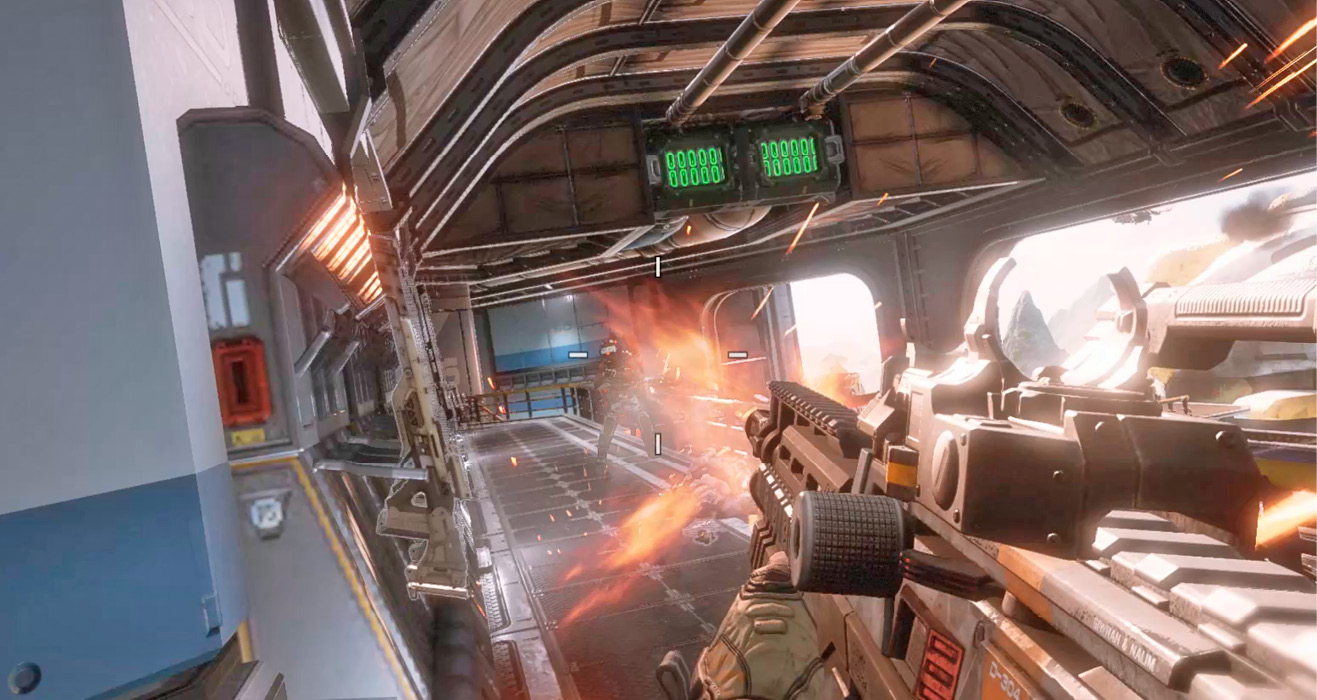
When you hit the deck of the Malta, you don’t have much time to get your bearings. You immediately come under attack by multiple IMC grunts. Activate Cloak and seek cover before attempting to return fire. Ascend the nearby catwalk and clear it of grunts and then fire down on the enemies below. On the catwalk there’s a weapon rack containing Double Take Sniper Rifles, Mastiff Shotguns, Spitfire Light Machine Guns, and Volt Submachine Guns. Settle on a Spitfire and a Double Take for this fight.
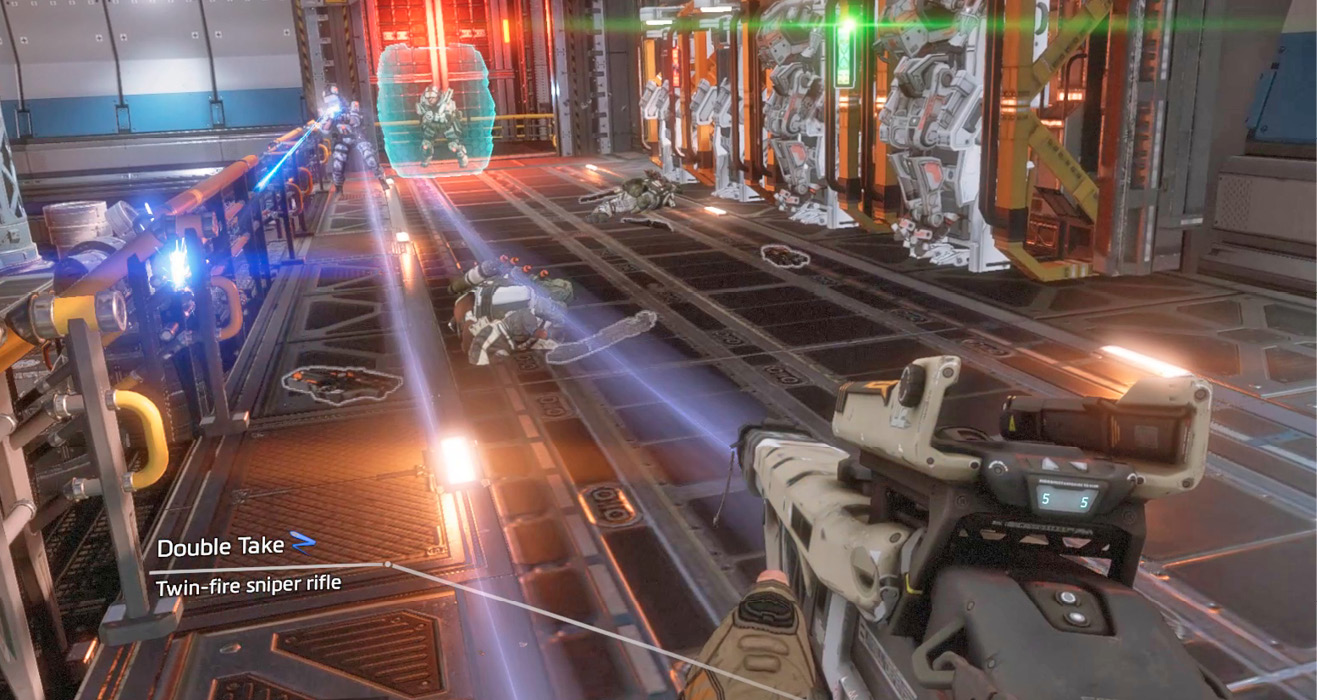
Advance along the deck, clearing out grunts along the way. Just ahead, a couple of grunts attempt to activate four Stalkers. If you shoot the grunts before they reach the controls, you can prevent them from activating the Stalkers. Meanwhile, a shield captain and a few more grunts arrive via a lift at the end of the corridor. Keep your distance from the shield captain and pick off grunts and Stalkers with the Double Take Sniper Rifle. When the shield captain is isolated, use Cloak to flank him. But don’t board the lift just yet.
|
 Pilot Helmet 1/3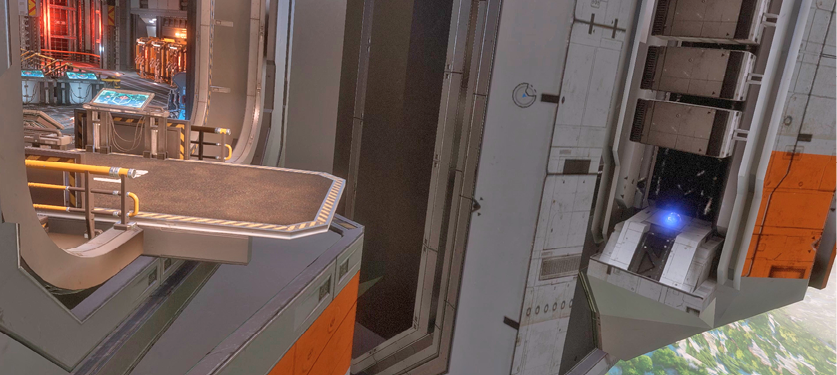
Main Gun Battery
Ride the lift to the next deck. Briggs needs you to take out a few of the Malta’s guns, as they’ve just destroyed the Militia’s MCS Braxton. Step onto the platform and eliminate a lone grunt without being noticed. Next, peer over the railing to the left to locate the first gun. It’s manually operated by a grunt sitting behind its controls. Take aim with the Double Take Sniper Rifle and eliminate the grunt operating the gun. Hold onto this elevated perch and take out more grunts below. Try to prevent the nearby Stalkers from being activated by shooting anyone who approaches the green-lit panel on the charging node.
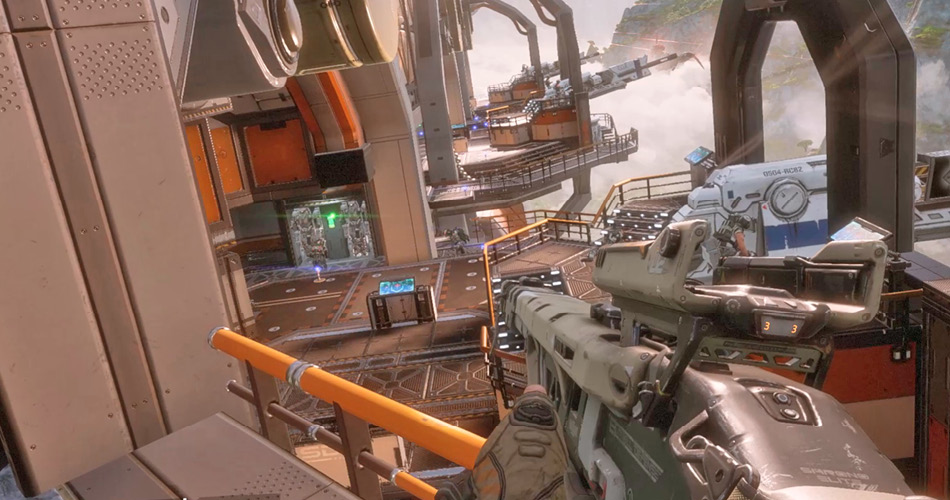
You can’t stop all the Stalkers on the deck from being activated. If necessary, retreat farther back and engage the Stalkers as they hop over the platform’s railing. Activate Cloak and ambush them with a well-placed grenade. Further immobilize them by shooting off their legs with an L-Star. Remember, try to hit their red “backpack” to trigger a large explosion, damaging and potentially destroying nearby Stalkers. Dealing with multiple Stalkers in such a confined space isn’t easy, but it’s better to draw them here than it is to confront them on the deck below where they’re assisted by grunts.
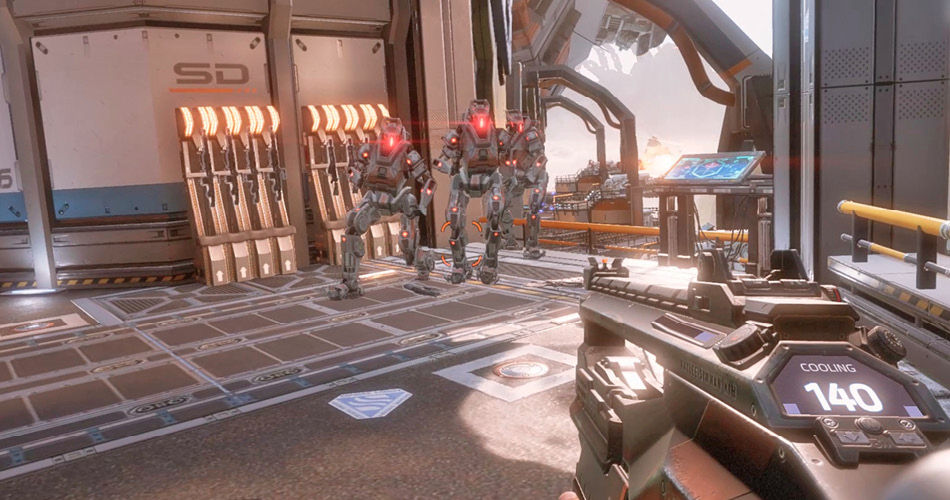
With the Stalkers down, drop down onto the deck and cautiously advance toward the second gun. Watch your corners because there may be grunts hidden behind cover. When the second gun comes into view, clear out the grunts nearby and then take out the gunner using the Double Take. Wallrun along the wall to the left and continue your assault.
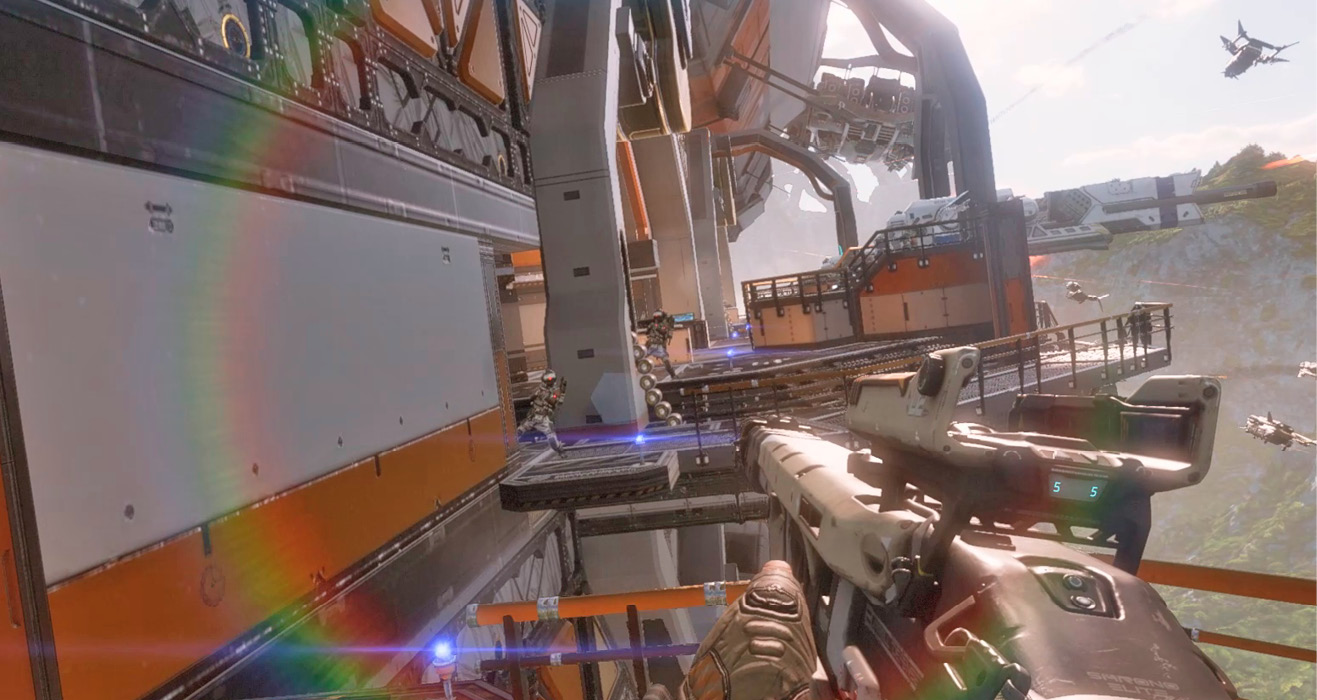
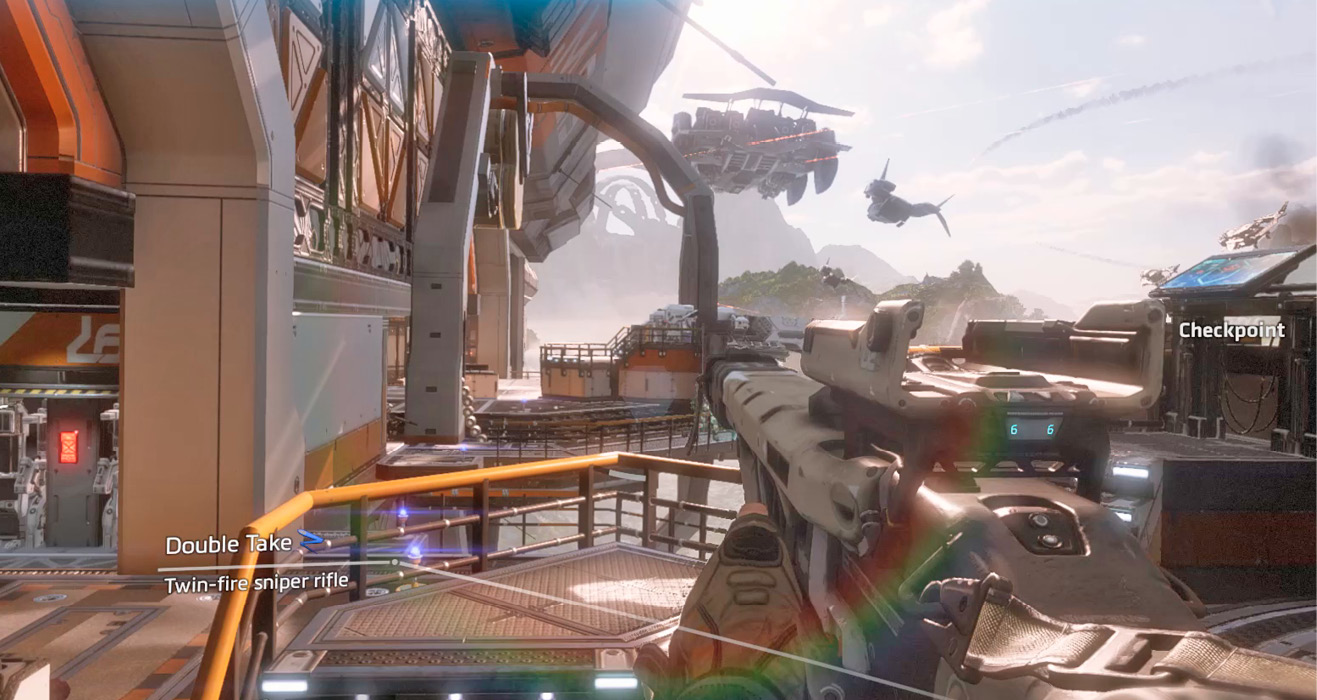
Step onto the second gun’s platform and aim toward the third gun in the distance. It’s a long shot, but the elevated platform gives you a good line of sight on the third gunner. Use the Double Take to eliminate the third gunner, finally silencing the Malta’s starboard gun battery. Hold this position and pick off the remaining grunts standing near the third gun, including a shield captain equipped with an MGL. If you don’t want to take the time to punch through the shield captain’s shield, move to flank and then activate Cloak and wallrun along the wall to the left, slipping behind the shield captain for an easy kill.
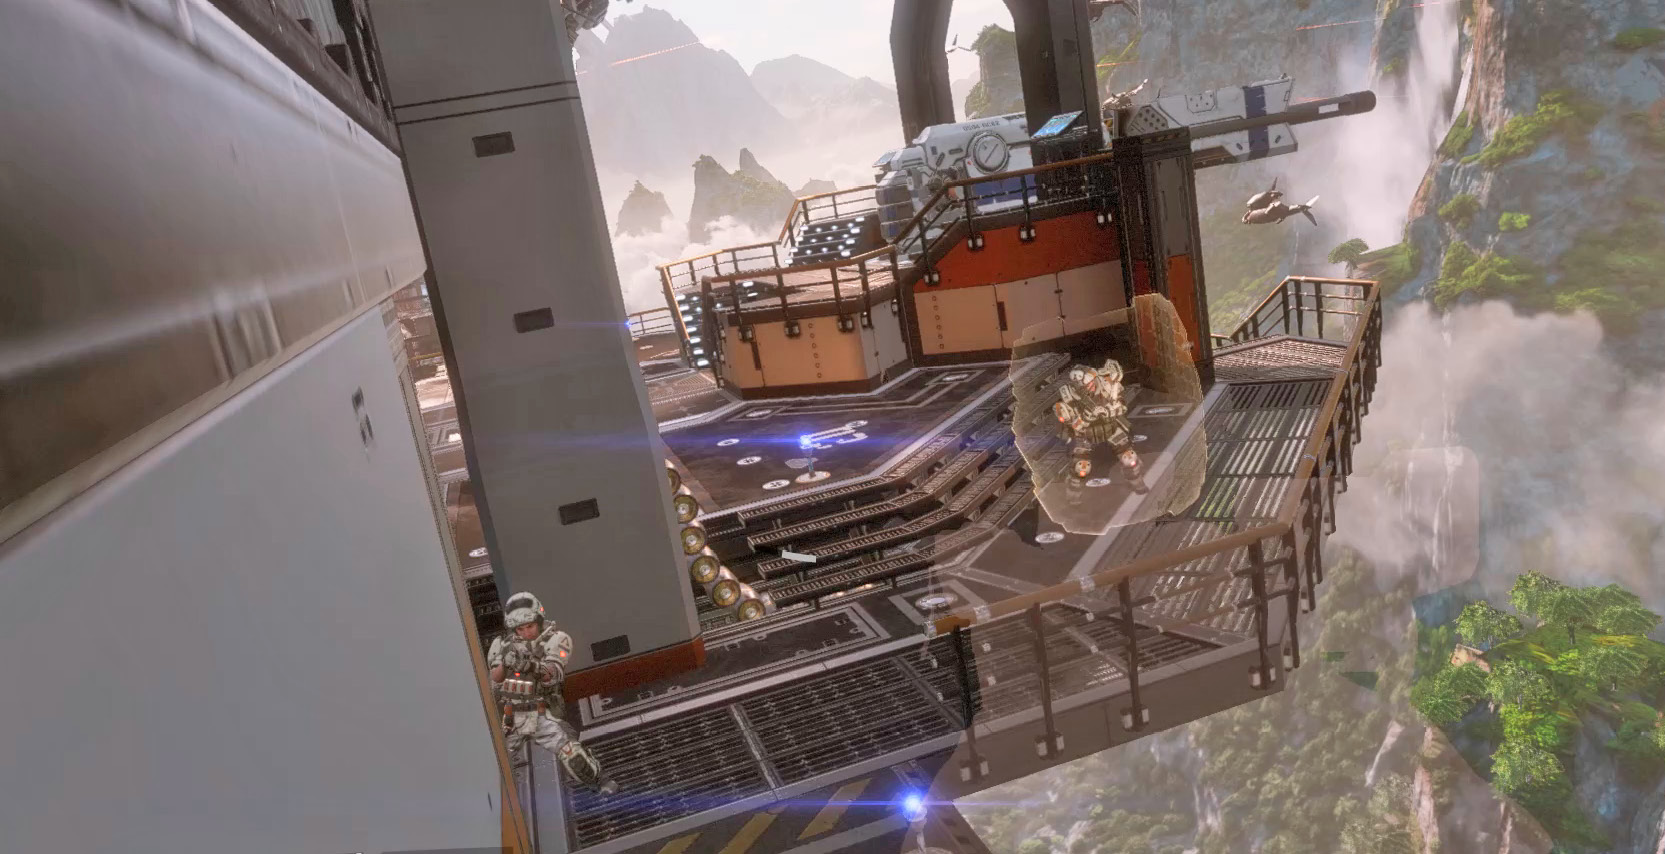
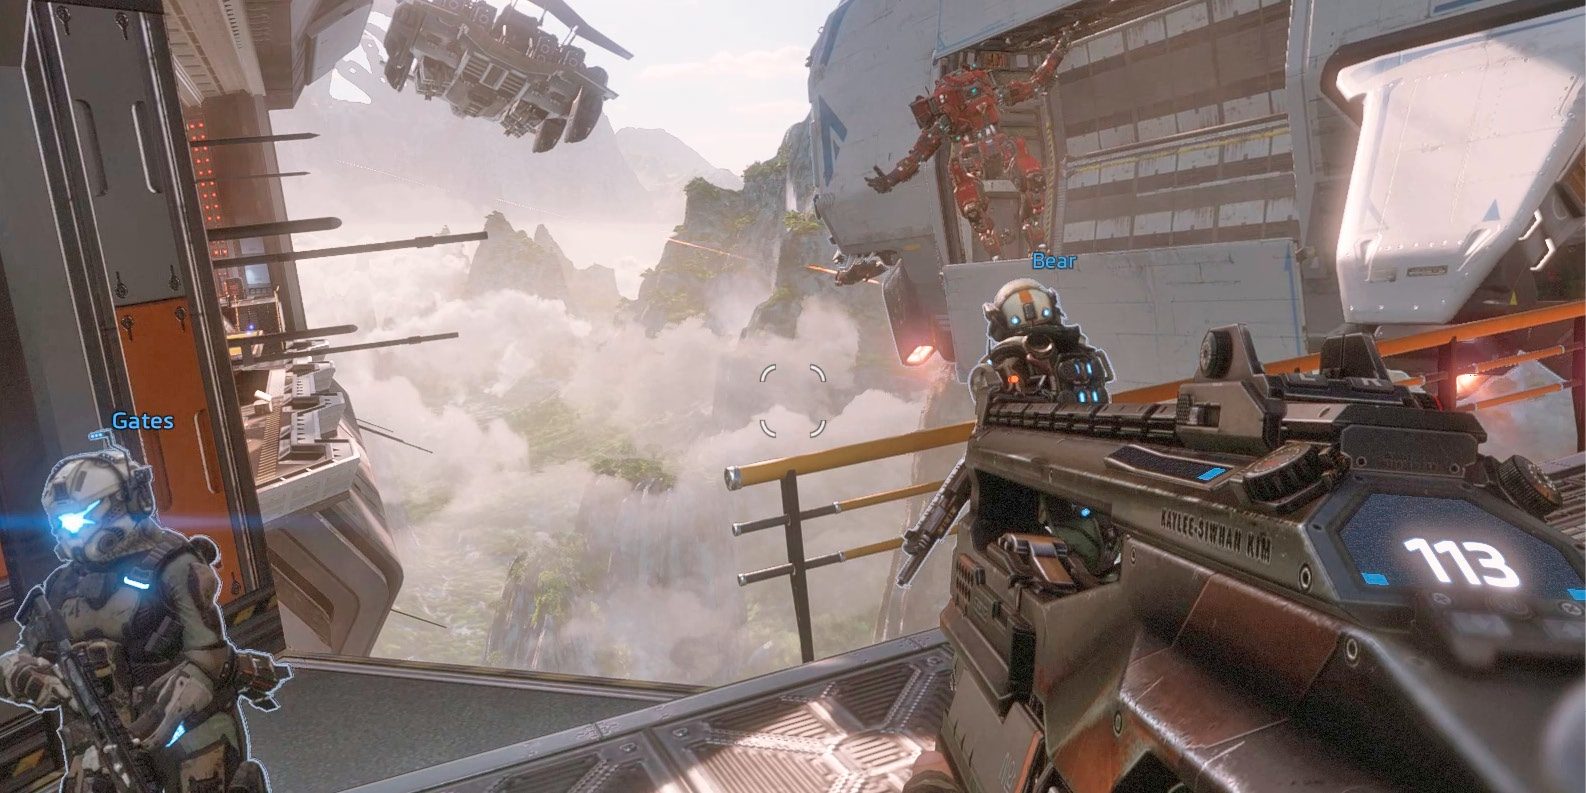
As you approach the third gun, BT reports that that there are still anti-aircraft cannons active on the deck of the Malta. They can be disabled from the bridge. Meanwhile, you’re joined by some friendly Militia Pilots, a detachment from Blackbird 6-4. Droz, Davis, Gates, and Bear are here to assist you with the assault on the Malta’s bridge.
|
 Pilot Helmet 2/3
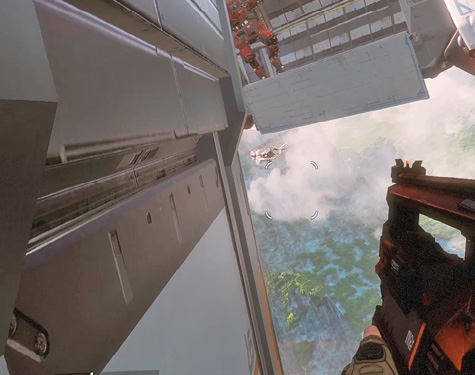
Back on the Malta, follow the other Militia Pilots as they use Briggs’ ship to perform a wallrun. The cargo hold of Briggs’ ship is now closed, allowing you to use the exterior as a flat surface along which to run. As you did when you retrieved the Pilot helmet, wallrun off the angled orange and white wall in the Malta and then double jump toward Briggs’ ship. When you make contact, wallrun along Briggs’ ship and then jump to then perform a double jump to the left to reach the Malta’s hangar.
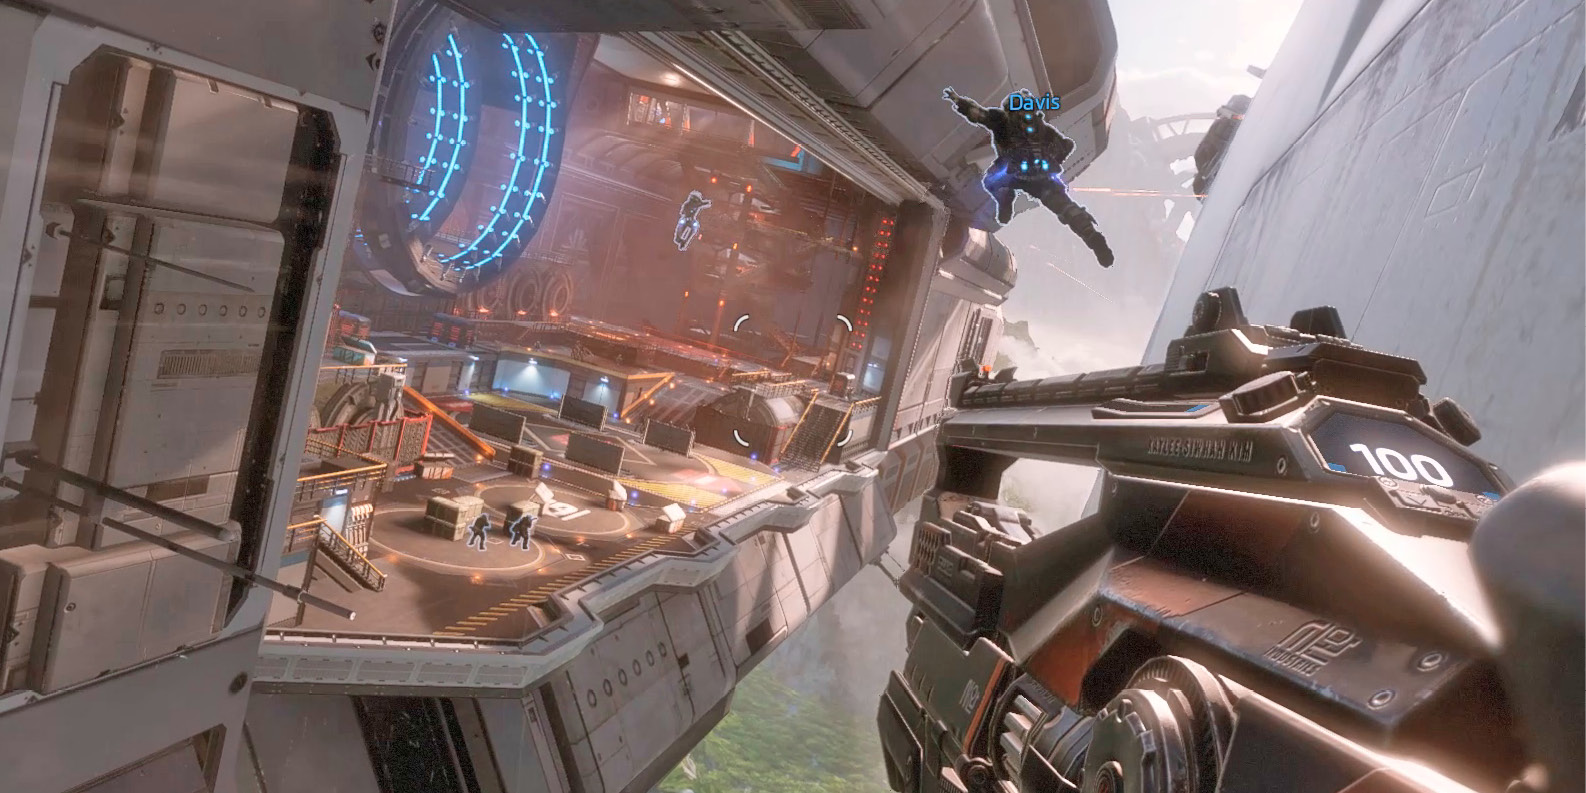
Hangar
The hangar is heavily defended by IMC grunts. Fortunately, you’re not alone. Immediately take cover and equip the Double Take Sniper Rifle and use it to pick off distant threats. Be mindful of where Droz, Davis, Gates, and Bear are located and advance as a group, moving from one piece of cover to the next.
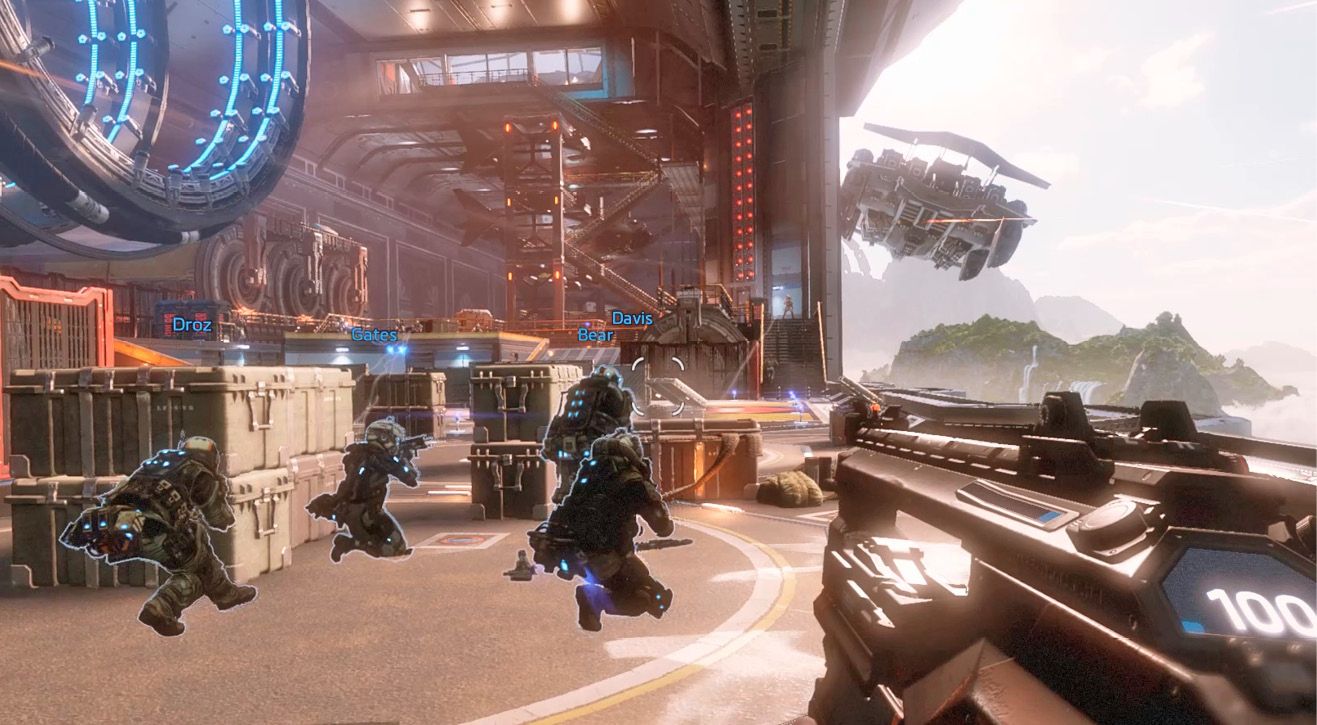
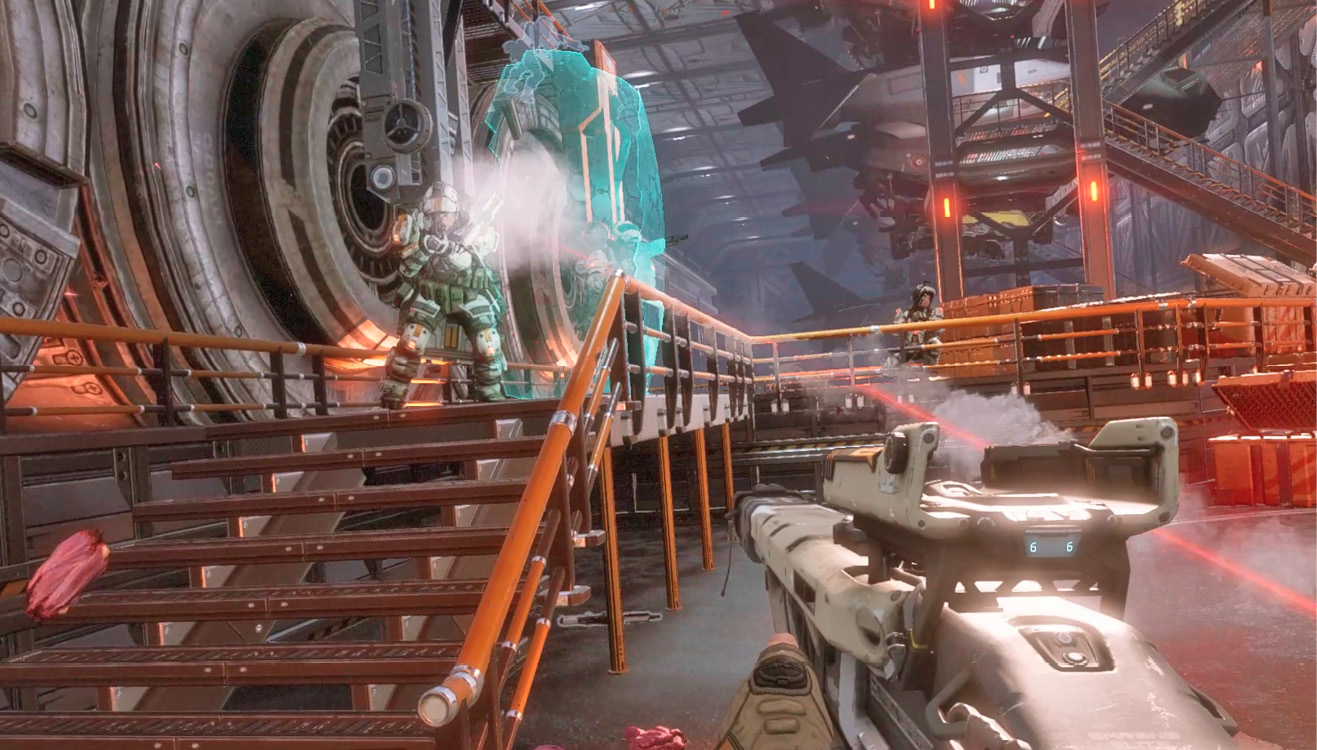
As the other Militia Pilots move to flank, follow suit. Activate Cloak and sneak up on enemy grunts, singling out the shield captains first. But be careful not to advance too quickly. Hit and fade, using Cloak and jumps to get behind the enemy and then retreat behind cover while Cloak recharges. Remember, at close range melee attacks are often quicker and more efficient than weapons. Also, given the high concentration of enemies, grenades are very effective.
|
 Pilot Helmet 3/3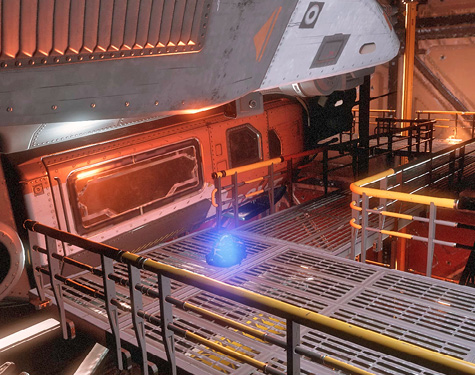
Bridge
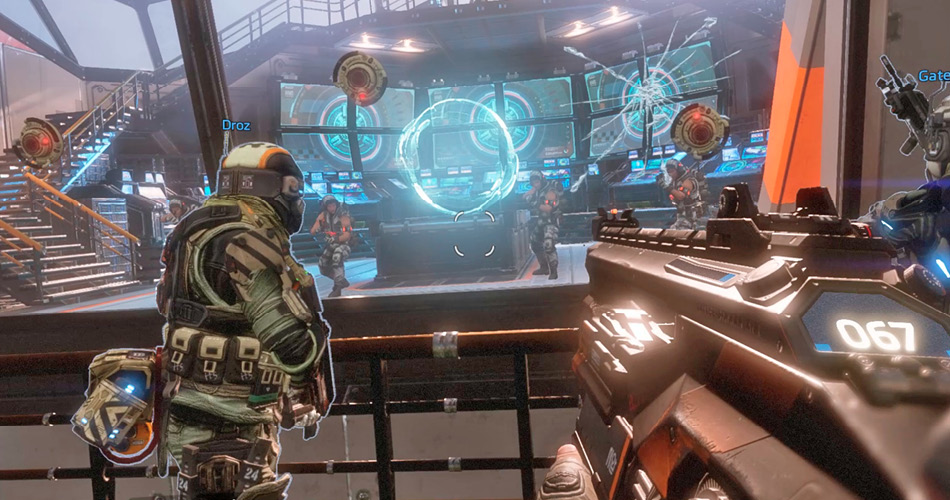
Backtrack to the staircase leading up to the bridge and rendezvous with your team. They’ll wait for you before initiating their attack. The glass window into the bridge is bulletproof, but your team members have brought along shaped charges, ideal for breaching such barriers. Take aim at the grunts on the other side of the glass while Droz, Davis, Gates, and Bear attach charges to the window. The charges detonate, shattering the window and allowing you and your team to mow down the grunts occupying the bridge.
Enter the bridge and climb the stairs to the main console. Interact with the console to deactivate the anti-aircraft guns. Next, use your Data Knife to steer the Malta directly behind the Draconis. Use slight movement inputs to steer the ship. Meanwhile, Barker drops BT onto the deck of the Malta. Stand back as BT breaks the glass, allowing you to embark.
Boss Battle: Viper
Faction: Apex Predators Role: Veteran ex-IMC test pilot, turned mercenary. Age: 45 Skills: Extreme situational awareness. Pulling sustained Gs (in excess of 12Gs) with a special G-suit. Personal Titan: Northstar (heavily modified with black market components for sustained flight operations) History: Classified by order of IMC test pilot program “Pegasus.” “Fox Two. Splash one. What a beautiful kill.” — Viper |
As you take control of BT, Viper returns, promising to end your journey. Viper pilots a heavily modified Northstar Titan capable of advanced aerial maneuvers. Consider equipping the Expedition or Ion Loadout, as you’ll definitely want a Vortex Shield and a weapon capable of sustained rapid fire.
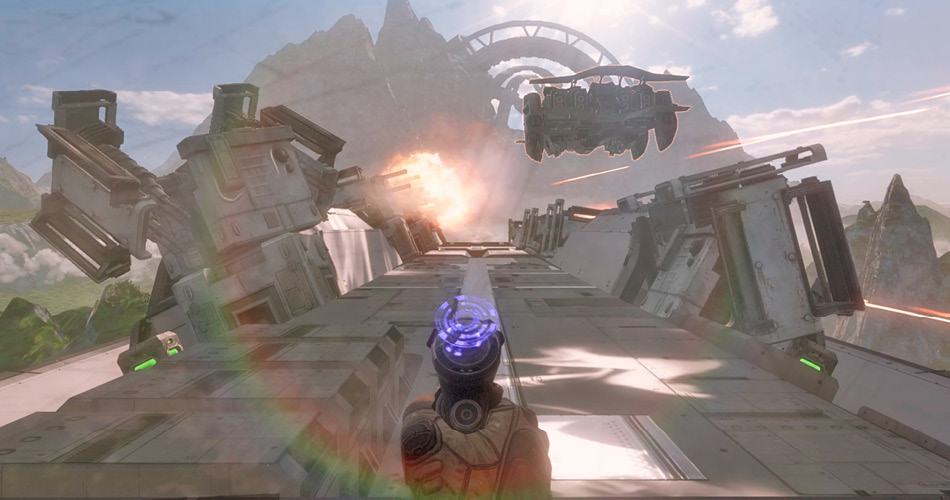
Viper begins his attack by firing a massive salvo of rockets in your direction. Since there isn’t much room to maneuver on the hull of the Malta, deploy the Vortex Shield to block and redirect the incoming rockets.
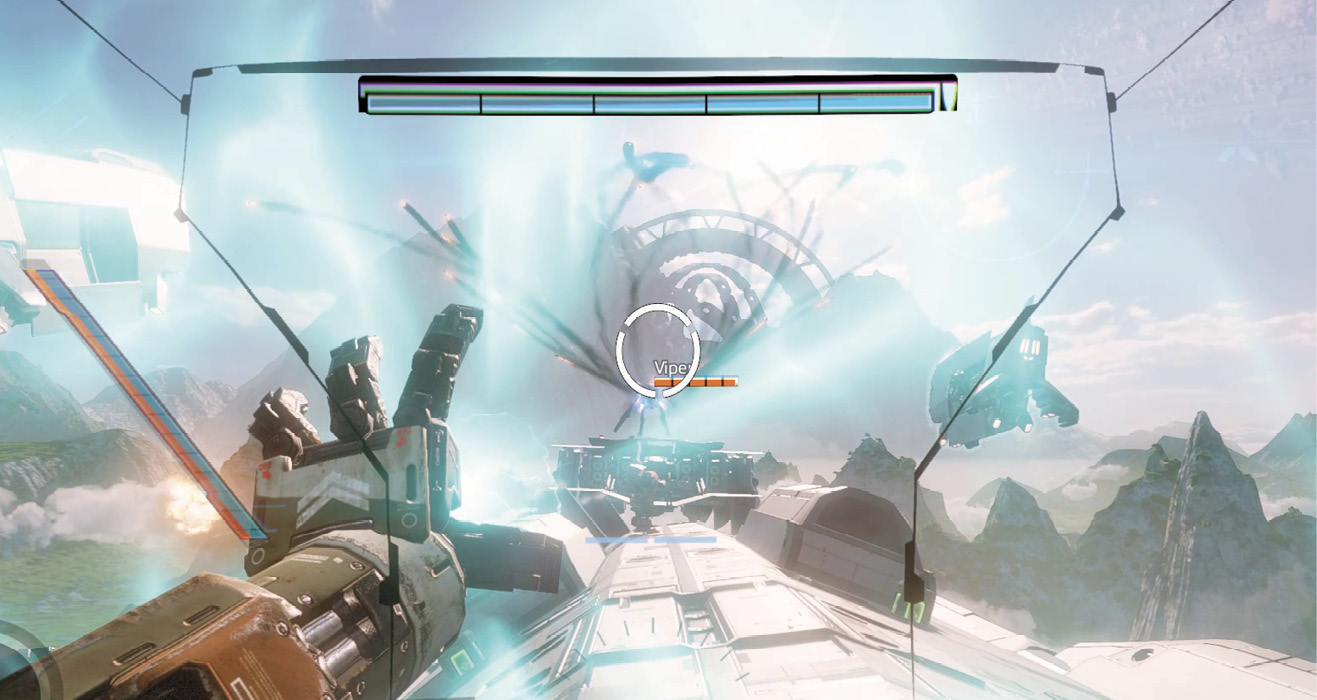
After evading the first attack, turn your attention to the two Scorch Titans accompanying Viper. Immediately open fire with the Ion Loadout’s Splitter Rifle while deploying Trip Wires. Use the housings for the anti-aircraft guns for partial cover while engaging these fire-tossing Titans. Each hit you score builds BT’s core. When it’s charged, use Laser Core to inflict heavy damage on both Scorch Titans. One activation of Laser Core should be enough to destroy or severely damage both Scorch Titans.
With the Scorch Titans out of the picture, set your sights on Viper. His quick movements can make him a bit difficult to track. So equip the Expedition Loadout and use the Multi-Target Missile System to score some easy hits. The Expedition’s X0-16 is also perfect for chewing through Viper’s shields and armor. If you take damage, retreat behind one of the anti-aircraft guns until your shields recharge. There are also a few batteries atop the Malta’s deck.
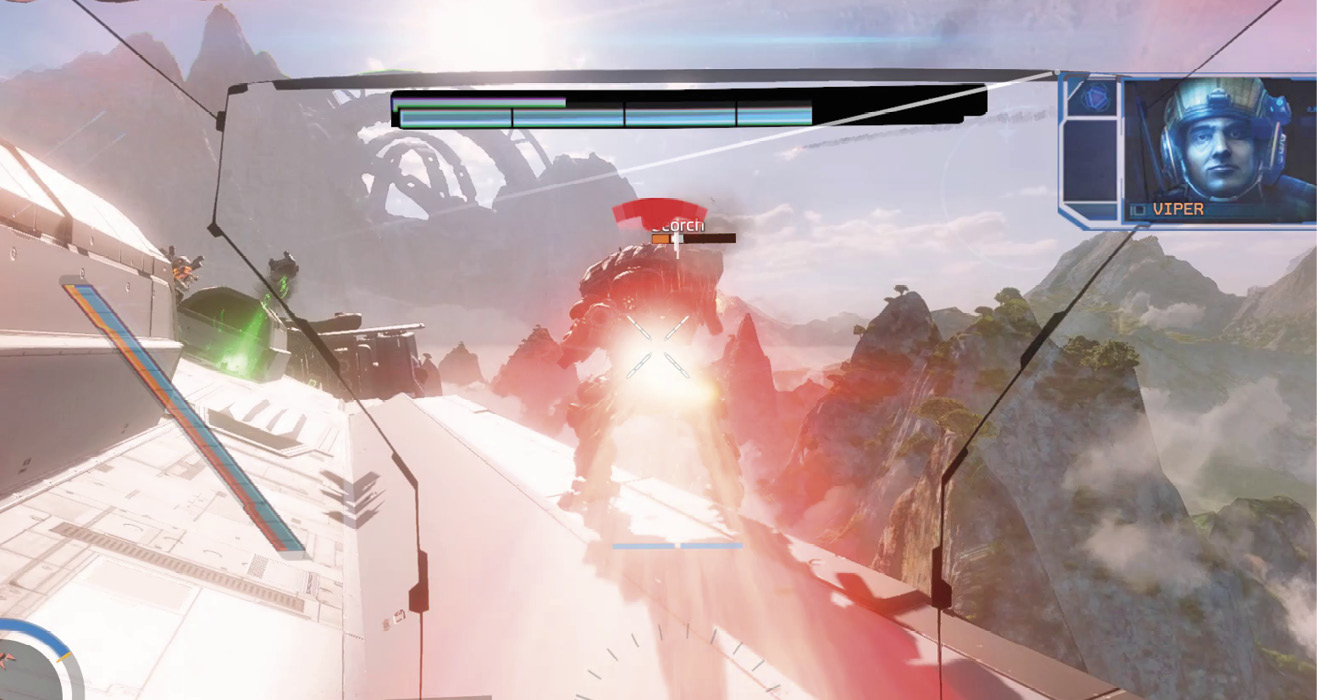
Monitor the barrel of Viper’s Plasma Railgun. When it begins to glow orange, this indicates he’s about to take a shot. Take this as your cue to deploy the Vortex Shield, catching and redirecting the projectile back at Viper. Keep up the attack, hitting Viper with the X0-16 and Multi-Target Missile System as he charges his weapon. When Viper’s armor is depleted, his Titan spins and falls off the side of the Malta.
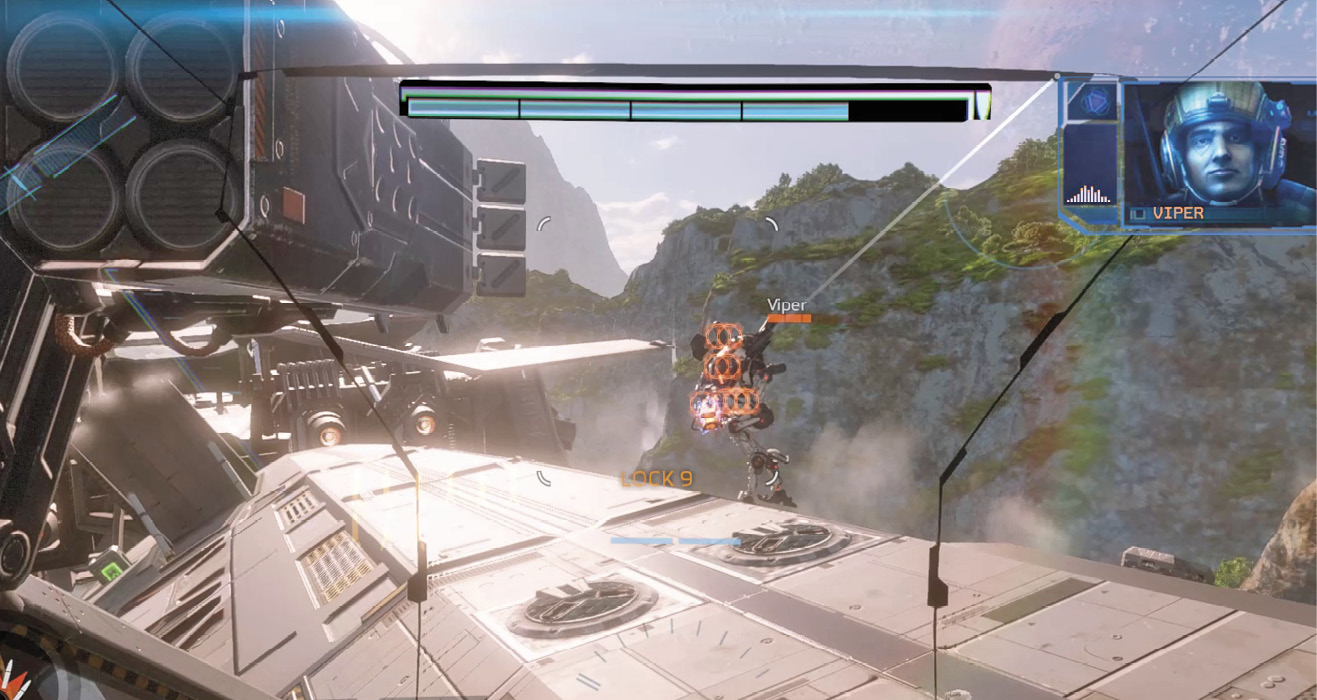
The path to the Draconis is now clear. Disembark from BT as he prepares to throw you to the Draconis. Just as BT is about to launch you, Viper comes flying into view, crashing into BT at a high speed. Viper carries BT high above the deck of the Malta, taking you along for the ride. But before long, BT loses his grip, sending you plummeting toward the Draconis.
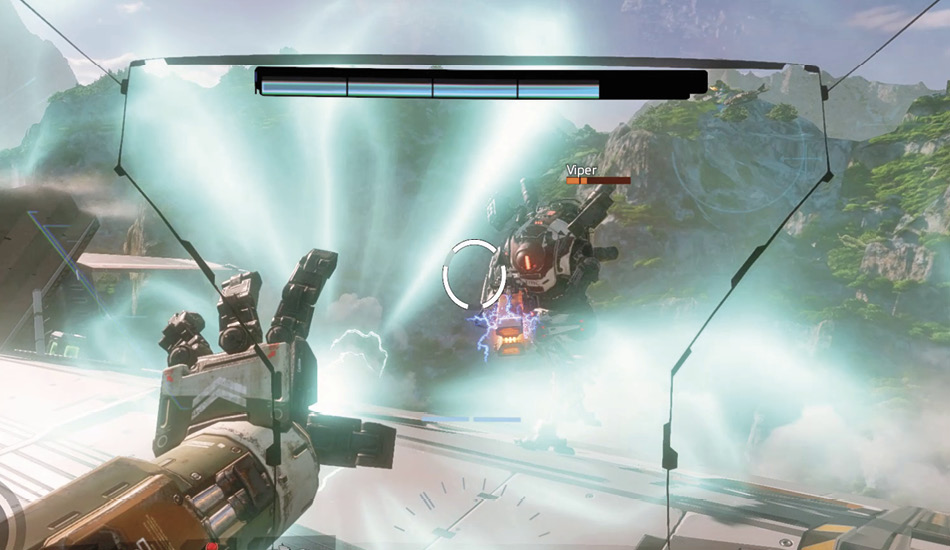
BT and Viper land a few meters away and resume their fight, going airborne once again. During the second impact, BT lands on his back, putting him at a serious disadvantage. Still, BT manages to score a rocket hit that tears away the hatch on Viper’s Titan. Rush forward and take aim, shooting Viper directly as he sits in his Titan’s exposed cockpit. Killing Viper brings an end to the battle, but BT has lost an arm in the fight.