
Titanfall 2 Guide Multiplayer Maps Homestead
Overview
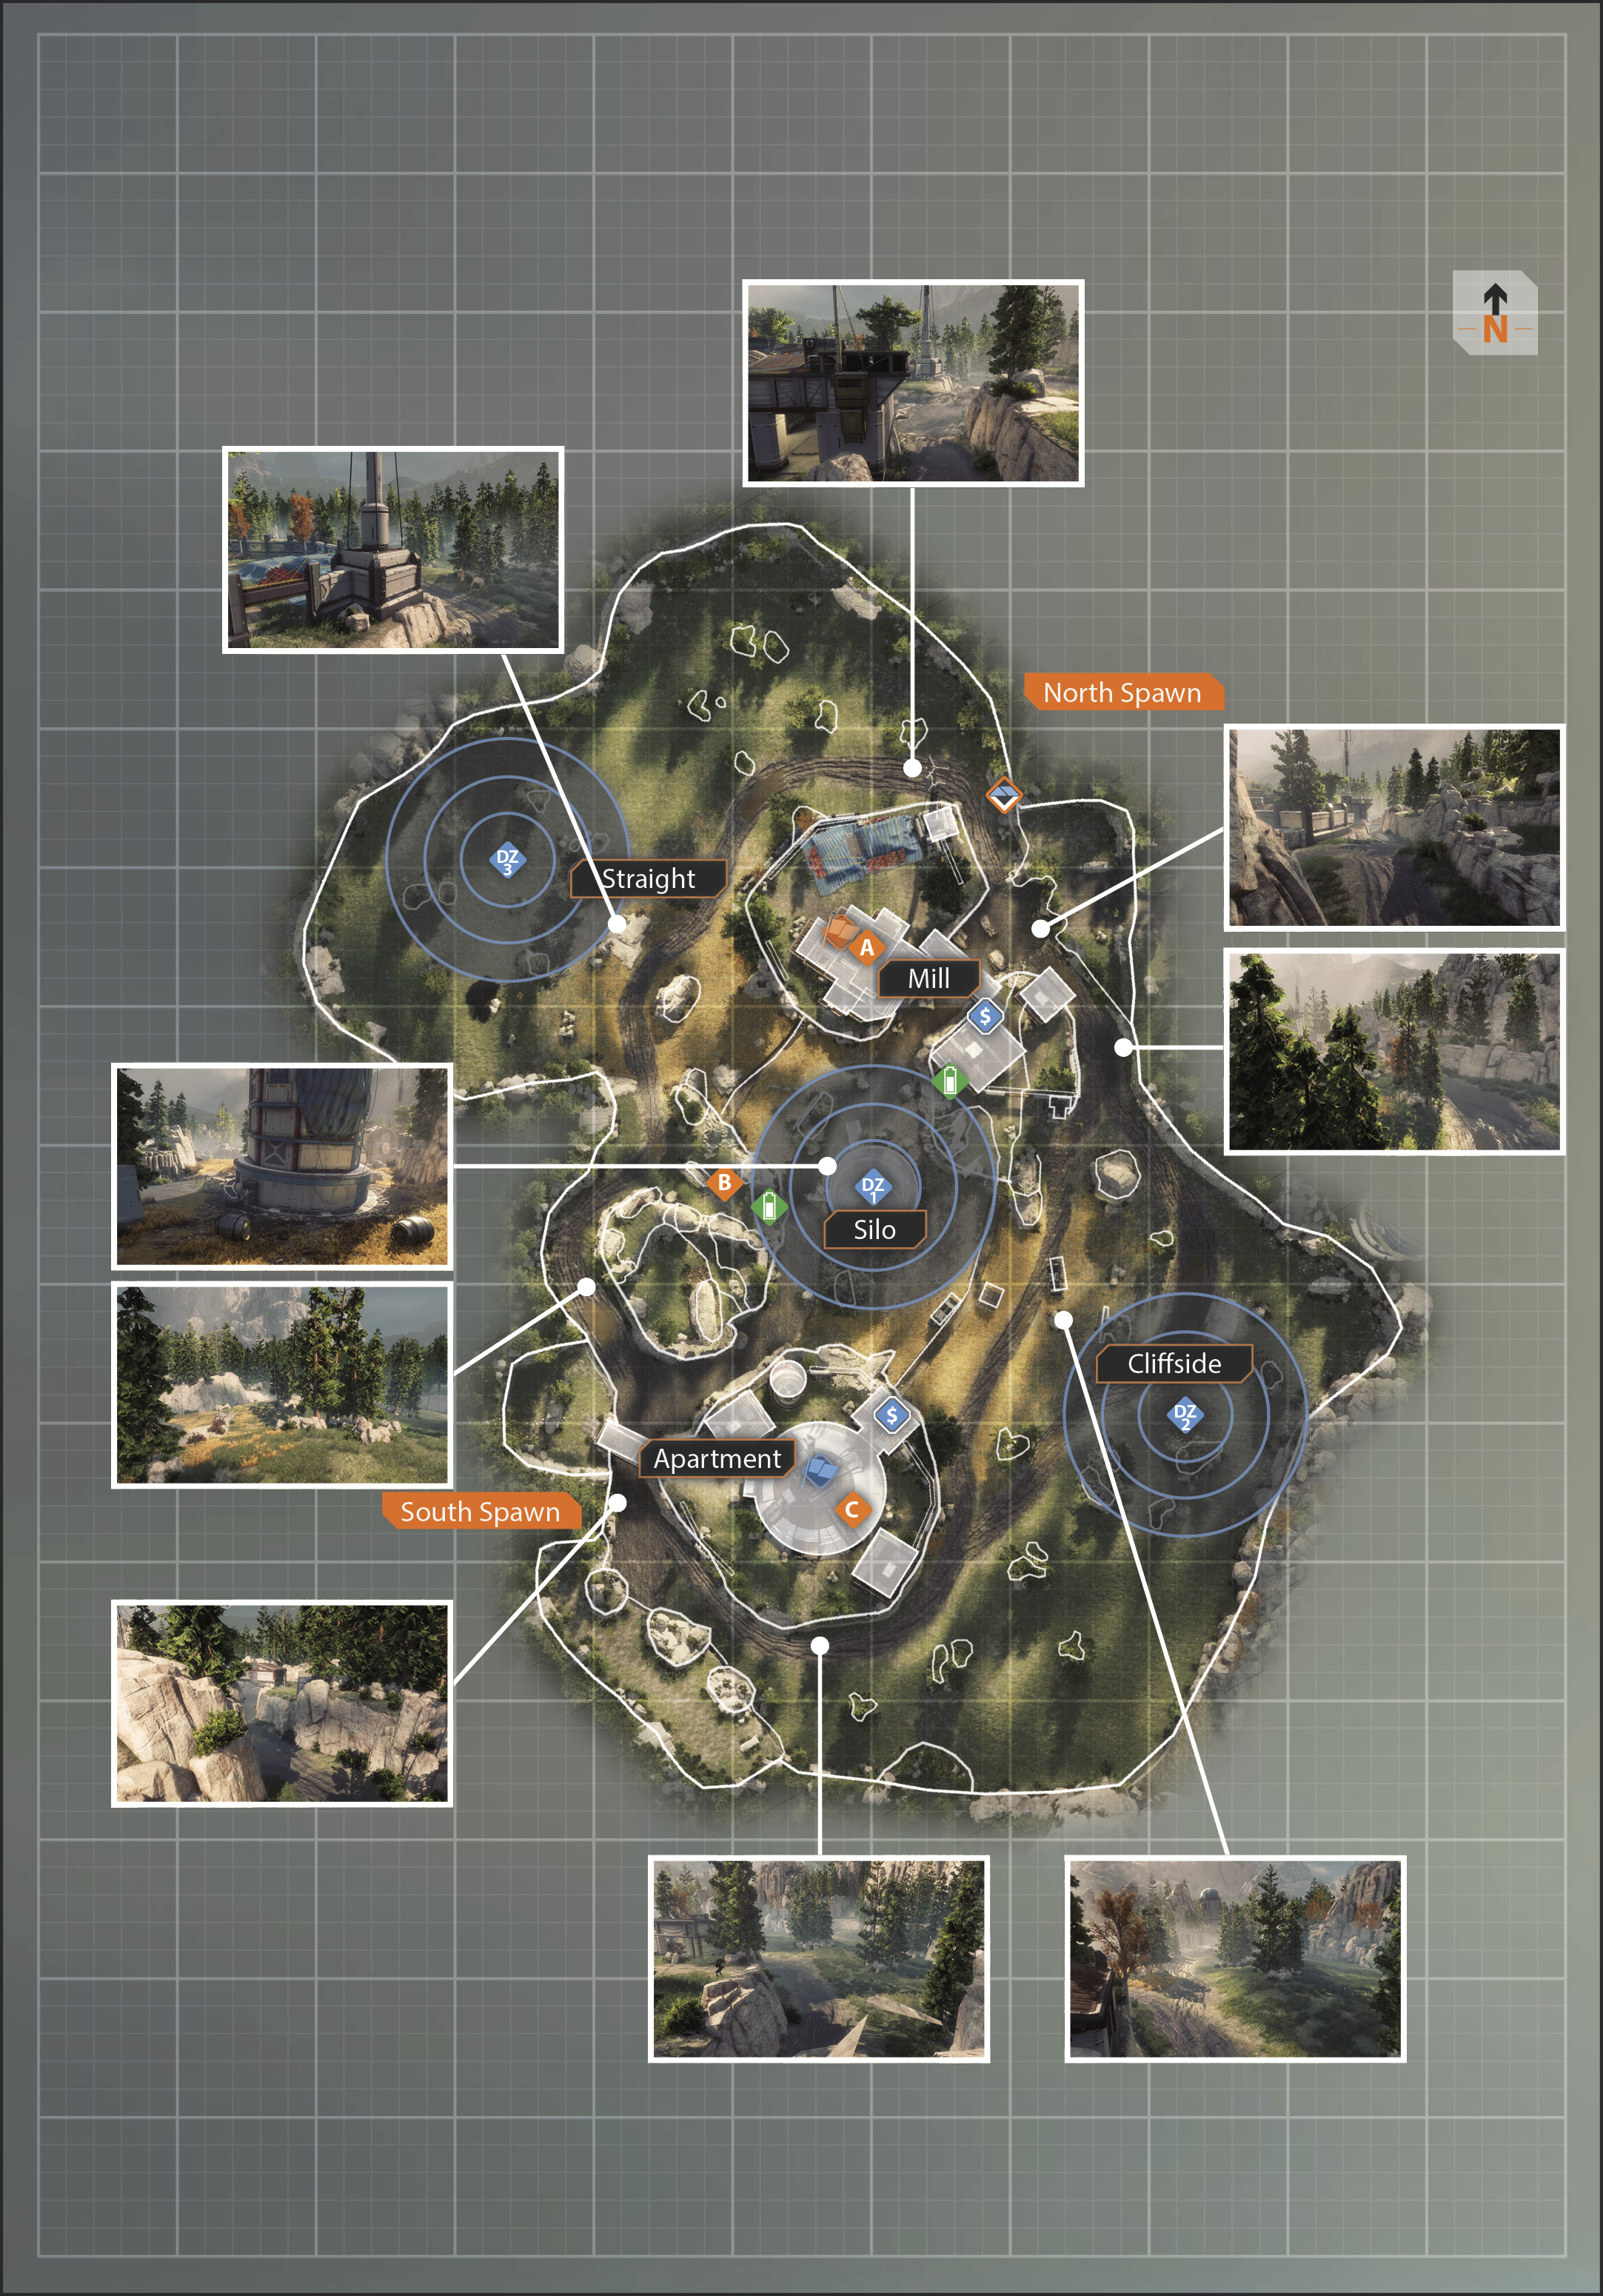
Hidden away in the far reaches of the Frontier lies the peaceful planet of Lemuria, untouched by the corrupt hand of the IMC. A small population, the descendants of early colonists, thrives on this verdant world, on farms built from the parts of early generation Colonization Supply Modules. This homestead, fed by a clean freshwater creek, rests upon a fertile landscape of rolling green fields. Although Lemuria’s wealth of natural resources appears to make it a perfect target for the IMC, its great distance from IMC-controlled space renders its exploitation “cost-inefficient”—for now.
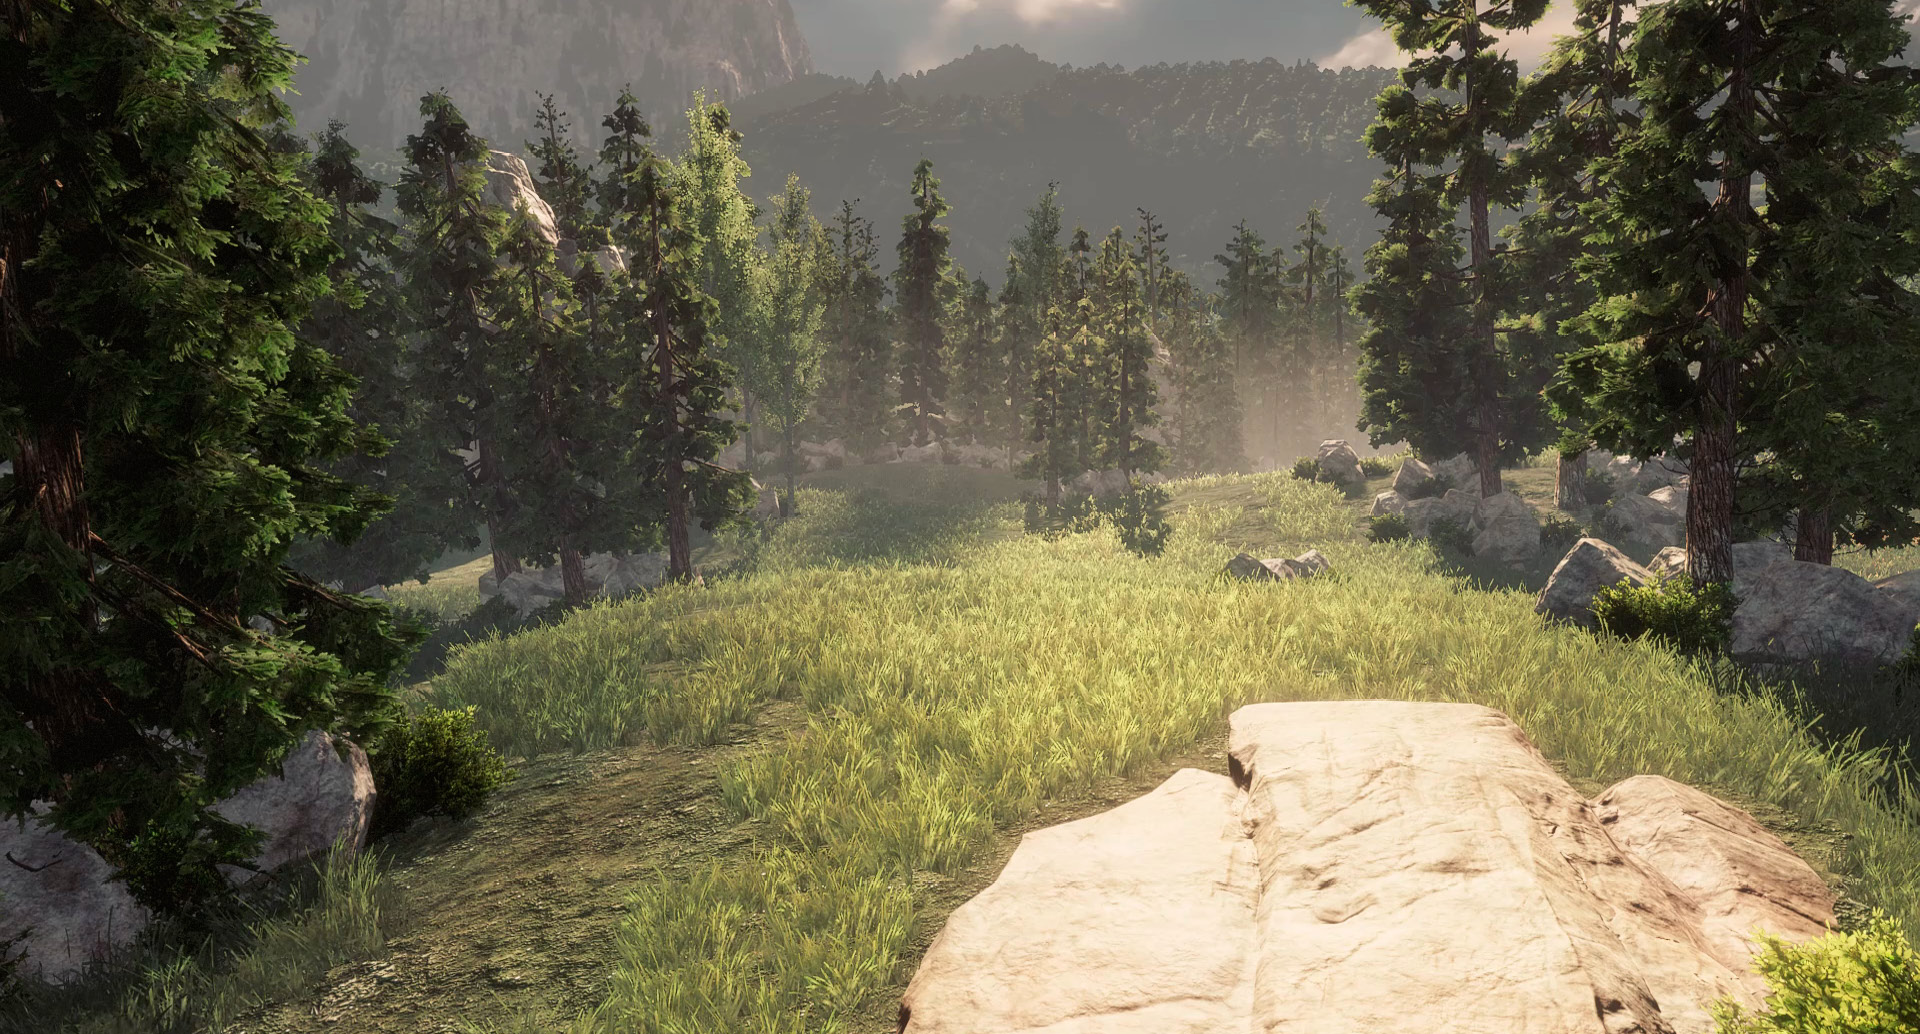
Homestead is a series of raised, rocky plateaus with a river running down the middle. Pilots are mostly safe from Titans among the rocks and trees, but also have caves and buildings to duck into when needed. Snipers will find that open spaces provide many excellent sight lines, especially from the tall, central tower. Titans control the large, open fields, so Pilots must be extra cautious when traveling between the plateaus.
Mill
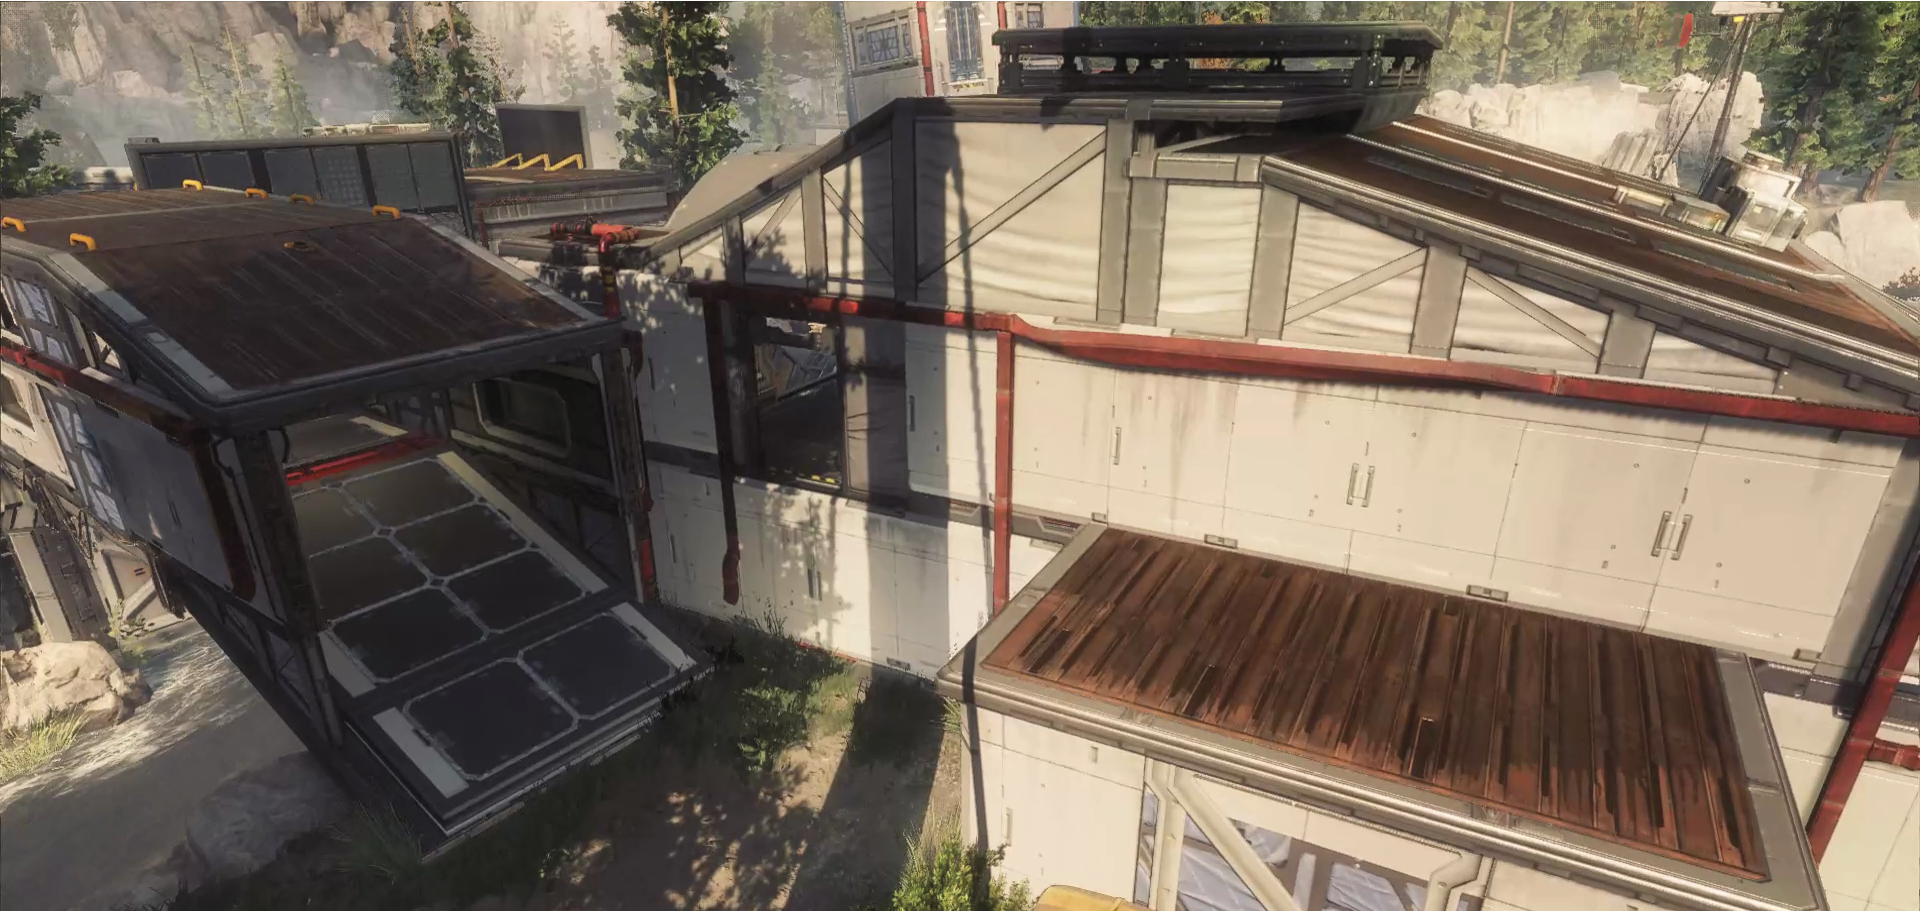
The mill is the ideal key location for players that like to keep their distance from the main action. However, it is an easy location to get comfortable in and forget about your surroundings. The mill is large and has two parts connected by a wooden bridge over a ravine. The ravine is big enough to hold a Titan so that it can travel right next to the mill. The ravine is the closest a Titan can actually get to the mill, but not the closest it can get to the objectives at the mill. Use the windows in front of the building facing the middle to scope out the center of the map before making your move.
| Legend | |
|---|---|
 |
Last Titan Standing |
 |
Hard Point |
| Bounty Hunt | |
 |
Drop Zone |
 |
Bank |
| capture the flag | |
 |
Blue Team Flag |
 |
Orange Team Flag |
Silo
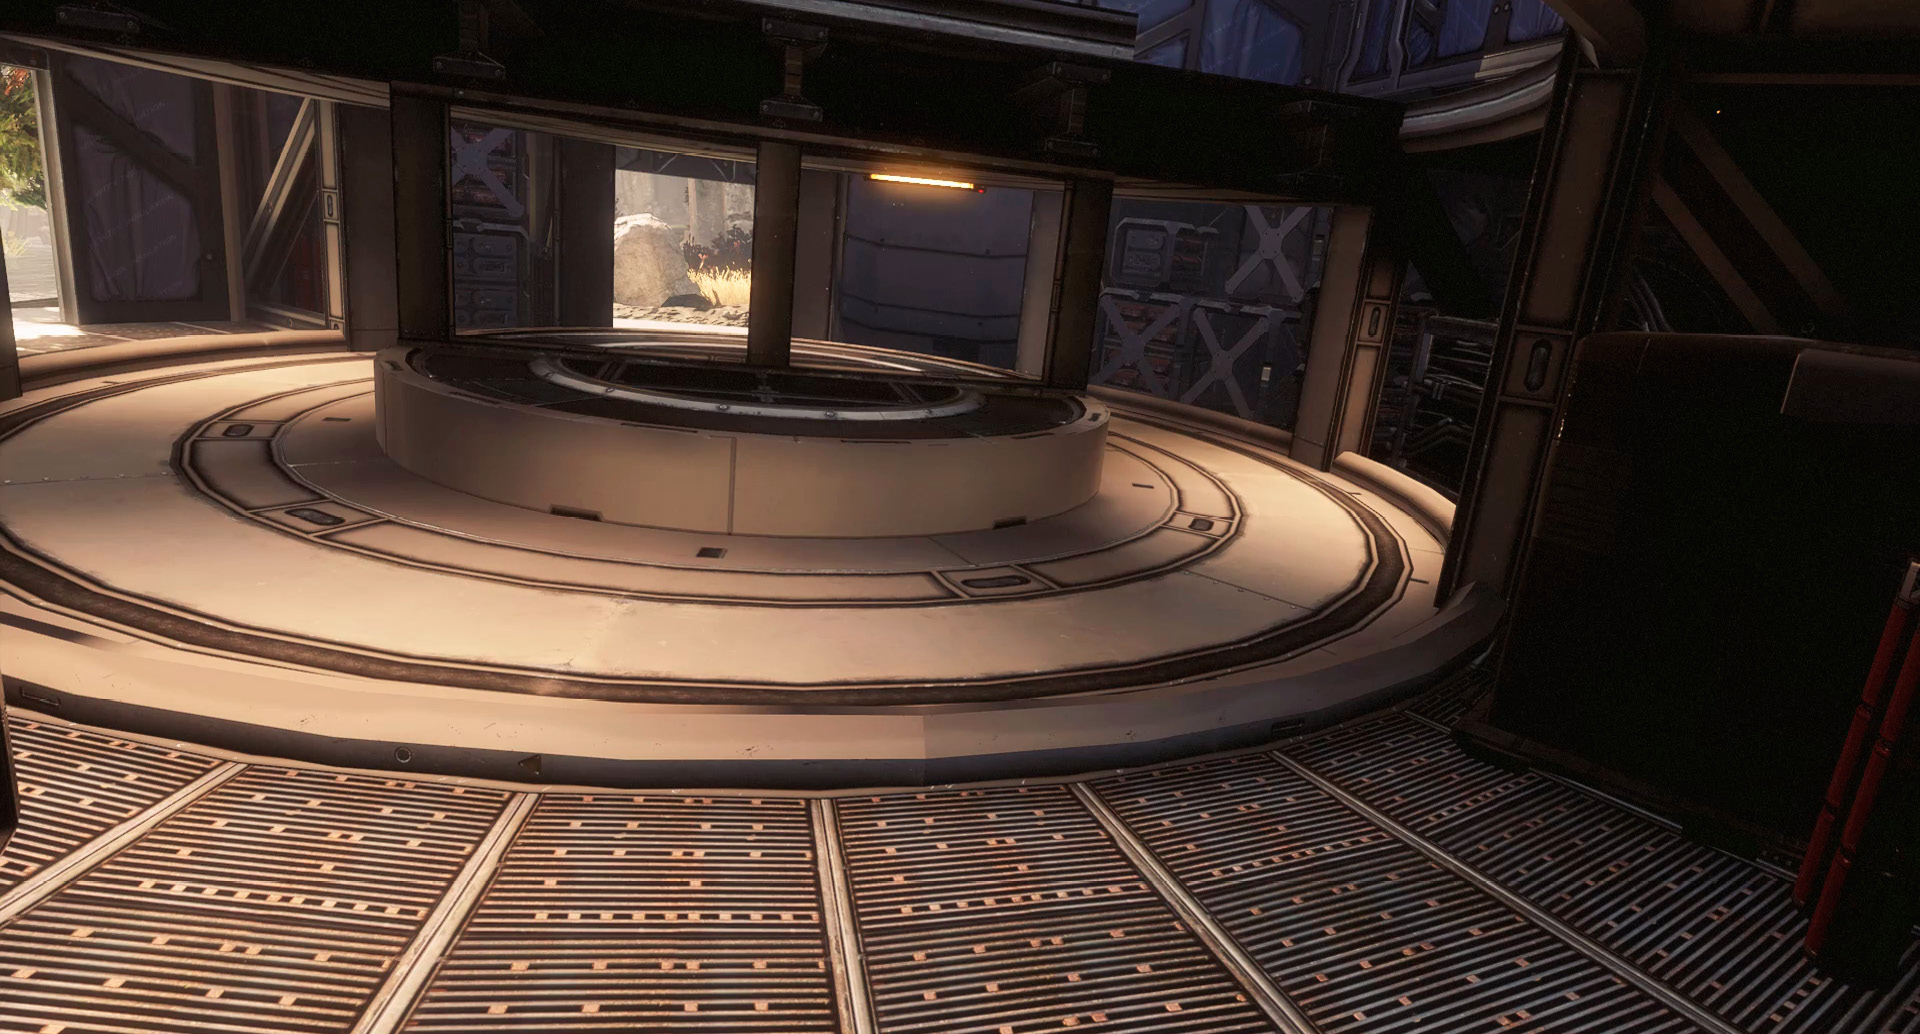
The silo sits right in the middle of Homestead. It is a bit damaged from the wreck that happened here, but it is still accessible and makes an excellent fort. There are three different levels to the silo, so take advantage of all three and move among them to keep the other team guessing. The silo is not the easiest location in the game to defend, so you will have to get creative. The fact is, this location can be seen from almost anywhere on the map, so if you’re going to be close by, you are going to want to be inside, or traveling from side to side to stay mobile. Utilize the cave across the way from the silo to cover the objectives here, but don’t get caught because enemy Pilots will converge on you quickly.
Apartment
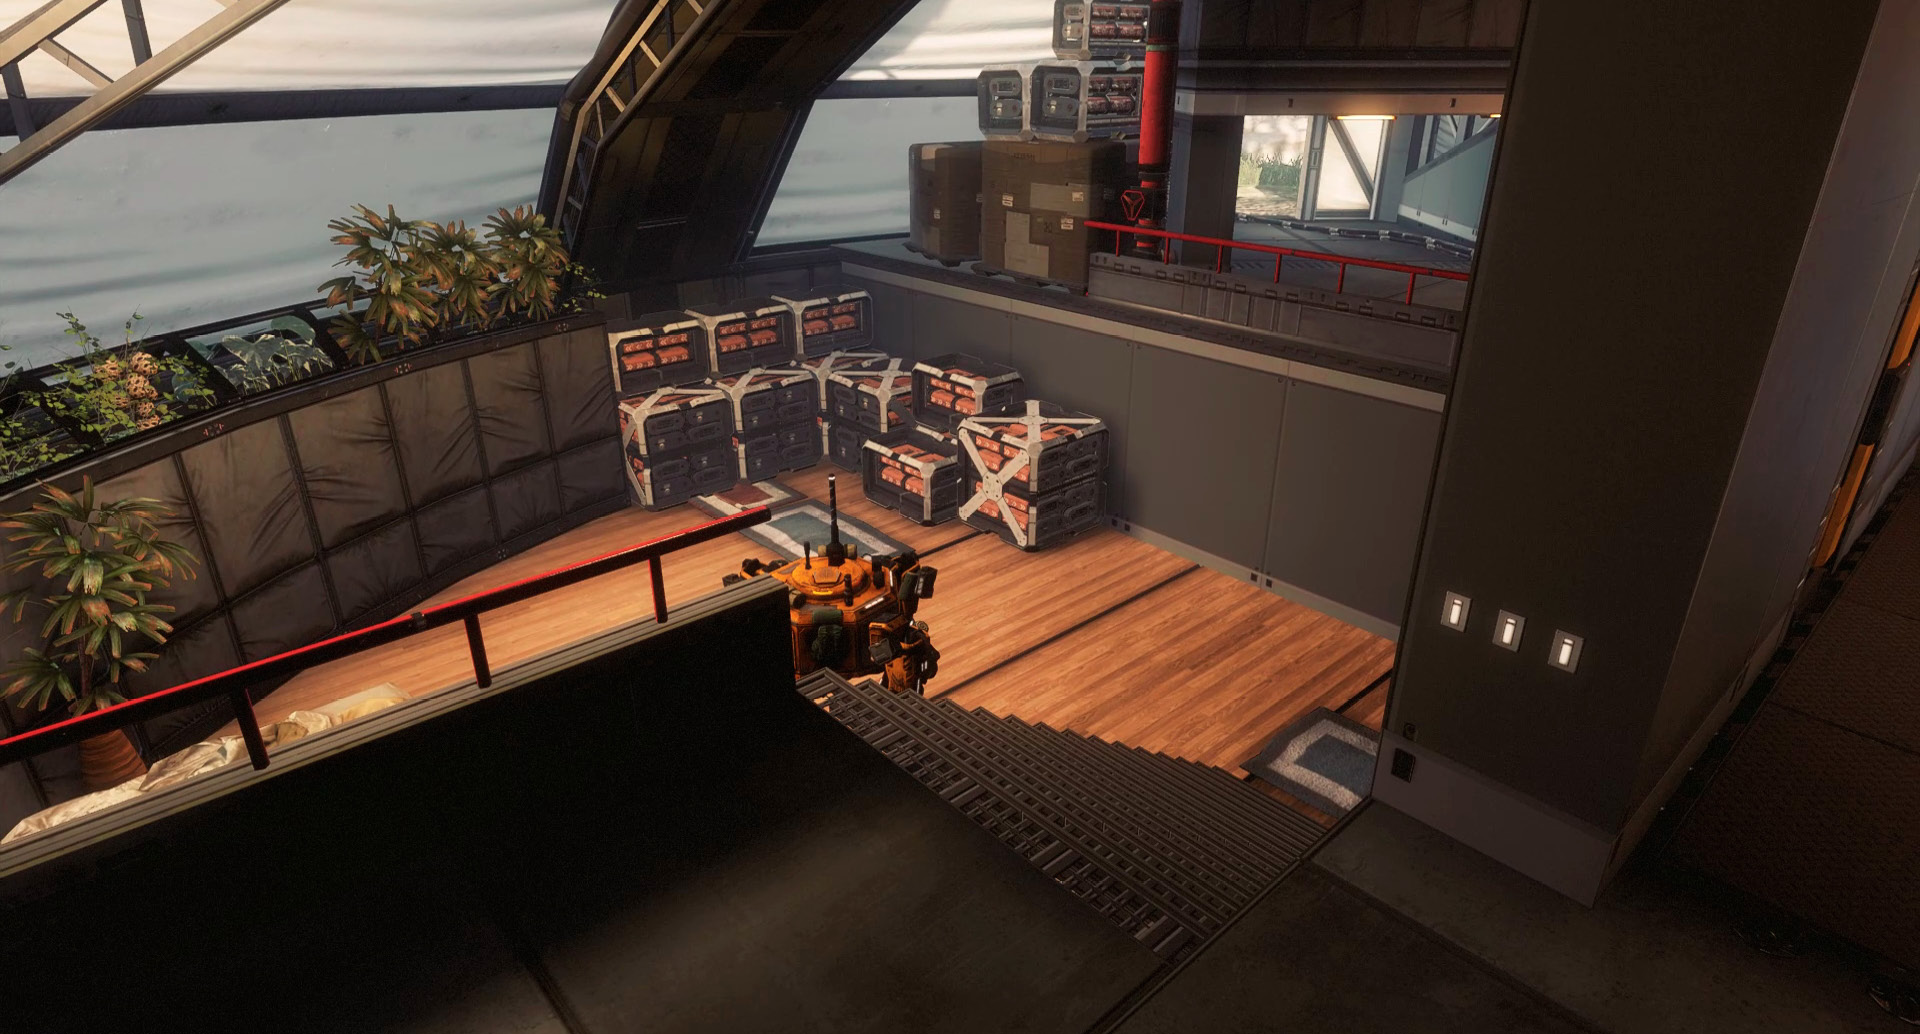
The apartment is quite complex and the objectives based in it are not simple to get to. On the outside, it’s rather simple. There are a few buildings, all small and have some cover. There is a large water tank that provides a barrier between the center of the map and the apartment. The interior of the apartment contains several corners, all with enough space for Pilots to be sitting and waiting for attackers to be ambushed. If you are attacking the apartment, be sure to toss a Sonar Blade in, just to be sure you’re not charging in blind. The entire area can be traversed by Titans, but Titans cannot fit inside the border. As a Pilot, use this area to escape the crosshairs of Titans, but be sure to not run in a straight line, as they can still see inside.
Cliffside
The cliffside is a large open area. There are a few trees that provide cover for some Pilots, but there is still not much to hide behind. Titans with range excel in this location, but beware of Pilots equipped with Charge Rifles because their range can do some serious damage to your hull. If you find yourself in a sticky situation outside of your Titan and there are multiple enemies on their way to your position but can’t see you yet, there is a way to get away. Because of the position of the objectives here, there is a small nook in the back of the zone that is just a tad out of sight. Use this, along with Cloak, to hide as you make your escape from the enemy’s grasp.
Straight
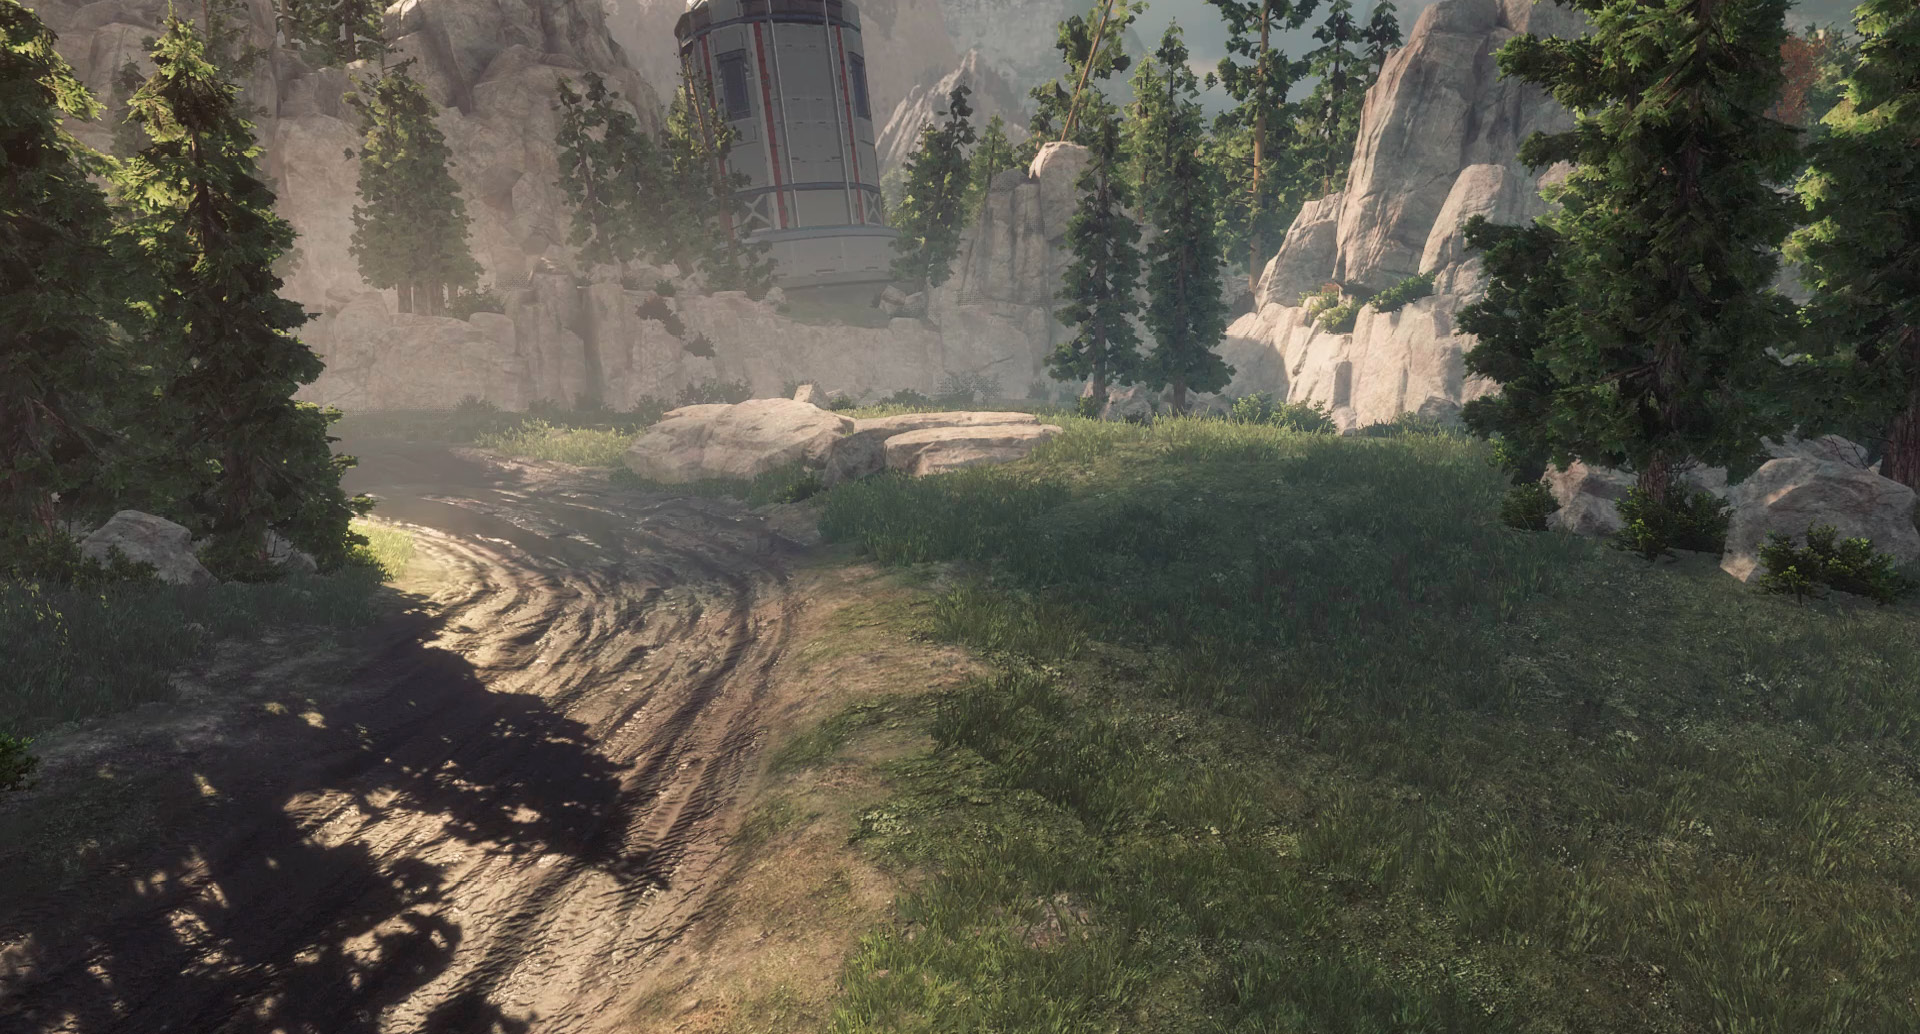
On the other side of the map from the cliffside is a large straight. It’s an open field, and like the cliffside, there isn’t much cover, but it can be seen from pretty far away. The major difference is that there is a plateau that can both provide cover and a great way to get away from enemy Titans attempting to smash you. They can chase you, but there are narrow cracks that you can slip through.
Recommended Pilot Loadouts
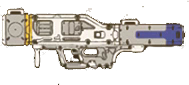
Rough Recon v2.0Rough Recon is a strong loadout that requires a skilled player because this is a very specialized combination. Holo Pilot takes some time to restore its use, but that is not a problem as you should only need it when you’re in danger. The combination of Holo Pilot and Kill Report should allow you to have a good survey of the where the action is and roughly where the enemies might be coming from, but in case there aren’t any reports coming in you can be ready to launch your Holo Pilot and buy some time for you to get away. Both your primary weapon and your secondary weapon are meant for you to keep your distance, so don’t be afraid to flee when the things get too hot and you need to get out of the kitchen. The difference between this version and its previous version is the weaponry. For certain maps, there is no need for the extremely powerful Kraber. Because of the Kraber’s fire rate, being able to get off a second shot before your enemy finds cover or even charges after you is crucial, especially because the distance that your opponent needs to close is smaller.
|

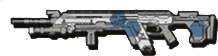


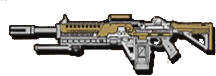
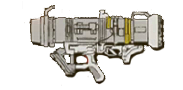
TankThe Tank Loadout is built the way the name implies: a tank. You can’t increase the health of your Pilot in any way possible, so there is only a couple ways to defend yourself from direct fire. Dropping a Particle Shield that you can fire outward is a great way to give you the advantage against enemy Pilots. The best areas to play this loadout is out of the reach of Titans and right in the pathway of Pilots. Pilots will want to take alternate routes that Titans cannot take, and you are the Pilot-sized Titan that can take more than your opponent. The Devotion gains a faster fire rate the longer you hold the trigger, allowing you to hold an entire sector with only your primary weapon and your Particle Shield.
|


Recommended Titans
Northstar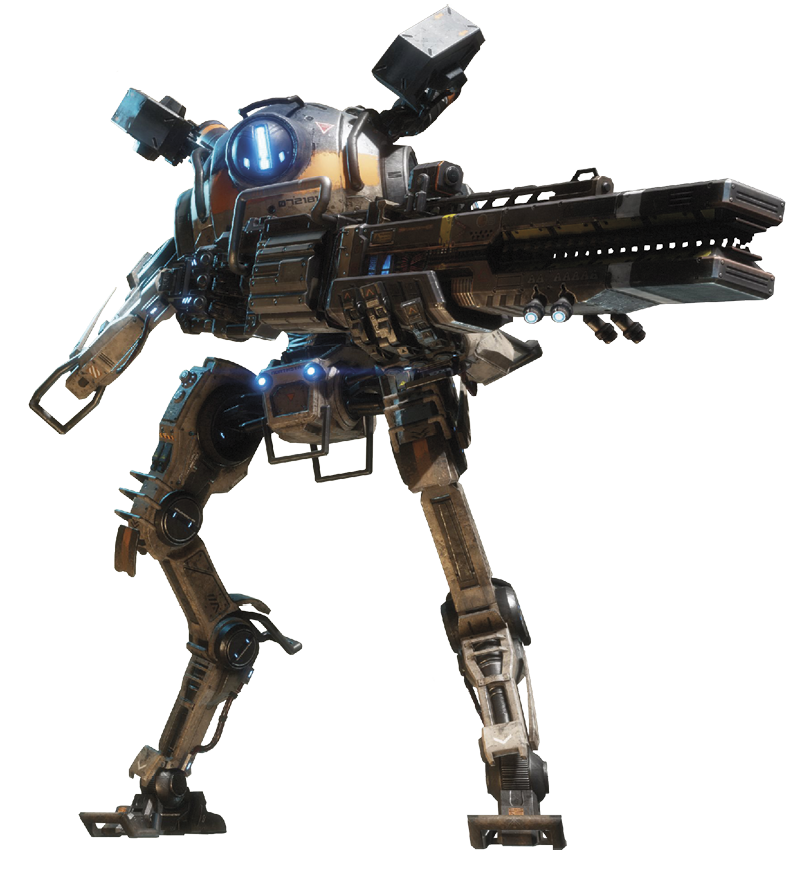 This Titan loadout is ideal for this map because there are many opportunities to use Northstar’s abilities, more so than any other map. Homestead is nothing but open space, which is perfect for Northstar. This Titan needs to be able to move around and avoid enemies, but sometimes you can be surprised by a Titan right in your face, which is why Twin Traps is equipped on this loadout. There is almost nowhere on this map that Northstar cannot see while keeping some distance, which is what makes this Titan loadout such a threat on Homestead. Use the two major lanes on either side of the Main Courtyard to keep enemy Titans at bay while your team controls your half of the map. This should really distract the enemy from attempting to control any objectives as they try to defeat you.
|


Tone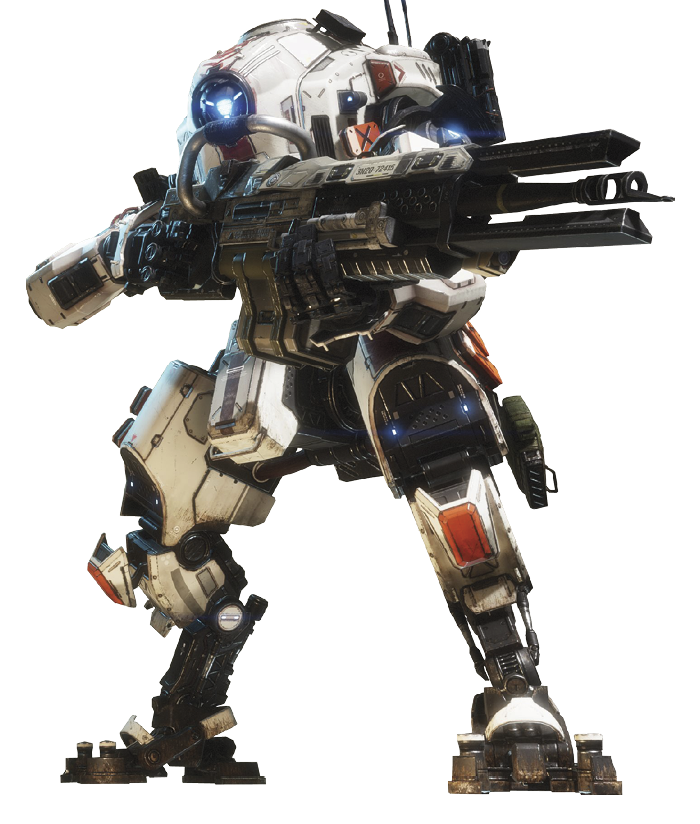 This Titan loadout is great for this map because in the canal itself, most encounters are of the long-range variety, for the most part. Tone is not great for dealing with Pilots unless you really know what you’re doing. The 40mm Tracker Cannon does have some splash damage, so a semi-accurate shot in the direct viscinity of a Pilot can take at least one out.
|

