Titanfall 2 Guide Multiplayer Maps Drydock
Overview
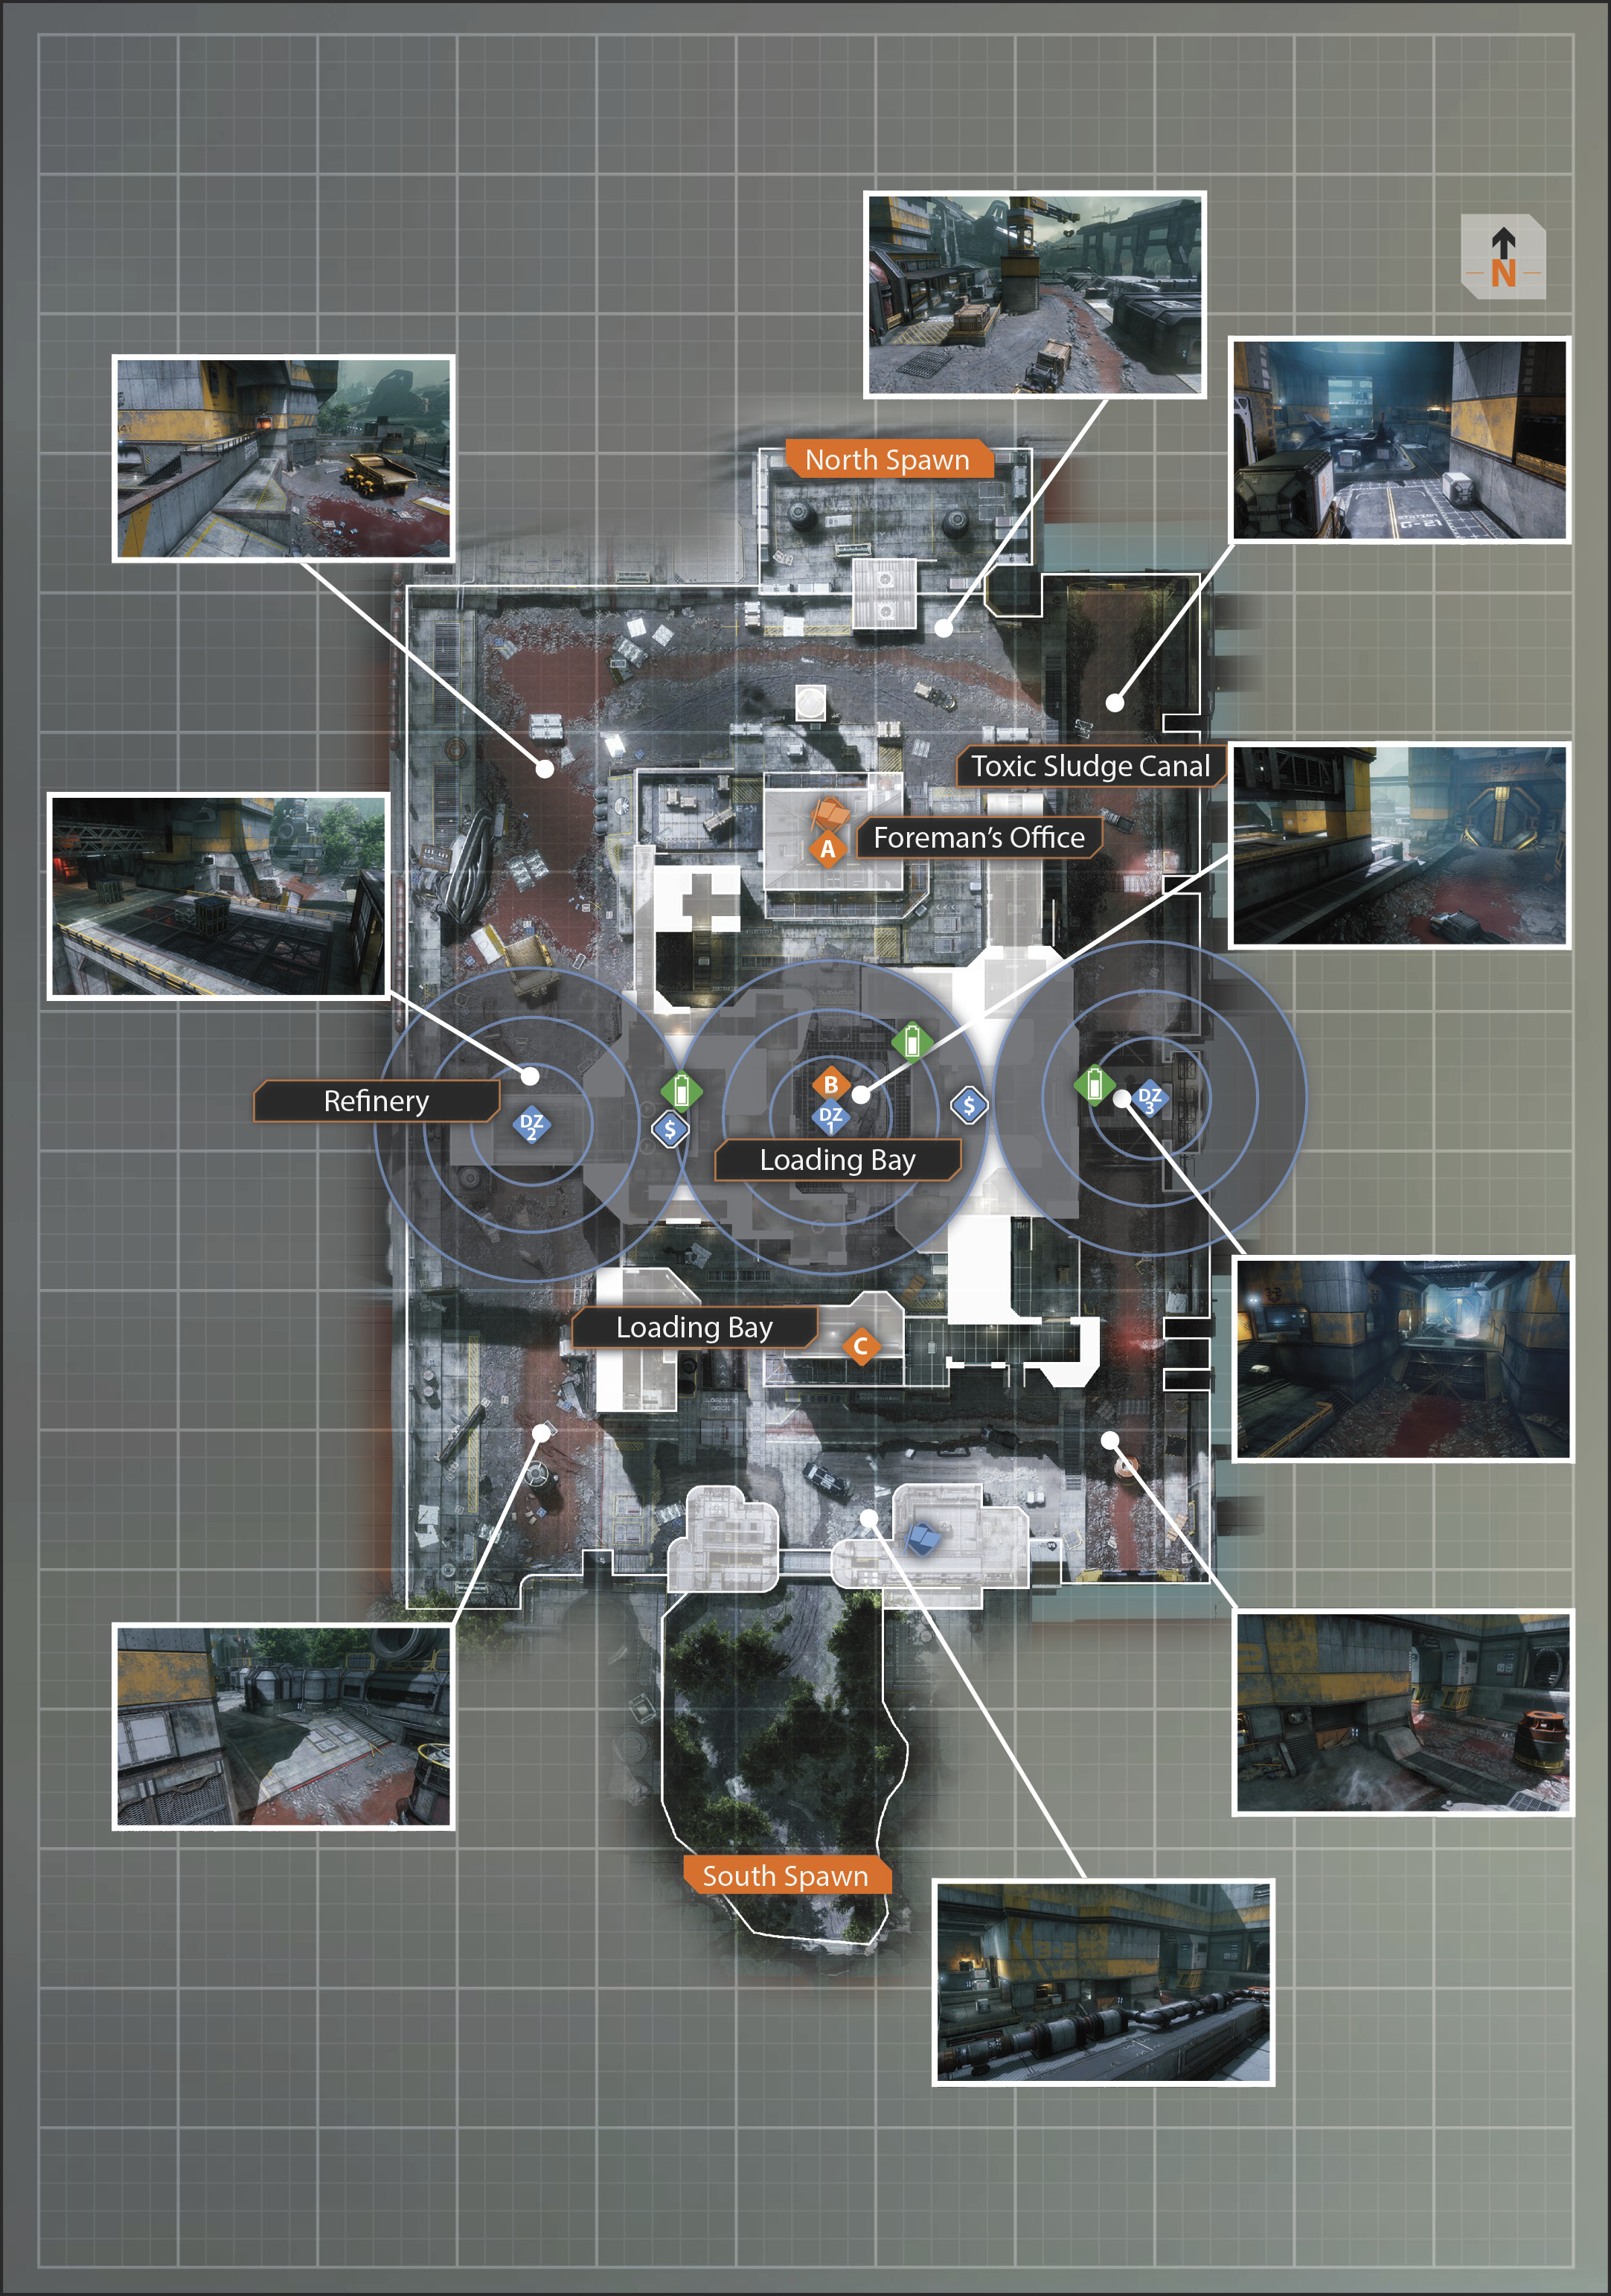
| Legend | |
|---|---|
 |
Last Titan Standing |
 |
Hard Point |
| Bounty Hunt | |
 |
Drop Zone |
 |
Bank |
| capture the flag | |
 |
Blue Team Flag |
 |
Orange Team Flag |
As a matter of survival, the necessity of major recycling operations is a fact of life in the farther reaches of the Frontier. IMC garrisons are a common sight near large-scale, dry dock-style salvage yards, which are operated by inmates from IMC Correctional Services. Troops from the garrisons ensure that precious metals and alloys are recovered for IMC manufacturing facilities. The cheap labor provided by the prisoners and the minimal demands of their poor working conditions keep costs low.
Drydock is a medium-sized facility, made up of large concrete walls and a low-lying scrap yard along its borders. Pilots will find rooms well-connected by corridors throughout the interior, allowing for flanking or a quick escape. Around the exterior of the facility, Titans have greater freedom of movement, and can spot enemies easily in the large, open pathways.
Foreman’s Office
The cargo holding lies right in front of the eastern spawn and happens to be home to the A hardpoint. The building has two stories to it and is a rather small area. Take advantage of the roof, as it is a great vantage point, not only for areas in the distance, but also to the inside of the cargo holding. Because of the contrstruction and materials still inside the cargo holding, there are many corners on the interior, which calls for major caution from anyone moving around inside.
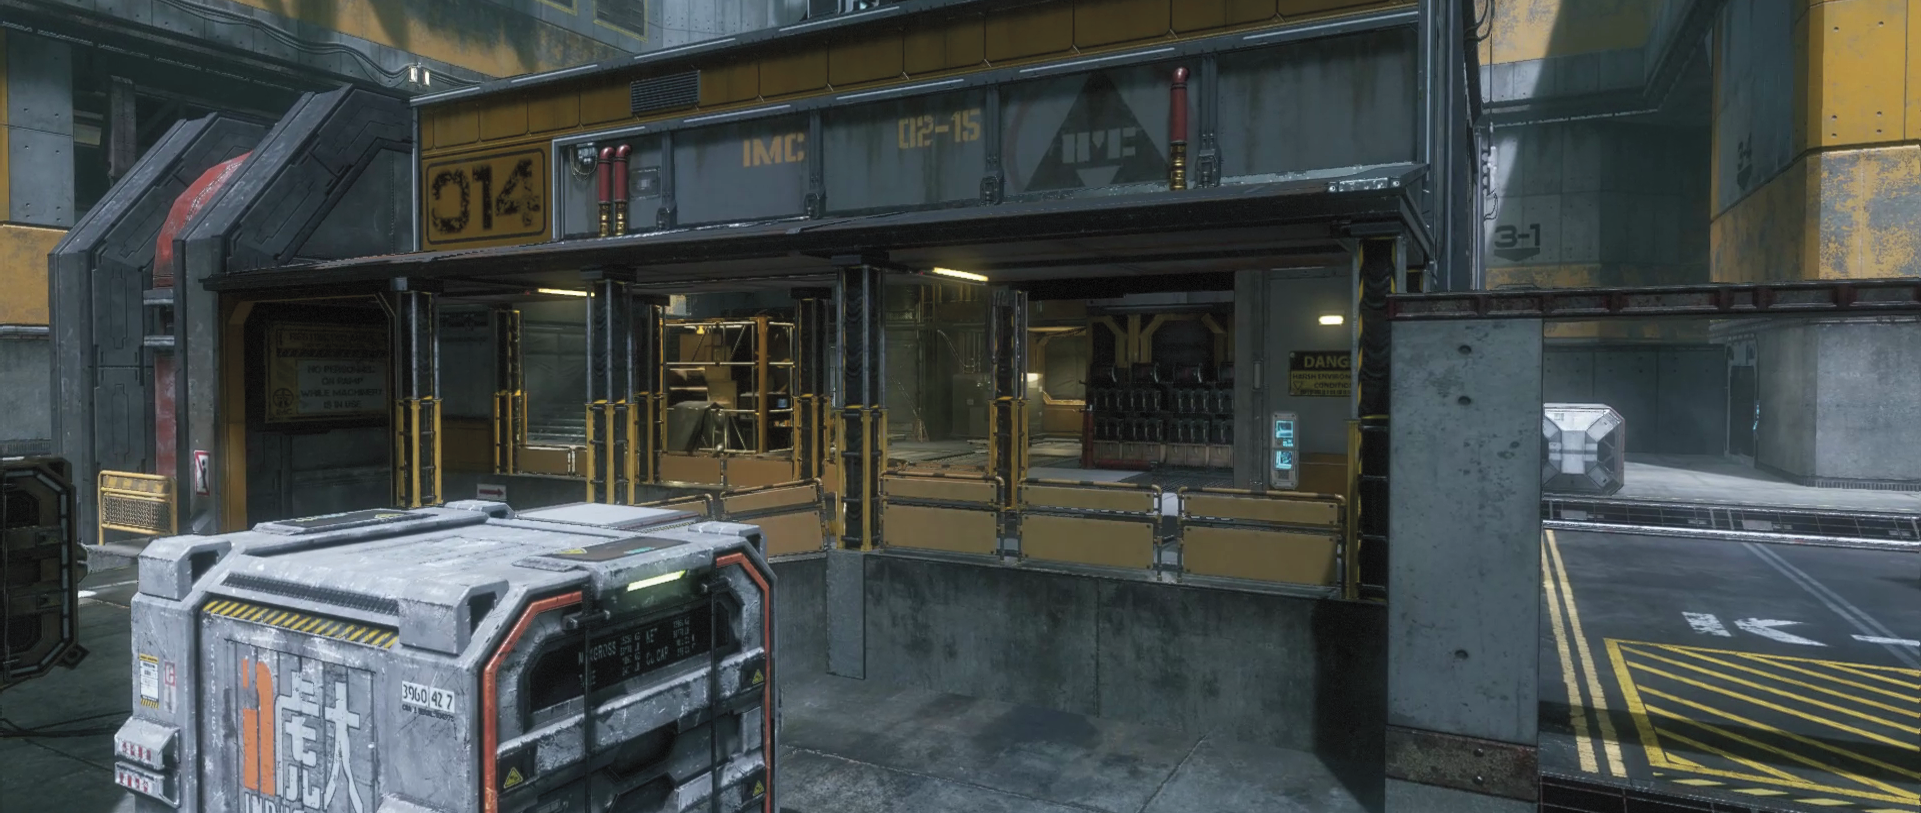
There are several entrances to the cargo holding, so in three different directions on the ground floor, you need to keep your head on a swivel because enemies can easily flank you in seconds. However, if you set up in on of the north corners, you have the best chance of seeing anything come inside. Since there are two stories to this building, it is important to keep your eye on the floor above as well, as it is rather accessible from the roof.
Loading Bay
In the heart of the Drydock is the loading bay, where there is a personnel transport ship that acts as a main point for most of the game modes in Titanfall 2. The loading bay is large and wide open, as far as space and cover. For most situations Pilots will be consistently on the move because standing around will either either cause a squashing by an enemy Titan, or a hellstorm of bullets from all angles. There is many a wall and jumping points to use to speed through the loading bay or avoid incoming fire and launch a counteroffensive on anyone defending this zone.
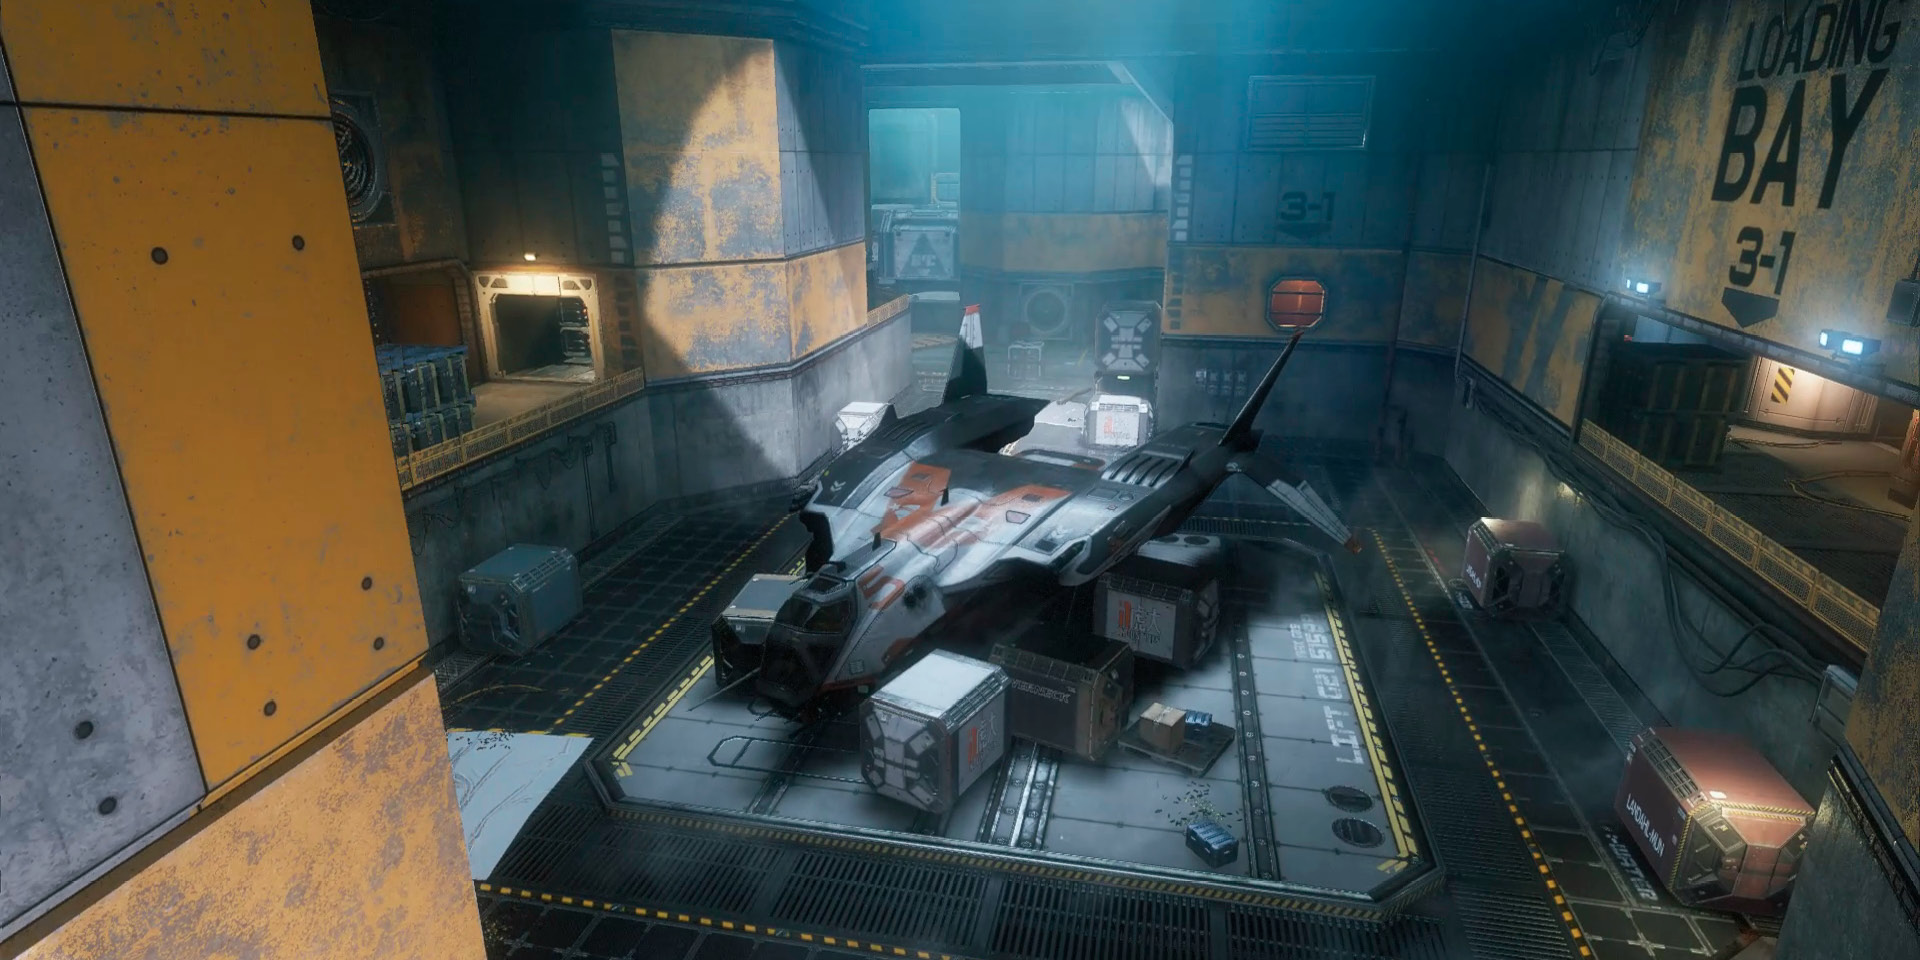
Defending this key location is done from the sides or from Titans blockading the two major entrances. Pilots have plenty of options to enter the loading bay, but it will take tactical knowledge from everyone to take control and keep it when it comes to this location.
Locker Room
Just on the other side of the loading bay is the locker room, where the final hardpoint is. The locker room is slightly more protected than its hardpoint counter-location, the foreman’s office. While they are similar, the two rooms are nowhere near identical. The difference between the locker room and the foreman’s office is not only that there is more cover in the locker room, but that the elevation of it is perfect for a Titan’s line of sight. So, timing your attacks on the locker room is essential to both your survival and the successful capture or amping of the hardpoint.
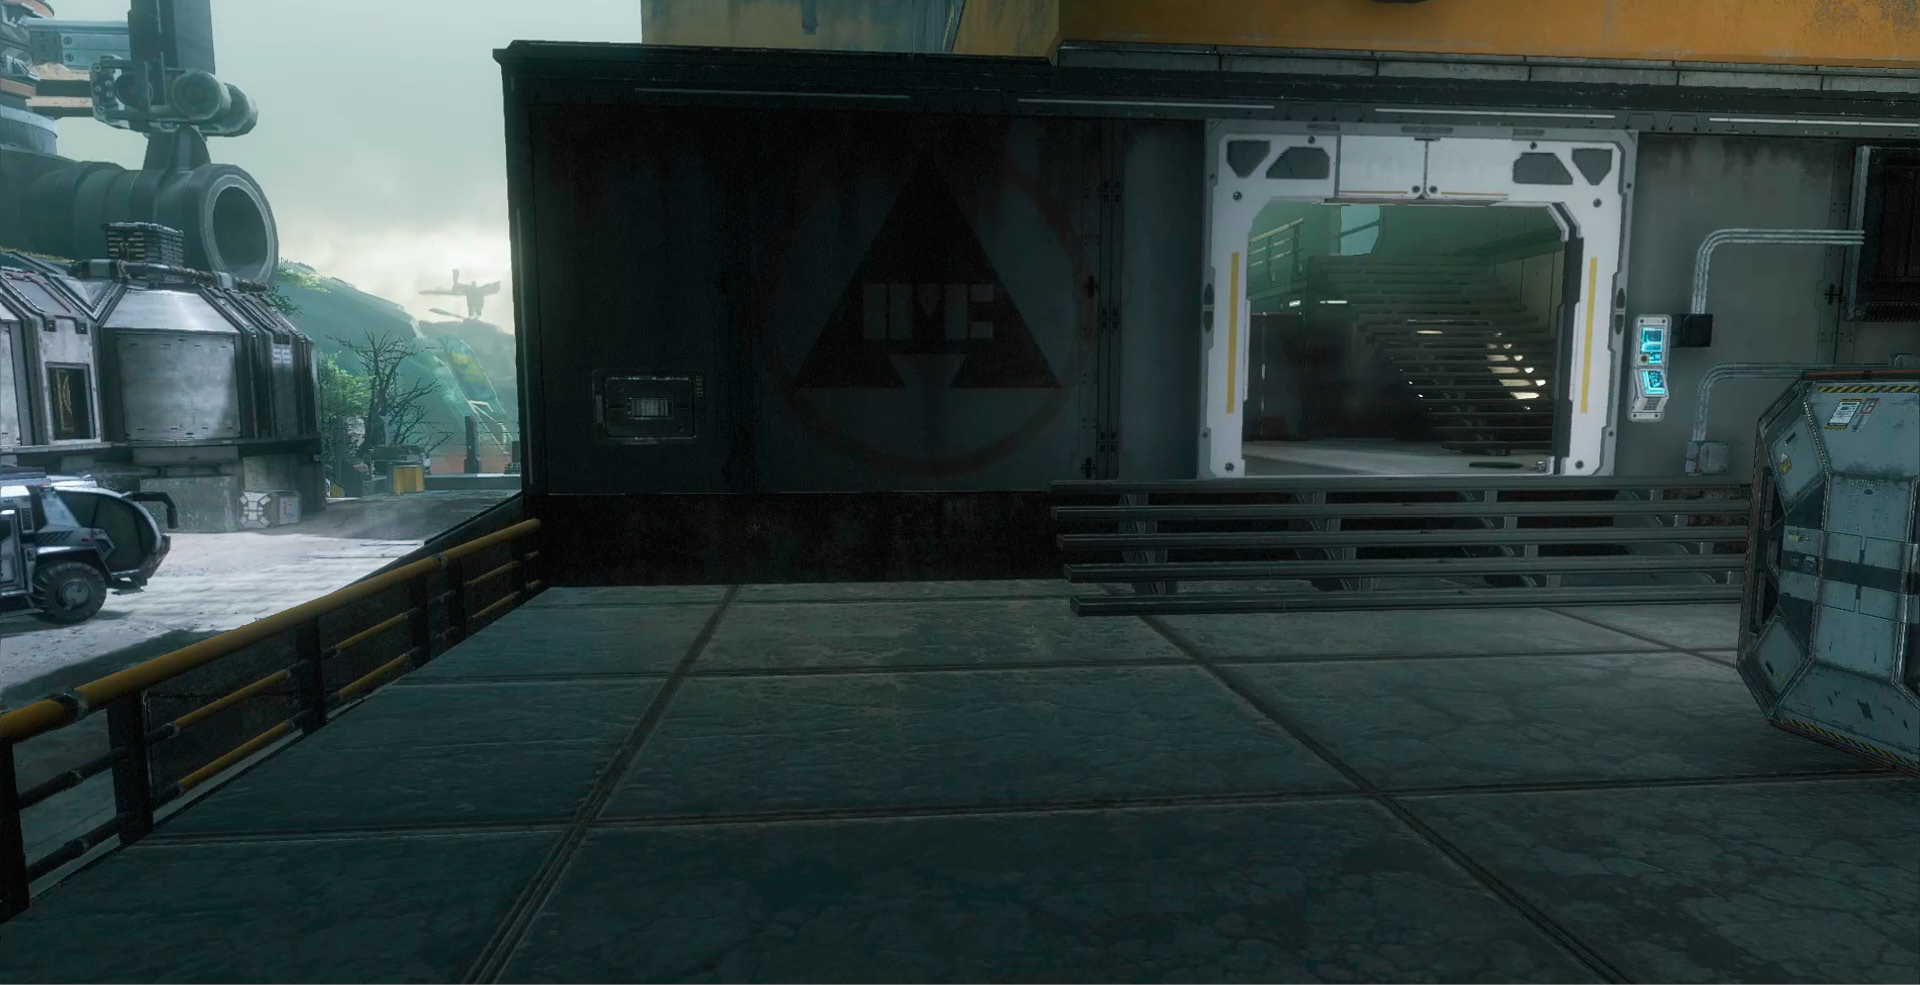
The locker room serves as the middle barrier between the loading bay and the entire run in front of security. Because of this, expect a hailstorm of fire coming from both sides. You cannot be fired upon directly from the loading bay, but this position is always under the possibility of attack from that direction. Keep your eyes peeled and watch for all enemy threats; without teamwork, defending this location is nearly impossible.
Toxic Sludge Canal
The Toxic Sludge Canal is a long canal that extends the width of the entire map, making it a great location for long-range battle. This key location is not a location that is easily controlled, simply because of its size, but you can patrol it to equal effect. Where Drydock will throw your team a curveball is by dropping minions inside the Toxic Sludge Canal during Bounty Hunt. If your strongest Titan gameplay is one like Northstar or Tone, your haven on this map is at each end of the canal. With decent sight down the canal and both perpendicular ends of the map, you can hold most of the perimeter virtually by yourself.
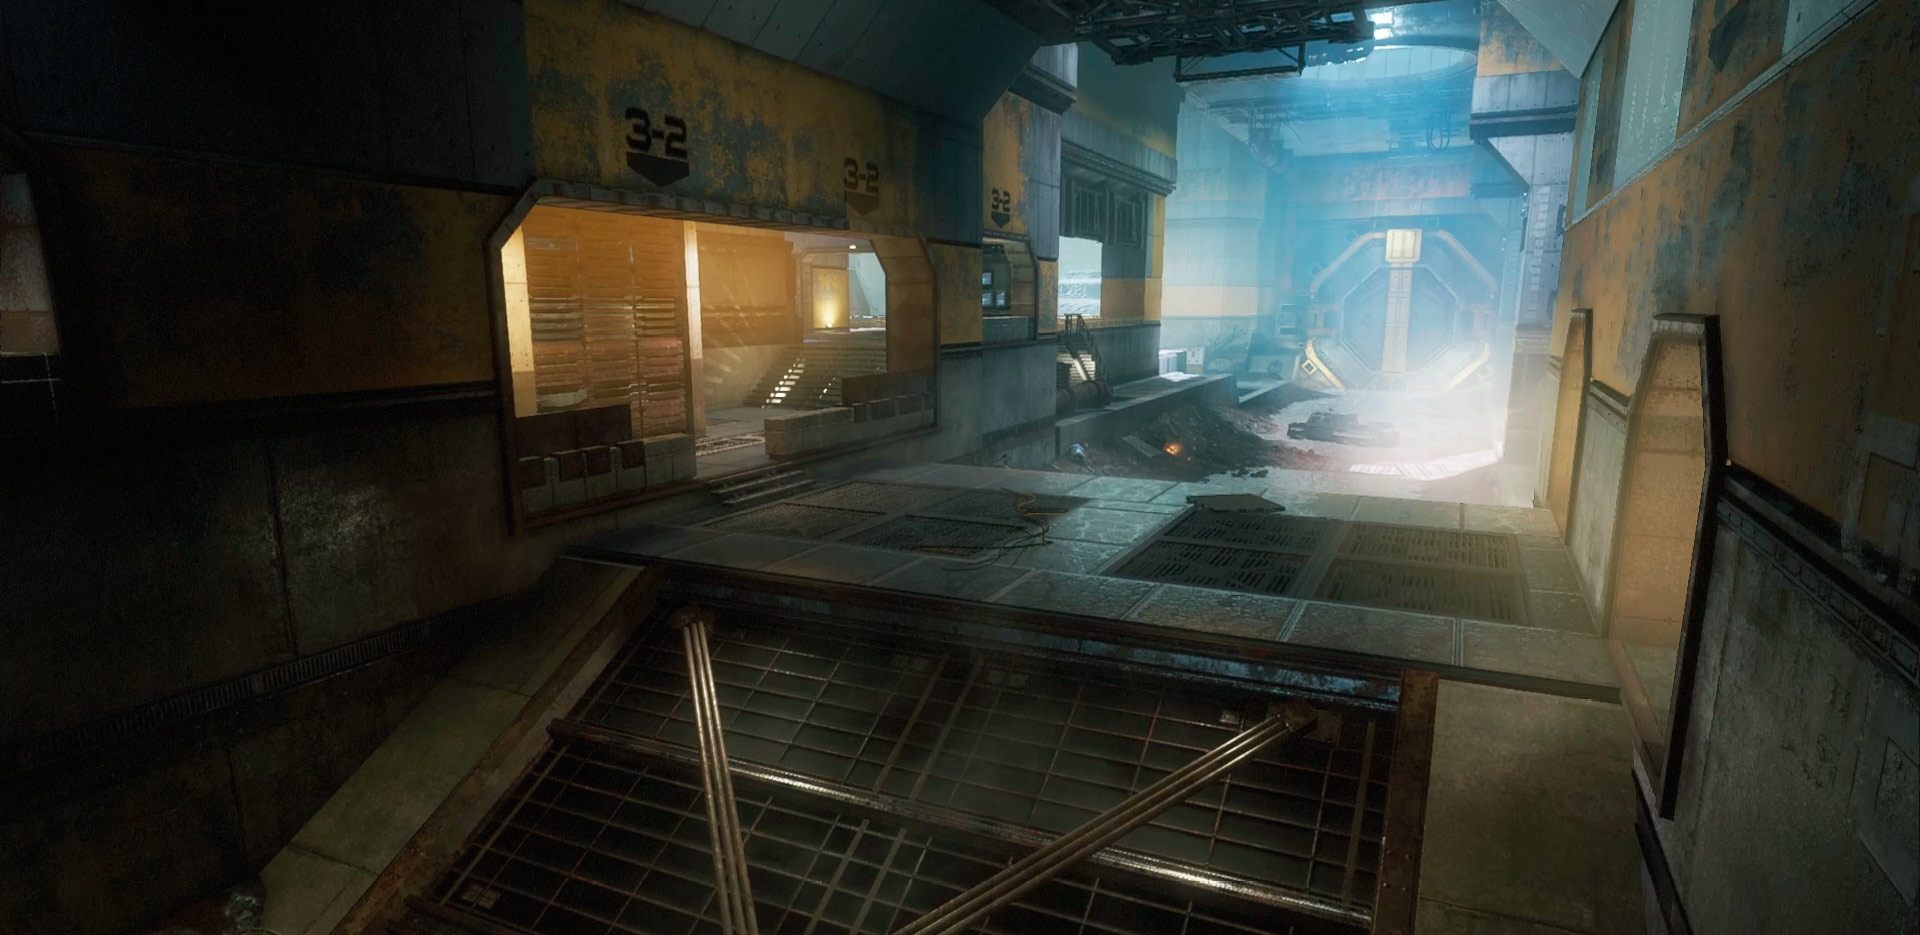
Beware of the entrance to the loading bay because this is where Pilots can get to your location most easily. Yes, they can come from either spawn, but if you have the Toxic Sludge Canal locked down, you should be able to see them much easier than if they were coming through the middle. Having a teammate help you watch this area, even if they do not have a Titan, gives you one less threat to worry about.
Refinery
One of the more complex locations on Drydock is the refinery. The refinery is not quite on the opposite end of the loading bay from the Toxic Sludge Canal, but in a practical sense, it is. The refinery, in combination with the bridge to which it’s attached, has quite a few objectives that appear here in different game modes. Get to know this area rather well because it’s all but guaranteed that you will not be able to ignore this location.
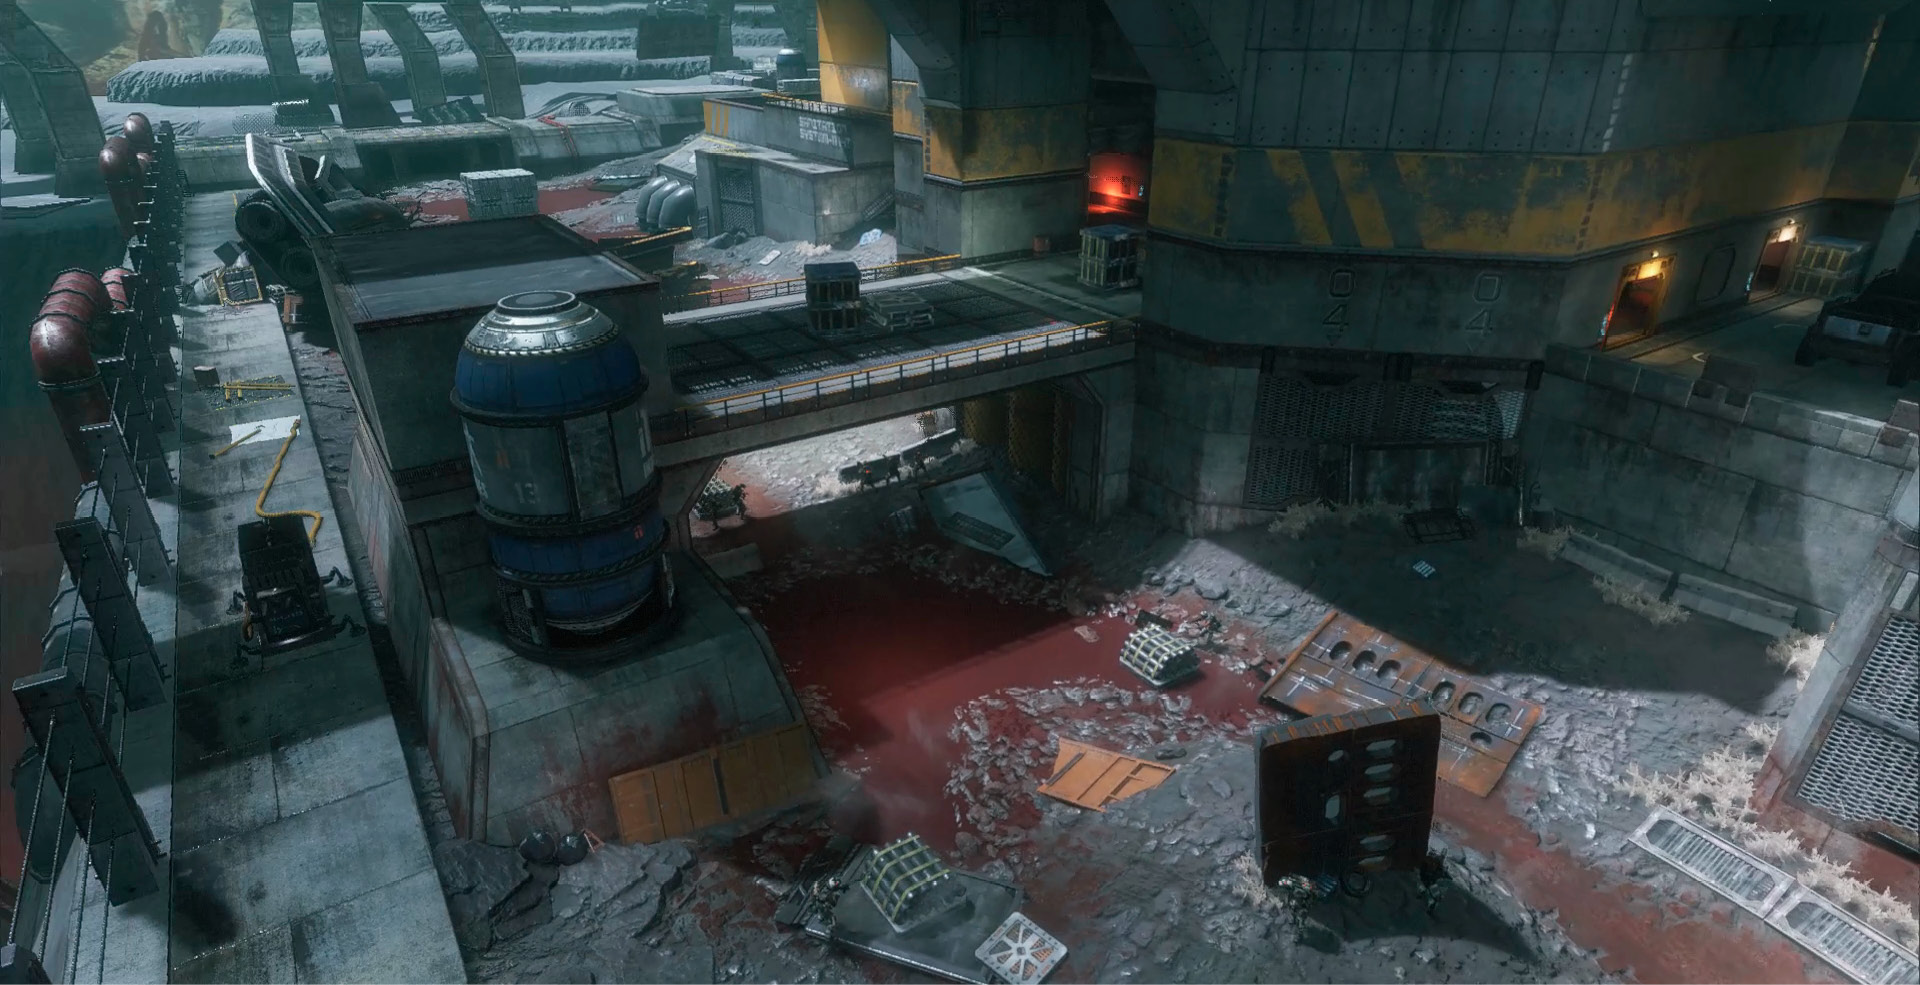
The bridge can be used both ways when dealing with either Titans or Pilots. Use the bridge to stay out of direct line of sight of Titans on the ground and toss grenades, or as a hiding spot you can peek in and out of as you use your Anti-Titan weapon. On the other side, you can hide from other Pilots by staying below it to kill minions or deal with another firefight before the enemy Pilot drops down, giving you a little more time.
Recommended Pilot Loadouts
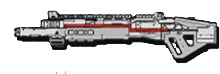
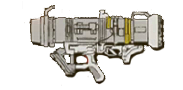
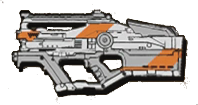
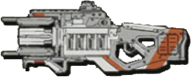
Shock SeekerThe Shock Seeker is the ultimate in-your-face loadout that is not great at range, but, depending on the map, there is no need to engage at a distance. The Pulse Blade is something that allows you to see around the corners of a major conjuction you are about to travel through. Because of the Power Cell in Kit 1, you are able to use Pulse Blade often, and you should. Noticing a squad around the corner you’re about to walk through doesn’t need to be a sacrifice, and that’s why you have high explosive satchels at your disposal. Act quickly and blow them sky-high.
|


Phase PilotThe Phase Pilot Loadout is a powerful offensive loadout and is great for maps with mid- to long-range distances. There is a clear theme with this loadout, but there is a tactical explanation as to why. For the most part, the Phase Pilot is designed for mid-ranged firefights. But equipped with Phase Shift, the loadout is designed to evade close encounters as your enemy attempts to flank or overwhelm your position. Phase Shift past them and drop a Gravity Star to deter them as you create some distance and make them pay for pushing your position.
|

Recommended Titans
Ronin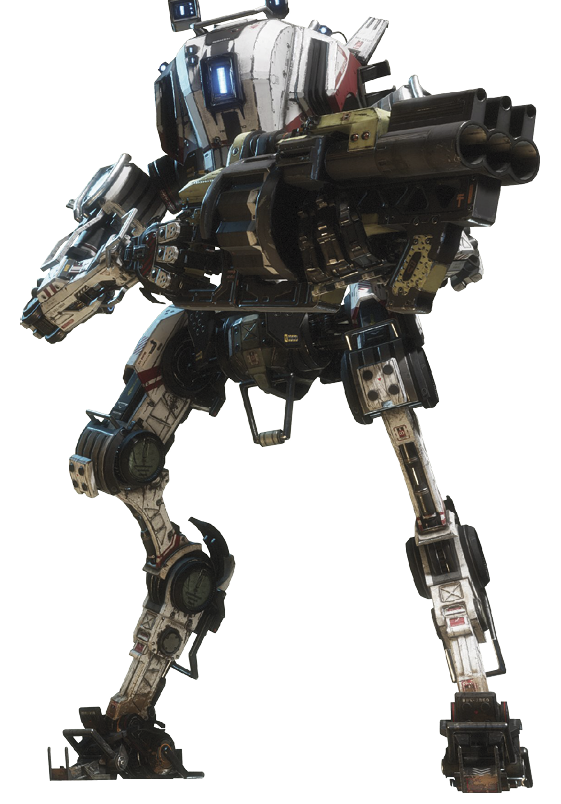 Ronin is an ideal Titan for Drydock for several reasons: with quick thinking and sharp reflexes, Ronin can own the center of the map. Equipping the Temporal Anomaly keeps the squishy Stryder chassis much harder to hit because Phase Dash makes Ronin invincible for a short amount of time, while also giving you the chance to move to the more tactical position. BeinG able to Phase Dash more often can get you out of harm’s way, but be careful not to Dash into a wall and get stuck in the enemy’s crosshairs. Because of Ronin’s speed, you can move back and forth to fend off enemy Pilots and Titans while avoiding Pilots’ Charge Rifle and Thunderbolt fire.
|

Tone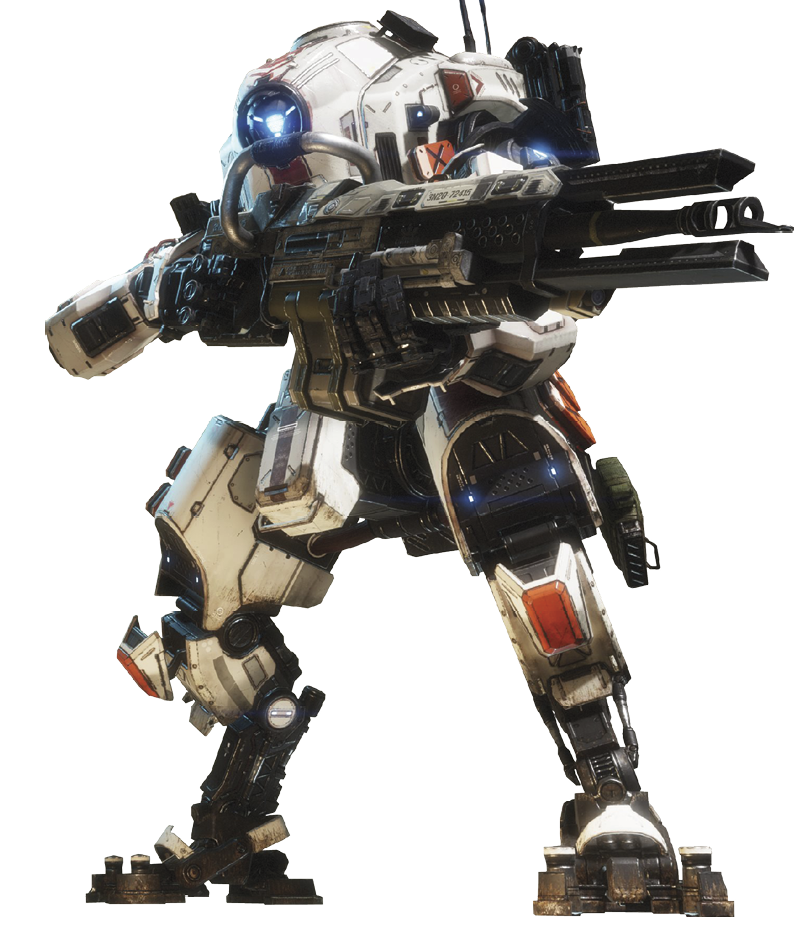 Tone is a great choice of Titan for this map because the 40mm Tracker Cannon is a weapon for all ranges. If you can land enough hits in a row you can launch a payload of Tracking Rockets, which can be extremely effective if you time it right. The narrow corridors are easy for Pilots to move around and avoid incoming fire, but Titans, on the other hand, do not have a whole lot of room unless they round the corner. So, when firing your rockets, make sure that the enemy Titan has nowhere to go in order to avoid your attack. Another benefit of the narrow corridors on Drydock is the Particle Wall covers the width of most of the hallways that lead to each section of the map. With Reinforced Particle Wall, your Particle Wall is even more effective, which means you can hold down and entire path while taking zero damage for a short amount of time. In most cases, this will give you a huge advantage, and Overcore will help with this tactic.
|