
Titanfall 2 Guide Multiplayer Maps Boomtown
Game Mode Strategy
Amped Hardpoint
Boomtown is an extremely narrow map, making Amped Hardpoint a consistent tug-of-war. The best course of action is to not get too greedy, taking two points and amping at least one of them is plenty ground for your team to hold for the majority of the match. The majority of your forces should be spread across the middle of the map to protect the flanks of both the bridge and the direct lines to the hardpoint closest to your team’s original spawn.
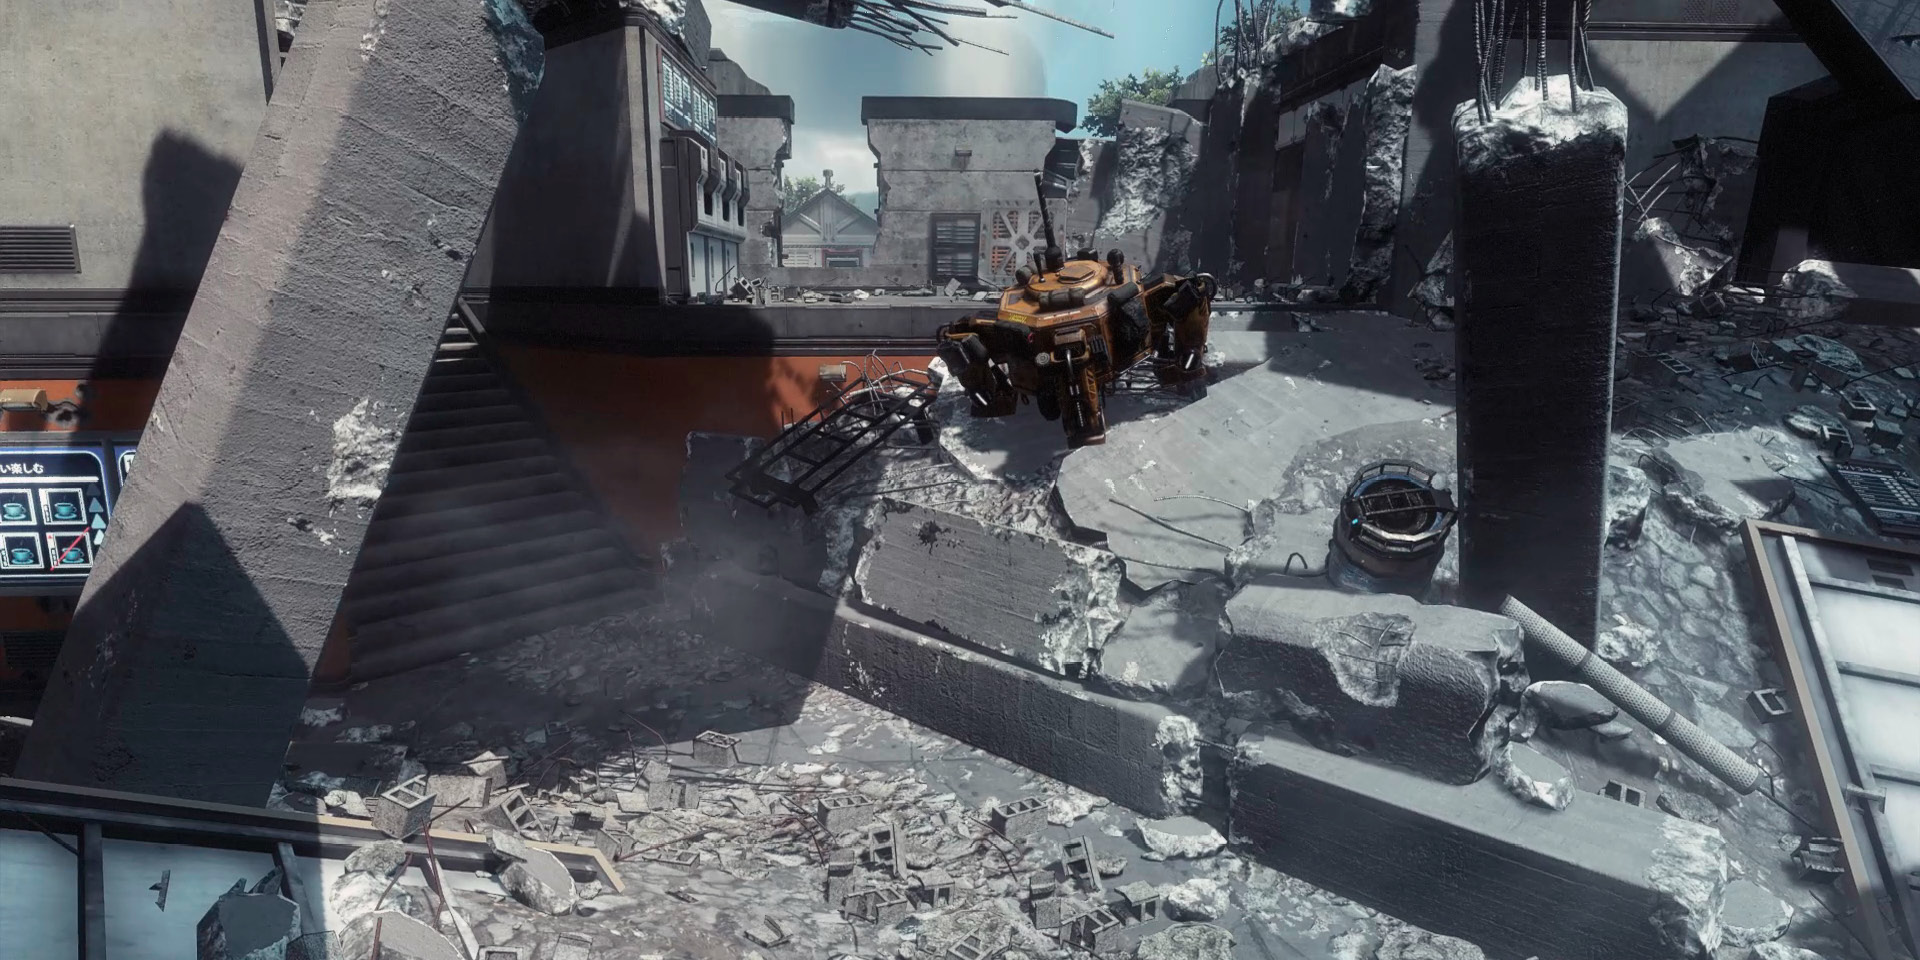
If you have to retreat back to your home hardpoint, be sure to know how to defend each location. The Demo Building technically has two operational floors from which you can defend. However, it is highly recommended that you defend from inside the bottom floor, in order to keep the hardpoint contested, or from across the street in one of the buildings with the slanted roofs. From here, you have a much better vantage point of the hardpoint and who is approaching. However, in these locations you must watch your back or at least have a buddy with you to help you out.
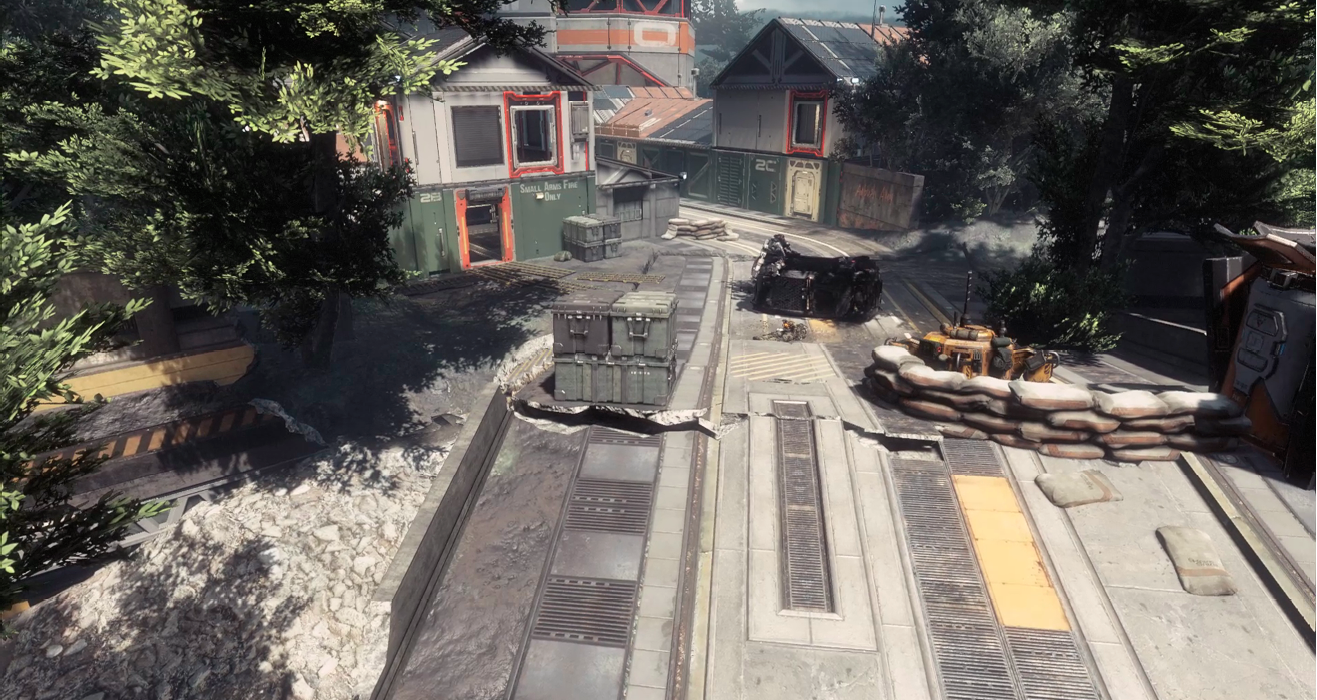
On the end of the Mess Hall, a similar strategy is called for. Defend from within if most convenient, or defend from the adjacent building with the slanted roof. It is possible to defend the Mess Hall from the center building by the bridge, but it is too easy to be sniped or flanked in this position.
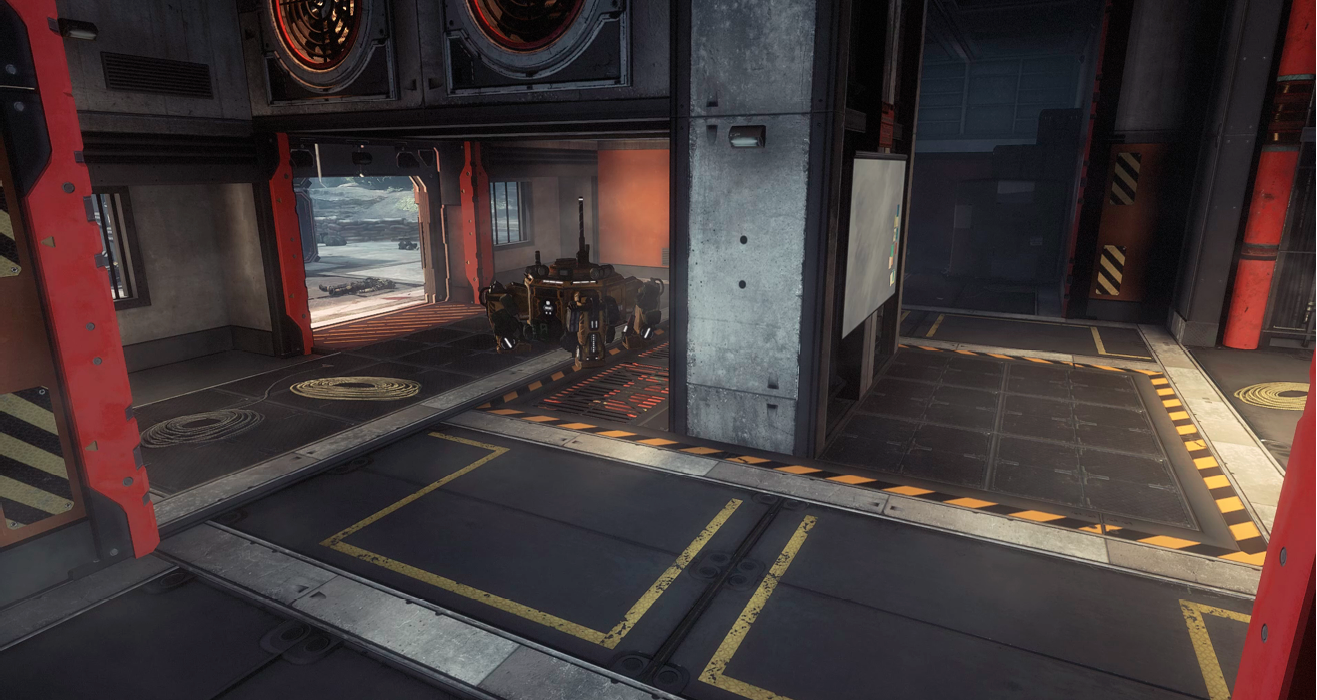
The bridge is definitely the tricky location, especially if you plan on amping the hardpoint. The peak in the broken part of the bridge will only do so much for you, as far as cover goes. It is a great feature to use to hide from snipers and enemies who might not know you’re there just yet. The moment you are seen or when your location has been revealed, you need to neutralize the threat or book it in the other direction, because going back to activate the hardpoint from the next room over is much easier than risking your life and respawning much farther away.
Bounty Hunt
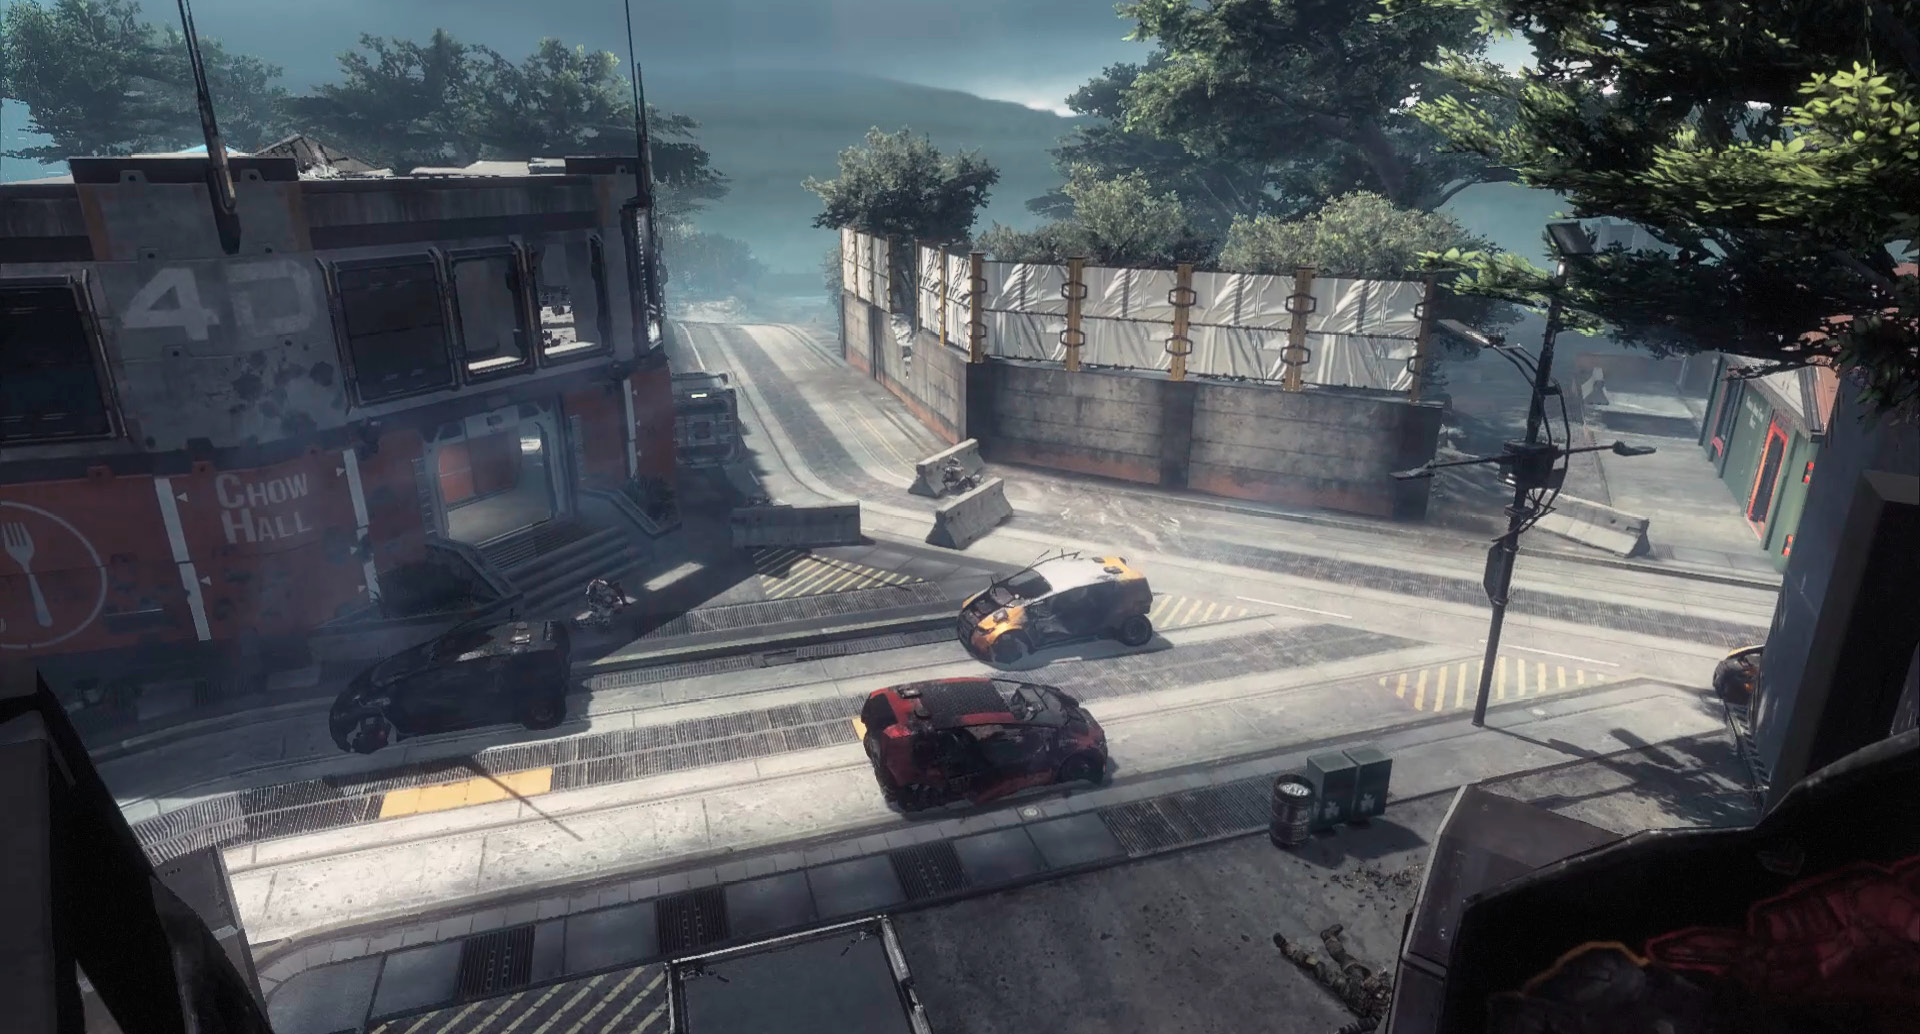
The first challenge when playing Bounty Hunt on Boomtown is making it to the bridge faster than the other team can, and controlling it. Initial control of this entire central area is key for really the entire match, because it is essentially the main gateway to the other side. The first Drop Zone is directly on top of the bridge, so most of the bounty can be collected from a distance. However, having the ability to take the other team’s cash can give you an early lead.
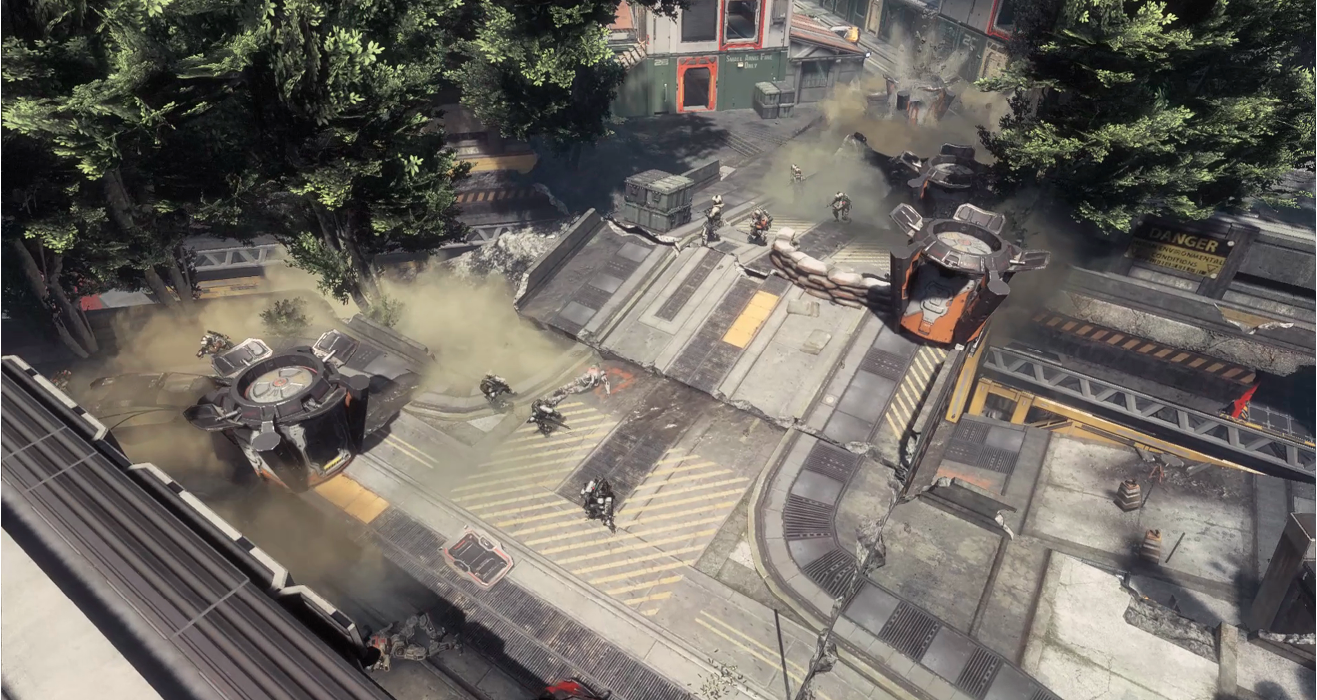
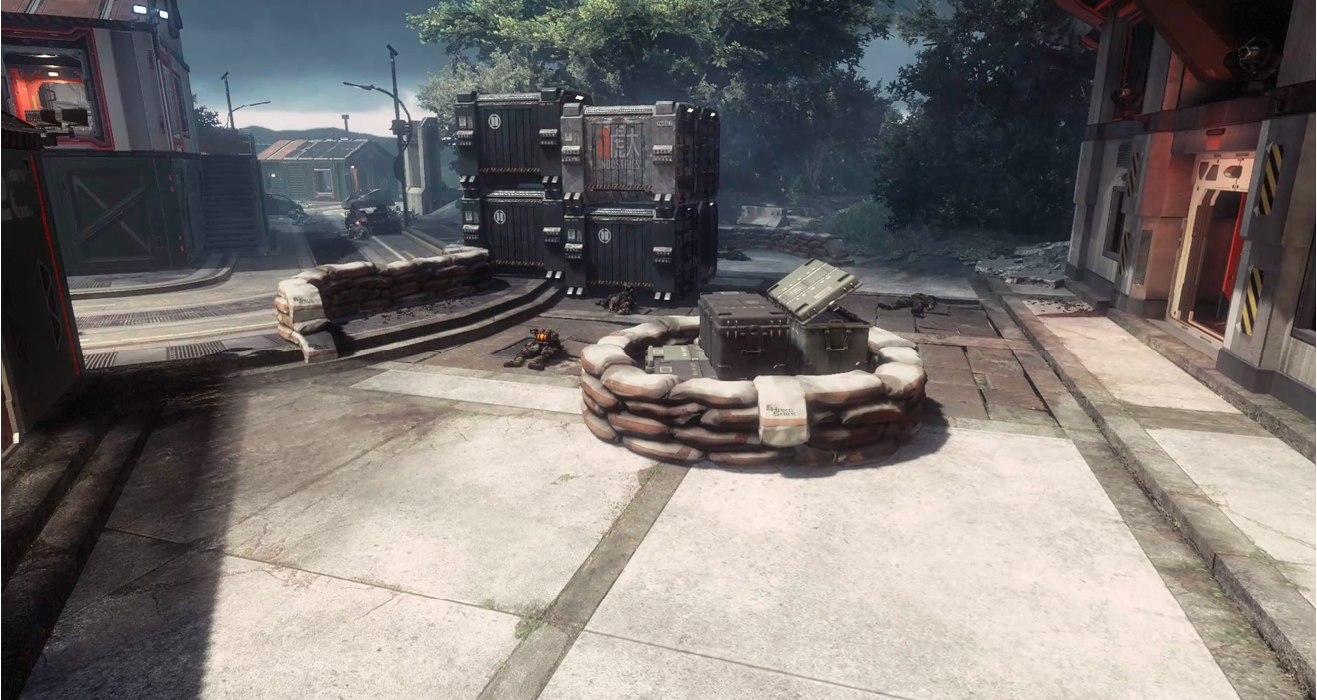
The next two locations are in the open areas of the map. First, is the Titan Target Range and its glory of having a shallow ravine that minions tend to funnel into. Titans like Scorch excel here because the Firewall and Indendiary Trap tend to attract minions like they were flies to a bug zapper. Pilots should use the building with the slanted roof to secure this location, but be sure to watch your back and know how to duck inside the building as quick as you can, in case of an emergency. There are a couple entrances on both the top floor and the bottom floor. However, if you are spawning on this side, there is an entrance on the side of the Demo Building that is the best protected. Then there is the Forest East, which has a lot of the same mechanics. However, there are more corners to watch. Same as the Titan Target Range, there is a building overlooking this location. From here, watch out for Titans, as they have very ideal sight lines into the interior of the building, not making it easy to avoid a barrage of Titan fire.
Capture the Flag
Capture the Flag on Boomtown requires speed and minimal mistakes while a player is running the flag back to base. The map is long and narrow, making for quite the distance to travel in order to capture the enemy flag—and there’s not a whole lot of wiggle room for avoiding defenders. The best course of action is to take the path that you traveled in order to get the flag, because, oddly enough, if it was safe seconds ago, it might be the safest it will be for a while. Using Stim when in a tight situation can safe your life, and possibly the match. Use it at the right moment.
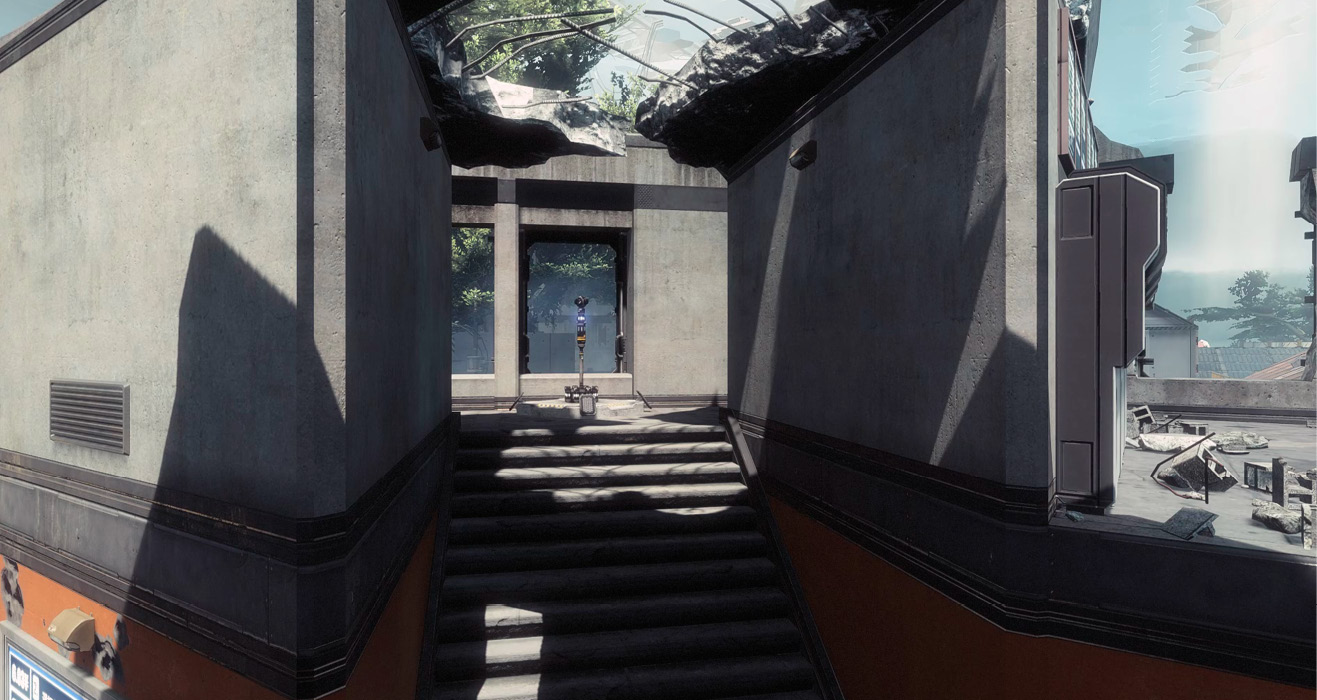
The fastest way to run the flag is down the west side of the map, as it has the most buildings you can slide and launch off of in order to keep up that speed and momentum. Try not to miss any windows or jumps, because if you slow down for even a second, you might find yourself back at square one.
Pilots vs. Pilots
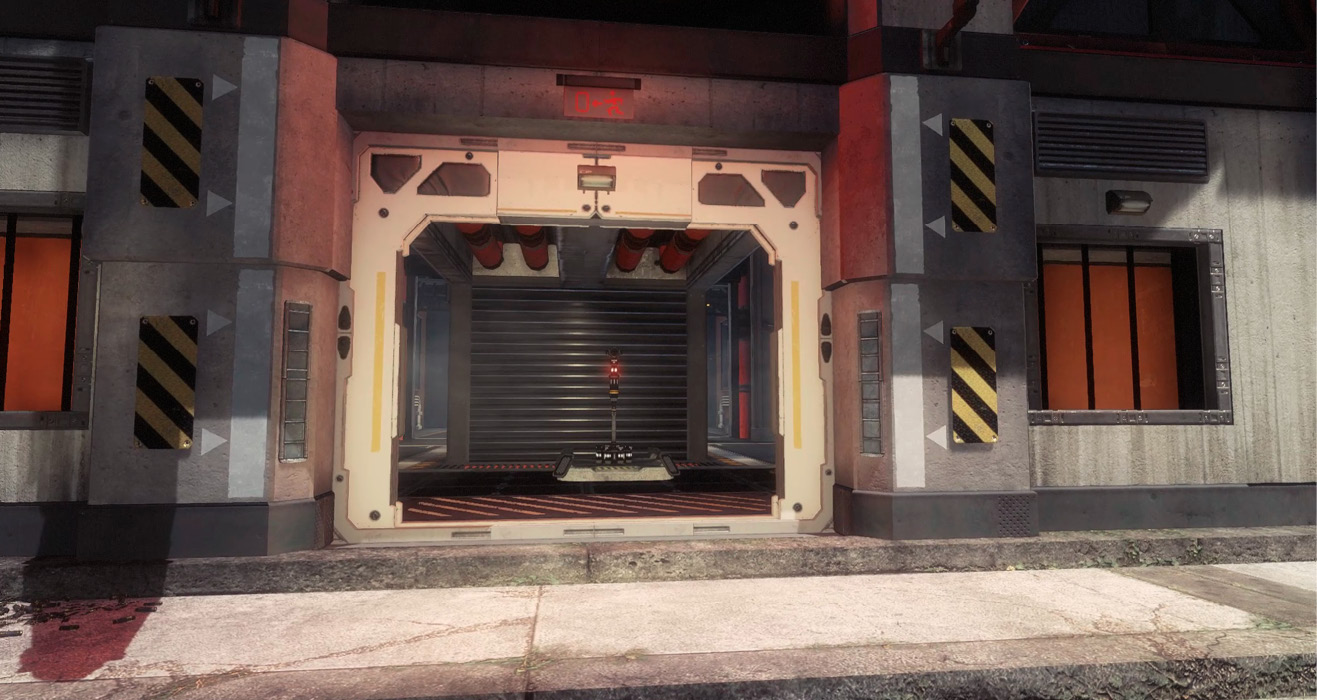
Pilots vs. Pilots quickly becomes an all-out brawl and a race to the maximum number of kills to end the match. Due to the nature of Boomtown, you might find yourself with either the most kills you’ve had on any map, or unfortunately the most deaths you’ve ever had, as this map is built for death, hence its nickname: Grave. Focus on using assault rifles and submachine guns on Boomtown Pilots vs. Pilots because these will be the most effective in this high octane environment.
Work on staying mobile and grabbing kills while in the air or in the middle of a slide. Stopping to make a shot on Boomtown is often suicide, and the Pilots who don’t stop moving tend to be the more successful ones. However, unlike any other experience, you must focus on how you’re going to get where you’re going a lot more than your actual end point.
Last Titan Standing
Speed is not the objective of Last Titan Standing on Boomtown. Agility and raw firepower are royalty in these parts. Titans such as Ronin using the Phase Dash ability and Scorch and its massive damage output will both excel on Boomtown. Trap enemy Titans in the corner by setting the ground ablaze or pin them up against a wall, like a boxer forcing his or her opponent onto the ropes. However, there are others that do well here, too.
Tone has the perfect ability for this map; being able to drop a Particle Shield that protects an entire pathway can become extremely useful, even when you’re outnumbered. Just be prepared to counteract and back off of a location if you see a Ronin Loadout striding toward you. The tricky part about Tone, and the reason it is not part of the recommended Titans for this map, is that the Salvo Core is not ideal for this layout. While powerful and overwhelming for the enemy, simply dashing behind a barrier that is close by causes problems for the outgoing rockets trying to hit their marks. Considering that the Core is what turns the tide of most battles, this is a serious problem.
attrition
Boomtown is narrow and has a lot more going on toward the center of the map. However, there are still three full lanes on Boomtown and they should be what you focus on in order to control the map. Use the extreme amounts of natural and manufactured cover on Boomtown to conceal your approach on a location, or simply just to get out of the line of fire. Running through and getting kills is important, so if you can do that without being seen by future combatants you will last long. The tall building adjacent to the Bridge is a prime location for snipers and anyone with a good shot from a distance; however, it is important to realize that you are extremely vulnerable up there so being able to duck into cover or use Stim to blast away would not be a terrible idea.