
Titanfall 2 Guide Multiplayer Maps Eden
Game Mode Strategy
Amped Hardpoint
Eden is not a large map, which means the hardpoints A and C are on the edges of the map. There isn’t a whole lot of room behind each point to use as a major flanking area, but that does not make it impossible. If you need to get behind the enemy, just be sure to do it quickly or wait for a distraction. There are a lot of places to post up and protect your hardpoint on this map, but be sure to always keep some moving ground beneath you if you don’t want to be taken out very easily.
In the Main Courtyard is the B hardpoint, and the best places to protect this location are the two adjacent buildings. Set up a crossfire with your team to create a dangerous killbox for the enemies attempting to take the hardpoint. However, know that if you are attempting to keep this hardpoint amped, you cannot do so from within the buildings. You must stay in the courtyard to both capture and amp the hardpoint.
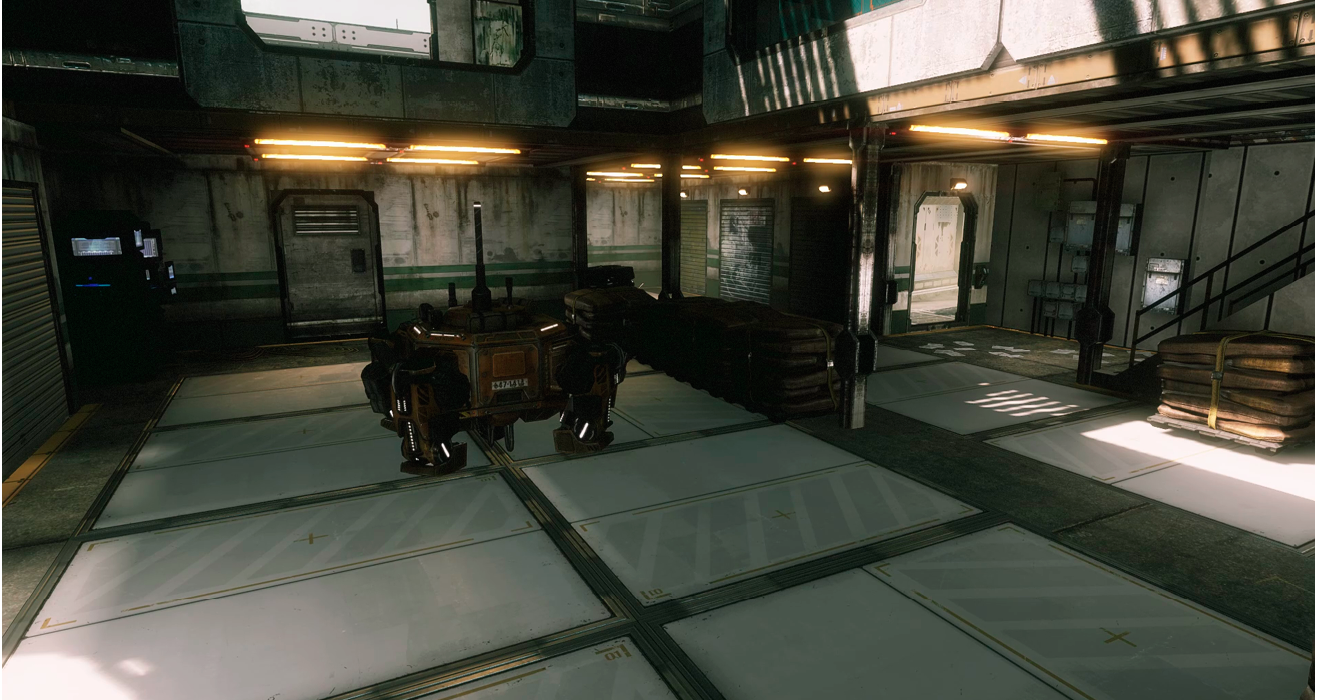
The A hardpoint is actually located on the ground floor of the train station, right underneath the train line. There are tons of covered areas at the train station, so you should not have any trouble protecting it as long as the enemy does not spot you as they come in to attack. Because the train station has a wide-open top, you don’t want to get spotted or get a kill and stay in the same location because it is quite easy to come in from behind and take you out. There are a few adjacent buildings that are great for using as a vantage point while you’re slightly off of the hardpoint. You cannot contest the hardpoint from inside the buildings, but as long as you keep your eye on the HUD, you can quickly tell whether an enemy is on the point or not.
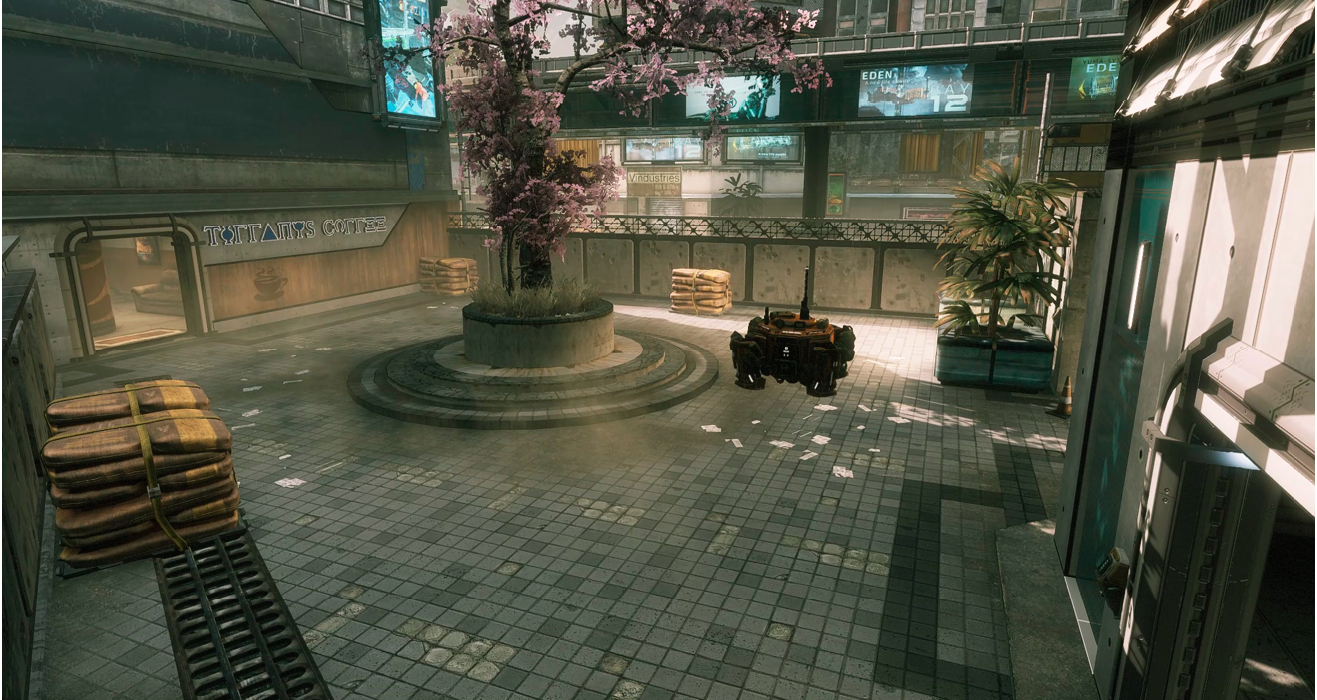
The C hardpoint is obviously on the other end of the map, and it is located in the slums. The major difference here is that the hardpoint is actually indoors, which is not something that is unique to any other objective on this map. The hardpoint is located inside the Ration Center on the bottom floor. Holding this hardpoint from within is one of the best ways to control the location. However, there is plenty of room within the slums’ outdoors where you can move around and stay in cover to keep the enemy guessing.
Bounty Hunt
Eden is an extreme case of teaching you how to pay attention to the entire battlefield all at the same time. There are many distractions, and there is a high level of action happening all around the map. If are familiar with the Titanfall series, this map is reminiscent of Angel City, in the sense that you have to keep your eyes both high and low the entire time. Bounty Hunt on Eden is the prime example of how the player who has the best battlefield knowledge will more than likely be the most valuable player.
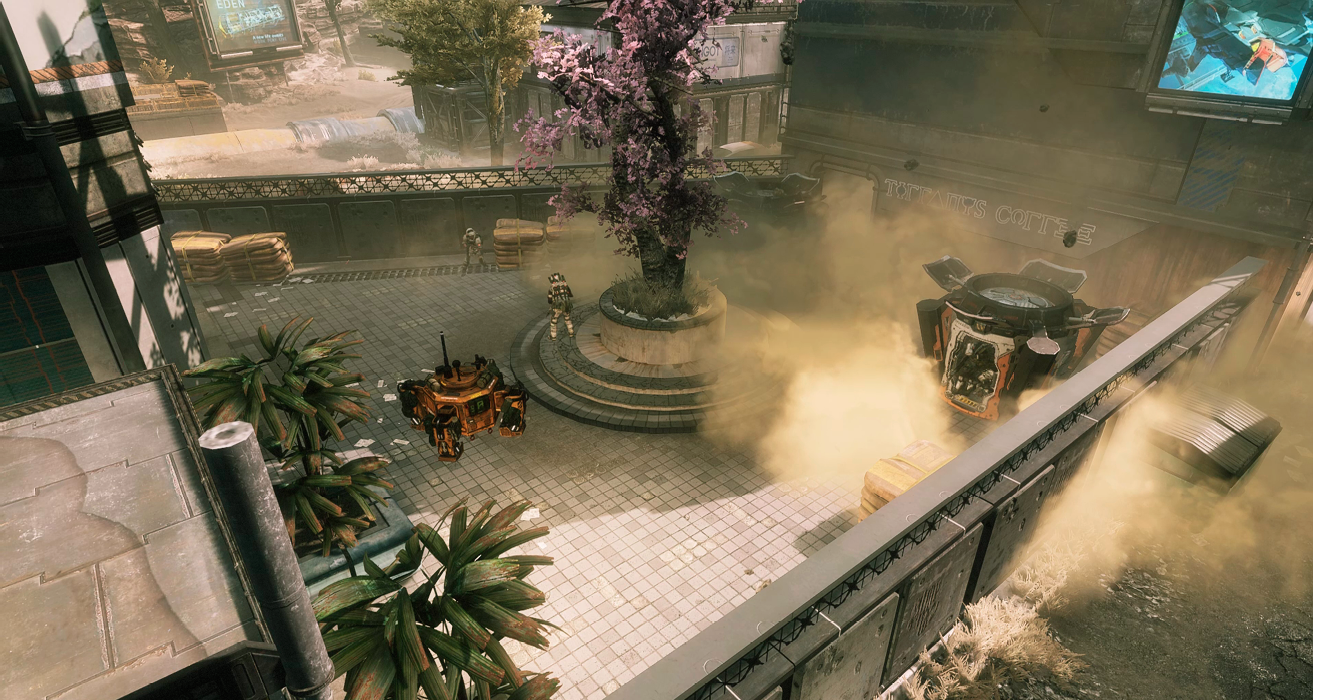
The first Drop Zone is located in the Main Courtyard, directly in the center of the map. The fastest way to this location is via the train line. However, this is the path that the majority of players will take. The slower but safer route is along one of the sides, and while also decently quick is the opposite lane on the other side of the courtyard. If you are the team’s sniper, you can post up on the train line and prevent players from getting the jump on the bounties, but know that this is risky.
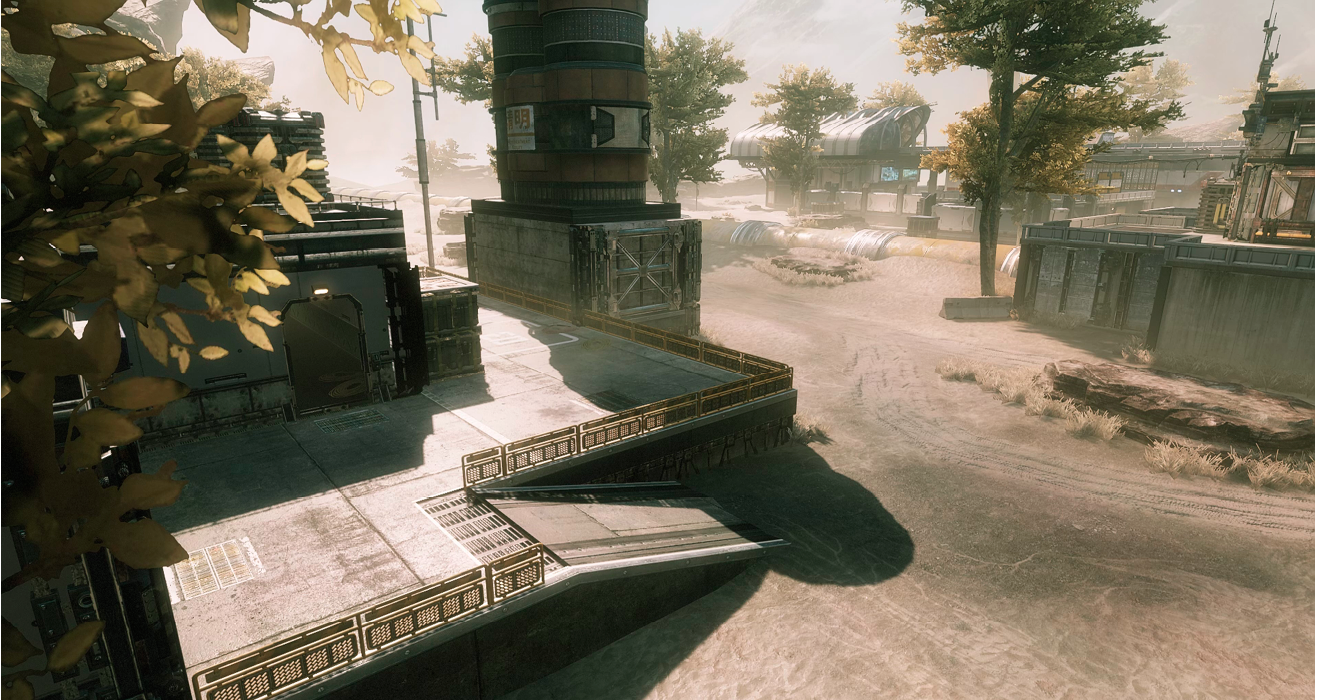
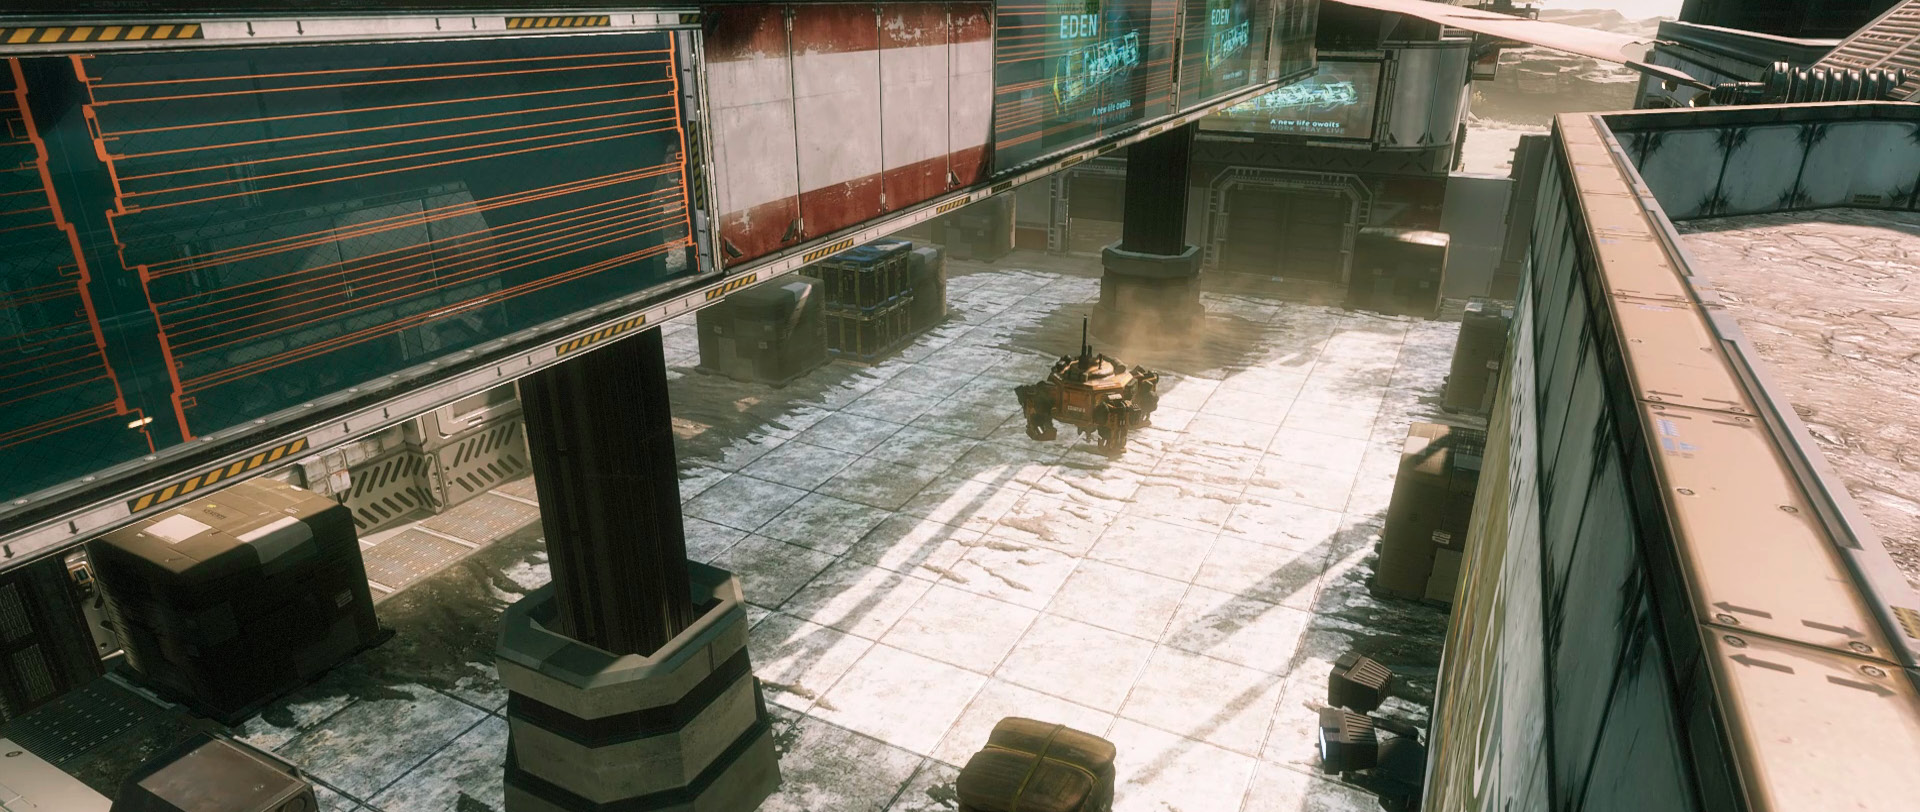
The next two locations are in front of the Water Maintenance building in the open area. The minions that drop here tend to use the Offsite Reserve as a cover point for them, which is why taking control of the Water Maintenance building early is a great goal to aim for. The other is in front of the Thumper Office, and depending on which side your team is spawning on, this might be the more difficult Drop Zone to control. Obviously, each Drop Zone is meant to be in favor of one side and vice versa for the other, but being able to take control of your opponent’s favored Drop Zone can give you a huge advantage on the map. To do this for the second location is to take over the train line and the excavation site where the large Thumper is working. If you have to, use the indoor hallways as cover, as long as you remember to not stay there too long as it is easy to trap players inside.
Capture the Flag
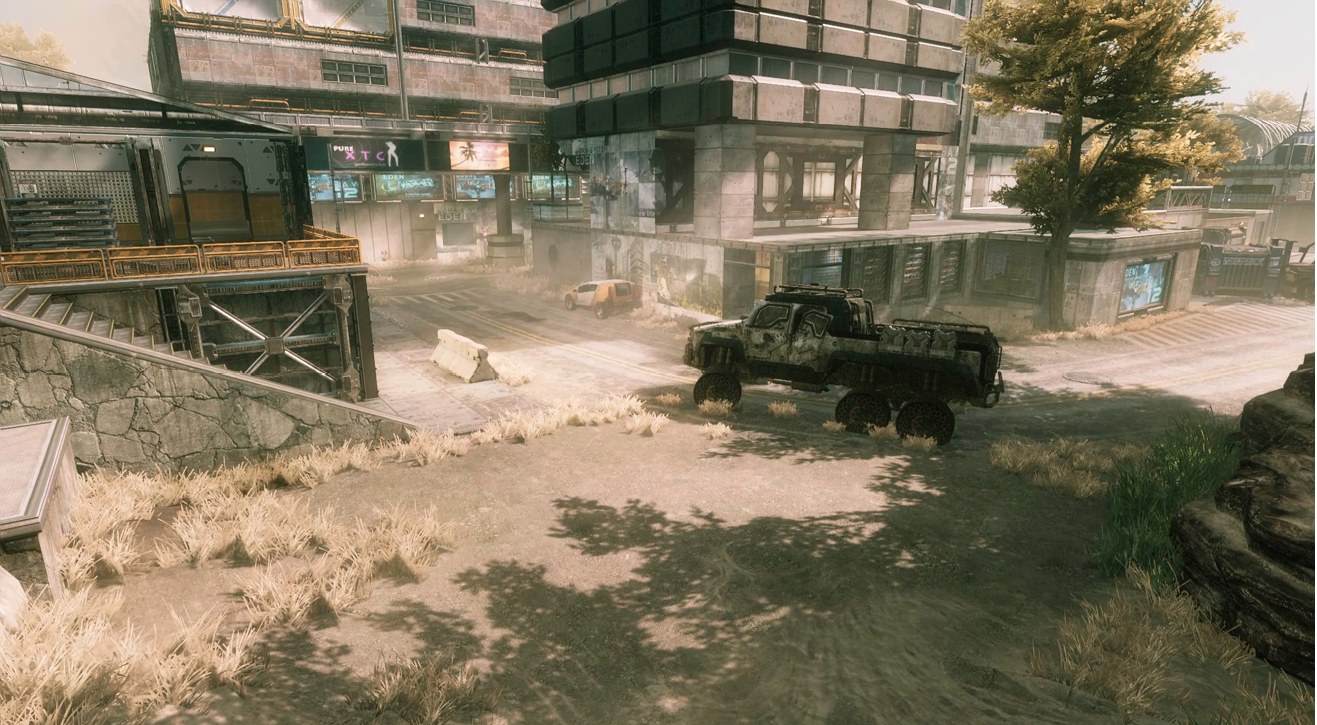
Each flag on Eden is in the same location as two of the hardpoints from Amped Hardpoint. Defending these locations is exactly the same. Just know how to get out of there fast in case you have to chase the flag carrier down.
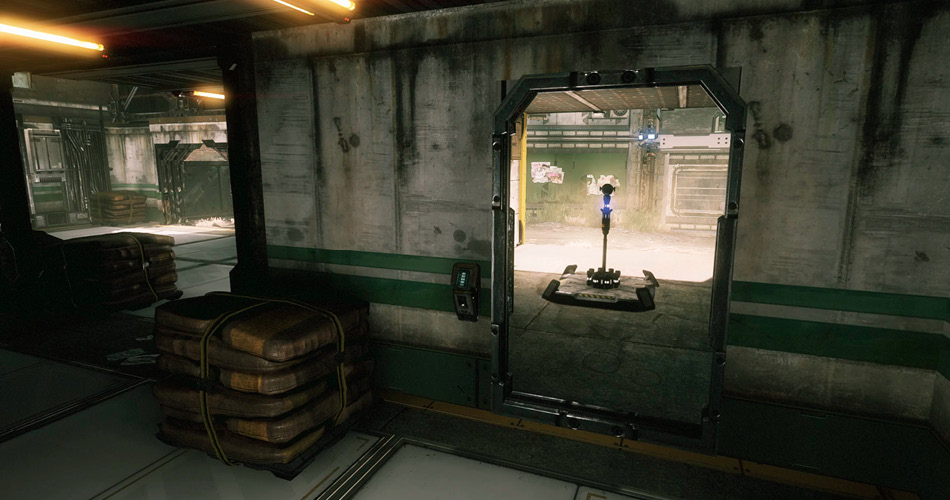
When running the flag from the slums back to the train station, the fastest route is down the west side of the map and in between the large buildings. If you choose to take the safe route, be sure to cut through the coffee shop connected to the Main Courtyard. When you get to the coffee shop, you must be quick if you wish to not be met with an ambush on the way out. If the middle lanes of the map are way too hot for you to even get close, try running through Pump Control, which is the western-most building right in front of the slums. This will be a much slower route, but you will be able to use the windows in the building to scope what’s coming up next and coordinate with your team. Your team should be blockading the center while fighting for control of the Water Maintenance building if you wish to make the safest return with the flag. Use the sloped roof on the Water Maintenance building to slide and keep your momentum up while you launch yourself into the train station for a quick return.
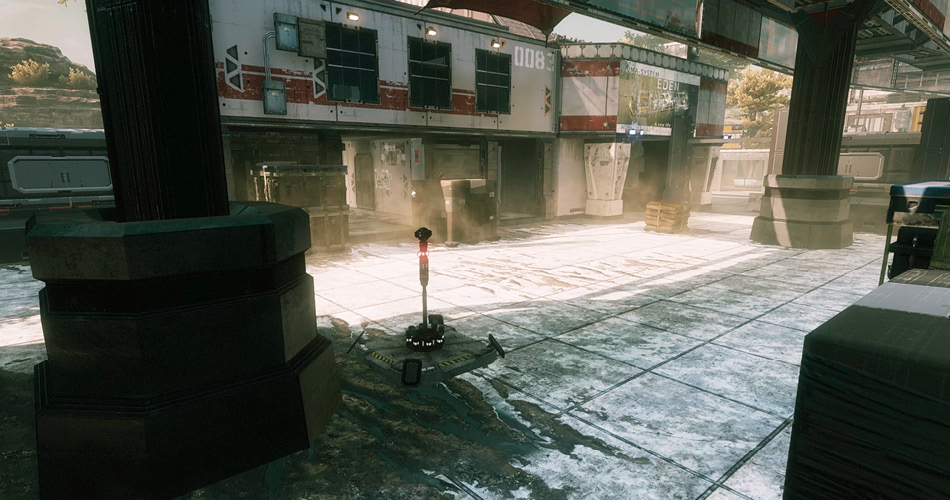
The flag located in the train station requires quick thinking right away. You must choose which side of the train rail to wallrun on as your best cover. More than likely your biggest threat is in the center of the map, but remember where the enemy spawns and know that there will be players attempting to take the long route along the east side in order to get to your flag undetected. Scope this out before running and use this knowledge to ride the train rail on the safest side. You can take the train rail and the building that lines it all the way to the billboard that says “Yuma-System Eden” near your spawn and use it to make your hard right turn toward your base. As long as your team is there to protect you from whatever is coming across the west lane to cut you off, you can make it home in one piece. However, if your team is busy elsewhere you might need to take cover behind the barrier walls just so you are not taken out with a single Kraber round to your chest.
Pilots vs. Pilots
When considering the recommended Pilot loadouts for this map, expect a very strategic movement pattern from your enemies, which you will have to match if you choose to stay alive for an extended period. The Rough Recon Loadout is an extremely useful loadout for Pilots vs. Pilots on Eden because it allows you to stay away from the action while also allowing you to take part in it from a major distance and keep your effective rate. You will need to switch out the secondary weapon for something that will serve you better in close-quarters combat, but for the most part your goal is to hover the main firefights, not get in the middle of them. Remember, Pilots vs. Pilots is a game of getting the most kills, but it is also a game of not giving up more kills than you deal. Pick your shots carefully and try not to give away your position prematurely, as they will retreat and call you out.
If you are a run and gunner, this map does provide paths that will give you cover as you get from each end of the map without being sniped from a distance that your weapon cannot reach. However, you will have to use lateral cover more than top cover. The train rail can provide you top cover from snipers that are using the train rail as a sniper’s nest, but for optimal concealment, you should ride the sides of it and pop up when you’re in effective range to take the enemy out. Pick your fights inside buildings and around the premises of buildings because if you are able to stay mobile and agile, you will make an extremely difficult target for any sniper as you chase your enemy down and outmaneuver them. Controlling key areas as a team is extremely useful here because if you can protect a sniper or block of a section of the map, you will force the enemy to come to you while your long-range teammates take out the incoming forces.
Last Titan Standing
Speed and range is the name of the game when playing Last Titan Standing on Eden. There are many directions to dash and run on Eden, which means equipping a Titan loadout that can do heavy damage without you having to chase the enemy down. Obviously, Atlas and Stryder class chassis are an ideal choice for these conditions, but Legion is a great Titan for this map. Legion has two modes that make it perfect for both short range and long range. Use Legion to hold down a single lane for some time while Northstar gets the right angle to wreak havoc on the enemy. Remember to communicate with your team and pair Titans for optimal combinations. On Eden, Tone and Northstar are a great combination because of the Particle Wall, benefitting multiple friendly Titans at once. Considering the fact that Northstar can be doomed fairly quickly with a few shots, keeping Northstar up as long as possible is key, especially when there should only be one or two on your team per round. Another great combination is Legion and Ion. Think of Legion and Ion as a two-soldier army because while Legion’s Gun Shield is activated, the two Titans can push through a wall of arms fire while Ion follows and takes down the enemies too focused on taking down the front Titan.
attrition
Eden is another wide-open map that allows for a great range of movement, which means use something that will allow more dynamic movement. This doesn’t mean you necessarily want something that is fast, but if you see a Titan, you want something that will be able to bring you back out of the action. Use the all three lanes to push the enemy back into their spawns. Snipers can be very effective down the long lanes, so be careful and be ready to back off in a long-range firefight if you are not prepared. This goes the same for AI as well; snipe bots down the lanes but rush the ones in the middle because they will hide pretty well.