
Titanfall 2 Guide Multiplayer Maps Exoplanet
Game Mode Strategy
Amped Hardpoint
Amped Hardpoint on Exoplanet is unlike your traditional Amped Hardpoint or even just pure Hardpoint from Titanfall, simply because of the placement of the hardpoints. There are three hardpoints, and they are all rather close together. Granted, this map is a tiny bit smaller than the average map in Titanfall 2, but nonetheless, the hardpoints are not just located at each end of the map. They are much closer the the proximity of the center point. The asymmetrical shape of this map allows for an extreme amount of tactical play.
The first point, A, is located at the barracks, and the capture point lies right in the center of the middle opening. Because of the structure, the capturing proximity does not stretch too far from the point, but there are a few nooks and crannies that you can capture from while keeping behind cover. Both defending and capturing this point can and should be done by heading to the roof and clearing the roof of enemies before making your move on the point. An alternate route to the point is through the building and out the west entrance, right beneath the stairs. The risk here is that you may have enemies at eye level, as well as directly above you, so attacking this point with a teammate or two is ideal.
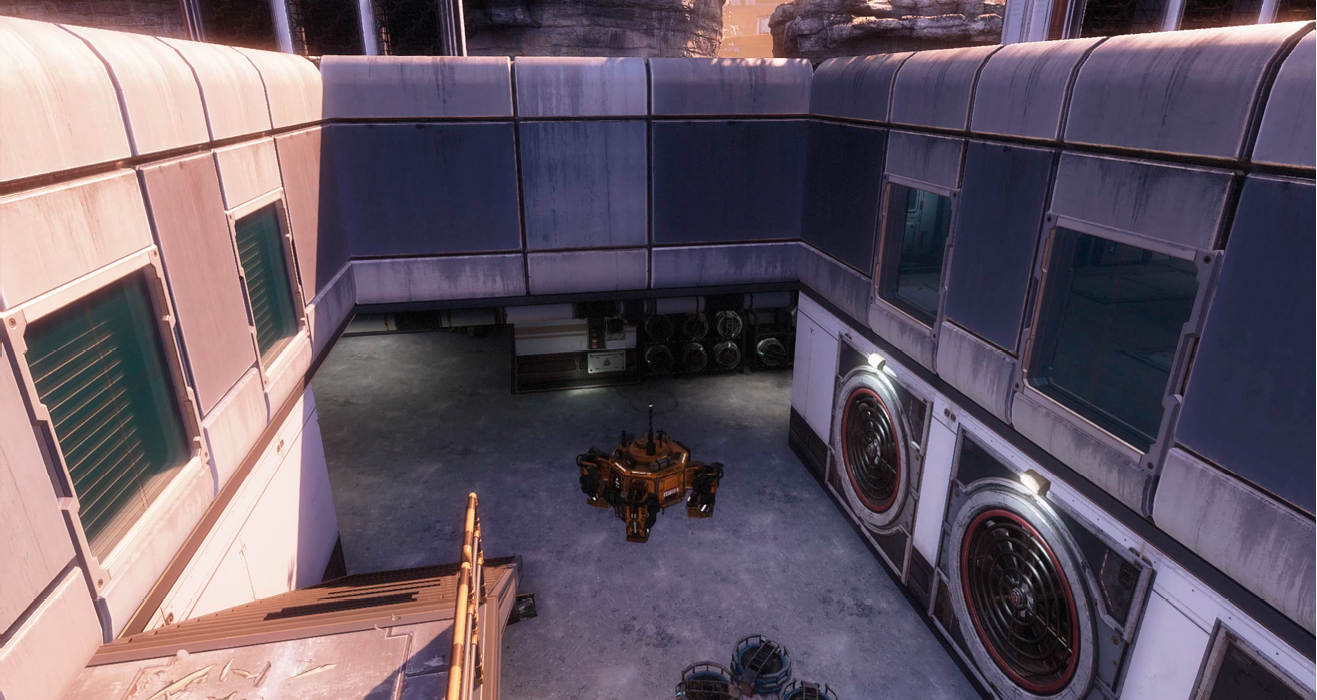
Next, is the Analysis Lab, which houses the B hardpoint. This is by far the most difficult hardpoint to attack because it is indoors and on the second story of the building. Jumping to this location is no problem, but unless you have Low Profile on, you give away your position every time you make your move to this point. If you realize this before you head there and you decide to take the stairs up to the second floor, there will more than likely be a defender waiting for you. The best way to attack this location is to take the adjacent roof that is directly connected to the Analysis Lab and slide in through the second floor entrance or quickly make it through one of the windows, in order to take them by surprise.
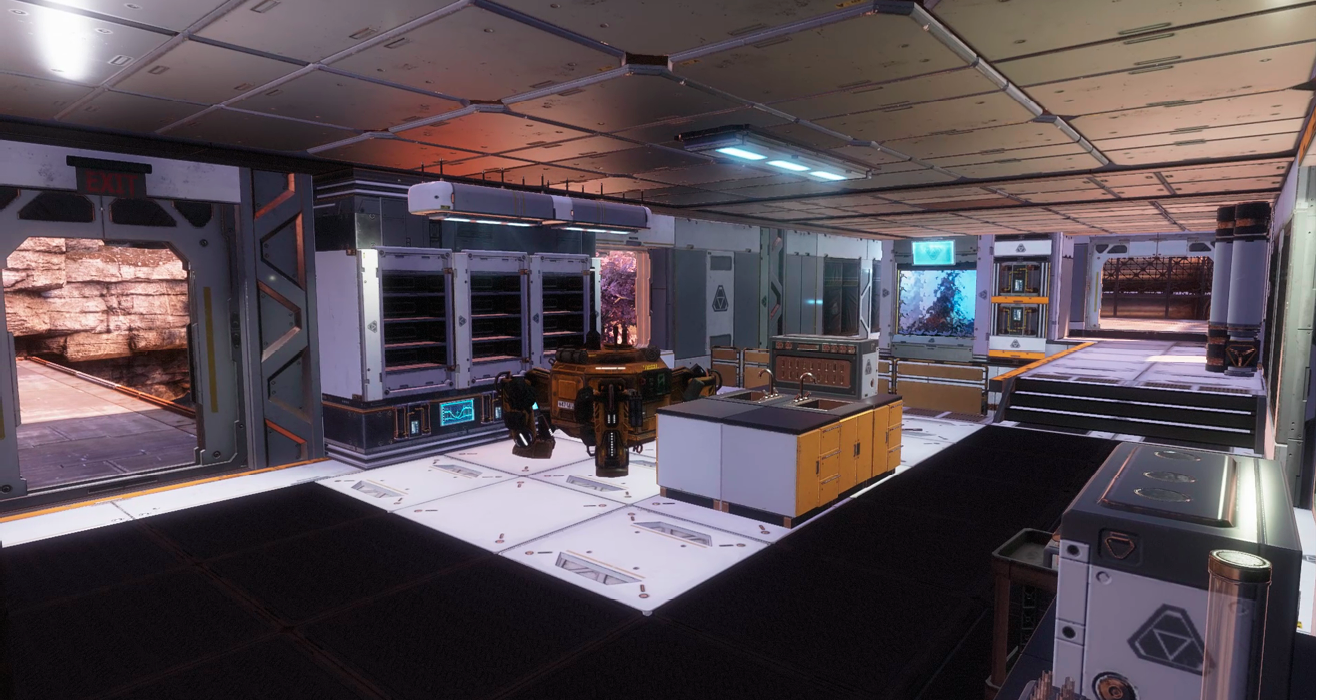
Finally, the C point is located in the Grow Center, and the Grow Center is much easier to attack than defend. It is similar to the Analysis Lab, but the major difference is the hardpoint location, and the fact that it is downstairs right next to a large, open entrance. One way to defend this is to hide right around the corner of the large entrance and attempt to ambush enemies quickly as they come in. However, the best way to defend this hardpoint is to set up counterattacks by defending from the outside and attacking those that move in for the capture.
Bounty Hunt
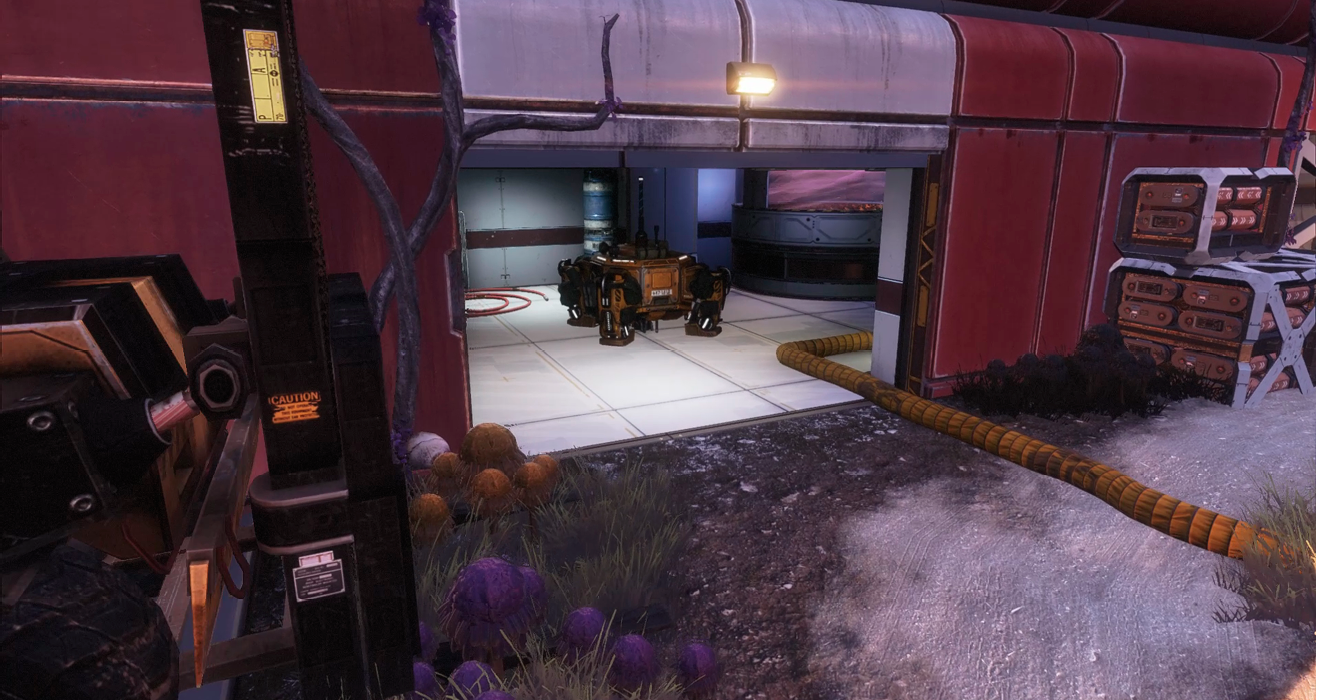
Bounty Hunt on Exoplanet starts off in between the Analysis Lab and the Grow Center. Talk about starting the match off with a bang. Watch out both high and low for both Pilots attacking straightaway and Spectres jumping to the roofs. If you are going to attack from the roof, be sure to have someone watching your back because looking straight down to the target area while standing in plain sight will be sure to get you stricken down. The bounty minions use the building rather frequently for cover, so using Cloak to sneak under the overhang of each building and going on a quick killing spree, or making your way through the building itself, should make your team quite a bit of money right off the first wave. Use the buildings to also make your way to the bank because once the other team notices that you’re under the overhang, they will be sure to come after you.
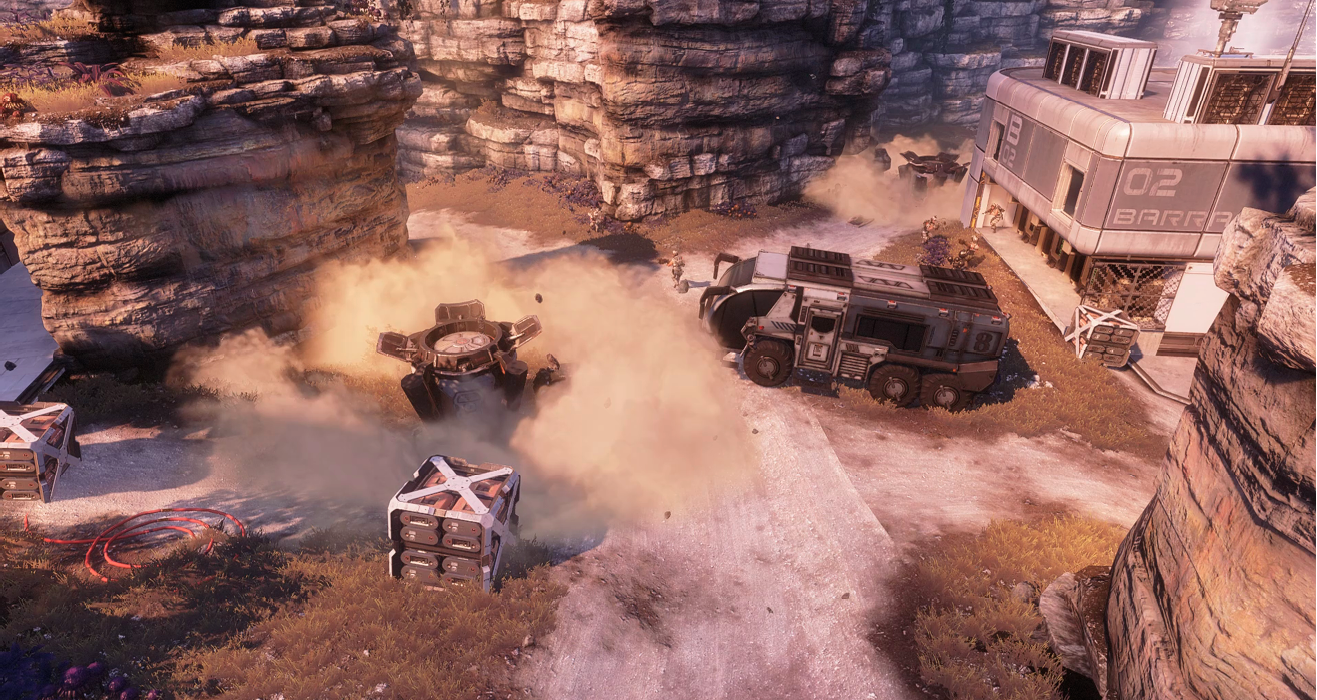
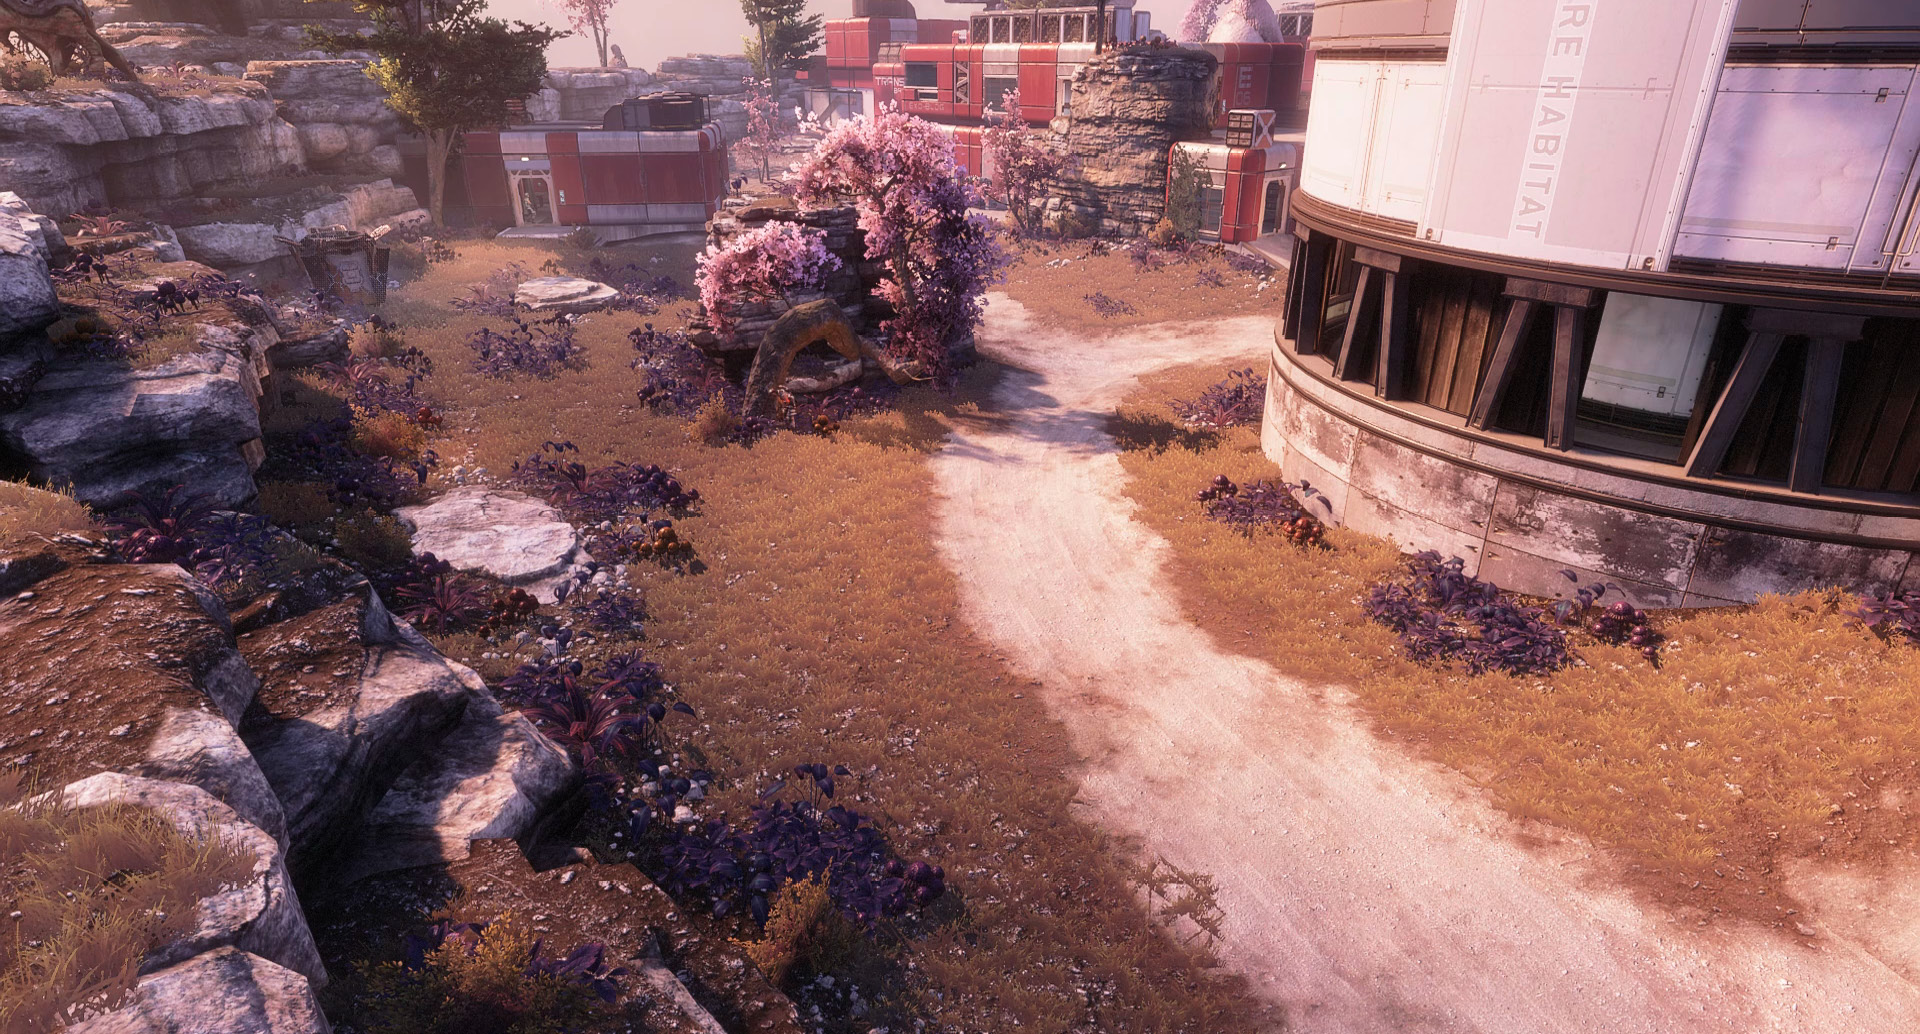
The next Drop Zone is located right next to the silos and is in favor of the east spawn. The spawn has a direct line to this Drop Zone, and players can get there rather quickly. If this is where you spawn from, be 100 percent sure that you have control of the Grow Center before putting your entire focus on collecting bounties. The Grow Center is key to this Drop Zone because it serves as the barrier between the enemy side of the map and the Drop Zone itself. Not to mention it also has a great vantage point over the silos and makes it difficult for the enemy team to come and swipe some of your bounties.
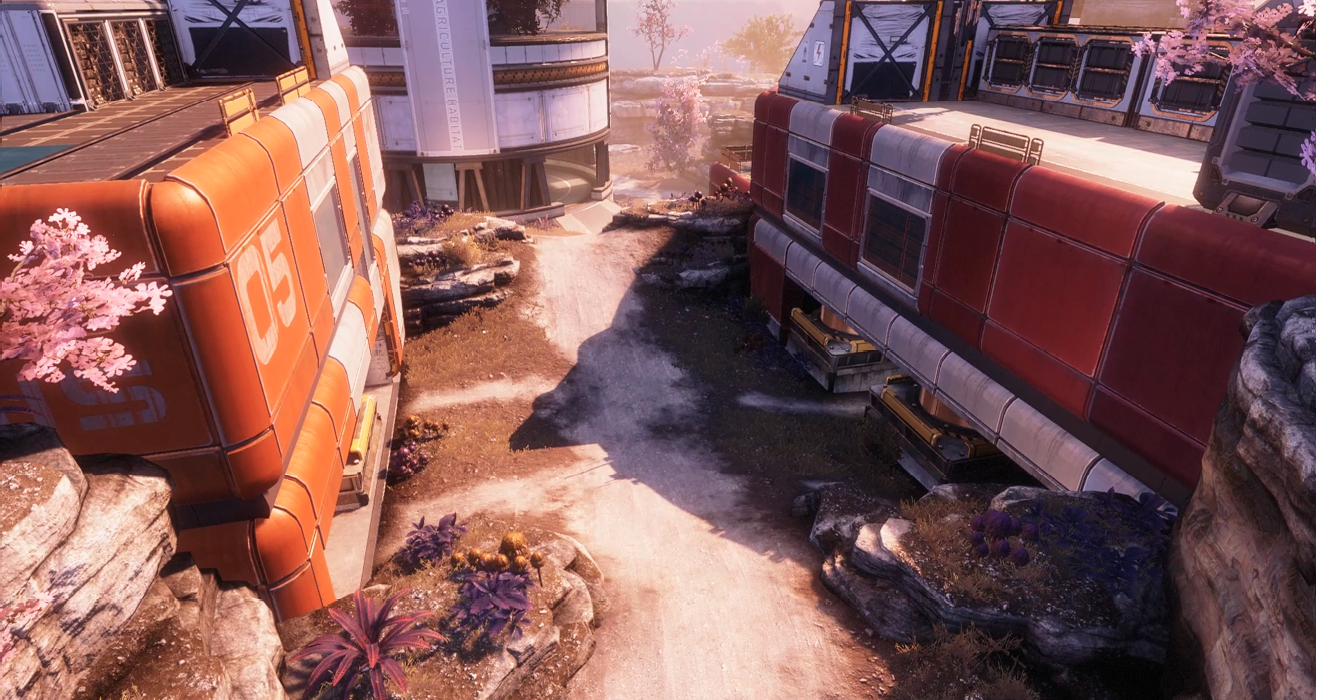
Finally, the third Drop Zone is located on the west side of the Headquarters and lands right next to a large rock pillar. This pillar can become very useful as cover and also be a pain at the same time. Having to move around the pillar in order to kill minions uses up time, and as you know the more time you spend on a Drop Zone, the less time you have to steal the other team’s bounties. Take control of the Headquarters roof and send your snipers to take out the enemies propped up on the Grow Center in hopes to make up the time difference by stealing some of their already earned bonus.
Capture the Flag
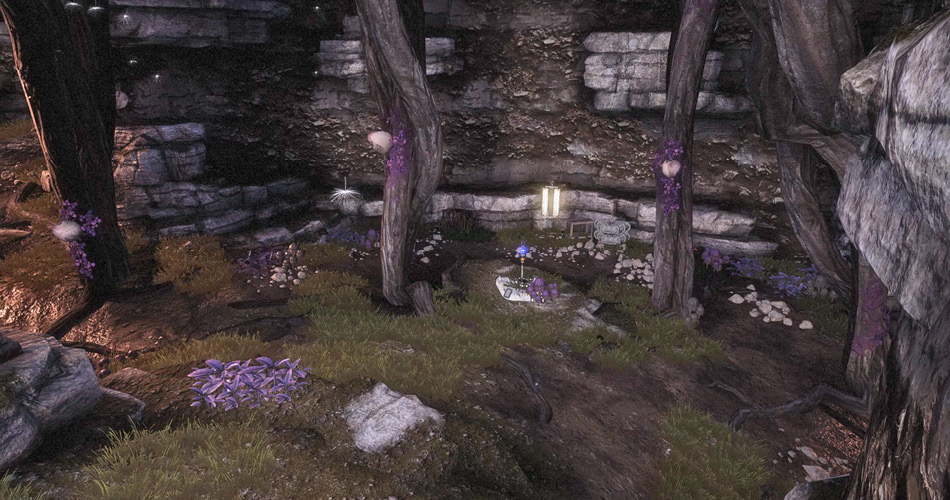
Capture the Flag on Exoplanet uses a few spots on the map that are extremely interesting, yet often underutilized in other game modes. The west flag is locaded in a large cavern in the mountatin behind the Analysis Lab. The cavern is big and concave with a very round interior, which makes for a great wallrunning spot that can trick close-proximity Pilots. The downside to this flag site is it is a little difficult to defend, due to the enclosed and isolated place. From down the main path, you can see straight into the cavern. However, in order to keep watch on it, you, in turn, are unprotected. Make your way in either direction to take the flag home, but know that the east route is much faster. You may just have to travel across some of the more high action locations.
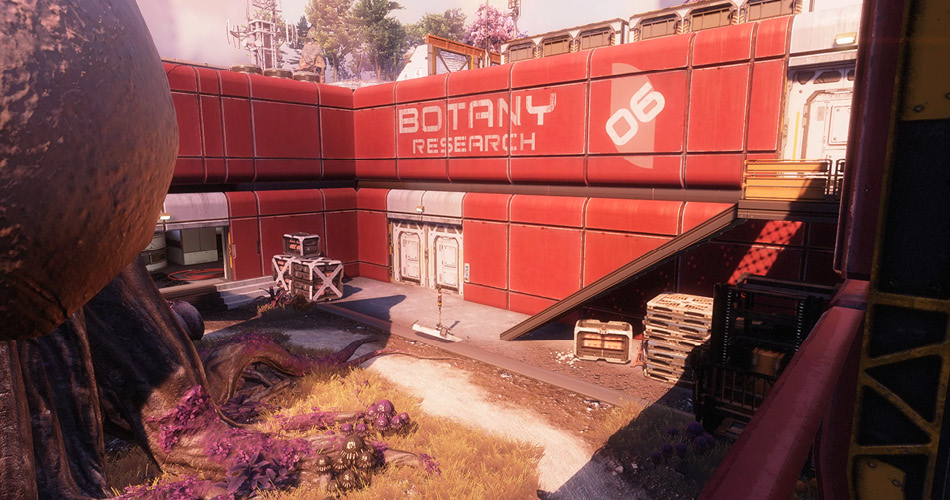
The opposite flag’s location is right in the center of the Grow Center and has a very different situation seeing as it sits outside. Protecting the flag from within the building leaves you with the most protection from incoming Pilots. However, you must watch the path to the flag closely because your field of view is not great. With a blink of the eye, the enemy team can come in and grab your flag before you even notice. Preventing the enemy from even getting to the flag is definitely the best bet for defending this location. Again, the east route is the quicker route, but because of how the spawns are set up, taking the west route will bring you closer to your original spawn, leaving you far more protected.
Pilots vs. Pilots
Exoplanet is made for two very different Pilots: the very patient Pilot or the extremely impatient one. Patient Pilots can sit on the roof and wait for targets to cross their path while they take them out from a safe distance. There are plenty of locations and roofs that are designed with this tactic in mind. The trick is finding the right one for your loadout and the one that gives you the best chances at not getting flanked. As always, the positioning of your team and the location of the major action is always what you should be aware of, but with this map that may prove a bit difficult.
On the other hand, the extremely impatient Pilots are the ones who run with Hyper-Flight Hero and take the submachine gun to its limit. With Stim, you become a grey blur in a sniper’s scope, leaving almost zero chance for anything but a lucky bullet to take you down. Like all Pilots, you are not invincible here because your biggest weakness are the large open areas that sit on the outskirts of this map. Stim will only take you so far, and it does have to recharge, so if you know generally where you are, and you are near one of these large areas, you might want to save your Stim to get yourself out of a sticky situation.
Last Titan Standing
Exoplanet allows for all styles of play when it comes to Last Titan Standing, but like always playing smart will keep you out of trouble. The center of the map is perfect for Titans such as Tone and Scorch because of their effectiveness in narrow pathways. Being able to stop or severely damage the enemy Titan with Scorch’s Incendiary Trap gives you a large advantage against both Atlas chassis Titans. On the other hand, you may need to keep your eye out for Northstar’s VTOL Hover and Flight Core because there isn’t much you can do against a well-timed barrage of rockets, other than burn a few before they strike you in the face.
Using Ronin is extremely powerful in Last Titan Standing, as long as you have other teammates ready to back you up if you get outnumbered. Ronin is very much an offensive Titan build. Normally, Ronin can take any Titan head-on. However, if you wish to be the ultimate team player, you can by taking Titans already in battle by surprise and securing victory for both you and your engaged teammate. Play each class to their strengths and try not to get baited into an area that your current Titan does not excel in. Most of the time it is okay to play conservatively because you cannot recharge your armor. If the coast is clear, head to the two spots in the middle to pick up a battery and give your Titan an extra chance.
attrition
Playing Attrition on Exoplanet is quite unique. Treat Exoplanet like a close-quarters map because there are many angles and the use of a shotgun can really come in handy. If you can drop your Titan early, you might be able to own the center of the map. Scorch can really take control of the center crossroads so try to block off intruders. The center is definitely a major hot-spot for attrition so controlling this location will be key for your team’s success.