Titanfall 2 Guide Multiplayer Maps Exoplanet
Overview
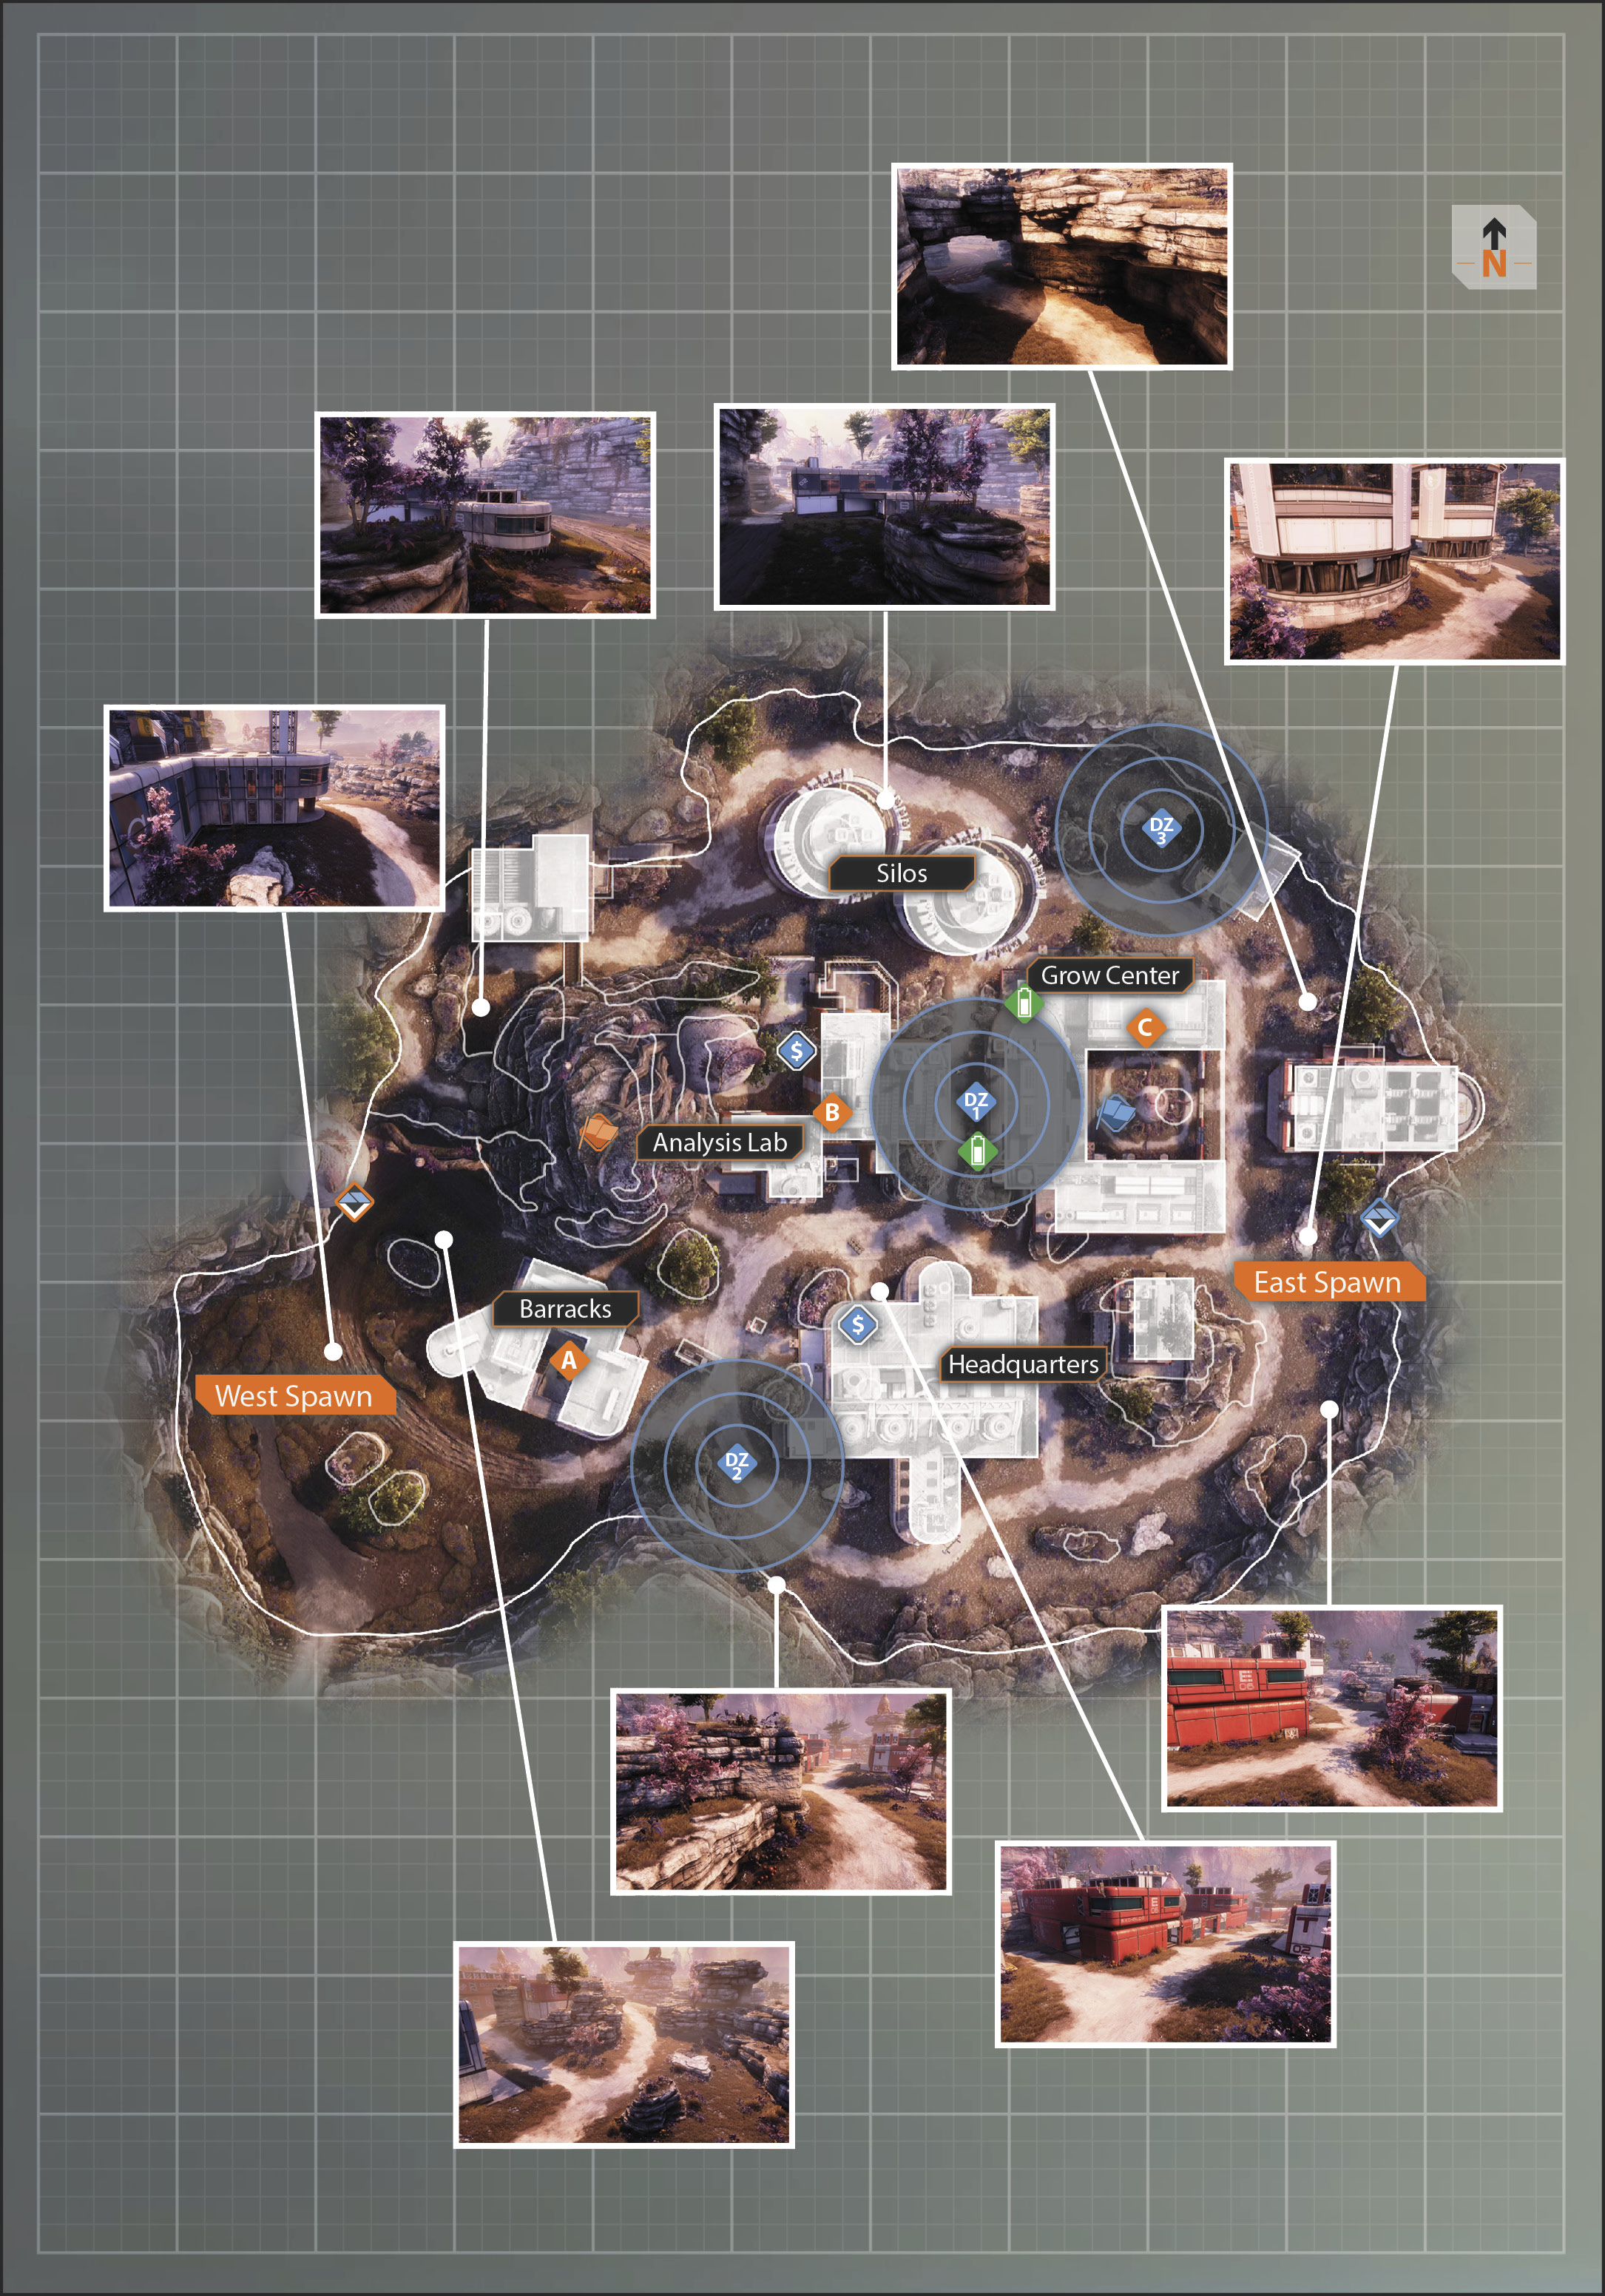
| Legend | |
|---|---|
 |
Last Titan Standing |
 |
Hard Point |
| Bounty Hunt | |
 |
Drop Zone |
 |
Bank |
| capture the flag | |
 |
Blue Team Flag |
 |
Orange Team Flag |
This remote world on the outskirts of the Badlands System is home to one of many research stations specializing in experimental agriculture on the Frontier. Operated by the privately owned Grow Foundation, but subject to IMC regulations, these stations work independently with only one contractual obligation: they must share their findings with the IMC. The Grow Foundation seeks to explore the Frontier and discover all that it has to offer.
Exoplanet is full of wide-open spaces. Snipers should have no problem finding locations from which to attack. Pilots can stick to the ground and move from building to building to avoid enemy sniper fire. Titans have three main paths with multiple tight choke points, which play to their natural combat strengths. Sweeping behind enemy forces in this wide, sprawling complex can give your team an excellent upper hand in Titan combat.
Analysis Lab
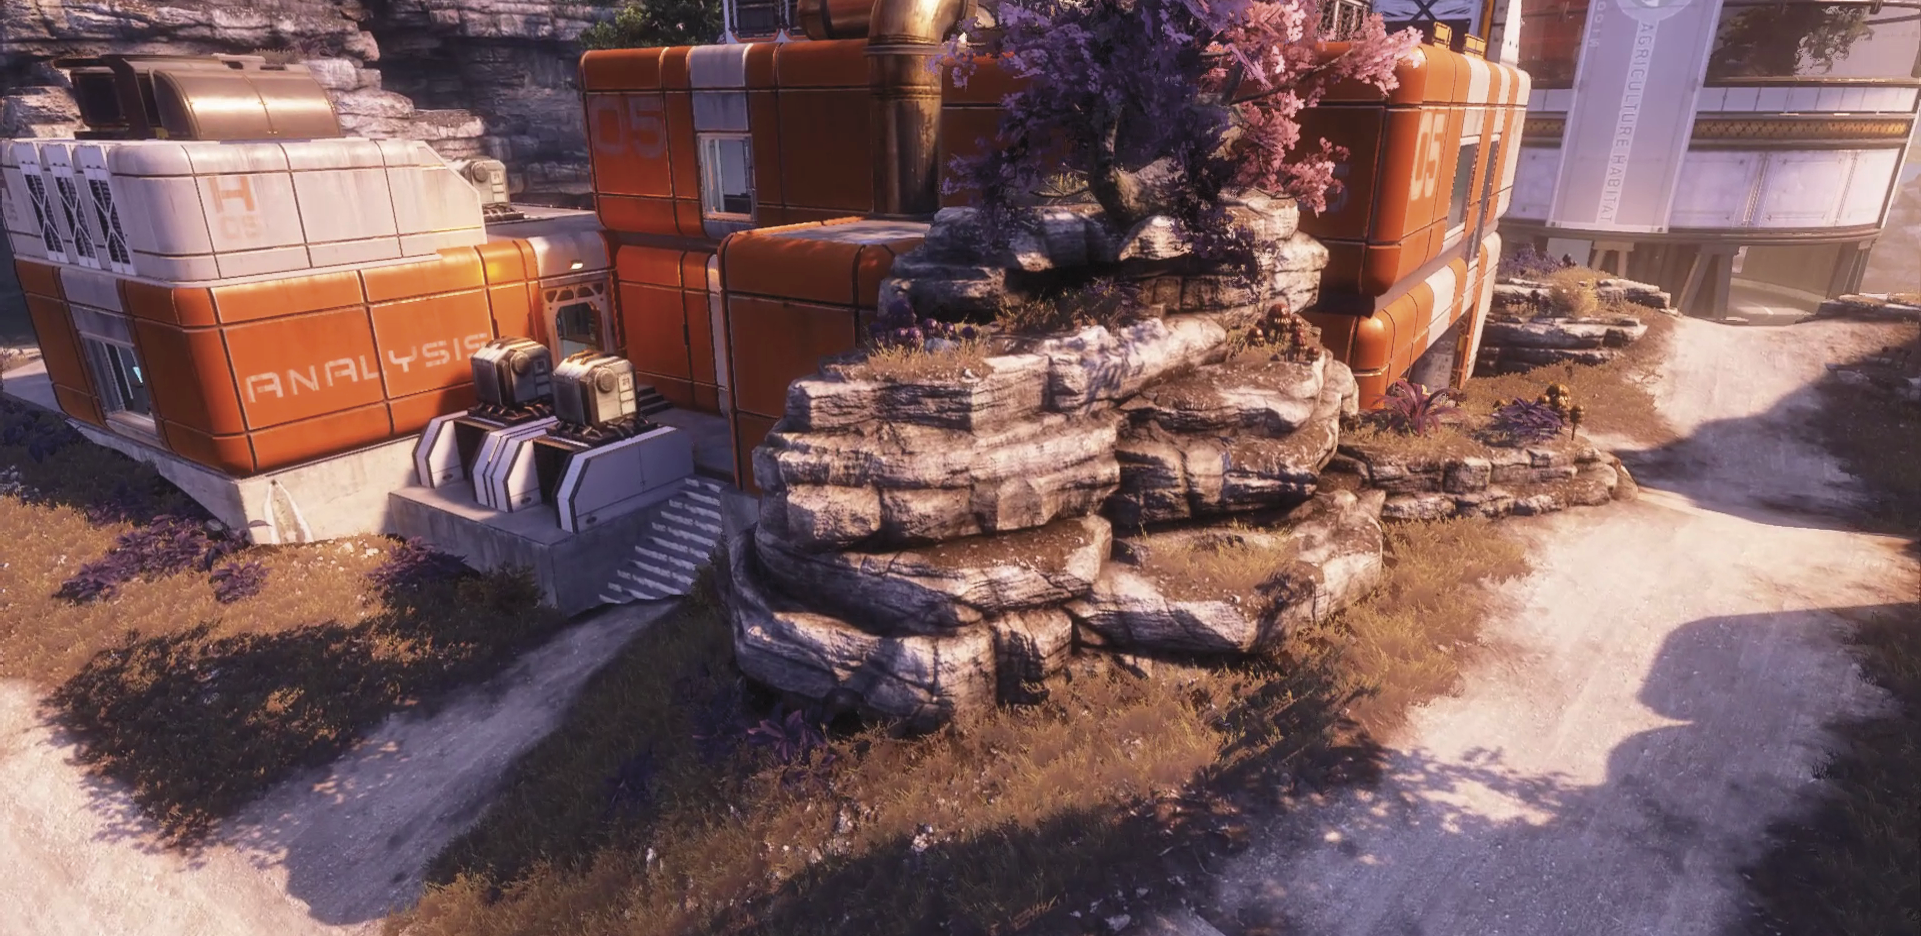
The Analysis Lab is a two-story lab directly in the center of the map that has a slightly complicated layout. There are many corners to this building and can be considered its own complex. There are several entrances into the second floor of the Analysis Lab, which makes for a dangerous floor on which to spend any extended amount of time. There is another wing of the lab that is connected—but effectively during combat a different building—which serves as great defensive zone that is off of any objective that might appear here.
Barracks
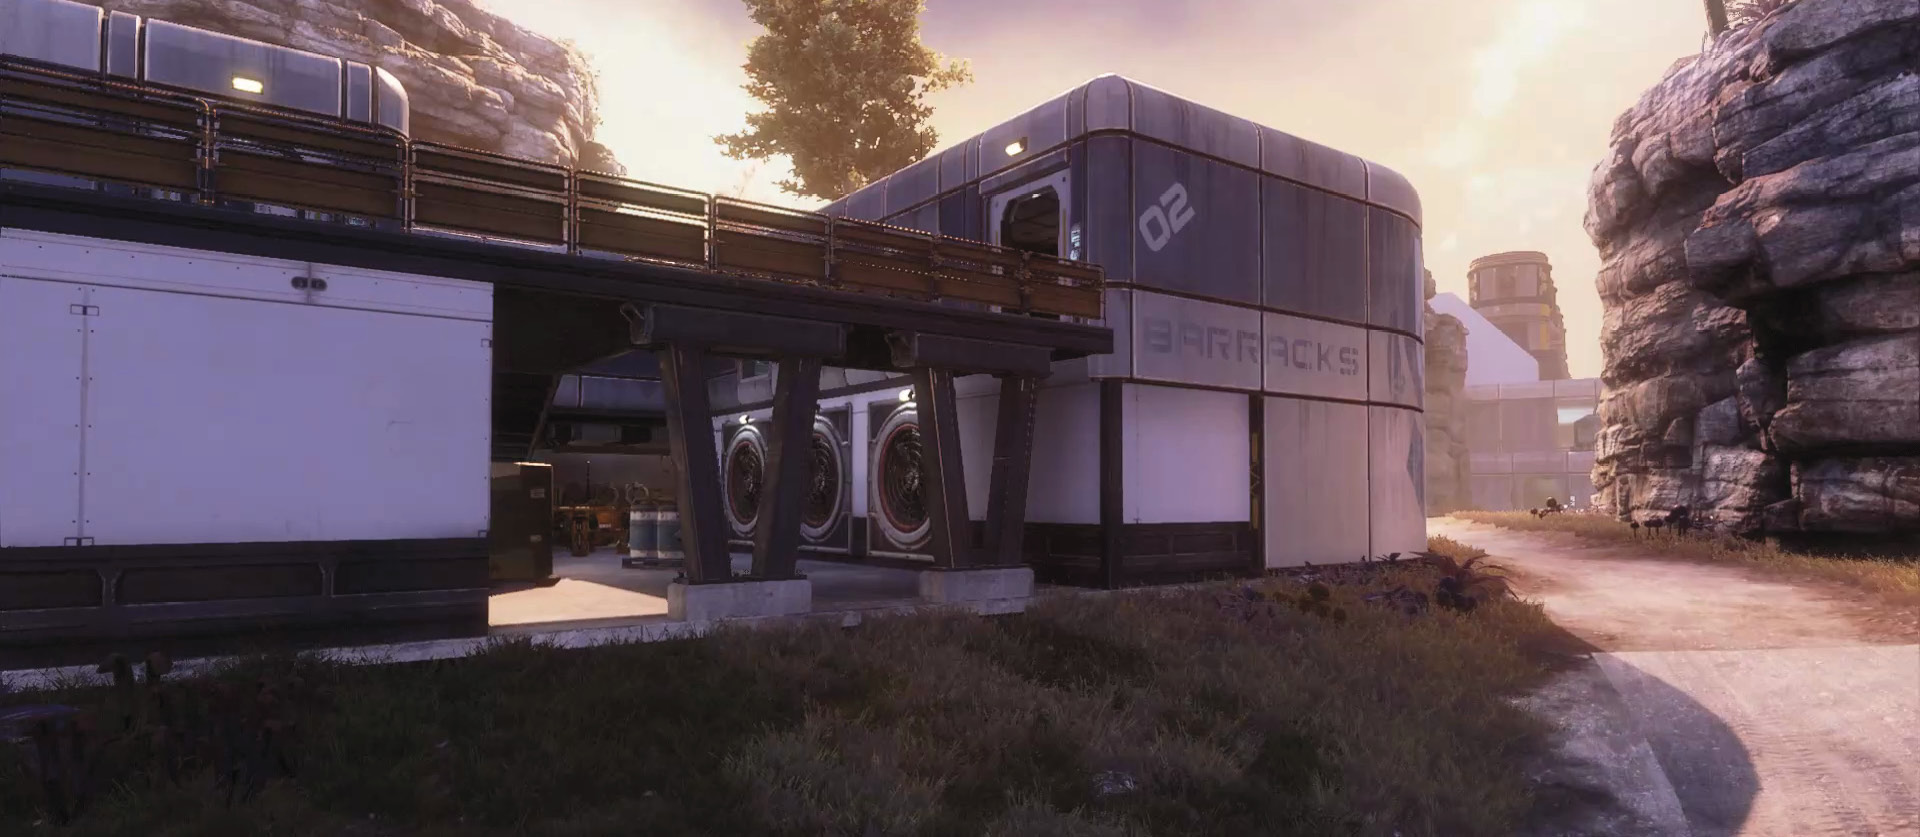
The barracks are set up near the one of the spawn areas and are quite symmetrical, which makes for a building that is highly maneuverable. Use the open center to stay on the move without traveling out of the major area of operation. One way to defend this location is to stay mobile in the center, but another way is to circle the barracks from the inside. Because of its longer cooridors, it isn’t easy to ping you while you’re on the move, and you can keep the enemy guessing as to where you might pop out from. There aren’t many places to sit and wait for your opponent to make it easy for you by running in front of your crosshairs. Most of the locations in the barracks are either open and leave you vulnerable, or there isn’t a direct line of sight to any major sector. The roof is a great vantage point for a sniper to perch, but it is rather flat, and if you’re spotted you need to evacuate as quickly as possible.
Grow Center
The Grow Center has some nice perks that can be used by all types of players. The actual Grow Center is in the shape of a U, and the bottom of the U is facing the center of the map, so think of the building as one giant bunker. Use the multiple levels to keep the enemy guessing and the roof as a great vantage point for most of the map. The roof has quite a bit of cover, which makes for one of the best sniper areas on Exoplanet.
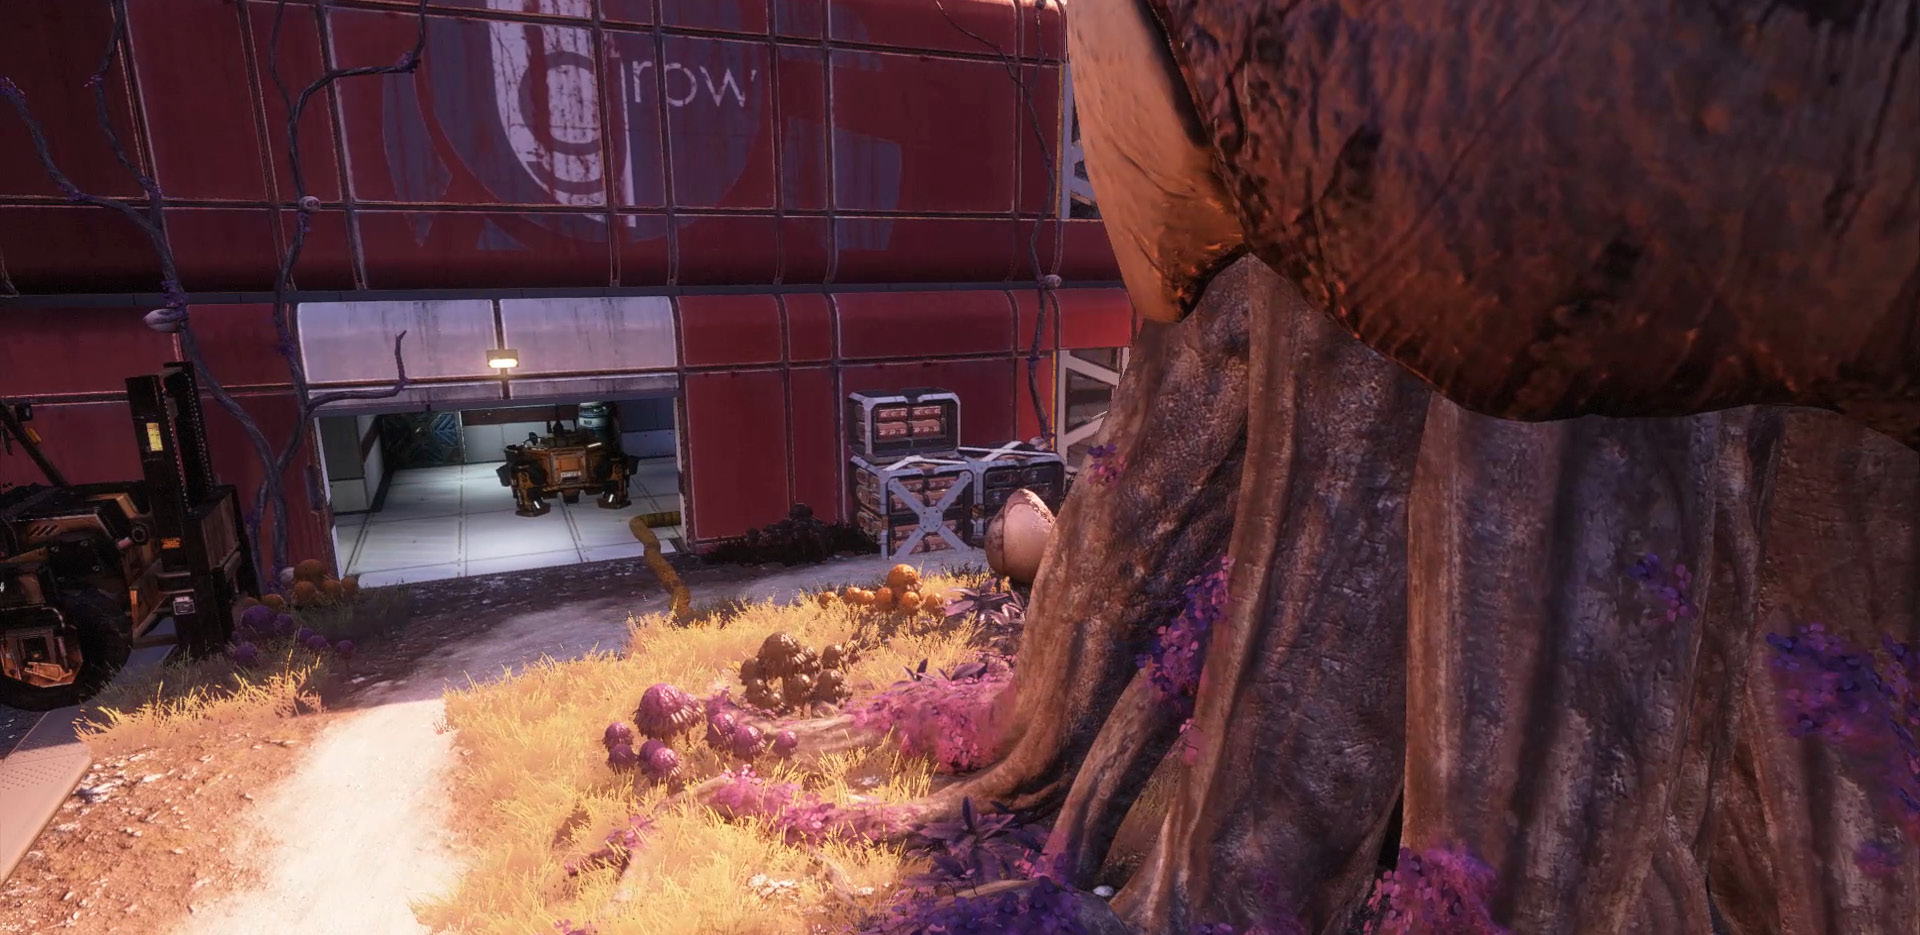
There are many havens for a sniper on Exoplanet which makes this map a unique one, but controlling the Grow Center gives you an advantage over these havens. Being able to see most angles from the center, you are able to take out any sniper firing upon your position. However, you can easily be surrounded, which means you need to keep your wits about you when on the roof.
Headquarters
The Headquarters is the third point of the center triangle on Exoplanet. Taking this building over is intuitive to your success on Exoplanet because it is connected to two major objectives and has a backing on the roof for your coverage of said objectives. The backing of the second story can help a sniper stay concealed. However, once the enemy knows your whereabouts, it is easy to surprise and flank you. Sniping from here is effective. However, it is extremely difficult to defend the adjacent objectives with a long-ranged weapon, which means using this building to snipe enemy Pilots should really depend on the situation and game mode.
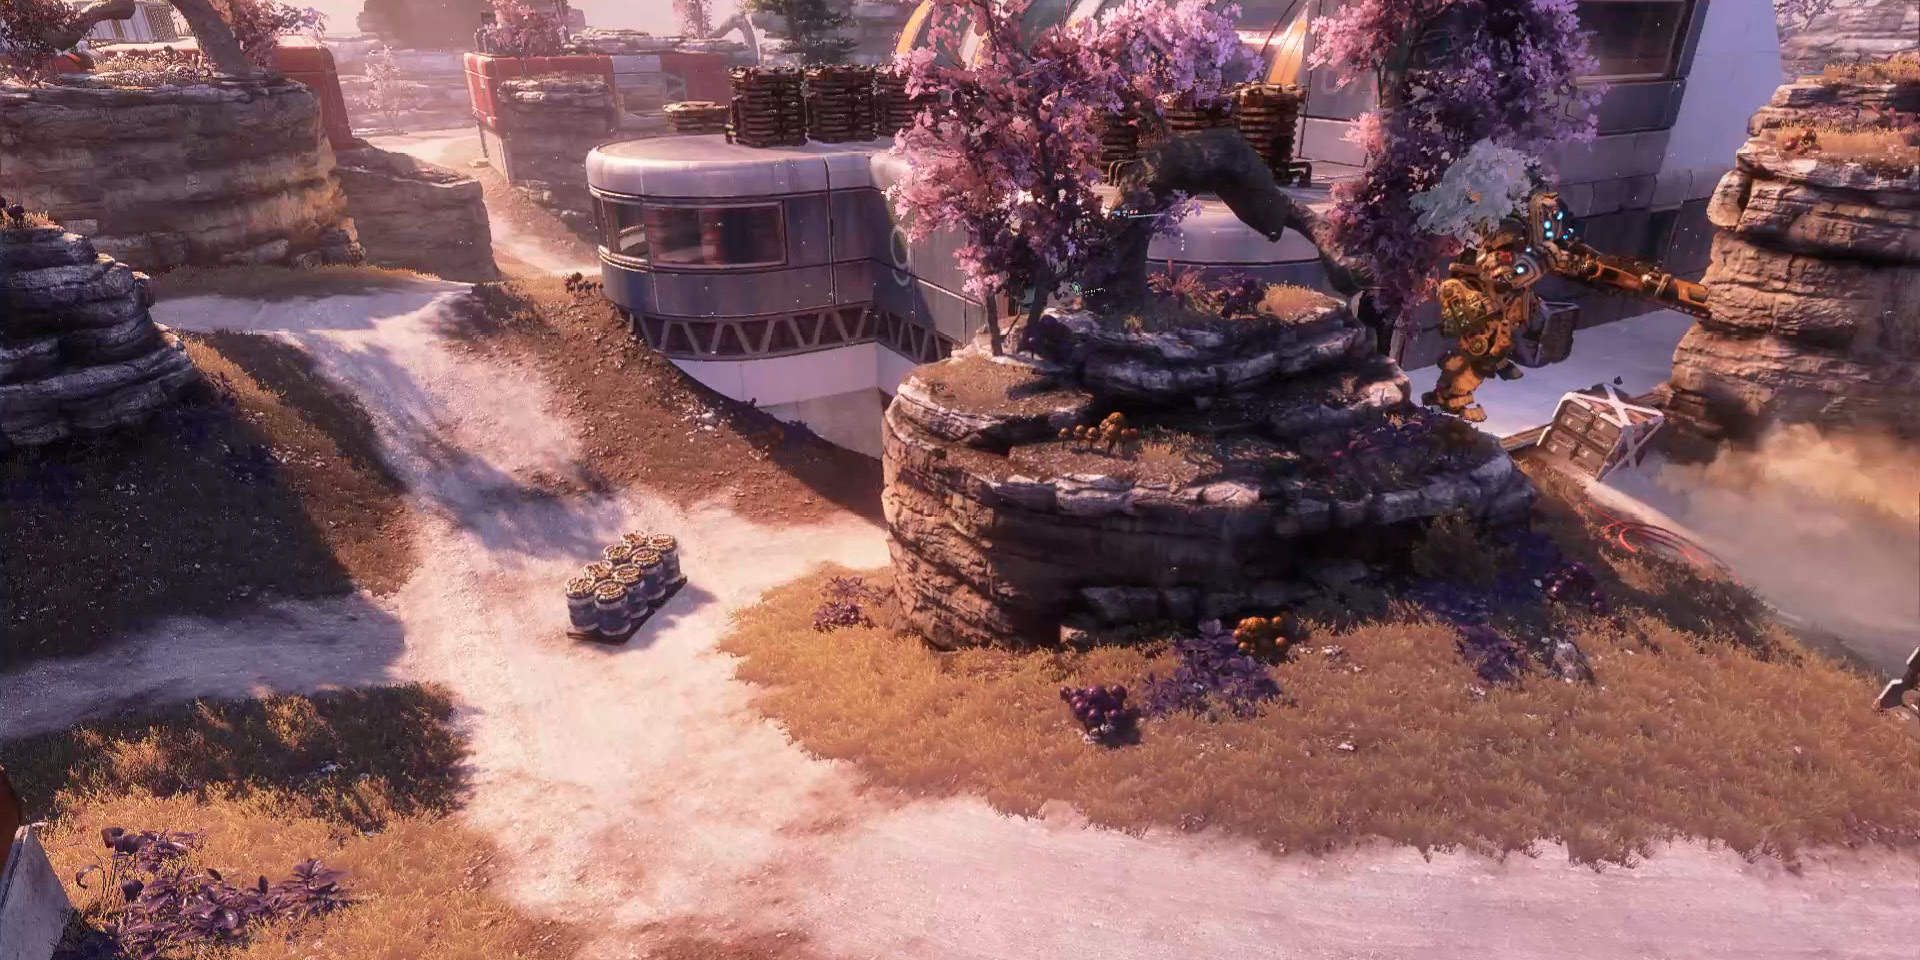
There is a large opening to the south of the Headquarters building, and Titans will use this more than Pilots, so coming out of the main entrance of the building could be very dangerous. Another reason this location is so dangerous is that it is right in the center and does not lean toward either spawn. At virtually all times it will be contested. However, if your team is able to gain full control of it, you will have a large advantage on the battlefield.
Silos
The silos on Exoplanet are key forms of cover for Titans, primarily, but it is easy to lose an enemy on your tail as a Pilot in this location. To a Titan, these silos are like pillars you can use as firing positions while not being fully exposed to the Titan firing back. Quickly pop in and out of cover or dash behind it if a large rain of fire and rockets are coming straight for you. Stay close to these silos at all times because, even if there is another Titan in your immediate viscinity, it is best to have something to dash behind. For Ogre chassis, this might be a great location to have Turbo Engine equipped, which gives you a dash where in most cases you won’t have one.
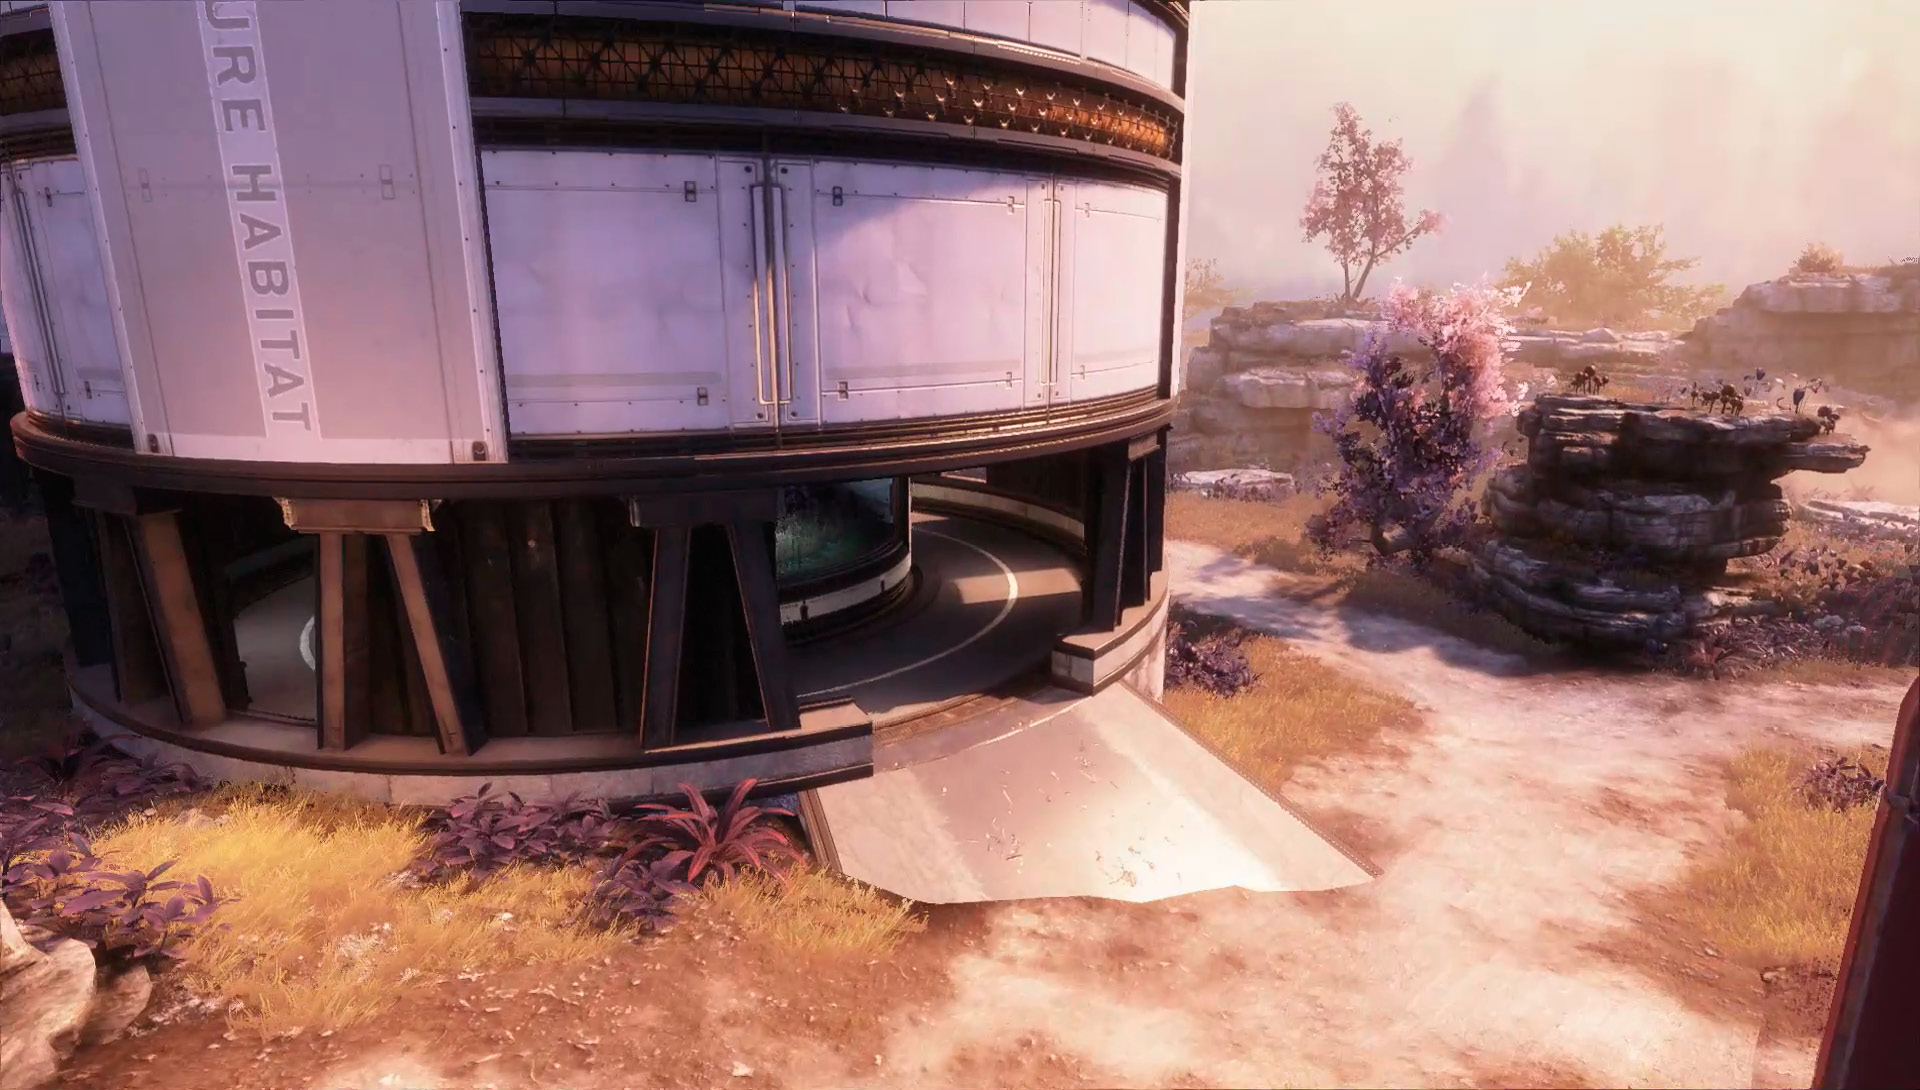
As a Pilot, this is also a great location to gain speed before launching into or onto one of the buildings adjacent to the silos. Jumping off onto the silos instead of crossing the gap between the two buildings is a lot safer because you are not right out in the open and you would only be moving as fast as your normal sprint speed. The silos also provide cover for occasions of having a pesky sniper locked onto you, thus not giving him or her an easy shot. Use the silos wisely and frequently, they can keep you safe in almost every situation.
Recommended Pilot Loadouts
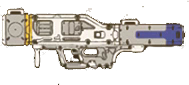
Rough Recon v2.0Rough Recon is a strong loadout that requires a skilled player because this is a very specialized combination. Holo Pilot takes some time to restore its use, but that is not a problem, as you should only need it when you’re in danger. The combination of Holo Pilot and Kill Report should allow you to have a good survey of the where the action is and roughly where the enemies might be coming from, but in case there aren’t any reports coming in, you can be ready to launch your Holo Pilot and buy some time for you to get away. Both your primary weapon and your secondary weapon are meant for you to keep your distance, so don’t be afraid to flee when things are getting too hot and you need to get out of the kitchen. The difference between this version and its previous version is the weaponry. For certain maps, there is no need for the extremely powerful Kraber. Because of the Kraber’s fire rate, being able to get off a second shot before your enemy finds cover or even charges after you is crucial, especially because the distance that your opponent needs to close is smaller.
|



Hyper-Flight HeroThis loadout is ideal for moving from point-to-point quickly without making an easy target. What makes that extremely important for a map like this one because even though there is a large amount of cover, moving from one to the other is extremely dangerous. Since this is an ideal loadout for getting from point-to-point, like cover to cover, it makes the Hyper-Flight Hero the loadout for the ultimate point-to-point game mode: Capture the Flag. The Hyper-Flight Hero is great for avoiding sniper fire as well as making it harder for a Titan to track your movement. Stay on the move and make your killer have to work for your death, or kill them before they even have a chance.
|



Recommended Titans
Scorch Scorch is a great option for this map because it can own the center crossroads with the Incendiary Trap, in combination with the Wildfire Launcher, can slightly spread out the damage just enough to block three different routes at once. Not only is this Titan loadout a great pick to stop any advancing Titans down the middle, but the damage from your Thermite Launcher can also drive them backward, thus further controlling the battleground.
|


Ronin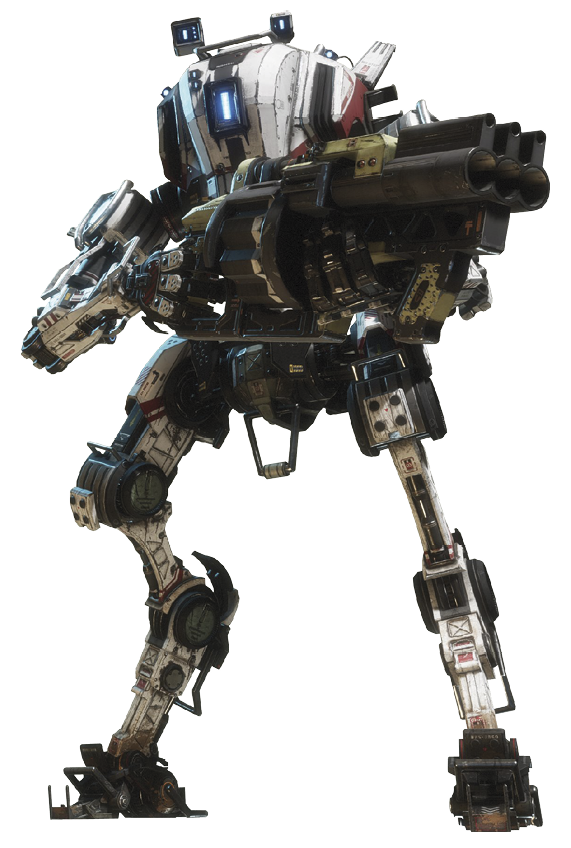 Ronin is an ideal Titan for this map for several reasons. With quick thinking and sharp reflexes, Ronin can own the narrow pathways on this map. Equipping Thunderstorm counteracts some of the disadvantages that Ronin has in some of the more open areas of the map. With two Arc Waves pretty close together, you can inflict more damage as you are attempting to close the gap if the enemy Titan slips away a little. Use Phase Dash in conjunction with Arc Wave and you can close the gap fast, do extra damage, and also stay protected while doing so. Because of Ronin’s speed you can move back and forth, fending off enemy Pilots and Titans while avoiding Pilots’ Charge Rifle and Thunderbolt fire.
|