
Titanfall 2 Guide Multiplayer Maps Boomtown
Overview
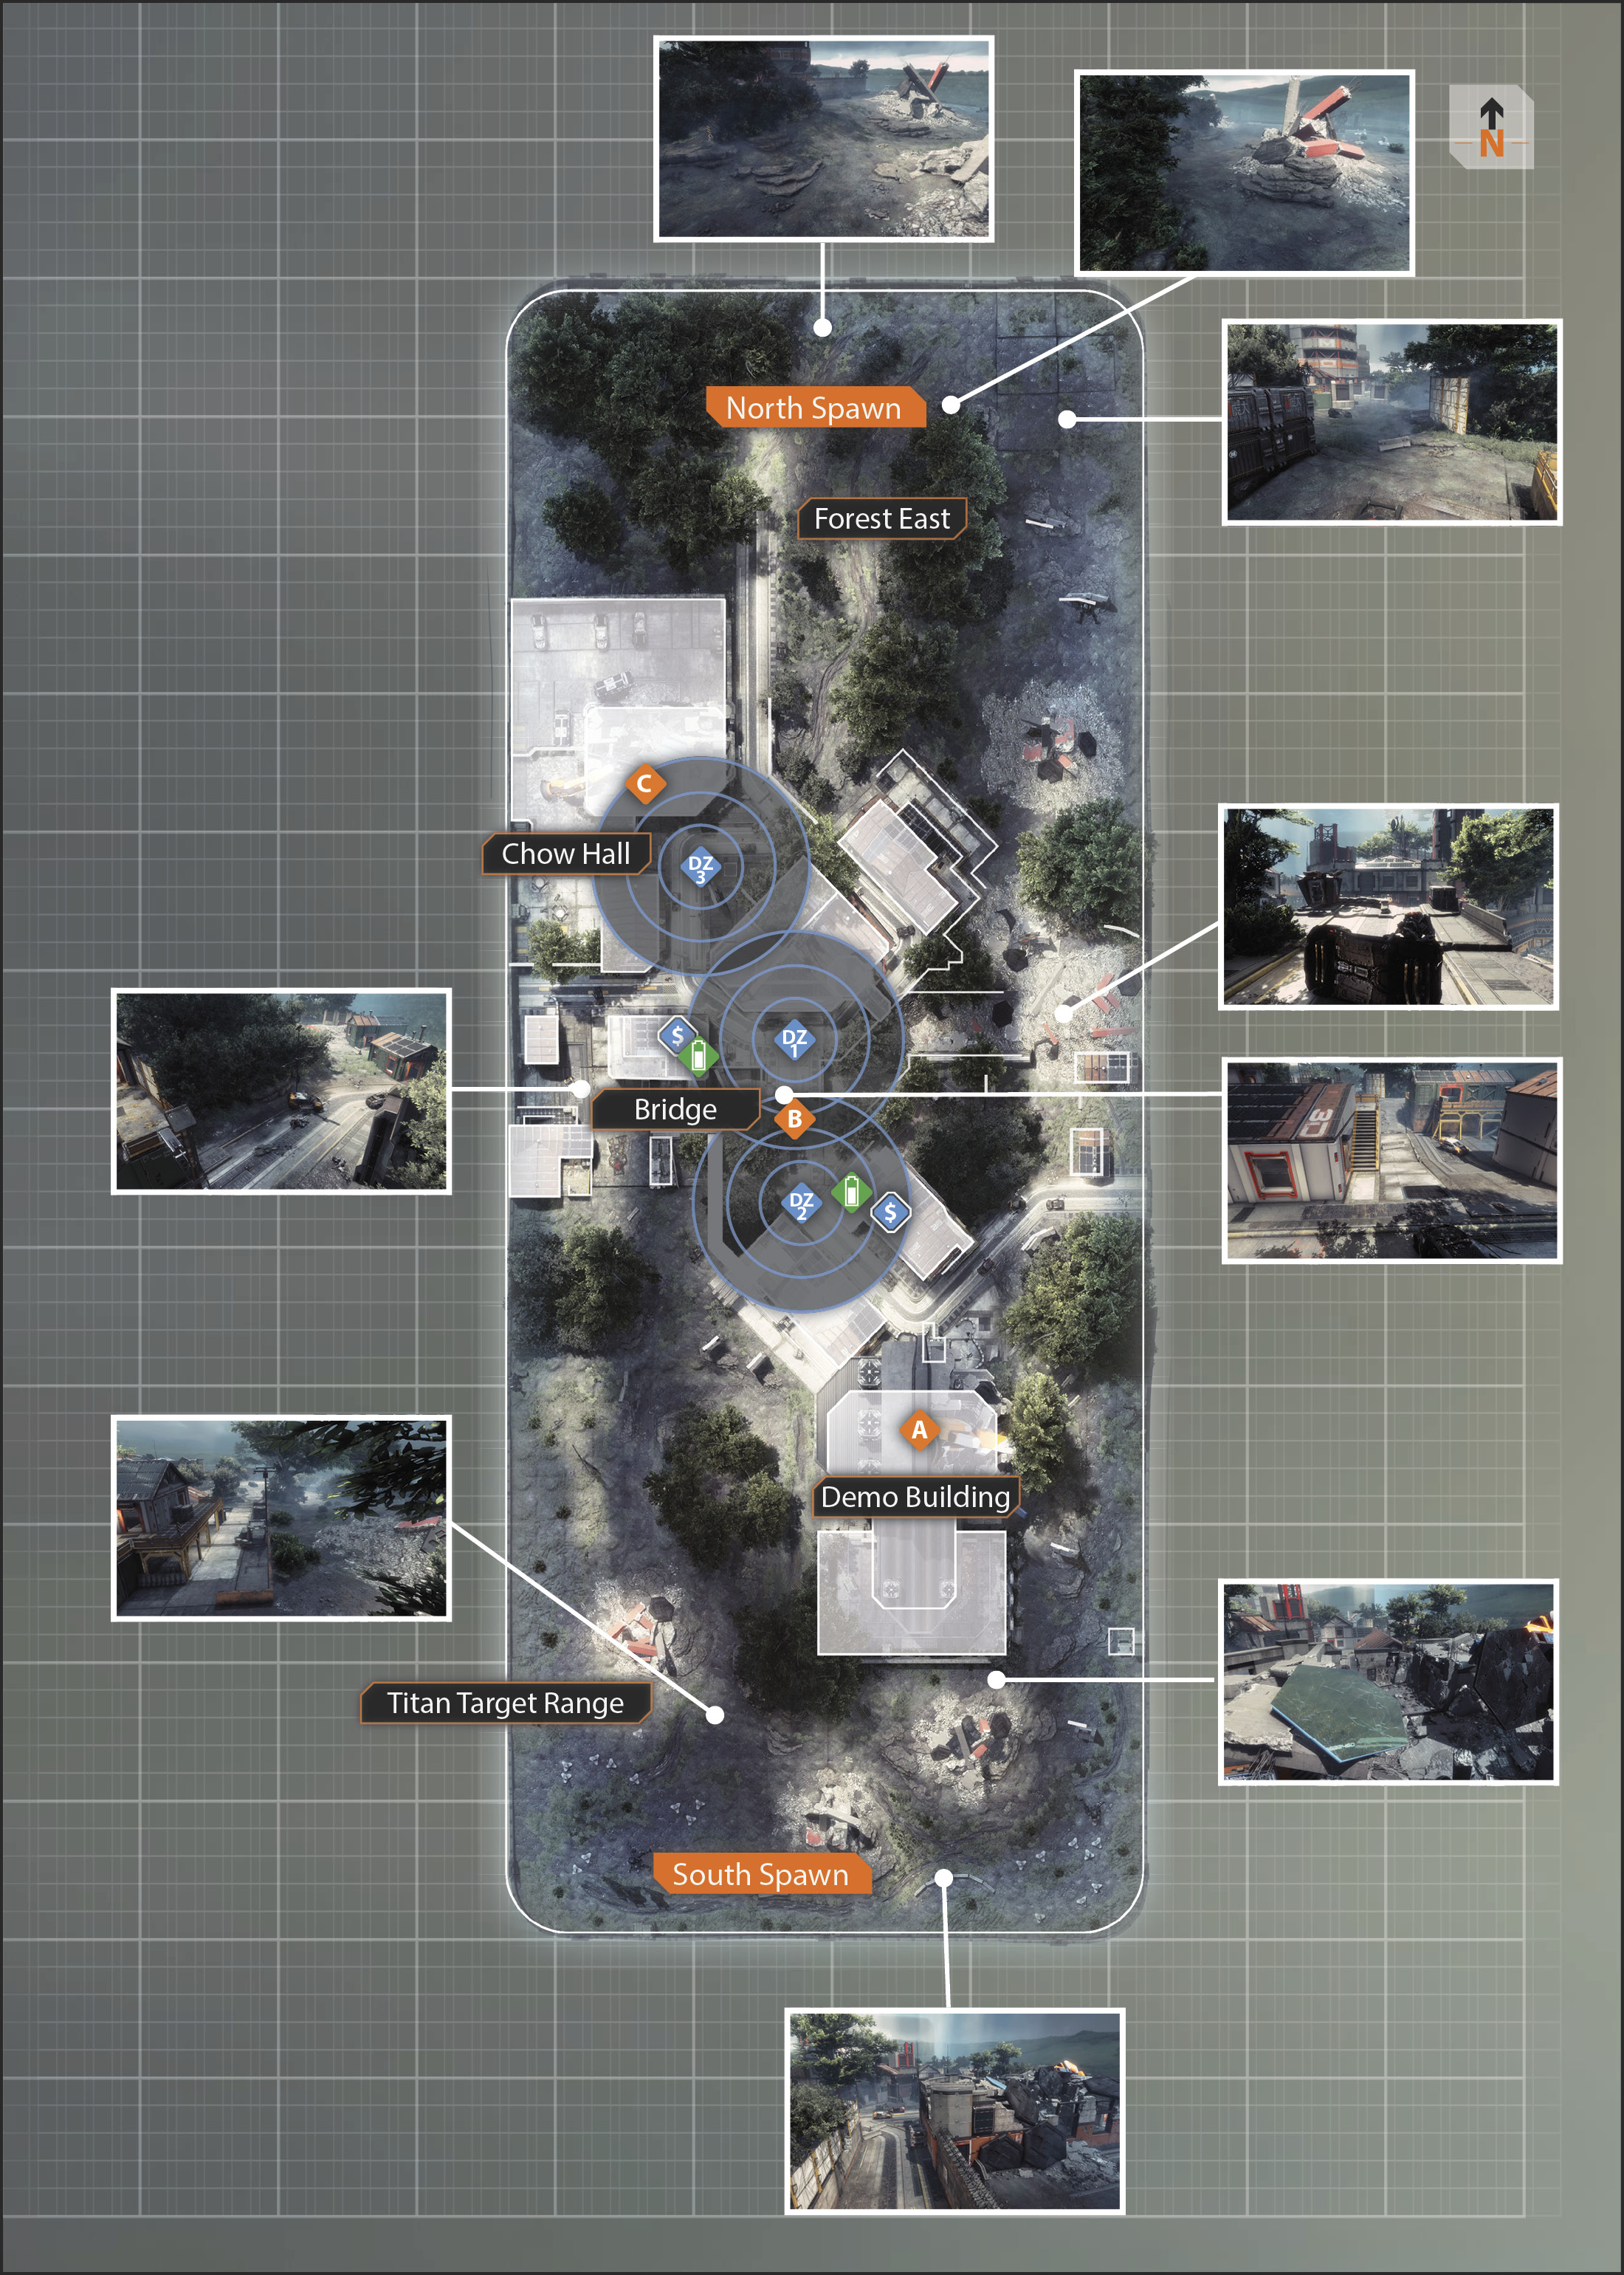
| Legend | |
|---|---|
 |
Last Titan Standing |
 |
Hard Point |
| Bounty Hunt | |
 |
Drop Zone |
 |
Bank |
| capture the flag | |
 |
Blue Team Flag |
 |
Orange Team Flag |
Scattered throughout the Frontier are hidden underground IMC Dynamic Testing Facilities, used to analyze and assess the latest weaponry purchasd from outside manufacturing companies. Each facility is composed of multiple Dynamic Simulation Domes, which provide evaluation arenas with adjustable atmostphere and terrain based on the test scenario requirements. Although the domes were built for simulations, Dome 18 has been rumored to use live Militia POWs as test subjects,earning its nickname: Grave.
In this facility, Pilots will have peaked roofs to use as cover against combatants down below; multiple interiors to maneuver into different firing positions without being spotted by the enemy; and large, flat walls in close proximity to allow them to wall run quickly from one group of buildings to the next. With tight lanes through the middle, Titans can be ambushed easily, unless they head off of the main pathways and into the surrounding fields to pick off enemy Pilots.
Demo Building
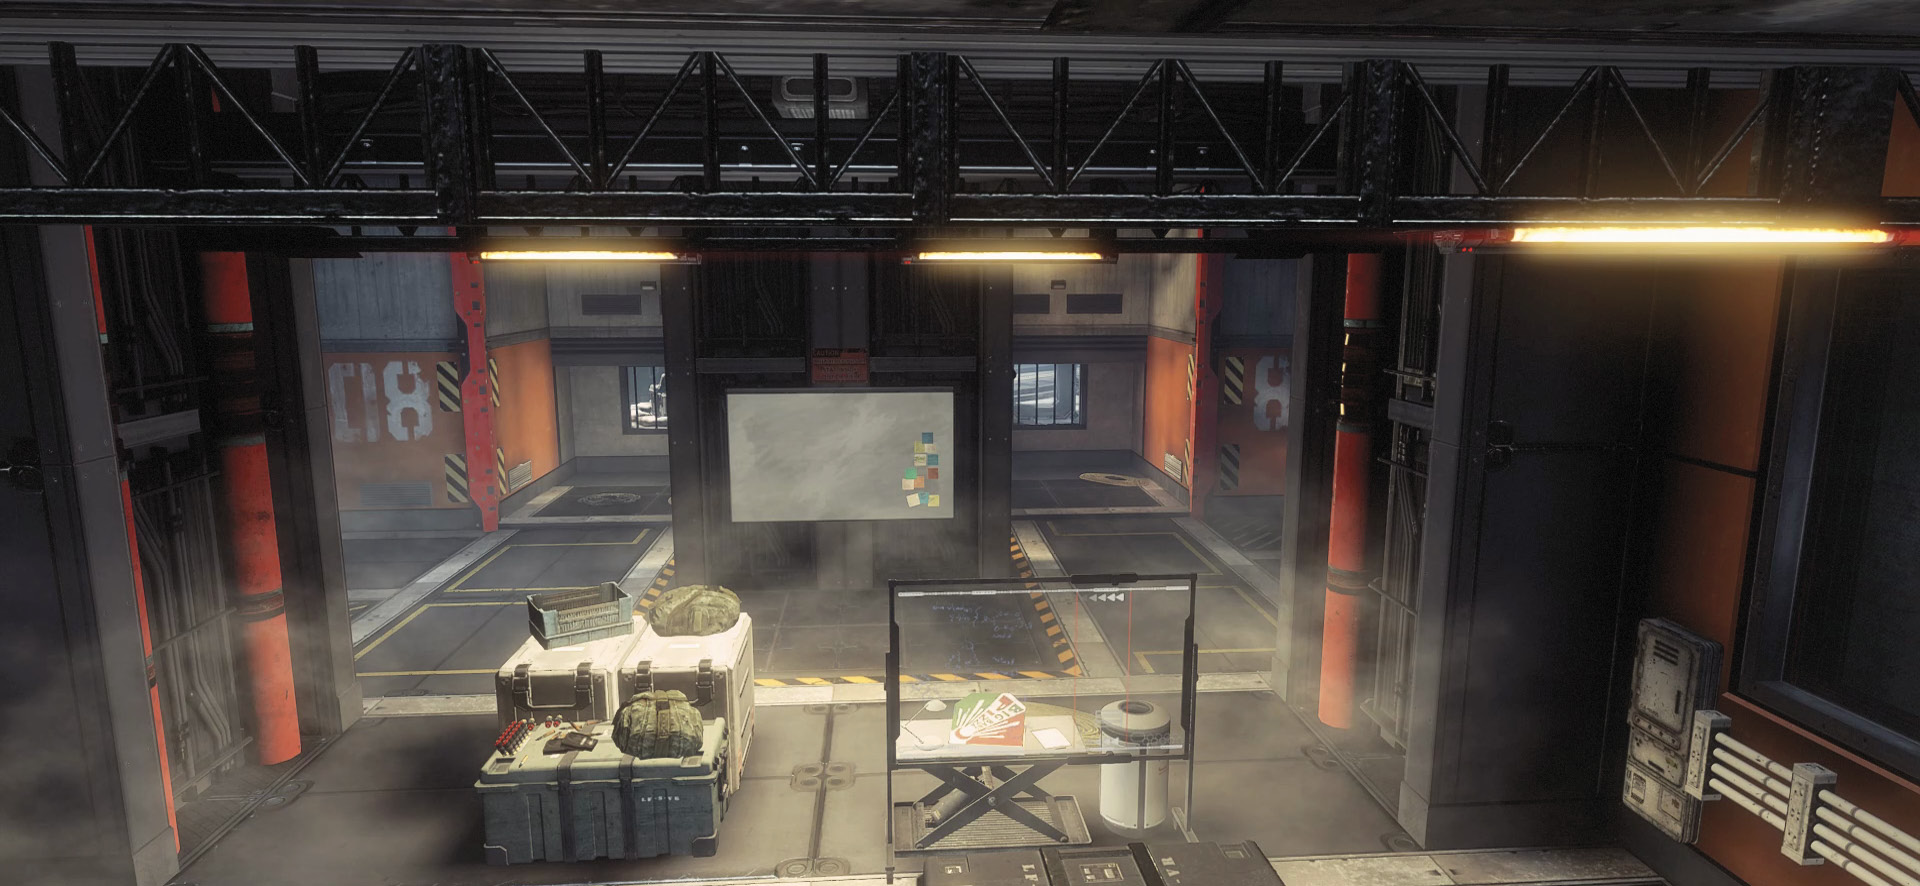
The Demo Building is a blown-apart, tall building that is far too large for players to utilize its roof, but it does have a large hole in the upstairs, making it quite simple to see out of. Near the northern spawn point, this location is a quick and easy sniper perch for Pilots spawning on this side. It is impossible to do any objective taking from here for the most part until later in the game of Bounty Hunt, but it is a prime location for scoping out the other team. The interior is in the shape of a T and can be set up as a place of heavy cross fire, blocking entry to the main entrance. Be aware of the two alternate entrances, one on the side and the other in the back. It is best to defend this location from inside; however, it is possible to do it from across the front courtyard as well.
Bridge
The bridge lies directly in the middle of the map and is peaked in the middle due to some major wreckage. This peak provides some concealment from the other side, allowing you to sneak up to the center without standing in plain sight. There are four different buildings that all have a fine sight line on the bridge, which makes the peak doubly important to utilize if you plan on approaching this location.
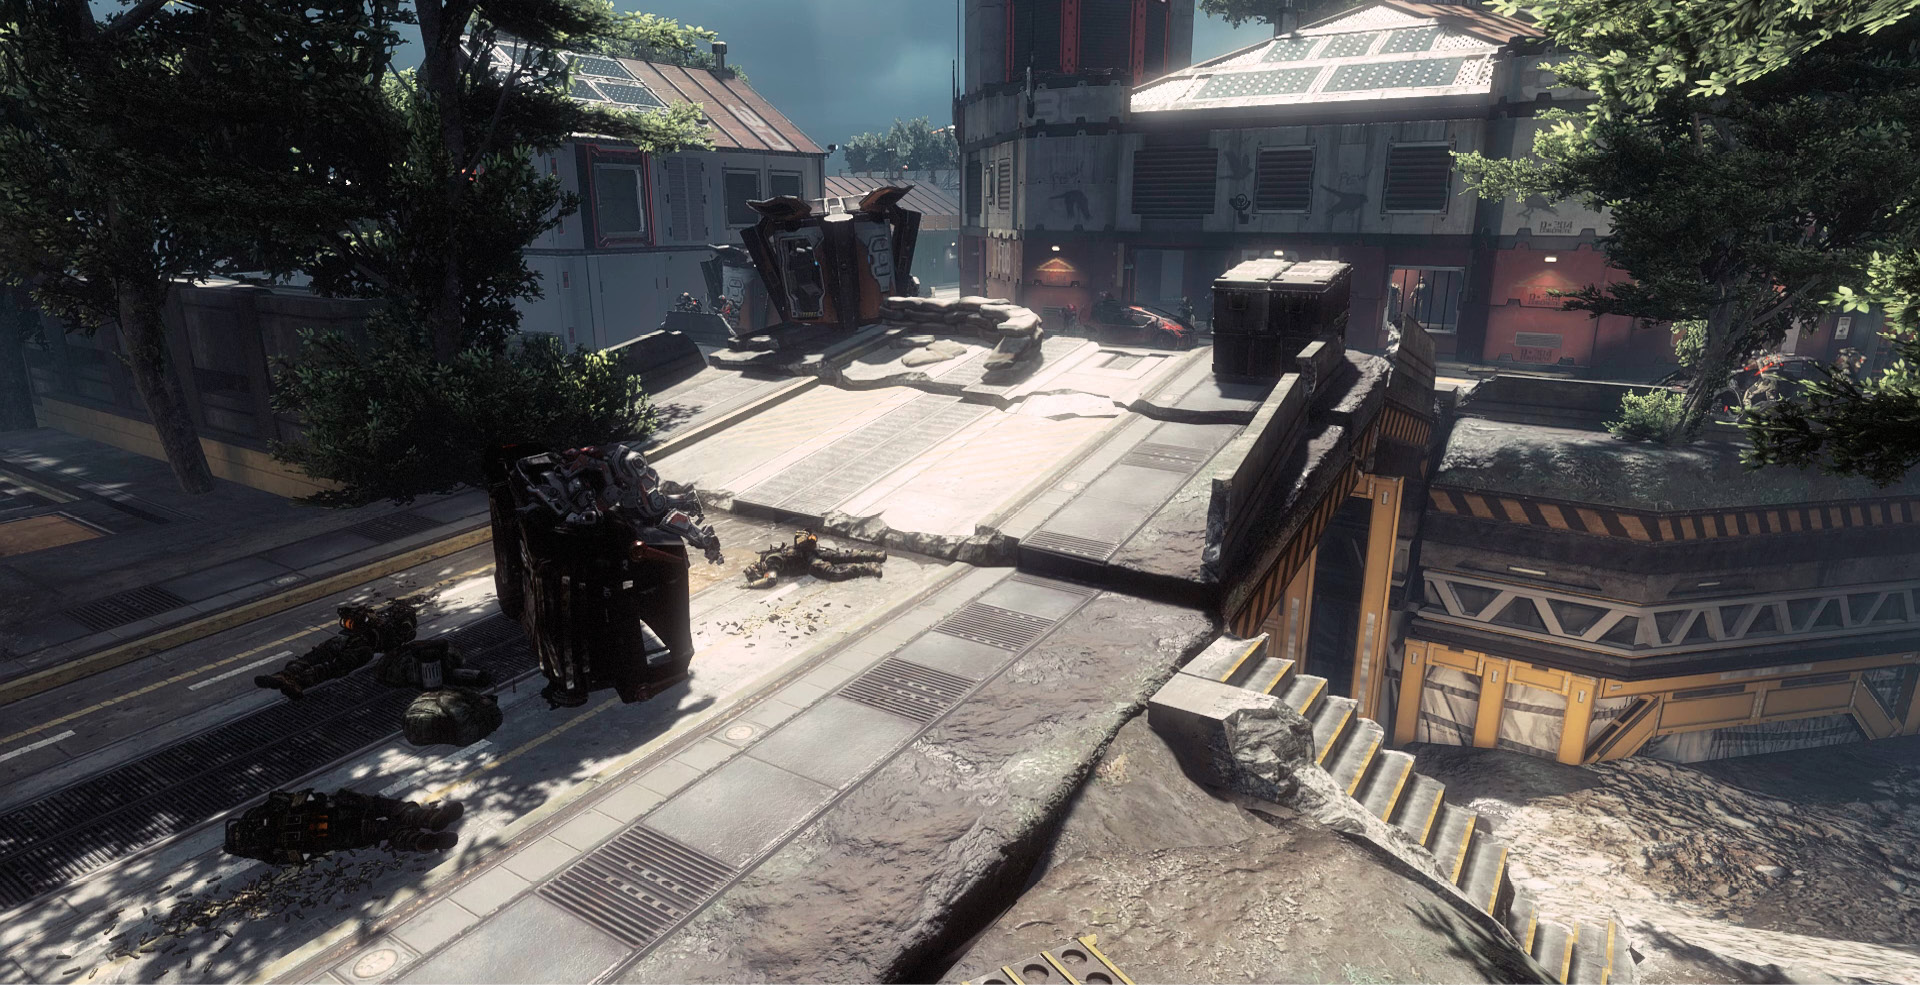
Beneath the bridge is a small canal that extends from either edge of the map. This serves as a great alternate approach to the bridge, thus not to stick out like a sore thumb when you’re trying to arrive unseen. Titans use the canal often, as it is large enough to fit down there while having some mobility, rather than becoming the biggest target on the block standing directly on top of the bridge.
Chow Hall
The Chow Hall has seen better days. The destruction of this building is immense. However, the majority of it is due to a collapsed roof, which only affects Pilots within close proximity of the location. There are four formal entrances to the Chow Hall, but the most tactical entrance is through the collapsed roof, as there is more freedom to look around before making the plunge inside.
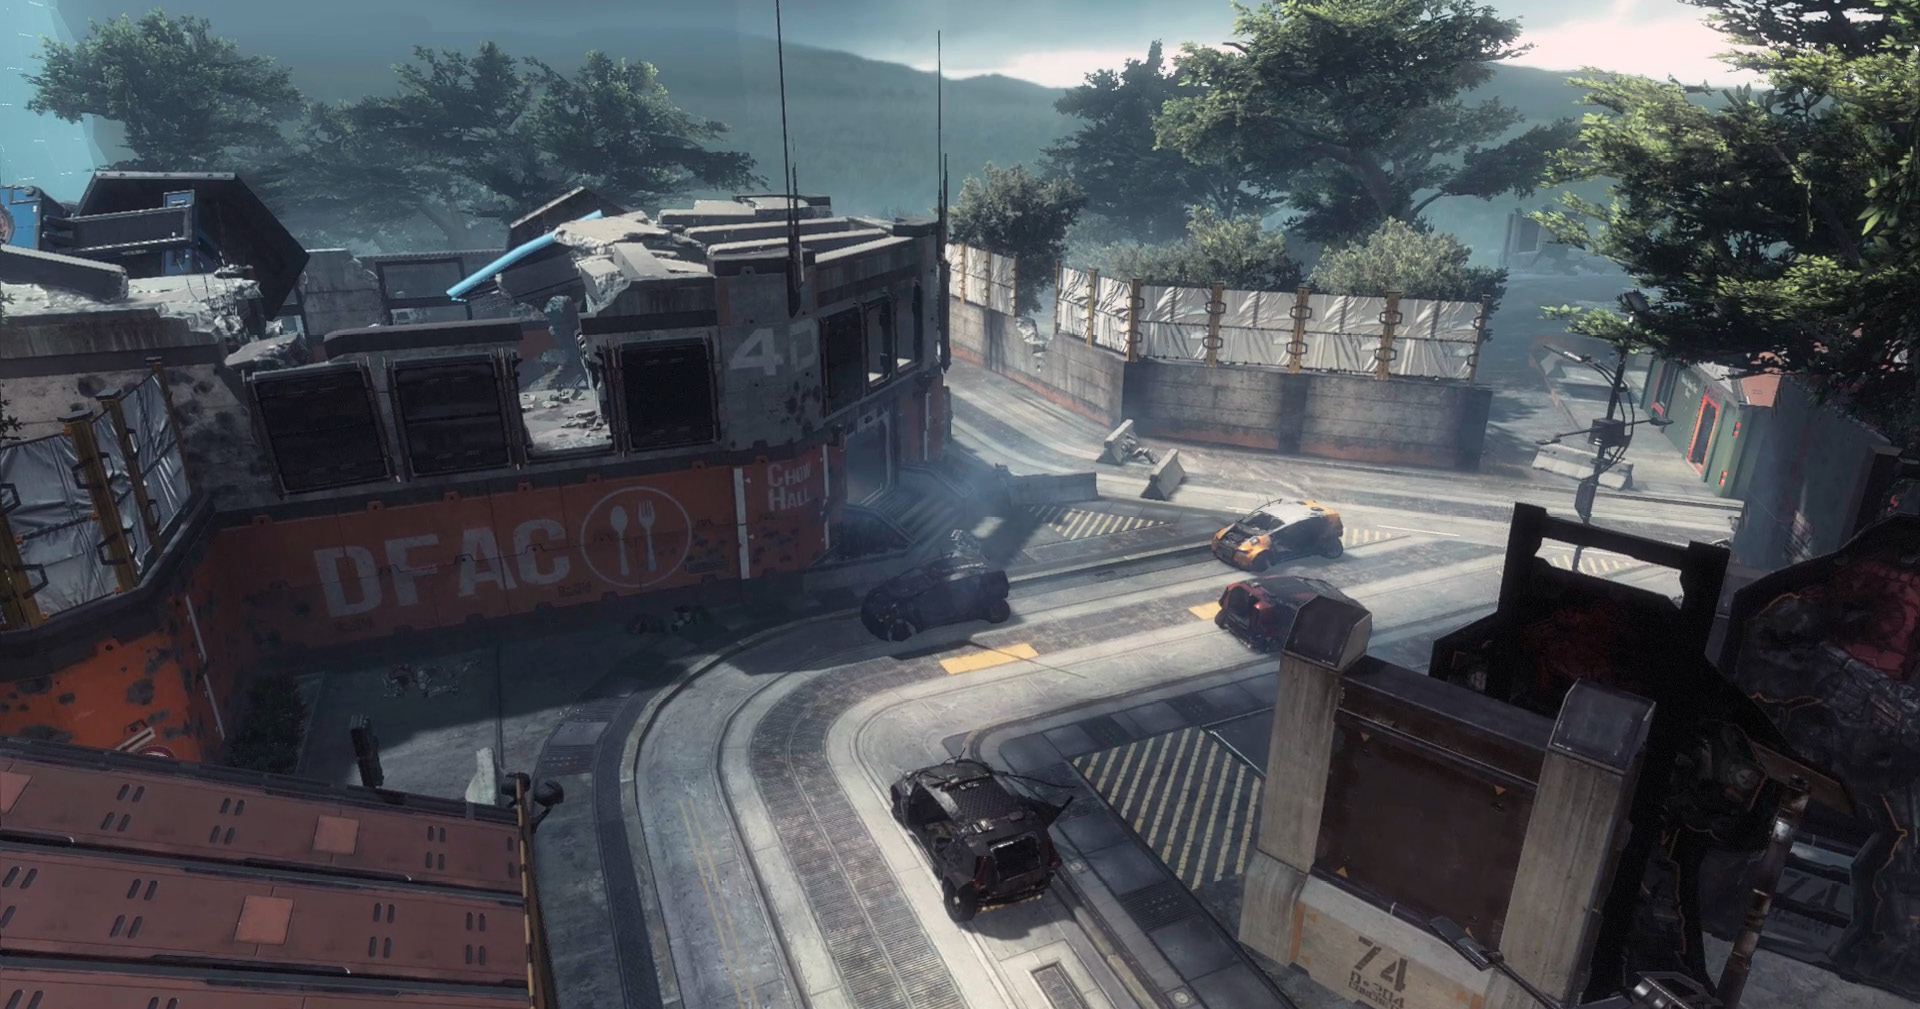
It may not appear like it, but there are two stories to this building, and because of the rubble, the lower floor contains some cover very useful to those who want to stay close to the objectives. There isn’t much you can see from downstairs, but there is enough to be able to tell the location is being attacked and that you need to do something about it before you become overrun.
Titan Target Range
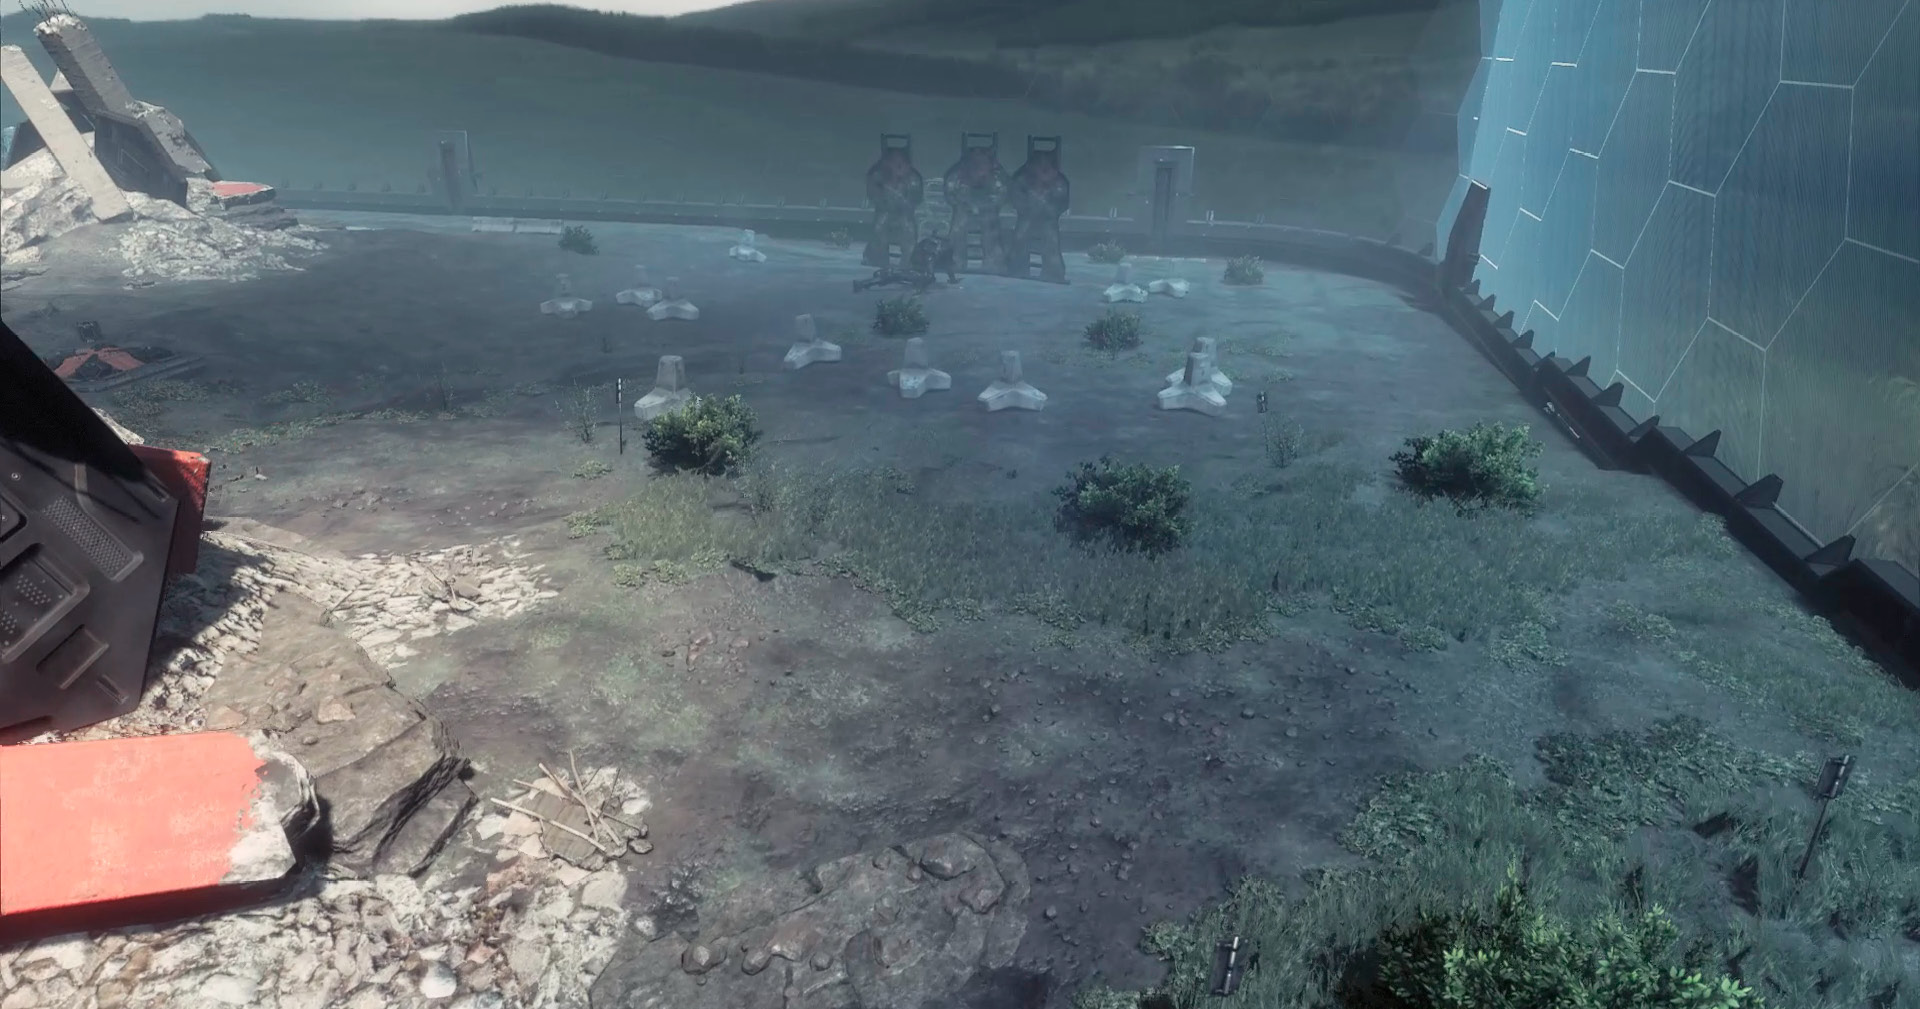
Titan Target Range is a prime spot for Titans to roam and avoid danger from Pilots with much more ease. The Range is a much more open area than most others on Boomtown, but that does not mean it isn’t incredibly dangerous for Pilots. There are a few Titan blocks that can easily be used as cover, as well as a Pilot safe haven in the middle of the range that is covered in foliage, thus concealing whatever or whomever is inside. The safe haven is not a sturdy place, as the only cover is trees, so as a Pilot, try not to be seen entering this location because Scorch or Ion can use their wide-spread weaponry to rain death on every square foot of this spot.
Forest East
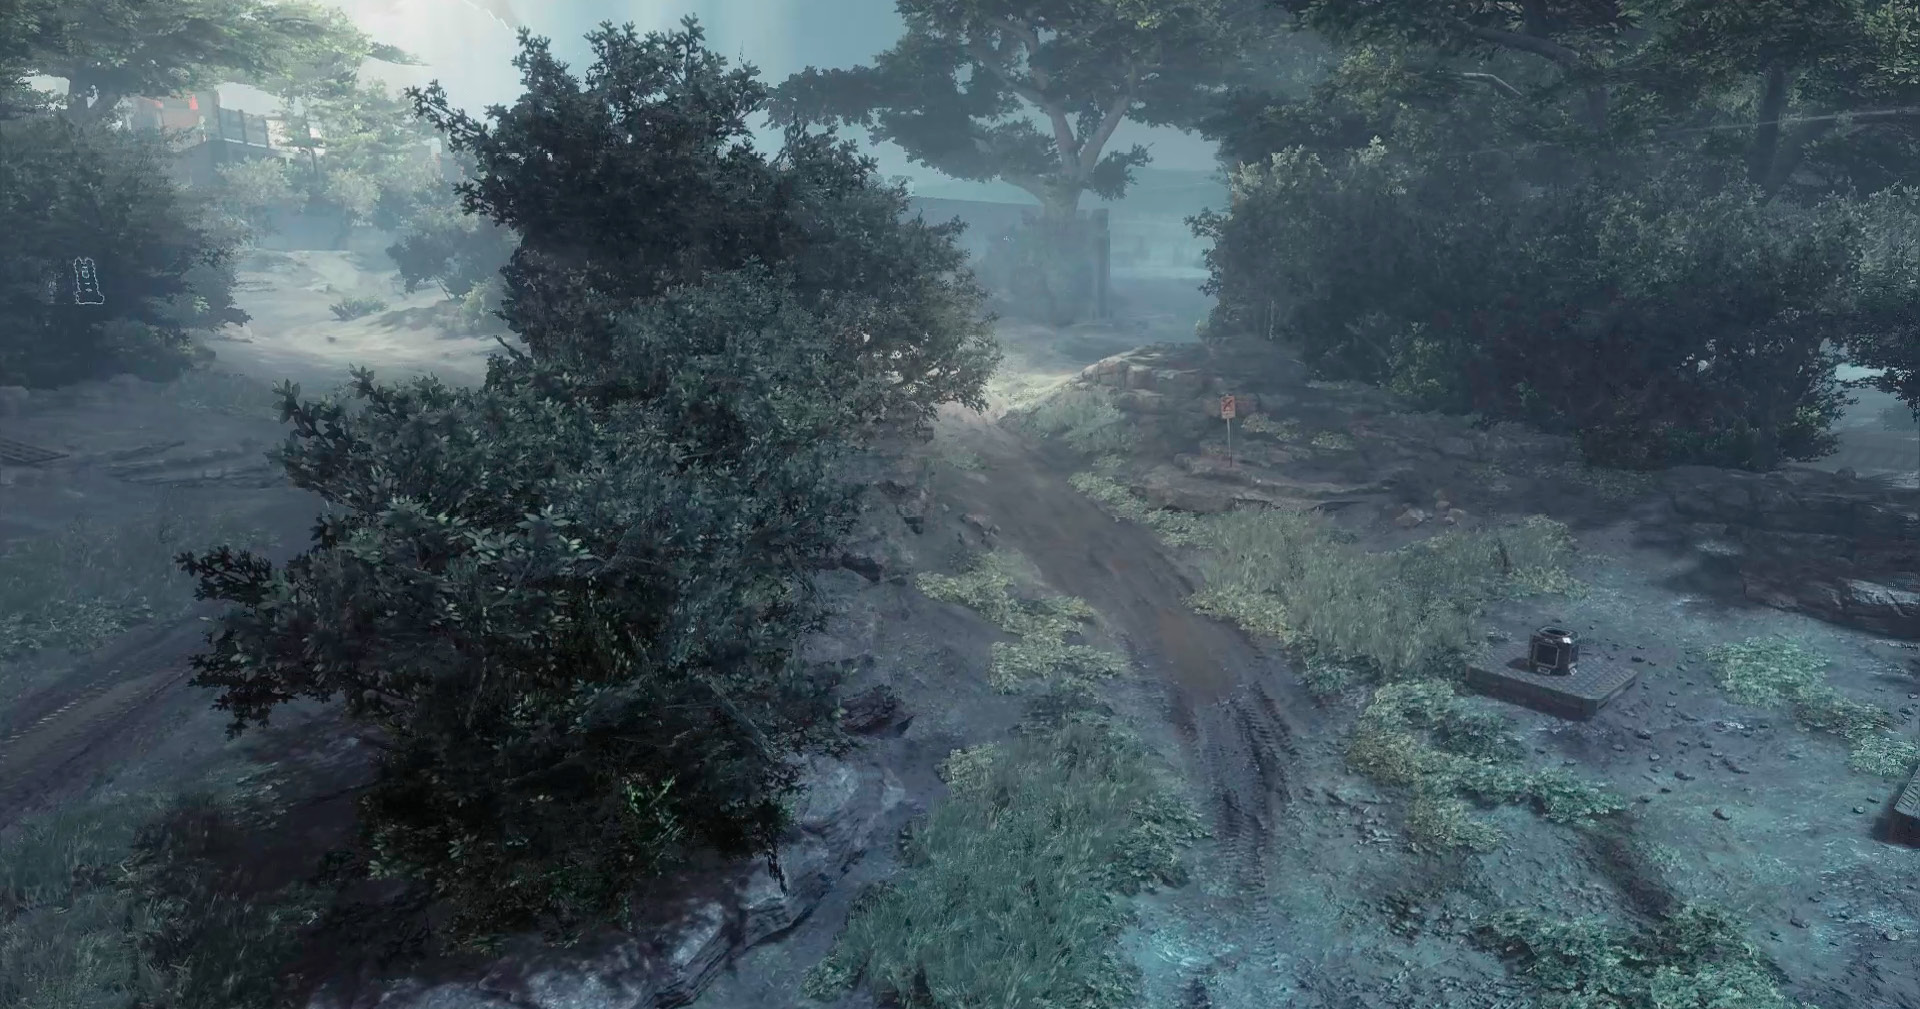
The Forest East is very similar to the Titan Target Range. However, the major difference is that this location is not really a stretch of land, but more of a bordering open area. What this means is that there are a few tree lines that break up the location, allowing for more mobile Titans to shine here. Pilots are just as safe as in the Target Range because even though there might not be a safehaven, the tree lines provide excellent cover that Pilots can easily get to by making their way through or over them. Attacking this location for objectives is a tad tricky because of the open space, but scoping out your targets and using the buildings adjacent can prove rather useful.
Recommended Pilot Loadouts
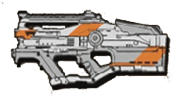
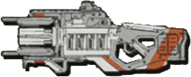
Grapple GliderThis loadout is meant for staying mobile at all times in an urban environment. You are able to use your Grapple twice at a full charge and when up against a Titan, helmet to nose. Being able to find the nearest high place and pulling yourself out of harm’s way fast can save your Pilot’s life and keep you close to the objective. Firestar is great for covering your tracks when you’re attempting to get away; with the use of Ordnance Expert, it is easier to throw the Firestar right at the enemy Titan’s nose, blinding the Pilot inside. The Grapple Glider is designed for swift, close-quarters offensive strikes. Using the wide-spread shot of the Mastiff, gather as much momentum as possible by swinging around corners and sliding to keep up your speed. Make sure you have enough speed, because attacking your enemy straight on is extremely dangerous, but going fast enough makes you a difficult target to even see.
|


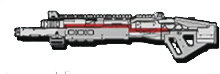
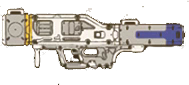

Phase PilotThe Phase Pilot Loadout is a powerful offensive loadout and is great for maps with mid-range sight lines. There is a clear theme with this loadout, but there is a tactical explanation as to why. For the most part, the Phase Pilot is designed for mid-ranged firefights, but equipping Phase Shift will allow you to evade close encounters as your enemy attempts to flank or overwhelm your position. Phase Shift past them and drop a Gravity Star to deter them as you create some distance and make them pay for pushing your position.
|


Recommended Titans
Ronin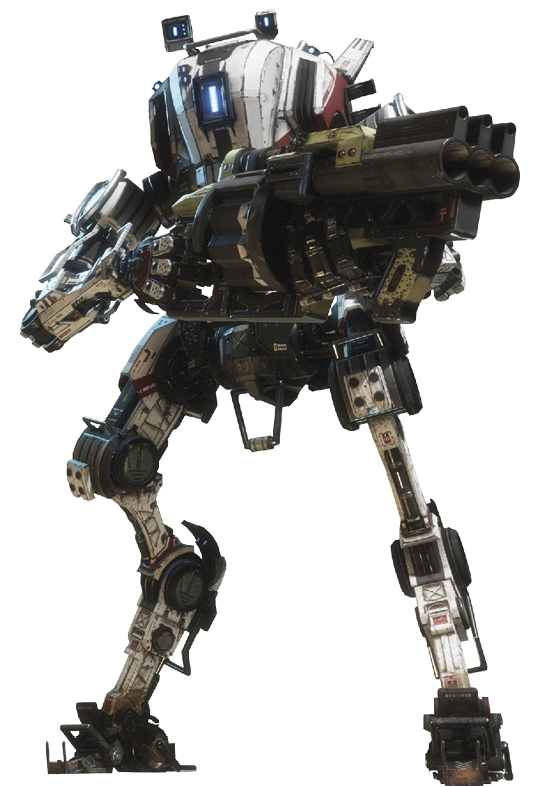 Ronin is a great Titan loadout for a map like Boomtown because Boomtown is very much a close-quarters map for both Titans and Pilots. There are not many places Titans can go where Ronin can’t follow instantly. Take Ronin to the limit by constantly staying in the enemy’s face. Overwhelming the other Titan loadouts and giving them a faceful of Titan Sword can confuse even the more skilled players. The use of Temporal Anomoly only makes this worse for your opponent.
|


Scorch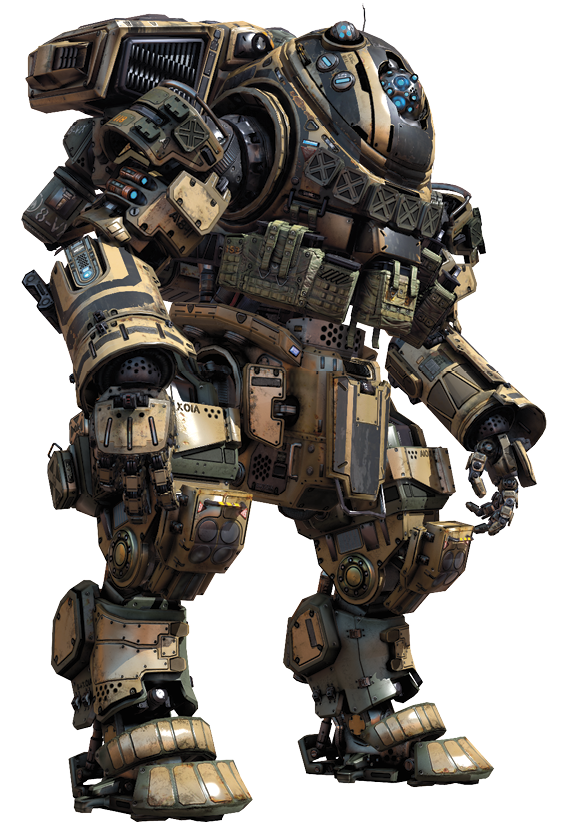 Scorch is a great option for this map because it can own the center stretch with the Incendiary Trap, in combination with the Wildfire Launcher. Not only is this Titan loadout a great pick to stop any advancing Titans down the middle, but the damage from your Thermite Launcher can also drive them backward, thus further controlling the battleground.
|

